Introducing The SuperLamp!
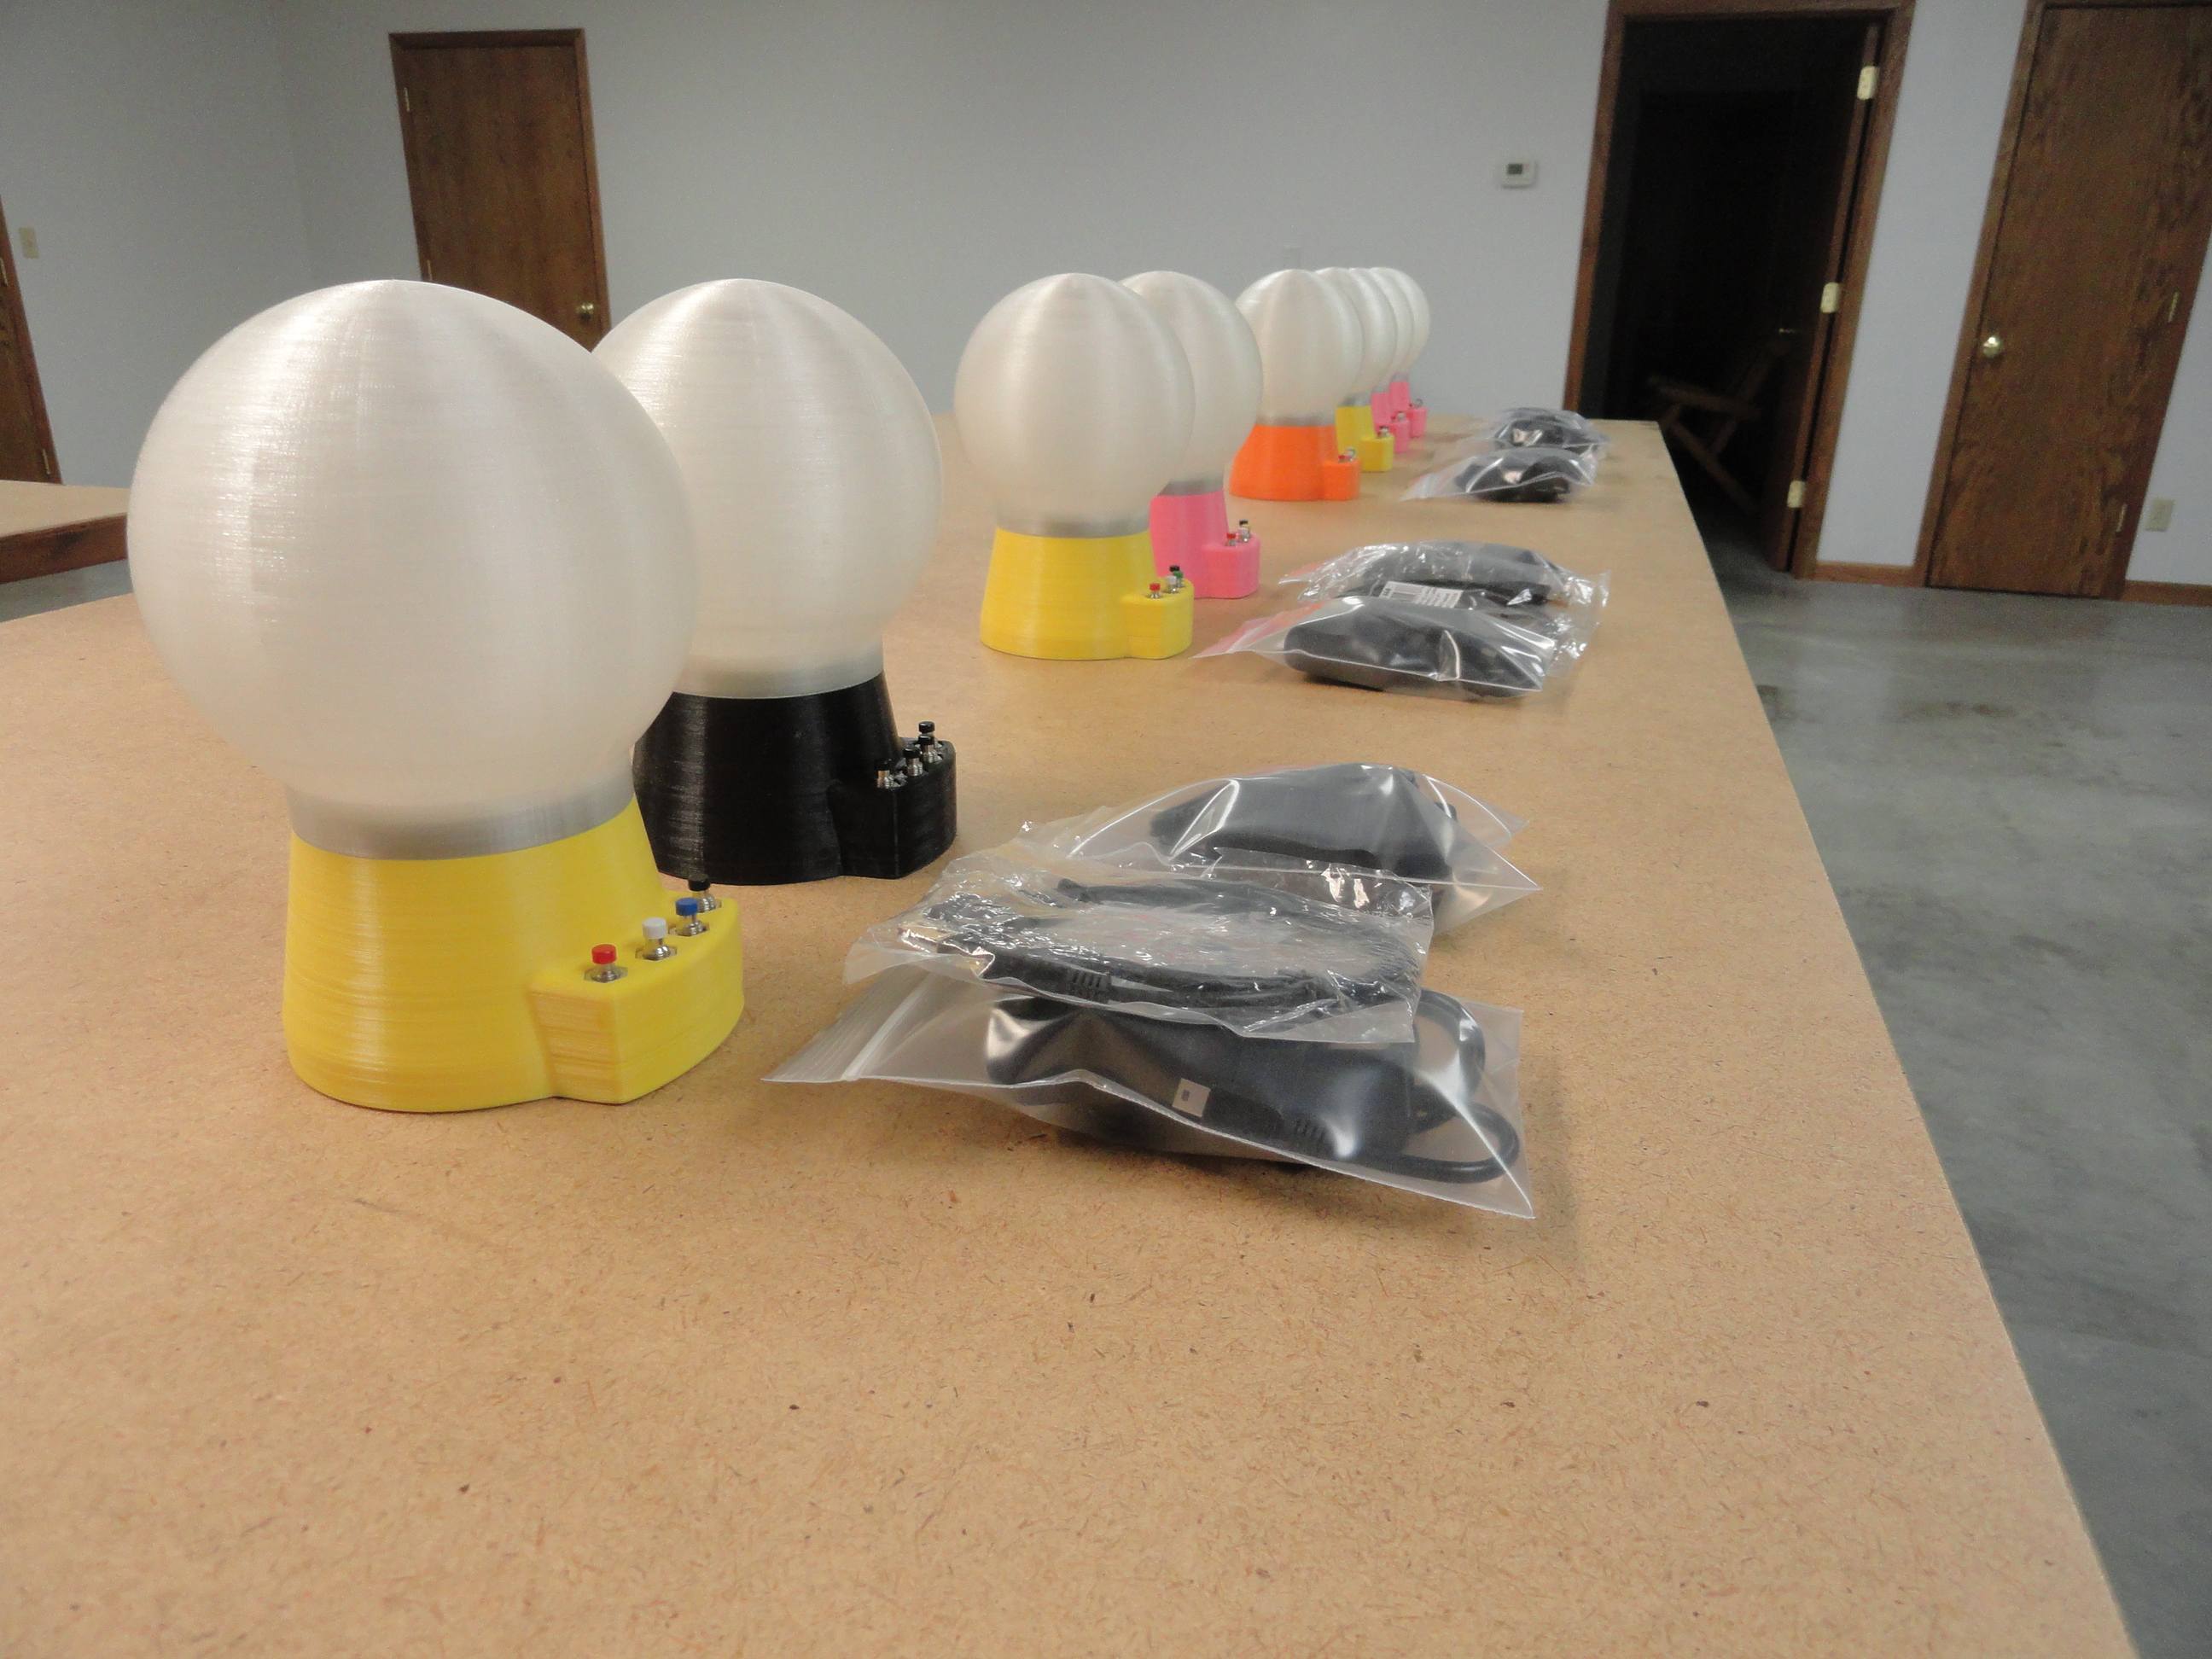
What makes this offering so 'Super' is the 47 individually addressable LEDs, 4 pushbuttons that can be programmed to be momentary, toggle, or combined and a programmable Arduino Nano that allows us to program nearly endless possibilities. We then encased the hardware into a stylish base with an opaque globe to diffuse the bright lighting.
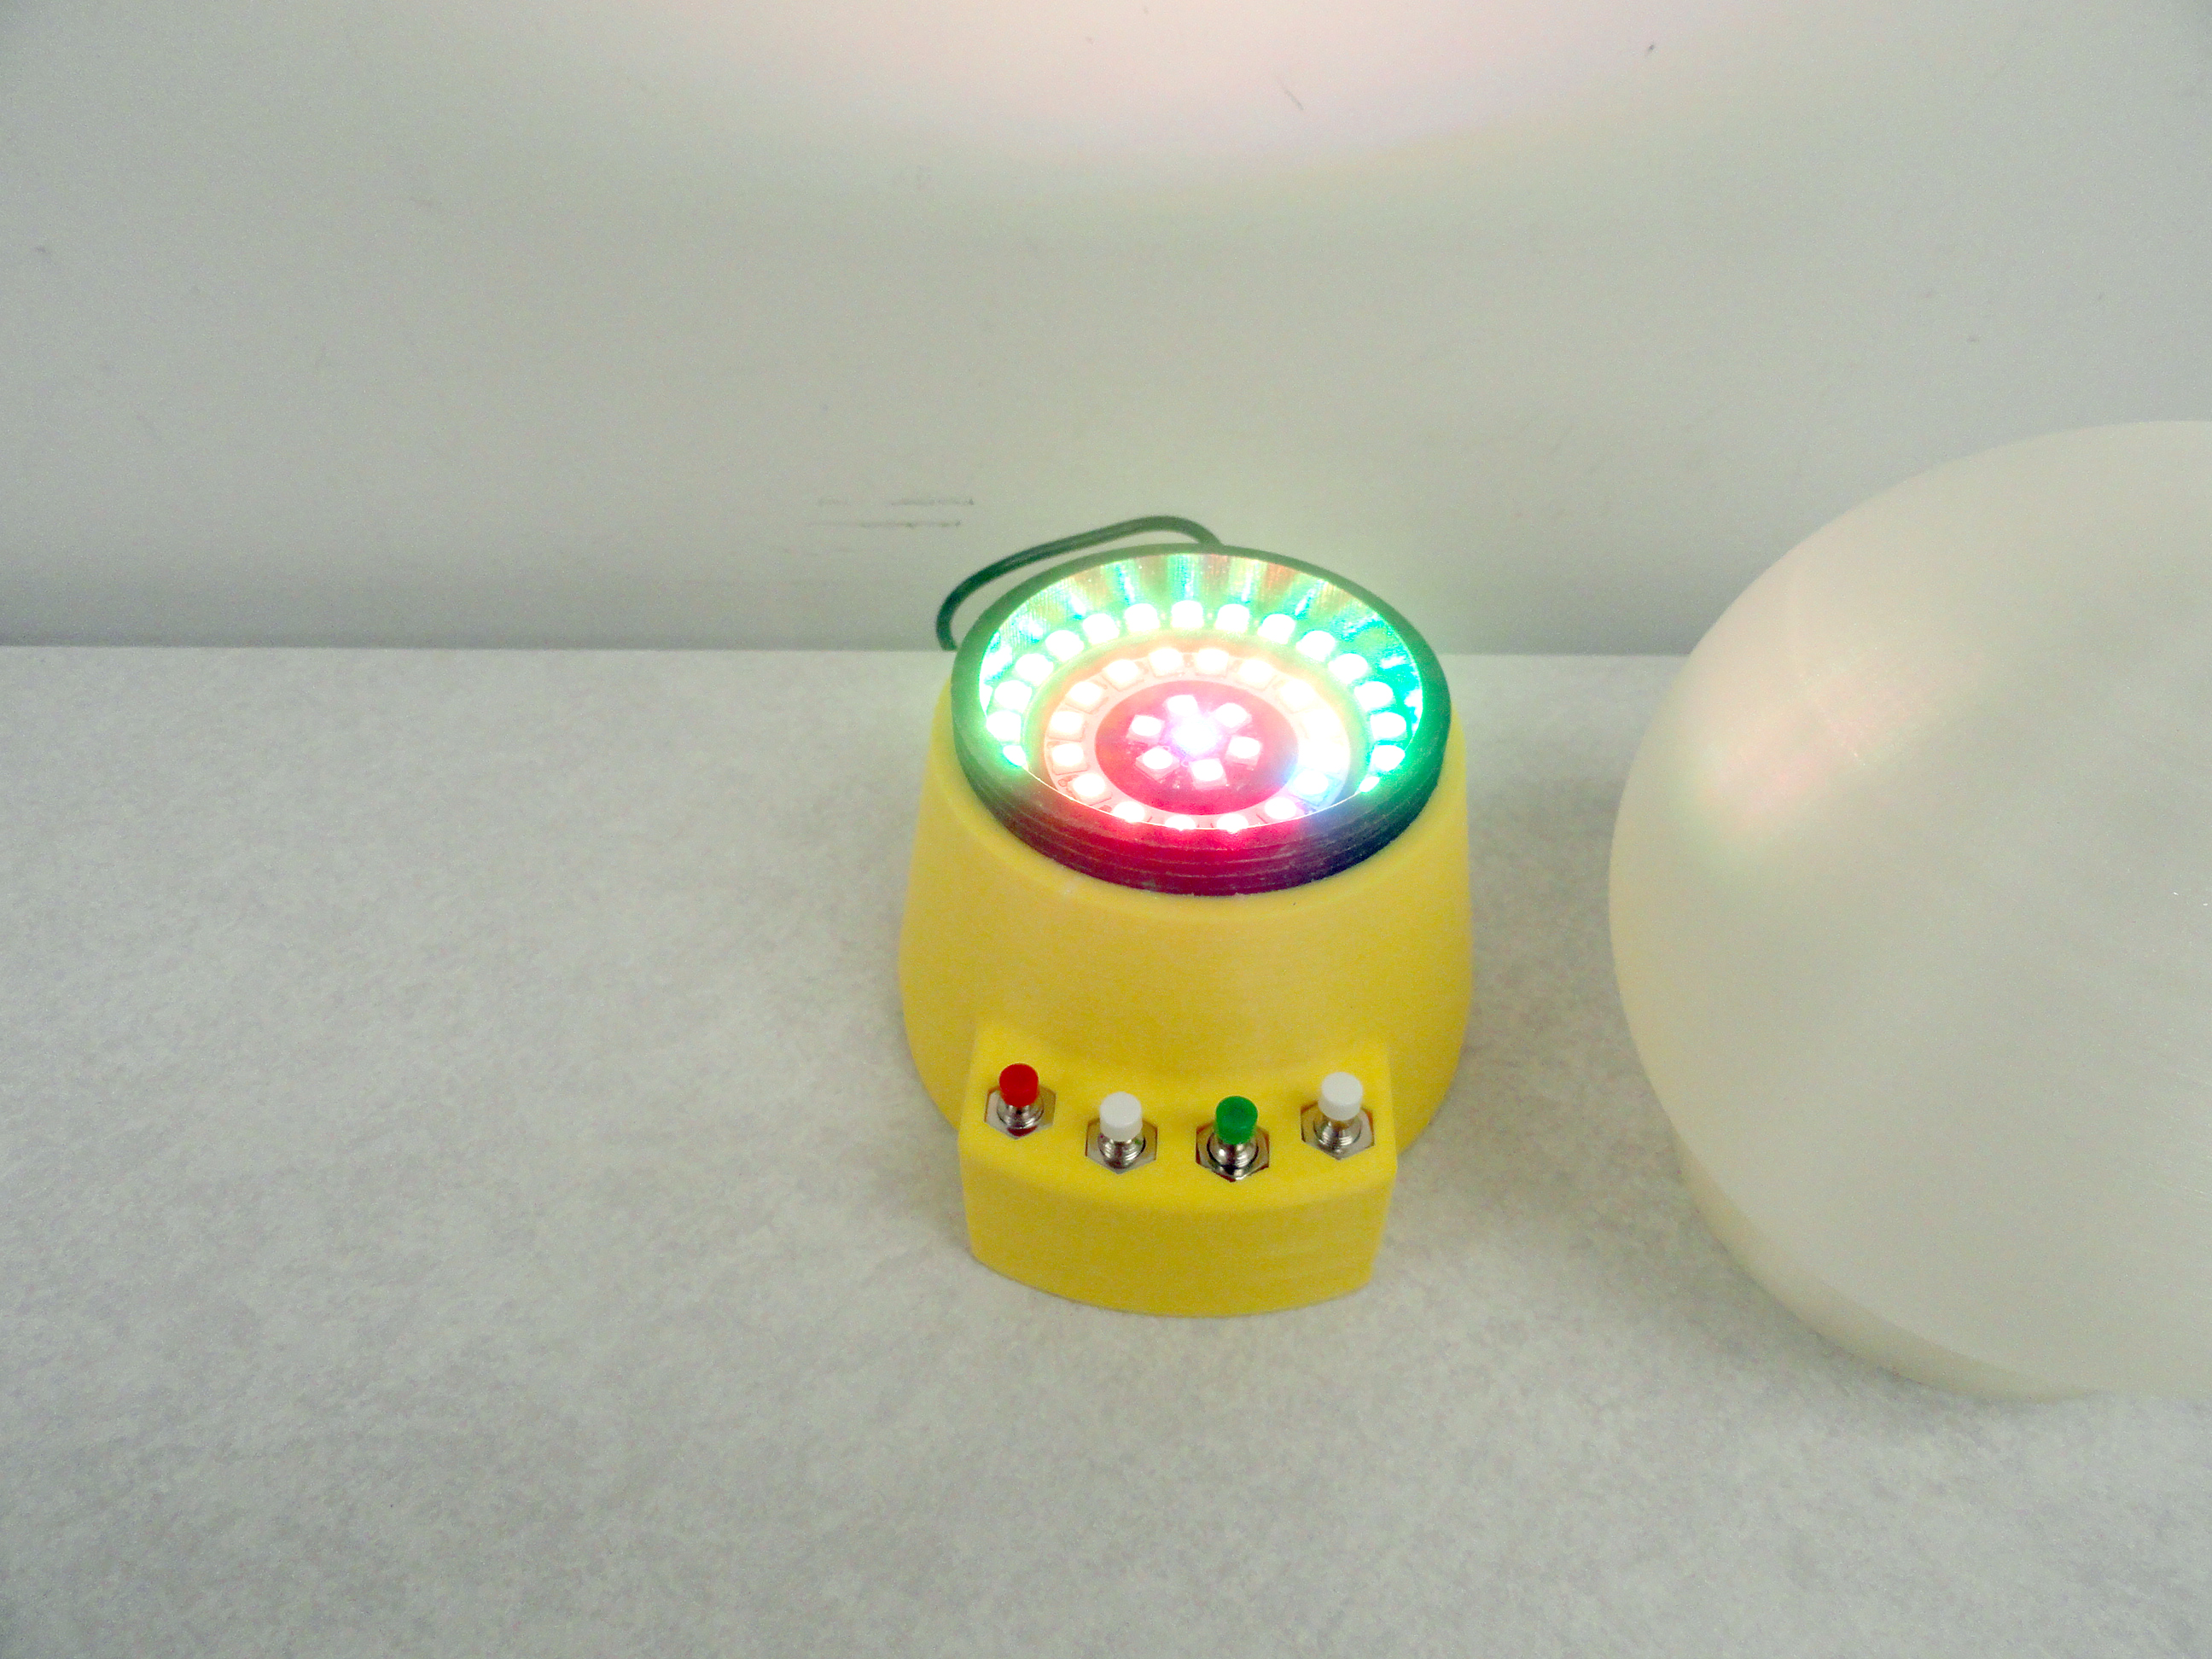
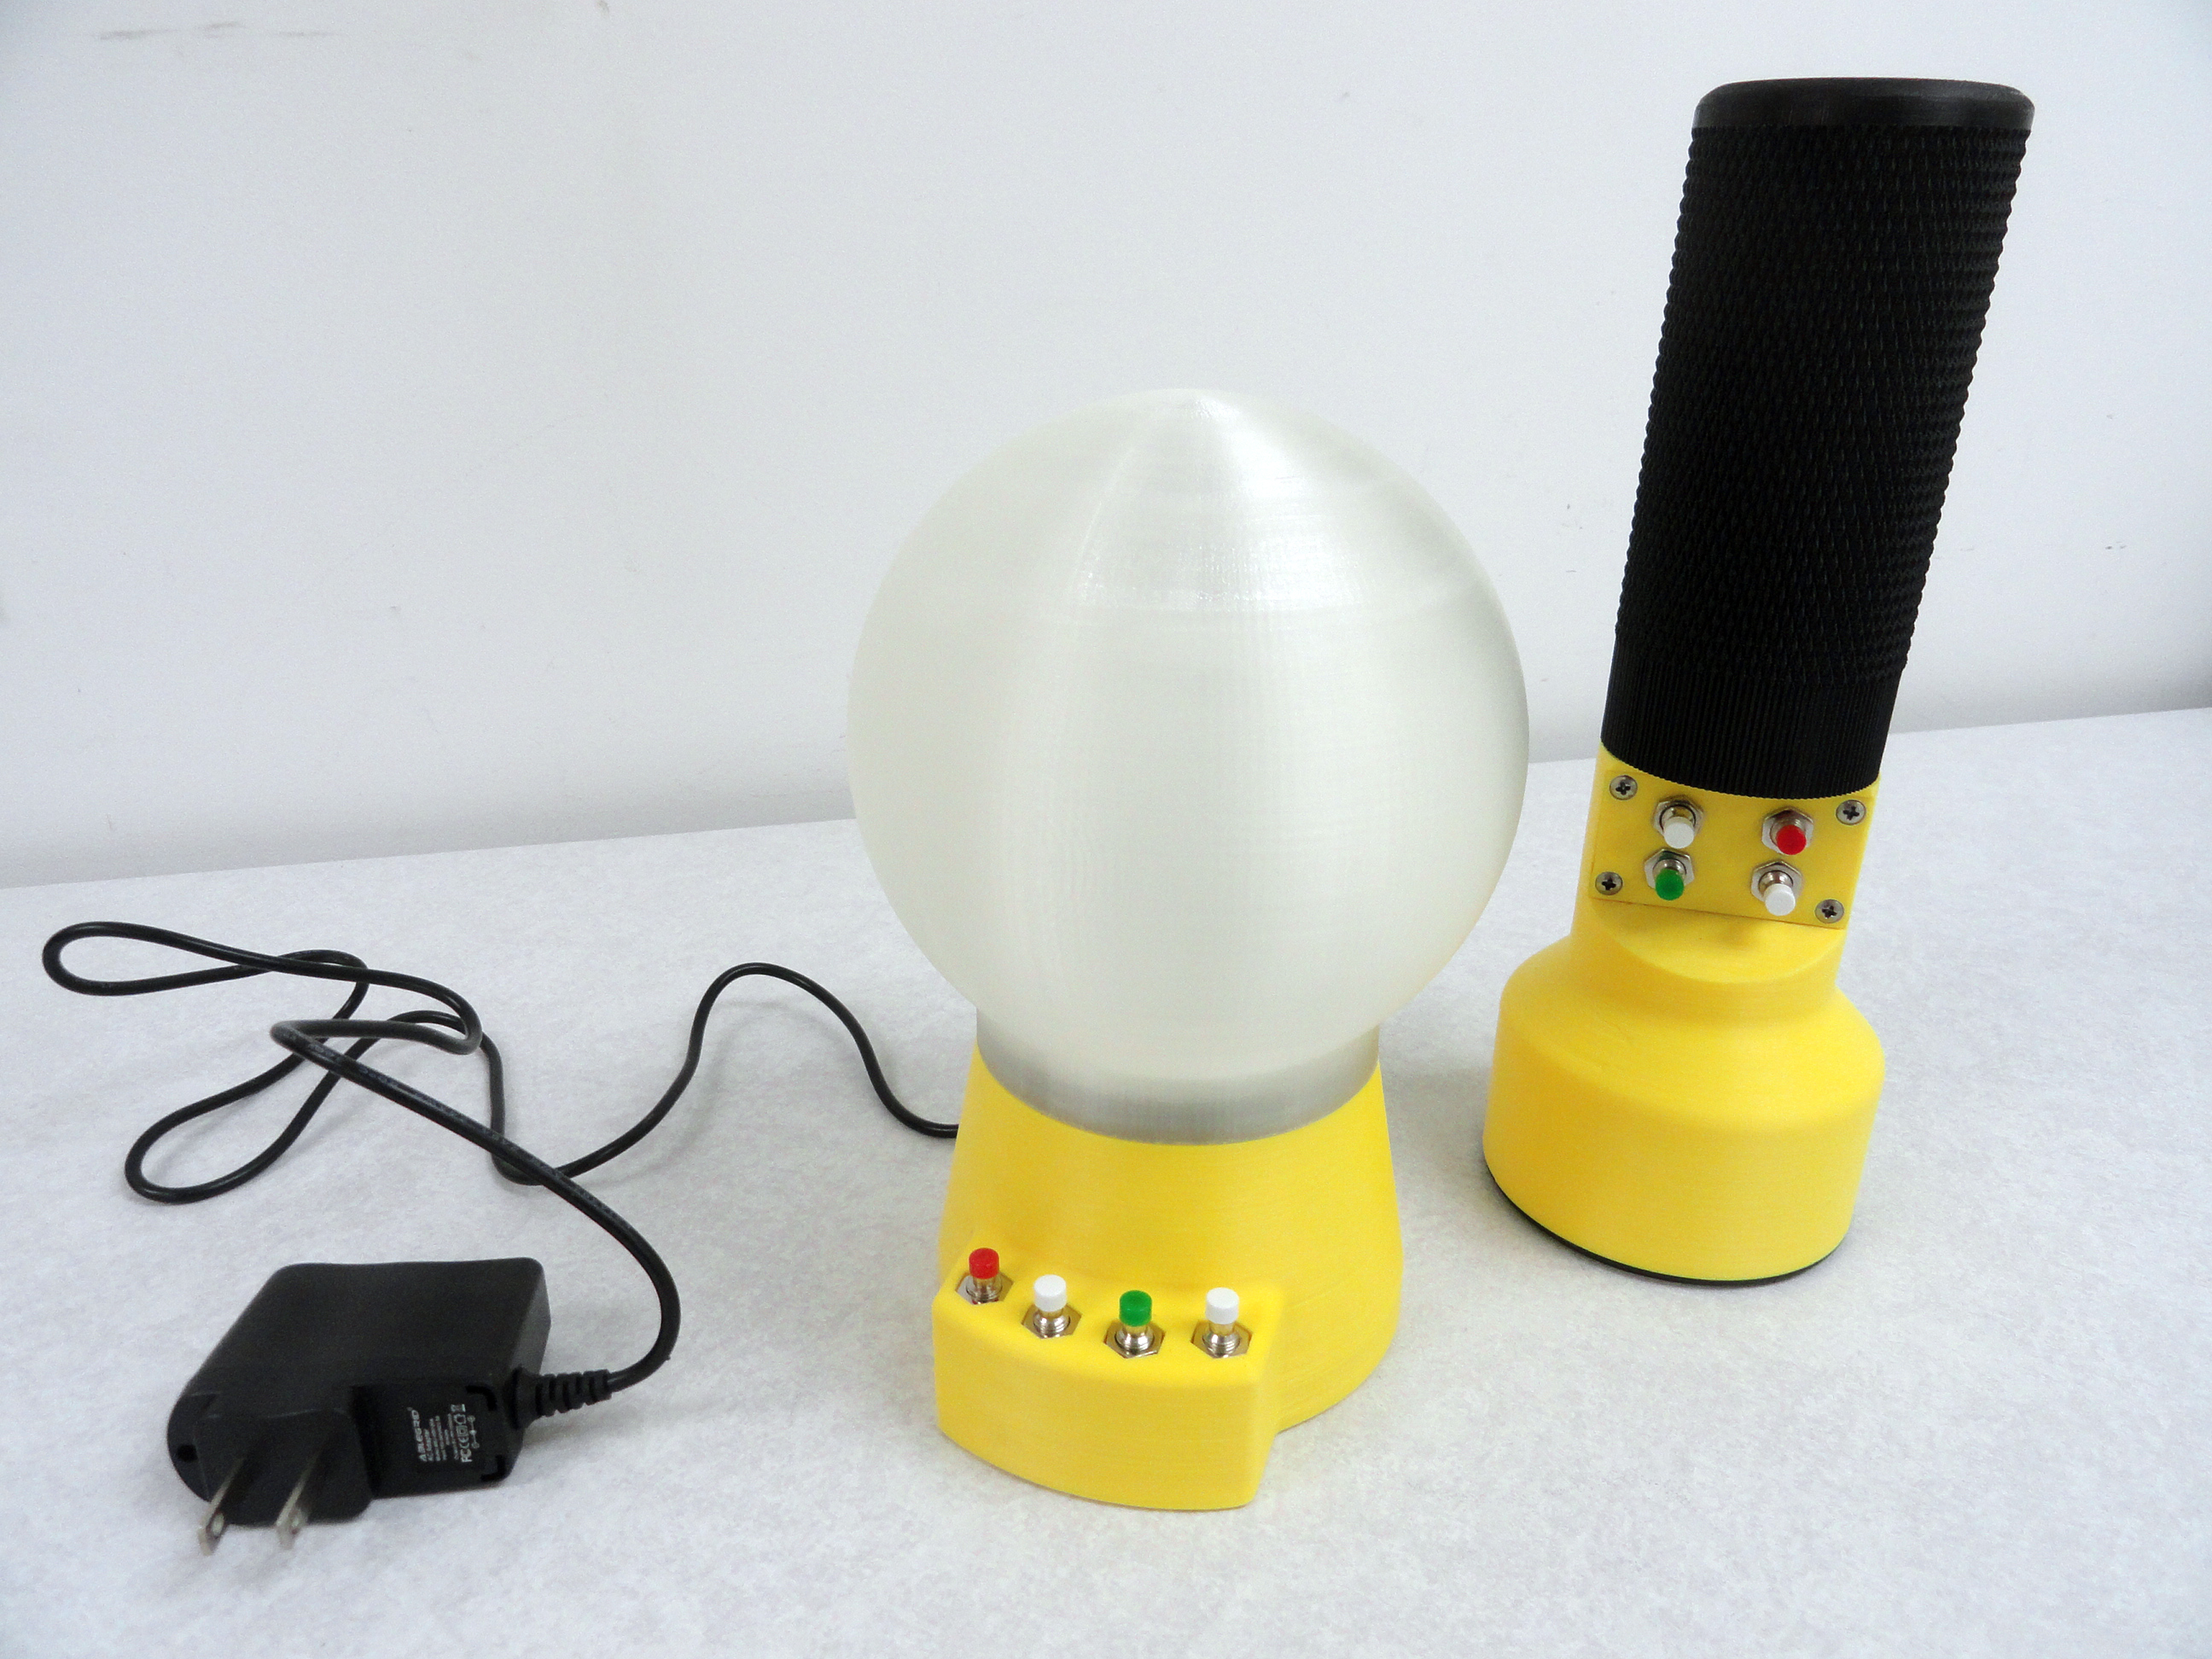
What's more, if you are building a Super Flashlight, the wiring and programming code is exactly the same! Push button #1 and get LOW, MEDIUM and HIGH white light at the touch of a button. Push button #2 and watch the Red, Green, and Blue lights show the root RGB capabilities along with some effects. Push Button #3 and a dazzling color display will show up in momentary mode. Push button #4 and a 9 stage program begins that shows most of the LEDs color and digital effects. The program even has a 15 minute auto shutdown to conserve energy!
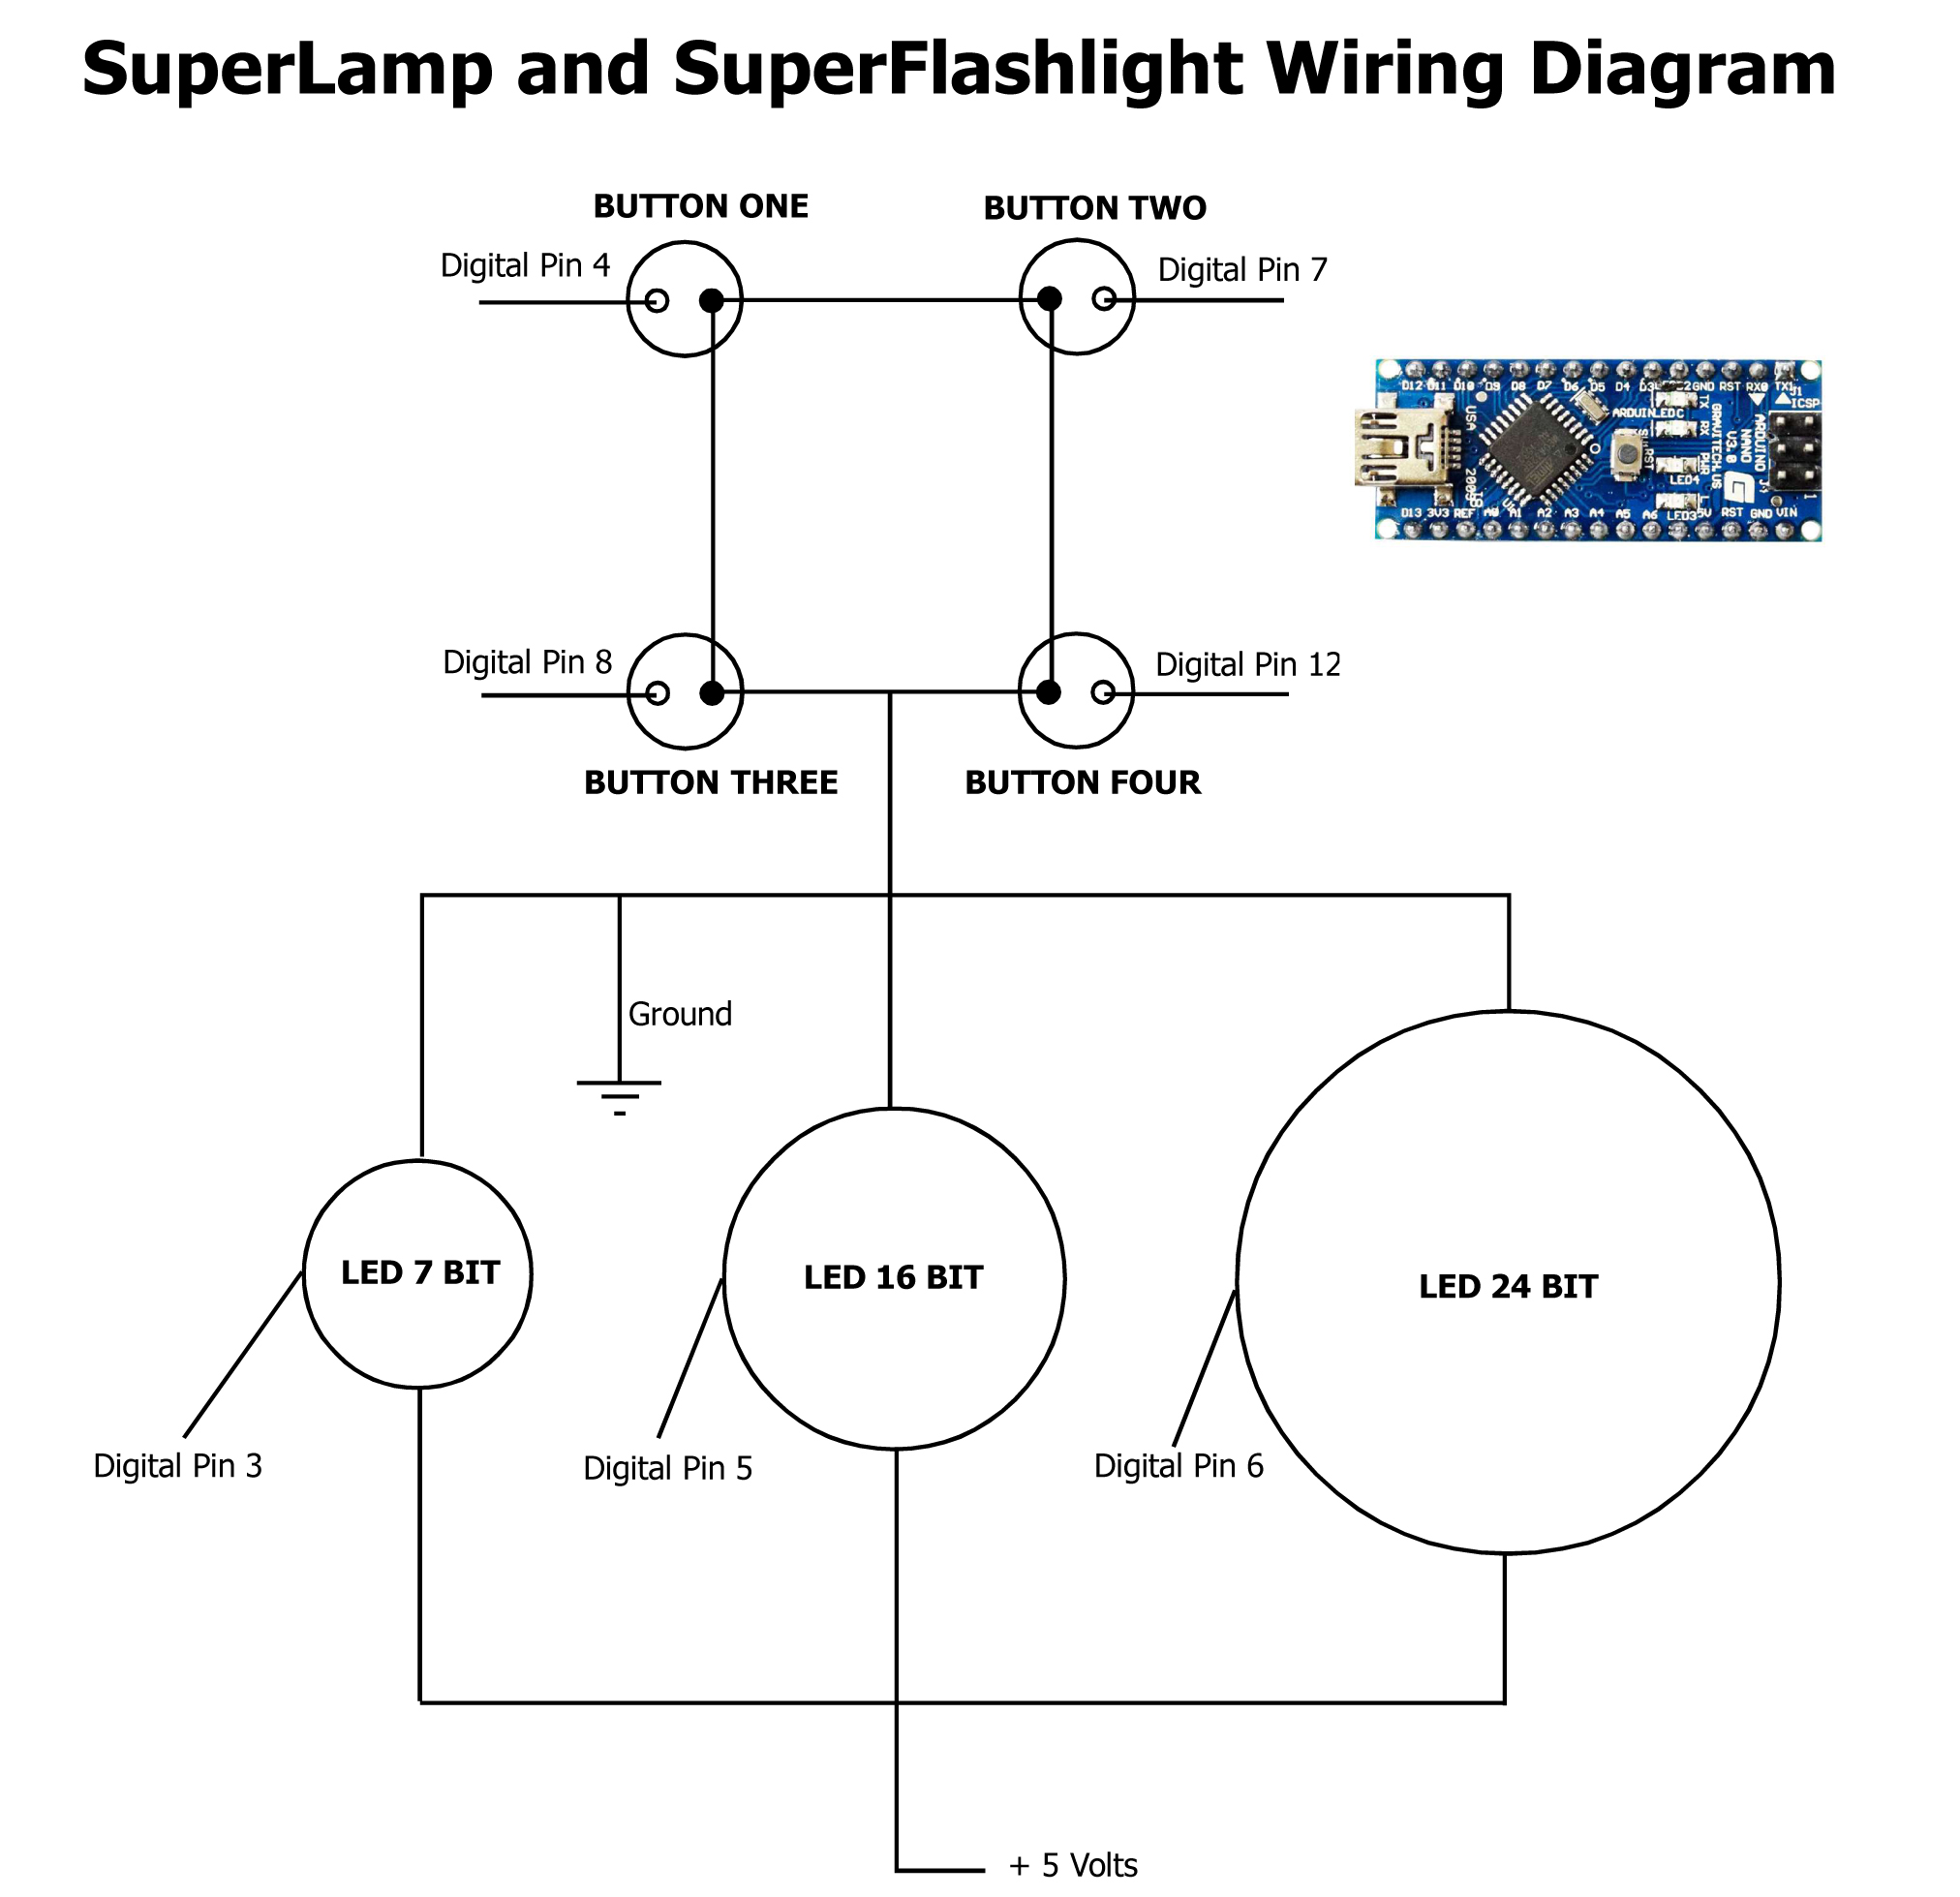
The Arduino Nano is used to process and power this system. It has a maximum current capability of 1 amp. The problem is, 47 LEDs all lit up in bright white at their max intensity can pull as much as 3 amps! Couple that with the wall charger used to power it is rated at a maximum of 1 amp, and what you have is DANGER. So here is how to avoid this danger and its very important you understand in NO uncertain terms how critical it is to follow the instructions. We want the 47 LED's because the effects are very cool, and we do not need maximum intensity anyway. This is the wiring diagram for the SuperLamp and SuperFlashlight. We are getting our power from the +5v and Ground Pins on the Nano.
Since we have established that this very dangerous current is controlled through programming, we can program the Nano to keep the current below 1 amp. Each LED is capable of a brightness level between 0 and 255 with 255 being the brightest. If all LEDS are 255, 3 amps of current are drawn. If all LEDs are at one half of that or 127, 1 amp of current is drawn. So the answer is very simple. Do not exceed a brightness of 127 in any part of your code! When you see how bright these things are at 127, the issue will be unimportant anyway. Parents who want to use this as a night light for their children have reported the LEDs are too bright and further programming was needed to dim them down!
The Complete Parts Listing
Even if these links are no longer active, they will give you the idea what to search for. One important thing before ordering, the diameters can vary from different vendors. Some vendors are even sending out the wrong product, so be sure the Outer Diameter of the Rings you order are correct.
- 4 SPST Mini Momentary Push Button On/Off Micro Switch 2 Pins AC 250V/ 1A
- 1 Arduino Nano
- 1 CJMCU-2812 WS2812 7-Bit 5050 RGB Full-Color LED
- 1 16 Bit WS2812 5050 RGB LED Ring Lamp Light with Integrated Driver w/ 45mm OD Diameter
- 1 24 Bit WS2812 5050 RGB LED Ring Lamp Light with Integrated Driver w/ 66mm OD Diameter
- 4 3mm x 20mm screws with nuts - available at McMaster-Carr.com
- 1 3mm x 15mm screw with nut - available at McMaster-Carr.com
Printing the 3D Parts
Print each part at 35% infill and the .1 (high) resolution unless otherwise specified. Here is the .STL files ready to print.
- Transparent Globe - Print with Transparent Filament and 100% infill.
- LED Insert - No Support Necessary.
- SuperLamp Body - Print with Support at 7%.
- Base Cover - No Support Necessary.
- Nano Lockdown - No Support Necessary.
Assembly
Refer to the wiring diagram above to wire it. I made two sets of 4 pin posts soldered together for adding more +5 volt and Ground connections. I like to use 2.54mm Dupont Connectors for all of the connections so they match the Nano's male connections. You can get A Nice 620 PC. Kit for doing that sort of work and there is no soldering necessary. You will also need the Engineer PA-09 Crimping Tool. Using 24AWG Wire, I do all of my projects using this system. Solder can break away, but these connectors stay put.
Screw the LEDInsert into the body until it stops. This leaves about 3/8" above the body that has threads on it for the Globe. I like to put Silicon RTV Sealer on half of the threads before I screw it down. This keeps it from backing off when screwing/unscrewing the globe. SuperGlue works too! Solder the three wires for +5v, GND and Digital to the back of the rings. The length can be about 8 inches. Thread the wires through the appropriate holes. To fasten down the rings I use clear Silicon RTV Sealer. Just a little dab in about 4 places will keep it down forever. You can put Dupont Connector end on either before or after glueing them down. Be sure to use single connectors on the wires because each wire will be going to a different place.
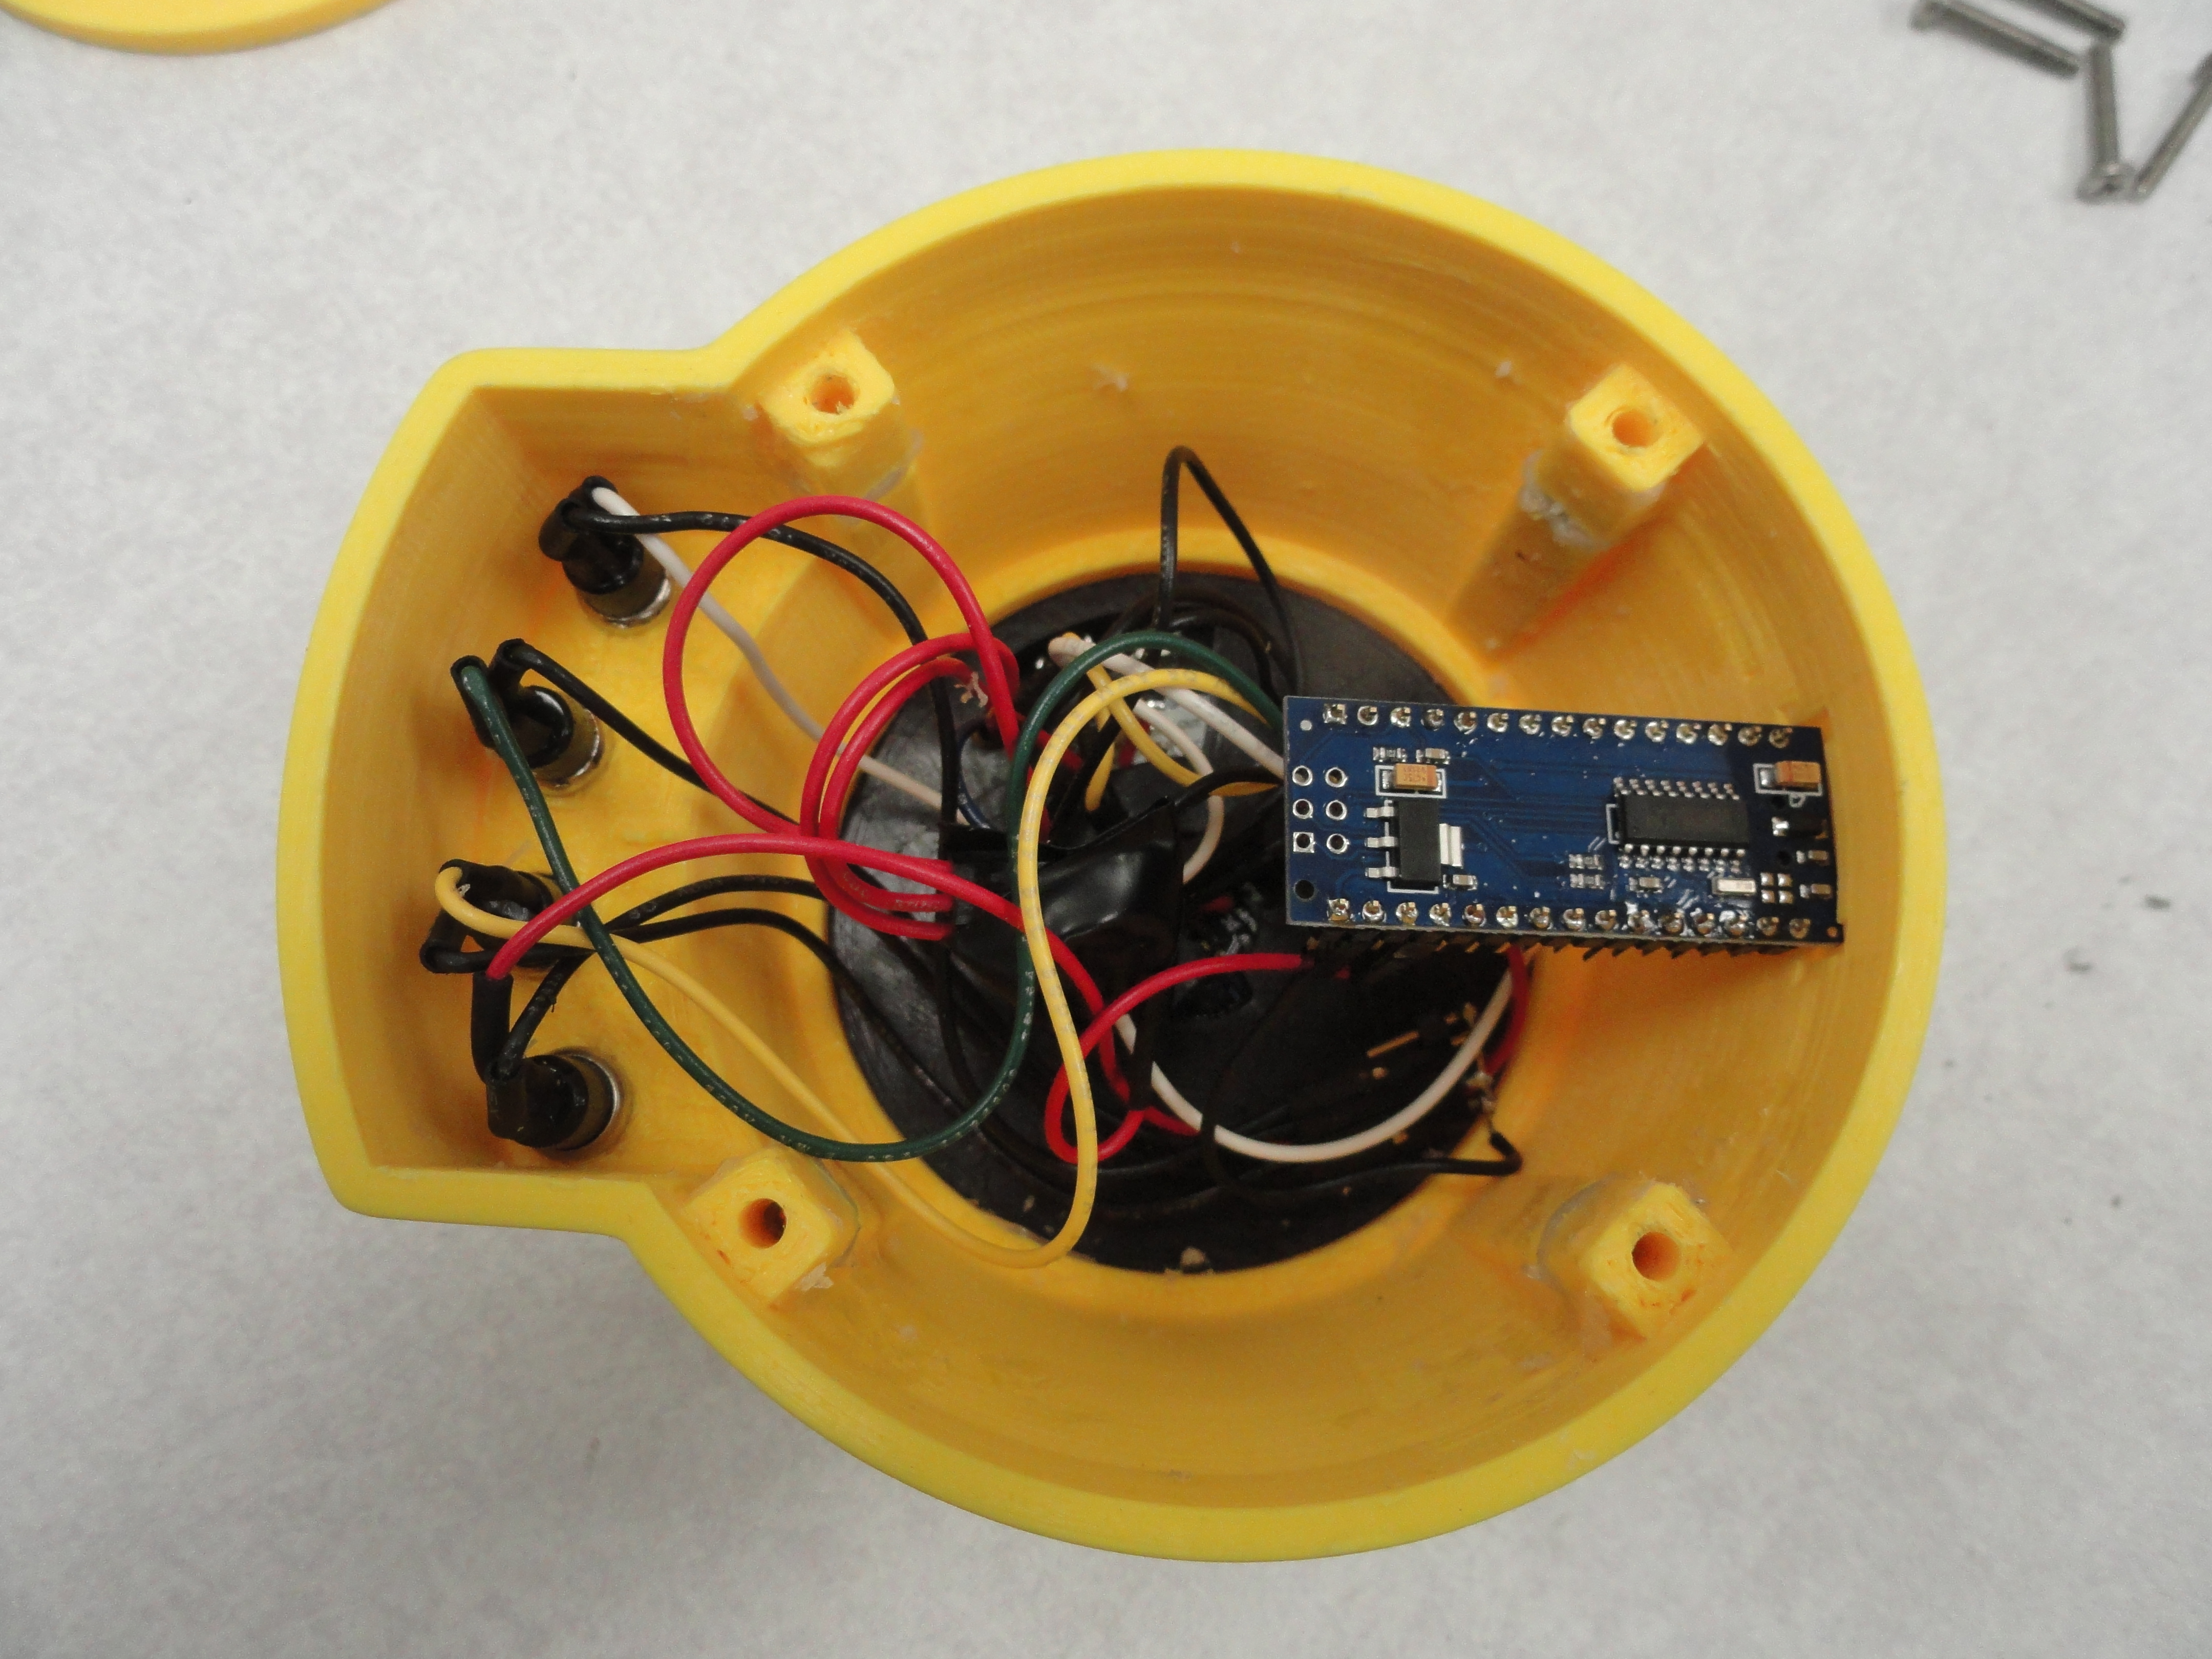
You will need 4 connections to +5v and 4 connections to GND. Since the Nano only provides one 5v connection and two grounds, we need to make a male pin cluster and solder the pins together so we have additional contacts for power and ground. However you do it, be it soldering 4 wires together, or using Wago 222-415 40 Pack lever Nuts 5 Pole connectors, follow the wiring diagram and everything will work out fine.
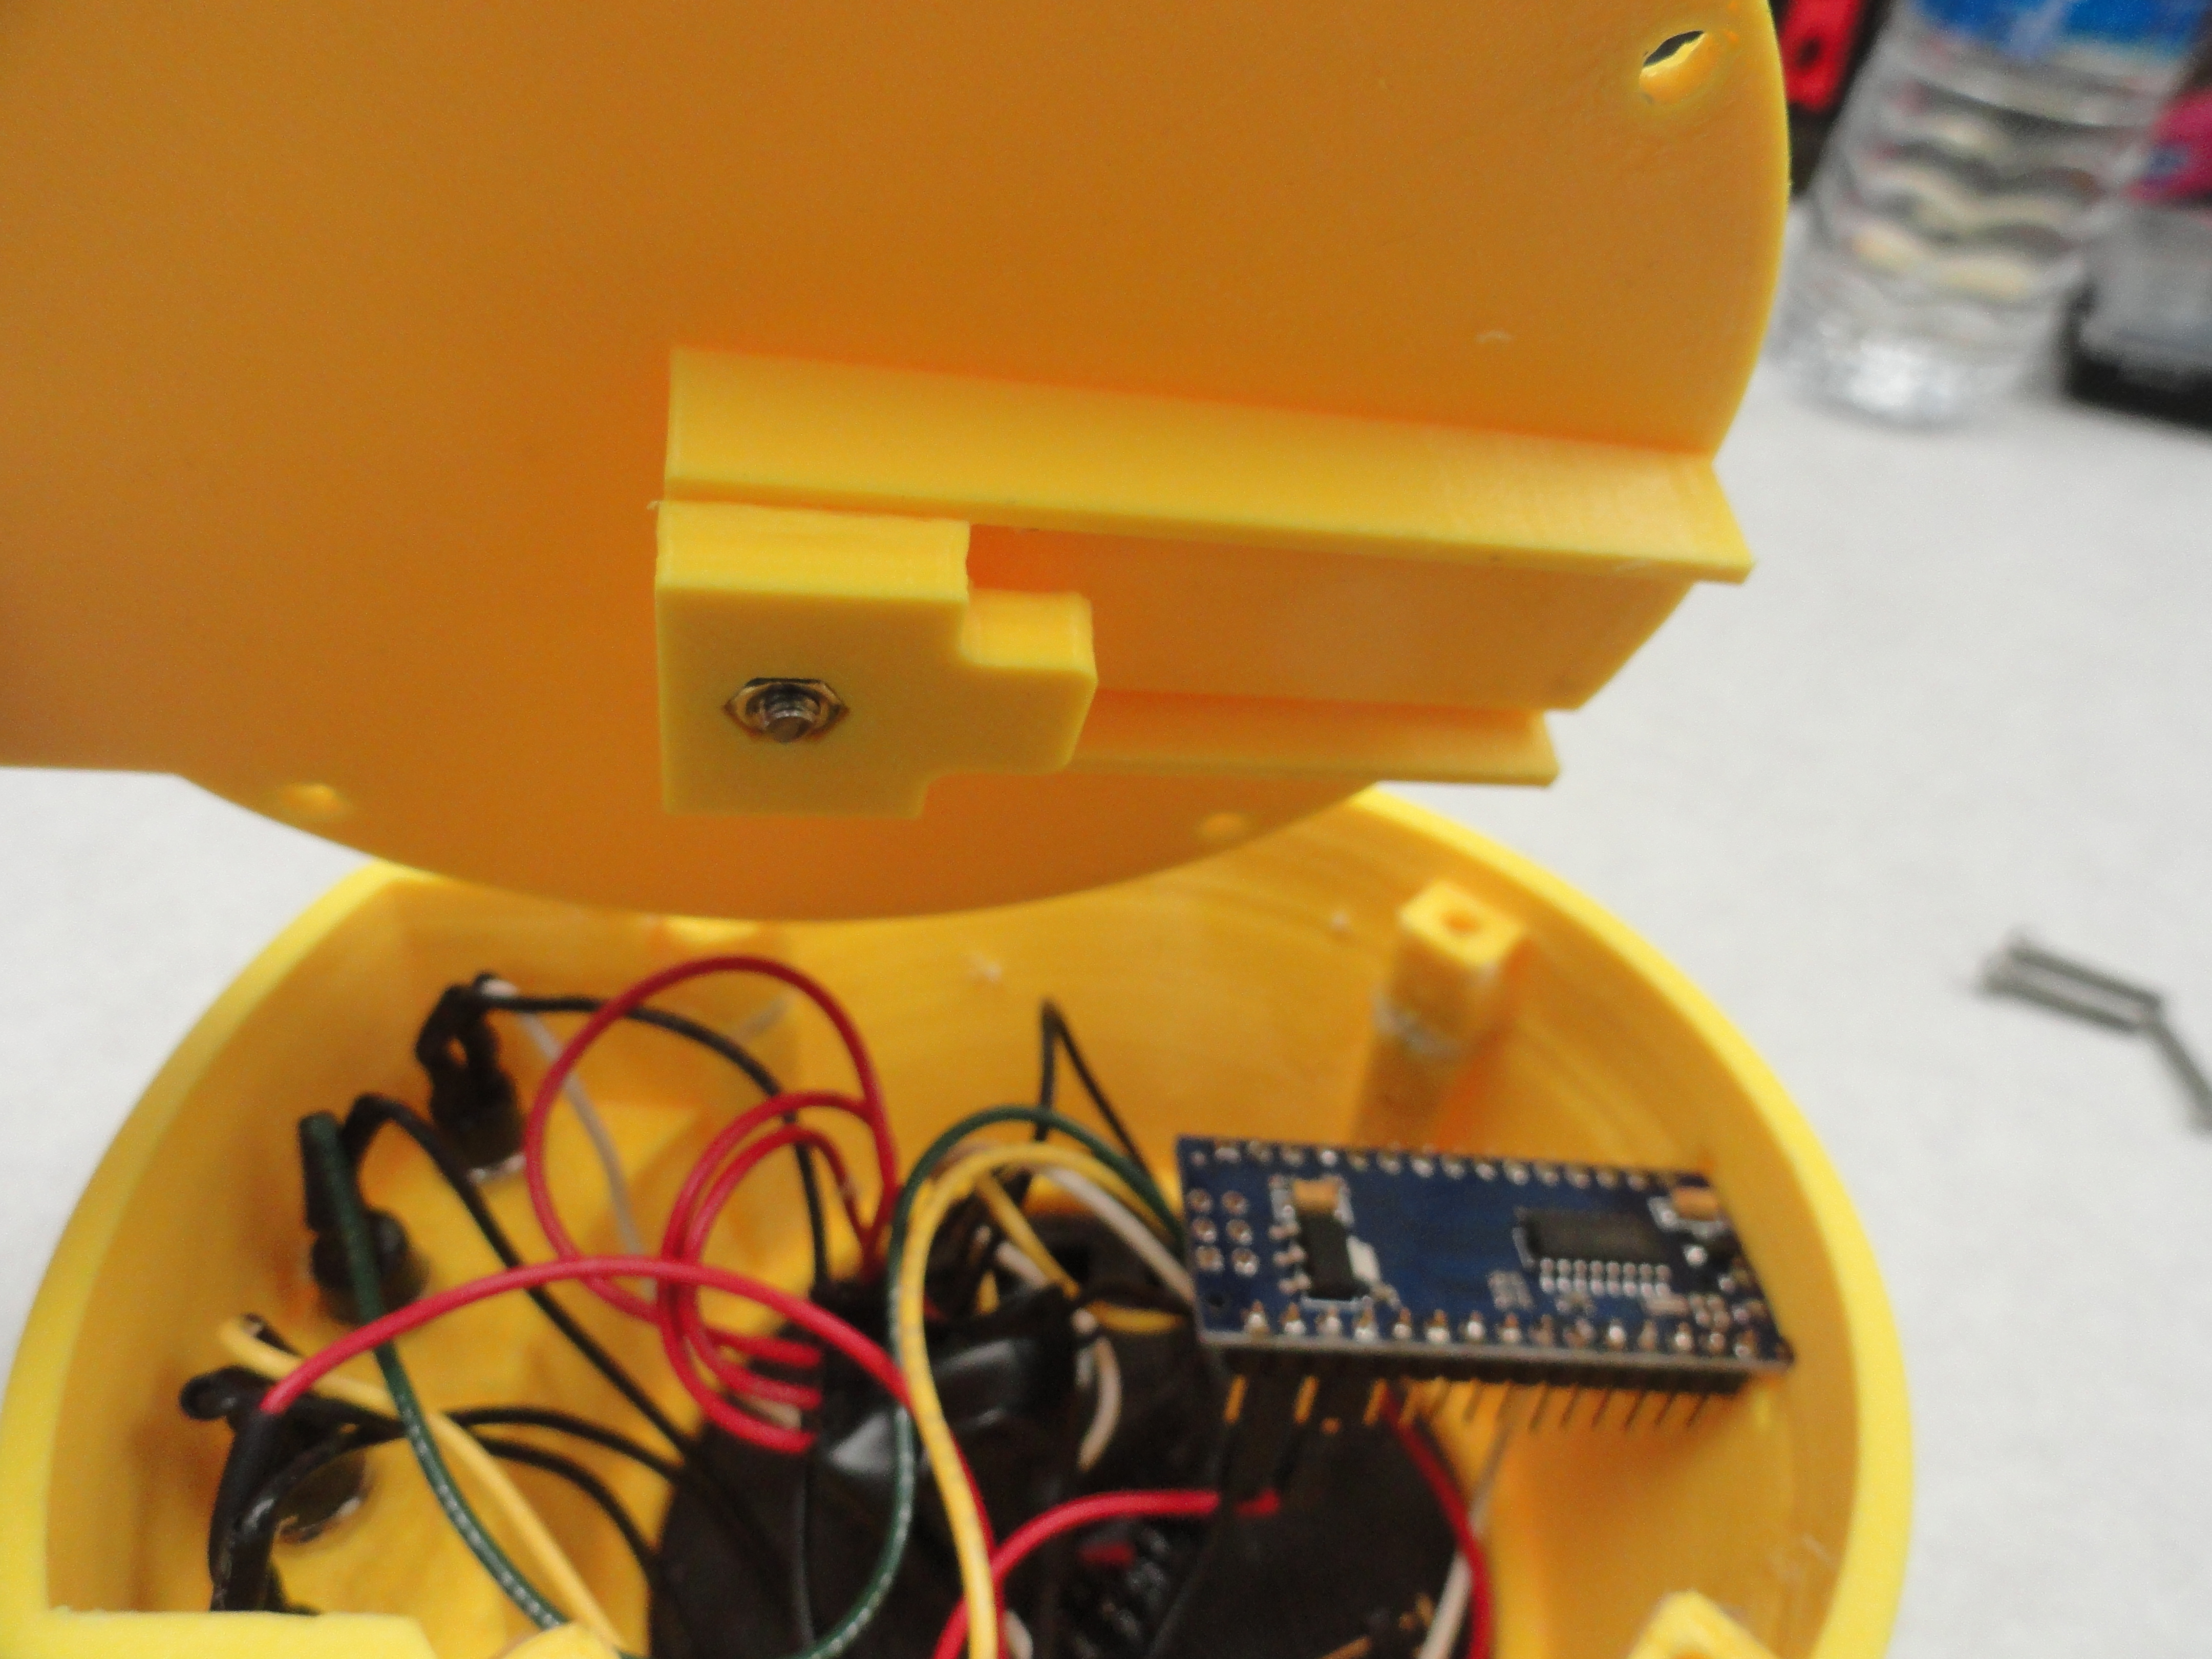
Once you have everything wired and connected to the Nano per the diagram, get 4 3mm hex nuts and place them in the slots inside the body. These nuts will not stay put without Silicon RTV Sealer, so be pretty liberal with the sealer. Wait a day or so for the sealer to dry. I like to use sealer because the threads are not affected by it and the screws will work nicely.
Next, attach the Nano Lock to the base cover with the 3mmx15mm screw, screw it all the way down and slide the back of the Nano into the Nano Lock. By pushing it all together with the Nanos USB port sticking through the hole in the body, you are locking down the Nano. It will not move. Use the 4 3mmx20mm screws to fasten down the bottom cover.
The Software
Of course we use the Arduino IDE available at Arduino.cc for this so here is the sketch
file you need to safely run this light. You will also need the Ada-Fruit NeoPixel Library.
Remember, do not program any numbers in the code above 127. This keeps the maximum current at 1 amp or less. This protects the Nano, the 1 amp buttons and the
wall charger from causing severe damage.
The SuperLamp Sketch Software Download COMING SOON!
SuperLamp Sketch