


Deve's Technical Network
1947-1955 1st Chevy Trucks
216/235/261 Engine Solutions & More

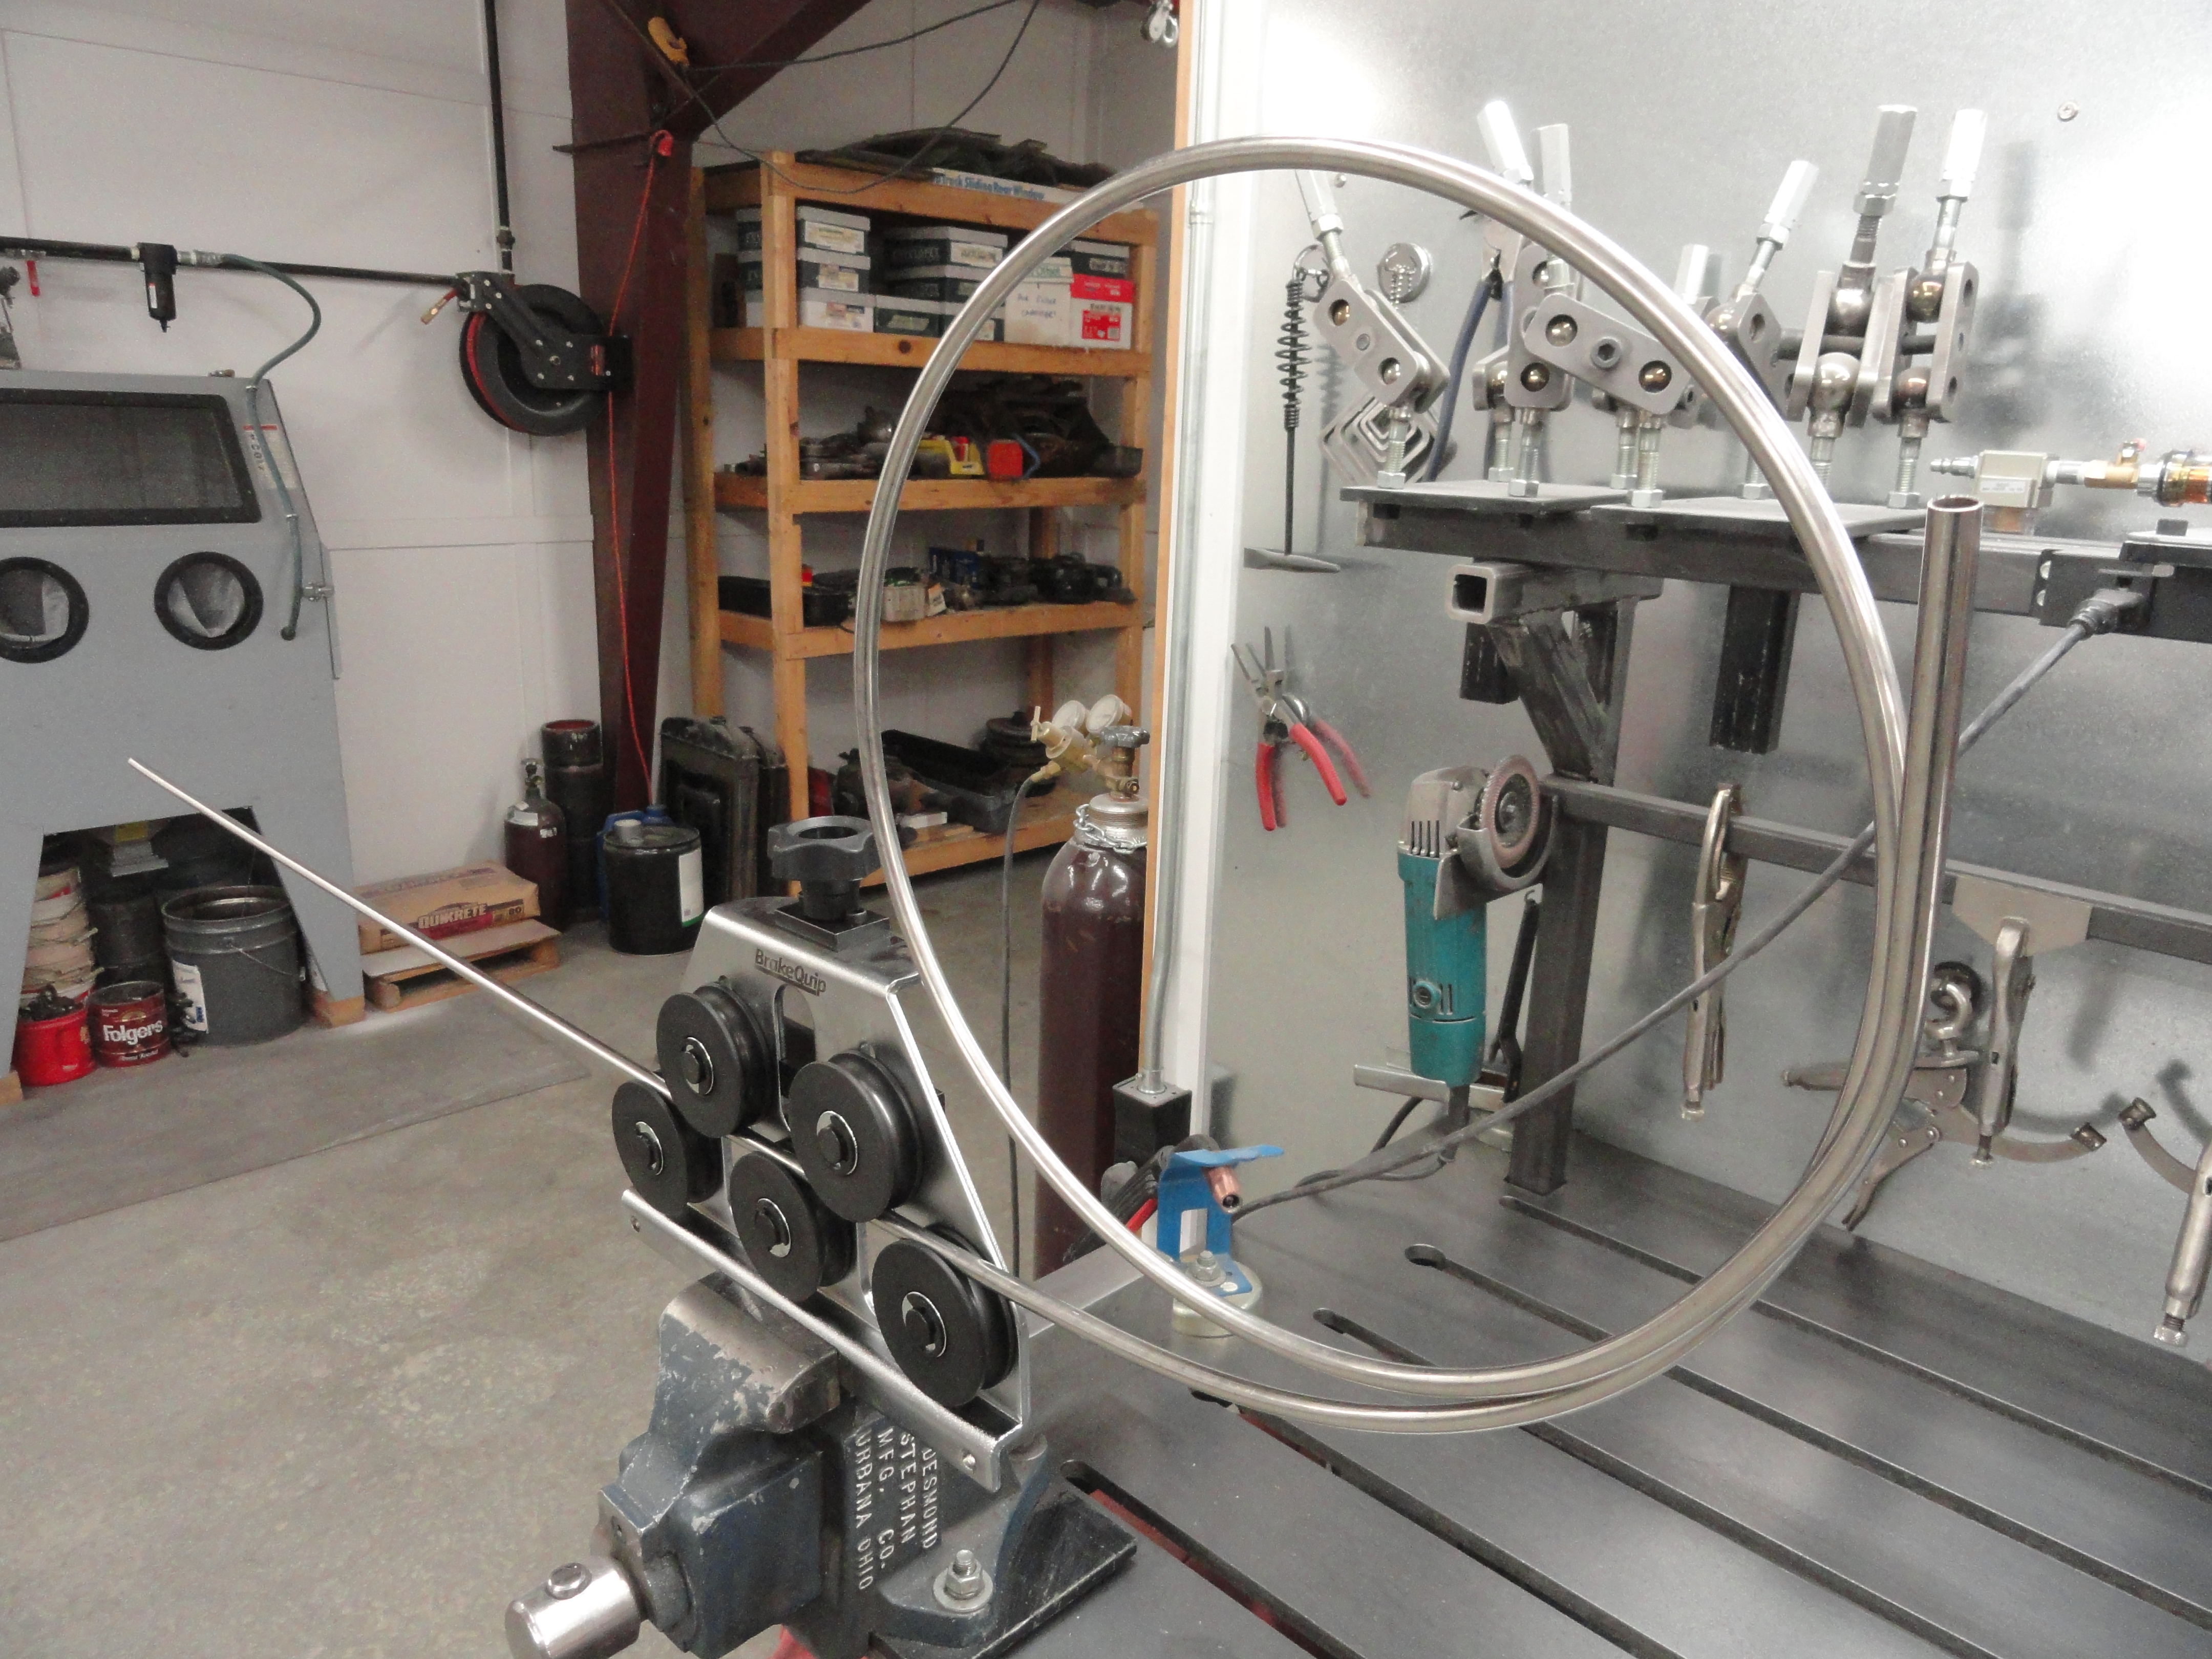
The trick is to get a length of 3/8" stainless steel fuel line. The problem to overcome is getting one that is straight. I get the stainless for this project in 20 foot rolls, so I have a straightener for this purpose. The 216/235/261 engines from 1949 through 1962 all had roughly the same length and diameter tube. The official length is 8.1094 inches or 8-7/64". If yours is different by chance, it will be shorter which is a good problem to have since all you need to do is cut off the excess.
There are a few things to address that will make you feel more comfortable in doing this. First, the engine block has a stop inside of it so that when
you drive the new one in, it will stop where it's supposed to. The other thing is since it is pressed in very tightly, it is highly unlikely you will
leave your old one in usable condition. A way to minimize the damage during removal is to put a 5/16" bolt down the tube then use a vise grips or
something that you can grab it tightly and just twist back and forth until it gives. This way you won't totally collapse the tube taking it out.
The time to polish your new stainless tube is before installation. If you try hard enough, you can polish it to a mirror finish. Use the same methods you
are accustomed to using for any polishing step. Super high grit wet paper, buffing wheel with compound, etc, etc. Tape the "press fit" area before polishing.

Check the oil in your engine and fill it to the full line. Another idea is to put the correct number of quarts in your engine, run it up and then check
the oil. If there is any discrepancy in your dipstick marker, you can fix that now if you choose. If the oil is below the mark, shorten the tube, if it's
above the mark, cut the tube longer by the amount of difference shown on the stick. Remember, measure twice, cut once!
NOTE: It is very important that you understand the dipstick itself is almost exactly as wide as the tube. Squashing the tube in any way will
make it unusable. If you are using a tubing cutter, do it less aggressively than usual. It's really best to use a metal cutting band-saw. Also important
to note is the new tube is non-magnetic. Keep any cutting or adjusting away from the engine and blow out all of the metal fragments prior to
installation.
Clean thoroughly around the dipstick tube so that you don't get a bunch of crud inside your oil pan. Remember, there is no good way to get to dirt and crud once it's inside the pan, including metal shavings, etc. Find yourself a clean long 5/16" bolt and drop it down the tube so the head sticks up out of the tube. Estimate where the end of the bolt is, go above it a bit, and put a good vise grip on it very tightly. It is almost assured that you will ruin your old tube. This is insignificant because it's just a piece of regular steel fuel line that you can get at your local auto parts. Work the tube left to right and free it up. It's just press fit so it will come out eventually.
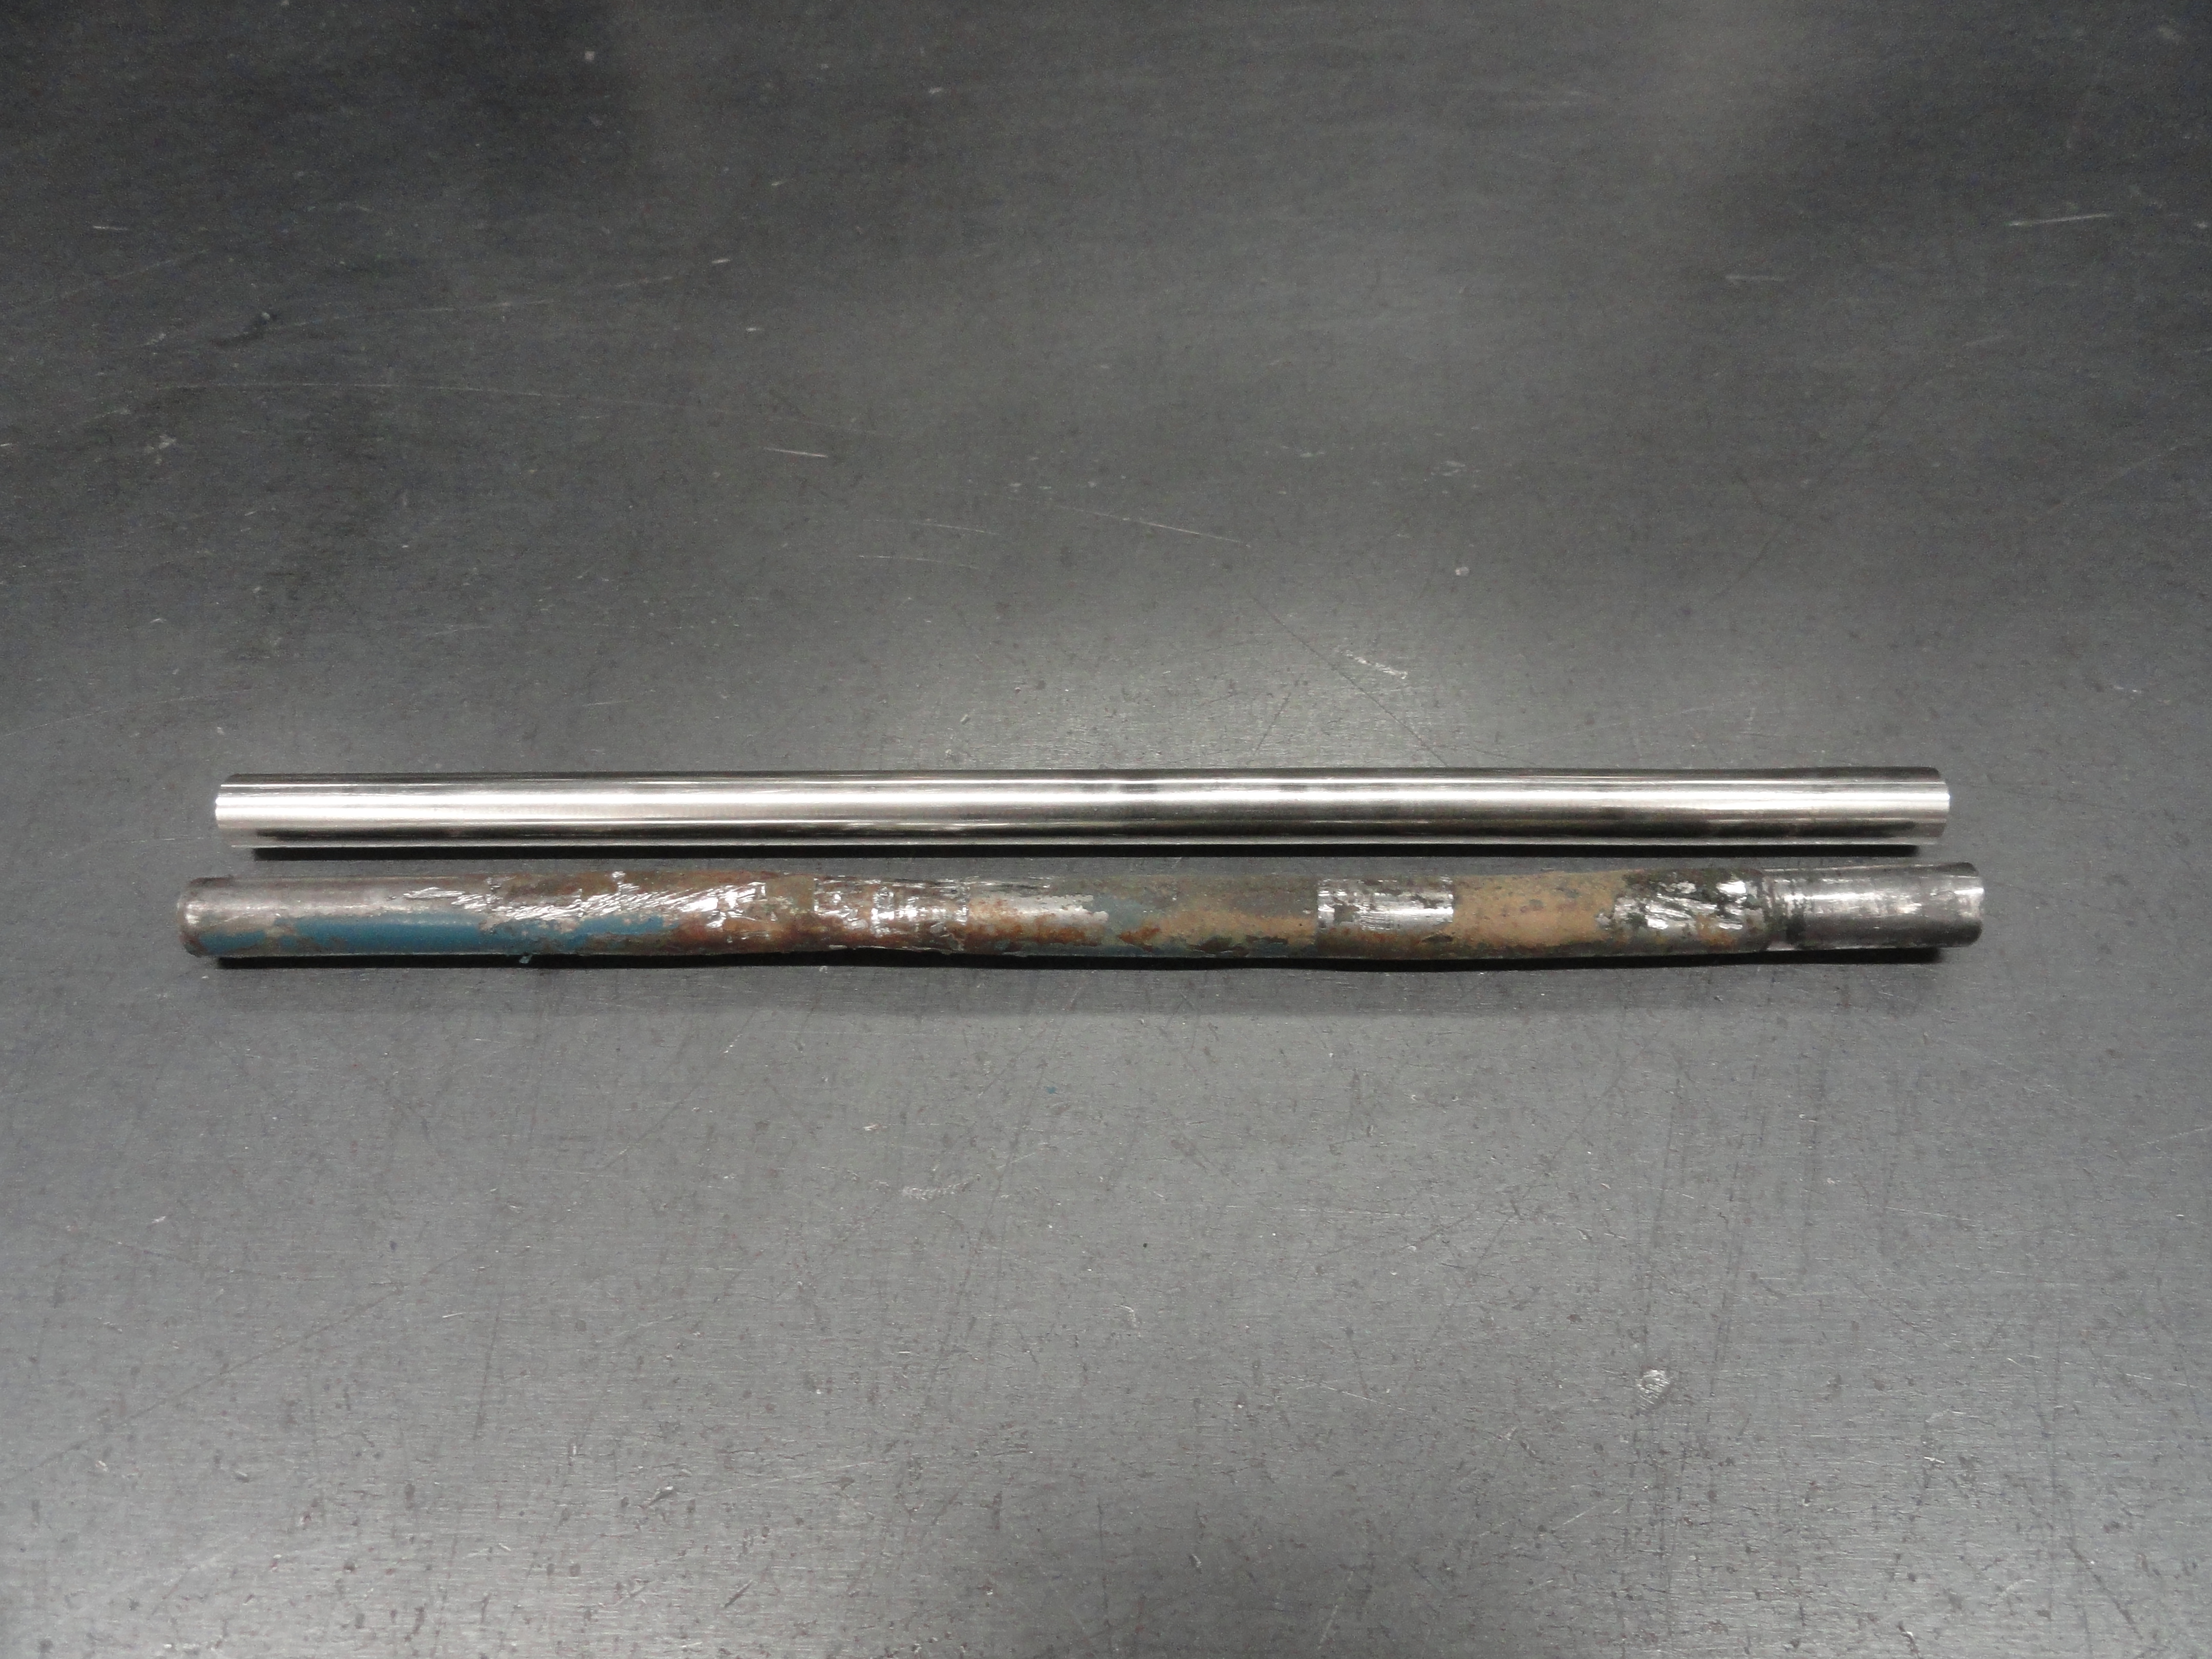
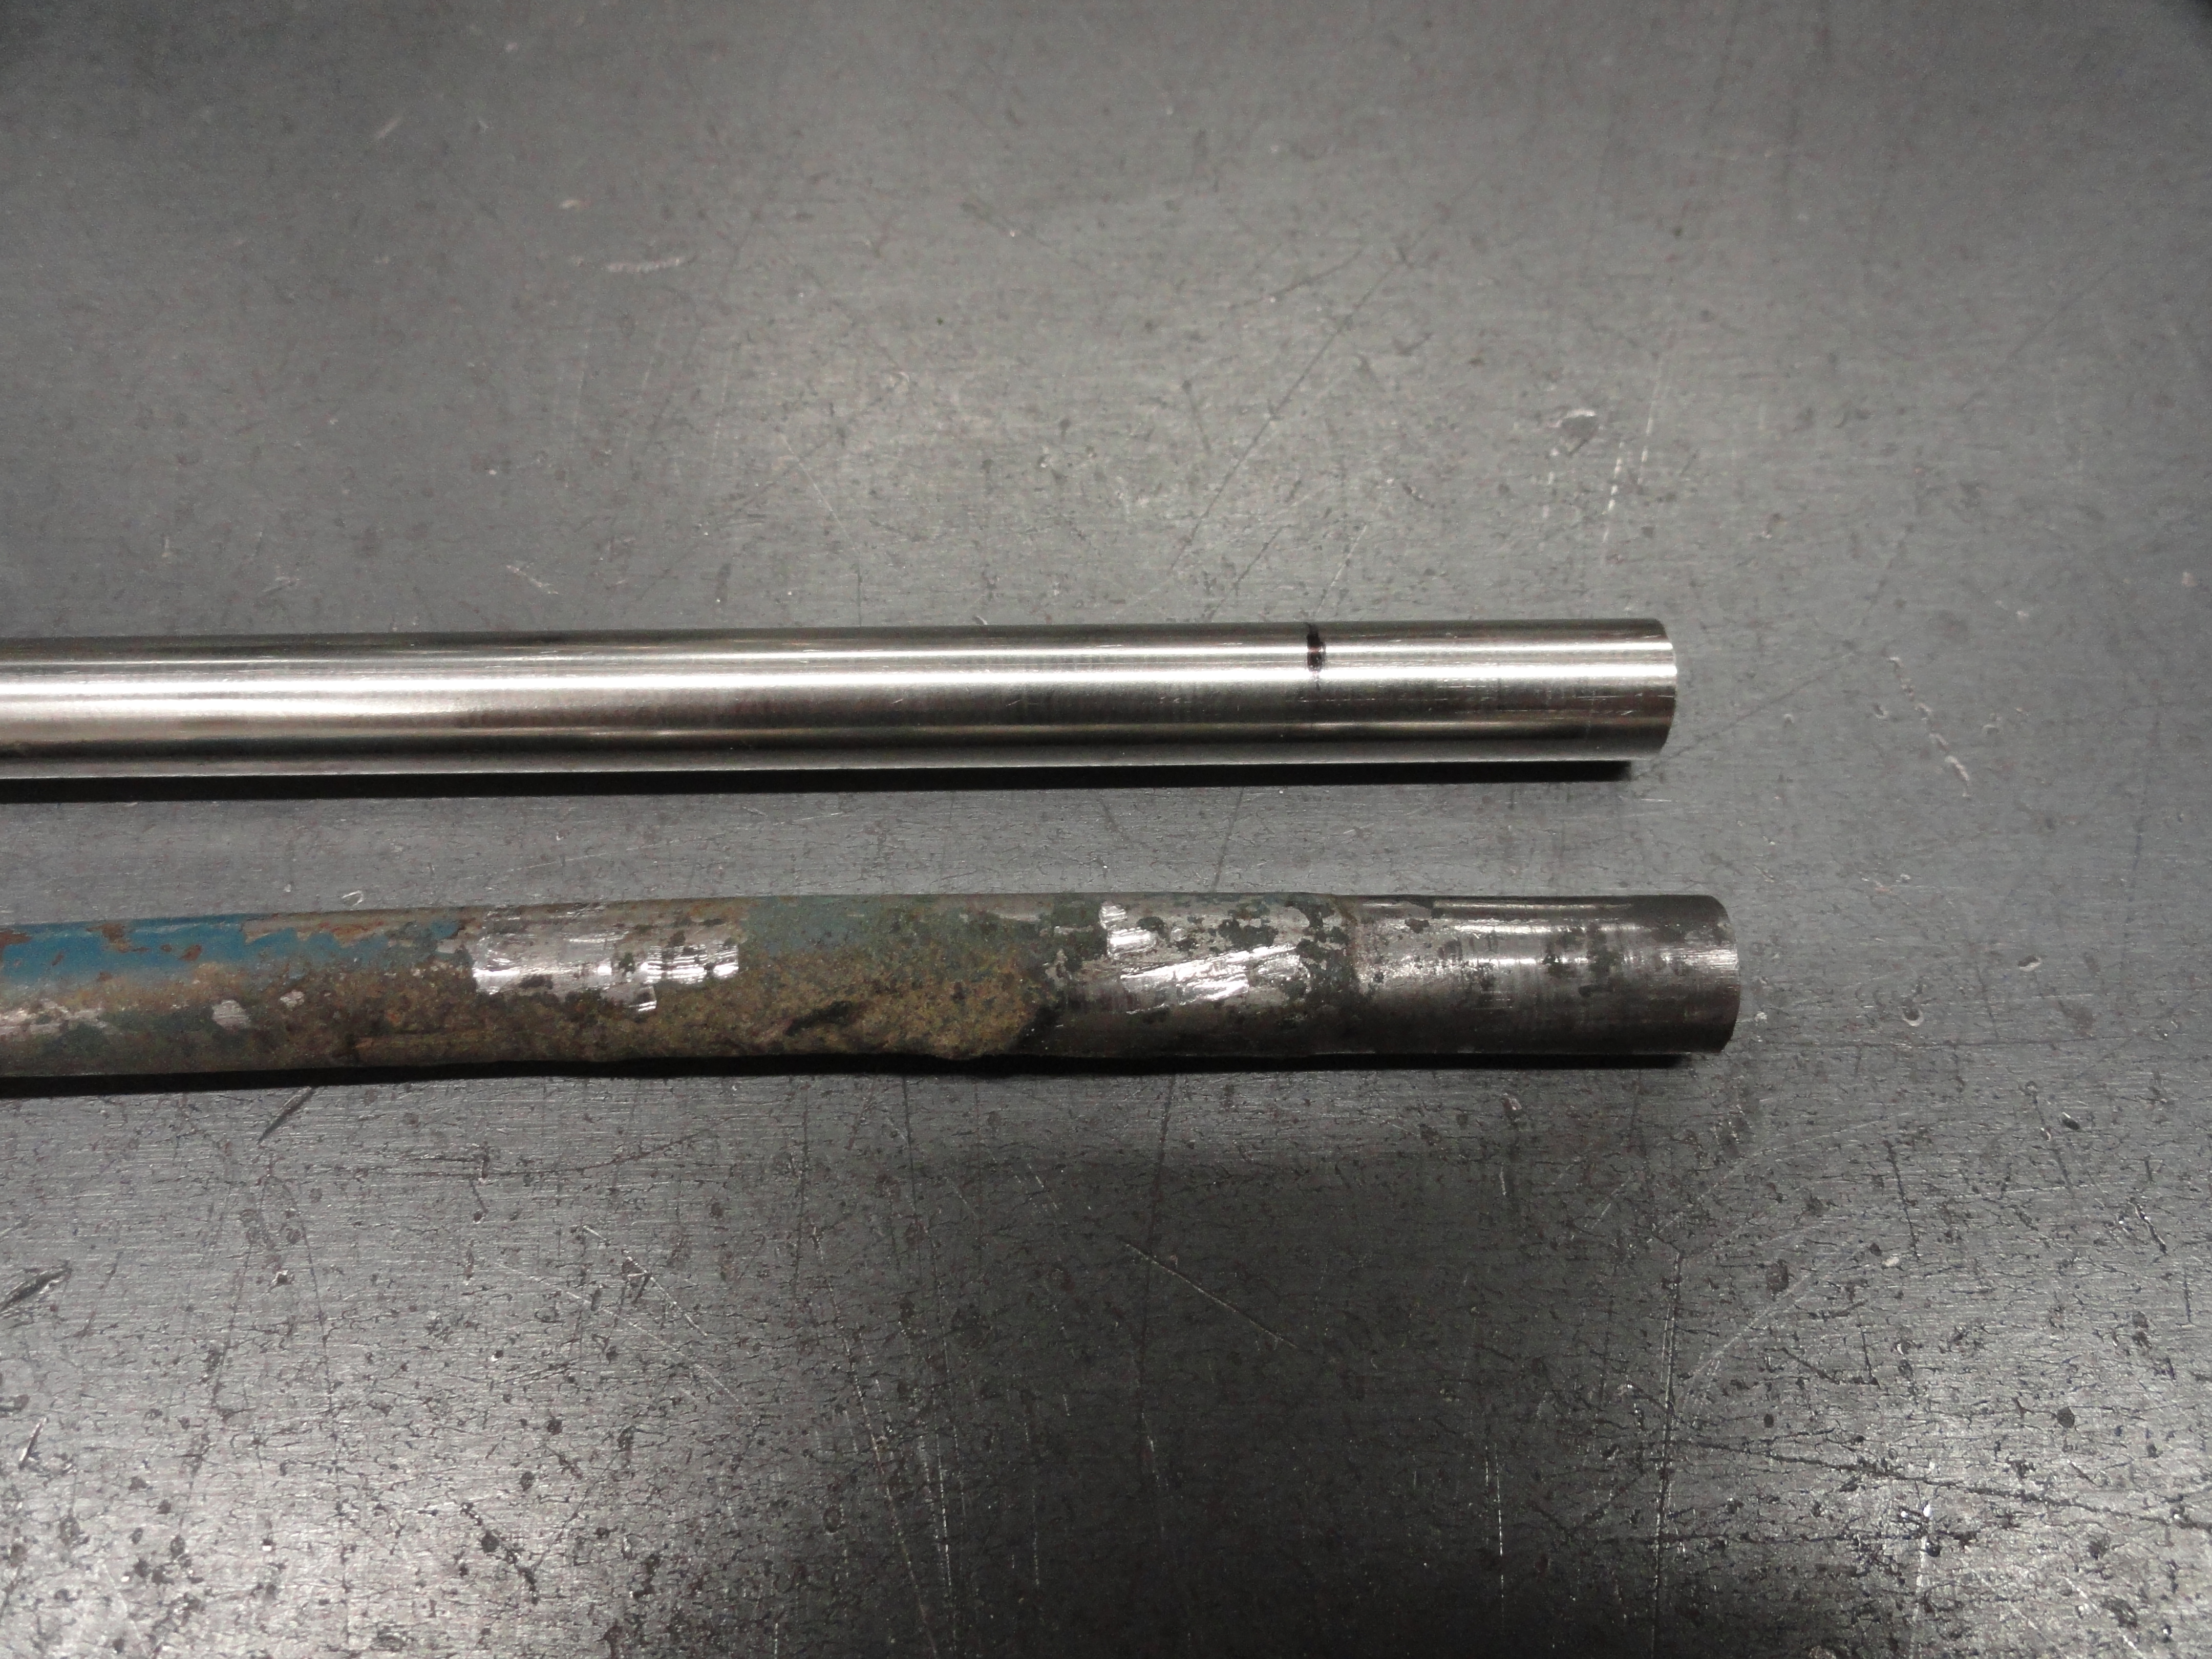
Because you used a bolt to reinforce it, chances are we can use it to measure the new one for length. If you use the exact measurement above, chances are you won't need to do anything, but it's wise to compare the two. Any difference will show on the dipstick when checking your oil. Once you are satisfied the new tube is the exact same length as the old tube, OR, you have decided to change, then check your oil and prefer to adjust the size, you are ready for installation.

Insert your dipstick into the tube before installing. Make sure it slides in and out very easily. If it doesn't, there is a problem on one end or the other (less obvious damage). The correct drill bit to use to clean out and imperfections caused by the tubing cutter squashing the ends is a 5/16" which is perfect. Blow it out and clean thoroughly so you don't inadvertently get metal shavings in your oil pan. This is a straight piece, so no bending is necessary nor desired since the bend can bind the dipstick. This vintage of dipstick is not designed to flex.
Some of the engine blocks of this era had 5/8" deep stops and others 7/8". You should be able to tell the depth of the stop by looking at your old tube. Measure down 5/8" (or whatever number you measured) and using a Sharpie, mark the tube all the way around. This is to give you an idea of when to stop driving it in. You should feel when it stops moving anyway, but it's good to mark it so you get a feel of what is happening. You can also use a piece of painters masking tape. With a clean 5/16" bolt on the top, and your marking on the bottom, you are ready to drive it in. You want to estimate the angle closely so there is no squashing at the bottom while driving it in. Once it's started, you are good to tap it all the way in place. It's a good idea to use a smaller hammer so you can get the feel of the operation. Since you used your old tube as a measure, the only difference is your new tube is prettier, stronger, rust proof and will outlast even you!