Deve's Technical Network
1947-1955 1st Chevy Trucks
216/235/261 Engine Solutions & More

Solution Criteria: It is always nice to have a plan before starting on a restoration. For example, what are we trying to accomplish here? Stock? Mild Customization? Full on Hotrod? Then, there are the systems involved. So below is my list of Solution Criteria and this should help make sense of the project. The first of them is this: I am taking all of the great aspects of the Advance Design years (1947-1955) and putting them into one truck with the standard deviations of using a TF era engine and transmission. Lastly, I am using Stainless Steel hardware for every aspect of this restoration. Unpolished Stainless is the closest I know of to the look of the factory CAD plating that was used throughout this era.
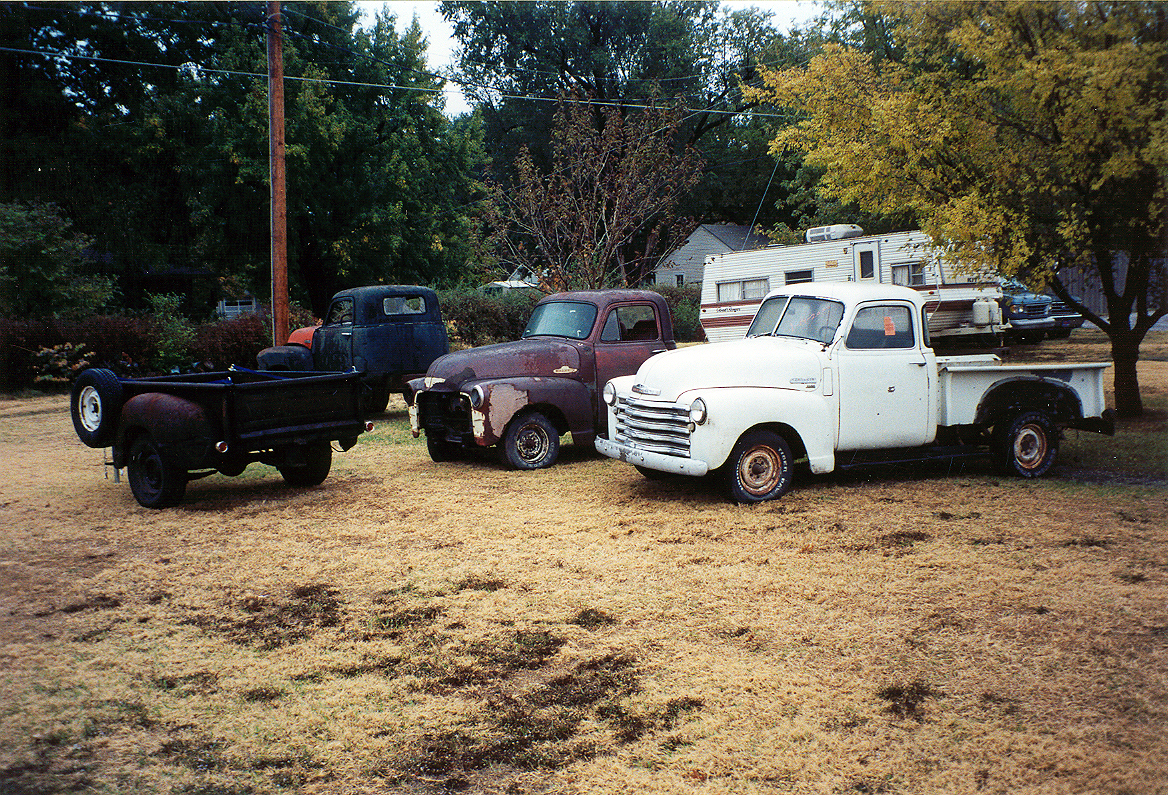
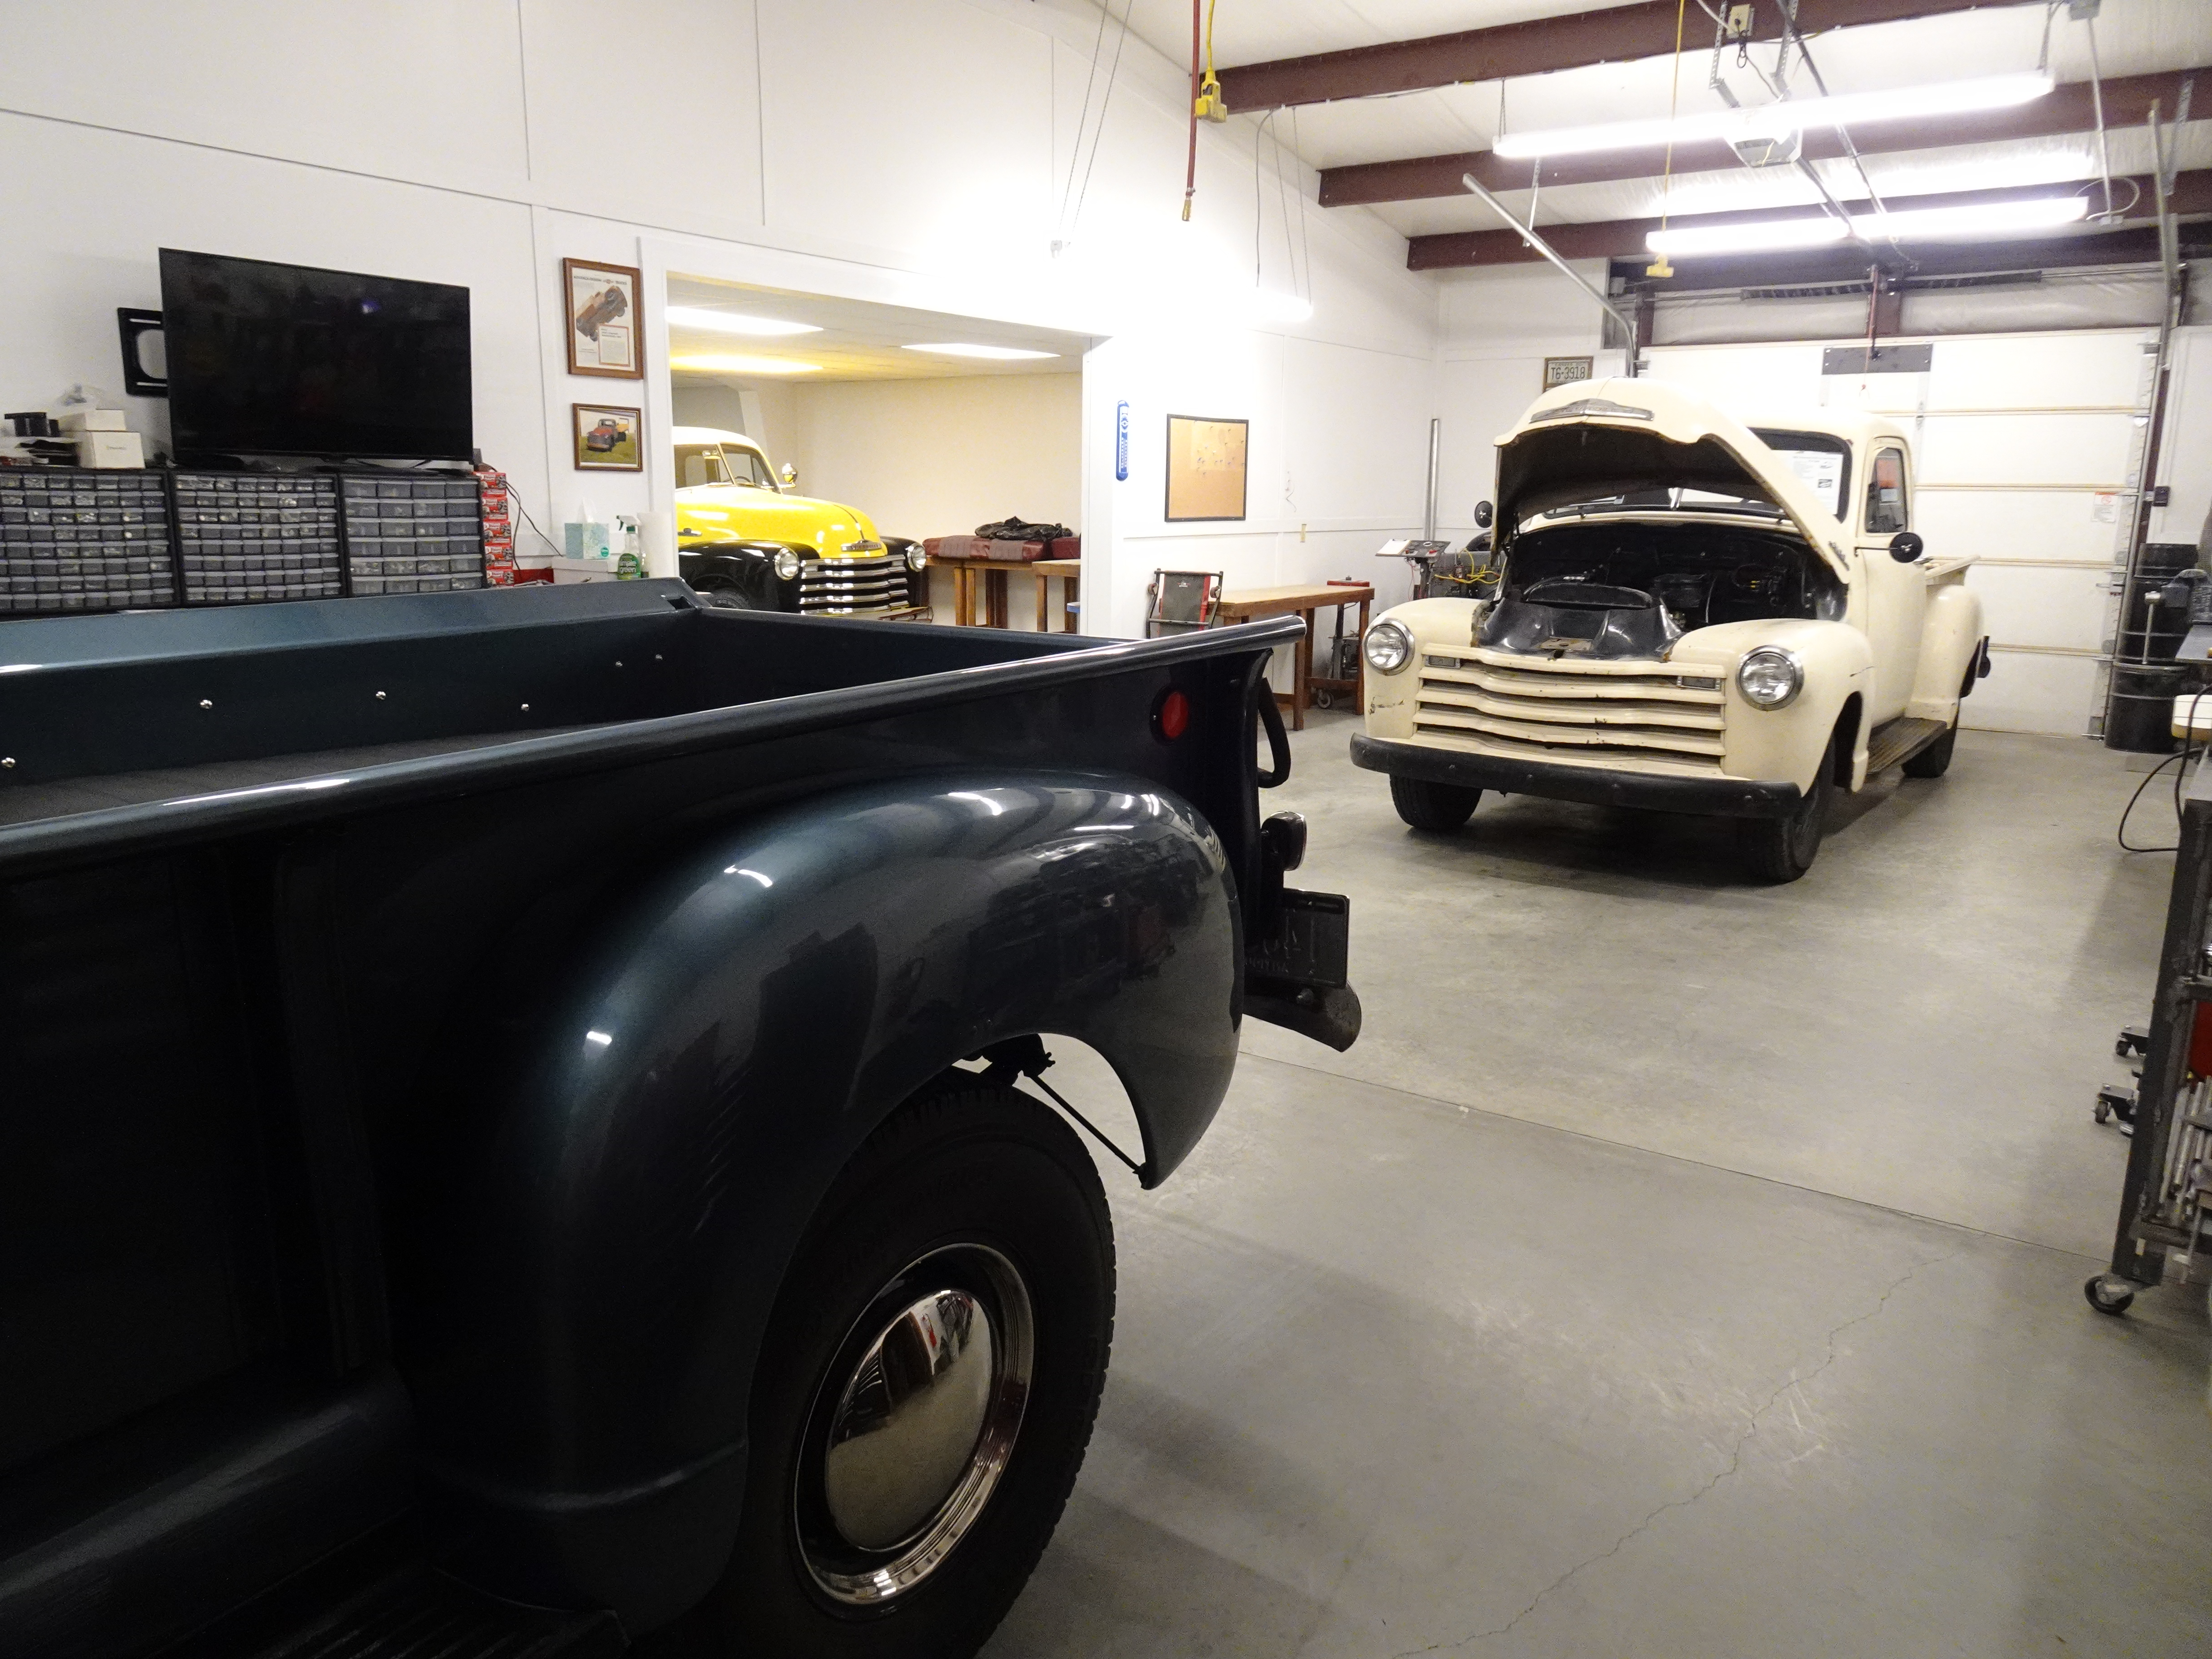
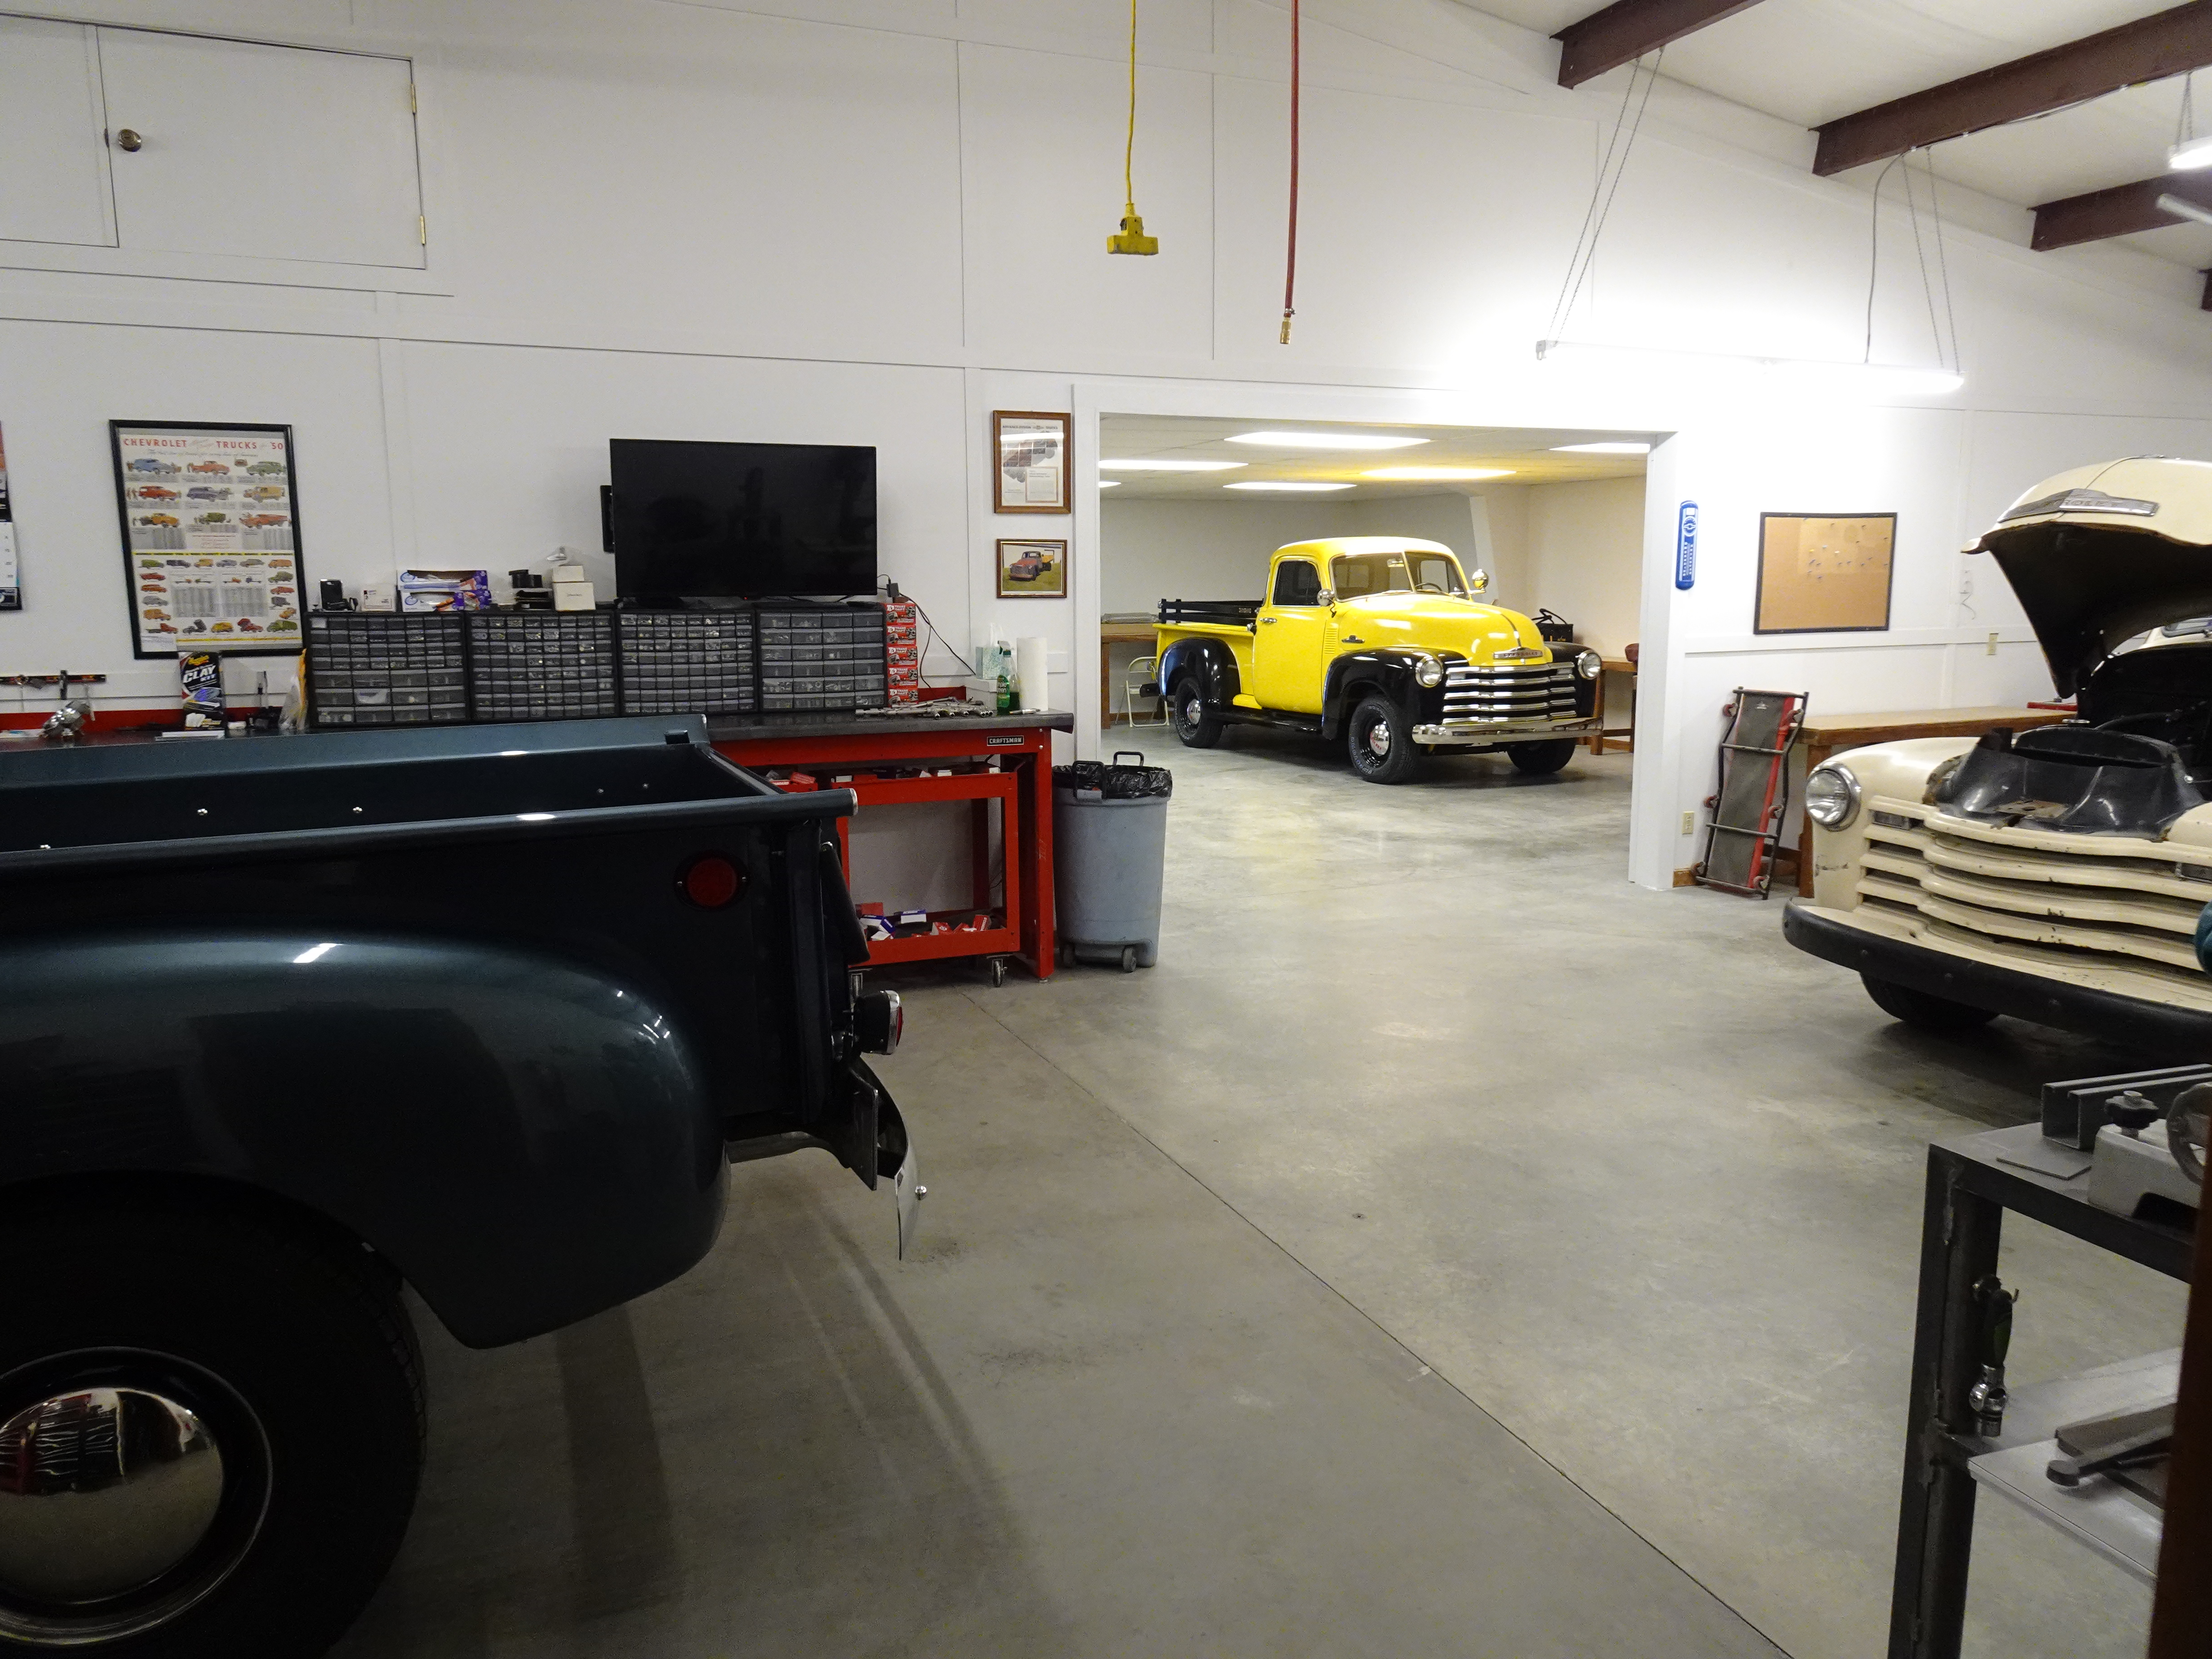
February 2002. The Big Before. [White foreground] I had enough to do already with the first frame-up resto and yet I went ahead and agreed to this one. Why did I do that? Brain Damage? I like the Deluxe Cab a lot. I feel so many others do too, it will be worth more in the long run. This $400 purchase included a Hydromatic (auto) Transmission that I sold right away. I already had plans for putting in a Borg R10 Overdrive transmission, a mainstay of a friend, John Erb. After driving his AD 3100 with the R10, I was sold. This one also had a 1959 261 engine in it. I know I got a good deal, but it sounded like the perfect combination. Good Reading: The Venerable 261 and the Borg Overdrive Documents in the how-to section.
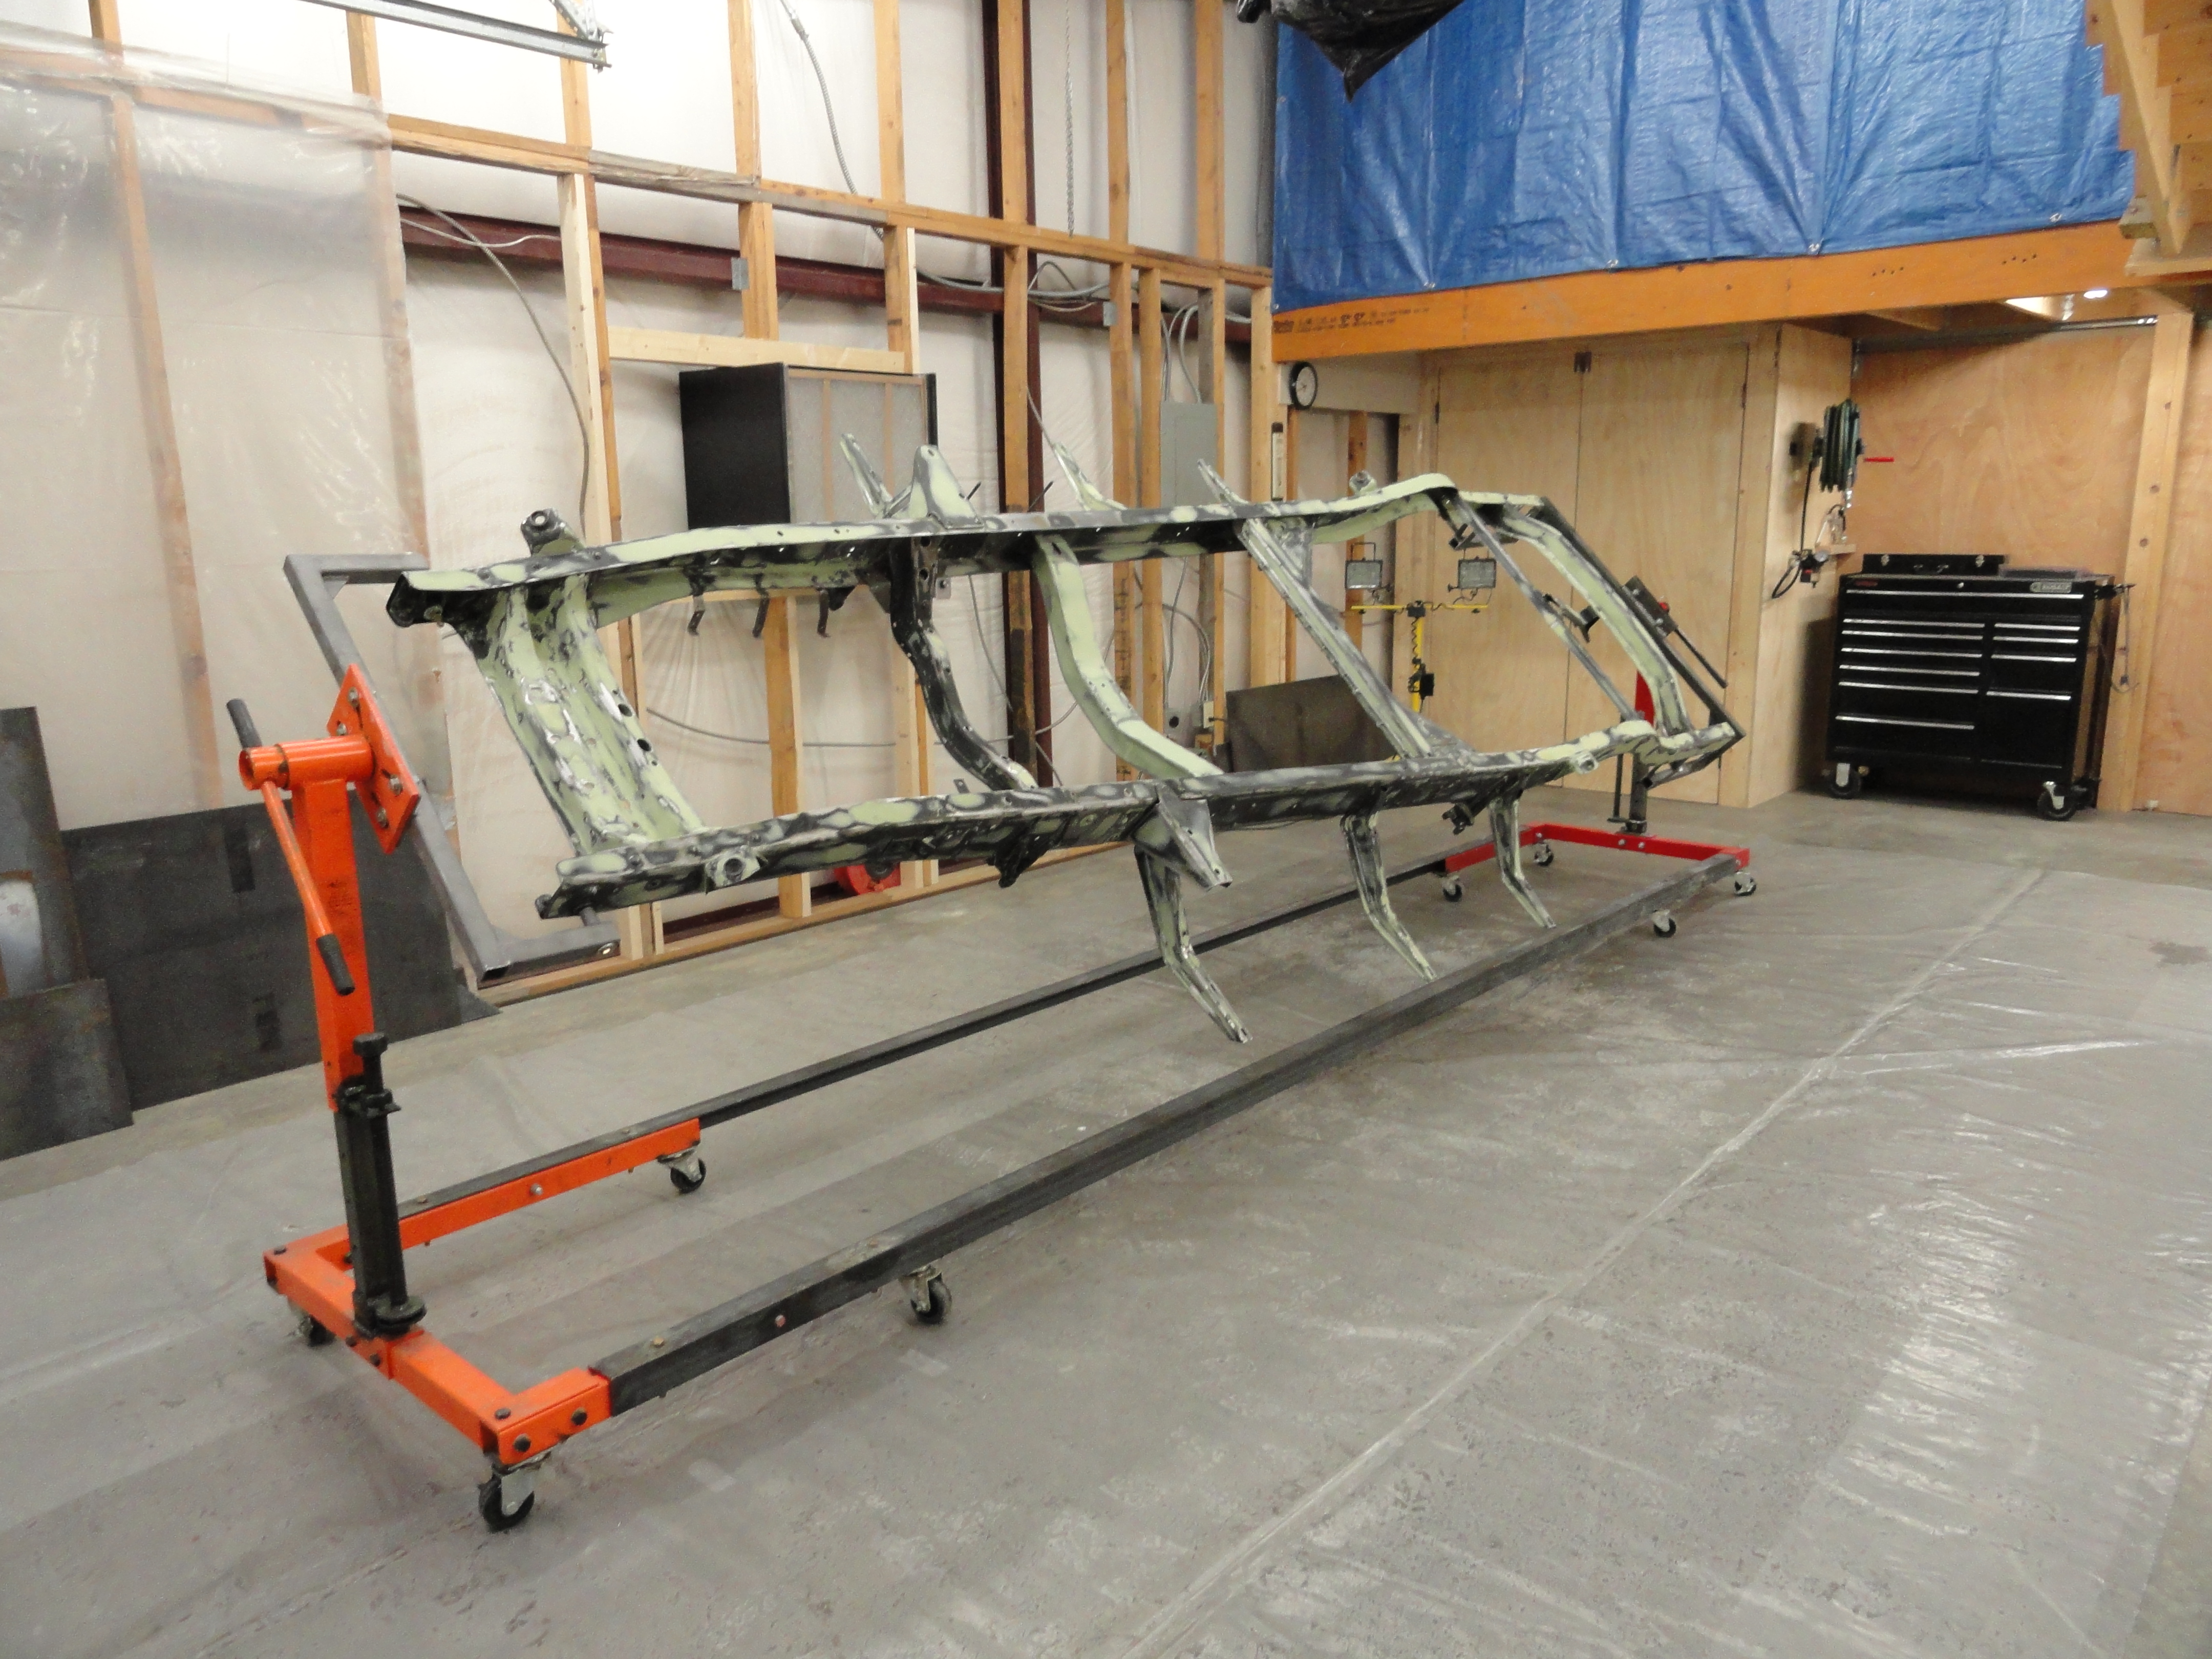
February 2012. What happened to the last 10 years? Job, Family, major back surgery, life I guess. As much as I would love to spend every waking hour in the shop, I just can't seem to make that happen! Never mind that I am also the sole programmer for this web site! As should be very apparent already, we are NOT going to do this restoration the same way we did the other. To see how I did the Rotisserie, check out the How-To section. It was pretty inexpensive and worth every penny. With this Rotisserie, I can sandblast the frame, do any repairs necessary, primer and paint it with virtual ease and never remove it until its ready for the suspension. Then, since it has Acme screws for adjusting the height, I can just lower it down on the leaf springs.
This is the 2nd attempt at doing this frame right. The first attempt was done too quickly assuming too much. After really looking hard at it, there were problems that I wasn't educated enough to see. The trans cross member was bolted in. Yet, the very same cross member is supposed to be riveted. Behind the rear-most cross member, there were structural problems caused by excessive rust through. The spring perches were rotted out worse than was visible. Even though I discovered these things myself, it didn't make being set back several months any easier!
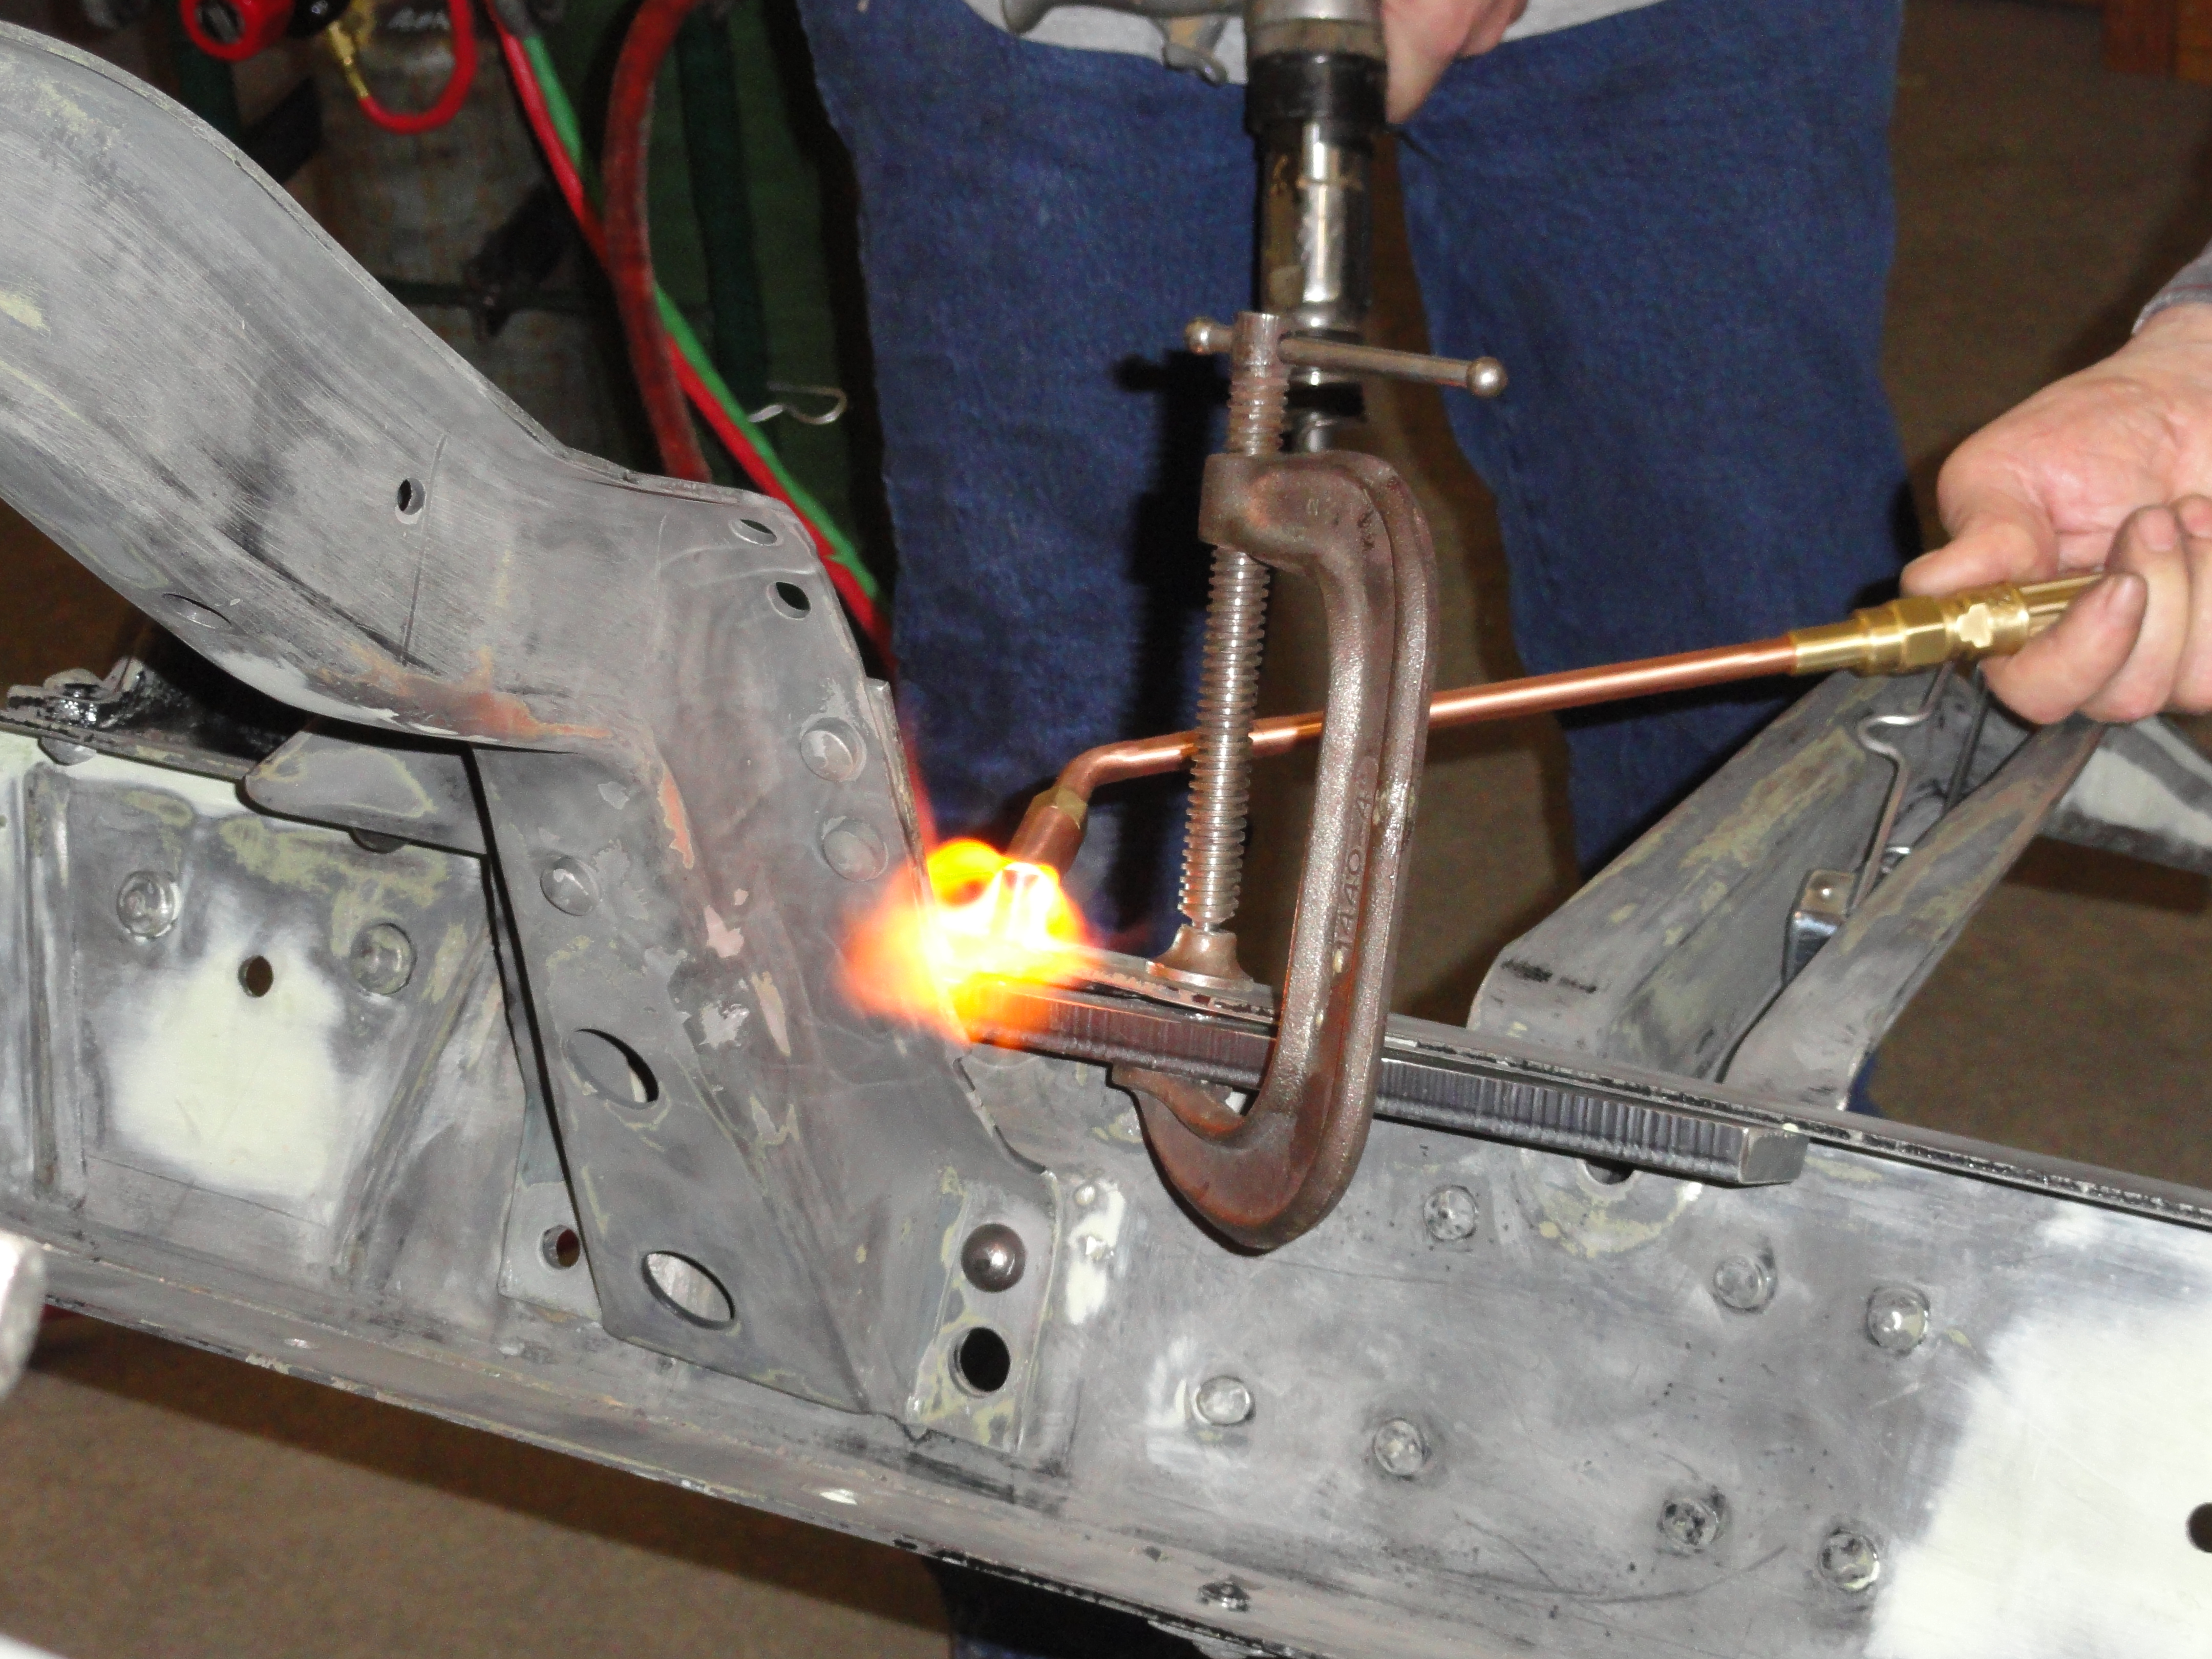
I spent a lot of time researching how to replace rivets on these venerable frames. It was easy to put grade 8 bolts in to bolt the cross member in place. It was hard to put the original style rivets back where they belong. Yet, being on the other side of this, I wouldn't have it any other way. Good reading: The Frame Riveting document in the How-To Section. It is much easier than you probably think! Not to mention FUN! After repairing the other areas of the structural damage with weld and then making everything smooth again, I felt good that this frame was structurally sound and ready for the next steps.
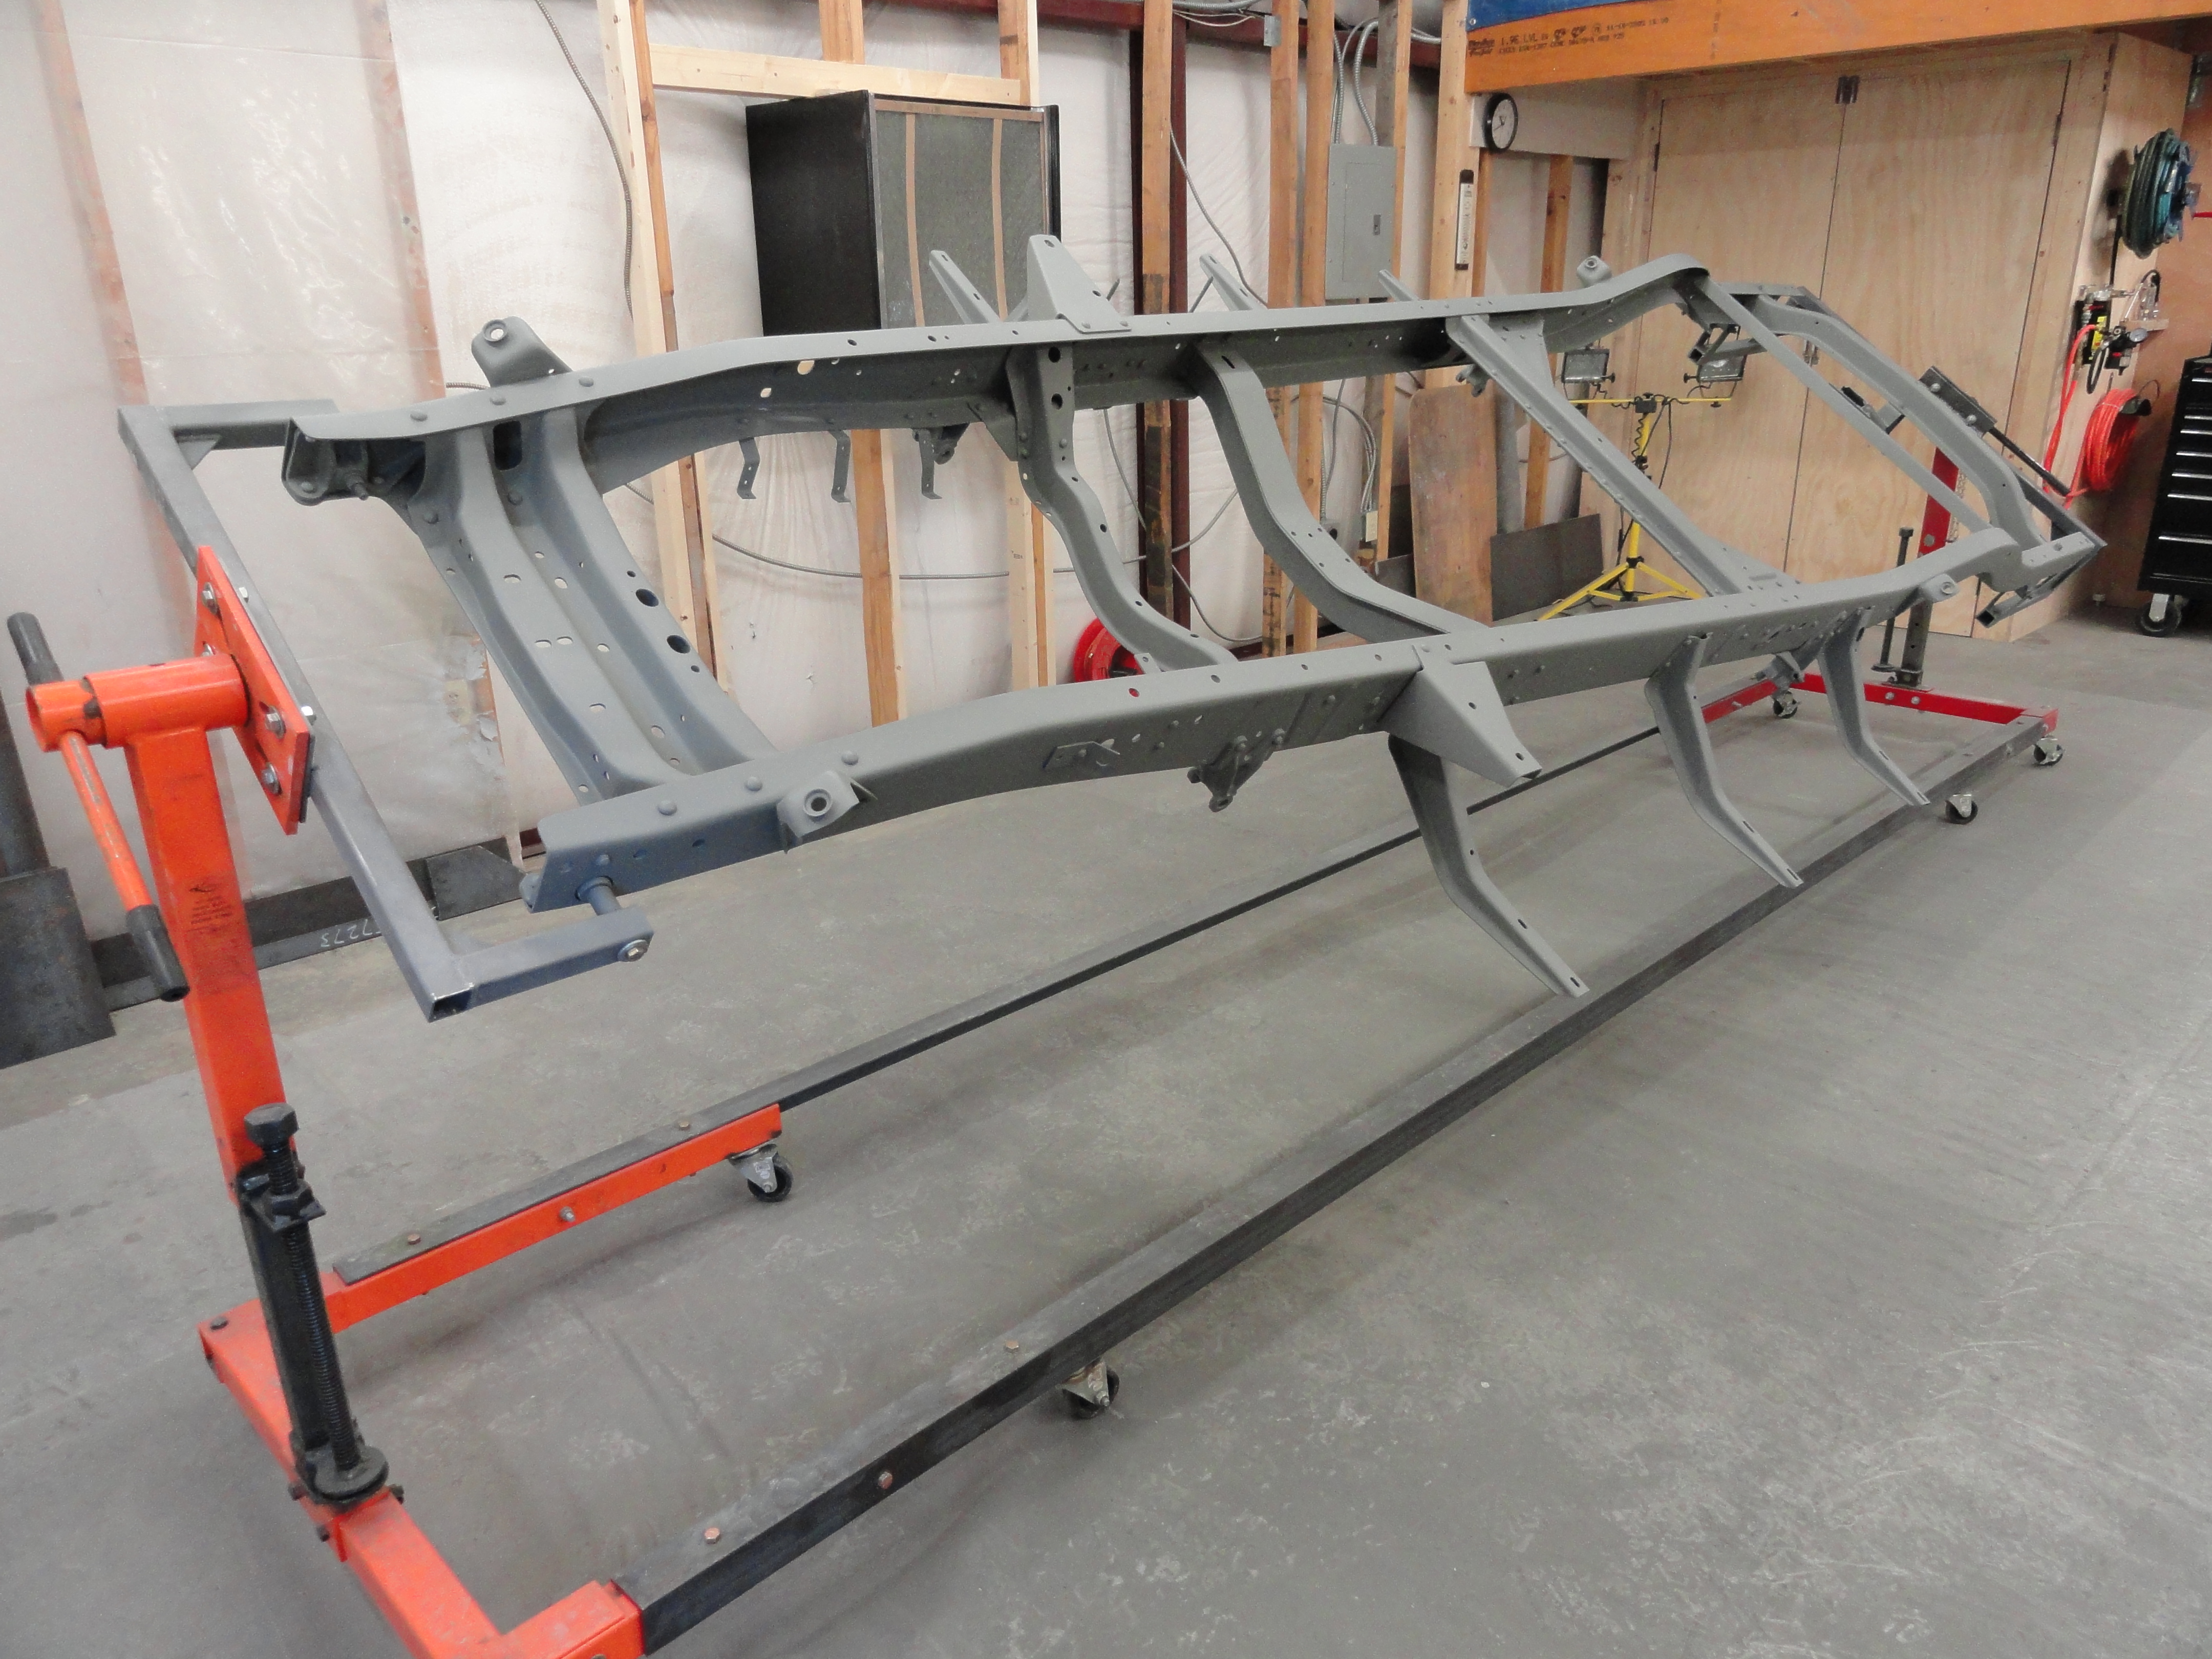
After MUCH work, smoothing the metal, filling the minor pits, welding cracks and erroneously placed holes, fixing a myriad of dents, bumps, misc. wear on the frame, here is the first shot of primer. No etching primer these days.. the better solution of Epoxy Primer to seal in the filler, etc. is the new preferred way to restore metal. My preference is DPLF40. It's a PPG mainstay and I am very happy with it. Just don't forget the very important Induction Time. TIP: You have 7 days to coat this epoxy primer with whatever you feel is next. DPLF40 is not a sanding primer. To stop that 7 day clock and do it indefinitely, the next day after you put on the DPLF40, hit the work with K36 High Build Urethane primer, another PPG product compatible with this process. Now you can sand it smooth at your leisure to ready it for the Urethane topcoat.

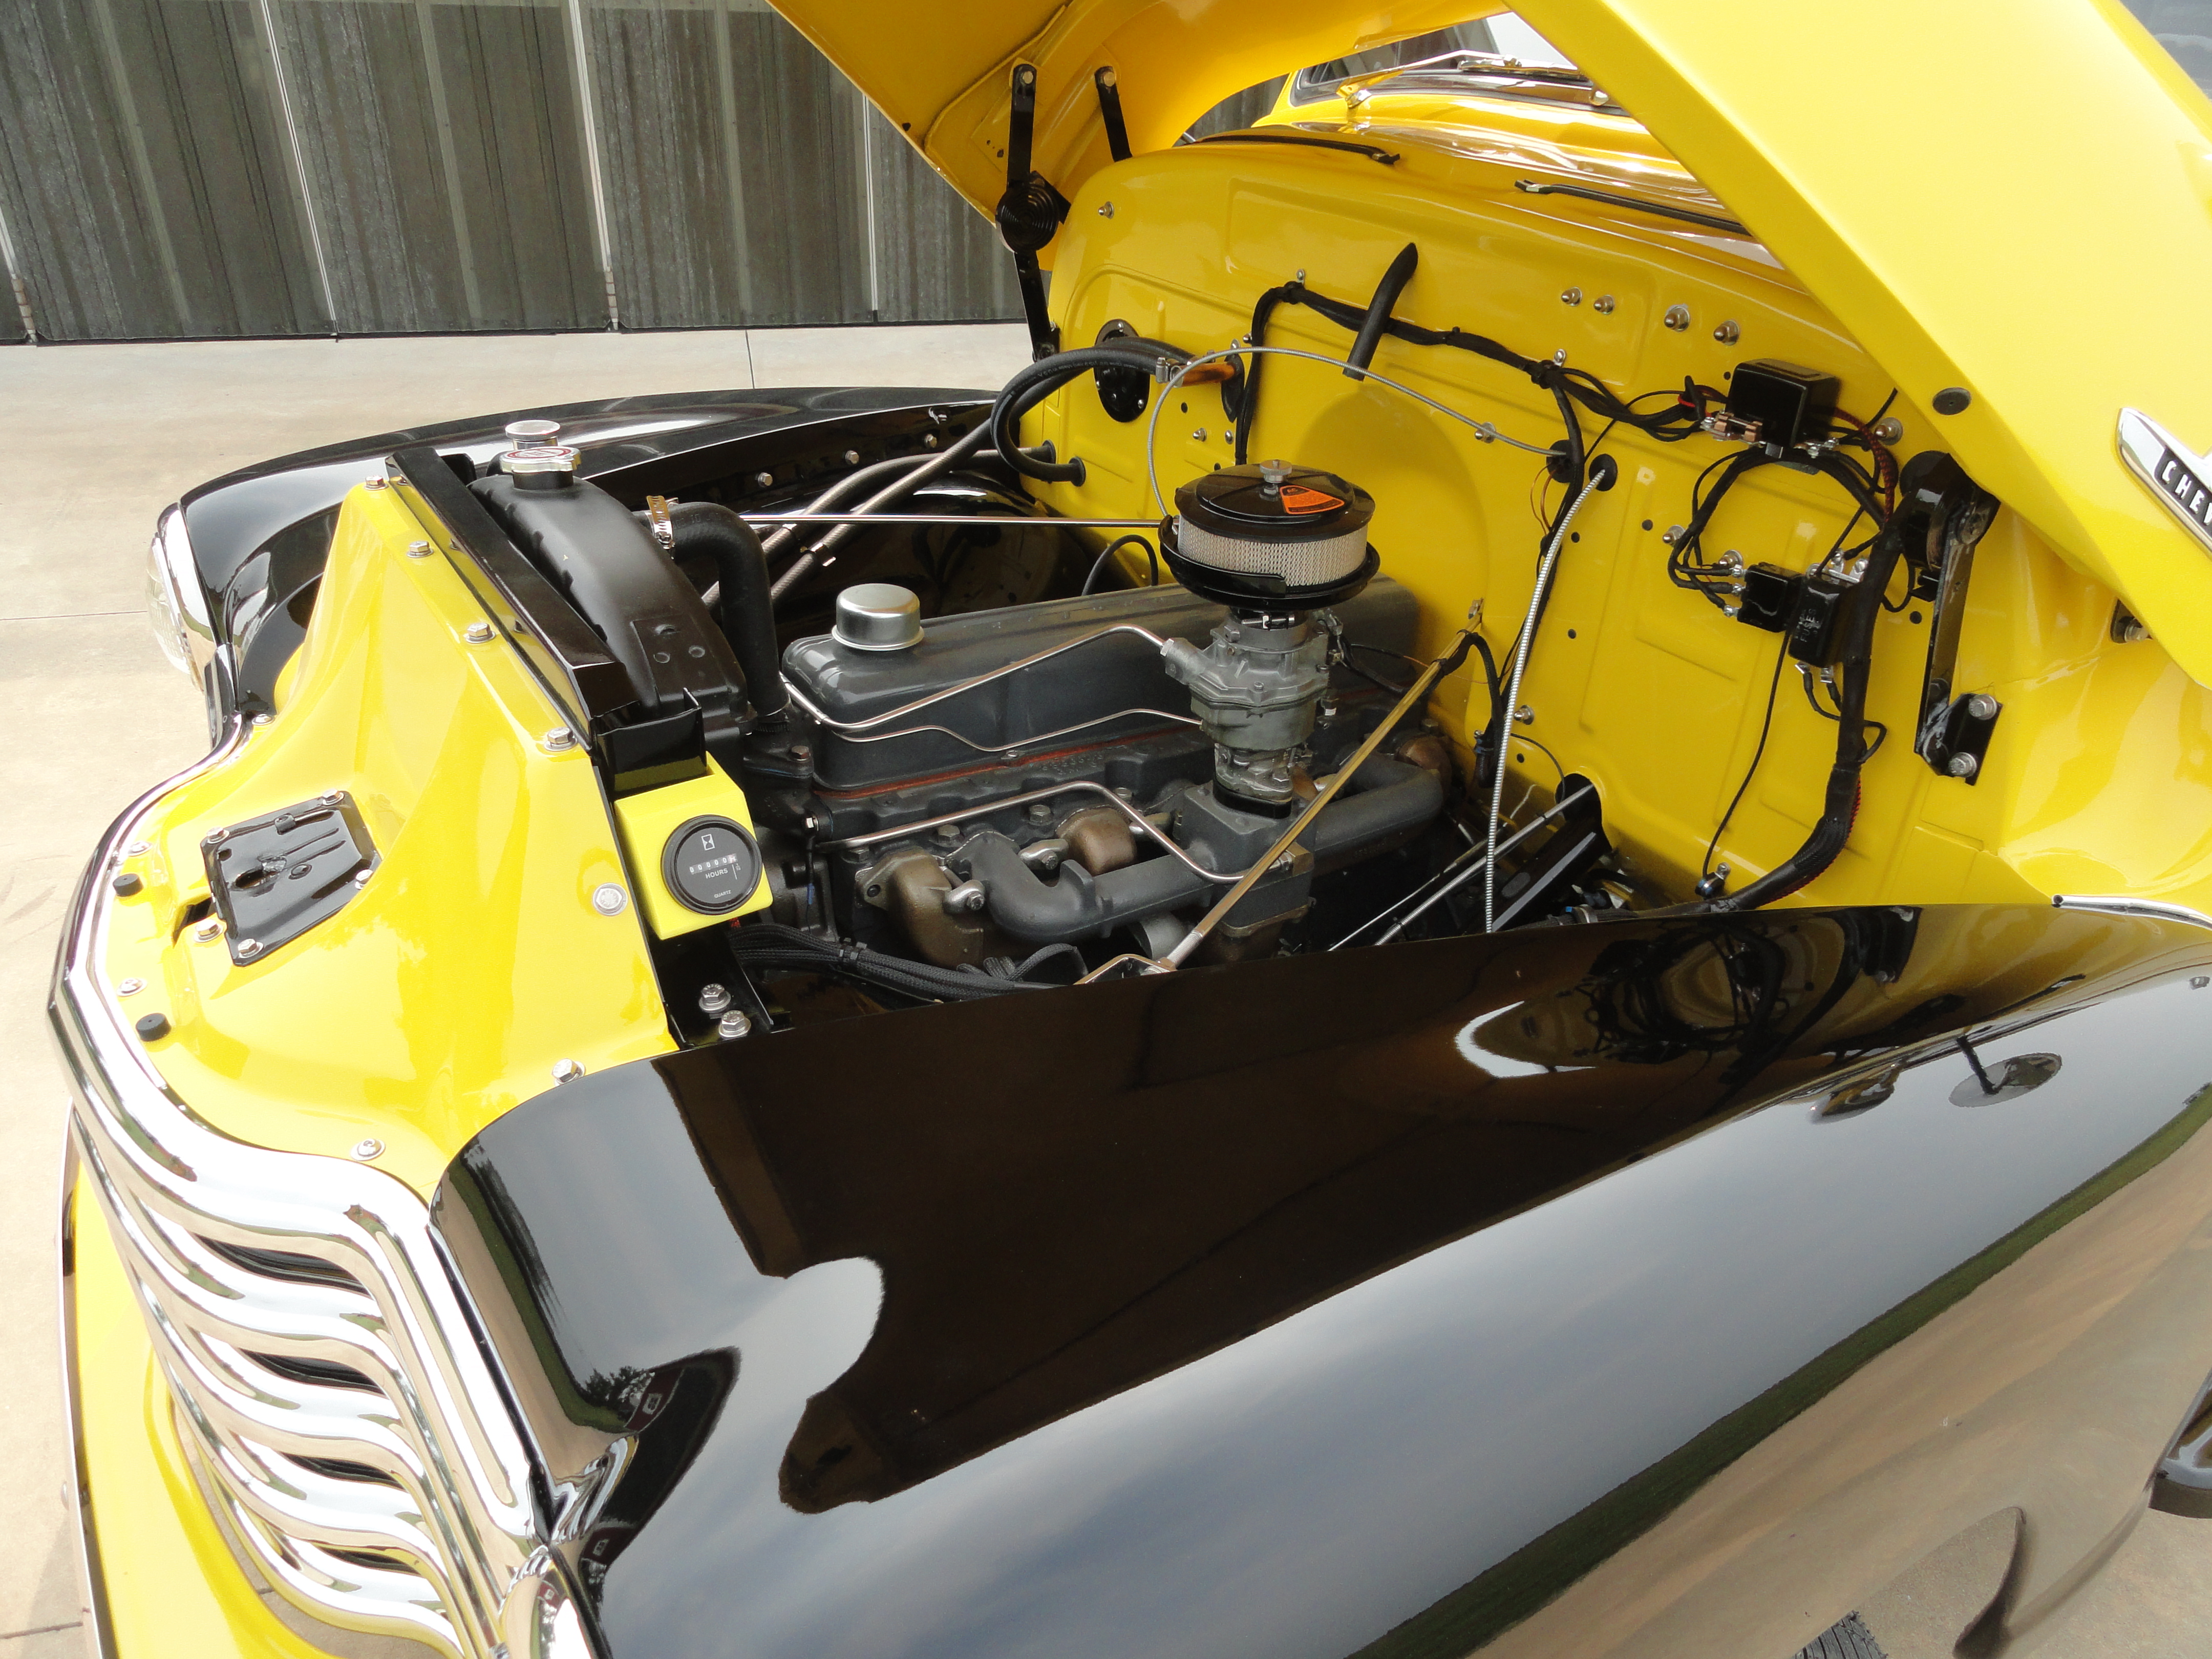
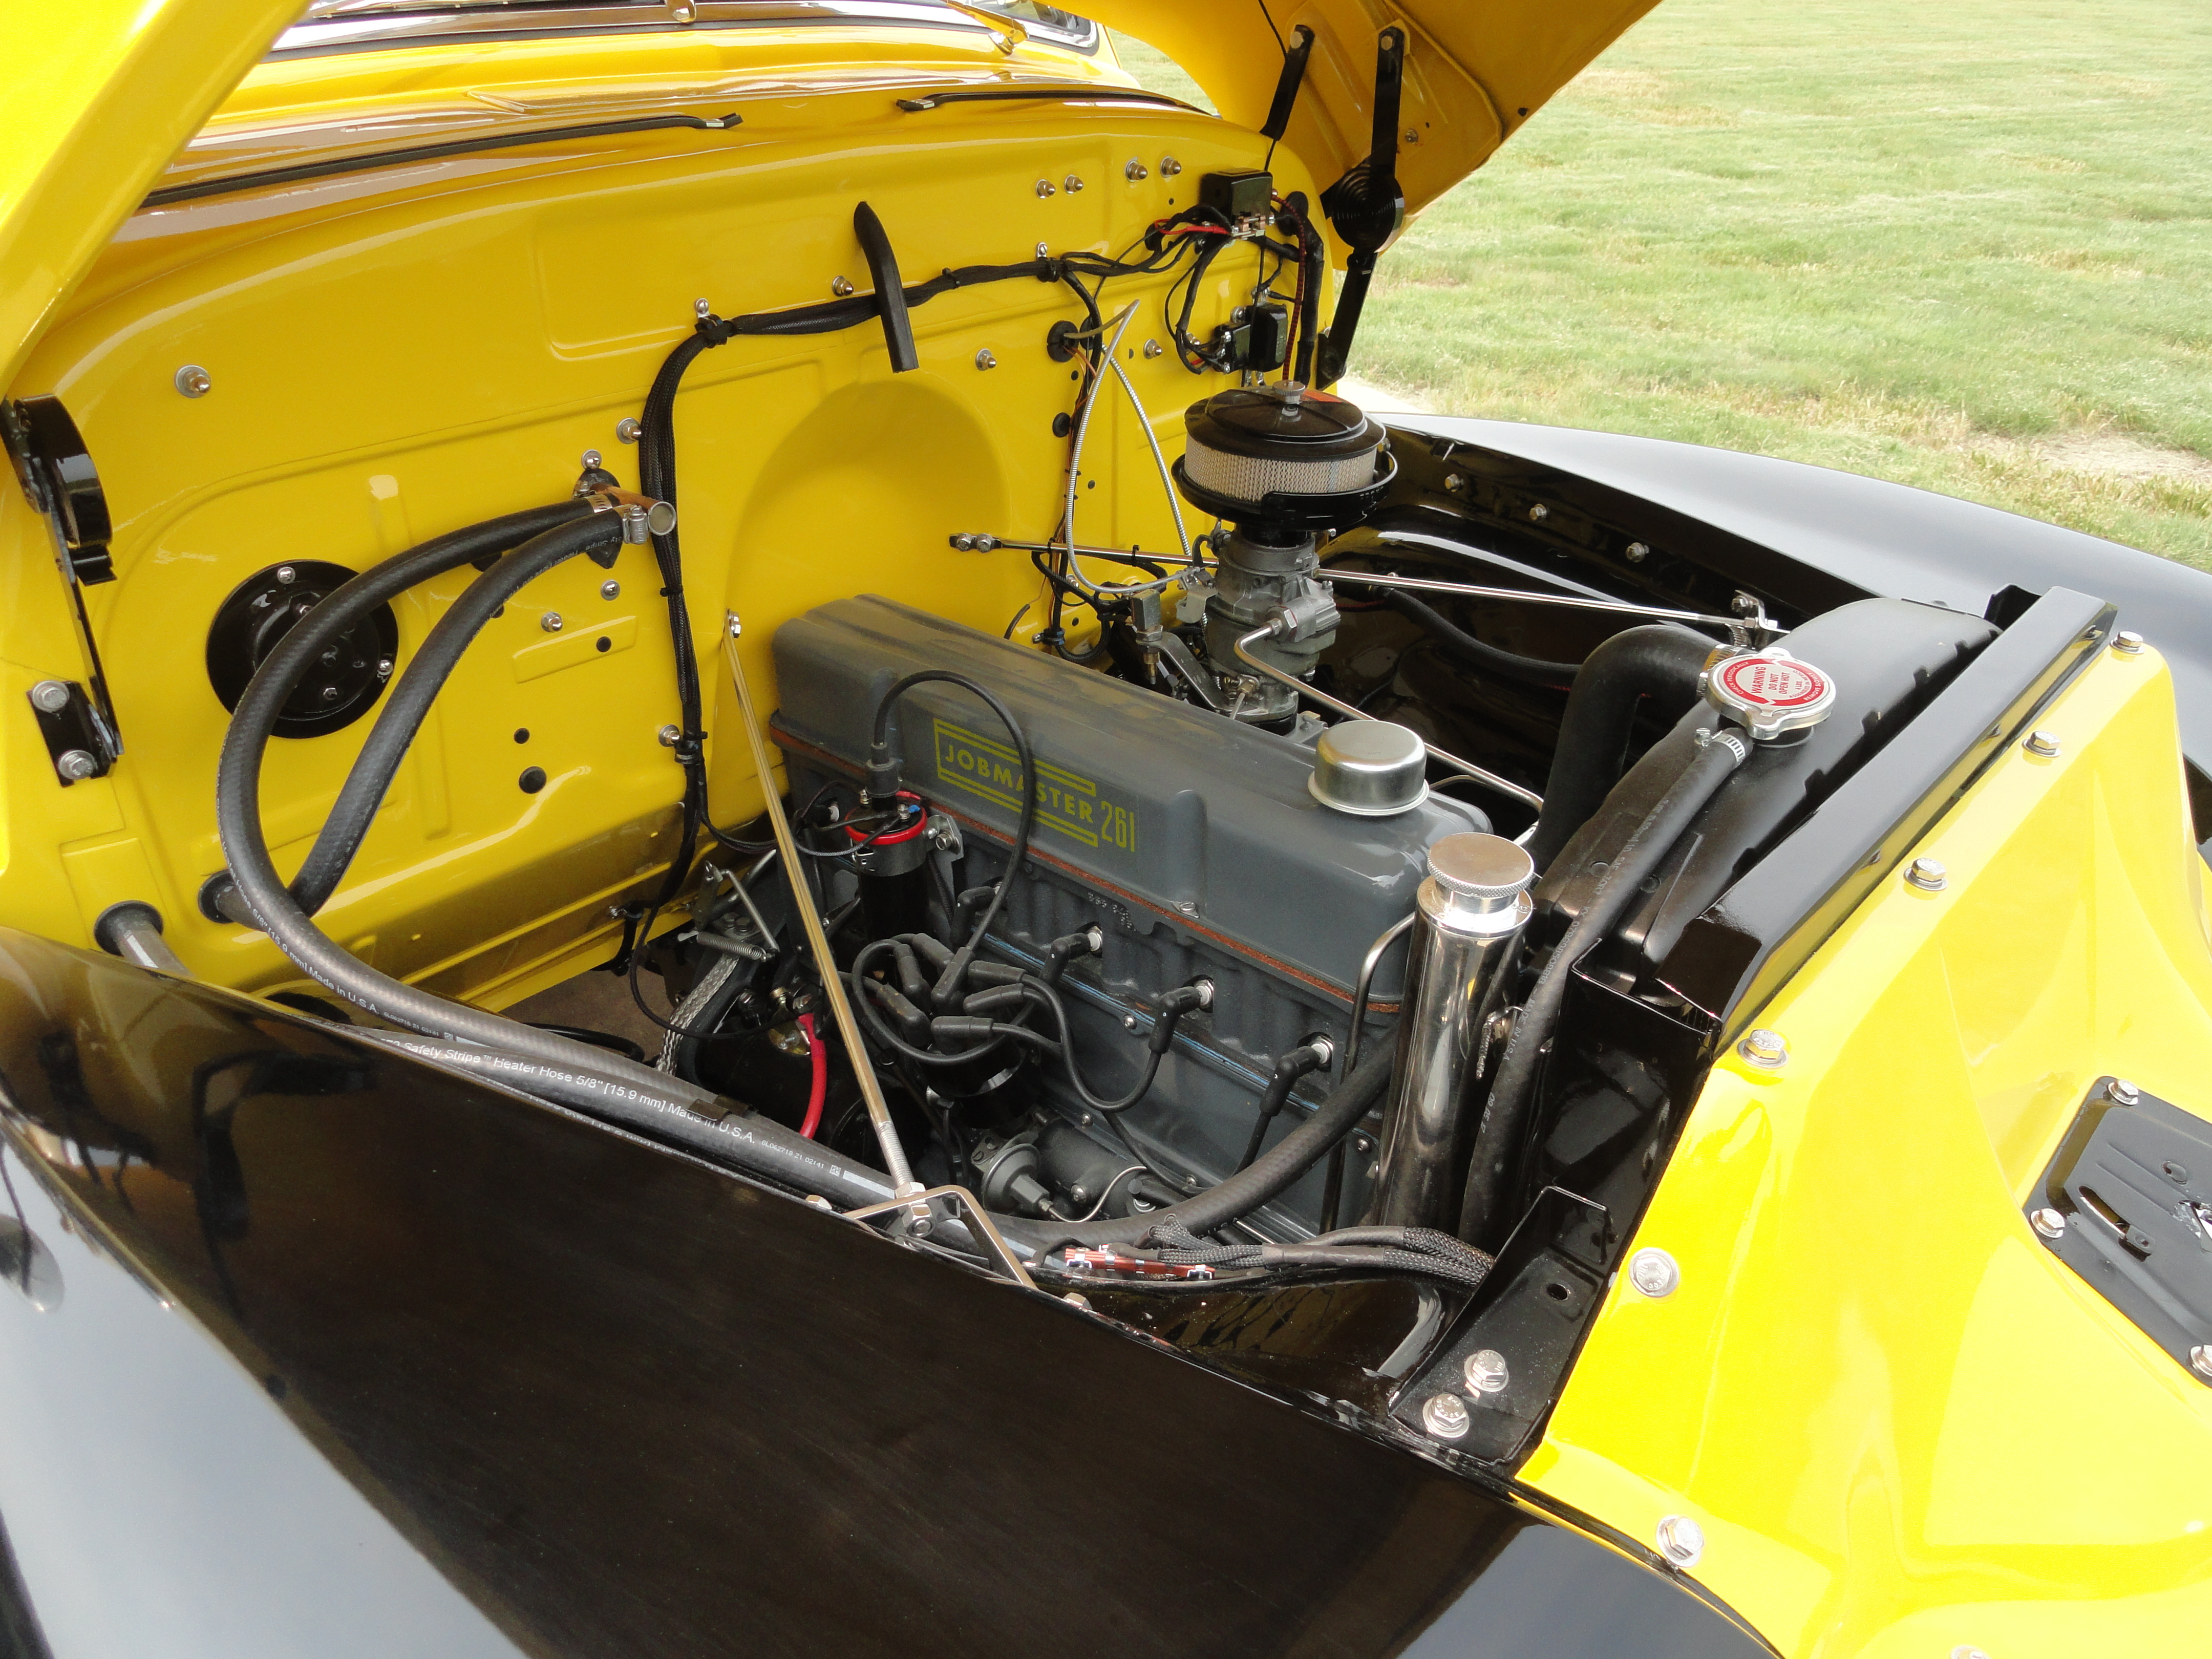
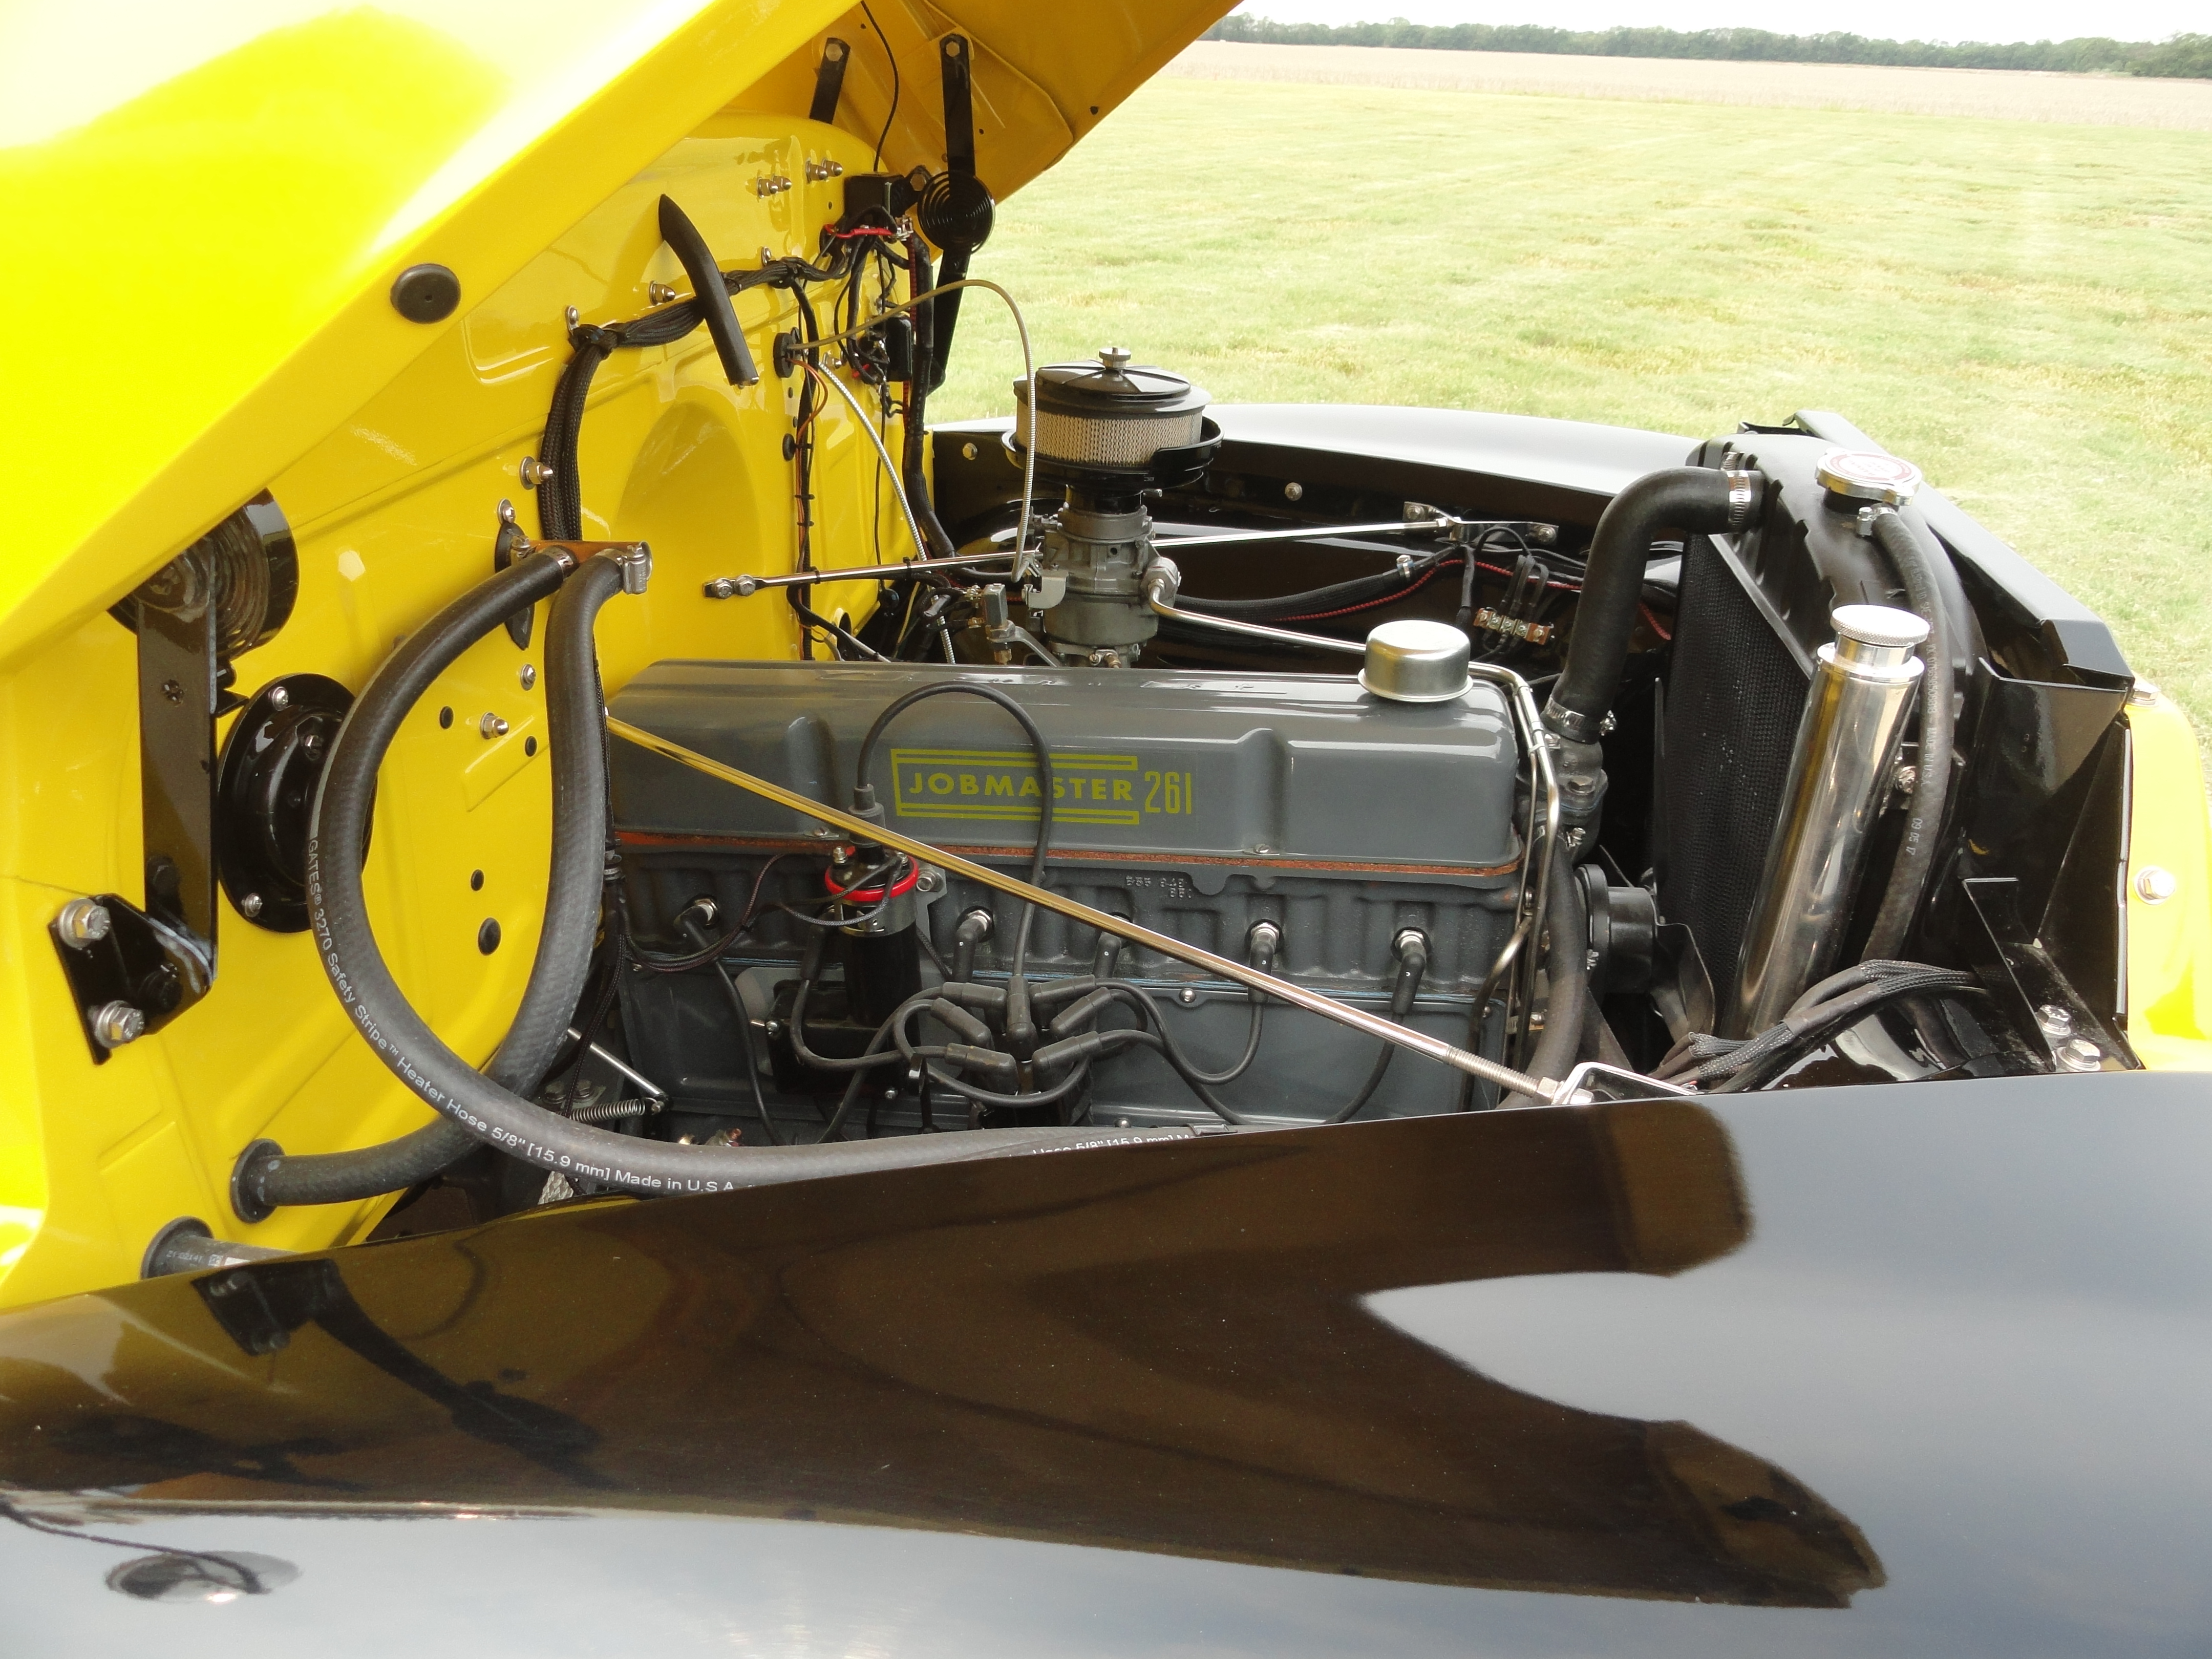
Whilst the frame is well in the process, we should next look at the engine. Turns out it was a CRACKED 261 with a cracked head. My engine shop located a 1964 261 replacement block in good shape and an 848 head to go with it. This is really the best combination anyway, so I was pleased with the end result. Full Flow, Full Pressure oiling, and great compression characteristics. But where to put it with the frame in the works? Enter.. The Ultimate Engine Stand! You can read about it in the How-To section as usual, but to make a long story short, it's the front end of a badly burned out 1954 3100. With a dual bracketing system, the bell housing from any year (1947-1959) will fit nicely.
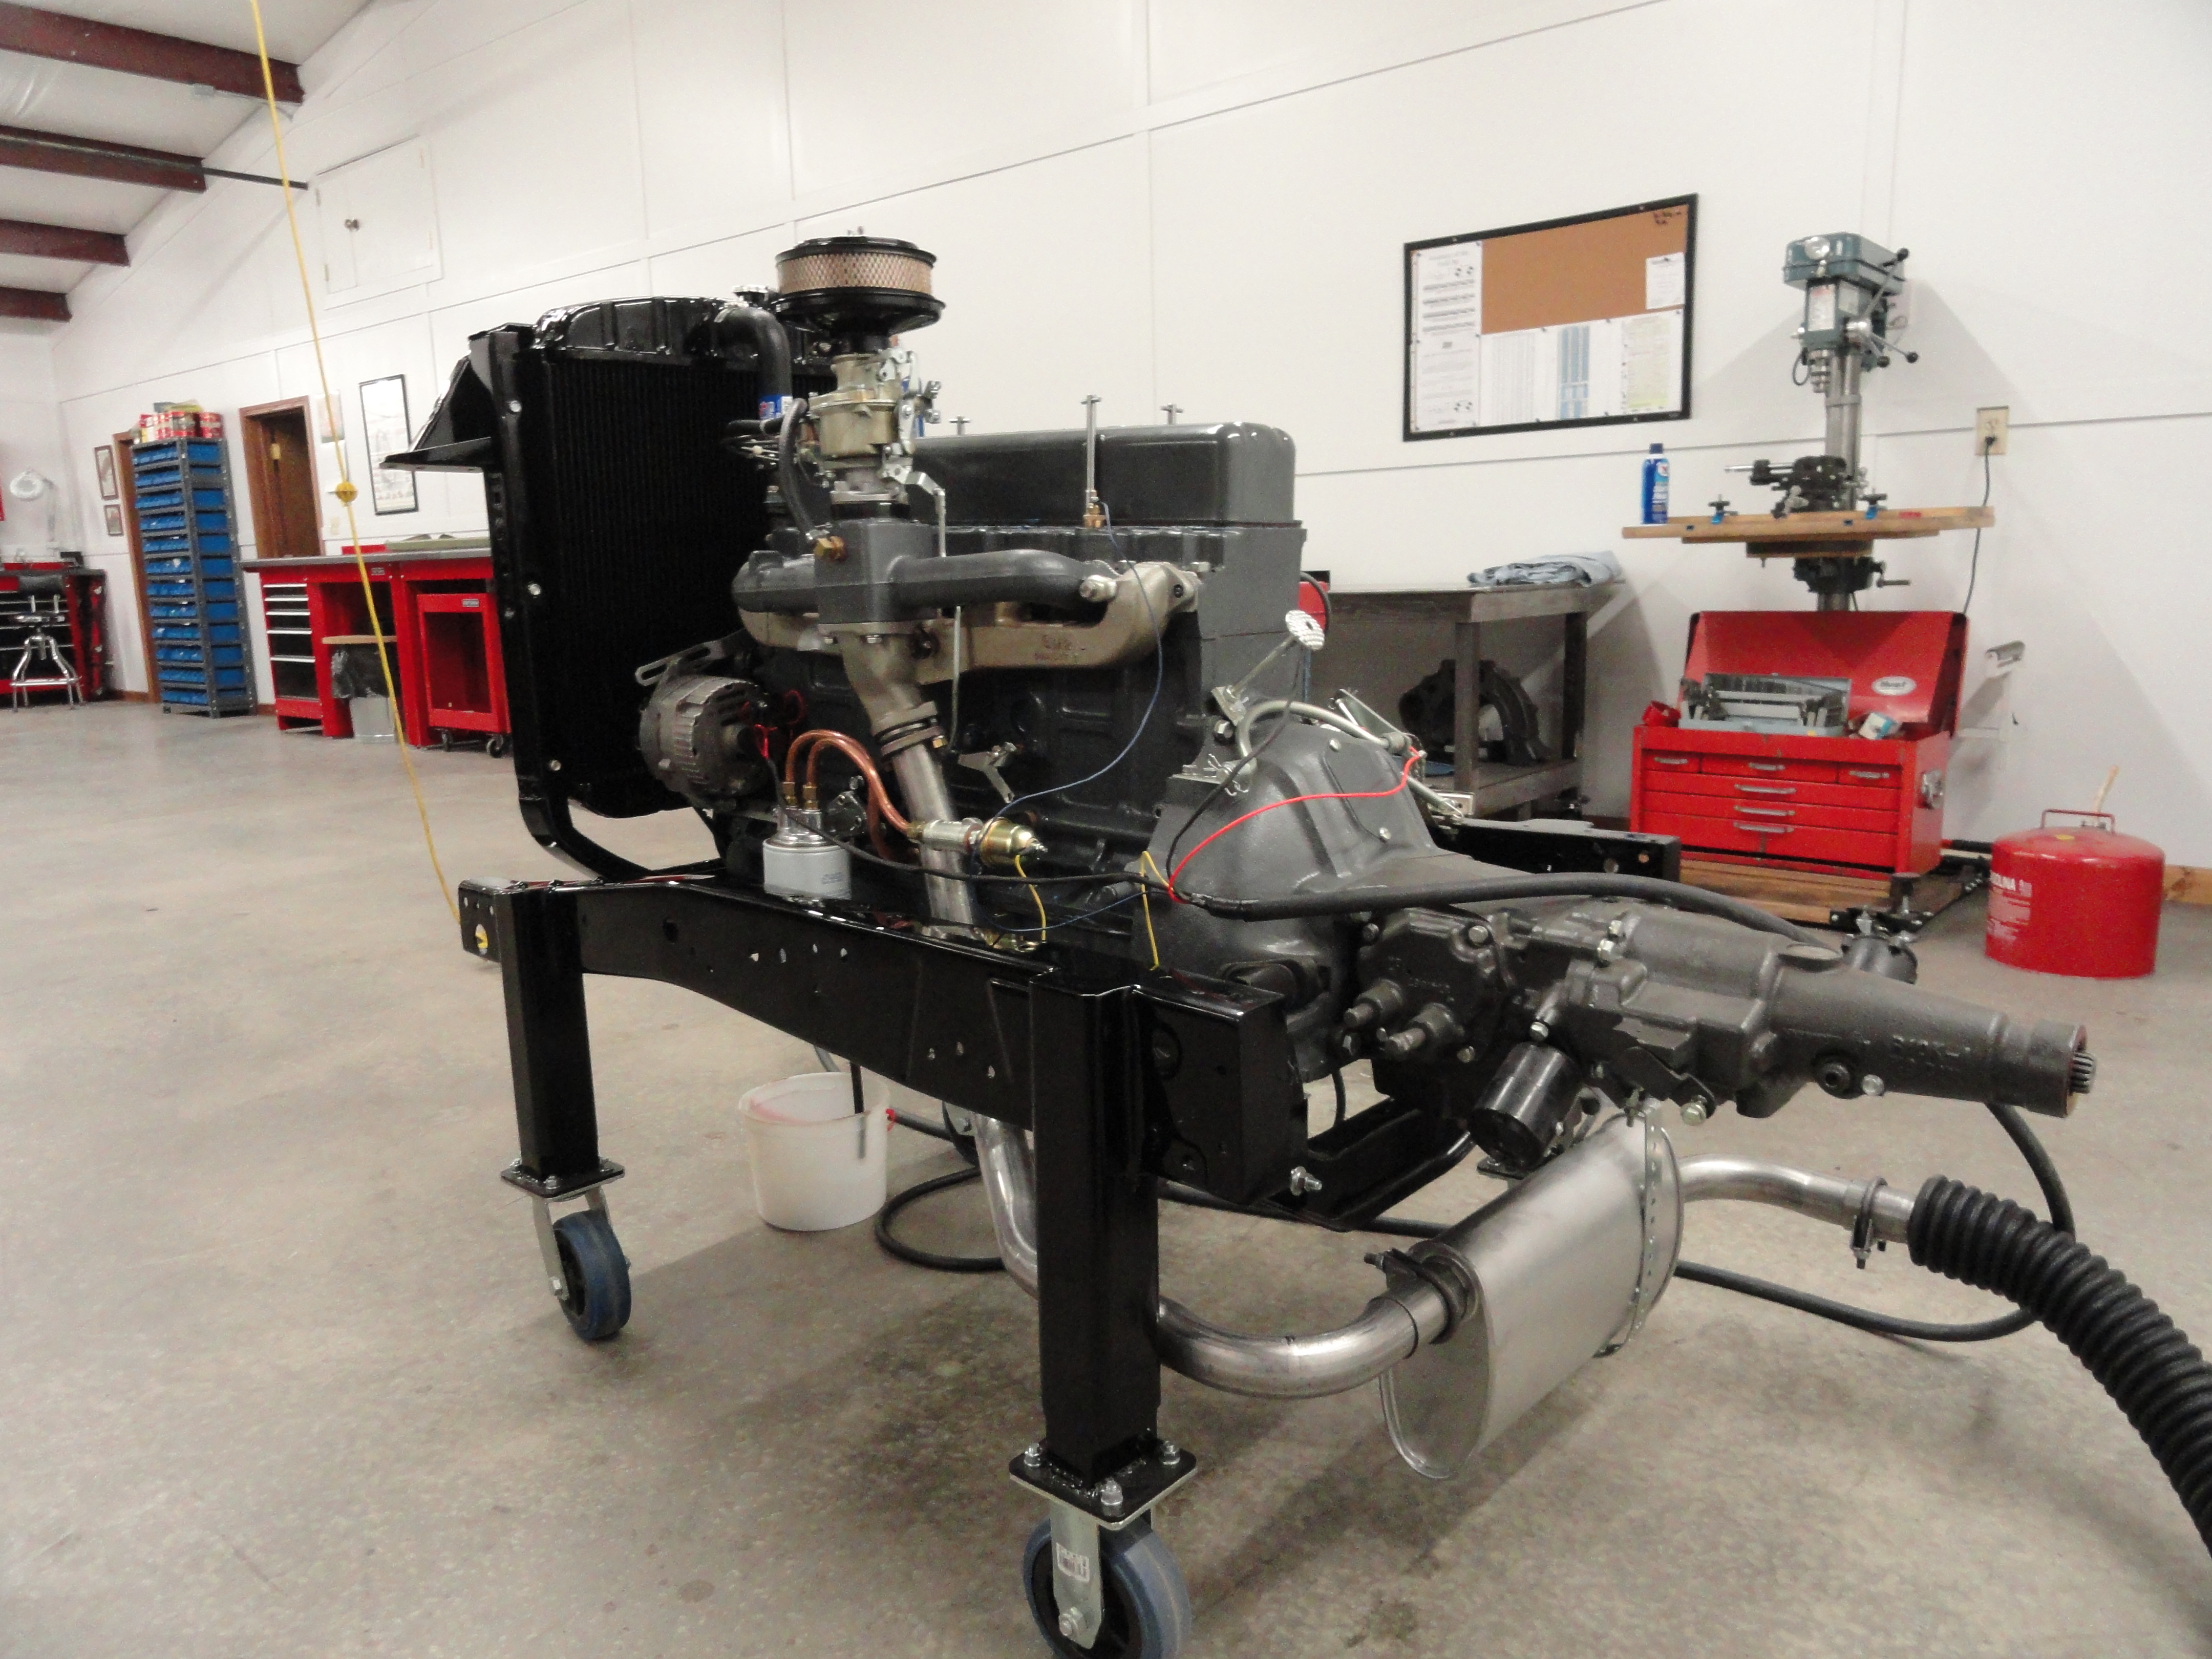
I know its overkill for one engine, but I have several and this really works nice. You notice it most in the wintertime. This engine was completely rebuilt, machined, and everything was given proper attention down to the most minute detail. It runs really nice! I did all the assembly work myself, then used some of the documents in the How-To section to get the timing and tuning just right. It's nice that we have such a helpful group of people that enjoy this stuff to the point where the talk is finally down to a level where even I can understand! The exhaust hose is connected to a port in the garage door for the fumes.
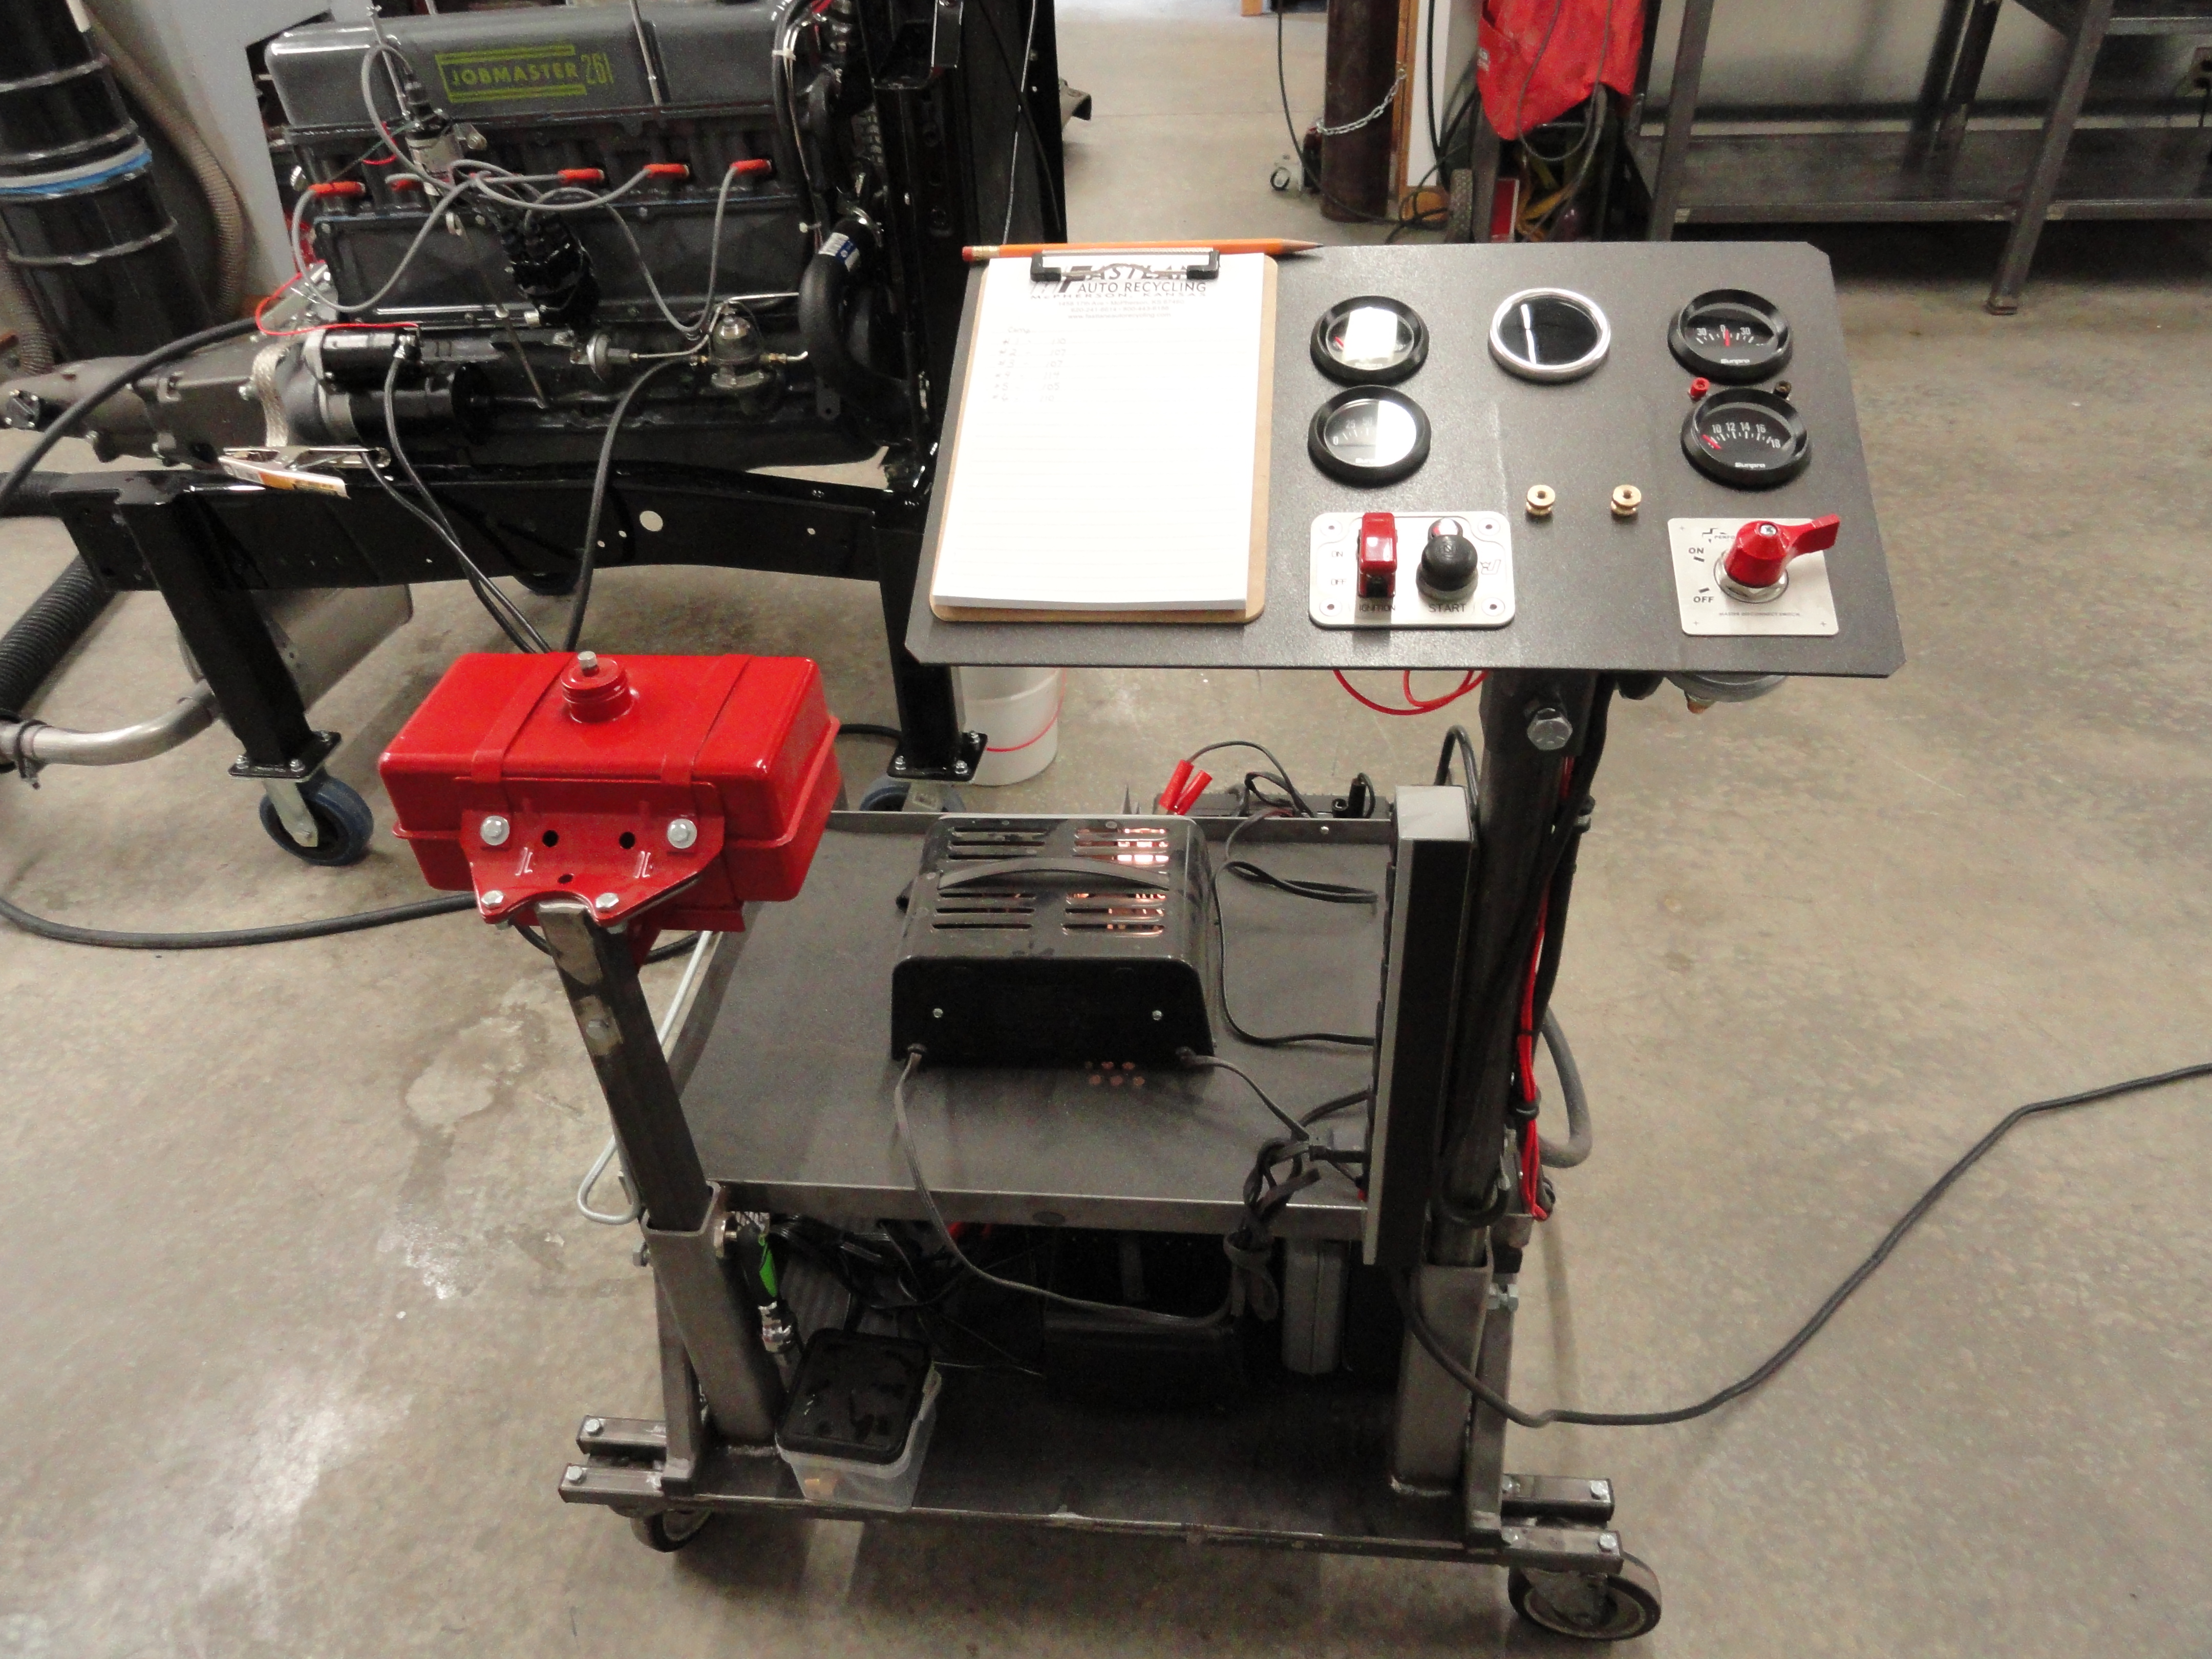
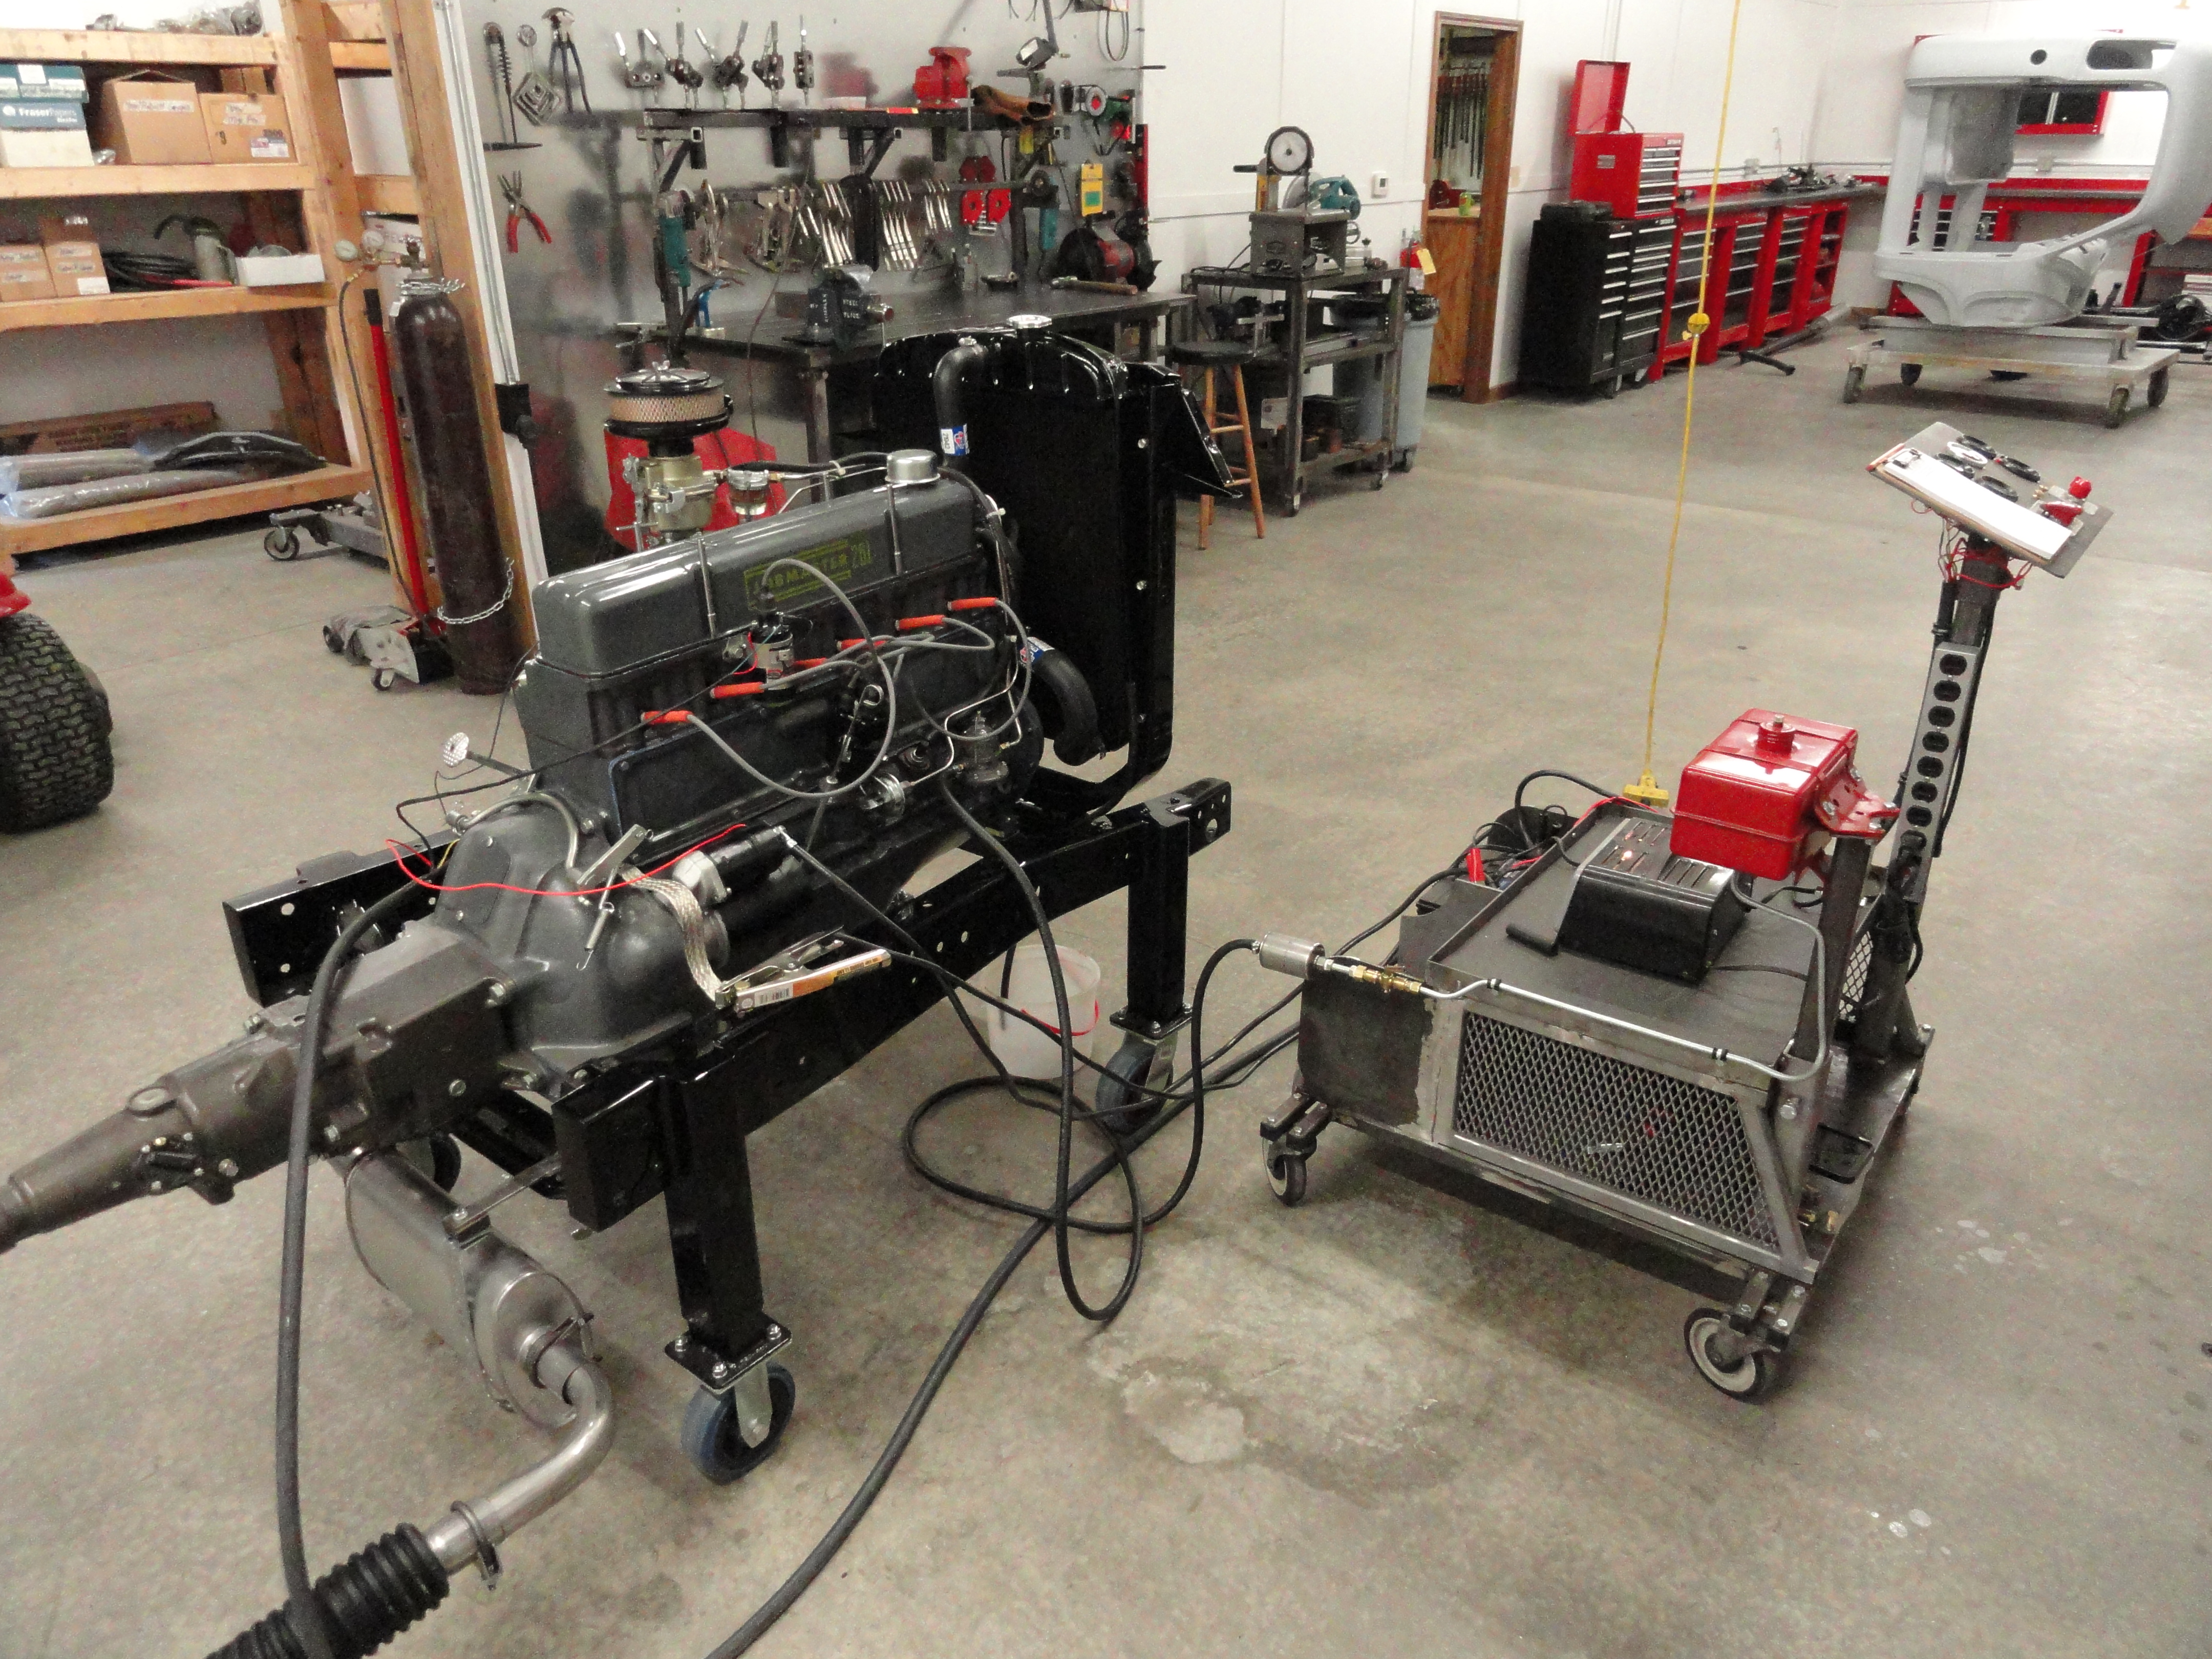
You know how one thing leads to another. That decent engine stand is almost worthless without a way of adding the fuel and electricals to the mix. But, I wanted to be able to move the fuel/electricals to the actual frame when the engine is transferred, so I made this. I call it the Start Kart and you can find out how to make yours in the How-To section. All of this effort is so that the next restoration won't be as difficult. When the engine is transferred, I will have another engine waiting for it's use.
All of this effort is so that the next restoration won't be as difficult. When the engine is transferred, I will have another engine waiting for the Engine Stand and the Start Kart. There is, for me at least, a great deal of relief in knowing the engine you just transferred over to the actual frame has been thoroughly tested and ready for duty. I have heard horror stories about frame-up restorations where there was some engine rebuilding errors not caught until after all that precious painted sheet-metal is surrounding it. Lets not go there if we can.

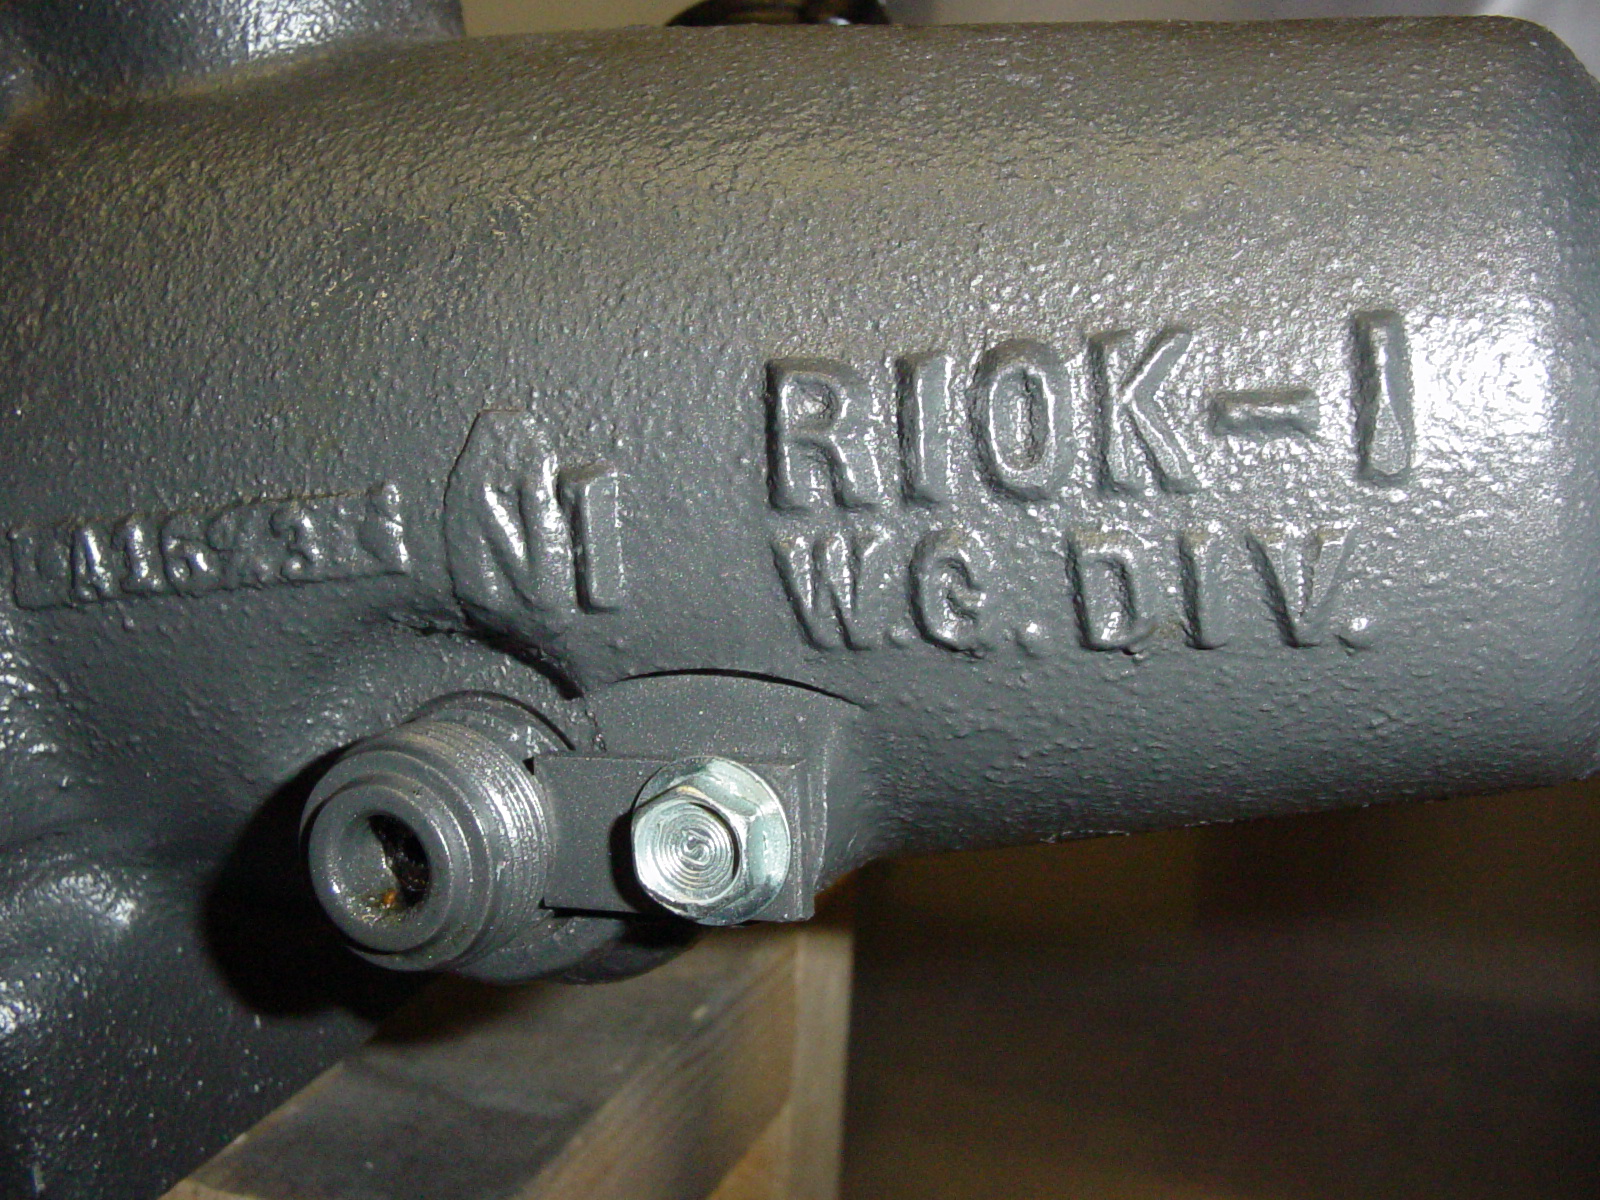
I was very impressed when I first tested a driving truck that had this transmission in it. The Borg R-10 Overdrive fits right behind the stock bell housing and along with the 55-1st Series open drive-line rear end, you can get a very comfortable 70 miles an hour out of it. There is lots of great documentation in the How-To Section if you want to learn about the Transmission. The drive-shaft is out of a 1962 Suburban.

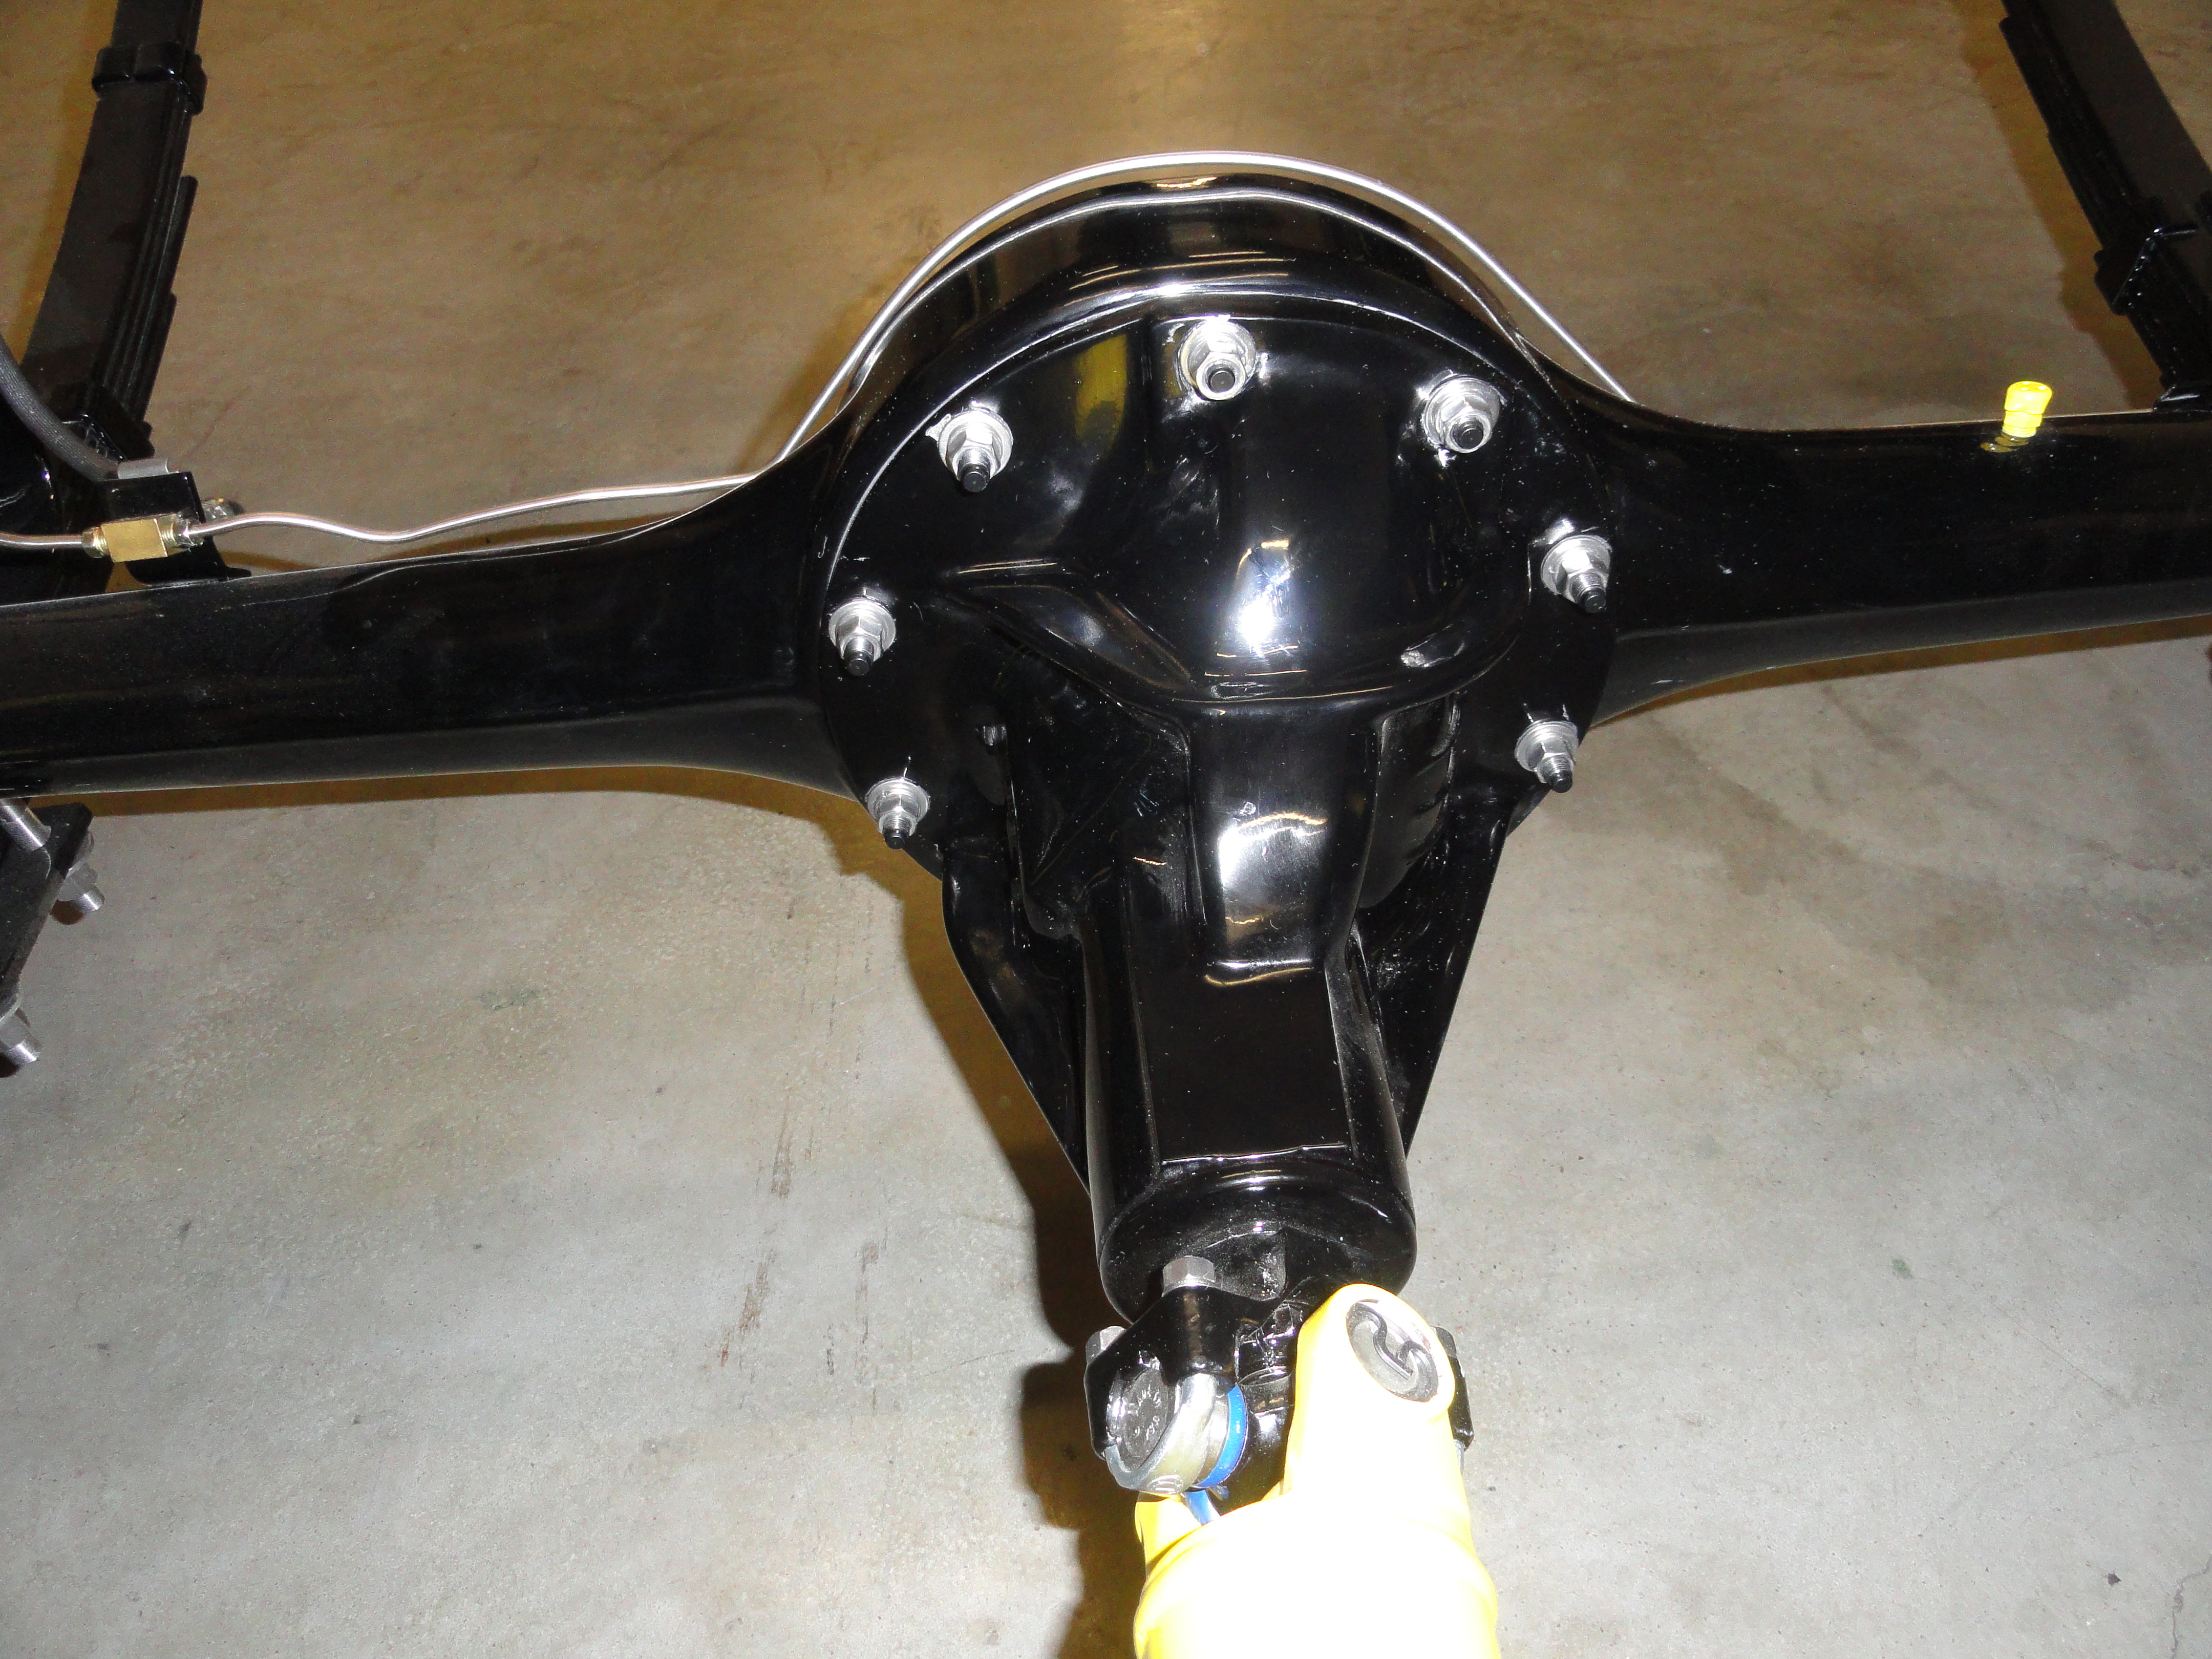
The rear end was in 'unknown' shape so I had to tear it down and put all new bearings and seals in it. The axles even required Speedy Sleeves due to pits in the metal. The pinion needed a sleeve as well. I then put new ARP hardened studs in for an added measure. I don't like things to leak. [Axle Seals: SKF-18695, Axle Bearings: MBS C1502, Speedi-Sleeves: SKF-99187, Pinion Seal: SKF-17727, Pinion Bearings: SKF HM89410 and SKF HM89449, Pinion Speedi-Sleeve: SKF-99170, ARP Hardened Studs for Ford 9": 250-3005, Axle Diameter is 1.875 (shiny part is 2"]
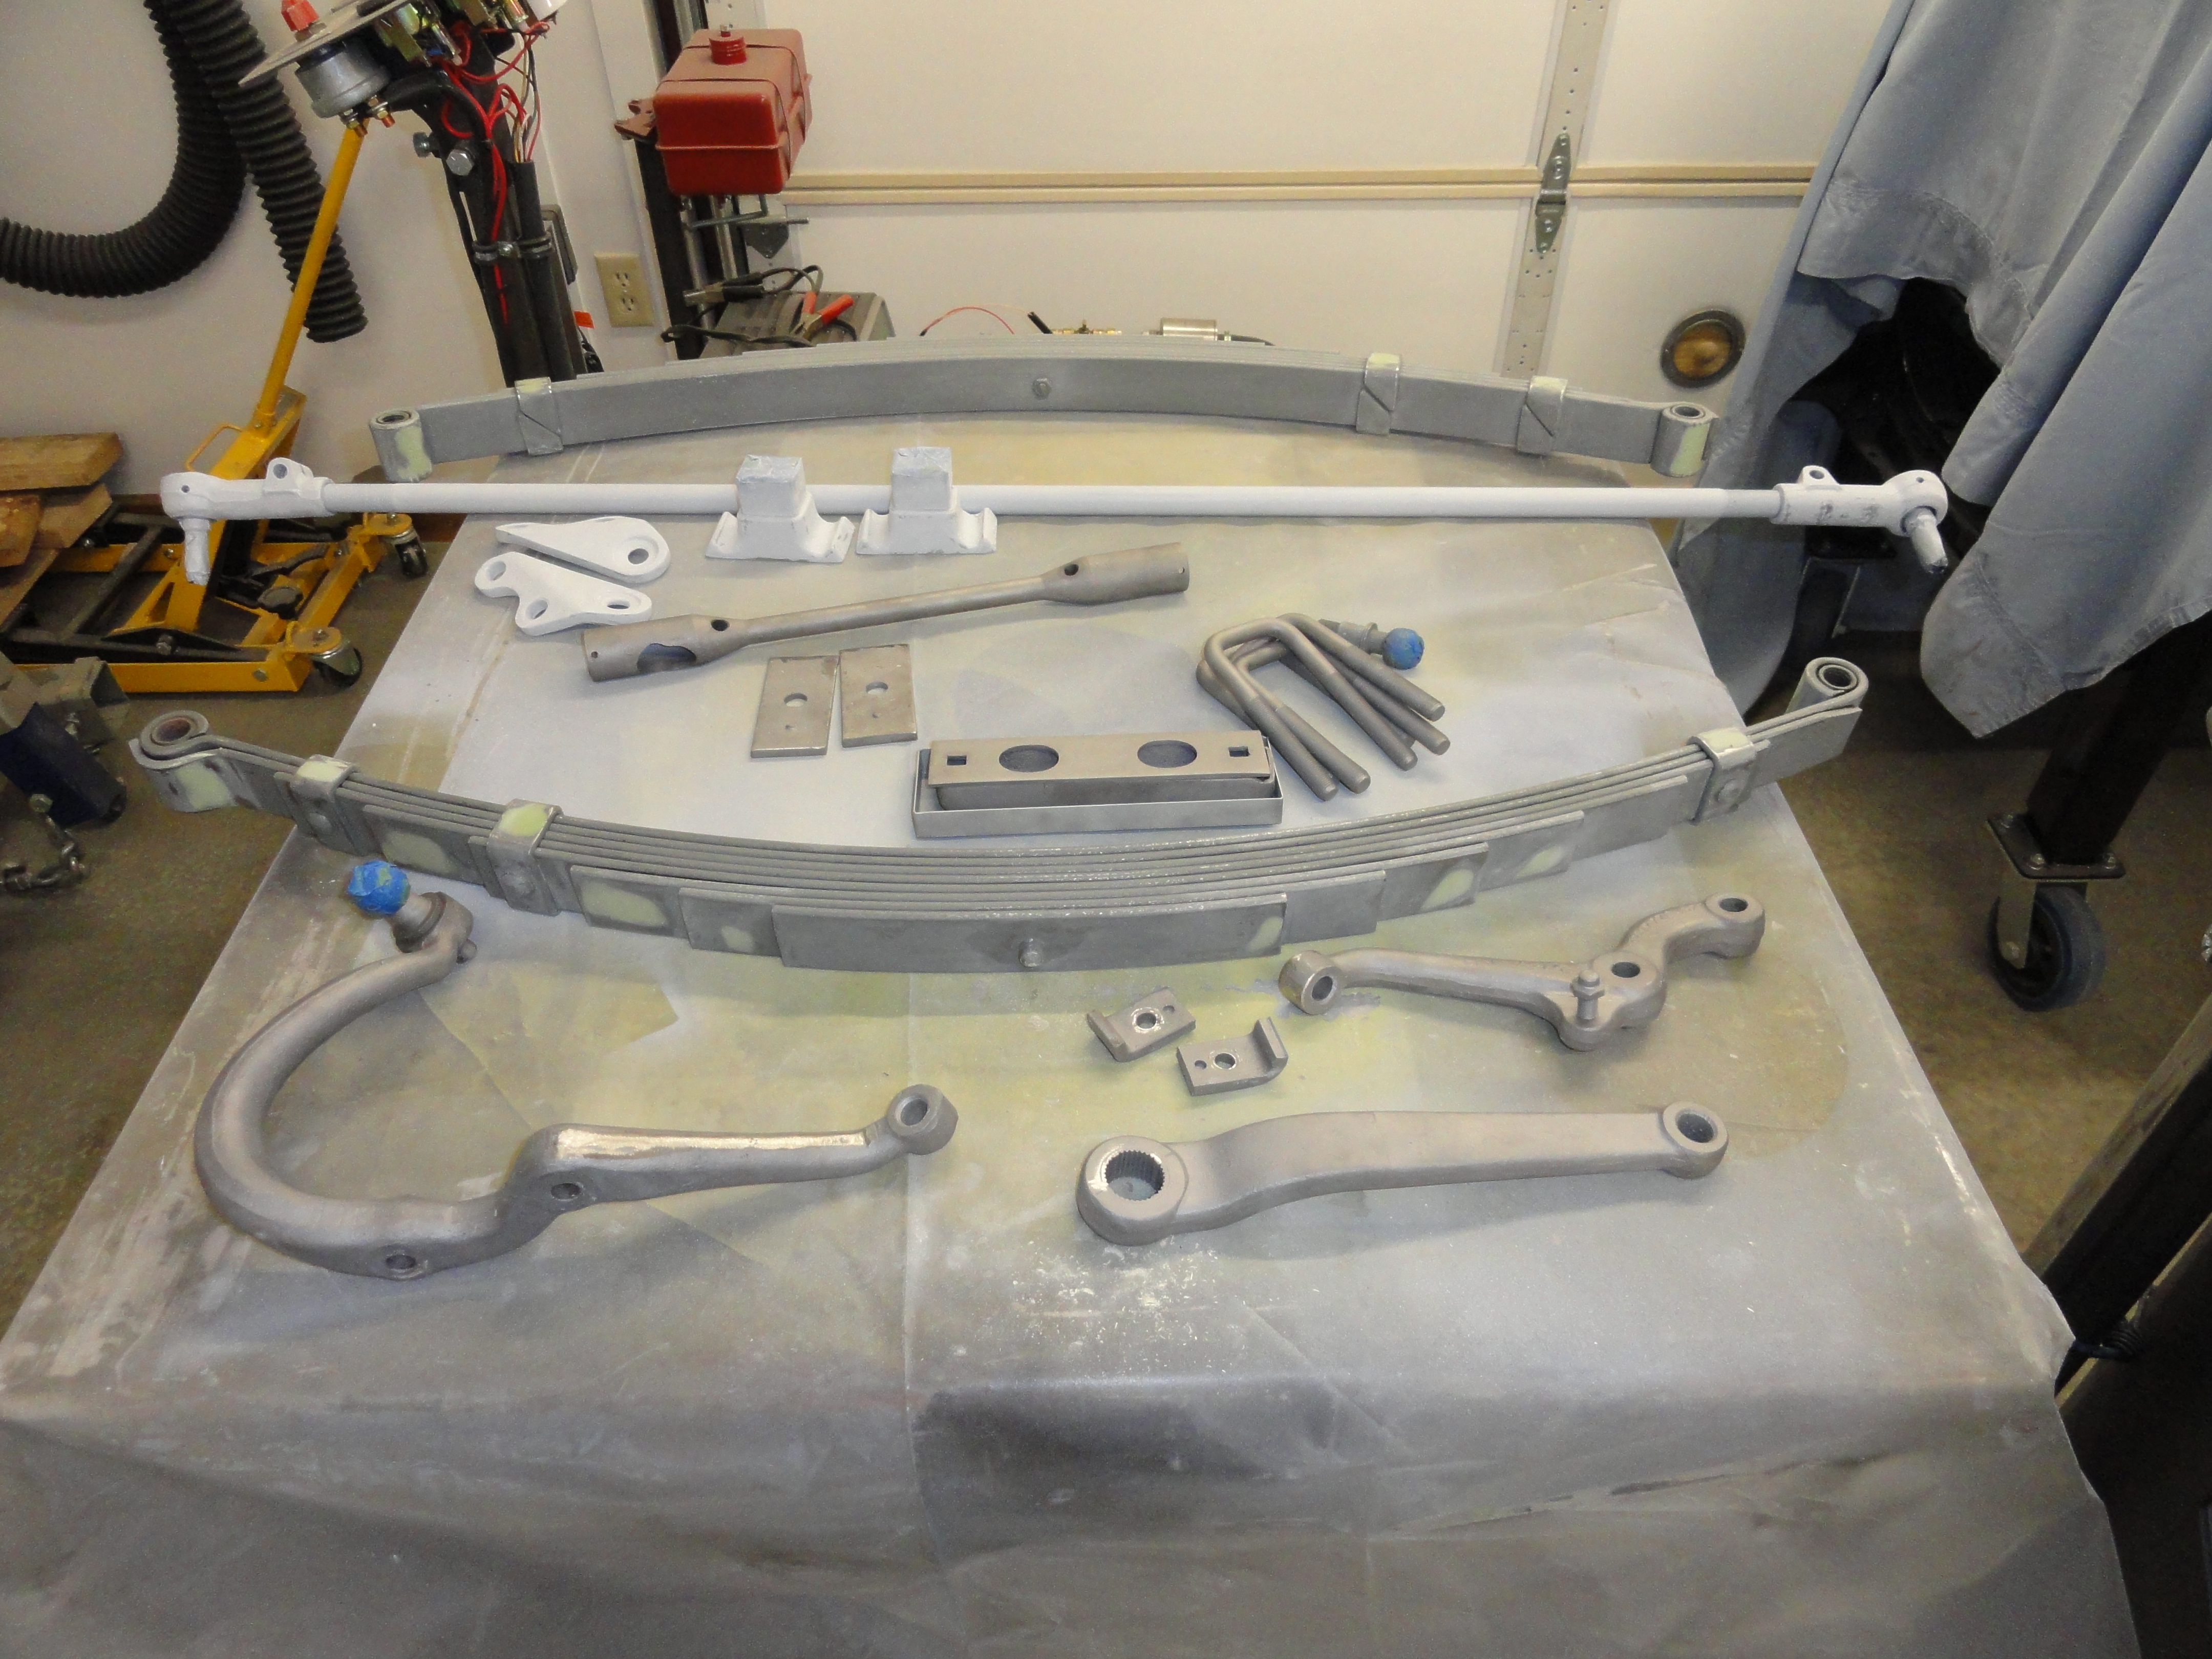

The front end got the same treatment. As with the differential, I smoothed all the old rock pits and made it look really smooth. It was at about this point when I started thinking about safety issues and started researching front disc brake kits and dual master cylinders. I am very thankful to those who patiently answered my questions. I had changed the kingpins before, so all is very nice and tight. The leaf springs all the way around were made new at a Wichita Spring and Axle.
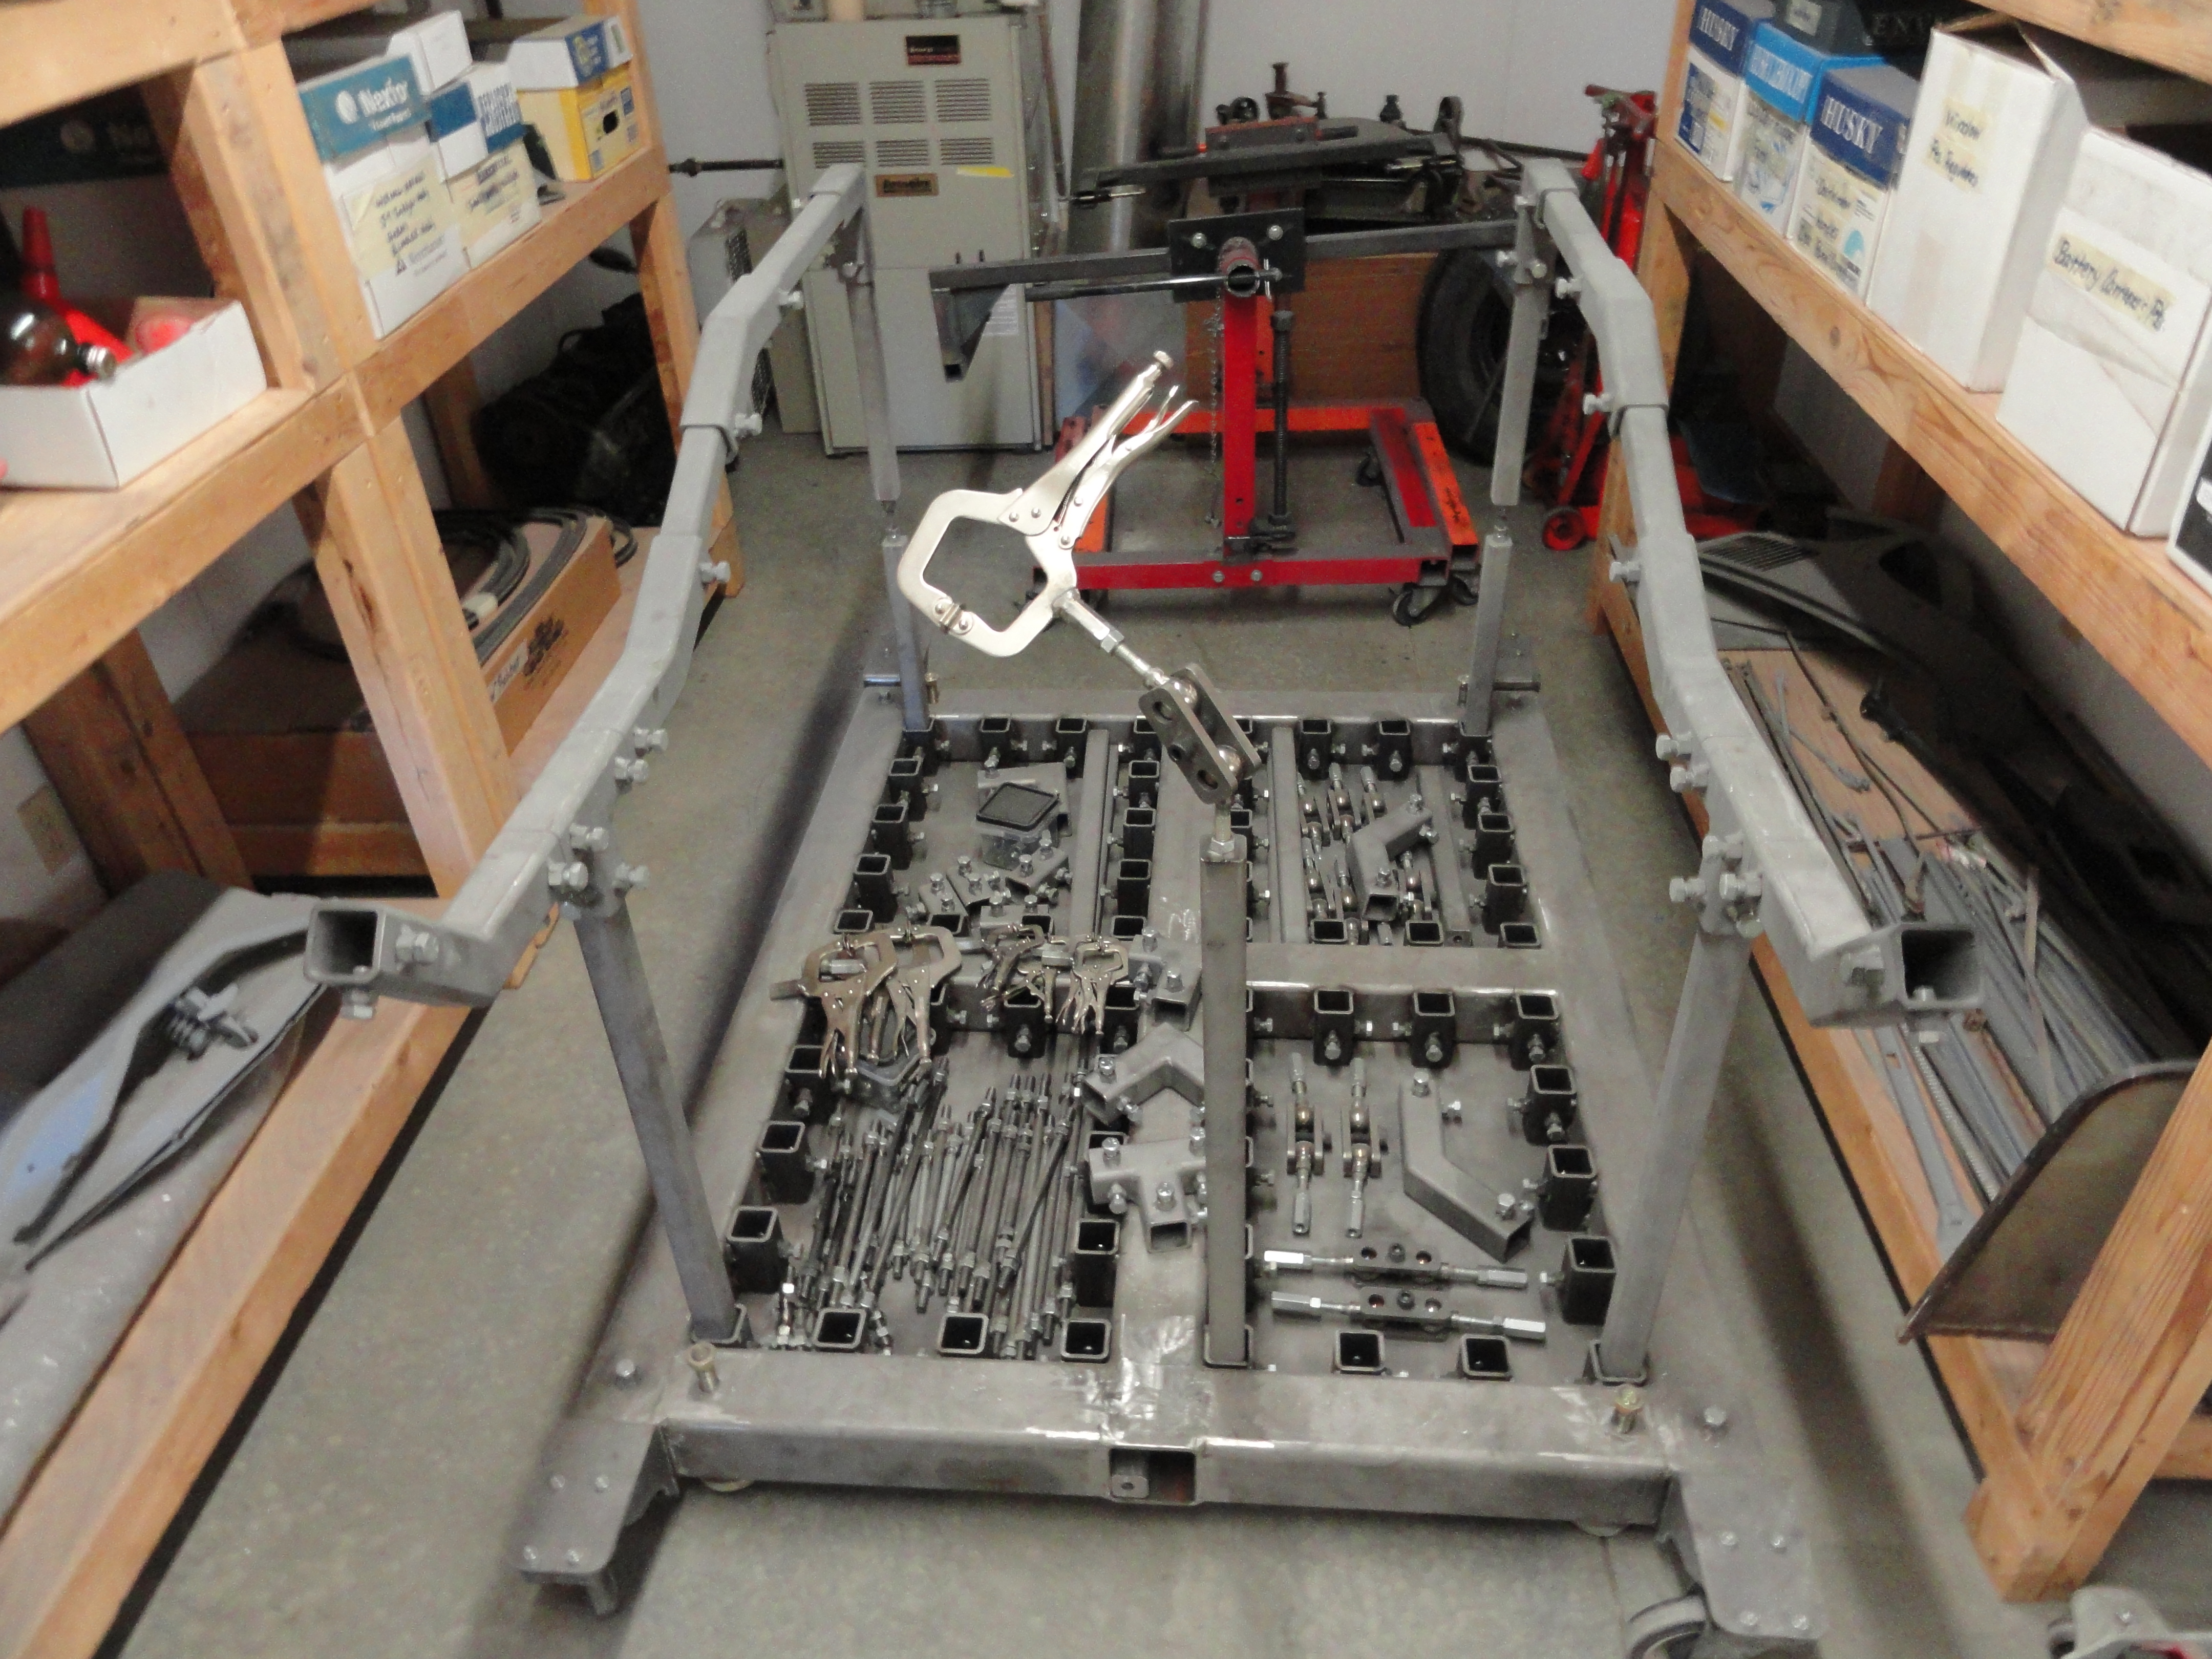

From time to time you are going to see the pictured Jig in use and wonder what it is. It's really anything you want it to be, from an adjustable table with a few tiers, to a fender, hood, door, whatever jig. By using 2 inch receivers at the bottom, and 1.5" lengths of various sizes, your imagination is the limit. It uses turnbuckles and vise grips to attach anything you want, anywhere you want. Its very heavy and although it's on wheels, stays in place solidly when you retract the feet on each corner. Read all about it in the How-To Section!
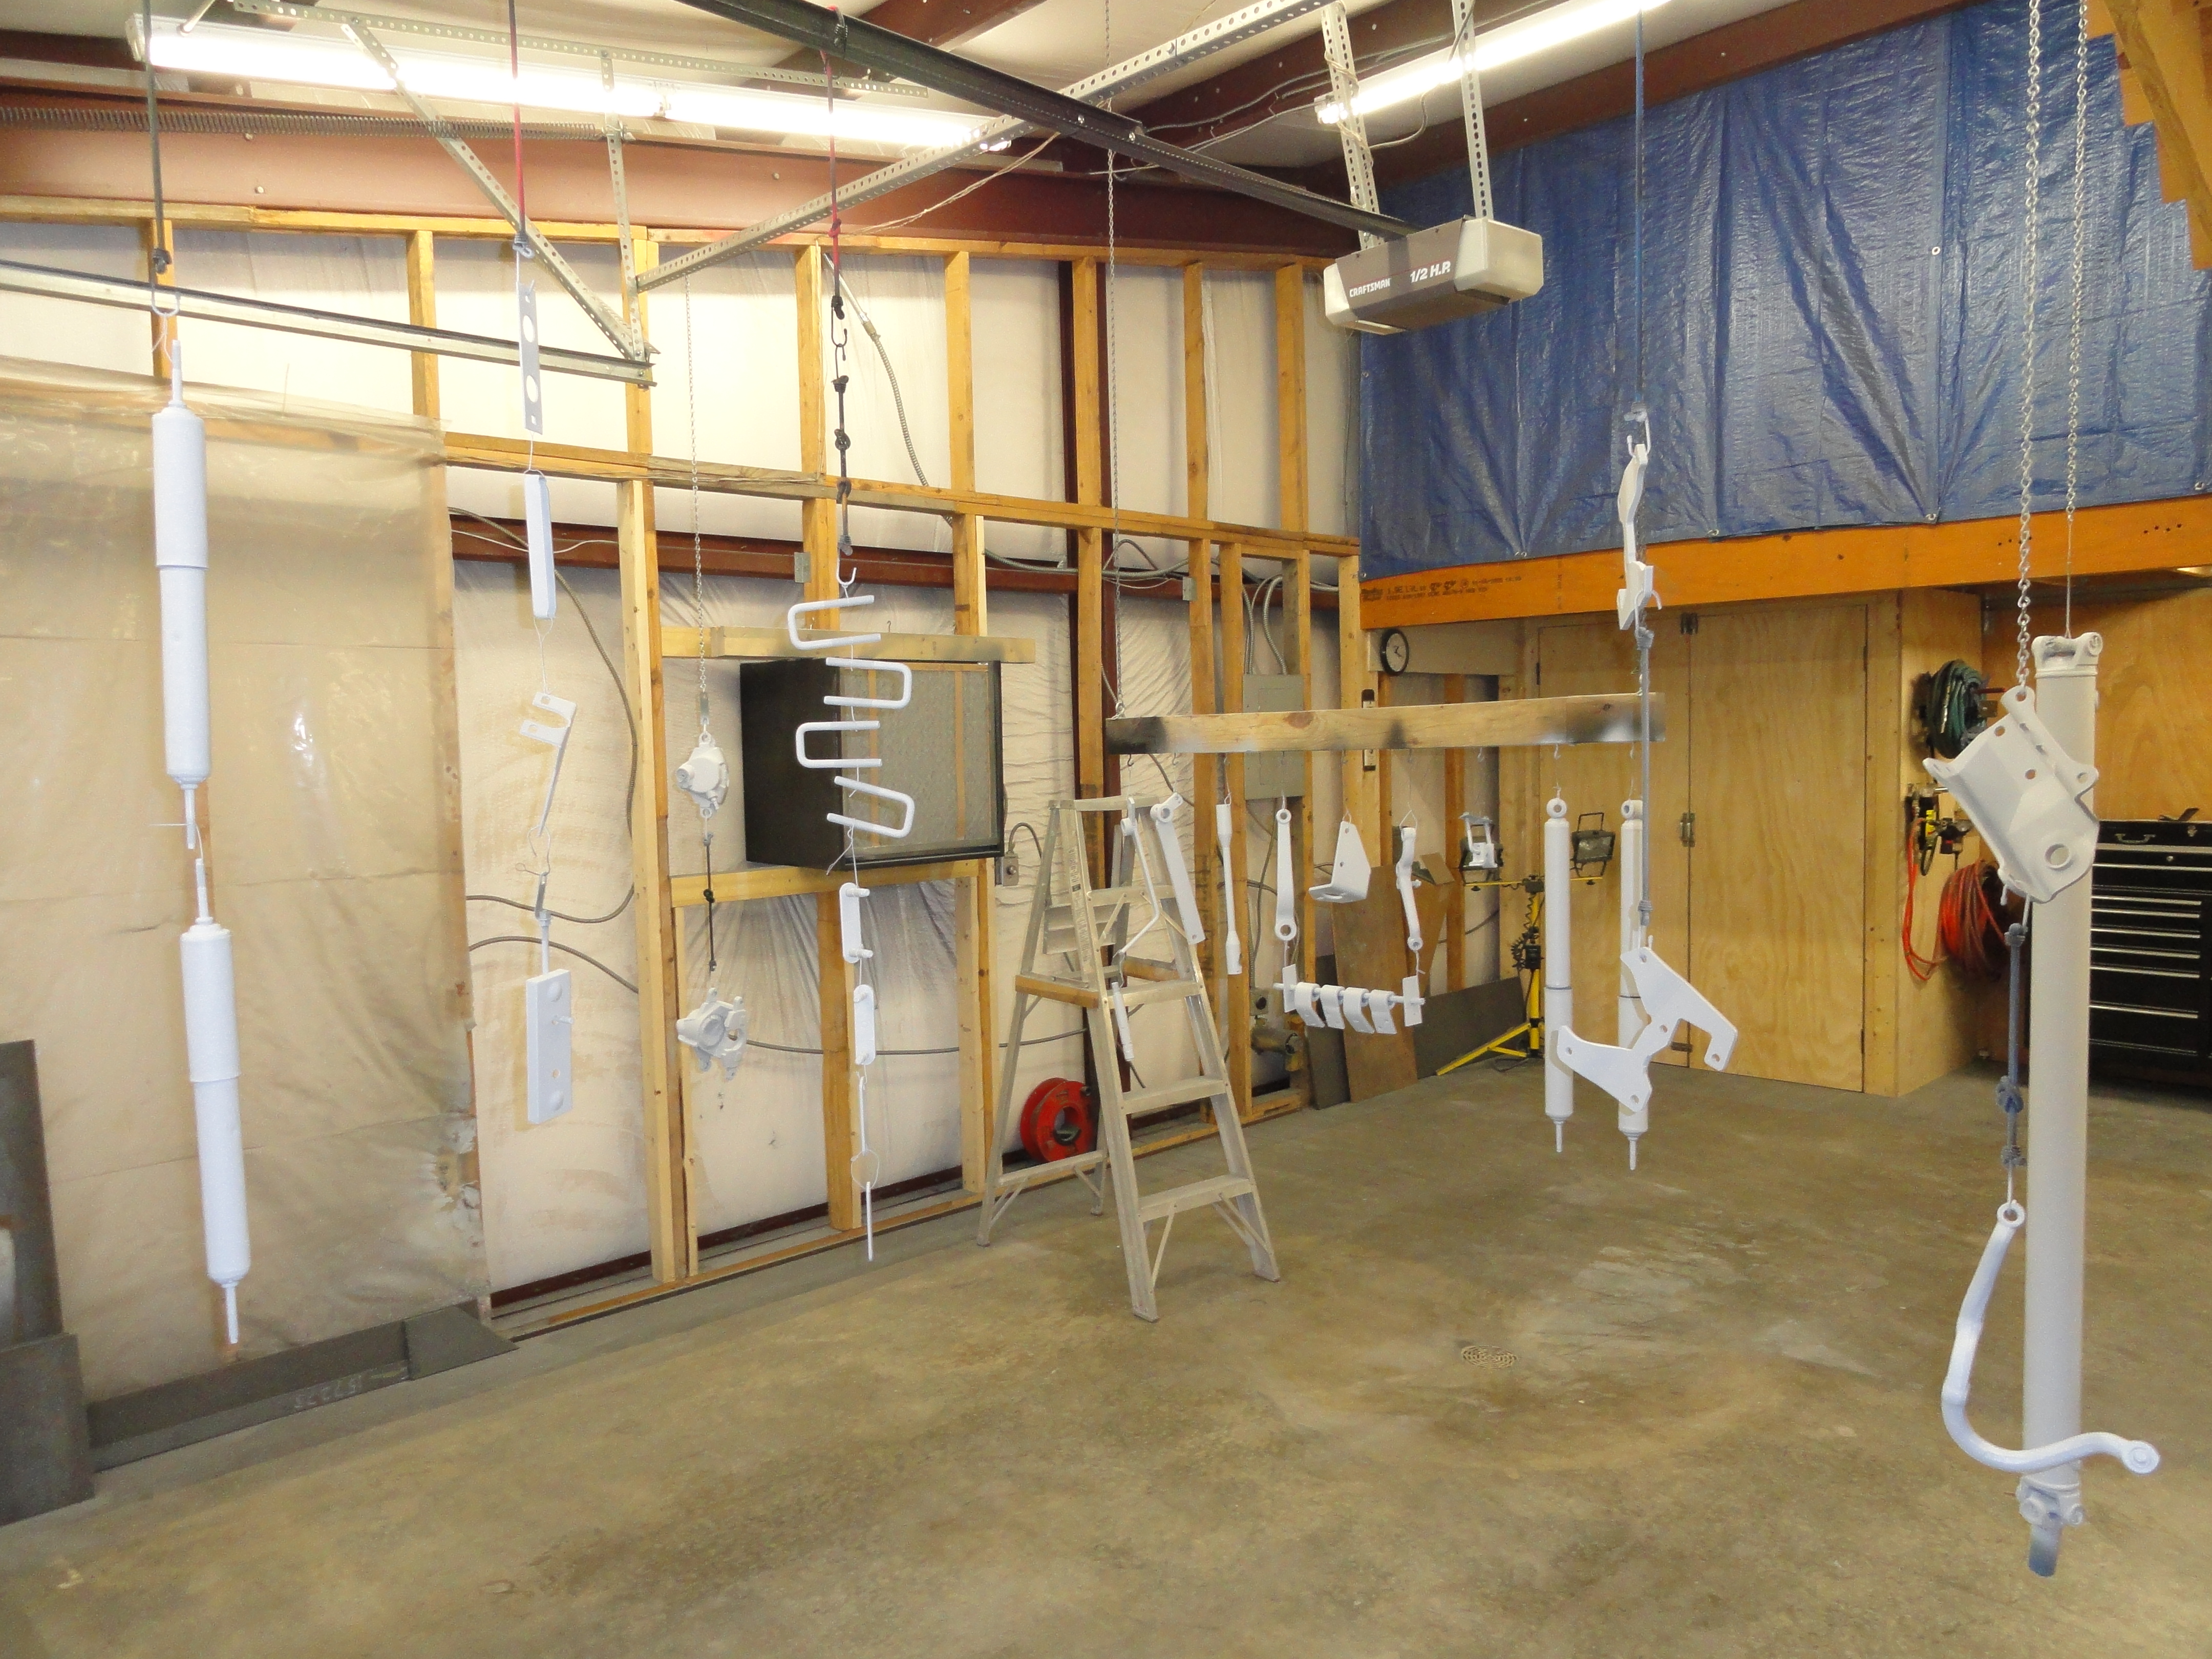
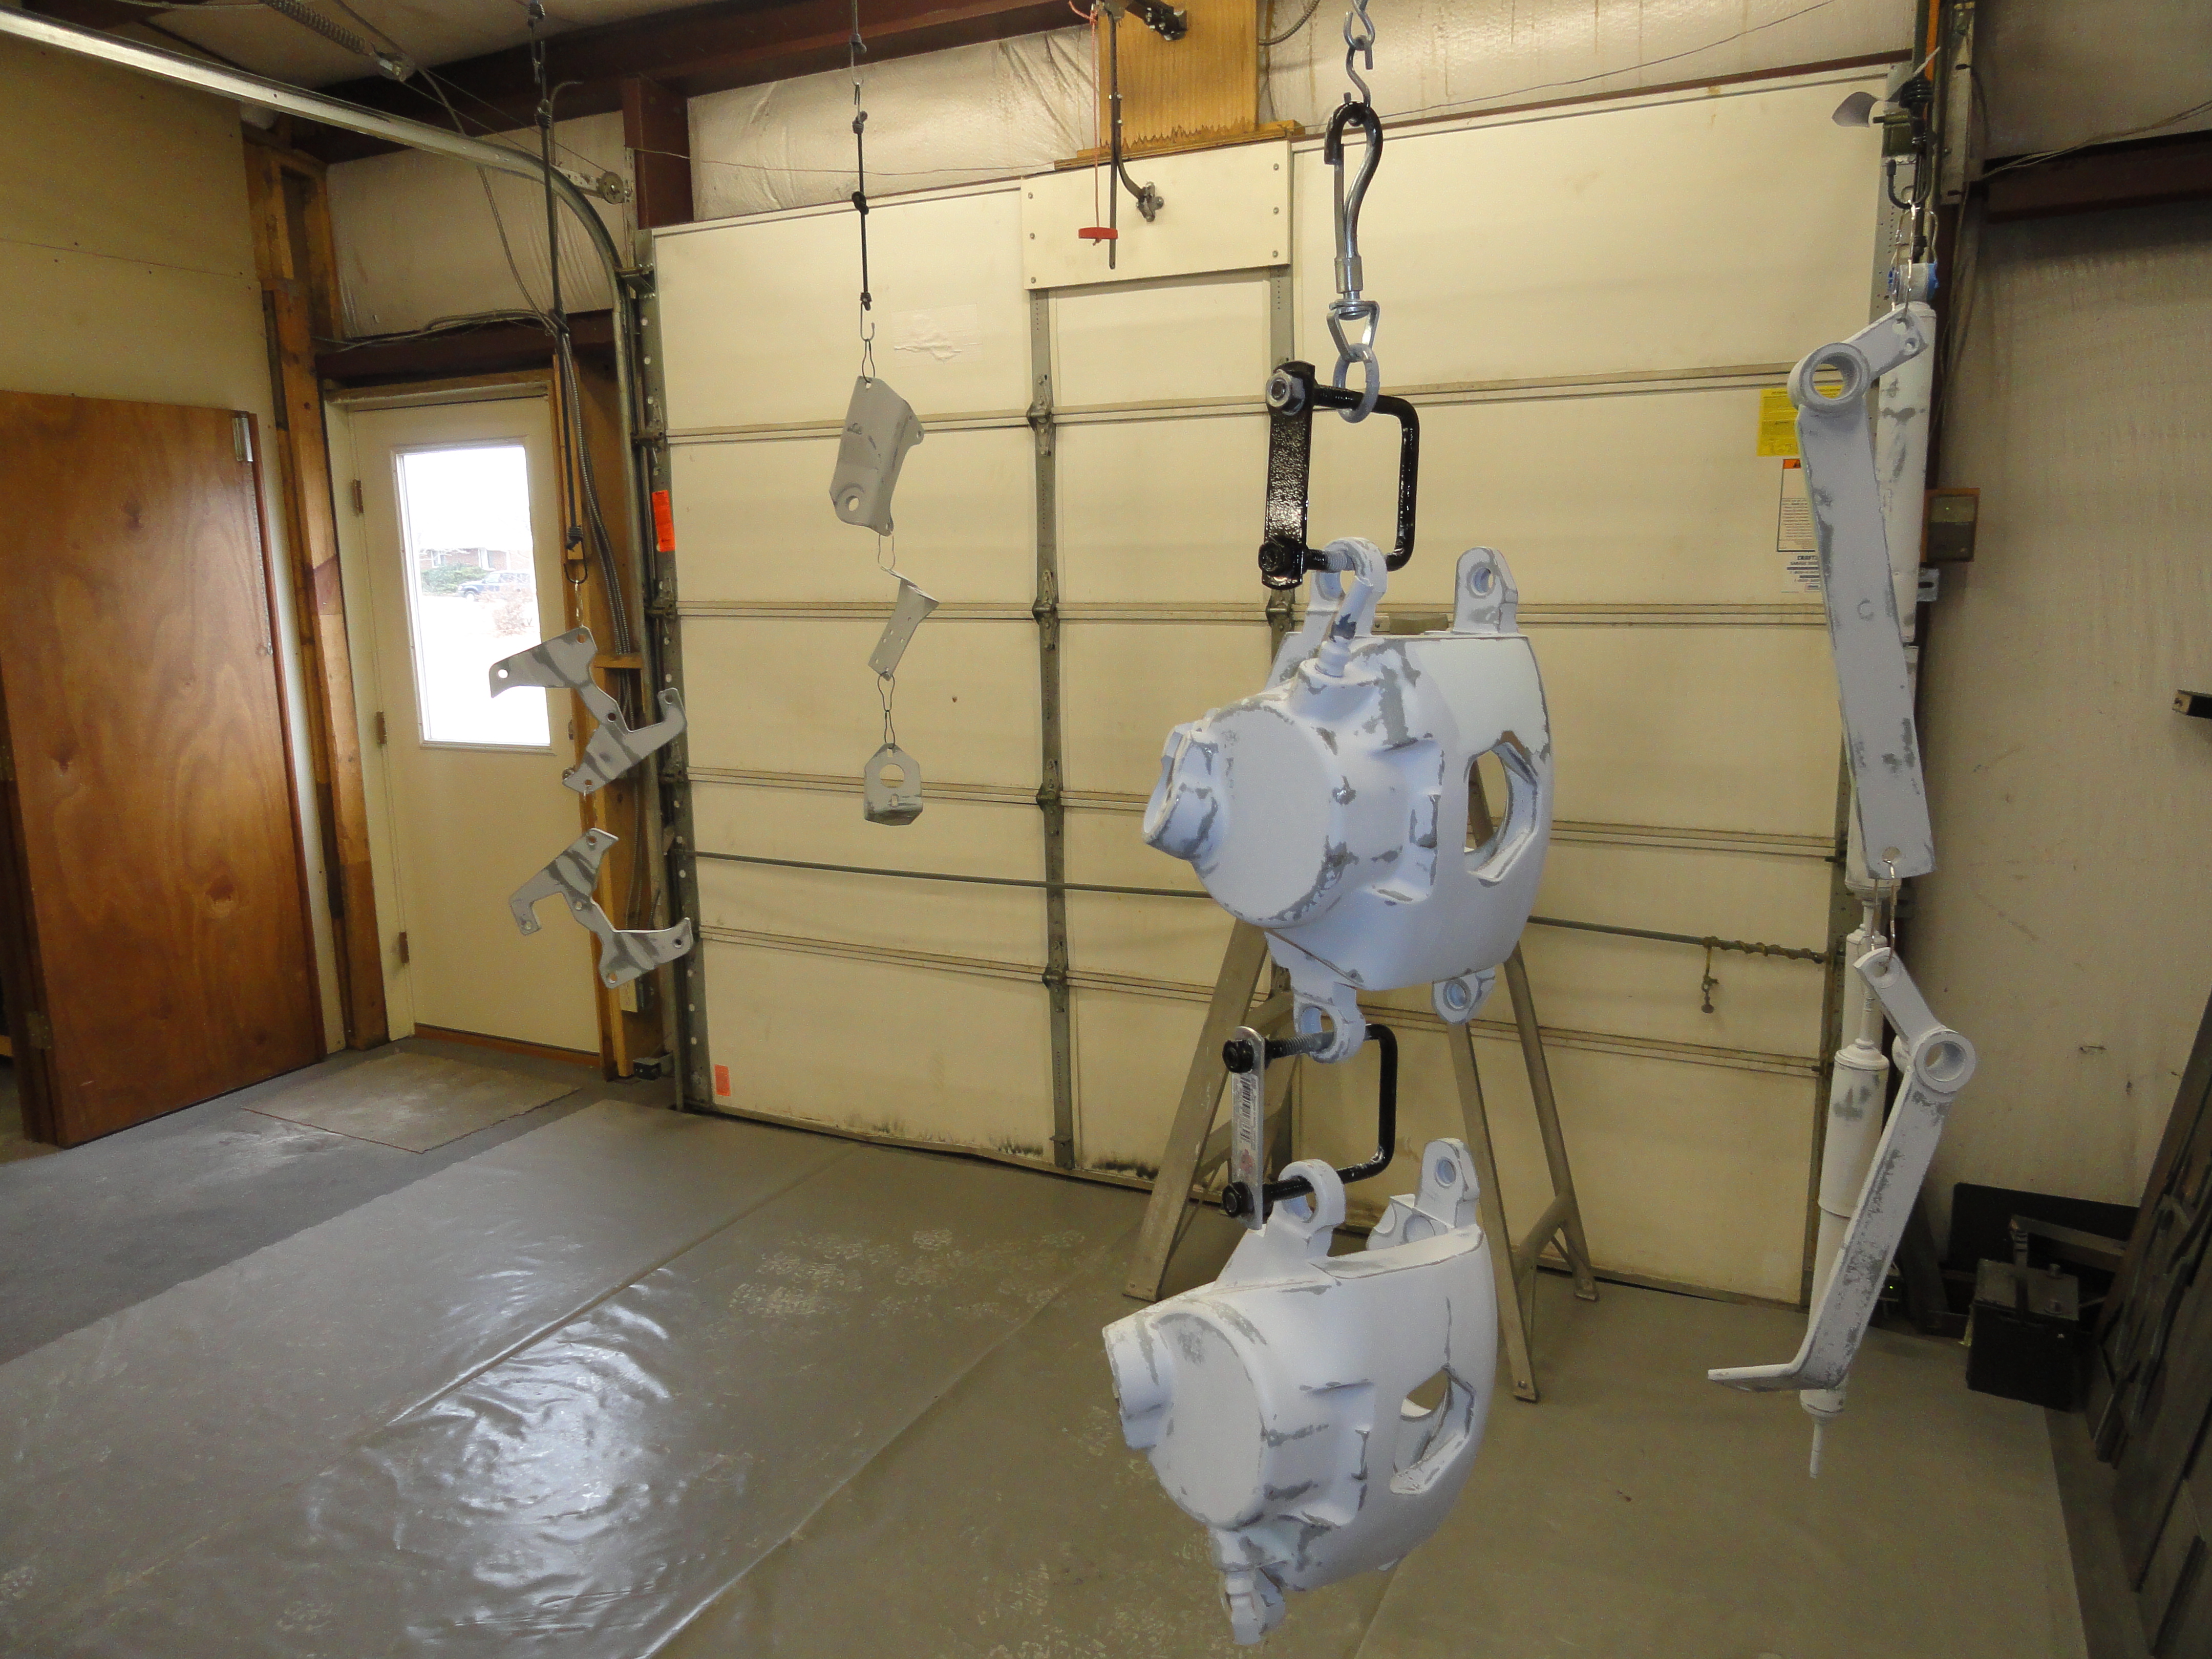
There isn't a lot of glamor associated with this kind of work. Each individual part needs a good solid and long lasting finish. This means epoxy primer, high build urethane primer, sanding, then urethane topcoat on everything. This is how I paint the small parts. I find by hanging them up, I can get most of it in one pass. Also, Safety Wire is your friend when doing this sort of thing. You can make any kind of hook you can imagine with safety wire and safety wire pliers.
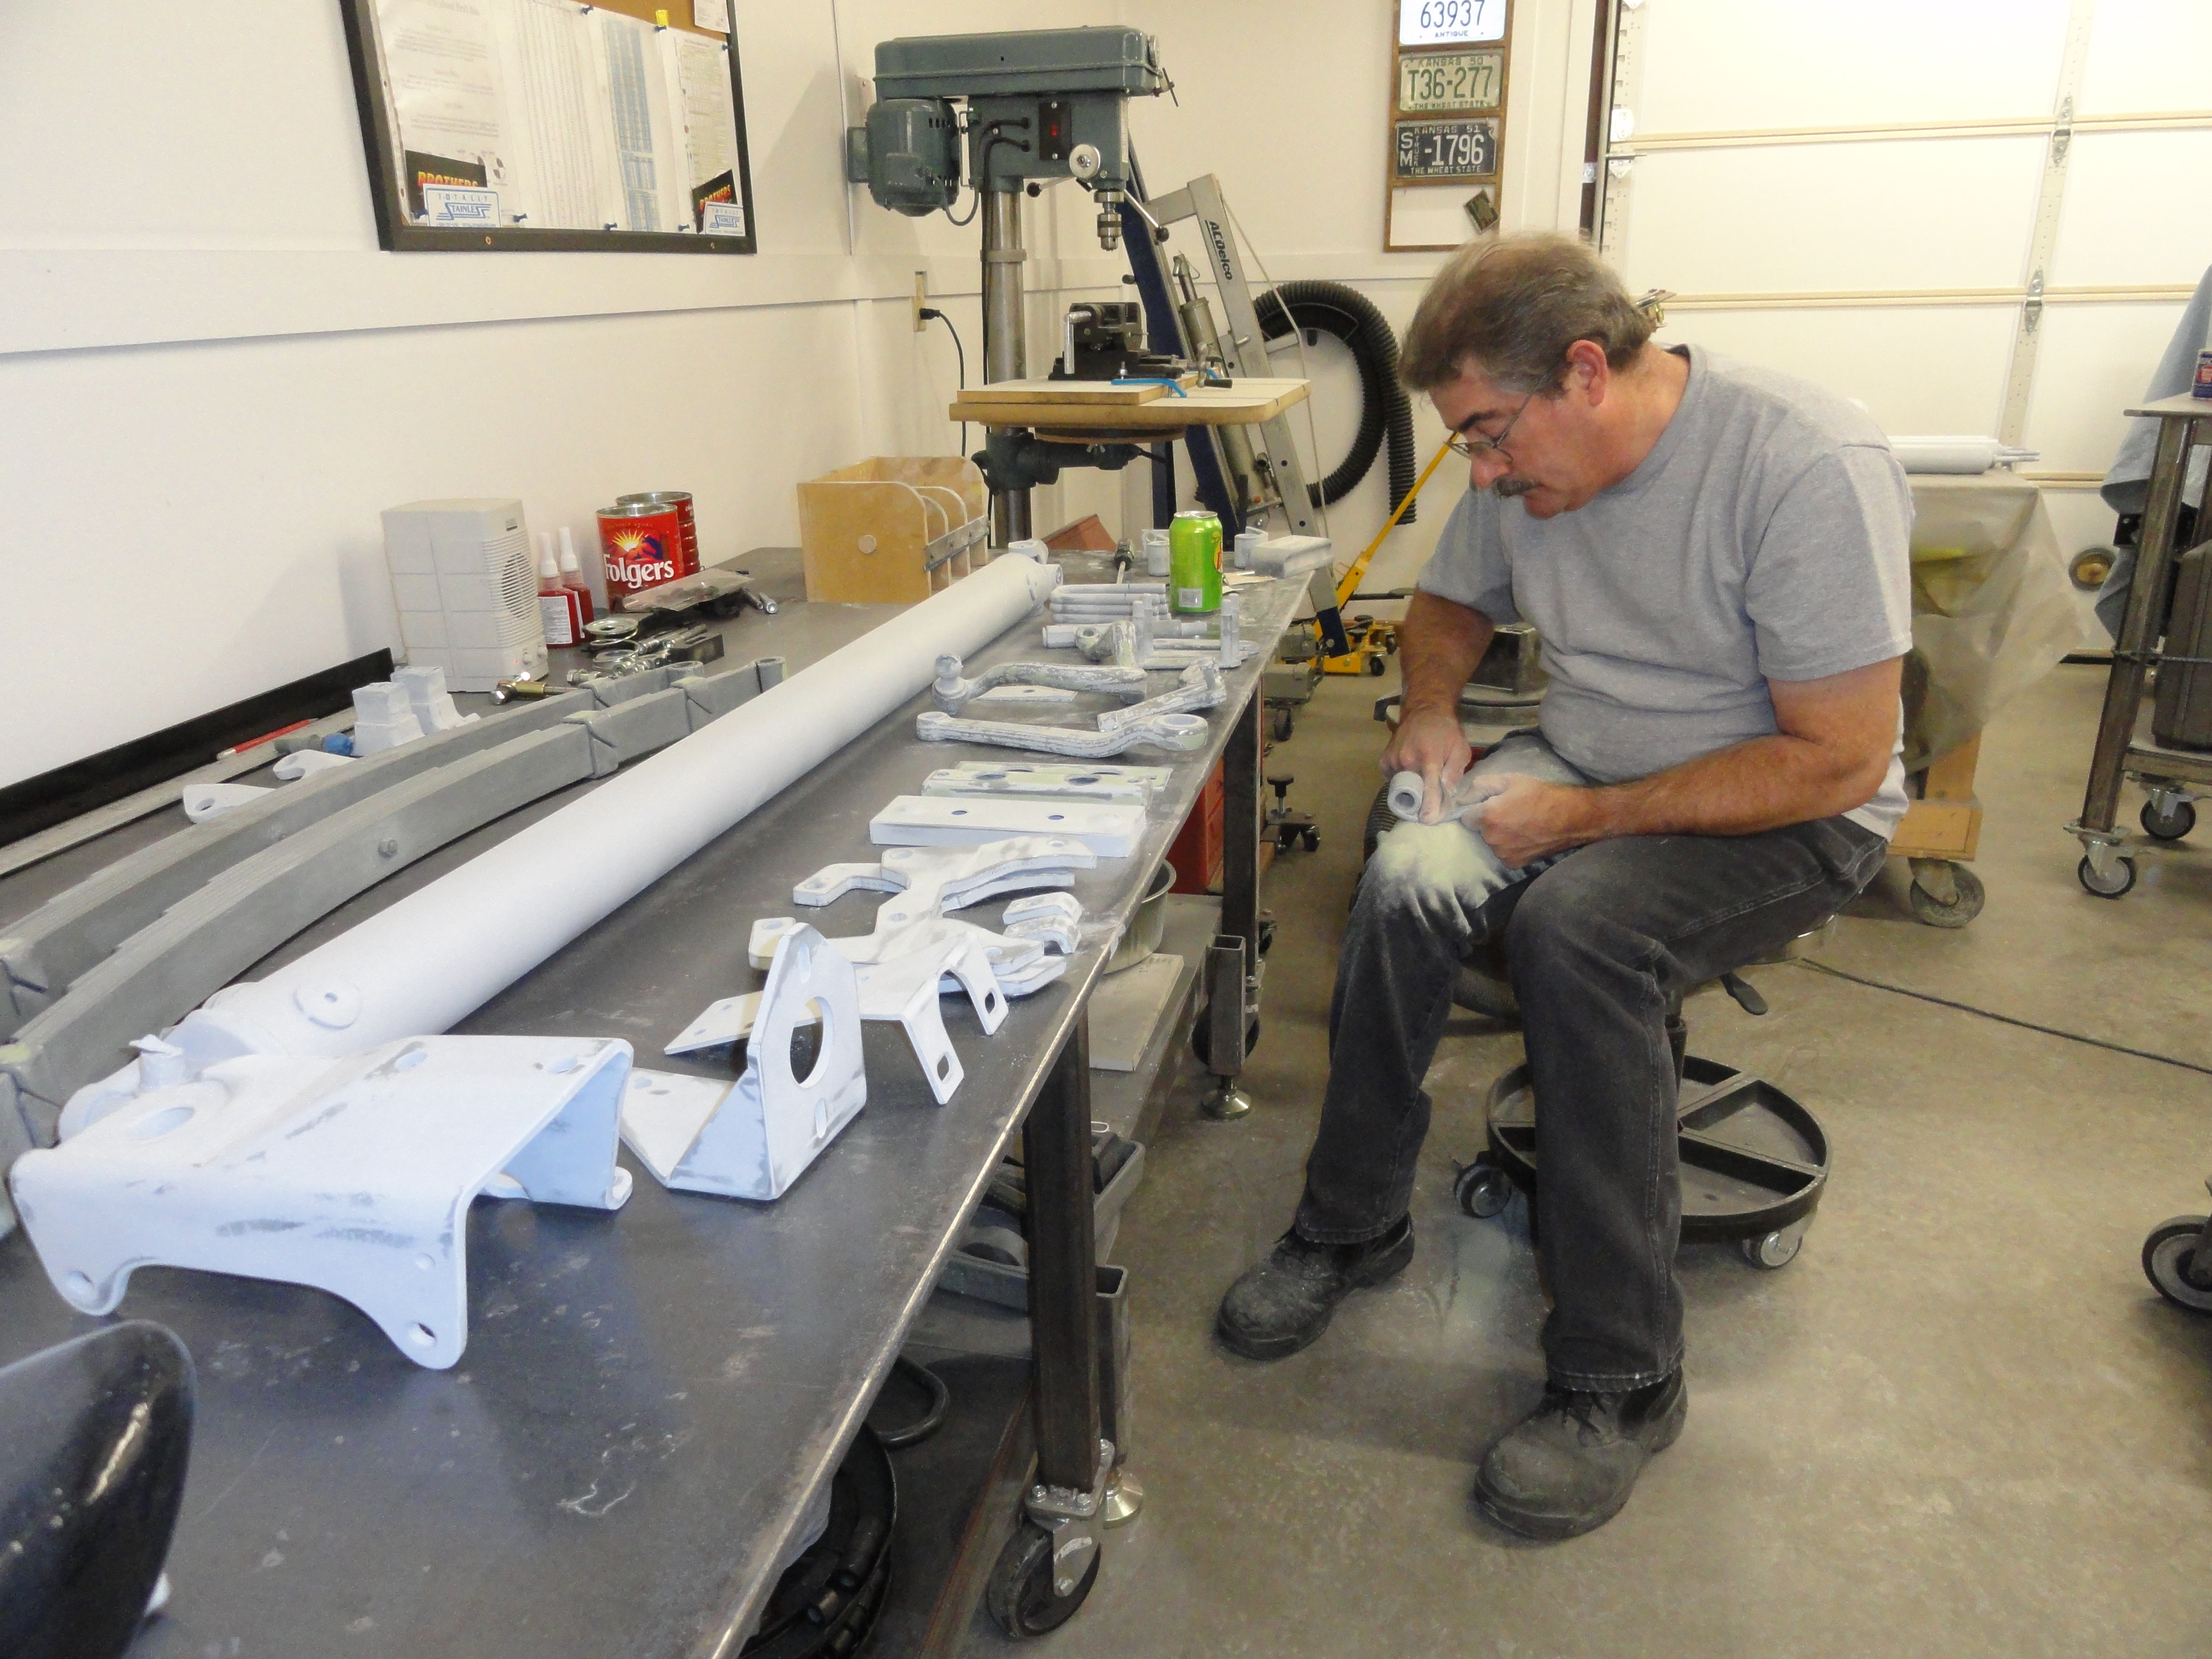
From hours and hours of meticulous sanding and finish work to the completed parts ready for install. This happens over and over again depending on the area of the truck you are working on. Now we can do some assembly! I try to stay away from rattle cans because they do not include hardeners and really are inferior to actual automotive paints. But you have to weigh the time constraints and everything in order to make that decision. Since I have time, I do it the hard way. Just don't think you will make a profit that way!
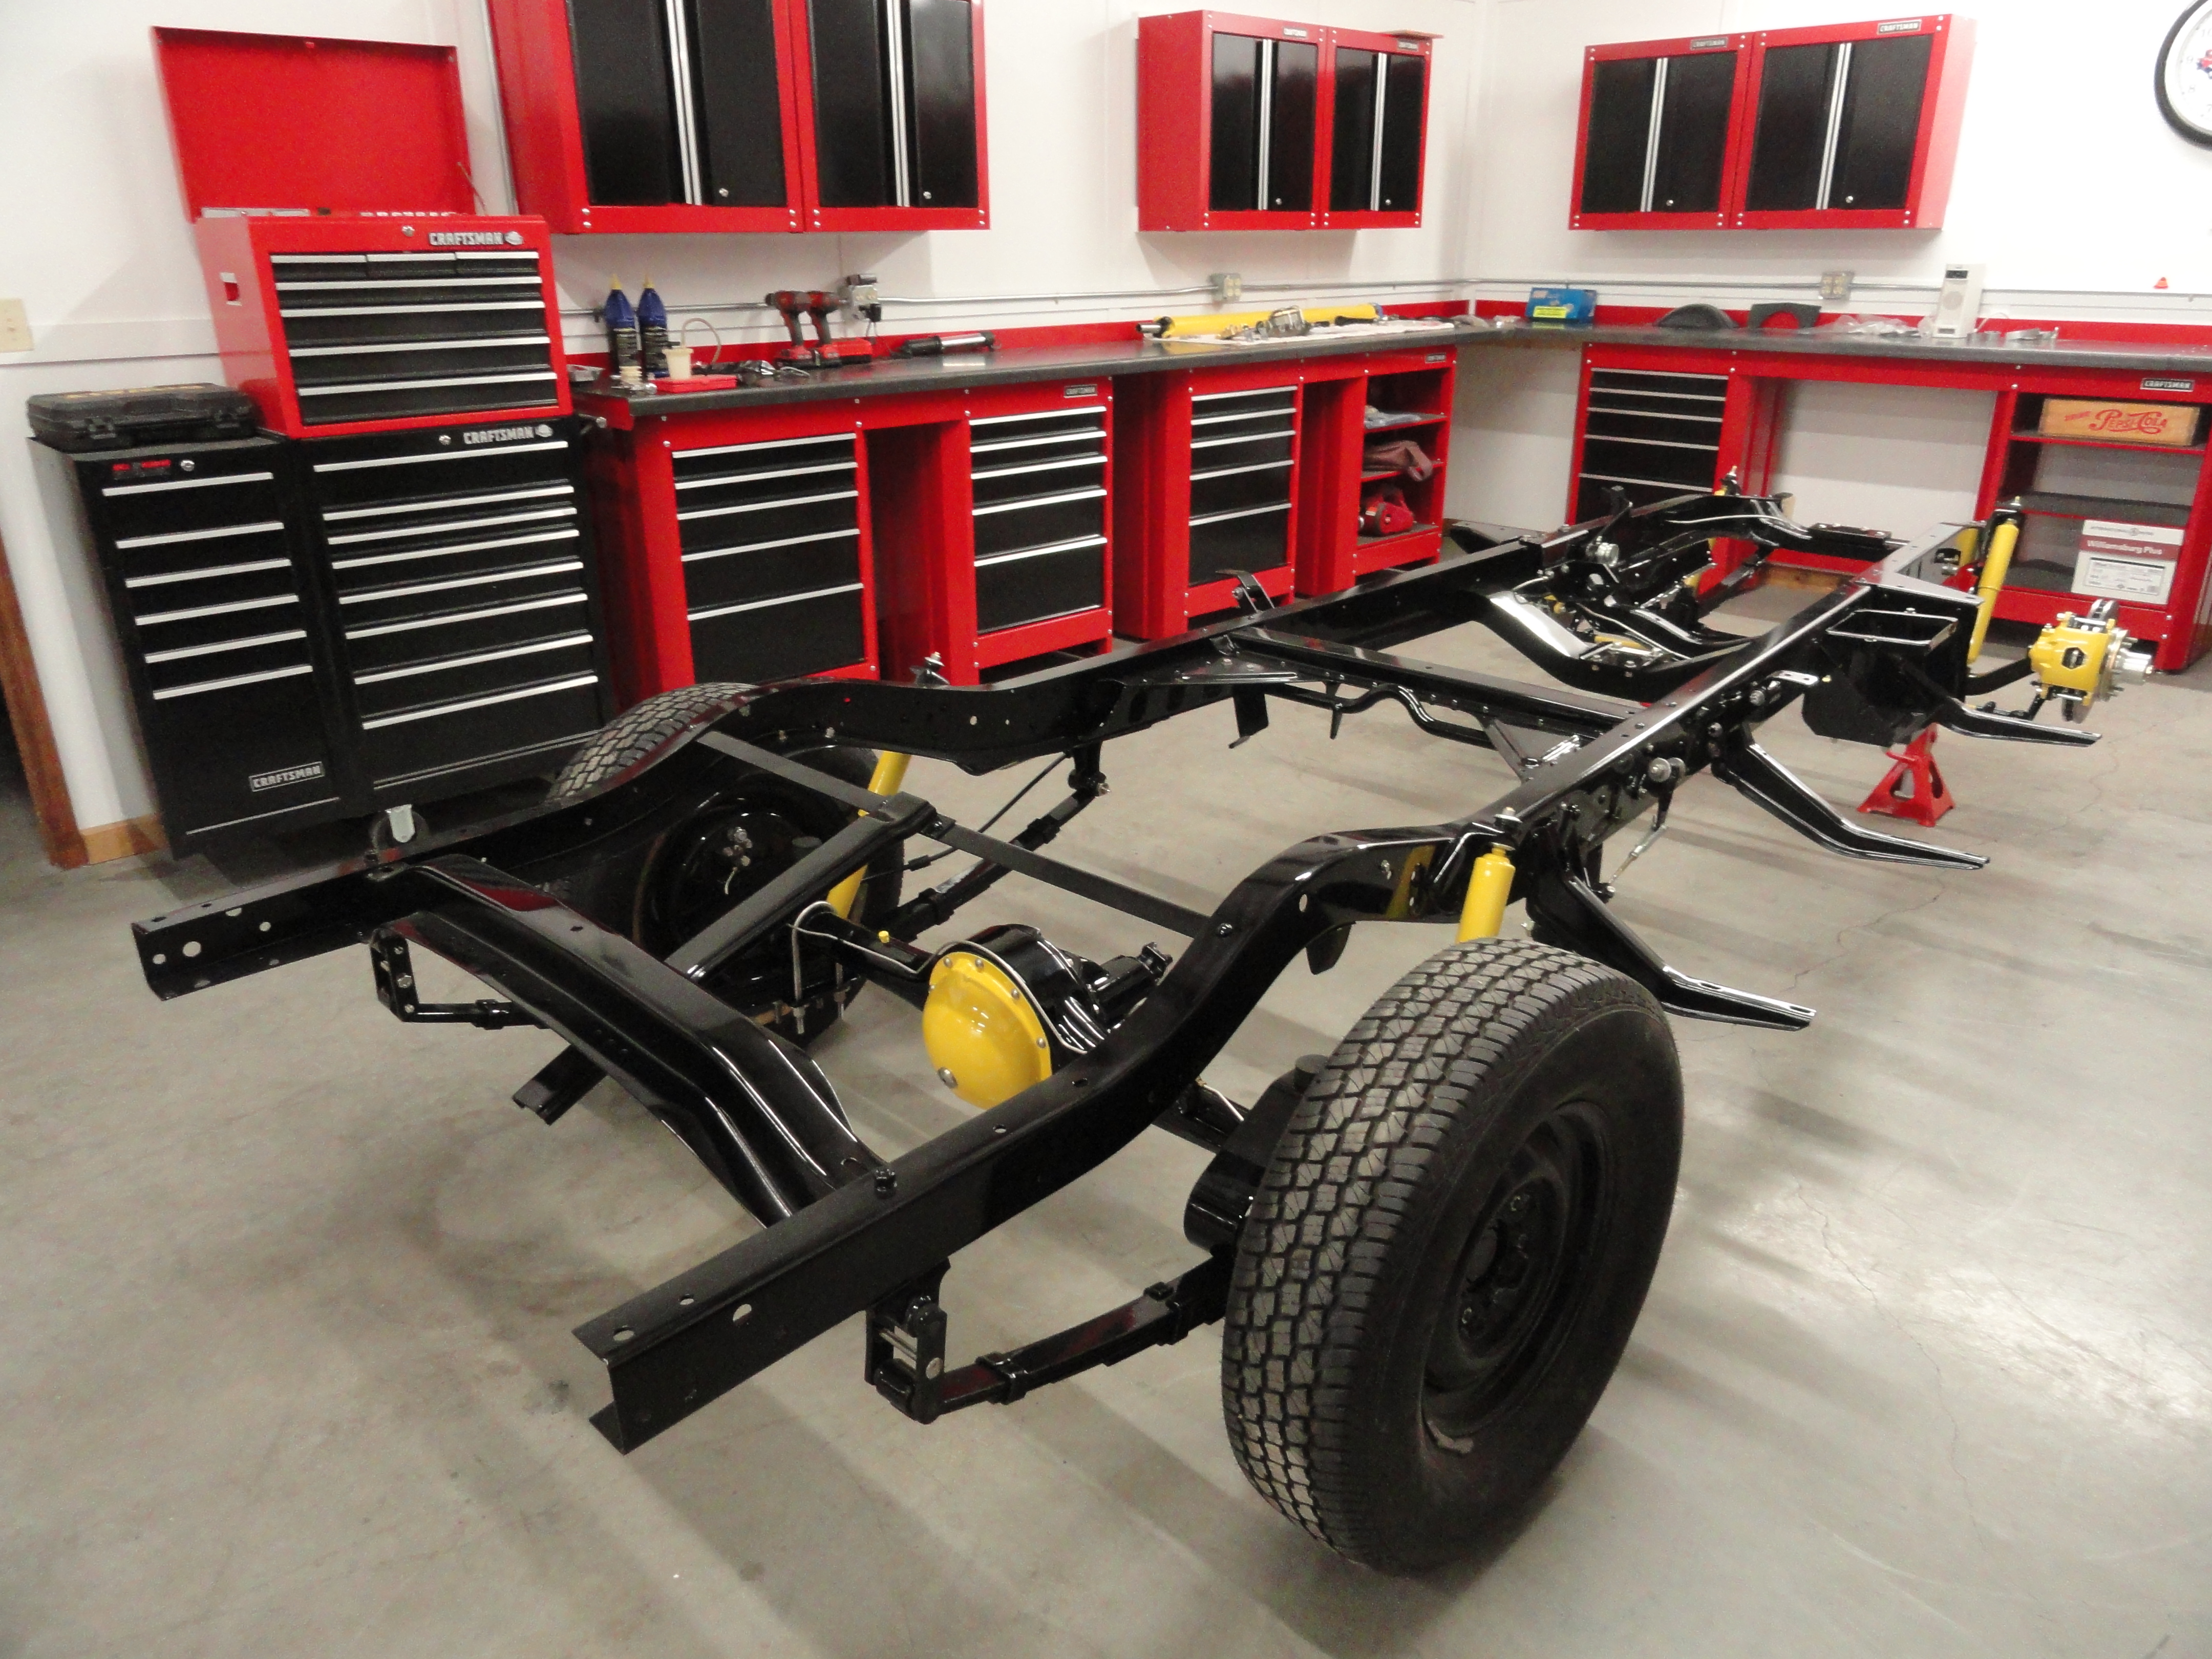

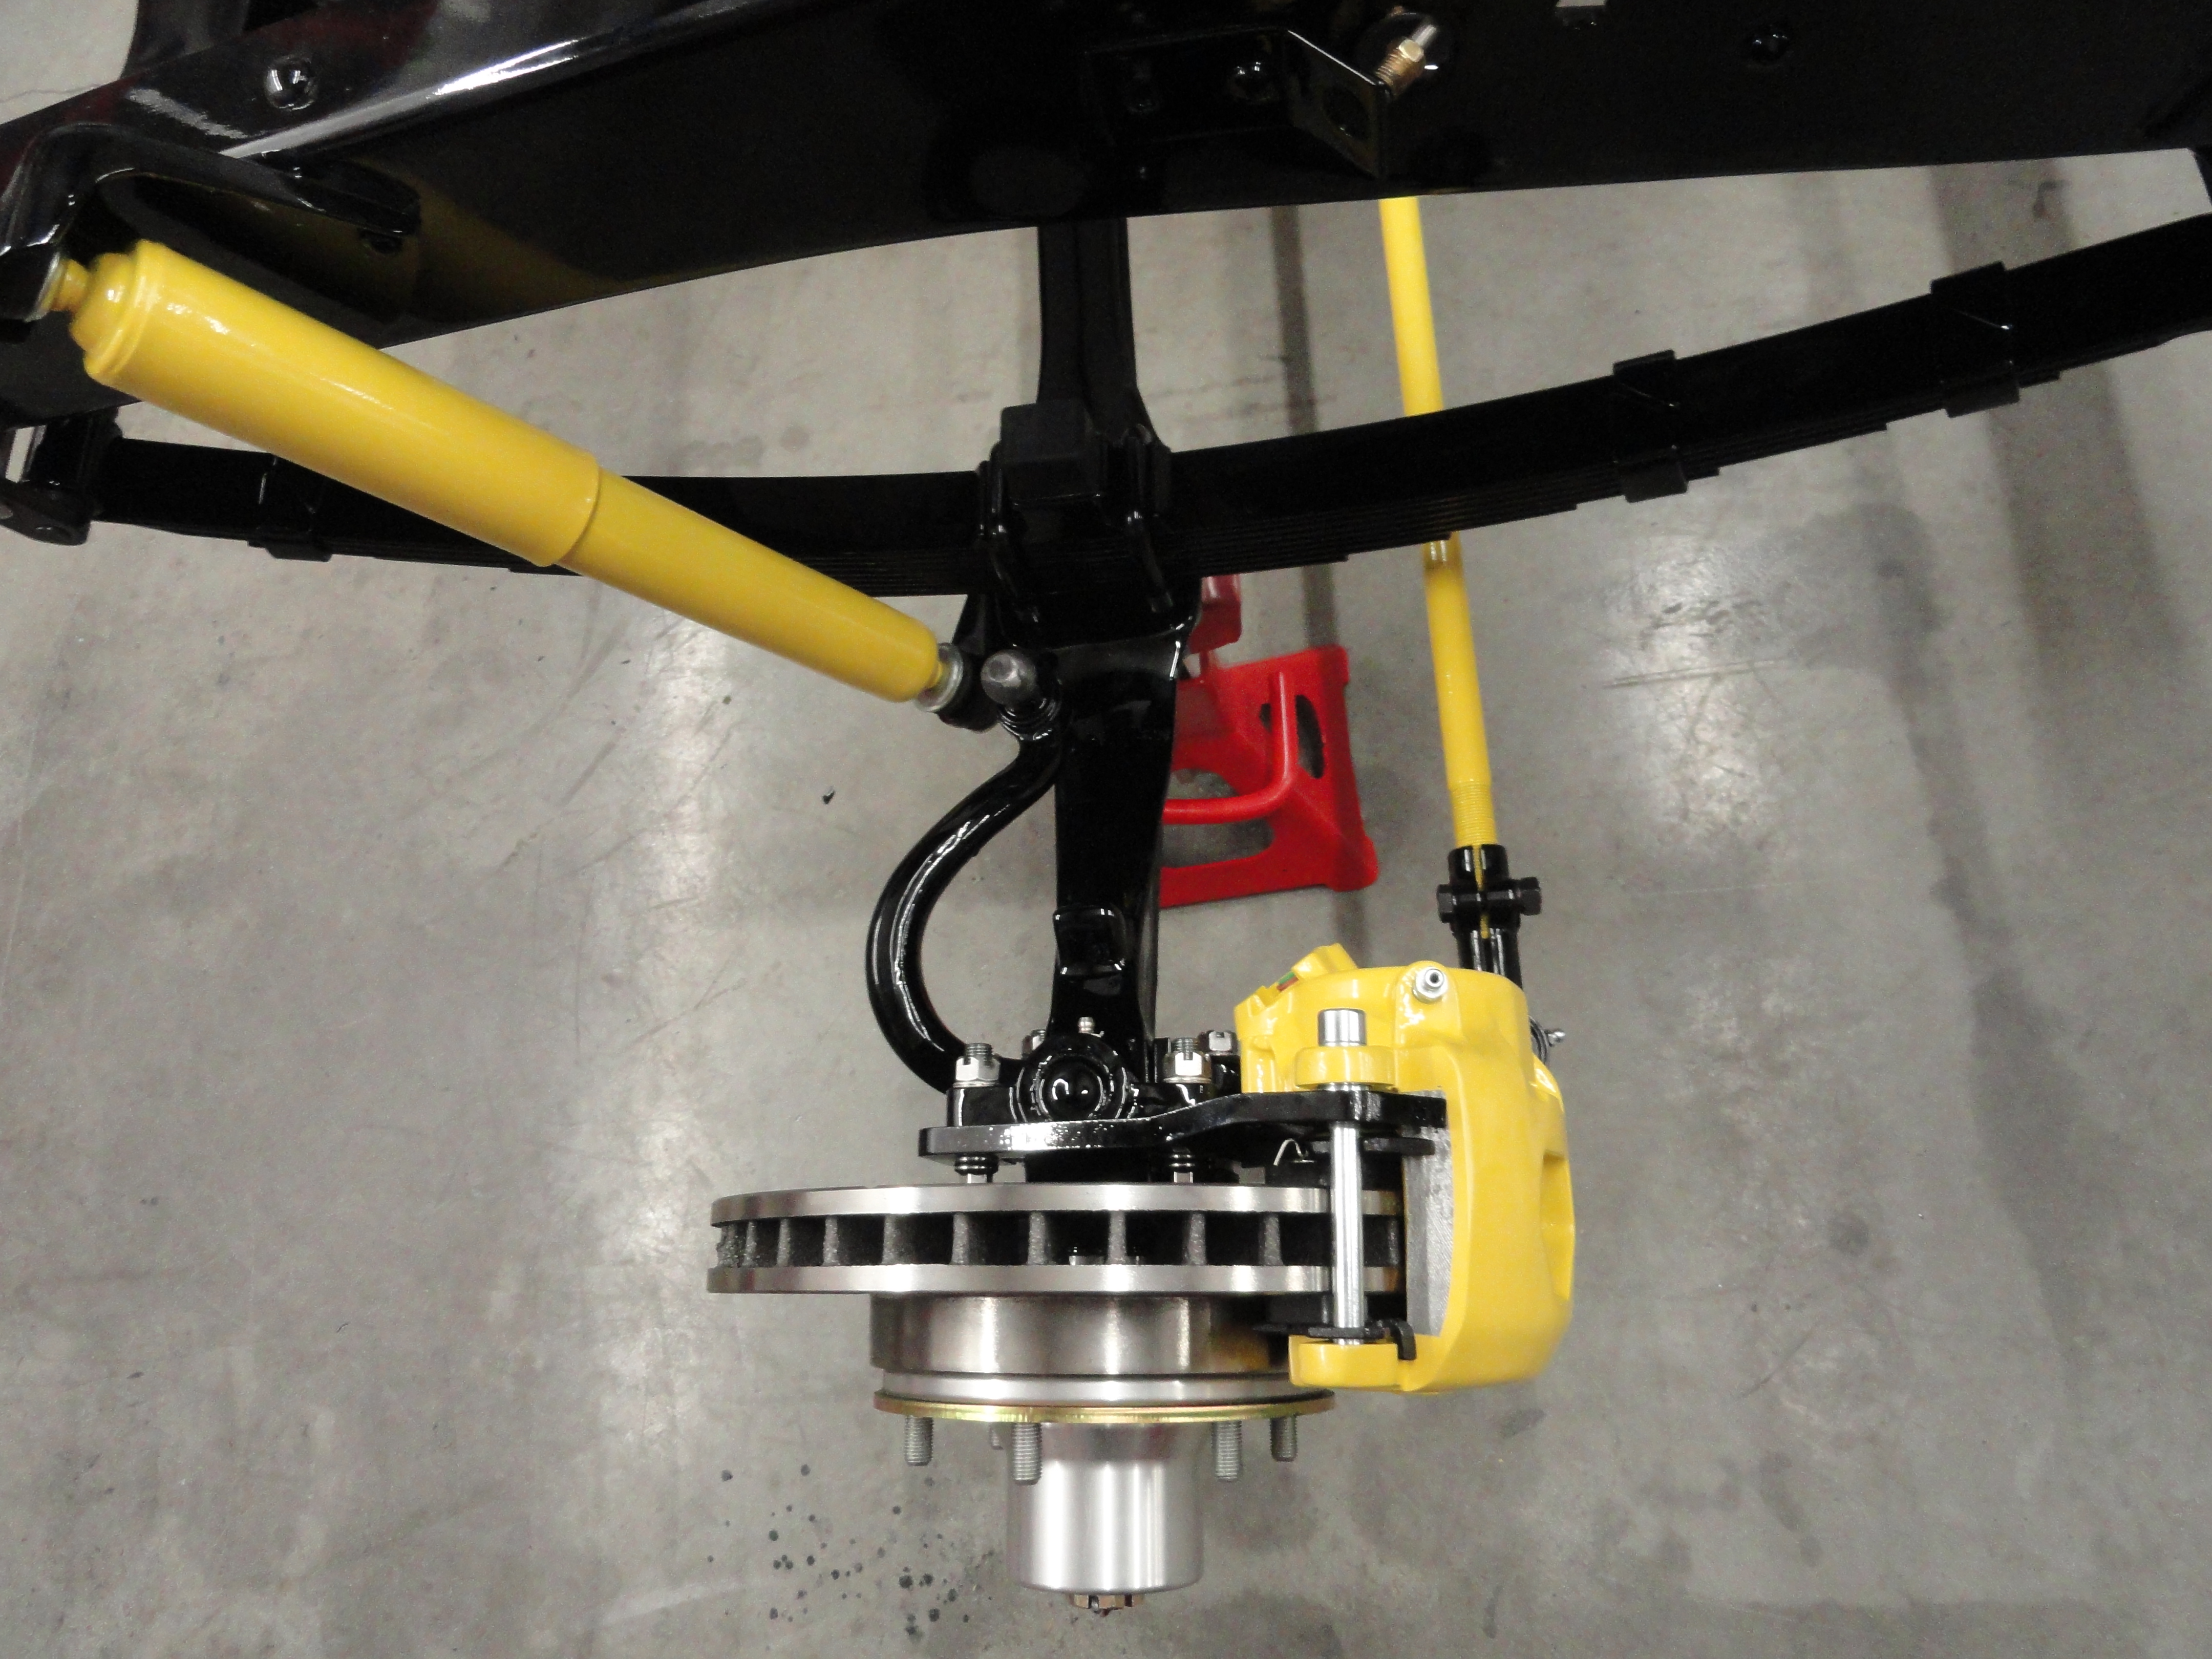
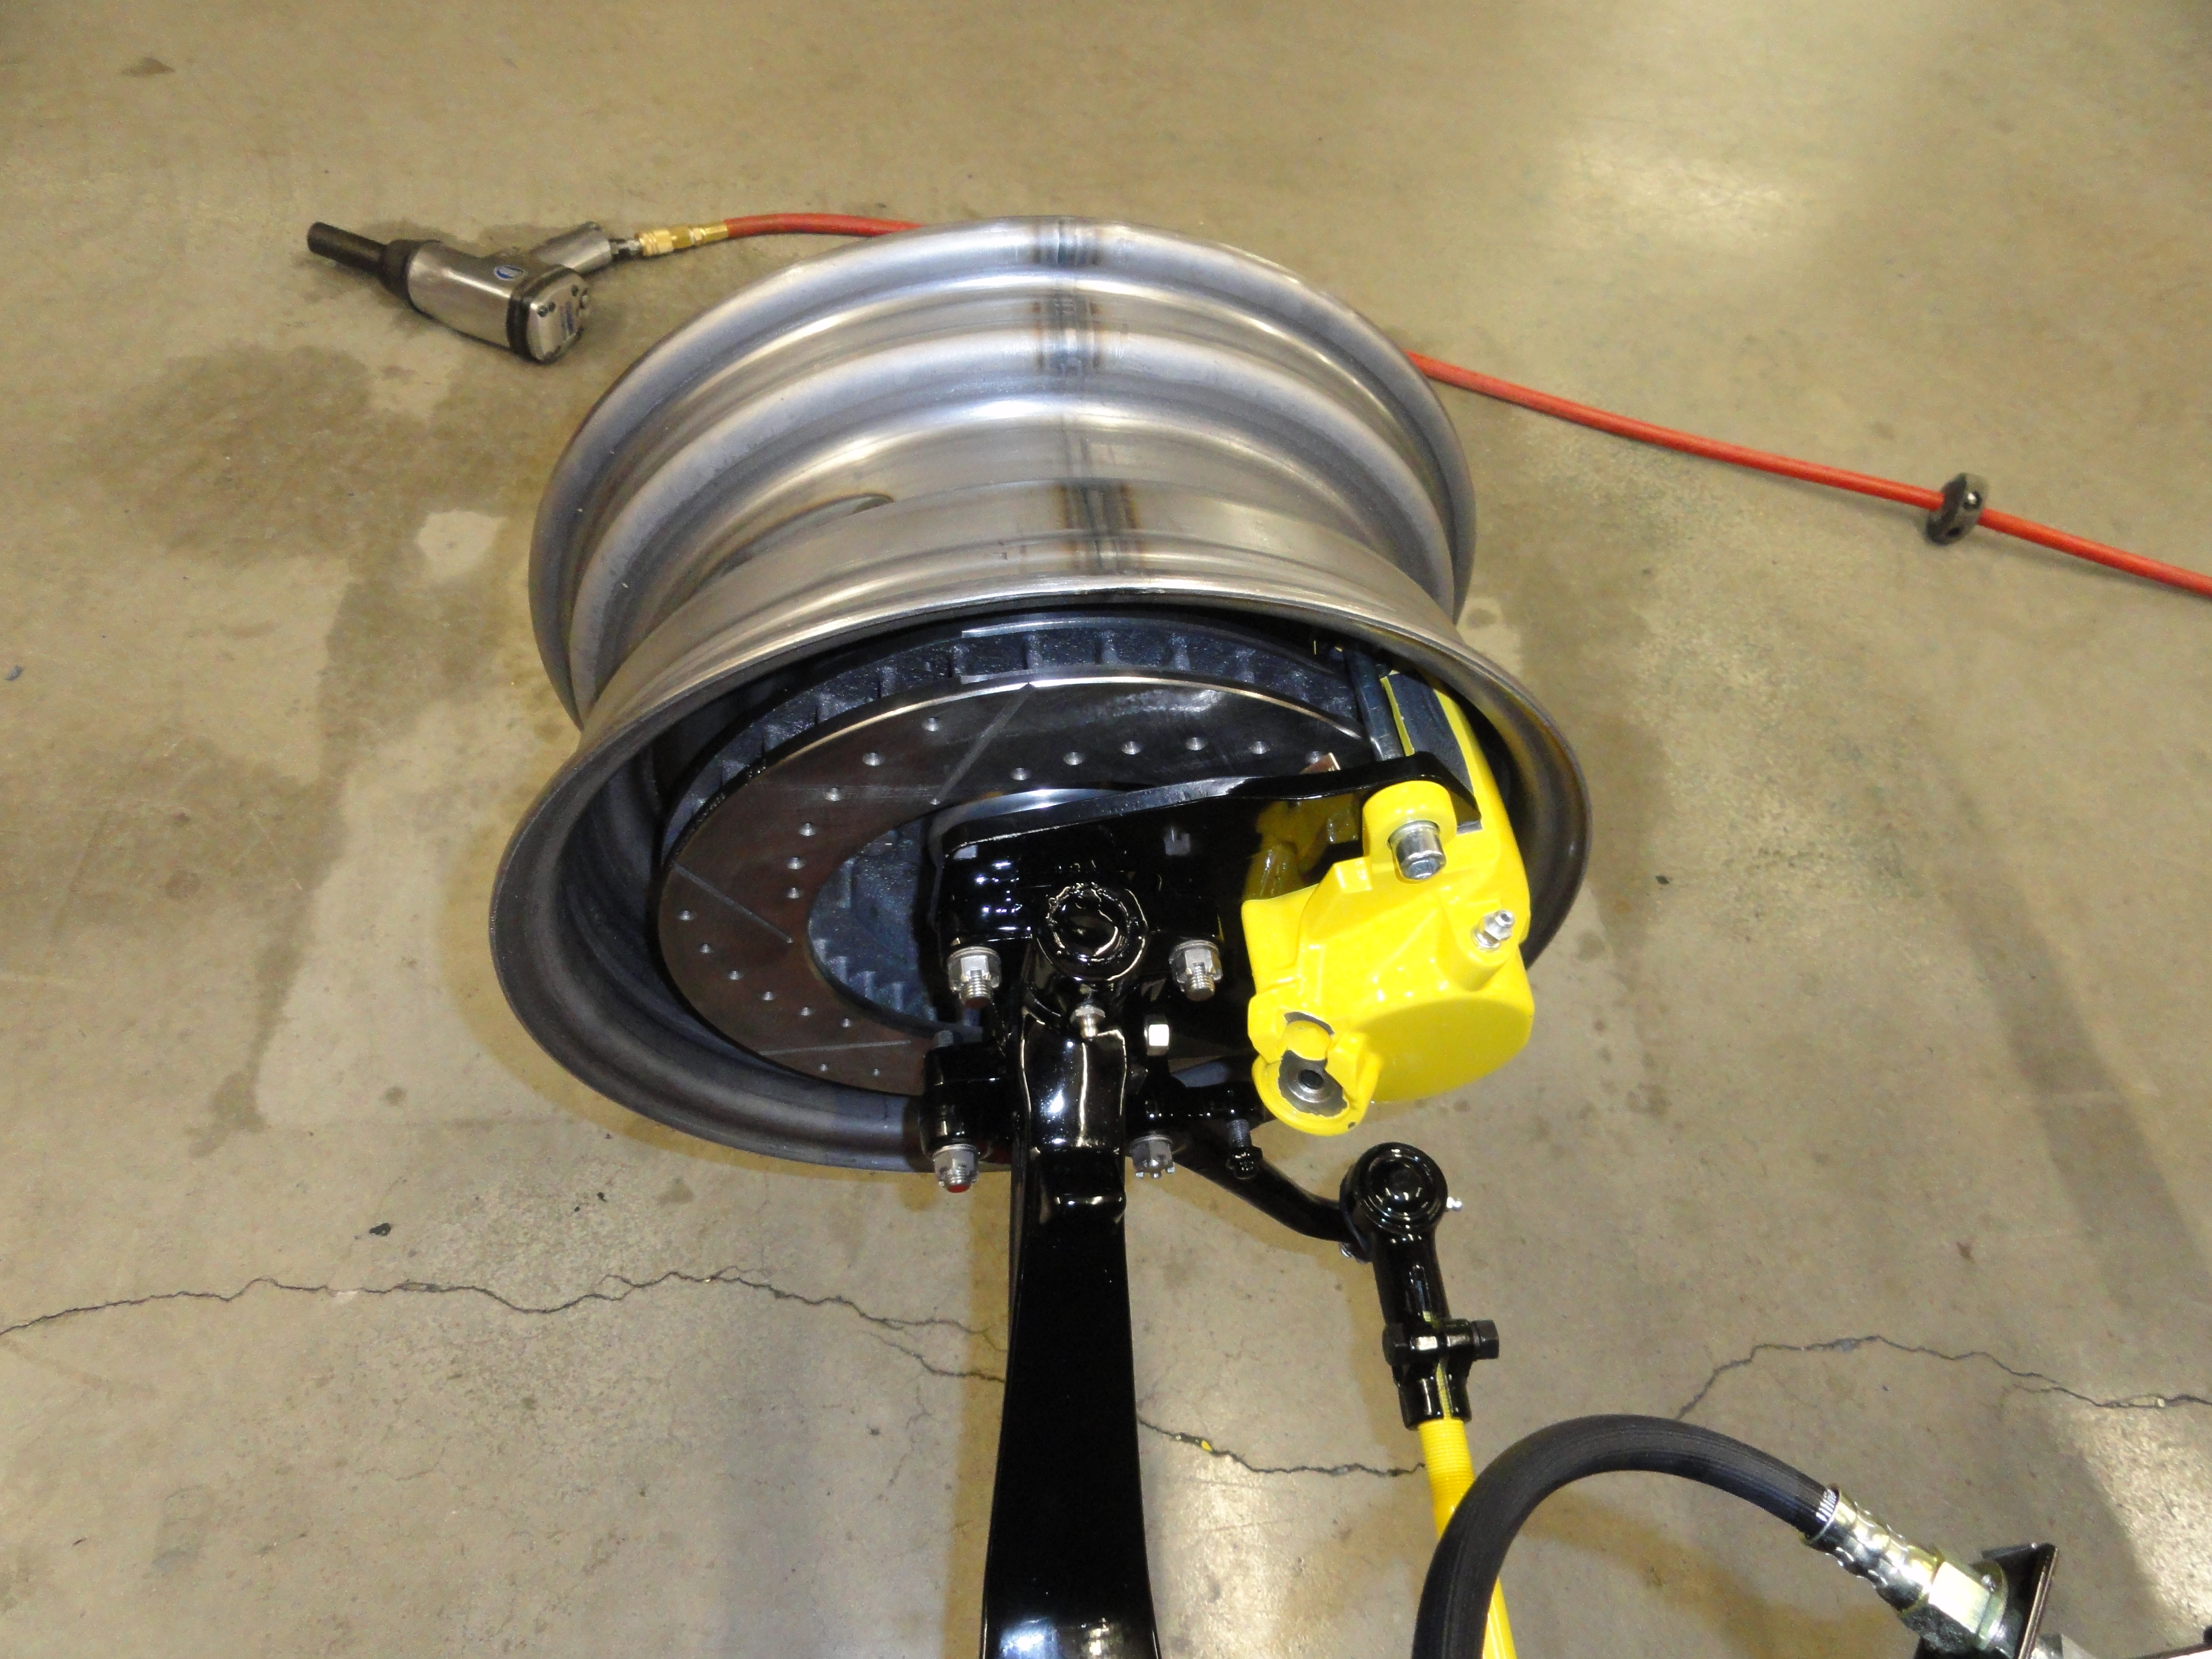
I was so excited about that frame coming off that rotisserie, that I forgot to take pictures of it. It went very smooth and since I had the front and rear end systems all together, I just rolled them in place and bolted up the springs. Lots of work behind the scenes here. Then, at this point I can't put wheels on the front because the calipers do not properly clear the stock wheels! This is not a problem at all since they make new modern rims that look almost identical to the stock ones. More on that later.
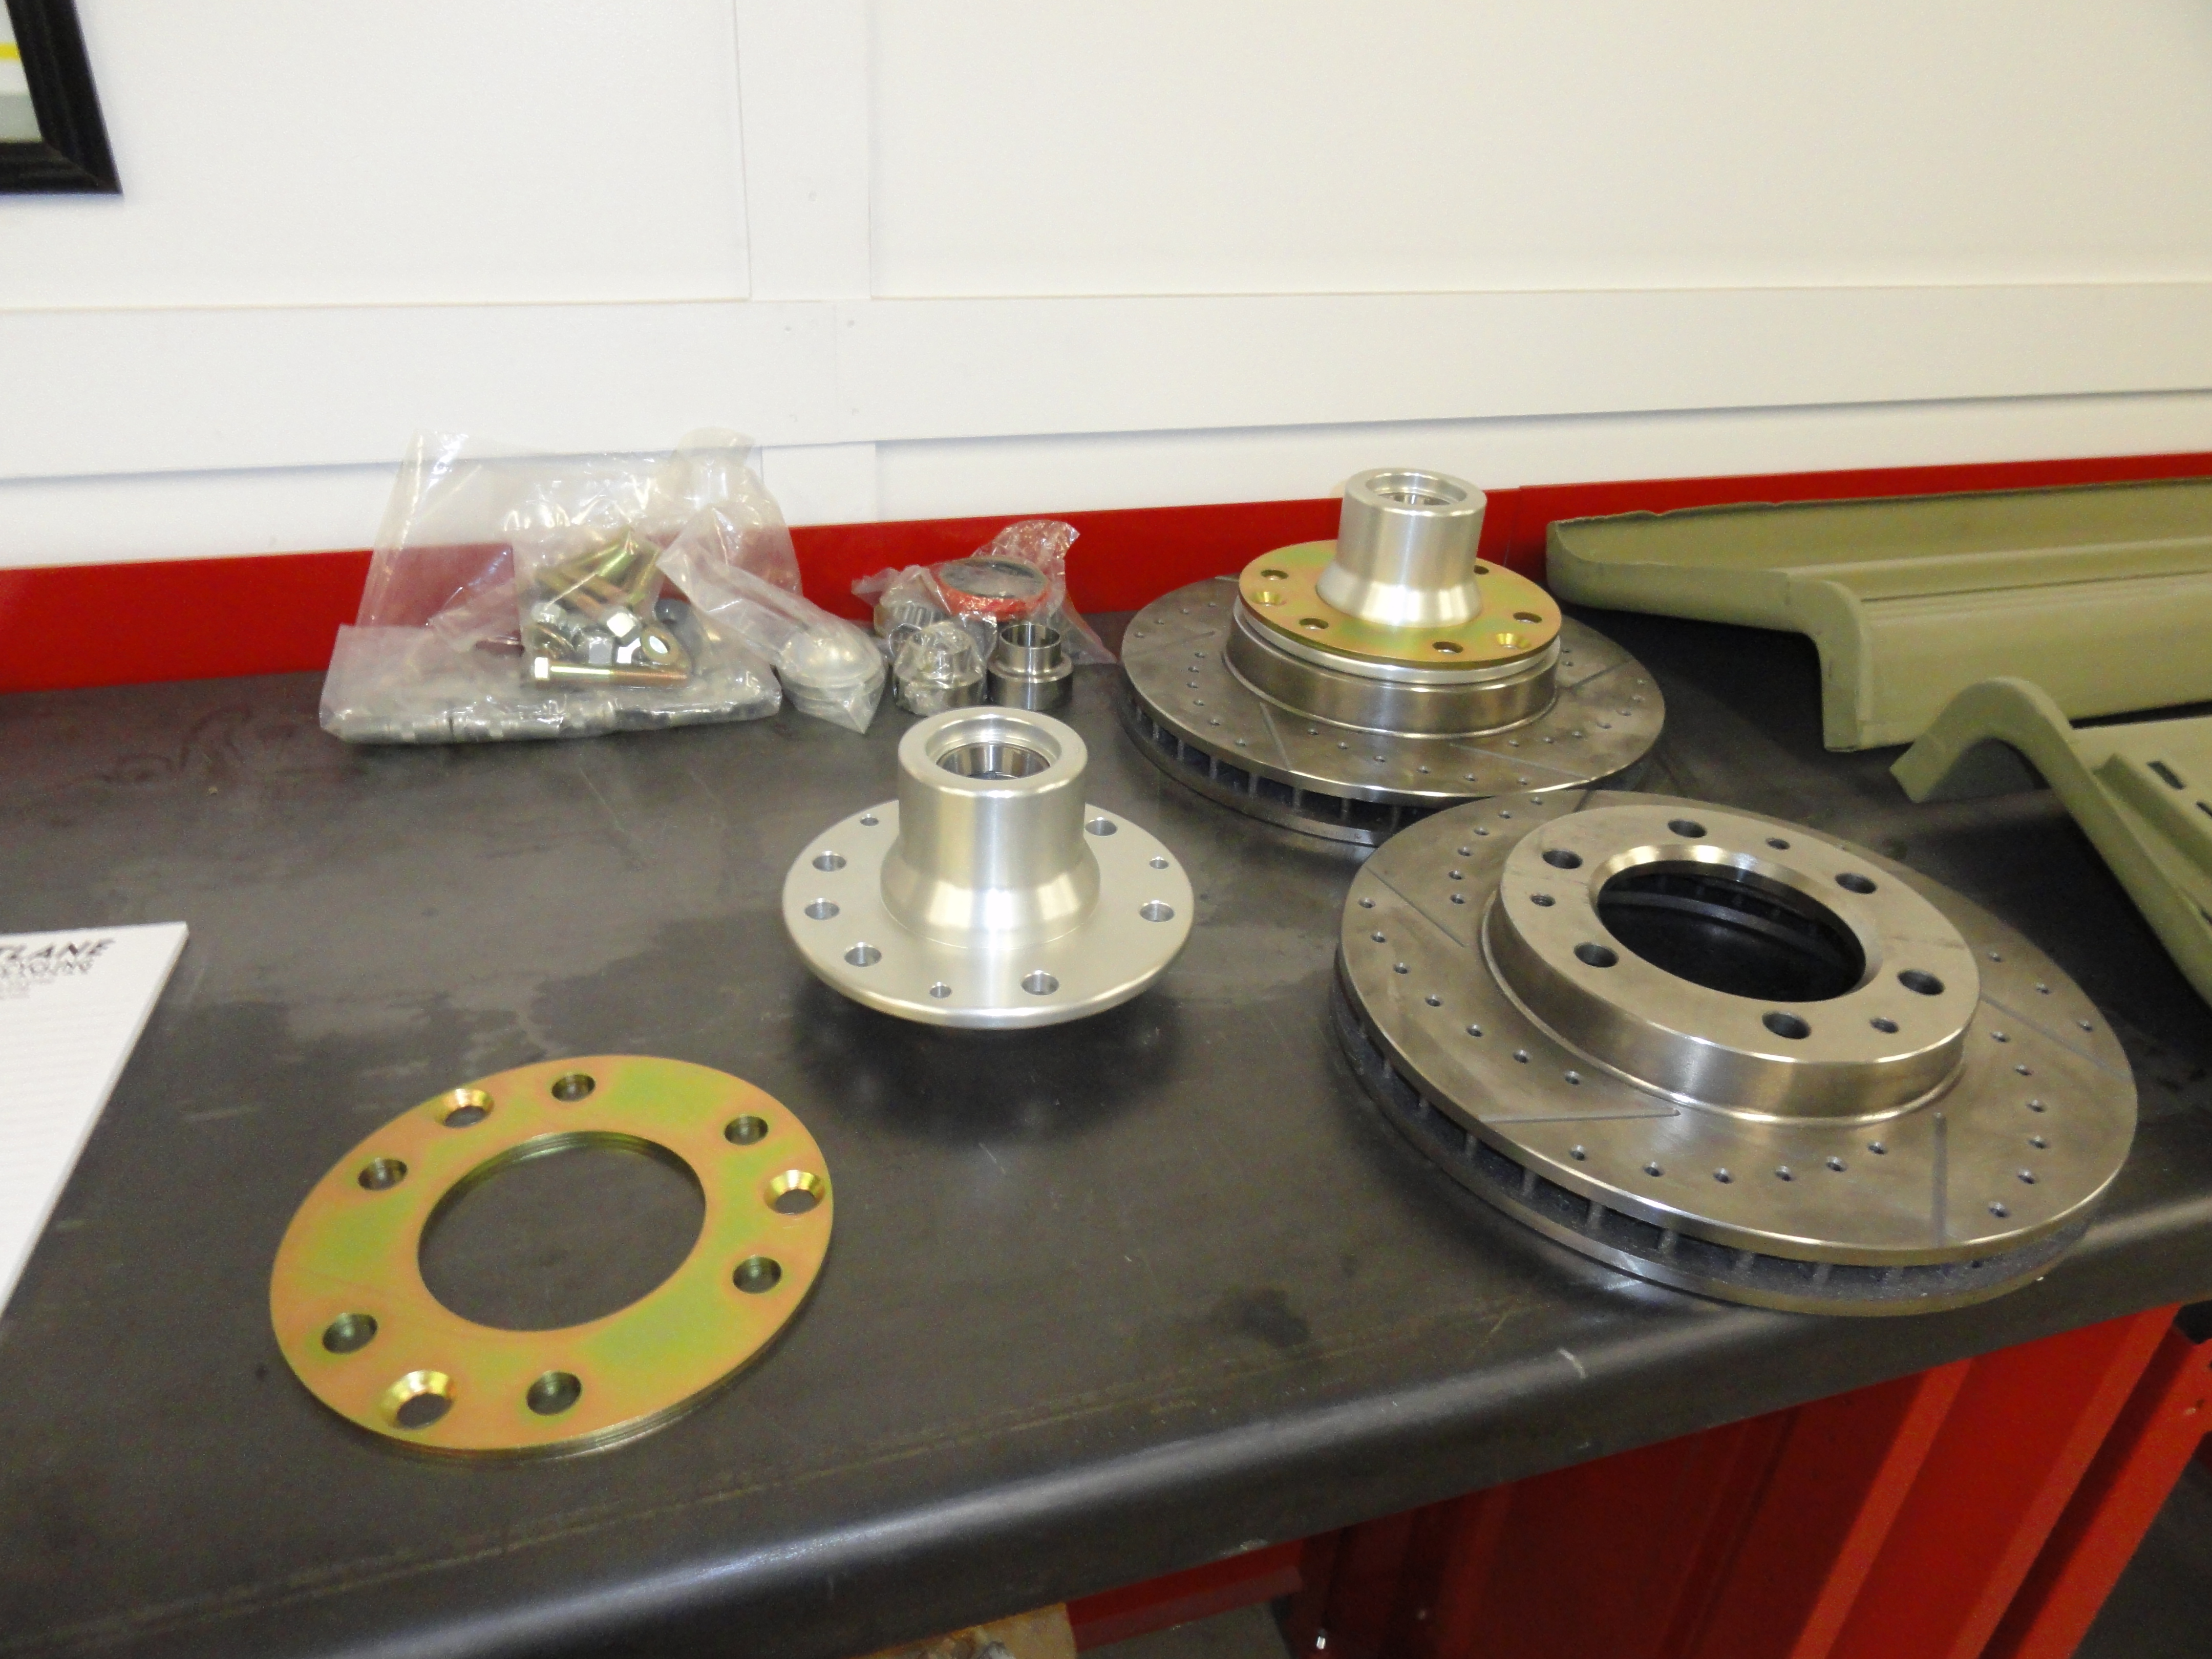

Not to get too far ahead of ourselves here, the front disc brake kit I purchased from Brothers Truck Parts, item number NOFX-559 for 6 lug pattern. When ordering, you can tell them to drill and slot the rotors for an additional charge. All that does is cool the rotors better and keep the pads cleaner during hard braking. It's a Classic Performance Parts Upgrade. CPP uses re-manufactured calipers from 1971 through 1986 C10 Truck. I didn't like the amount of threads in the included banjo bolts for safety concern, so I got longer ones from WFO Concepts Part No. 494703 (15/16").

Now I need to address the brake line issue. I wanted stainless steel, and that material doesn't bend very easily with one of those HF cheapo brake flaring and bending tools. Since this is just slightly above a hobby for me, I justified the purchase of one of the best tools in my shop! The BrakeEquip Model BQ-351 flaring tool with one of their nicer benders. This enabled me to purchase the 20 foot rolls of stainless tubing and really customize the system. Now I have the perfect tool for fuel lines, brake lines, even custom vacuum lines.

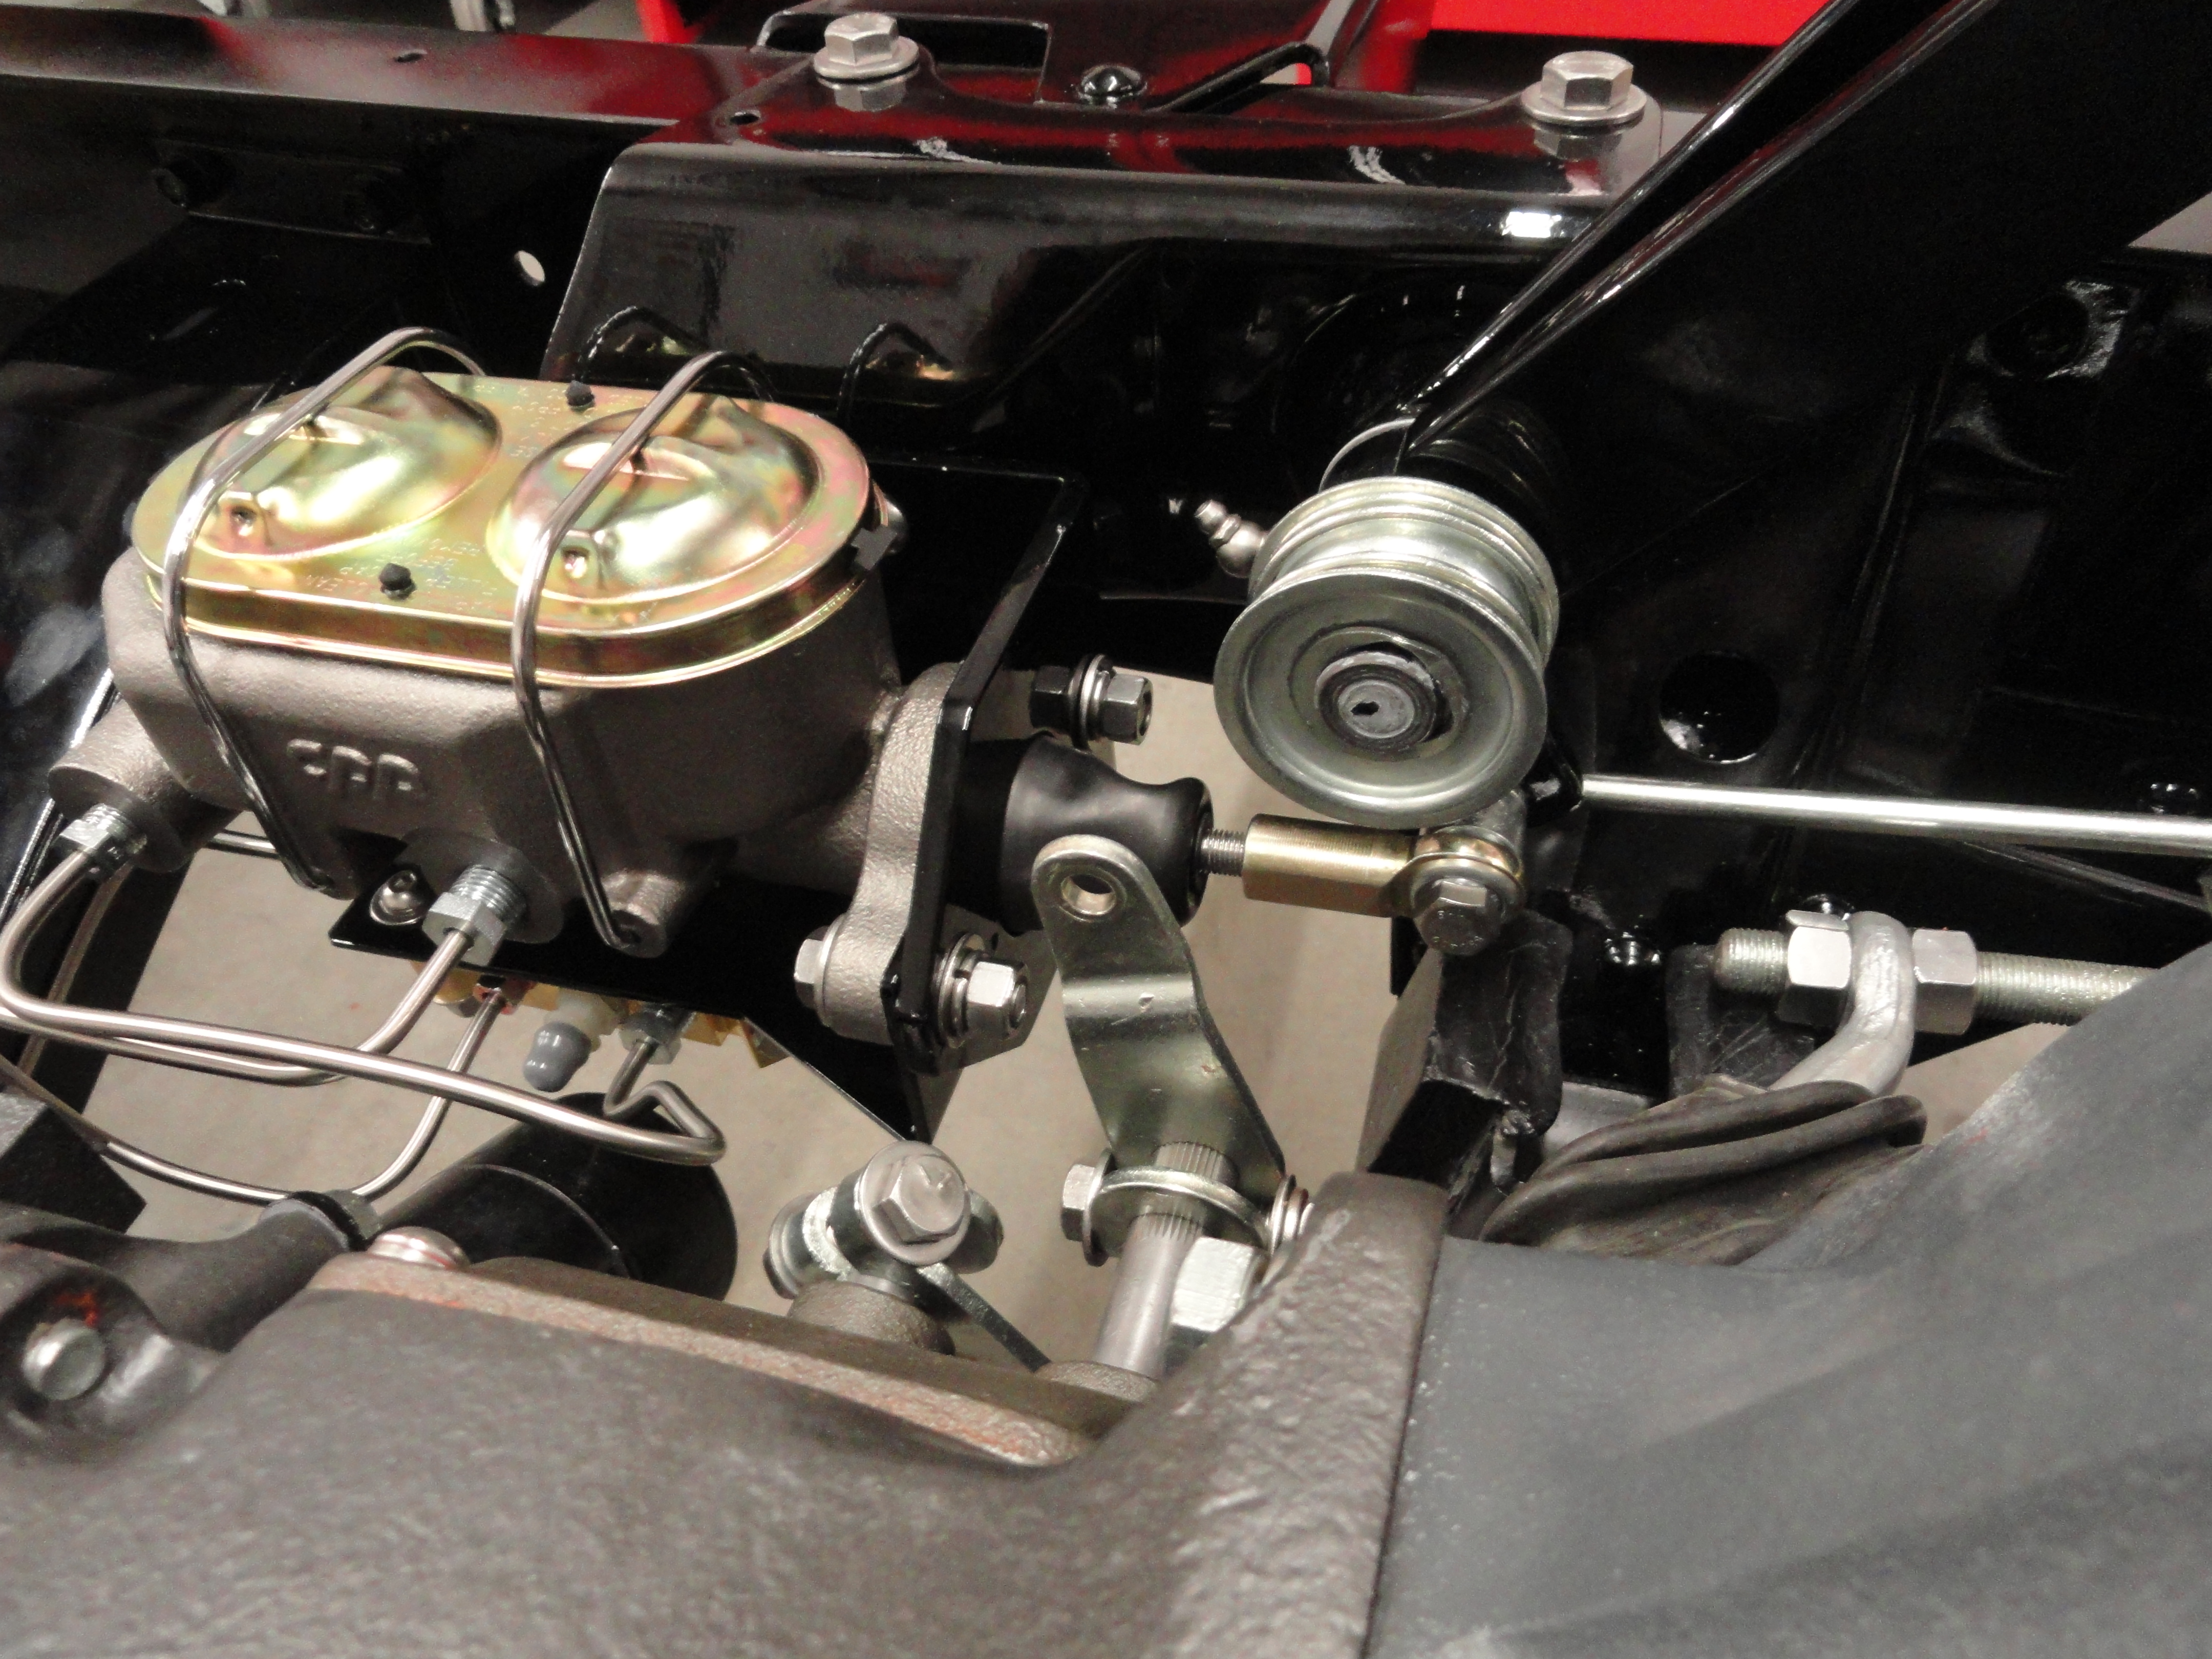
The Dual Master Cylinder kit I purchased also from Brothers Truck Parts. The required bracket to mount it: DMC-5900, the required Proportioning Valve Kit w/ mount: PVK4759, and the CPP Master Cylinder: MSTR900. The instructions are not very intuitive and I had problems understanding how to mount everything, but once I thought about it long enough, it all came together. The pics shown here are really all you need to guide you. That's two more pics than came with the kit!!
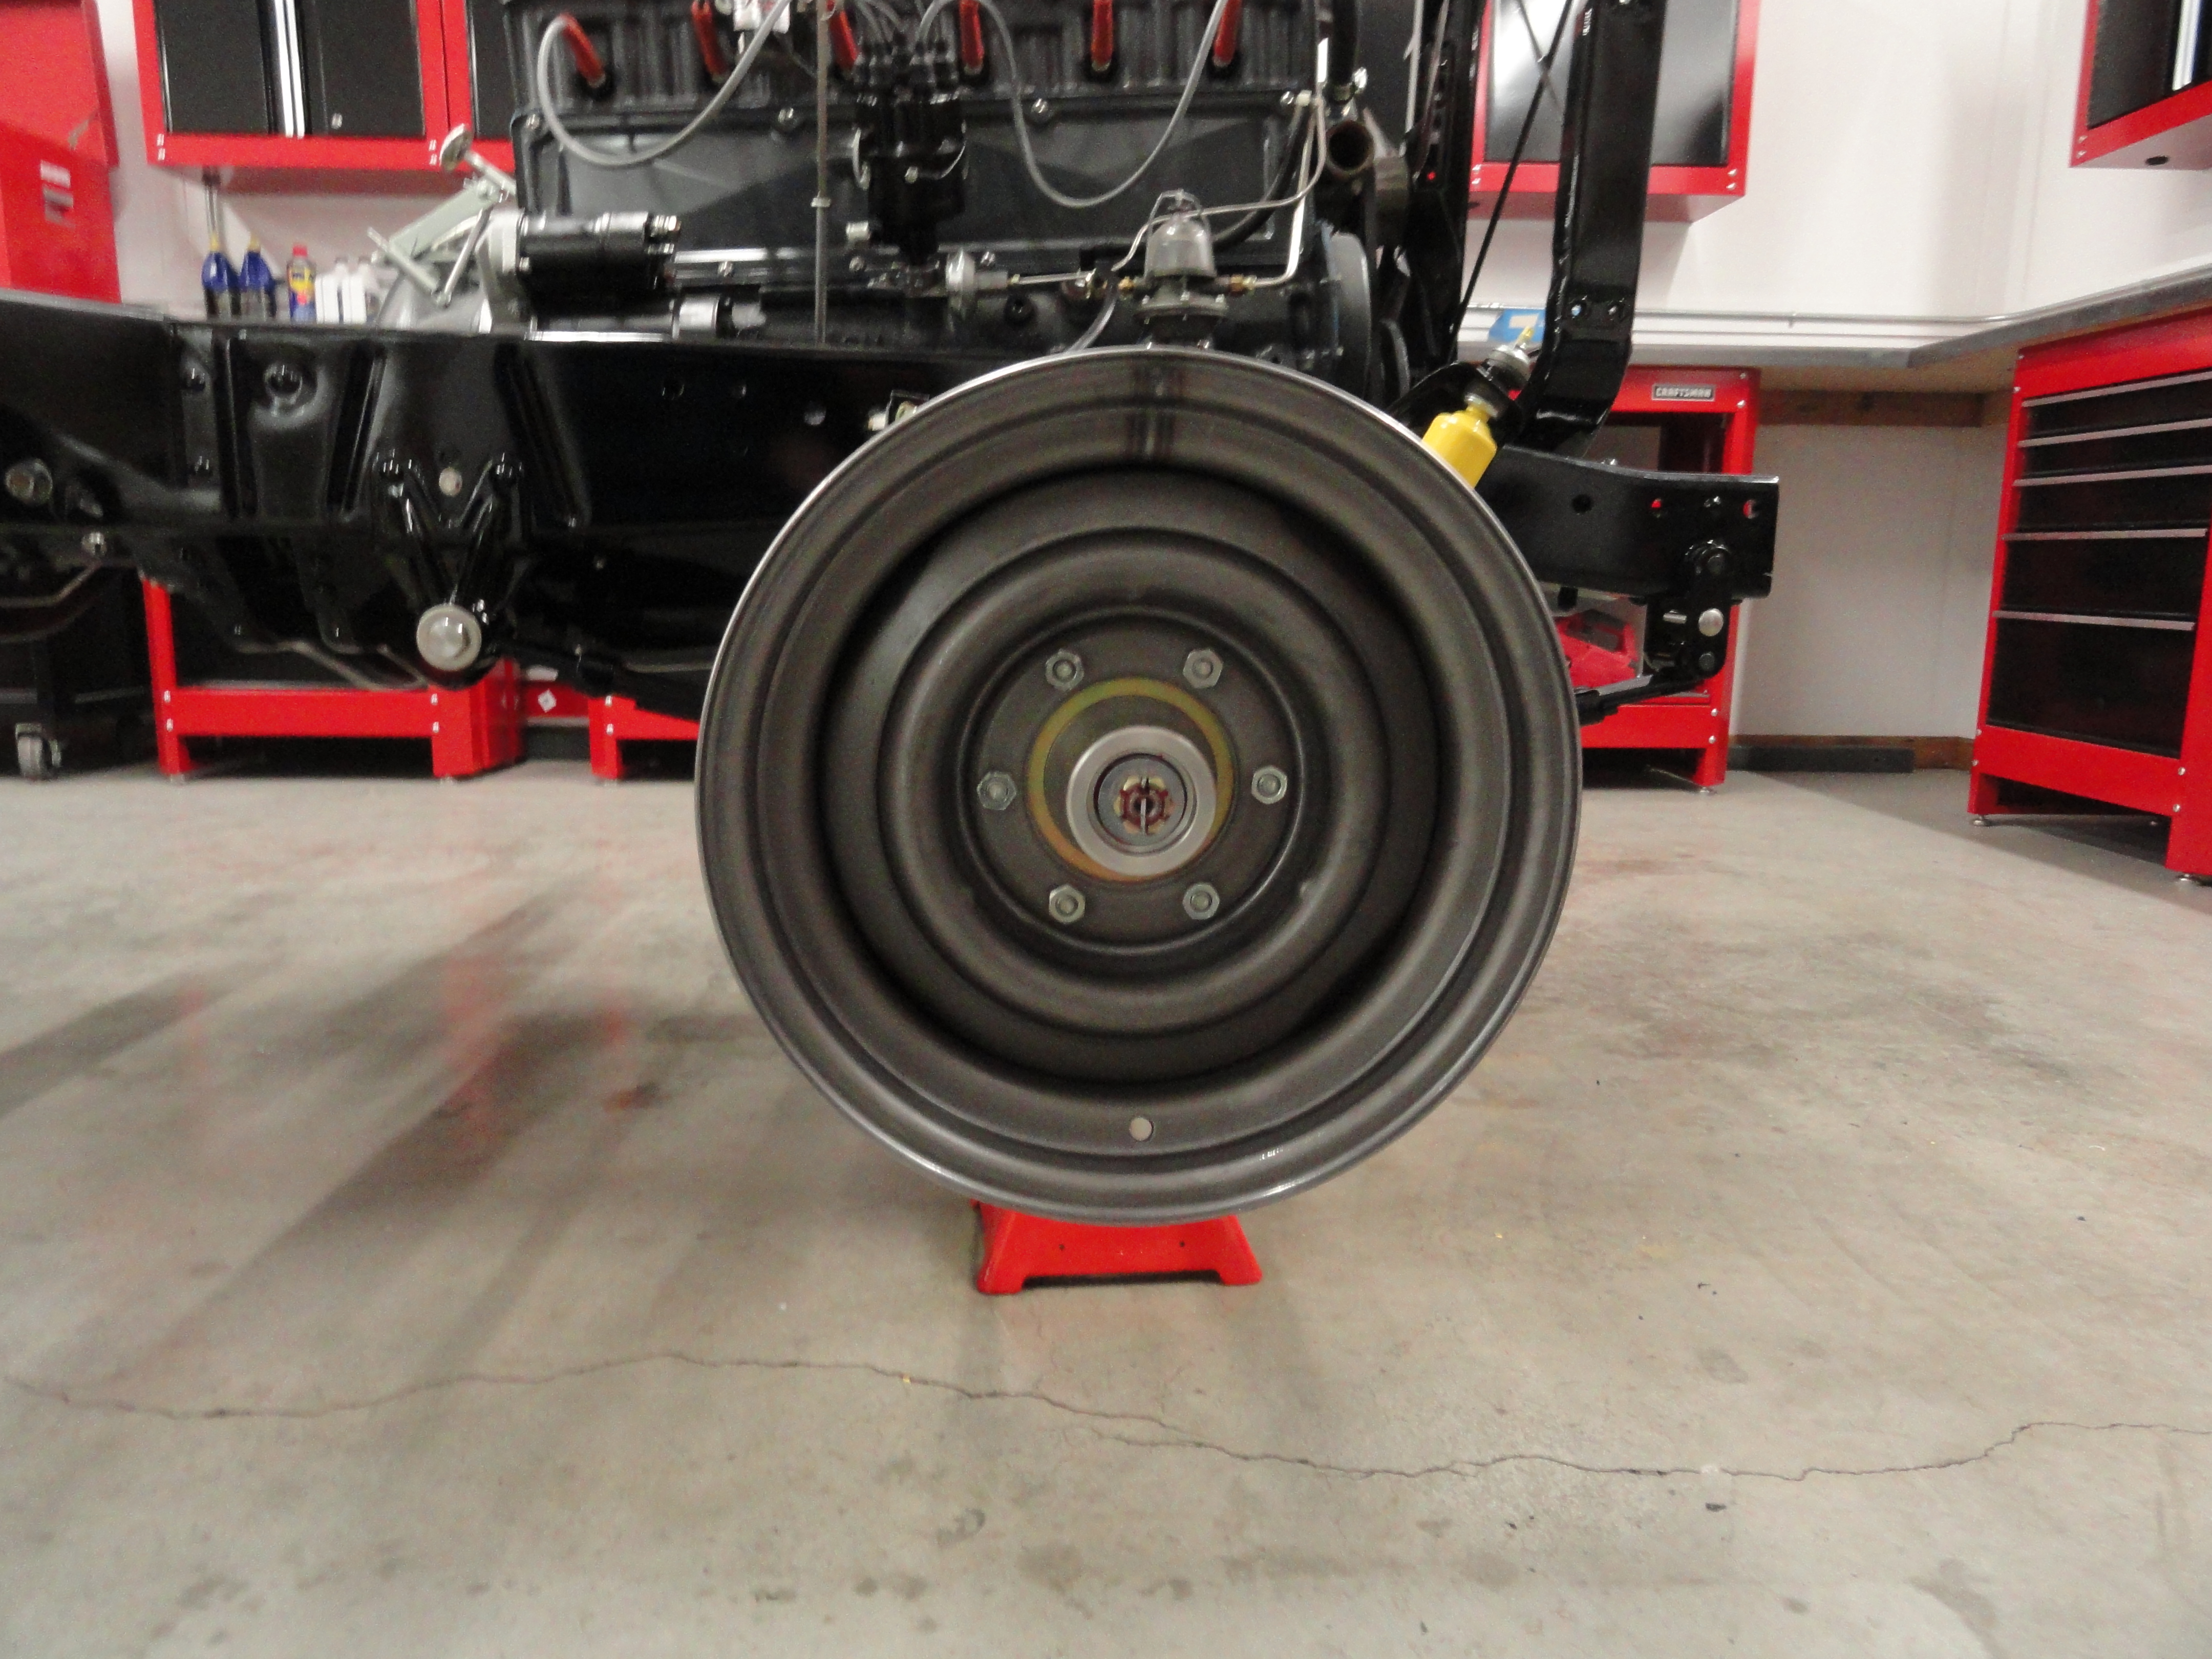
The Wheels are from Wheelsmith. They are called the "Smoothie". They have a very nice vintage look but are made for the modern disc brakes. When I told them what I was doing, they just sent me the right ones the first time. I got them bare steel so now for the fun part! Remember it's the Journey, NOT the Destination. Say it with me! The ones I opted for are 6 lug, 15 inch wheels.
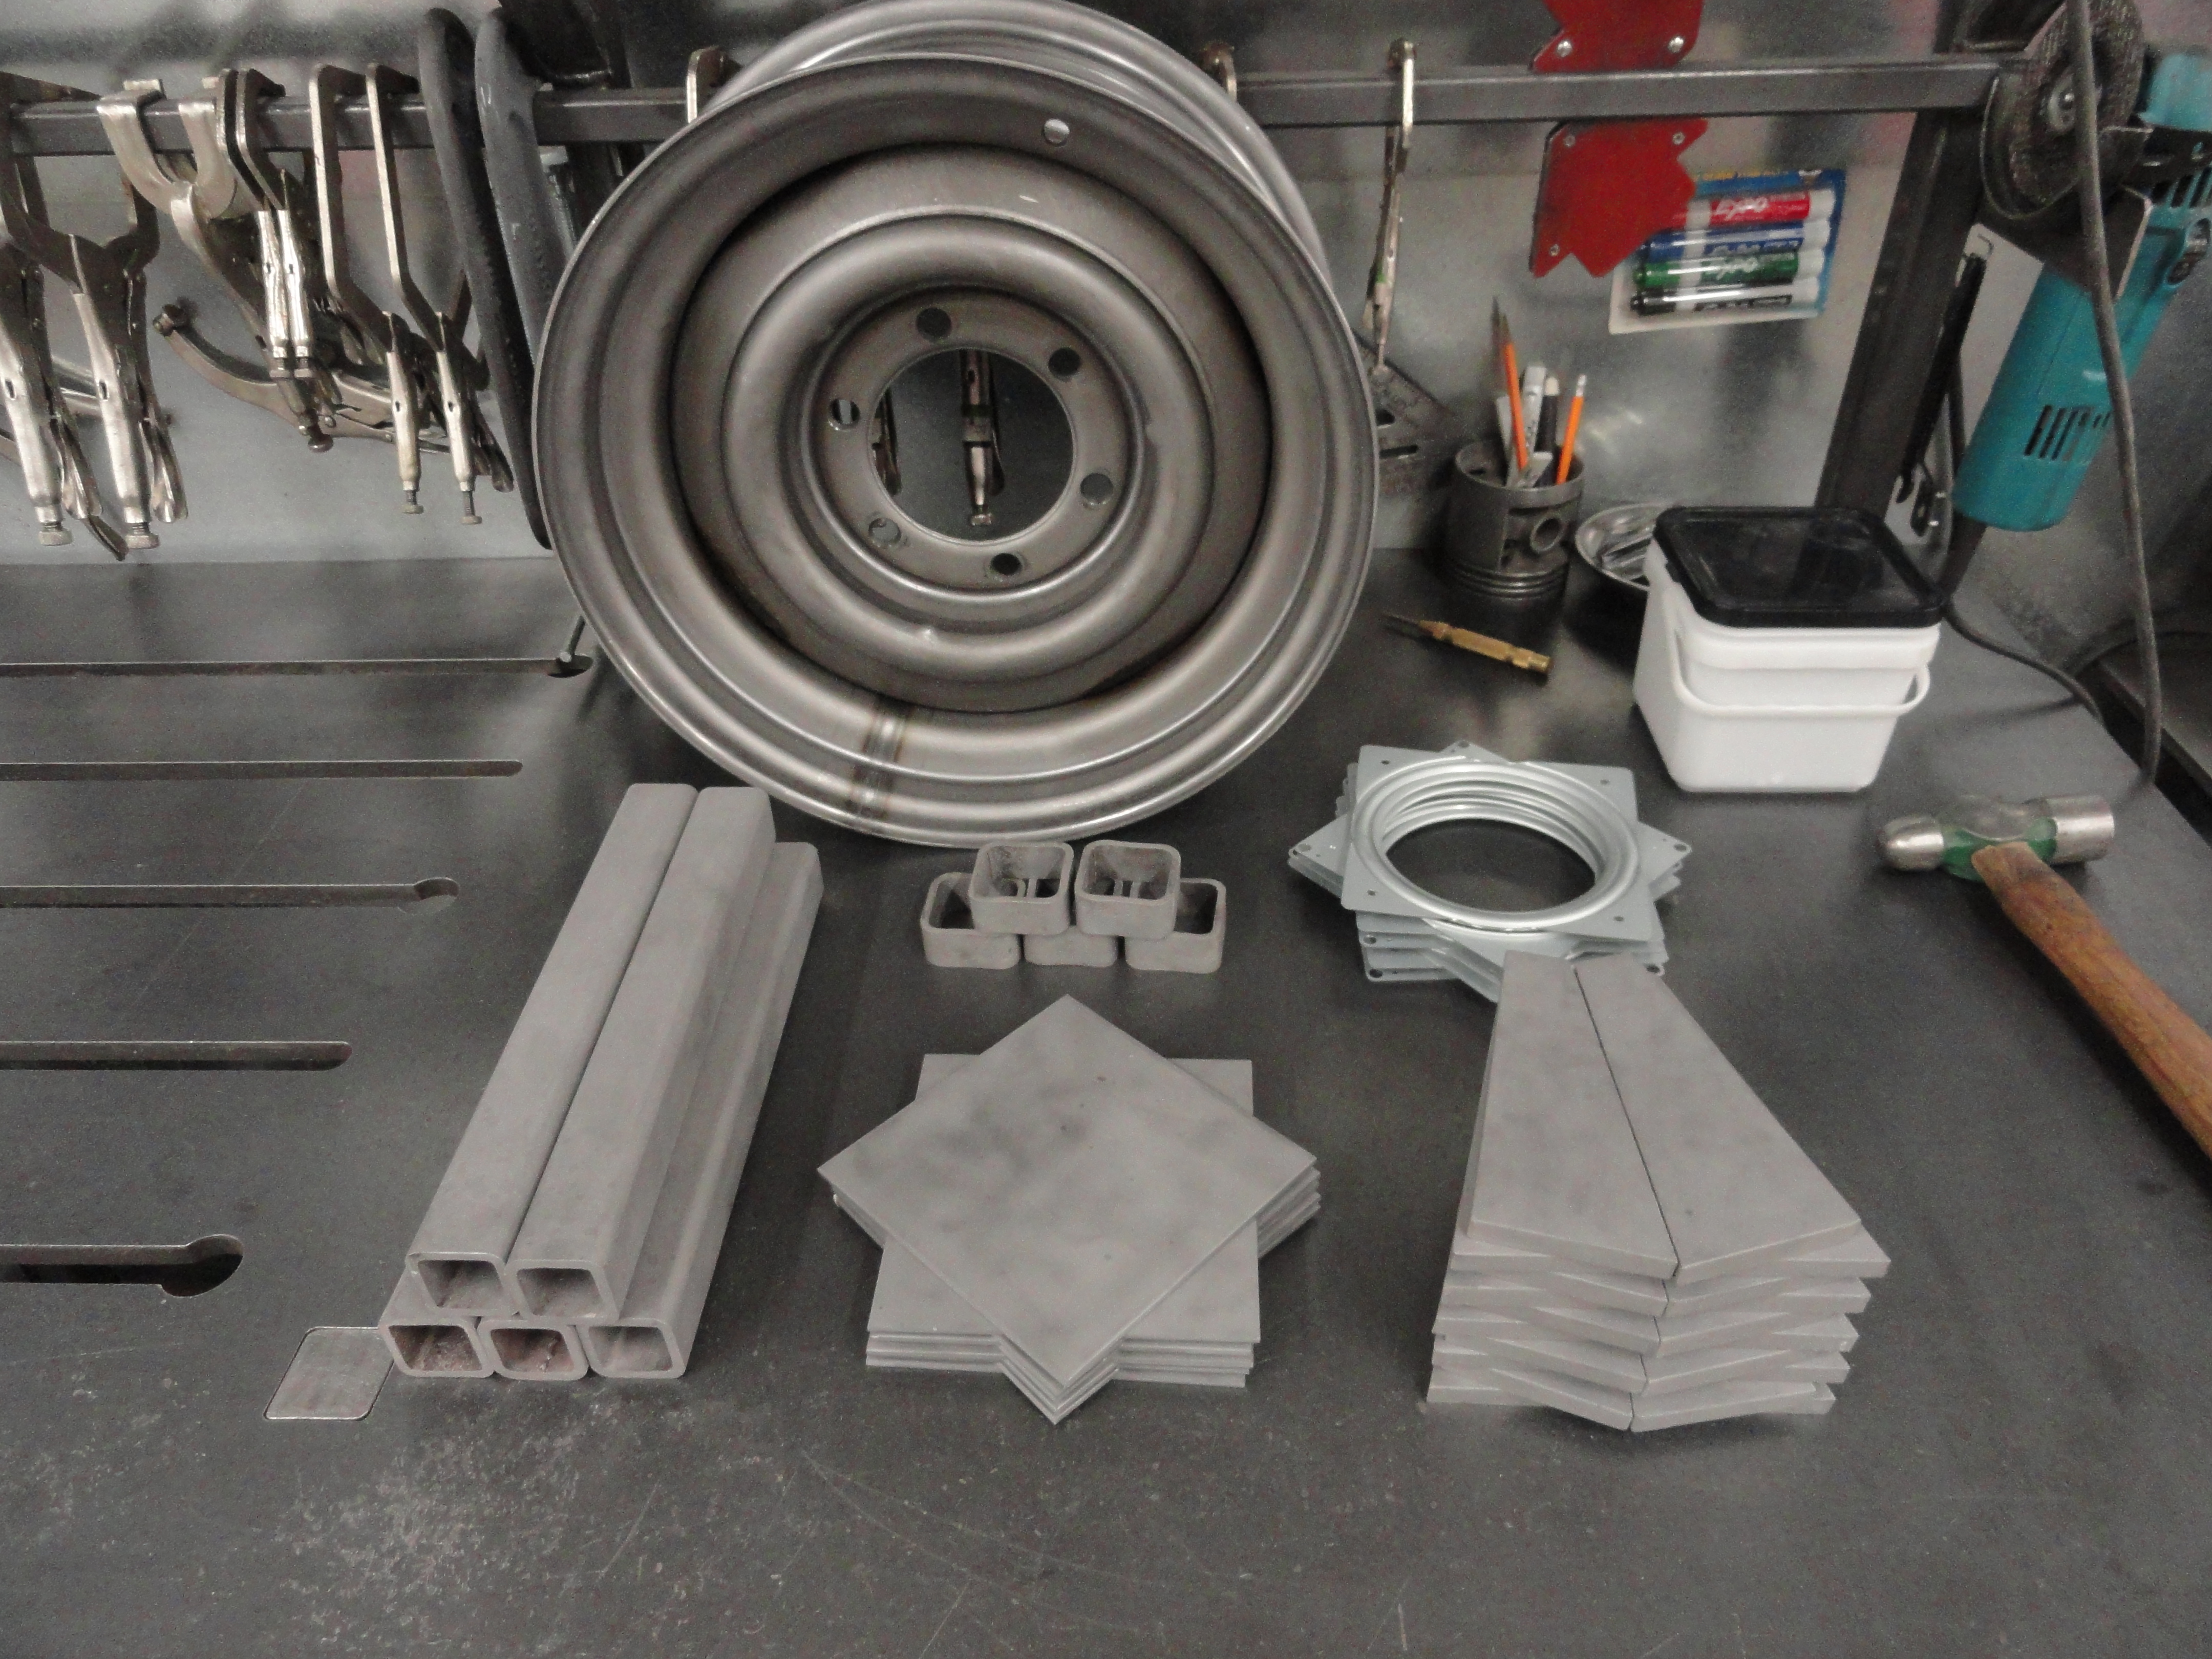

I am always thinking about how to make things easier by doing the hard things first. Painting wheels is a real pain. There is no decent way I can think of to make it so that your paint doesn't run all over the place. Maybe it's just me, but in this case, ME matters, so the parts you see here is the first step in making my wheel painting attachment. This attachment incorporates a lazy susan bearing assembly. You will see where this is going soon...

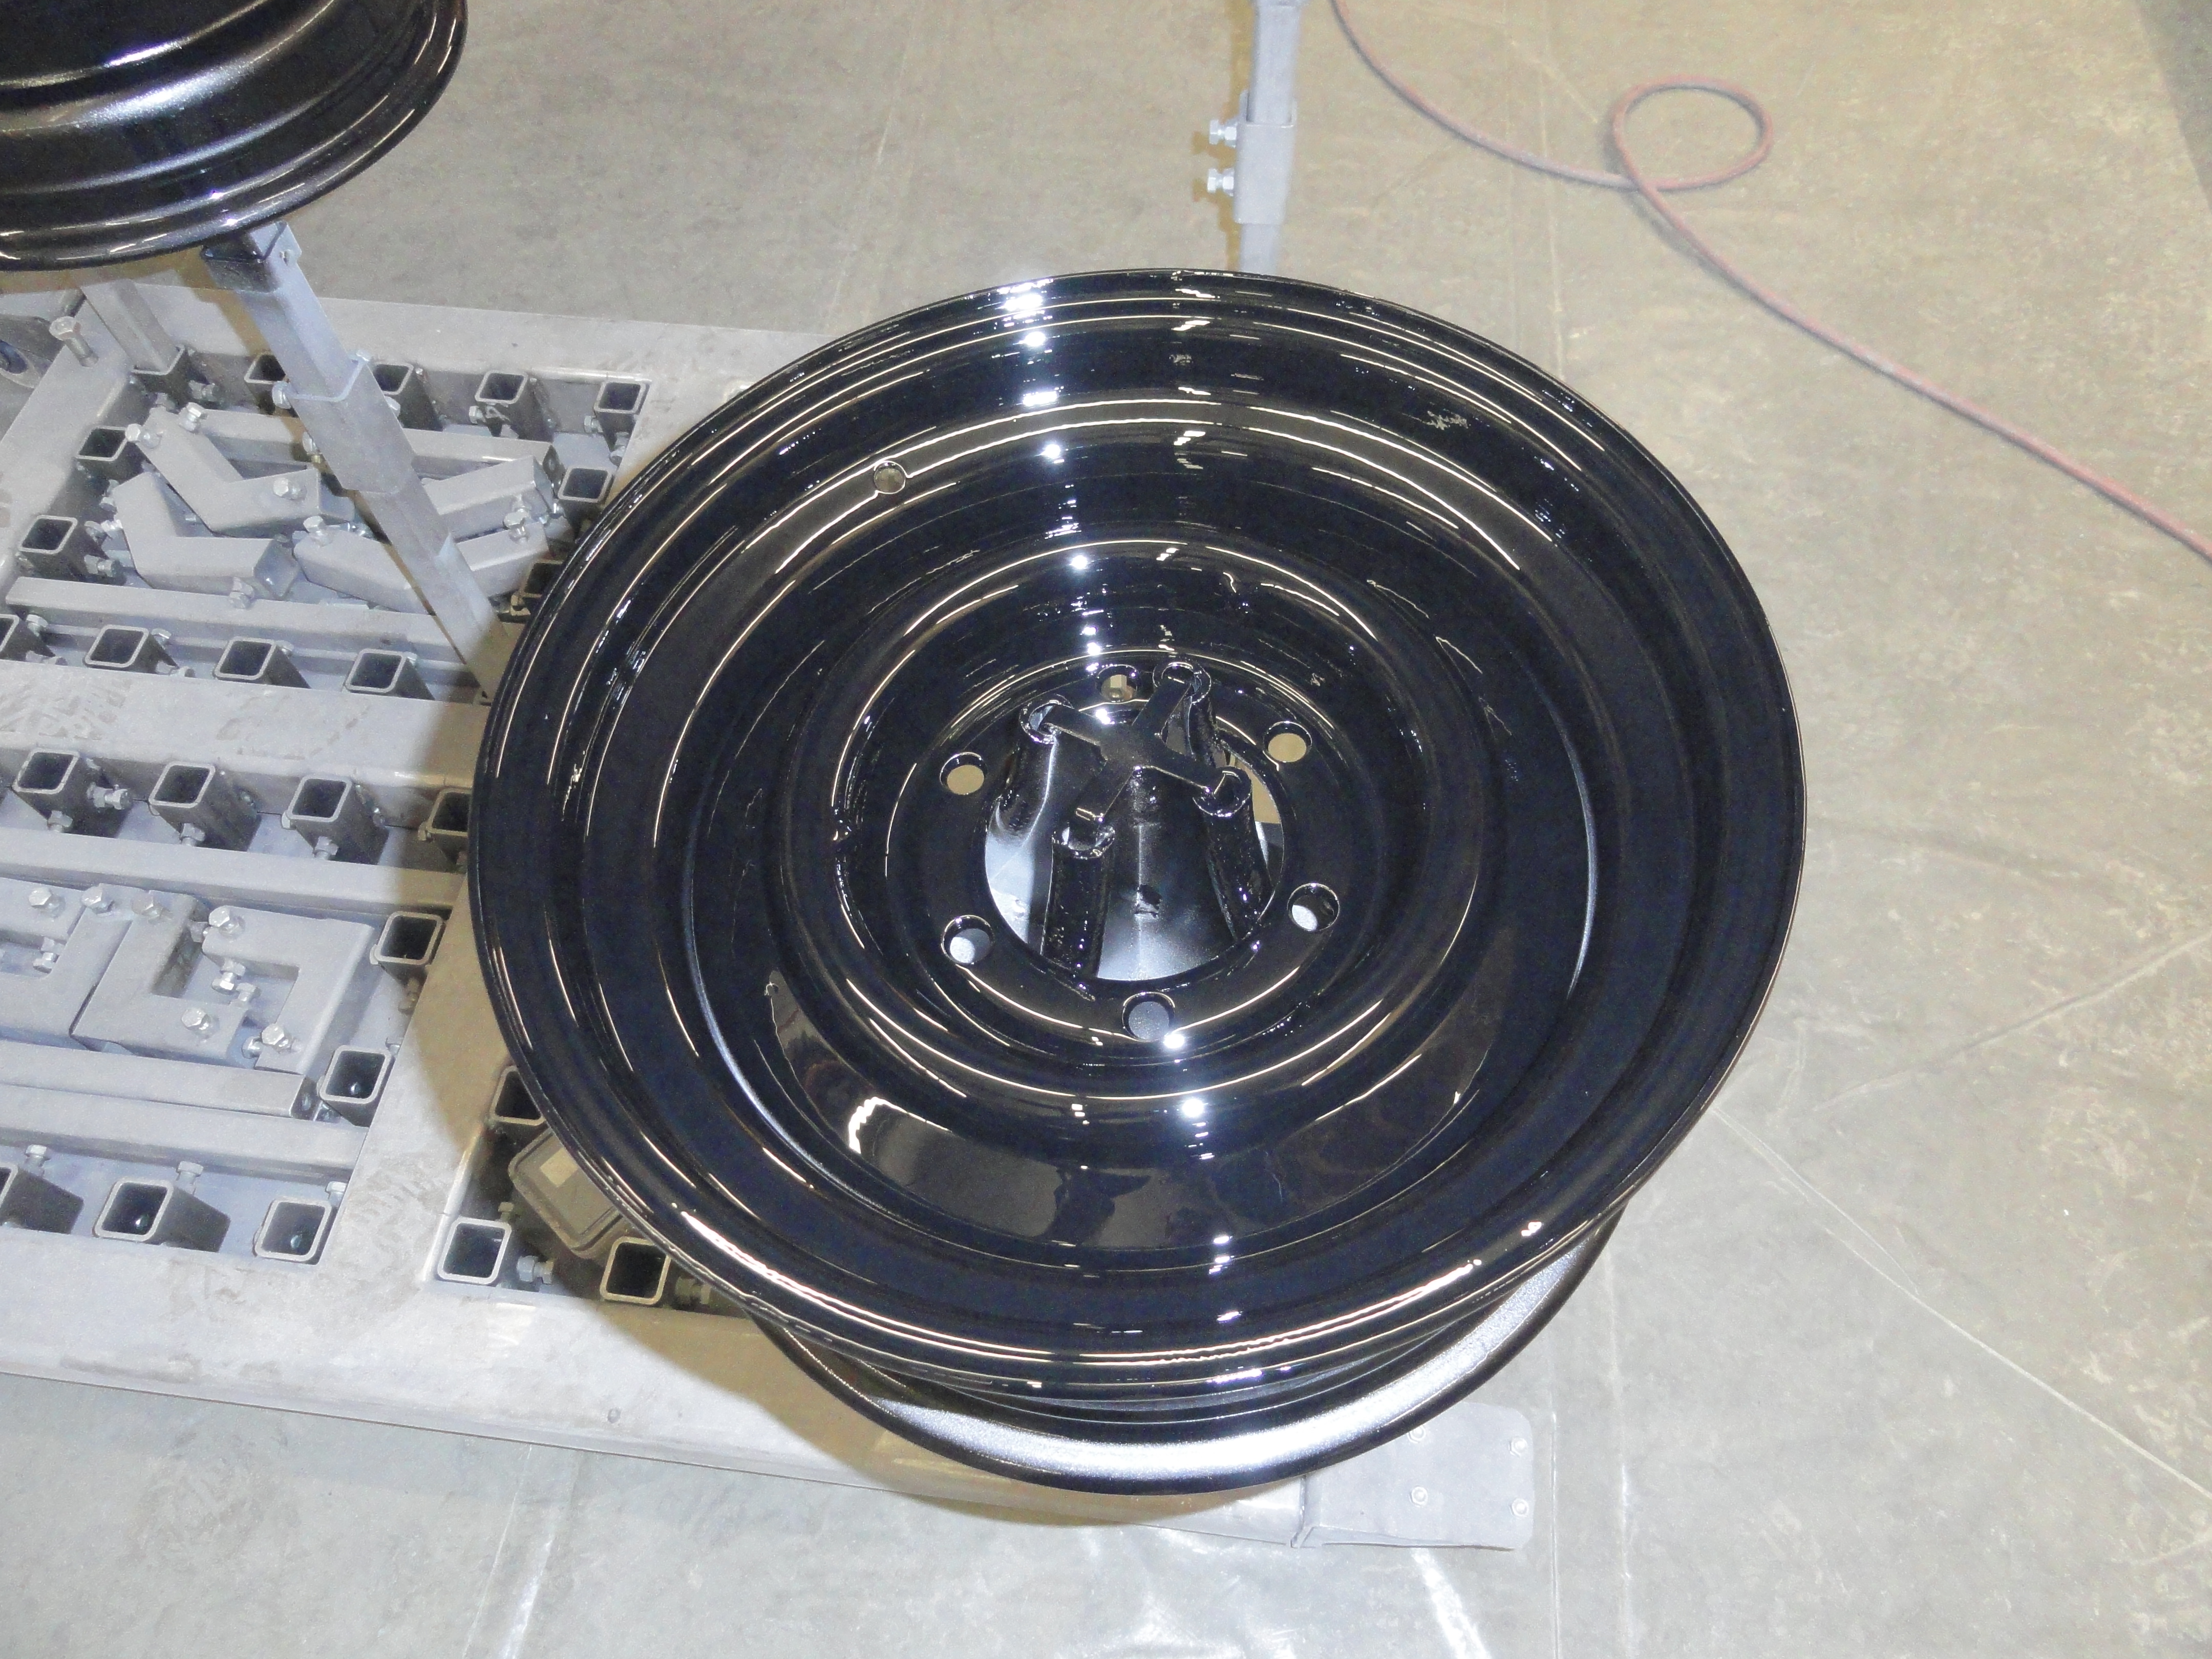
So, 5 wheels, 5 spinners for the main jig! Now I can spin the wheel (it stays spinning a long time) and paint at the same time. You never know how something like this is going to turn out, but in using it, I was very satisfied. You still have to turn the wheels over to get the front, but Urethane dries to the touch in about 30 minutes, so it's a minor inconvenience. I used 3/8" fuel line hose for the padding so there are no paint issues. This jig is becoming more and more useful!
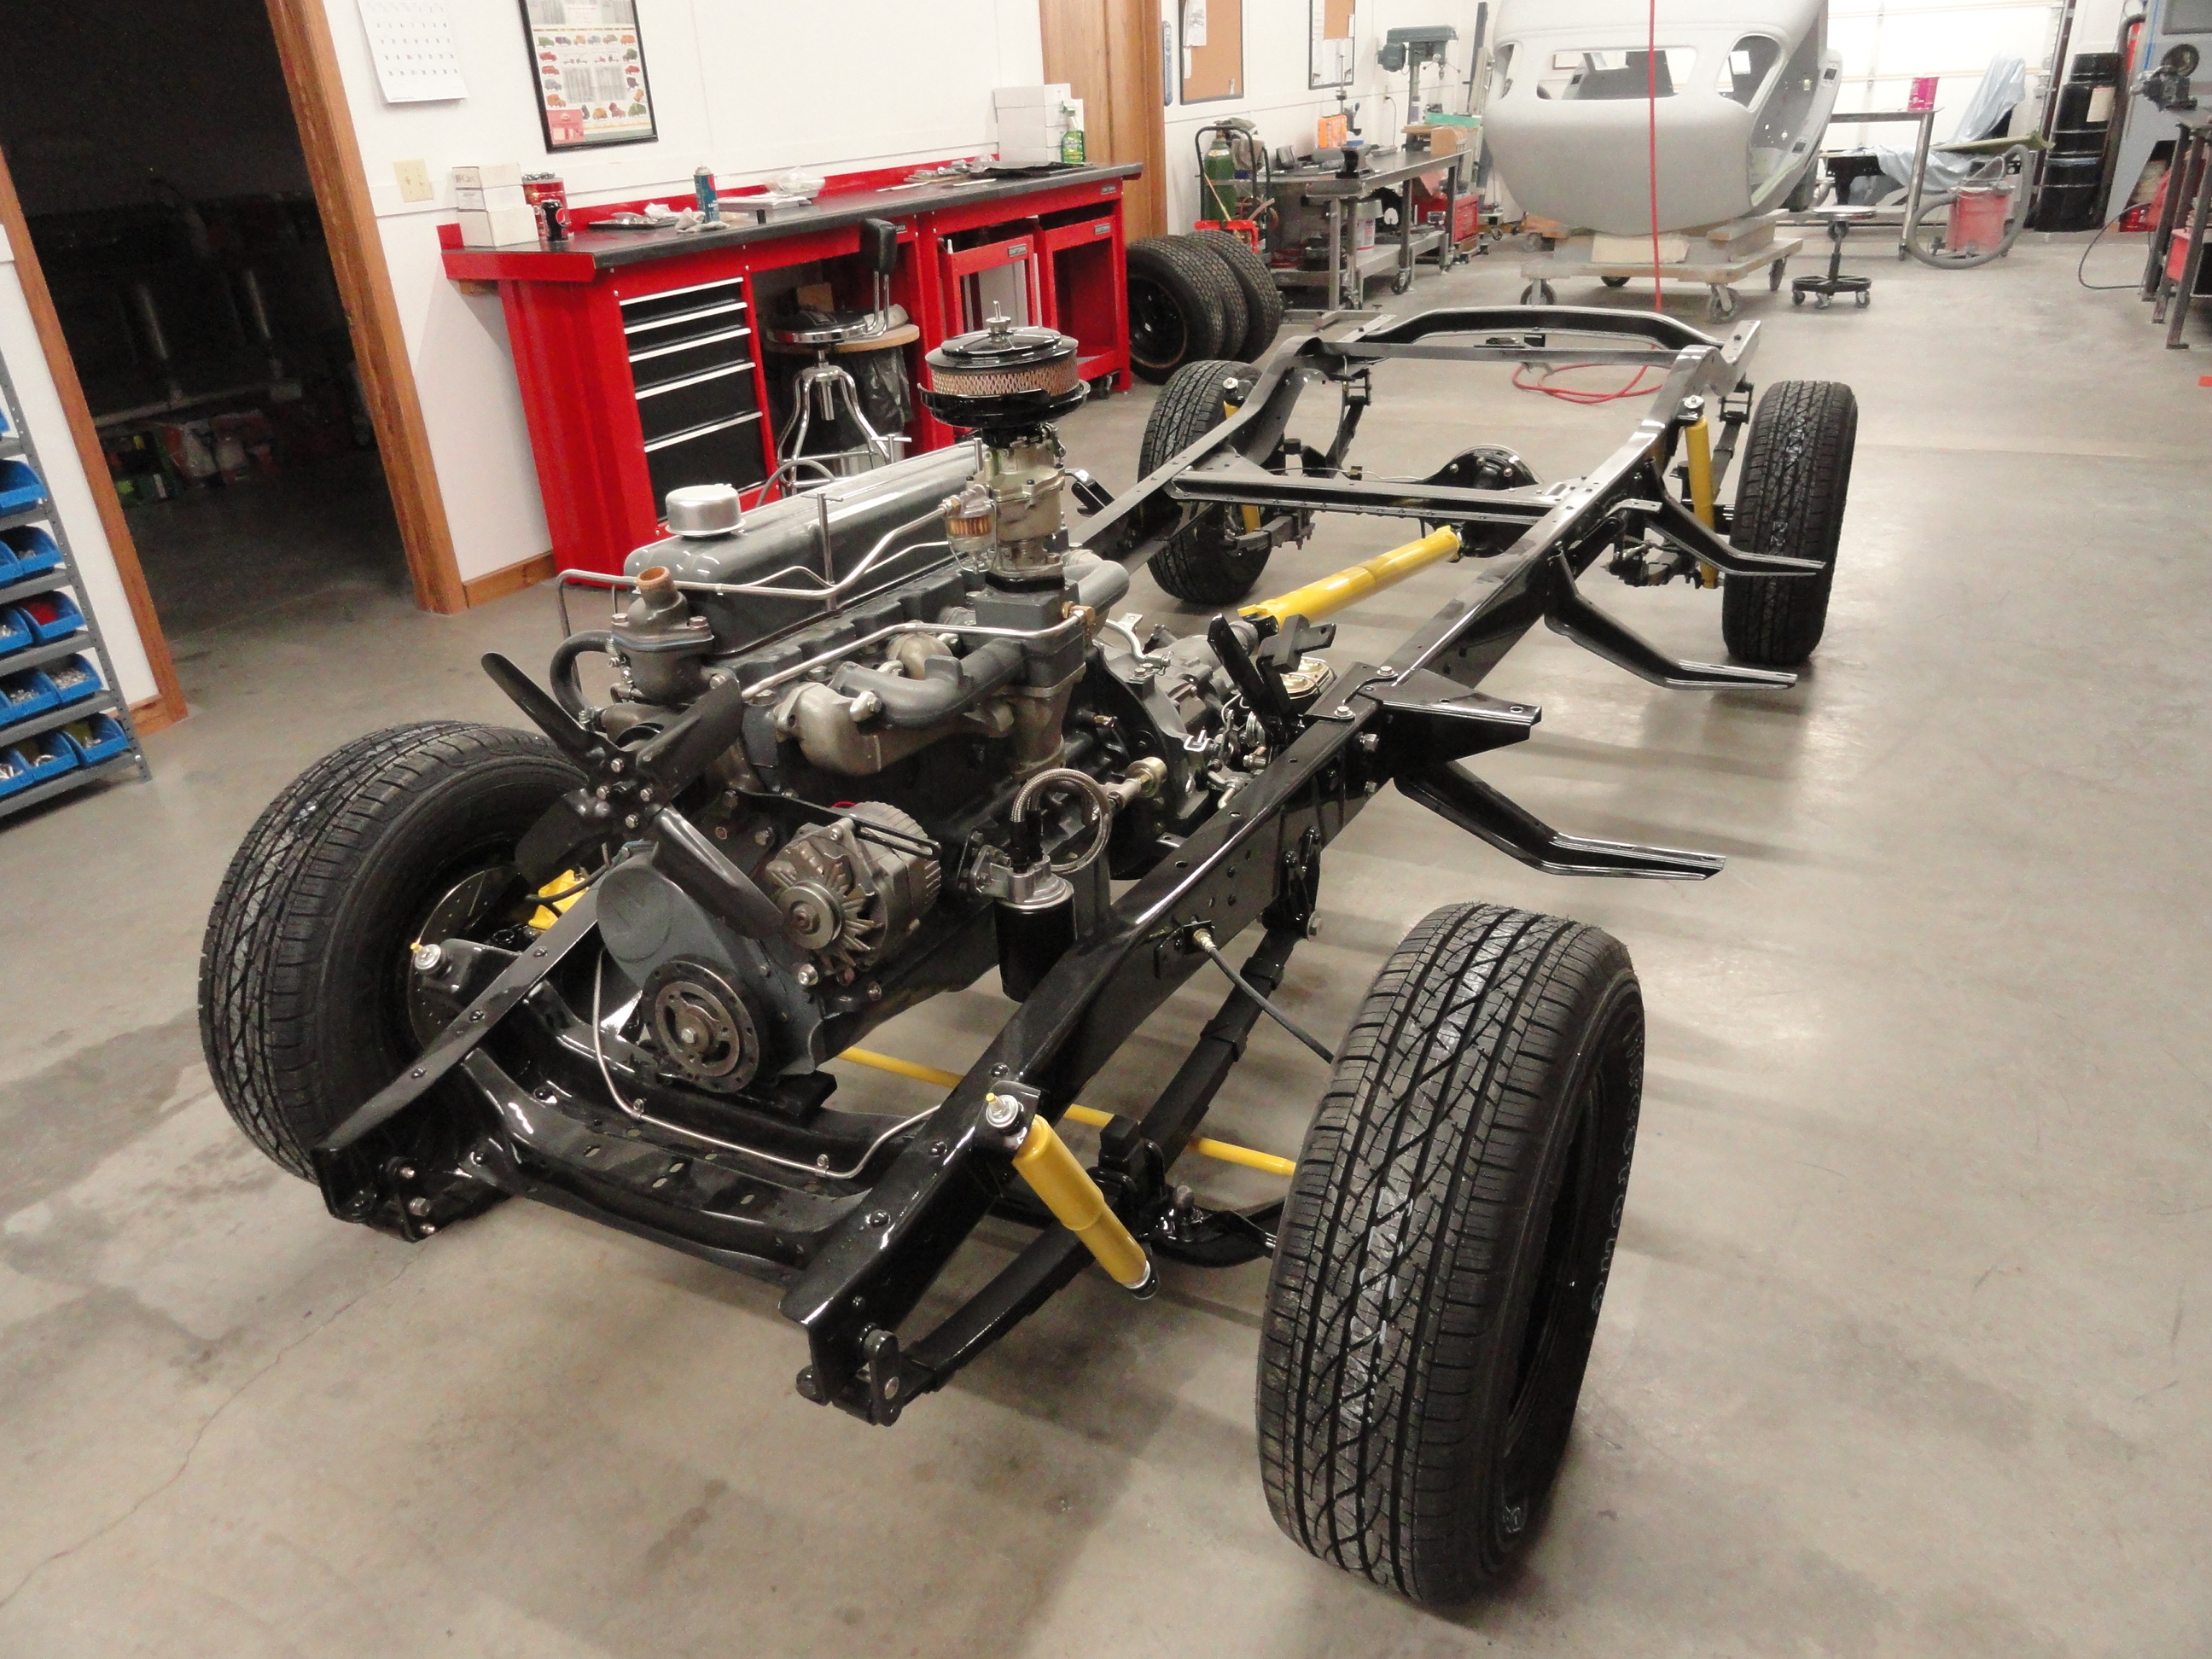
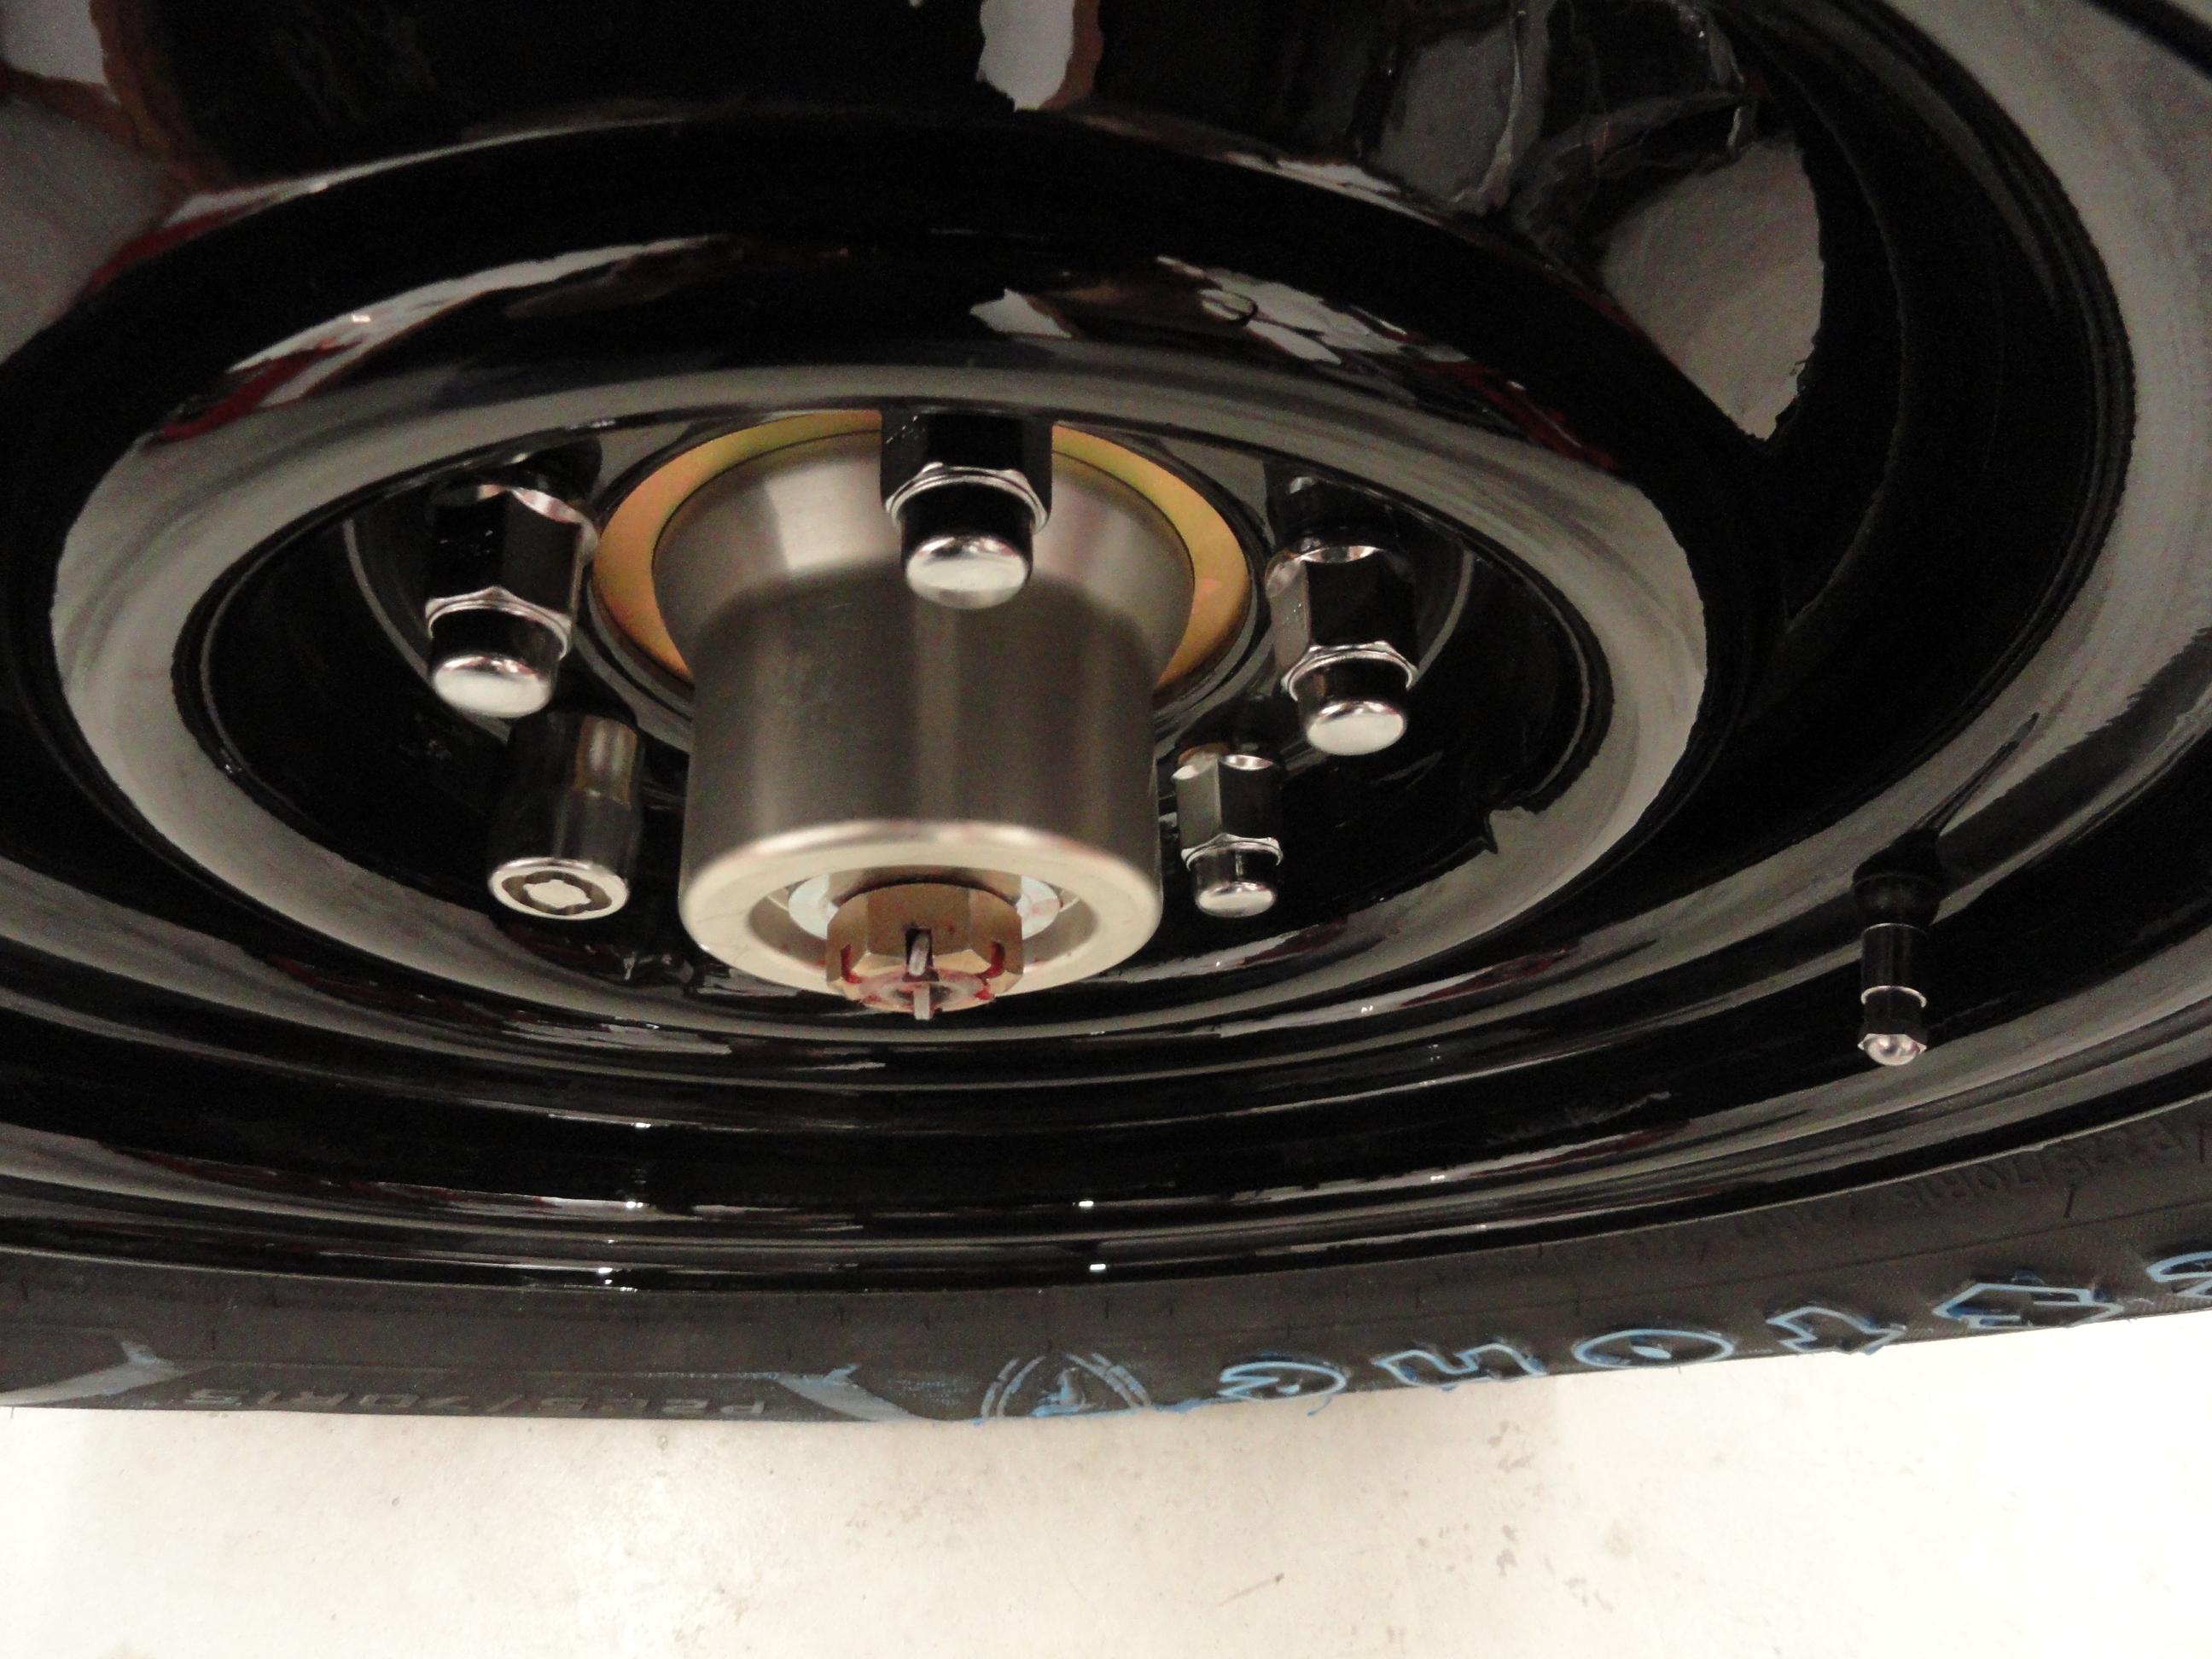
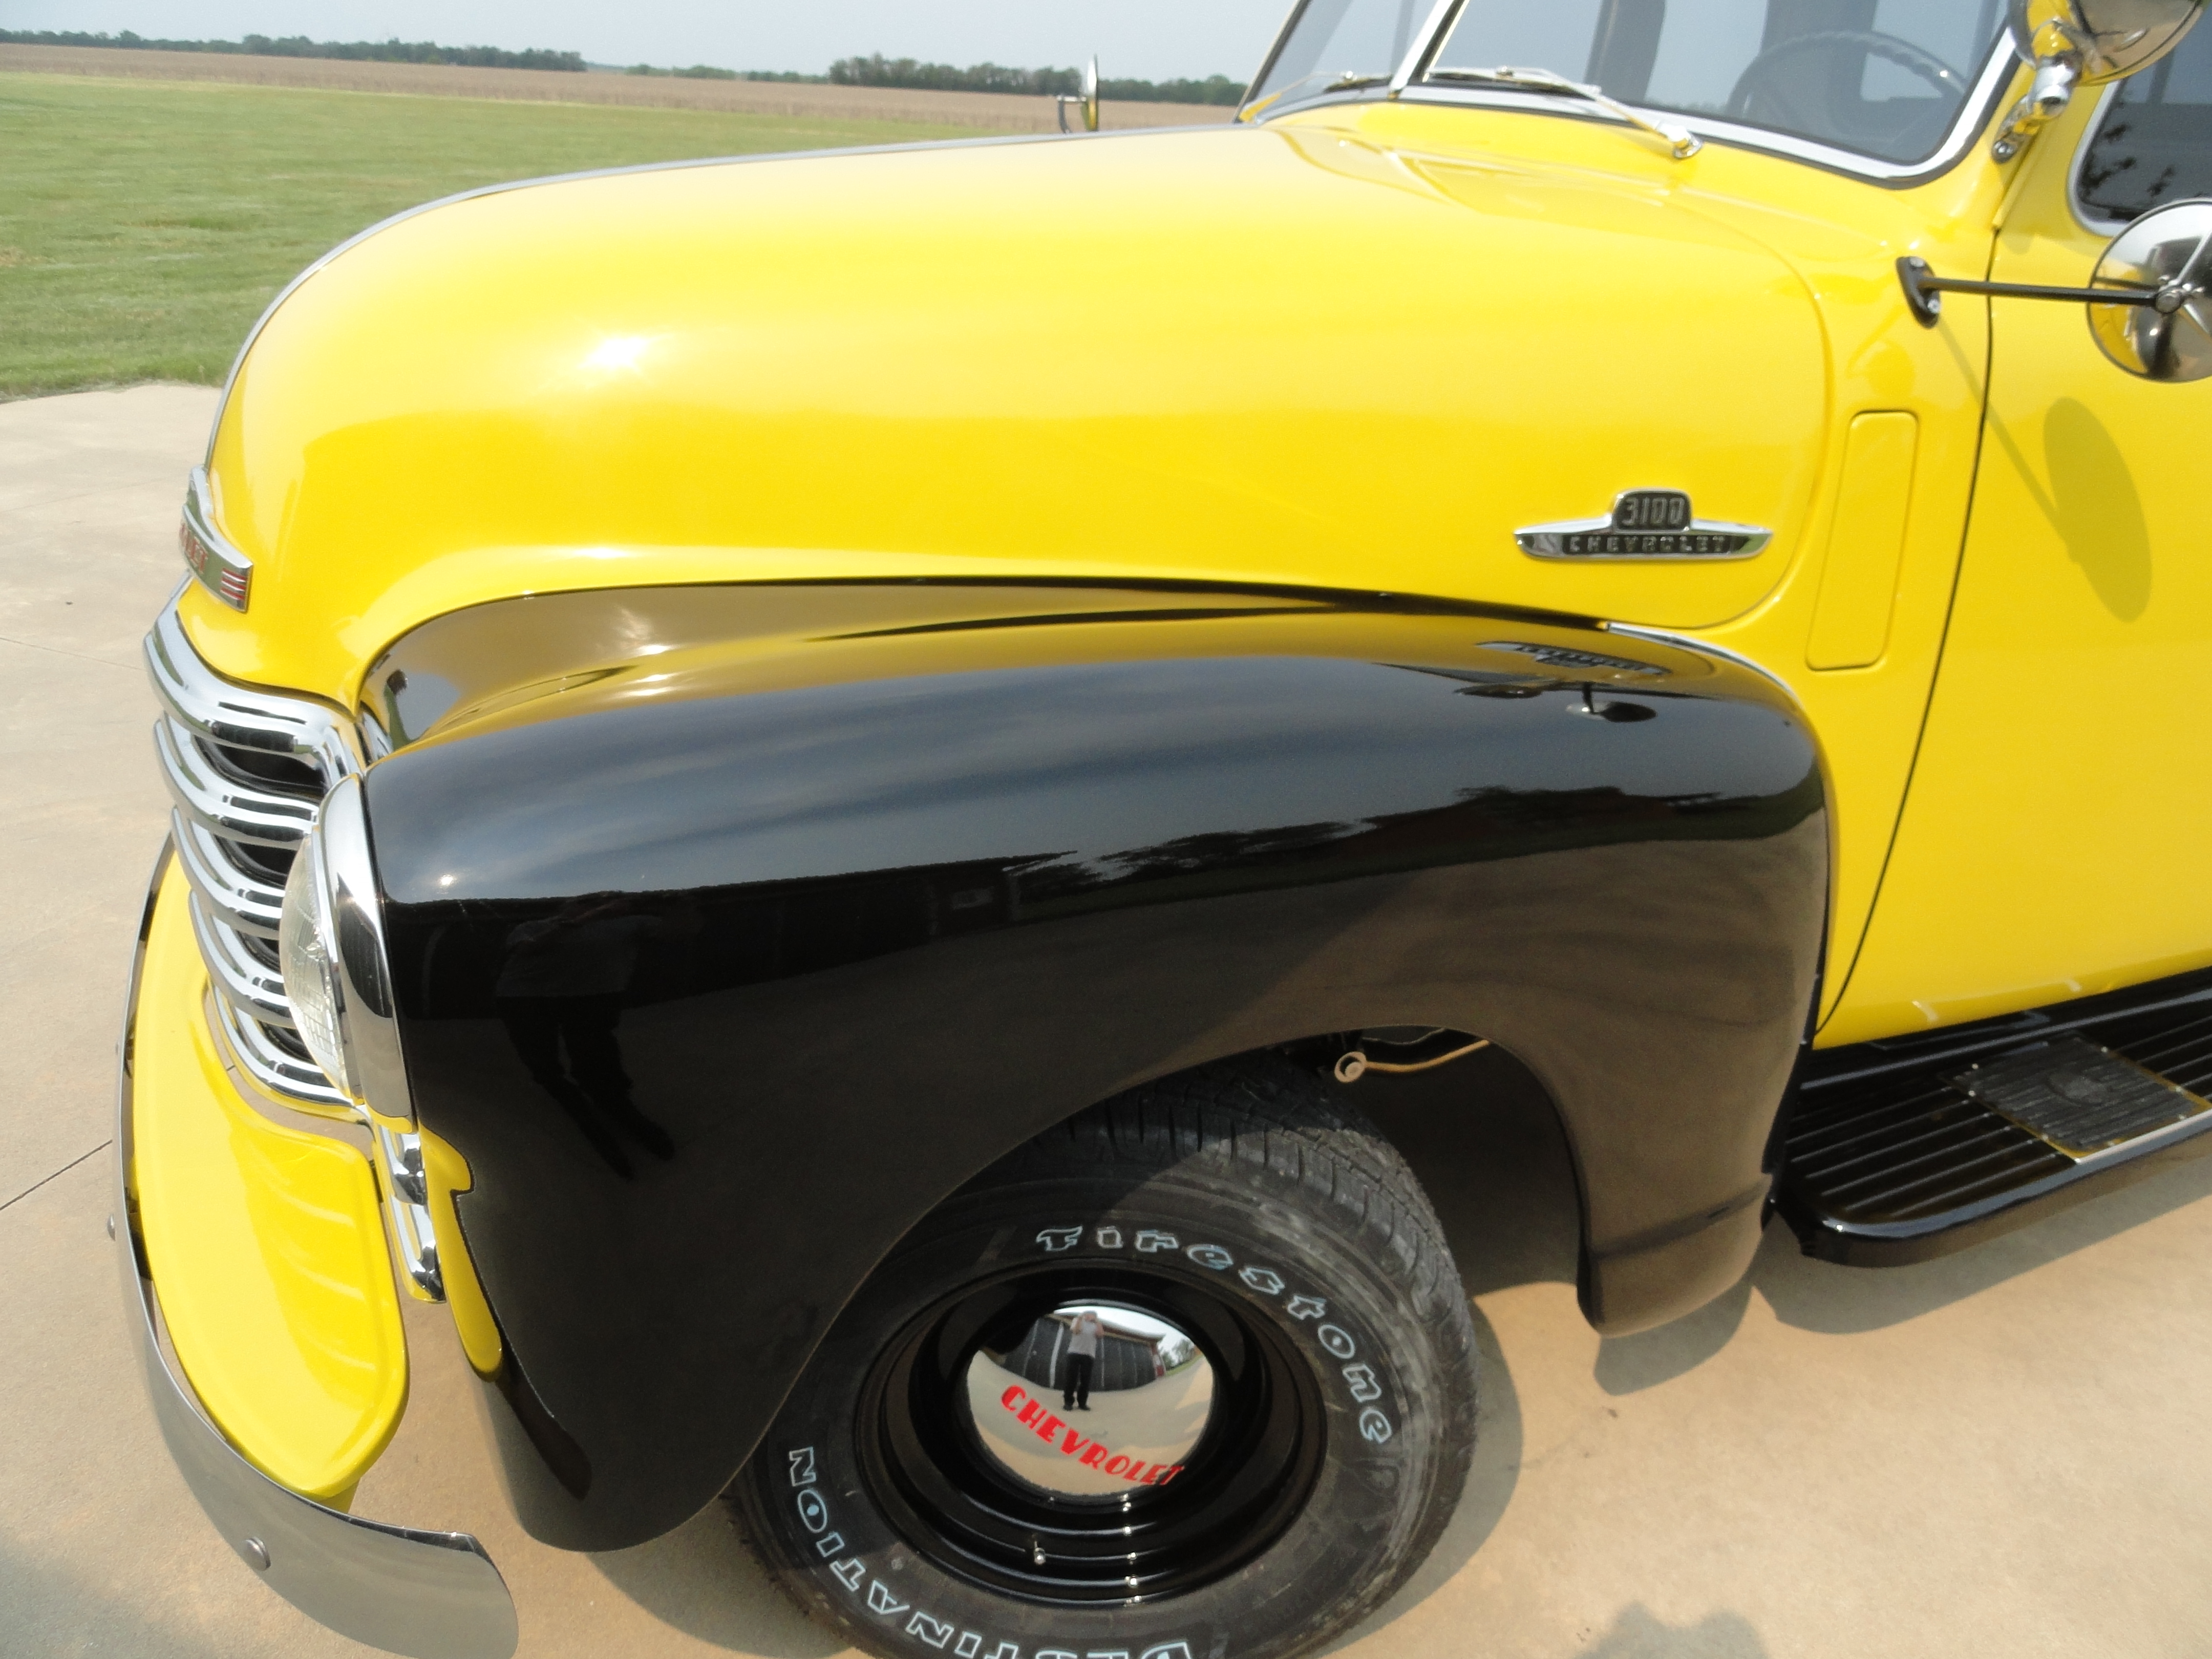
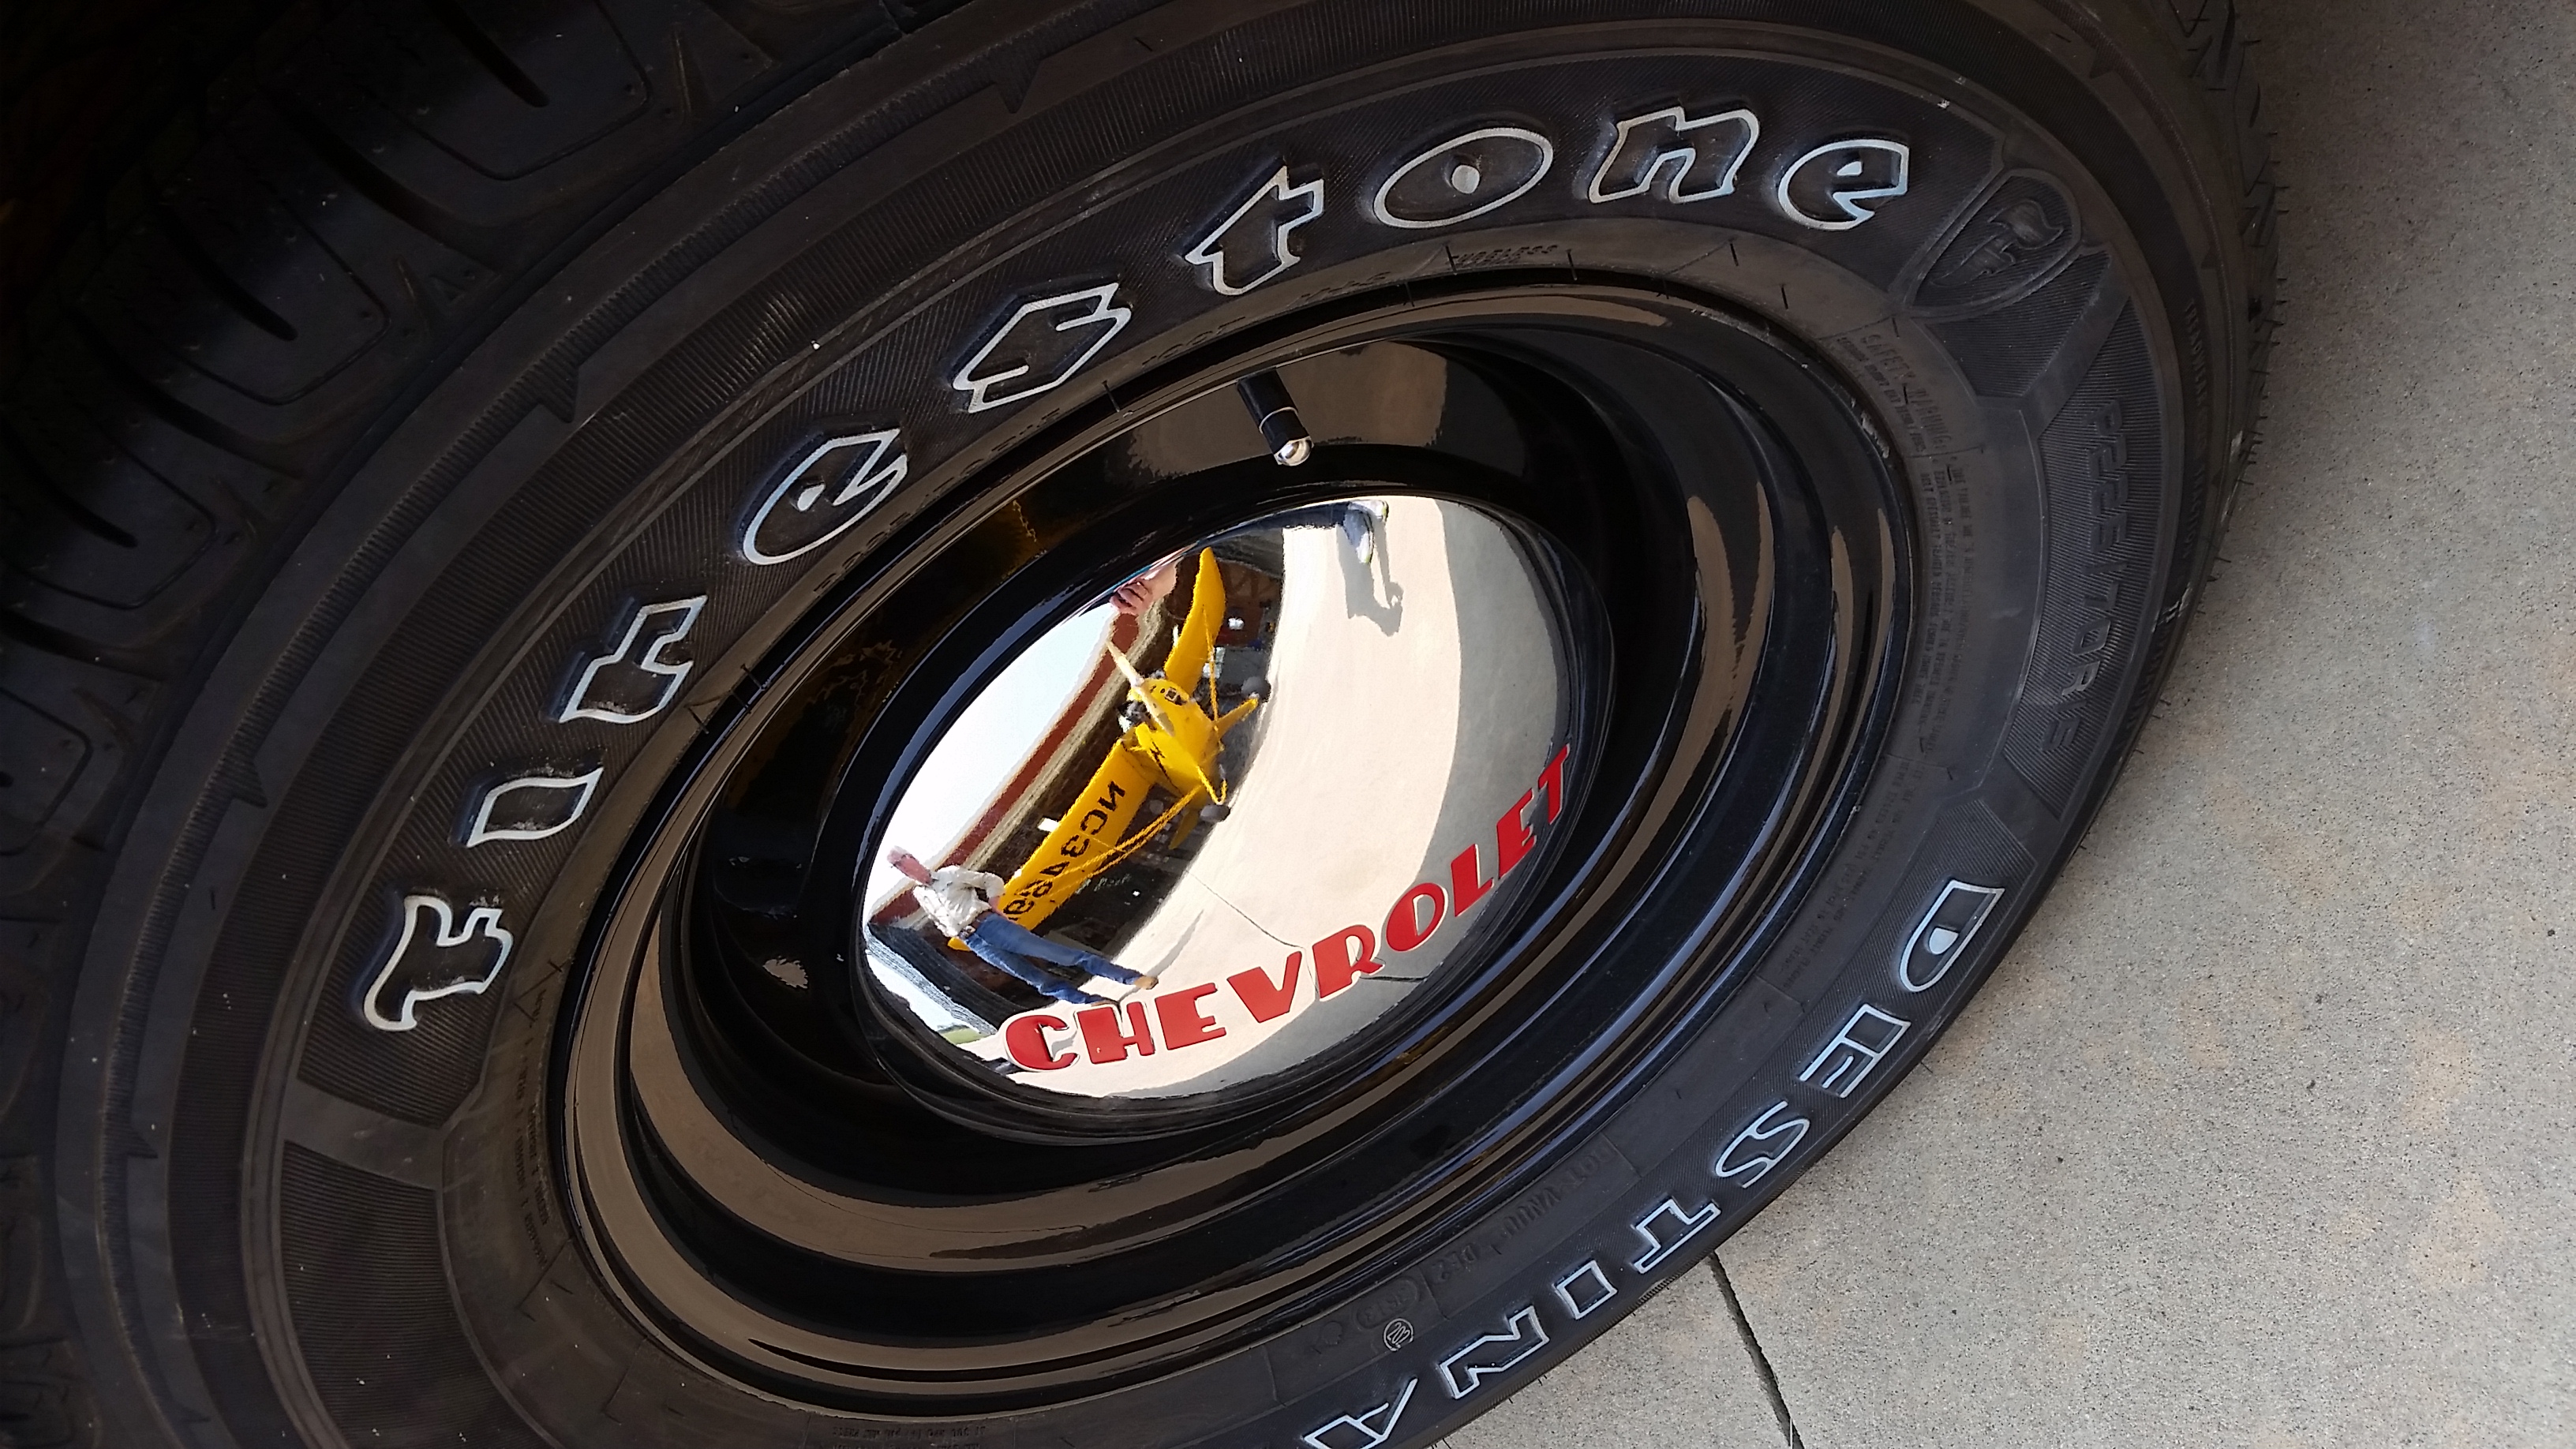
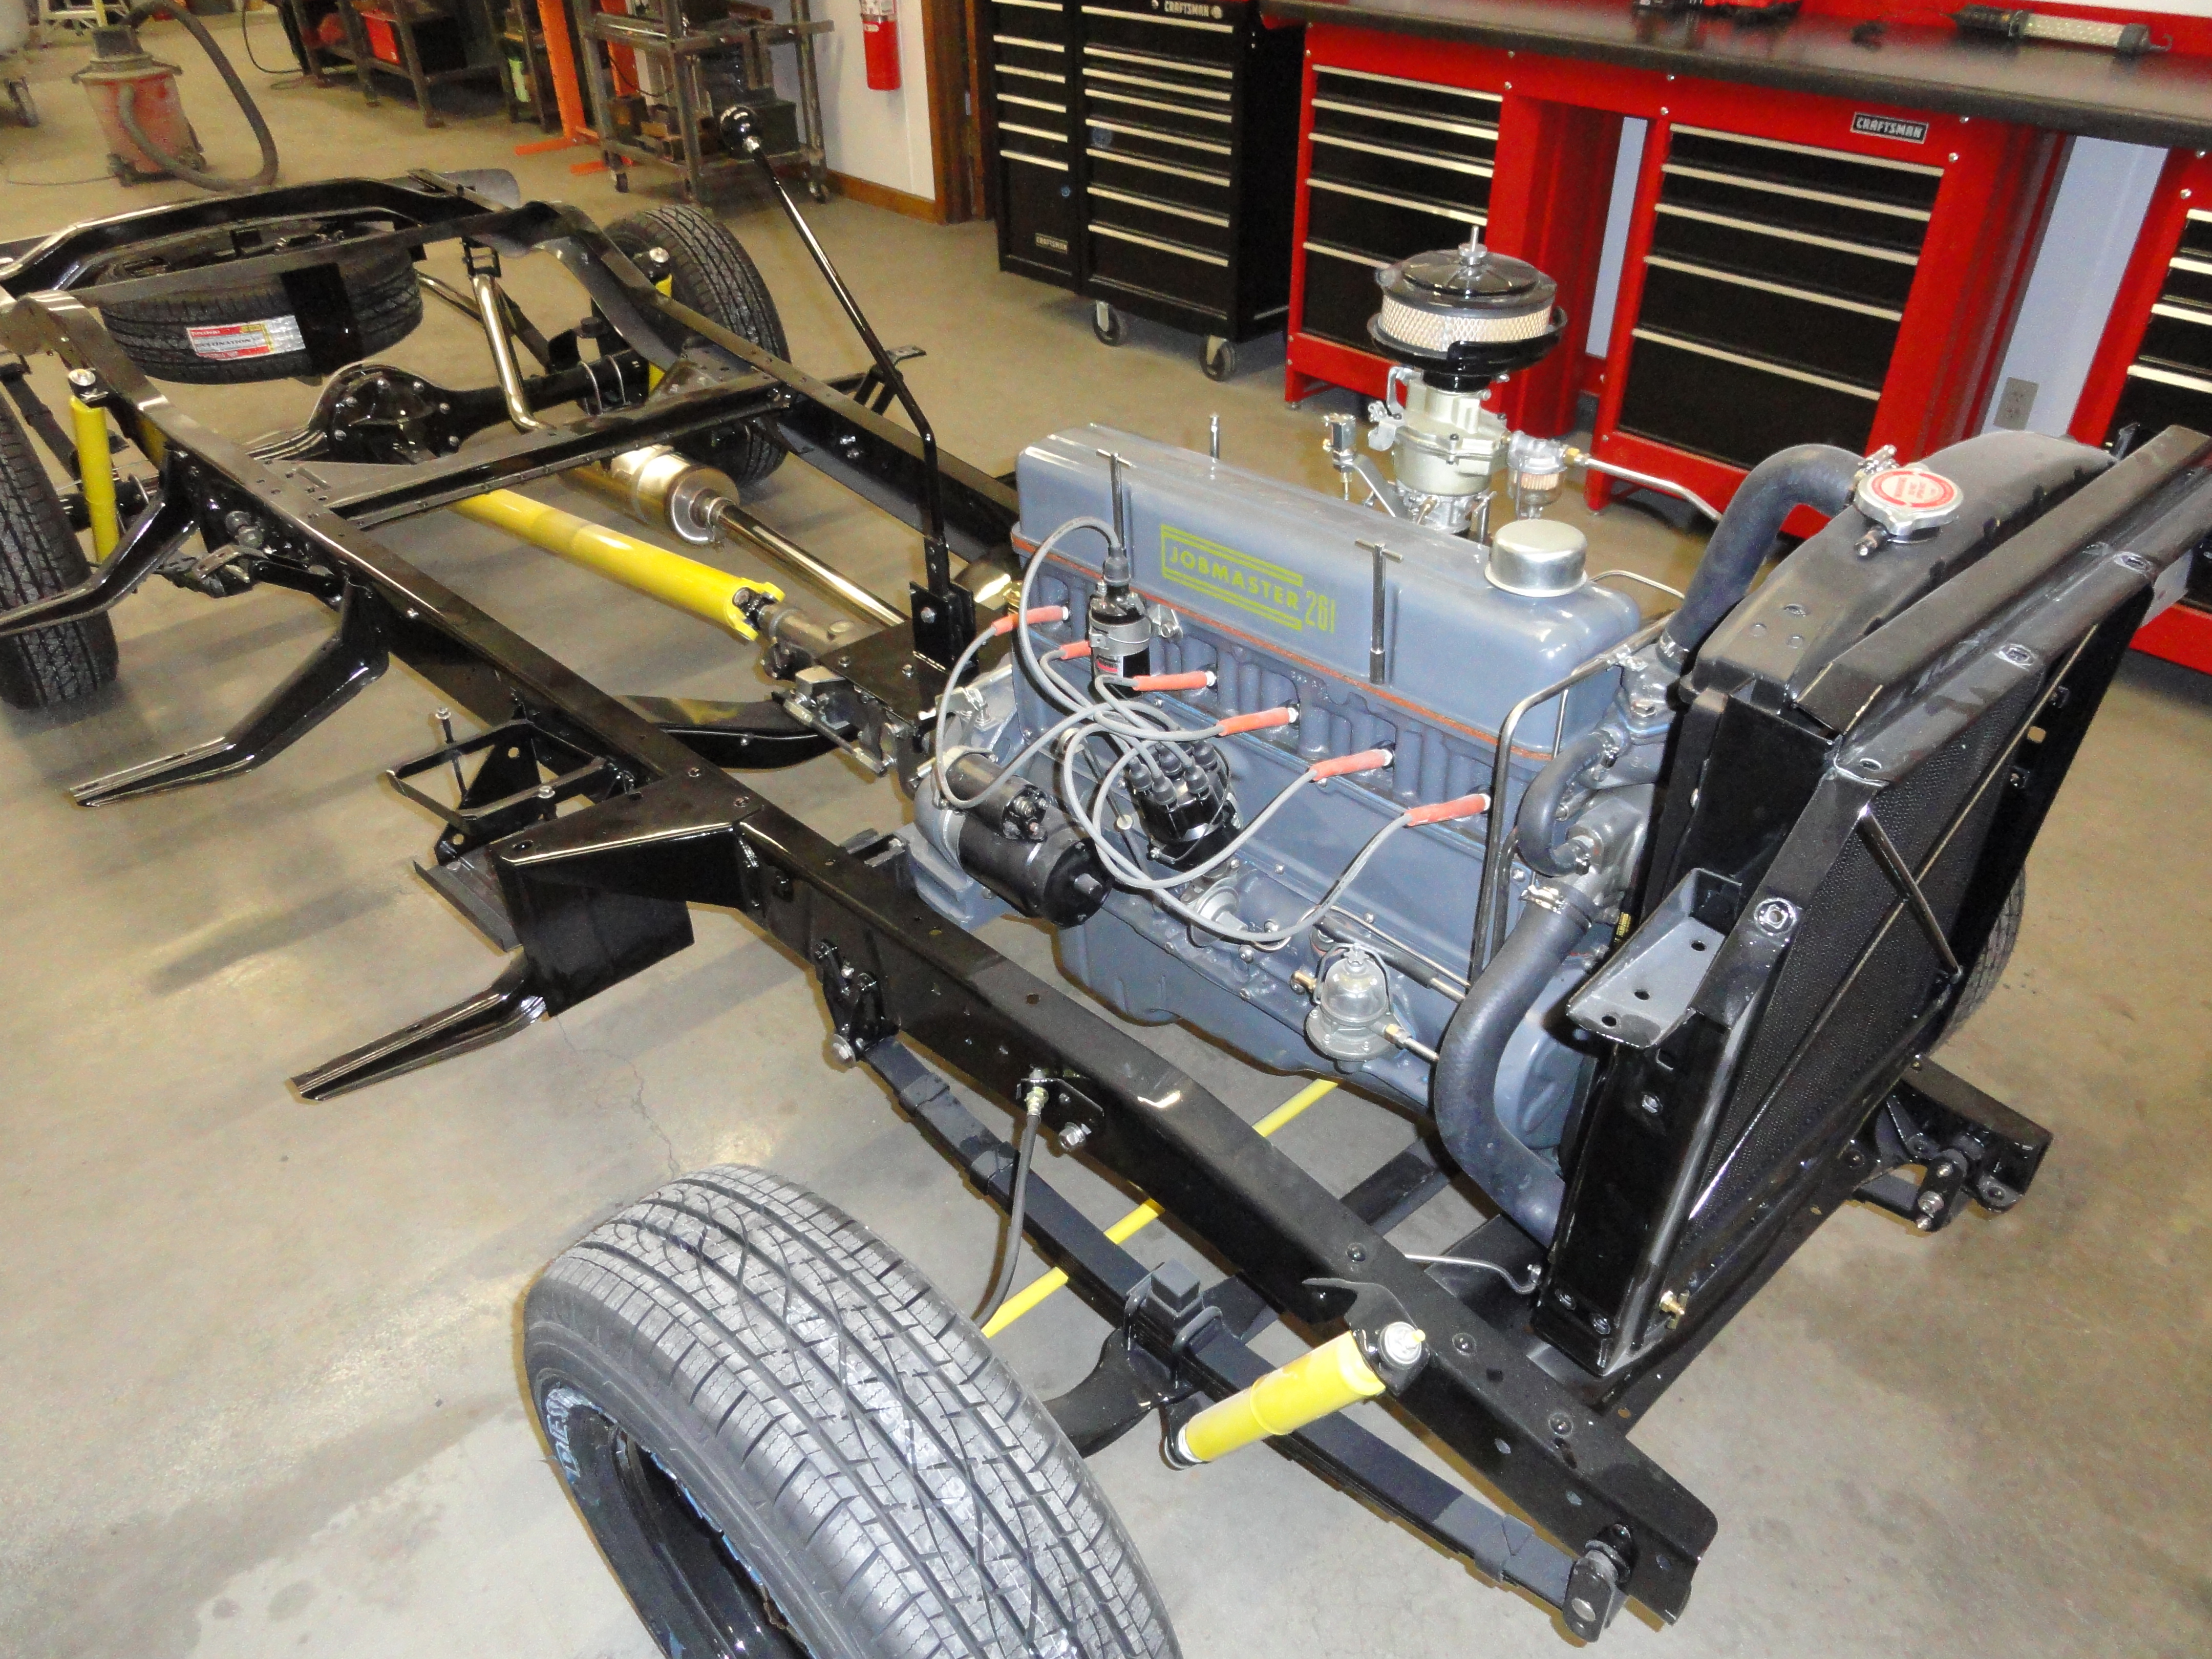
Here is a shot of the chassis with the engine mounted, the brake and fuel lines all in, and new 225/75/R15 Firestone Destination tires installed. Now I can roll it! I think the wheels came out really nice. I hate to cover them up with the hubcaps. I can see more cab prep in my future from here, but not until a few minor things are completed on the chassis.. Wheelsmith sells hubcaps modified for these wheels for the completely stock look, so I got 4 of those too. They will be yellow with black lettering.

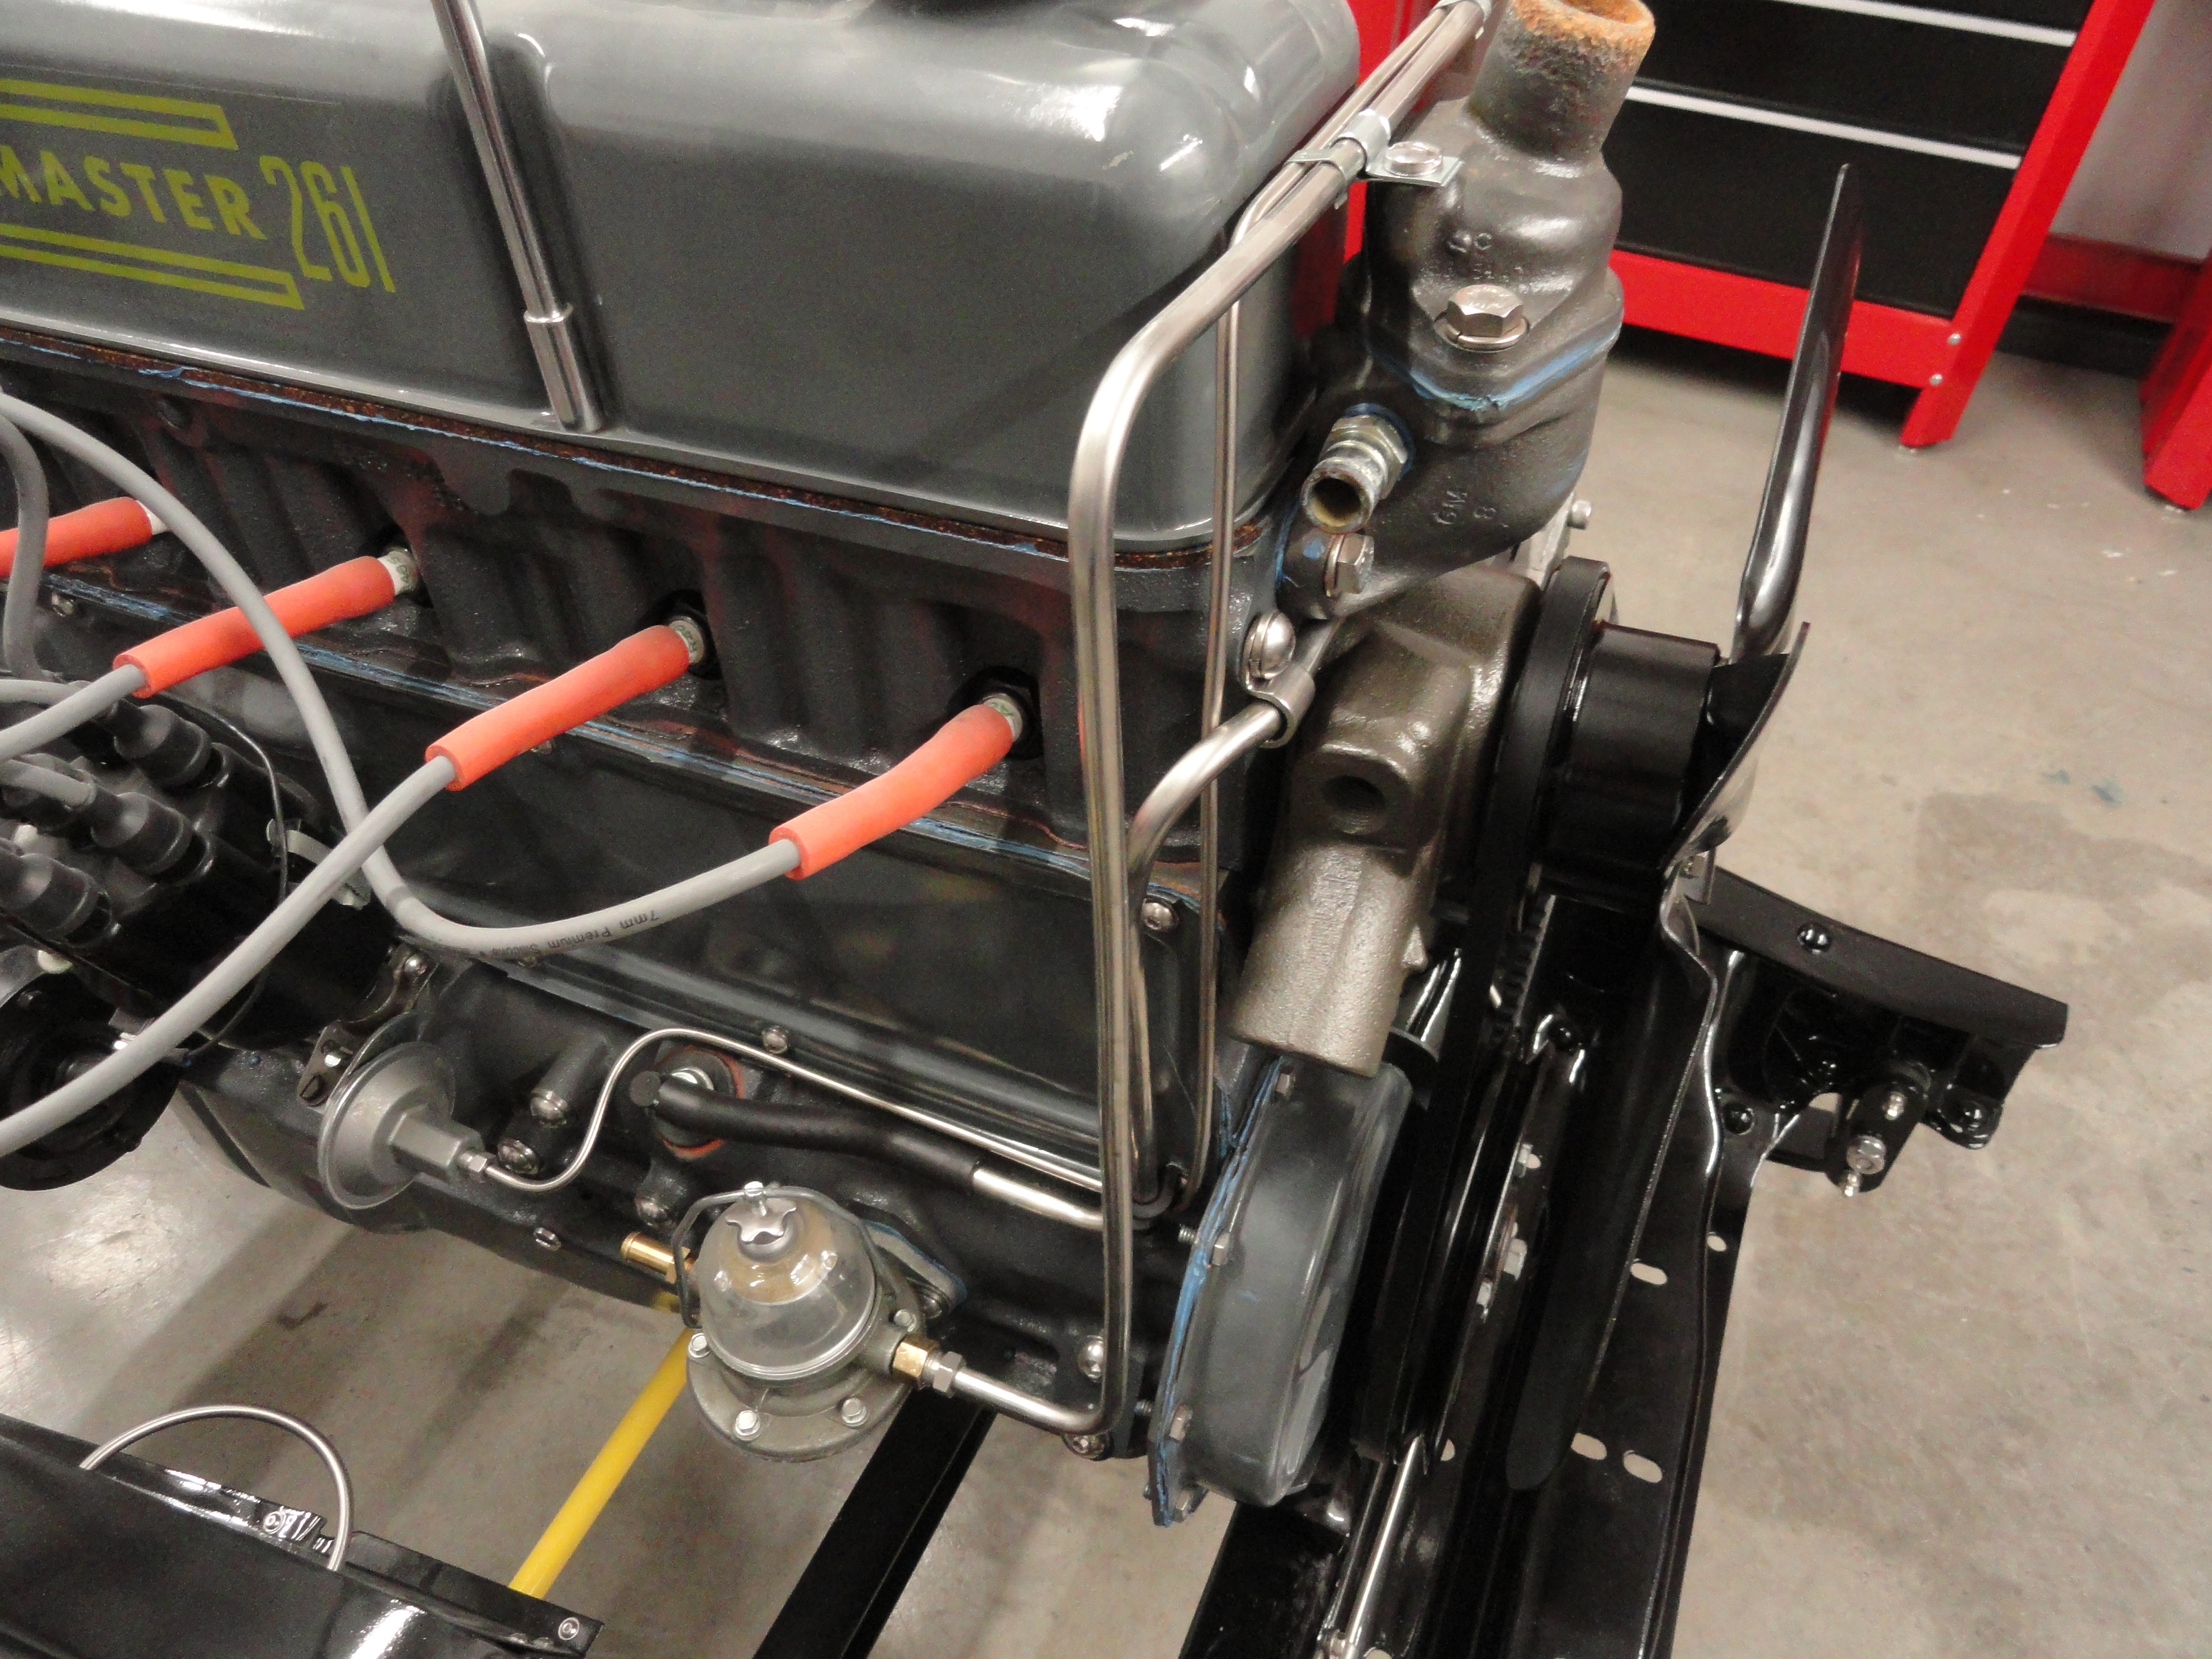
I didn't like the copper tubing idea so I went with braided stainless oil lines to my spin-on filter. They are high pressure and safe to use for this and look better. On the right you can see the stainless fuel, vac, and PCV lines all custom made. I opted for Stainless plumbing parts too. I also opted to move the water pump higher on the block using a water pump adapter plate. This will make for better cooling since the fan is now squarely in front of the radiator.
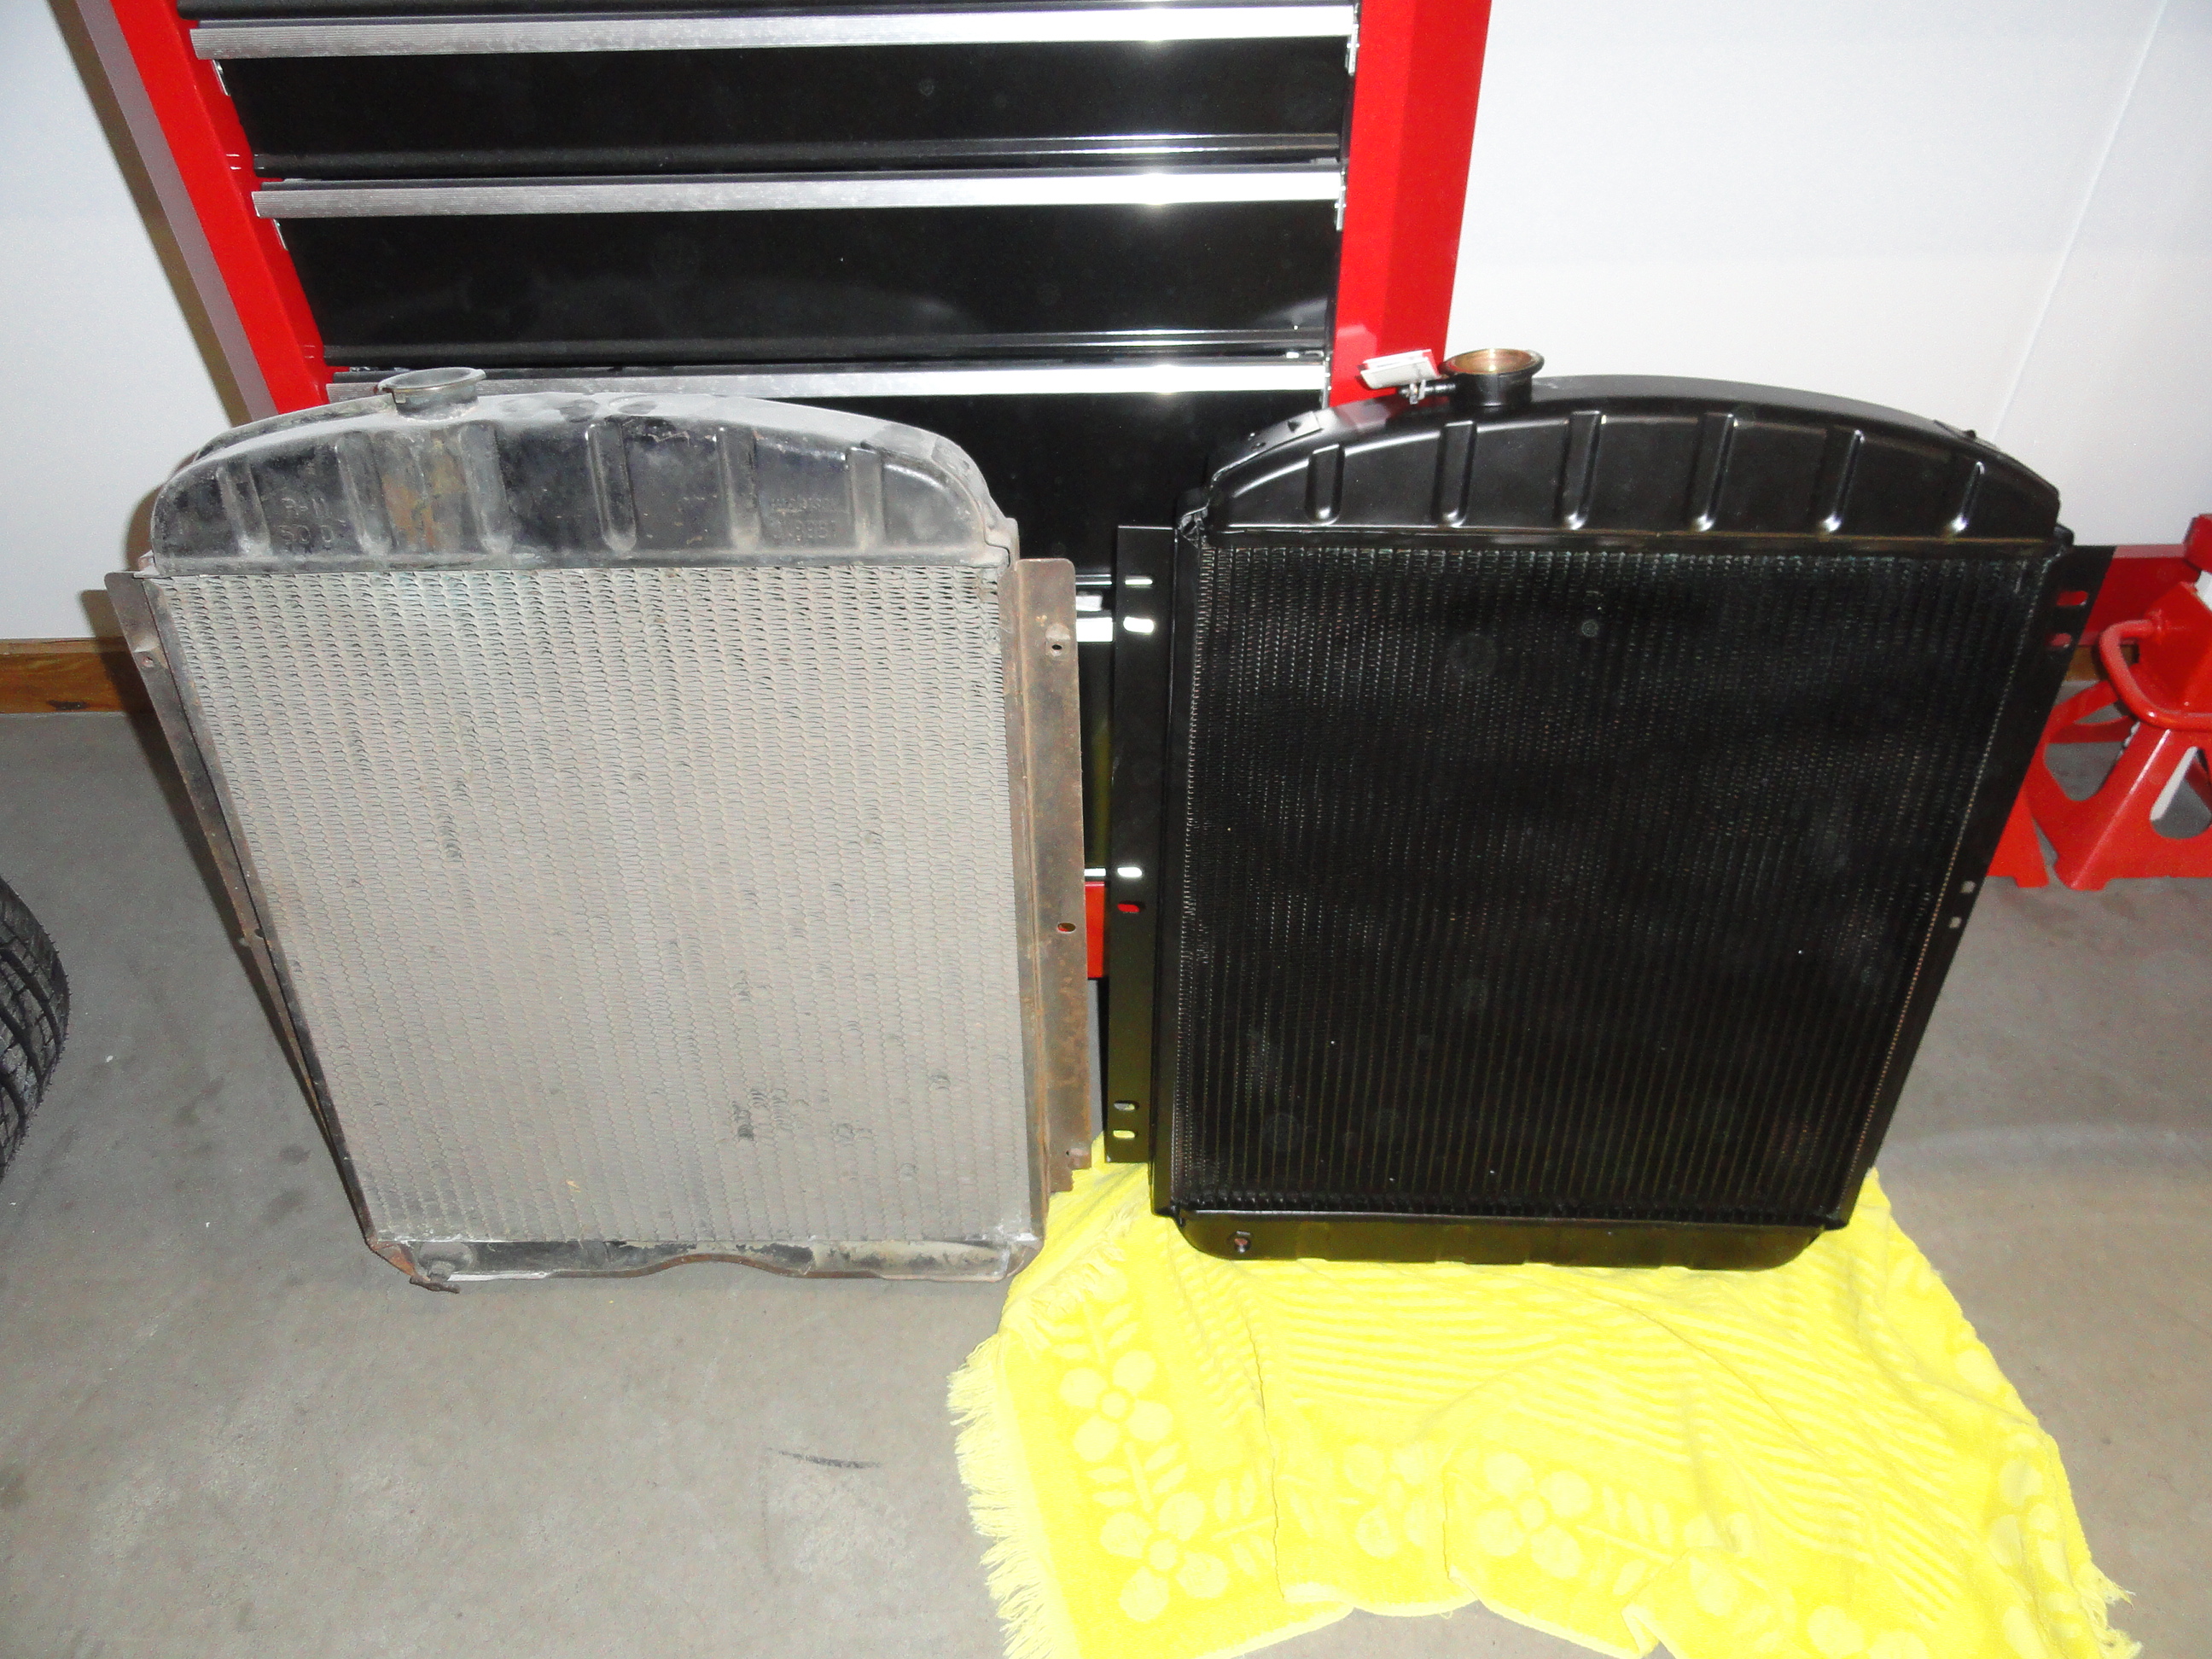
The radiator is brand new and made in the USA by US Radiator. They are expensive, about $650, but they have the more modern denser core values and will keep that 261 very nice and cool. I also went with a dual pulley Harmonic Balancer so that if I choose to install air conditioning or whatever, I can later with that already done. Aside from the 3 speed floor shifter project, this chassis is just about as complete as it gets. But wait! It's not ever till it's Over...

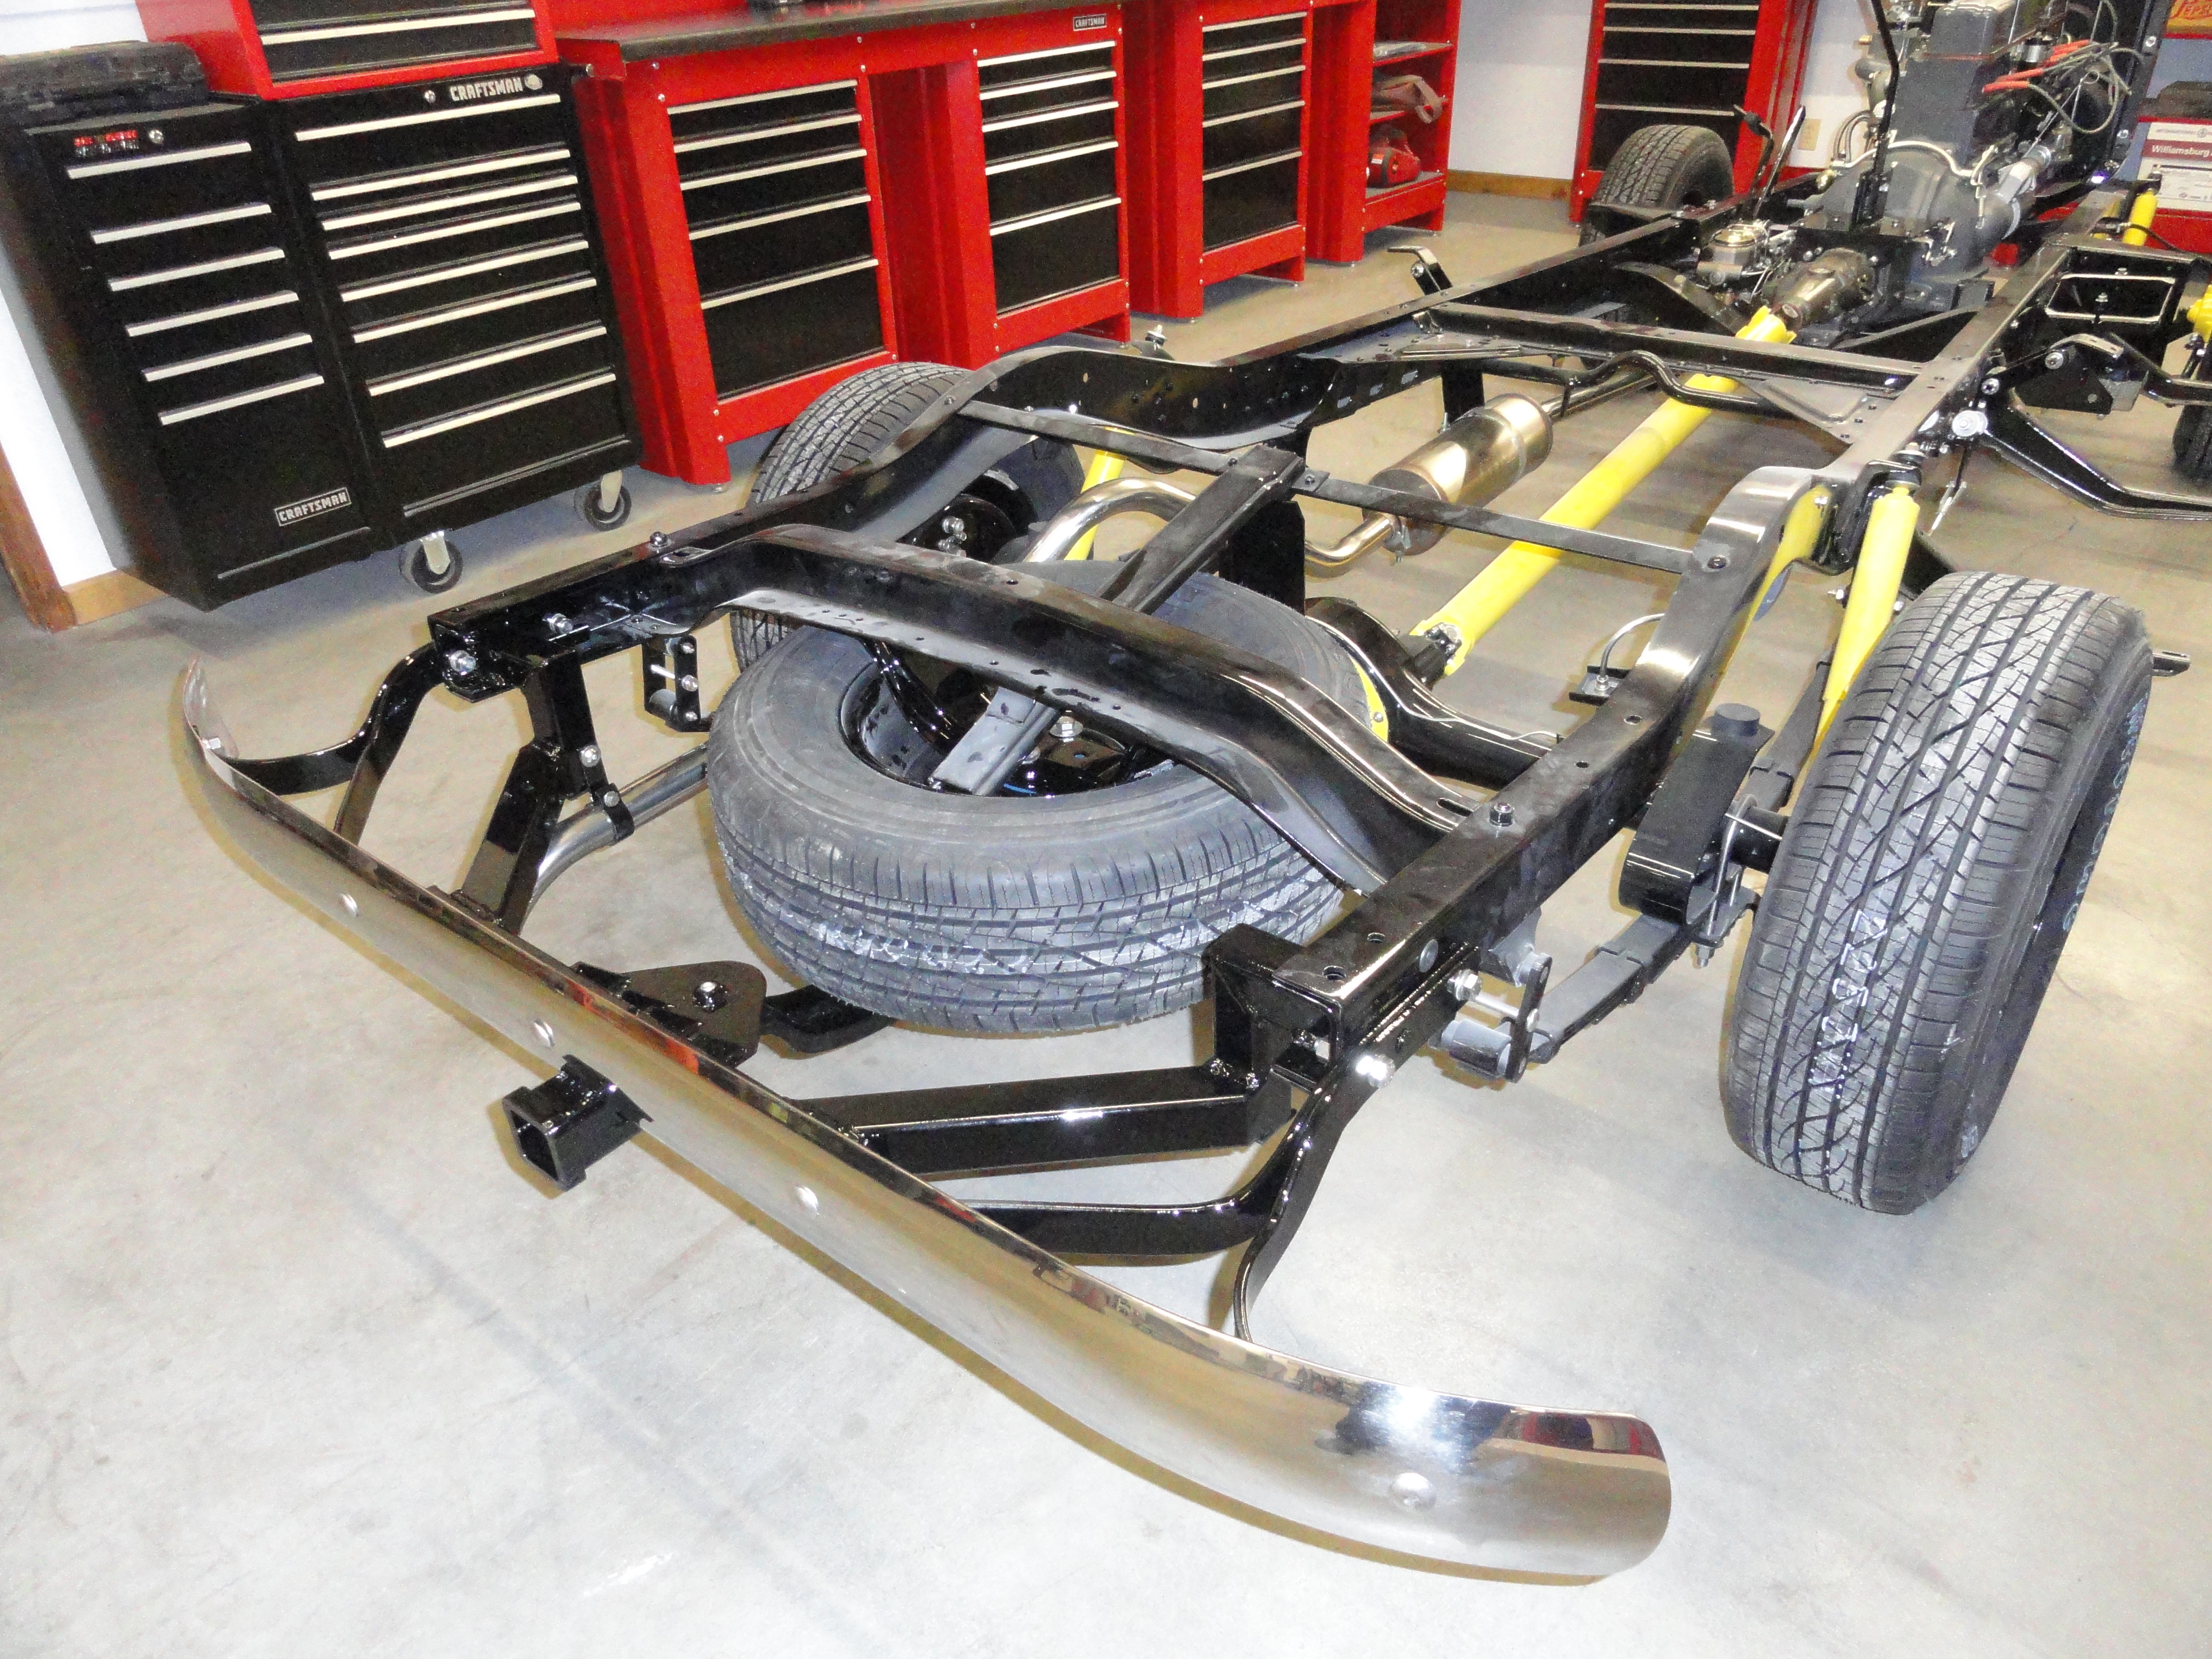
No self respecting pickup truck owner can live with themselves unless they have a very strong trailer hitch to pull stuff with. That's what I am going with anyway! There are factors to consider when designing a trailer hitch for a stock AD pickup. To complicate matters, you have the under-bed spare tire carrier that has to work when it's done. For structural support, you need to use the frame rails and the bumper bracket and bumper as a support system as well. This took some trial and error. Now is the time to invent such a thing, while there is no sheet metal in the way. The stainless exhaust tailpipe mounts nicely to it, and the spare tire carrier is more secure due to the solid mounting bolt provided by the system. And until I think of something else I just have to have on my chassis, this concludes the chassis portion of the program.
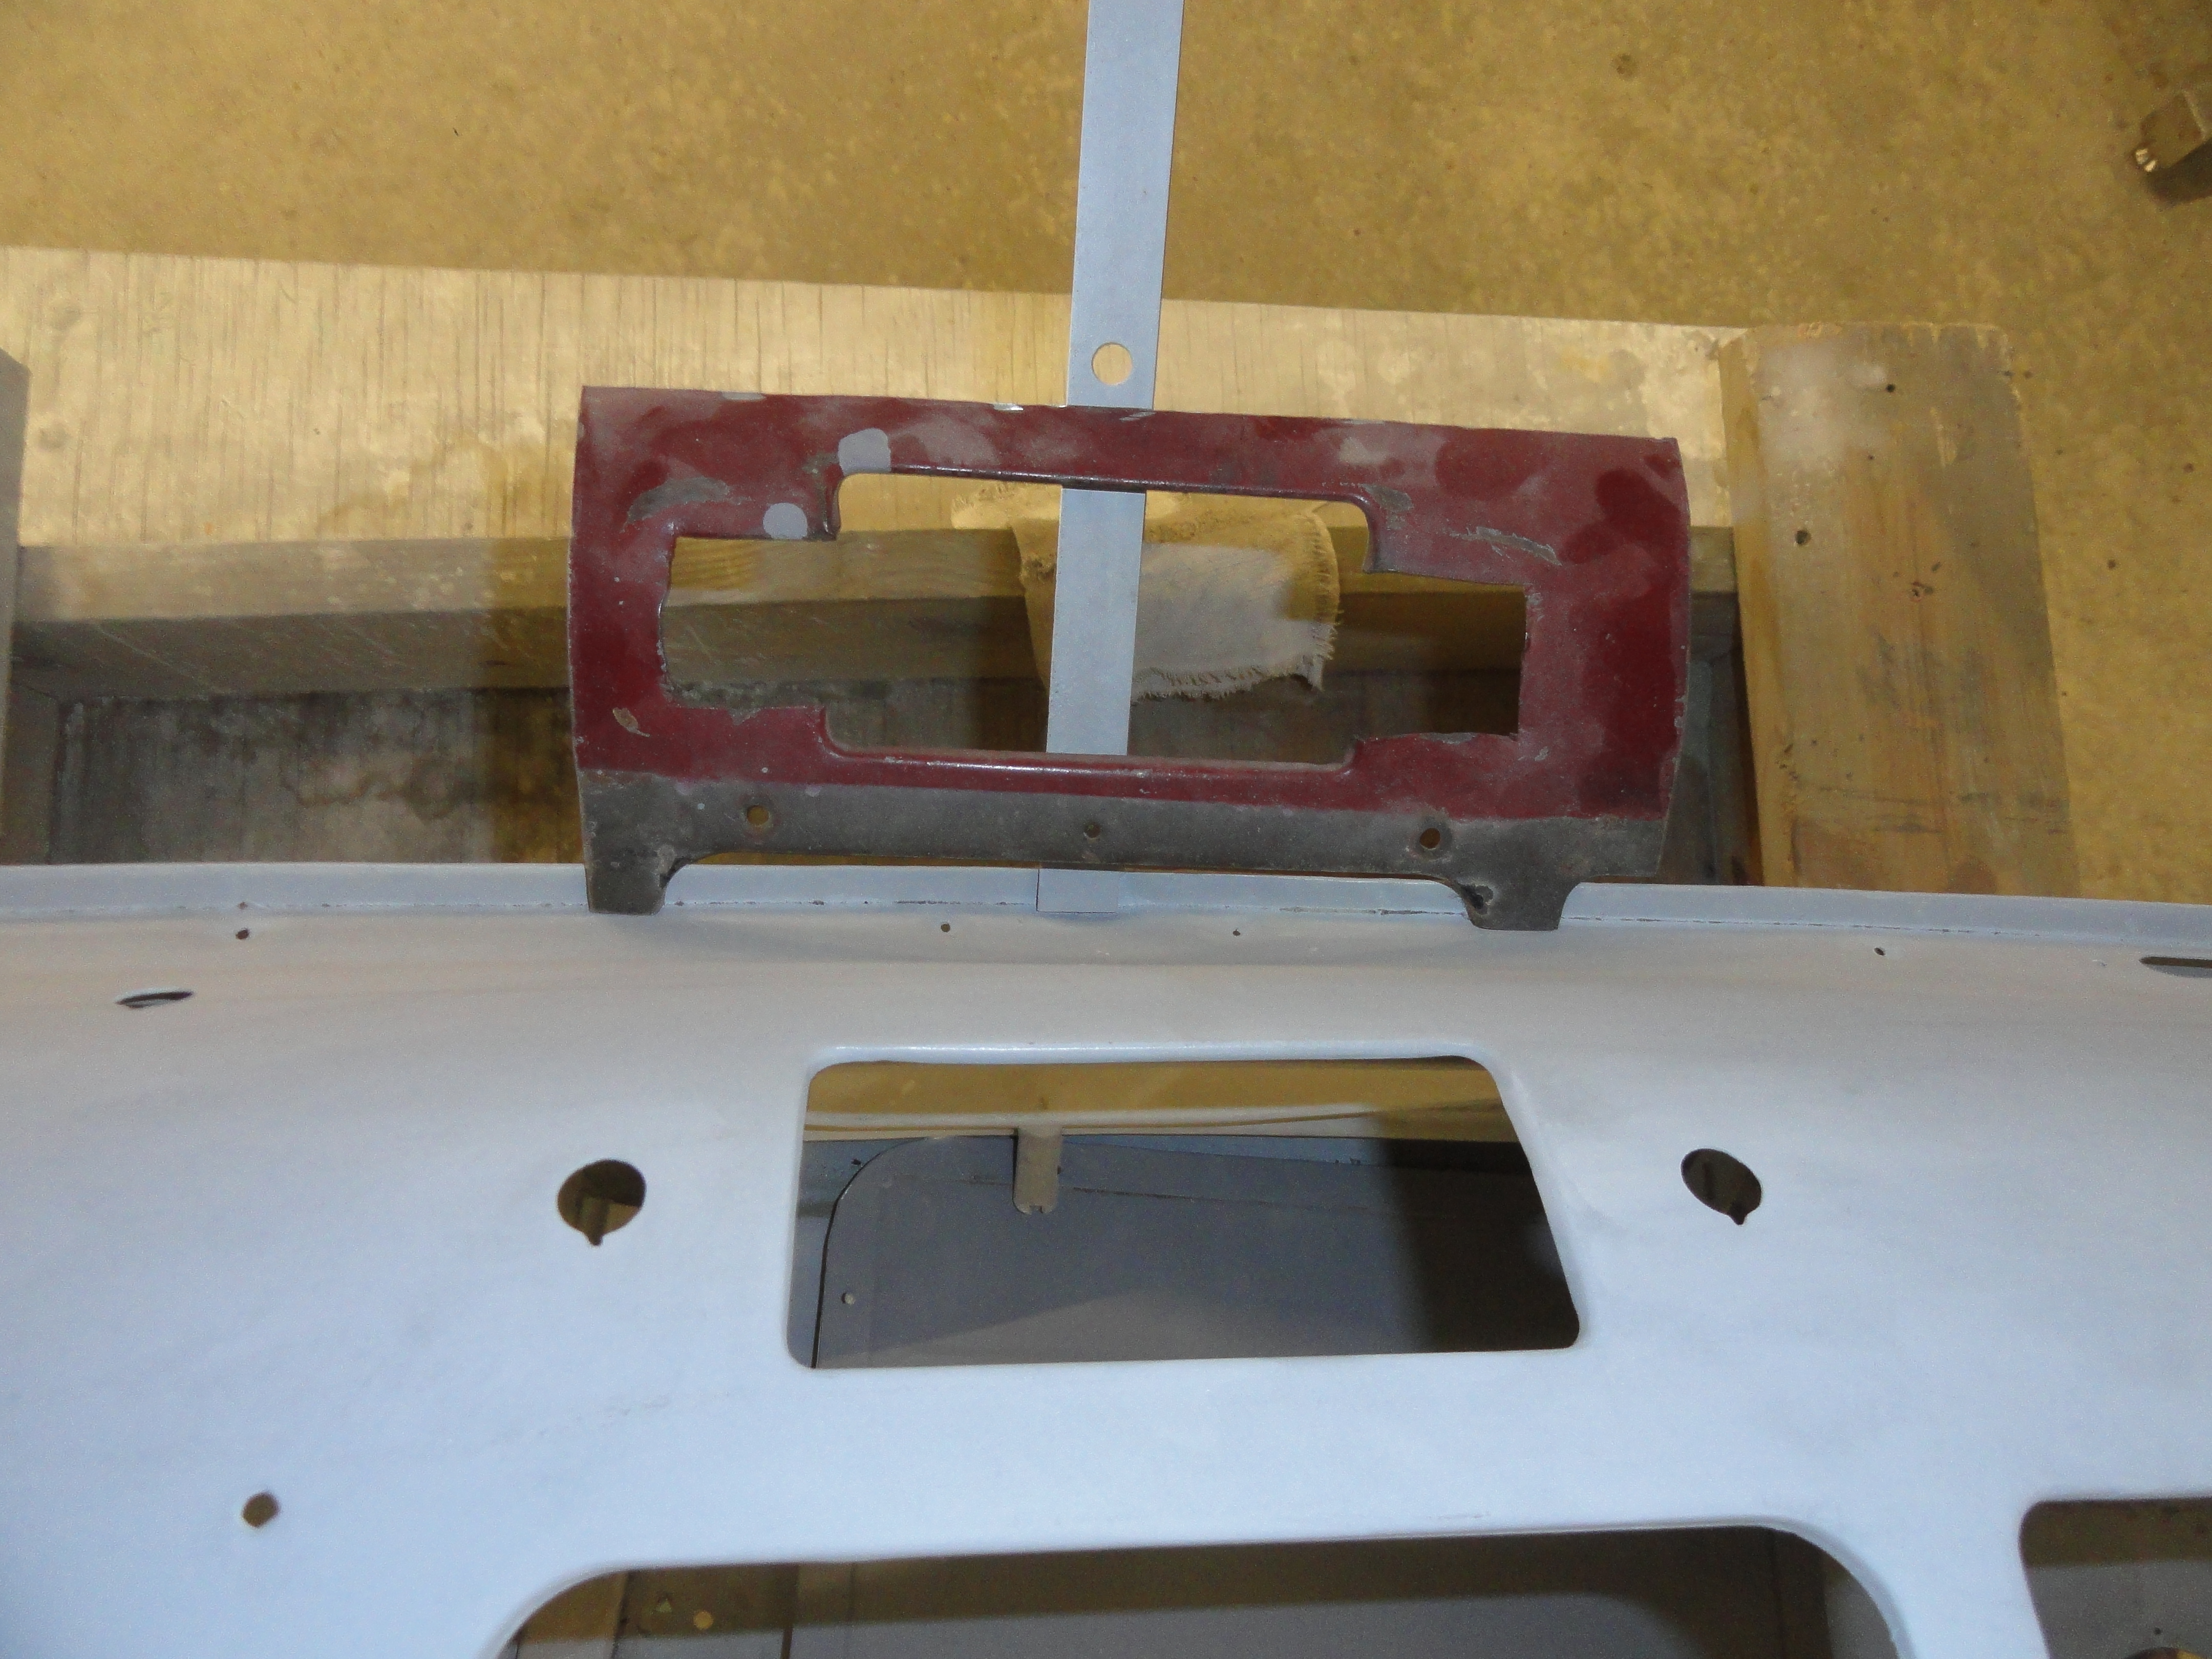

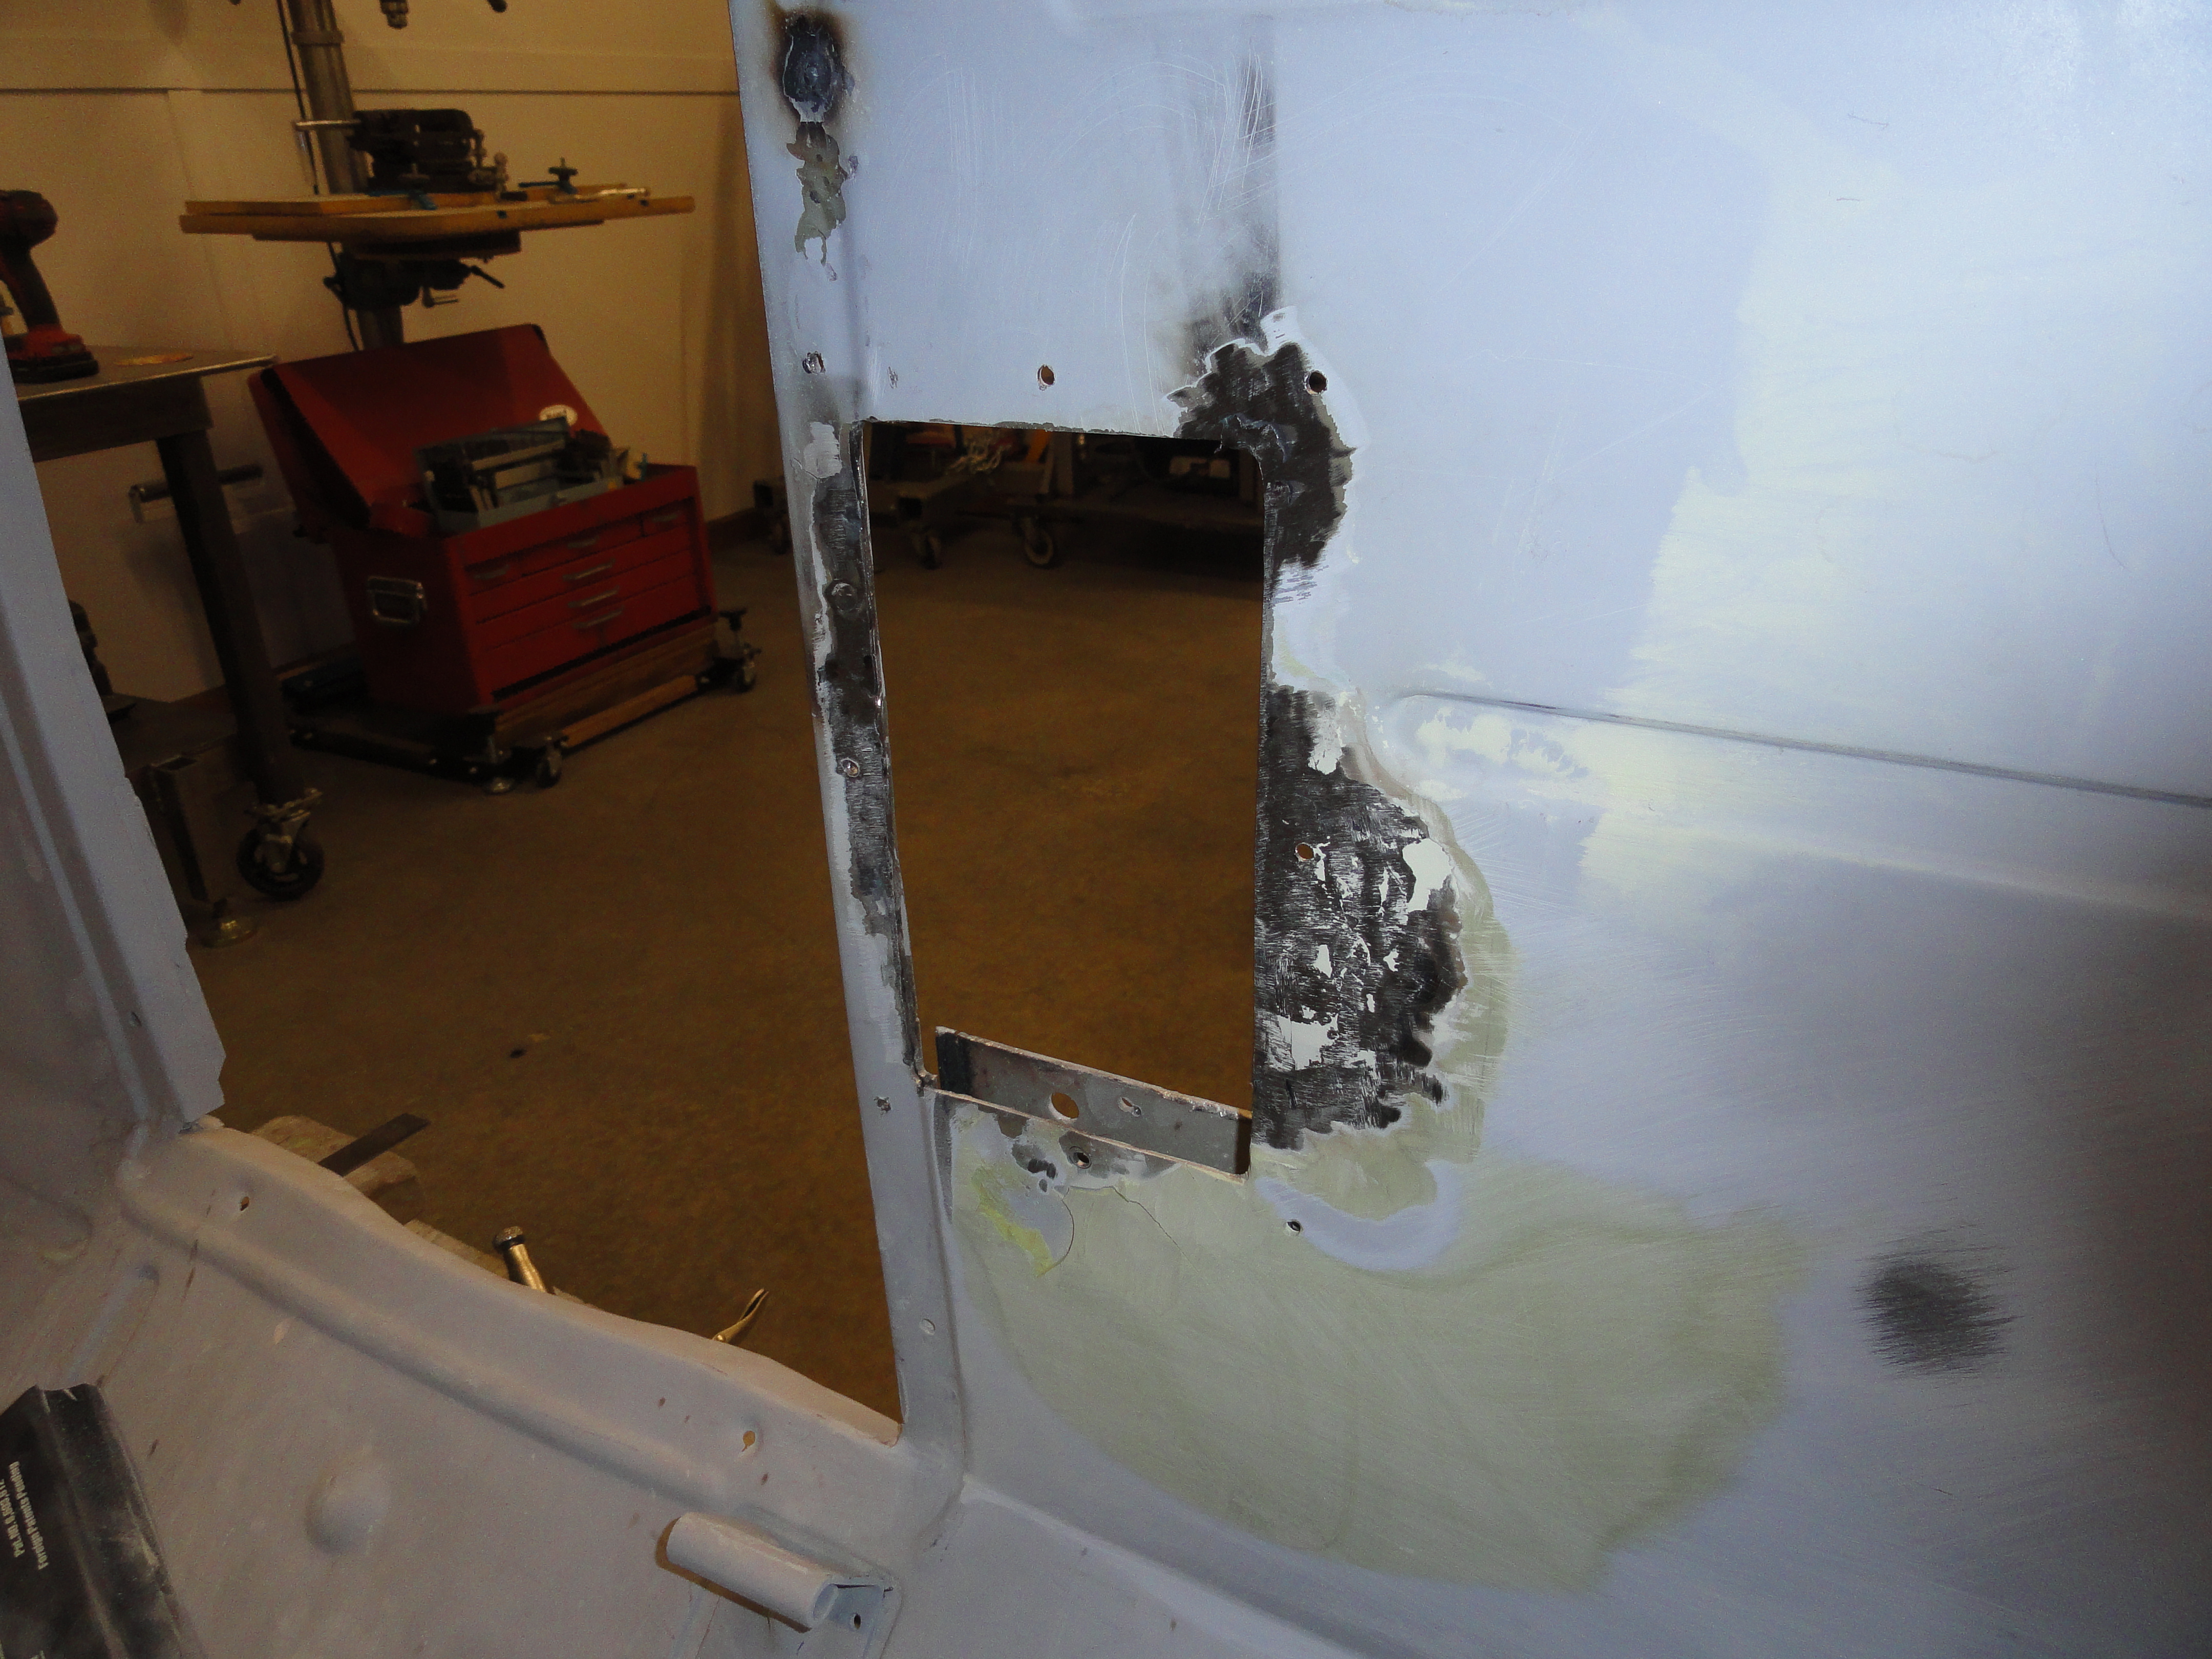
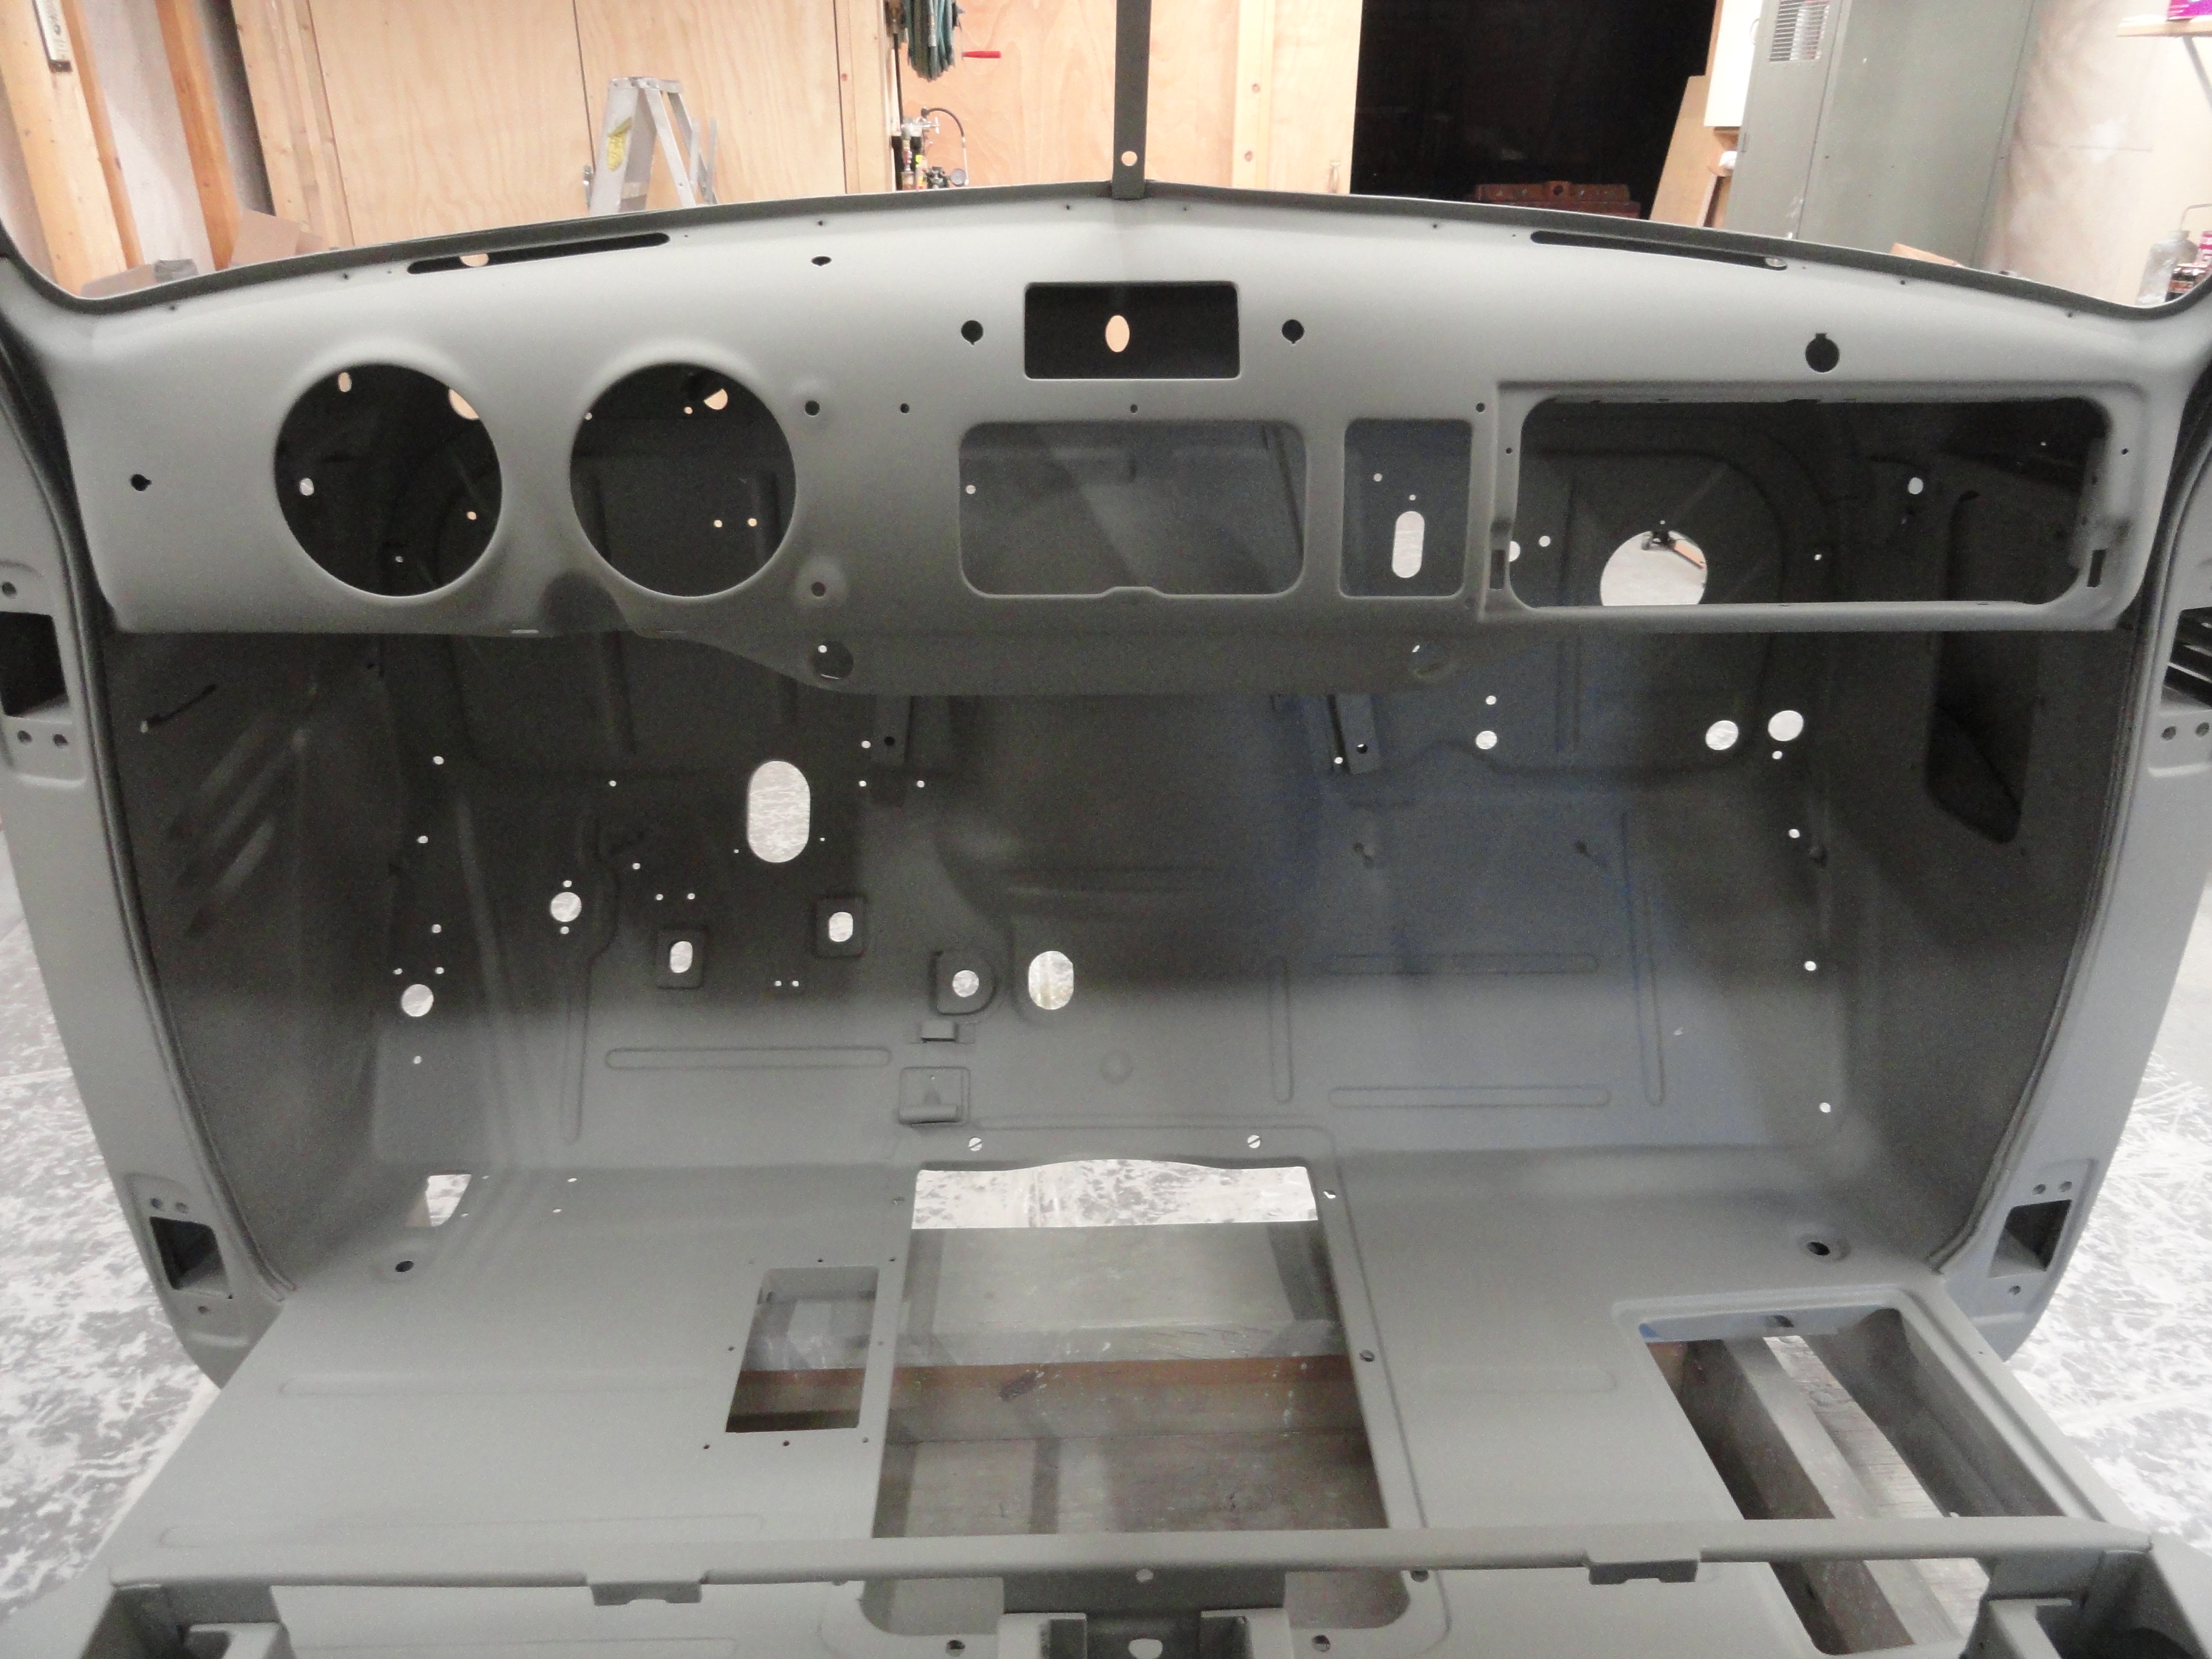
When I got this 1950 Deluxe Cab I had no idea a truck could still retain its shape and be in as bad of condition as what I found. Every patch panel available from our vendors has been utilized and then a few journeys to the salvage yard for some cutouts were necessary. I have seen a lot of these trucks, but none this bad. When asking a few professionals I know, they said to junk it and get a better cab. I couldn't find it in myself to junk it, I wanted to save it, so the past 10 years or so have been spent off and on making all the necessary repairs. I didn't take enough pictures along the way, but it wasn't a pretty sight when I got it. Left is what someone did to the radio hole to get their radio to fit! That was the least of the sheet metal problems. For the most part, that is over and everything is in shape to start the final prep process. But there are a few new considerations because of what we did with the chassis. Remember that Dual Master Cylinder we put in?

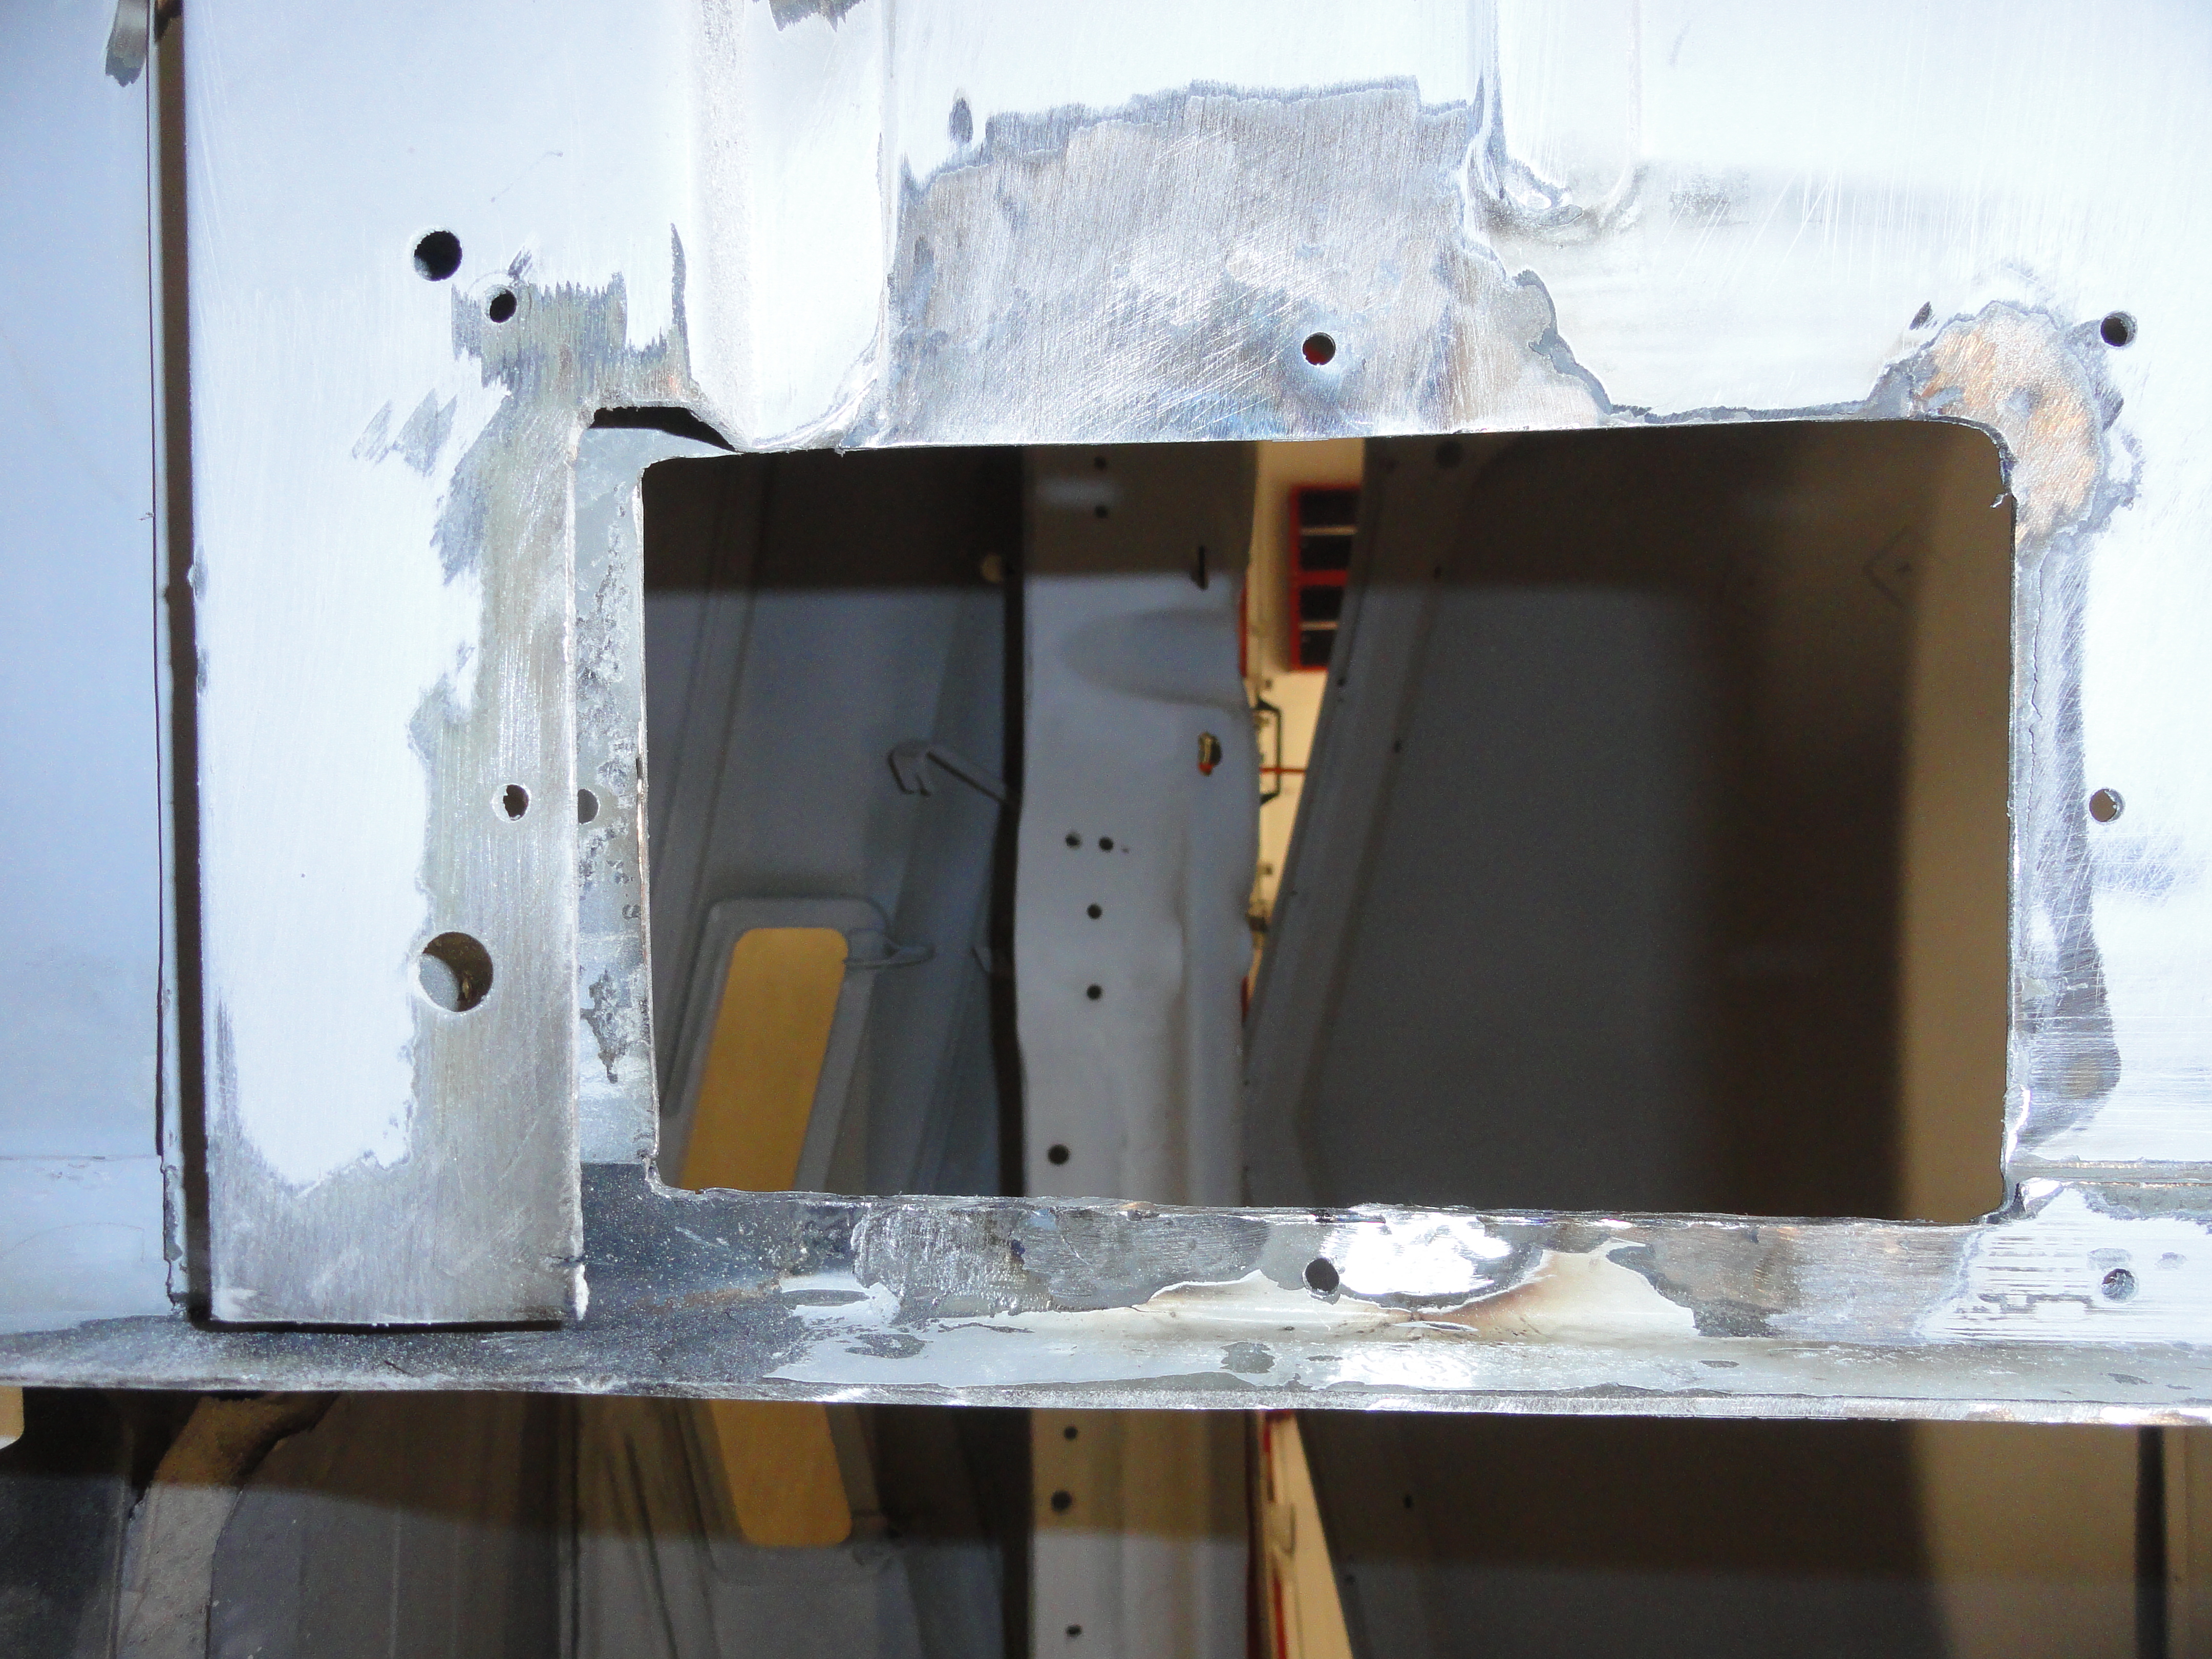
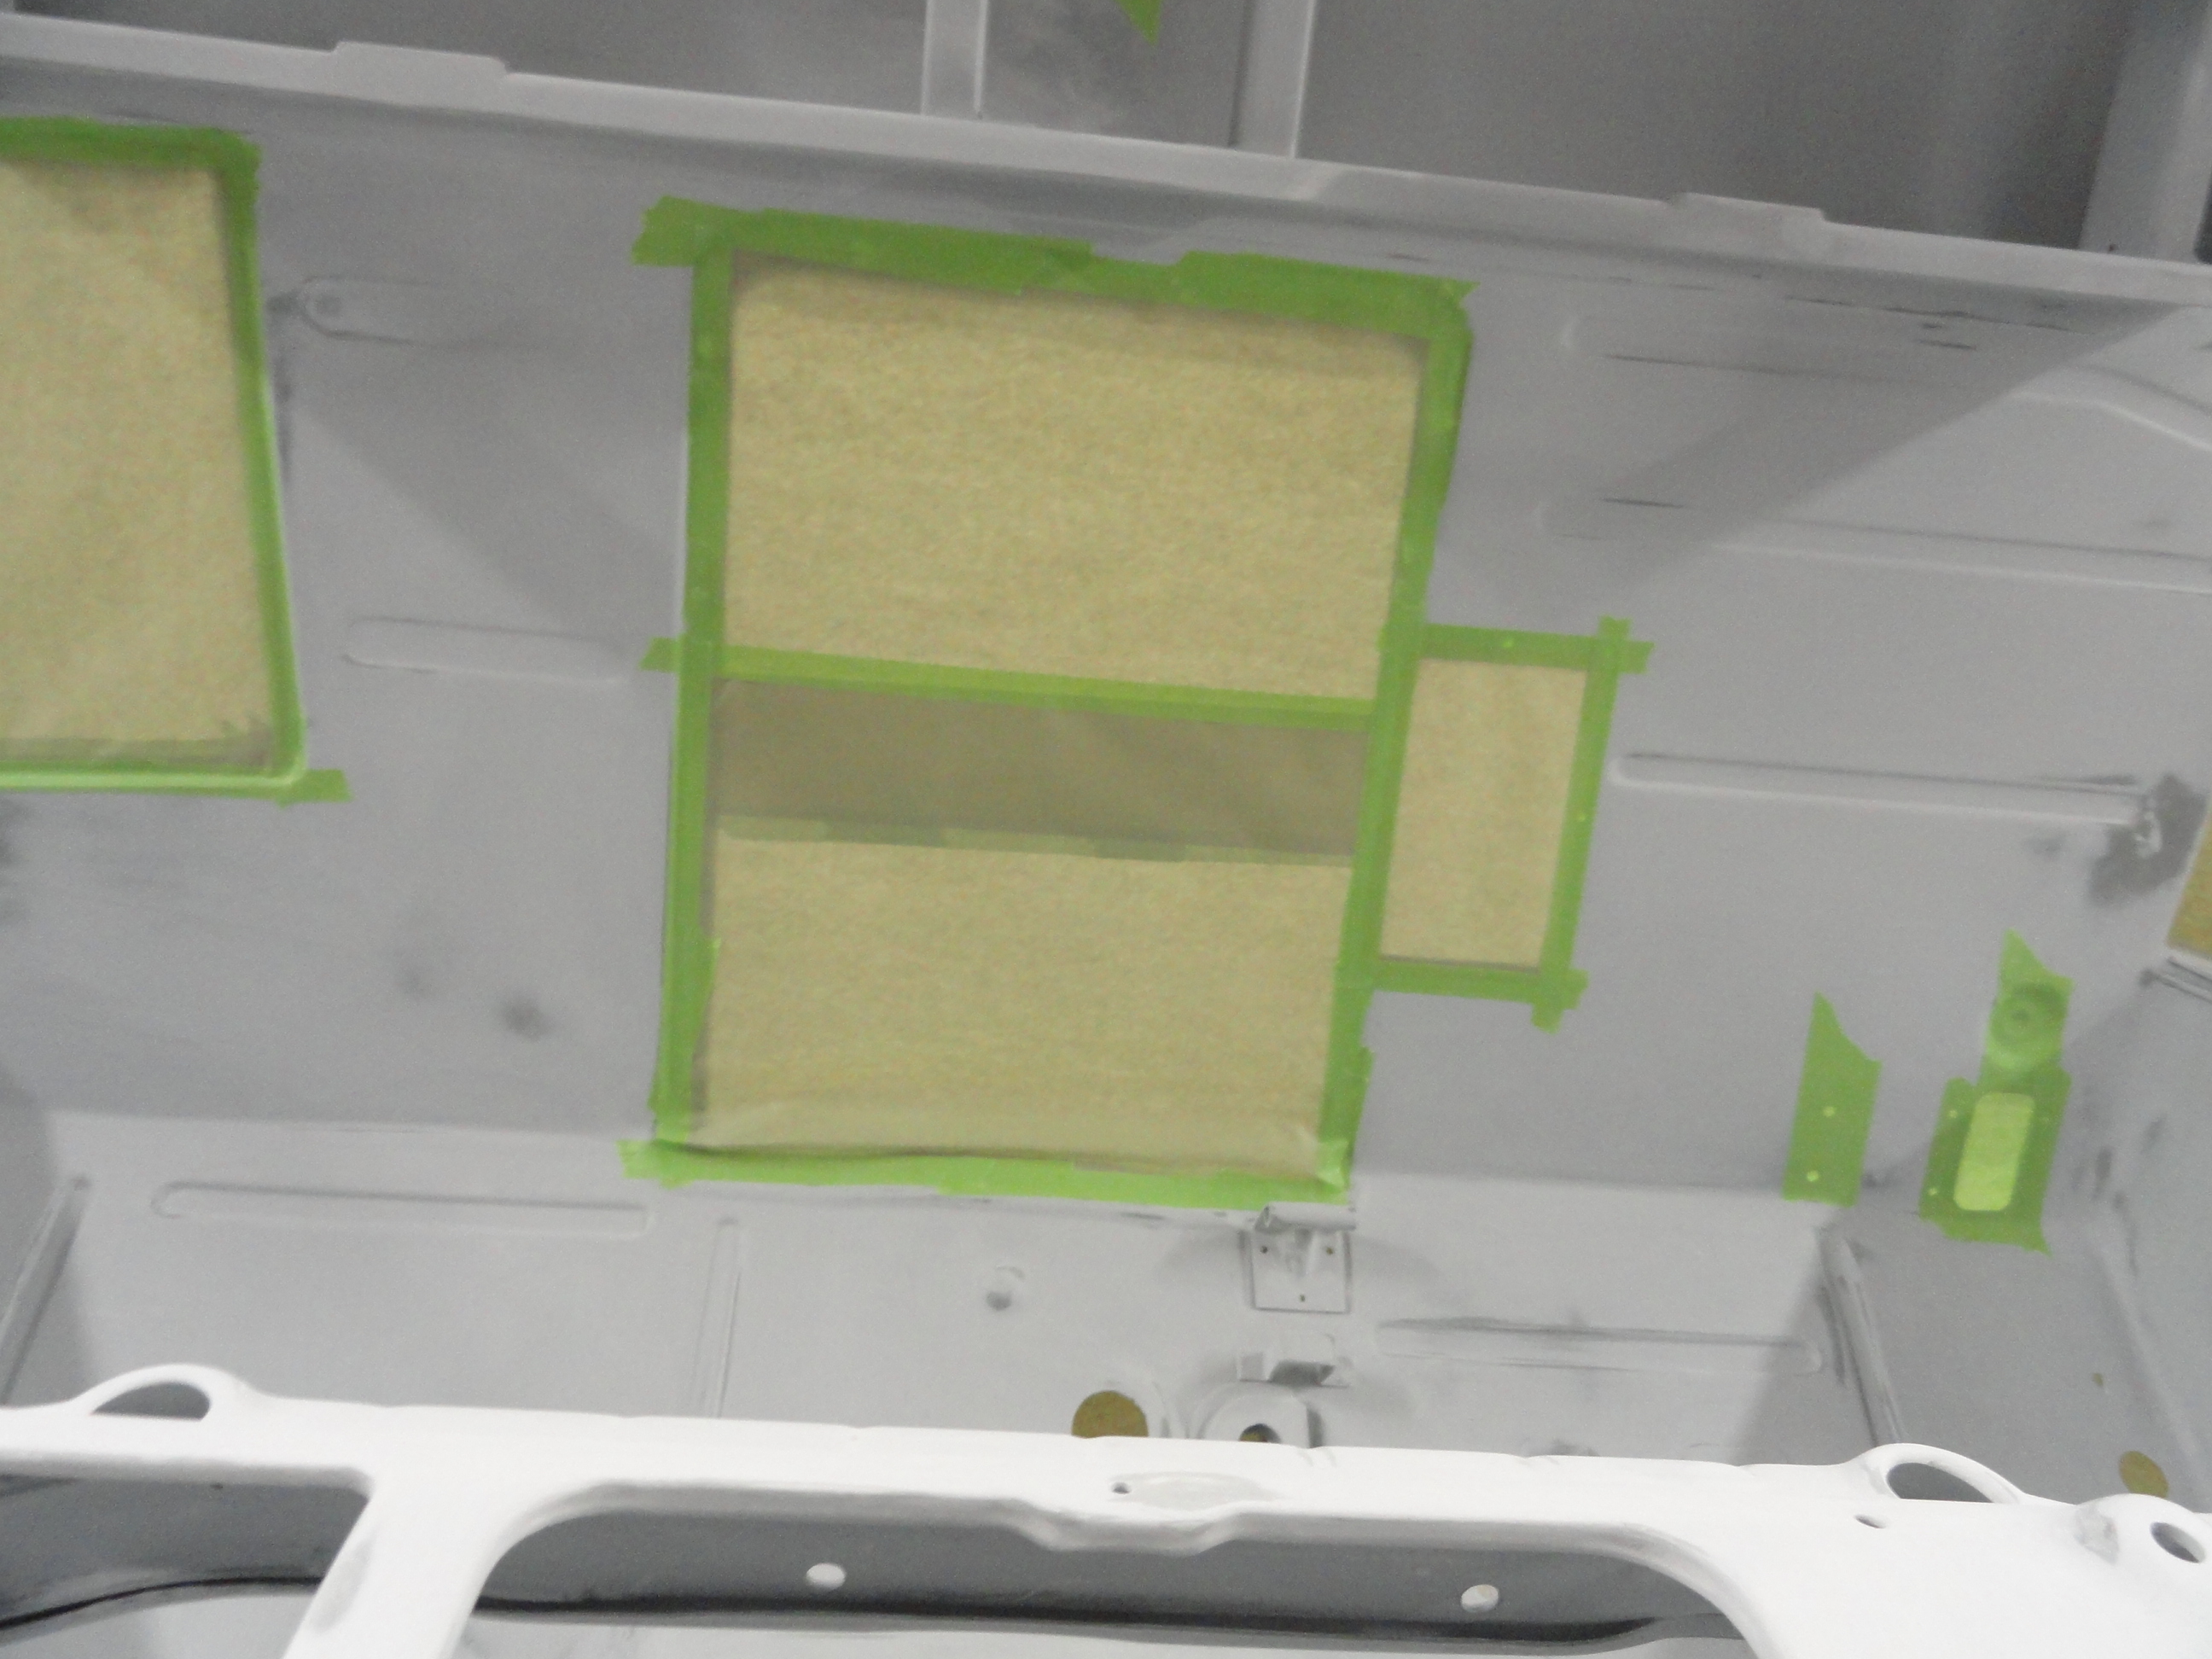
We need a more elegant solution than a pump bottle with a long hose to thread through an entirely too small hole in the wrong location anyway. So, lets address how to make this happen. Measure several times in several different ways before cutting anything, but mark the location of the proper place for a rectangular hole in your floor. Locate a nice door that is made for this purpose. In this case, Brothers Truck Parts has the perfect stainless steel solution. Once marked properly, look at the underside of your cab. There is structural support in the way! Then to top it off, the door will protrude into the trans cover by about 3/4". Looks Daunting!
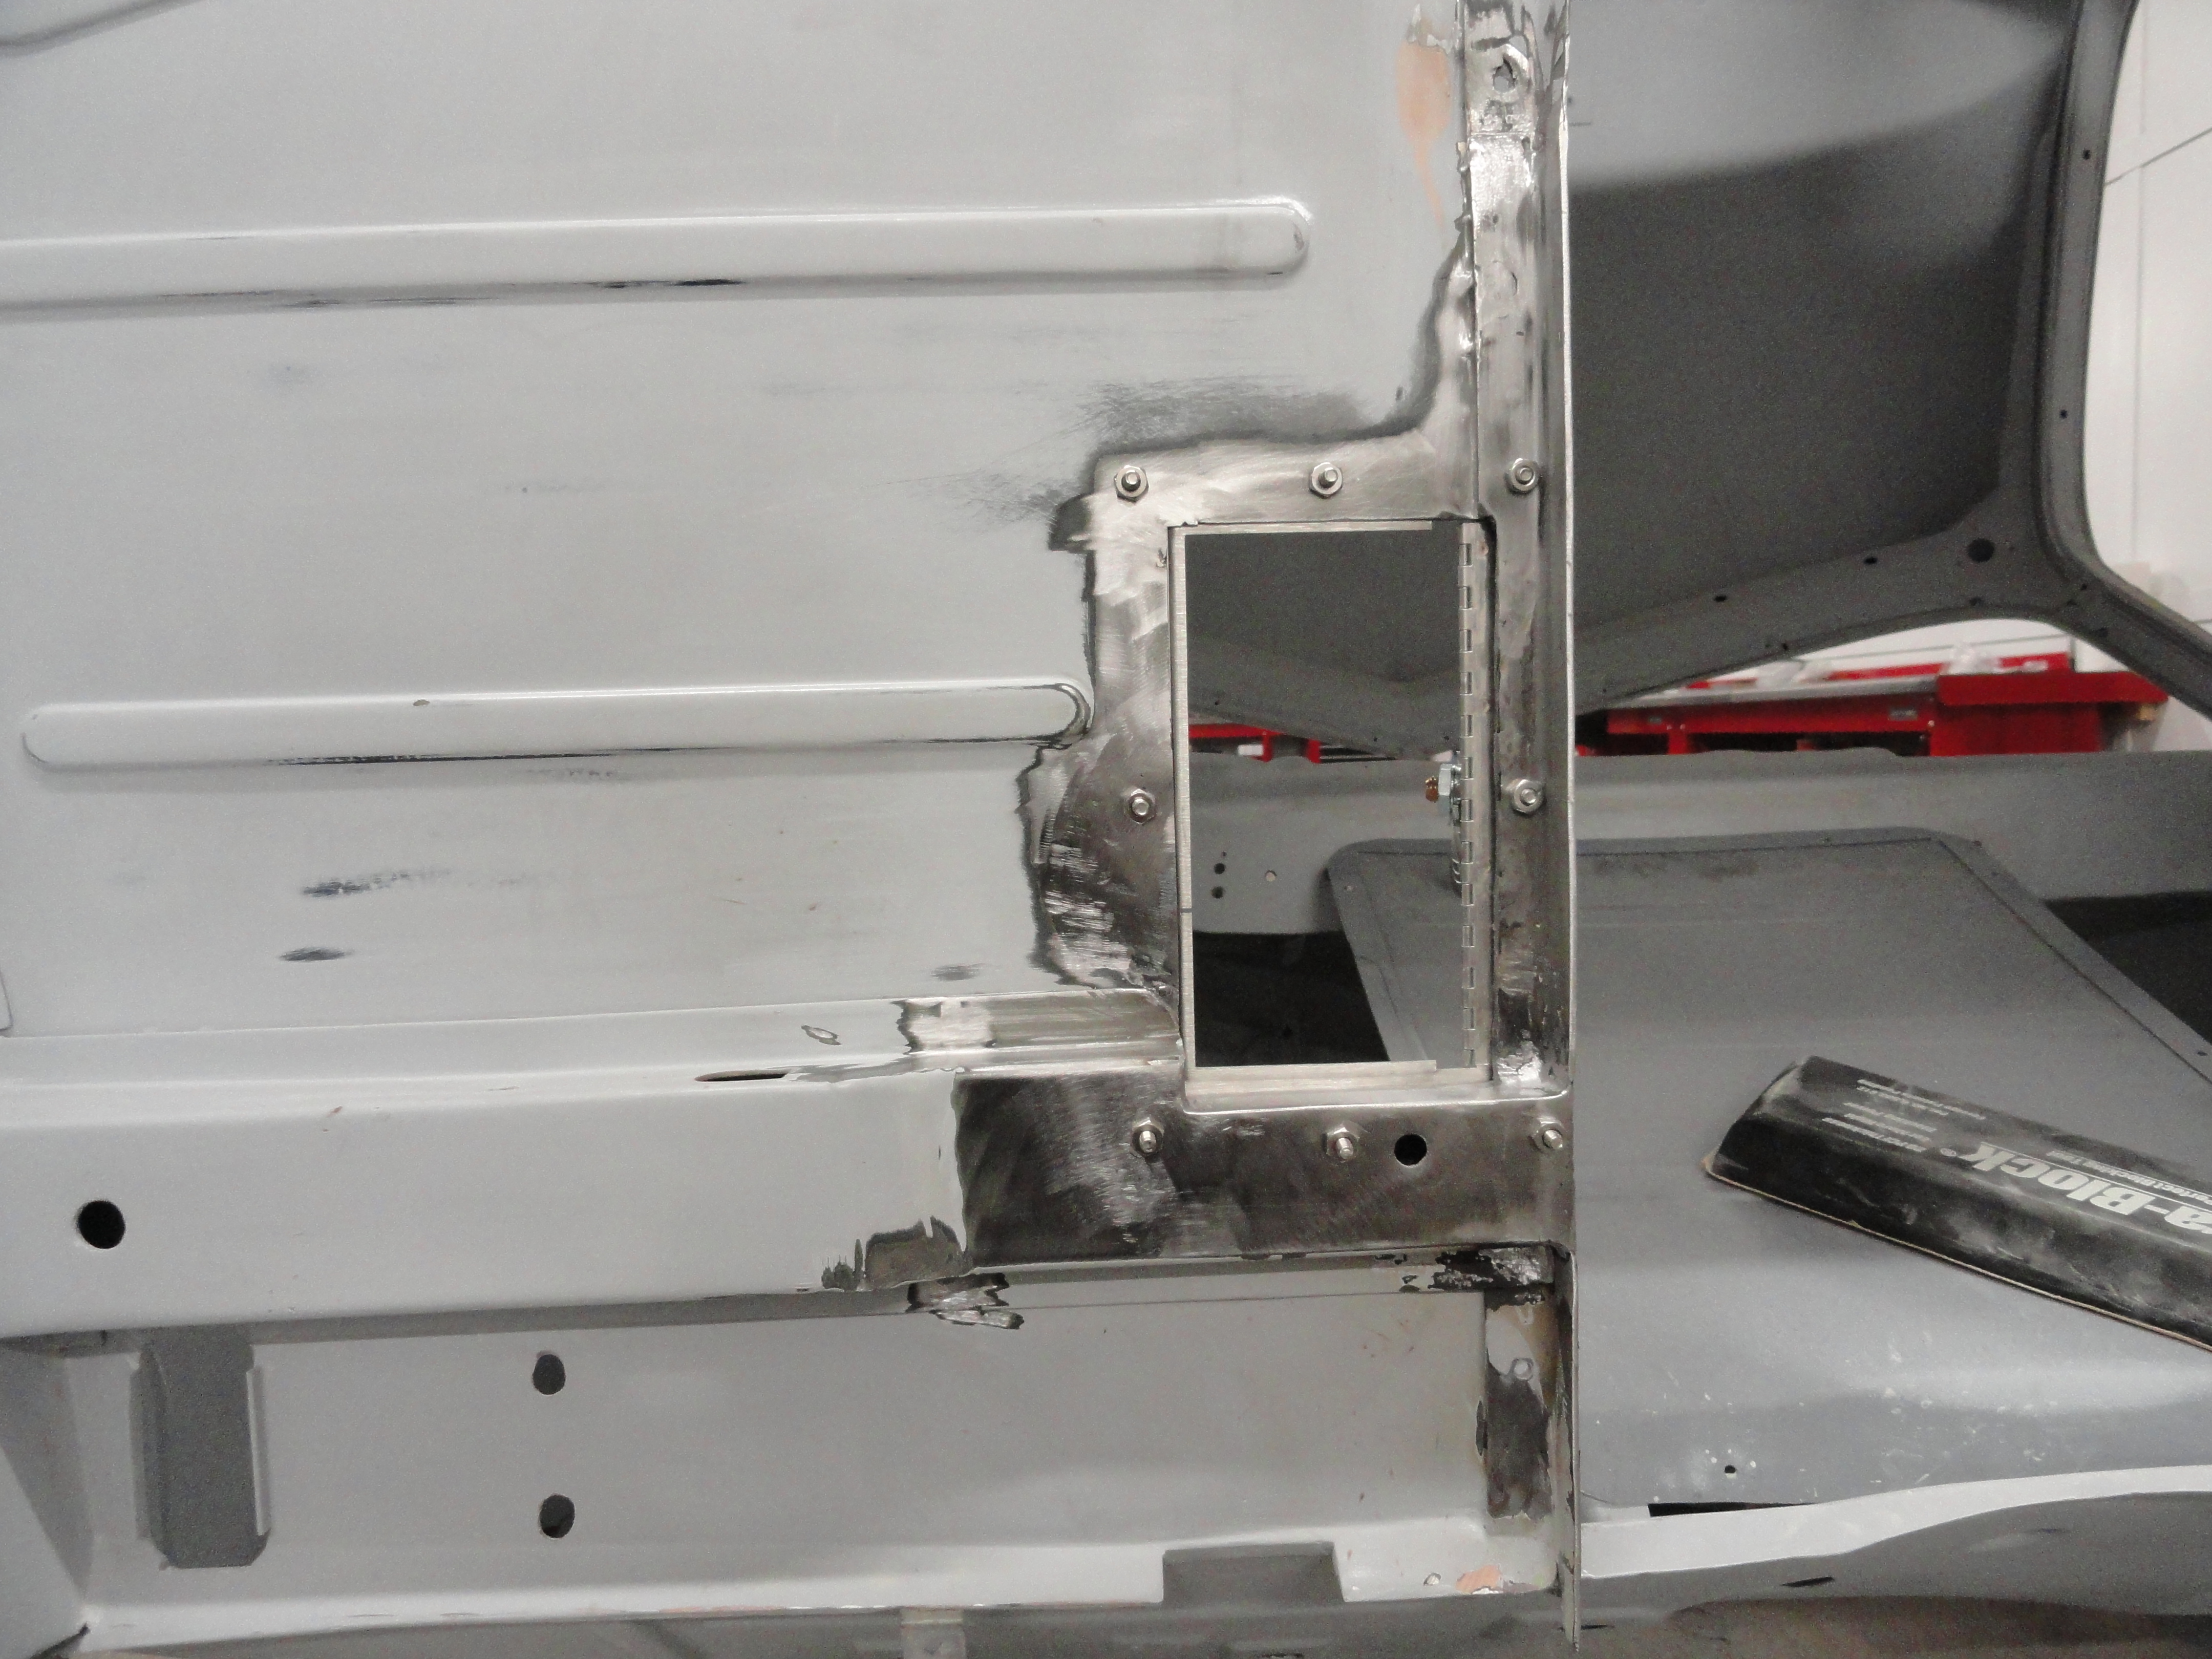
Looks nasty don't it? Don't worry, when it's done it will look like it belongs there! Tie all of the structural elements together. I added a small metal plate into the structural support then welded everything as shown. You could argue that the support is stronger than it was before. So after drilling the proper holes, measuring for proper bolt lengths, etc. The door fits very nicely. Right now though, the trans cover will not screw down. Gotta fix that.
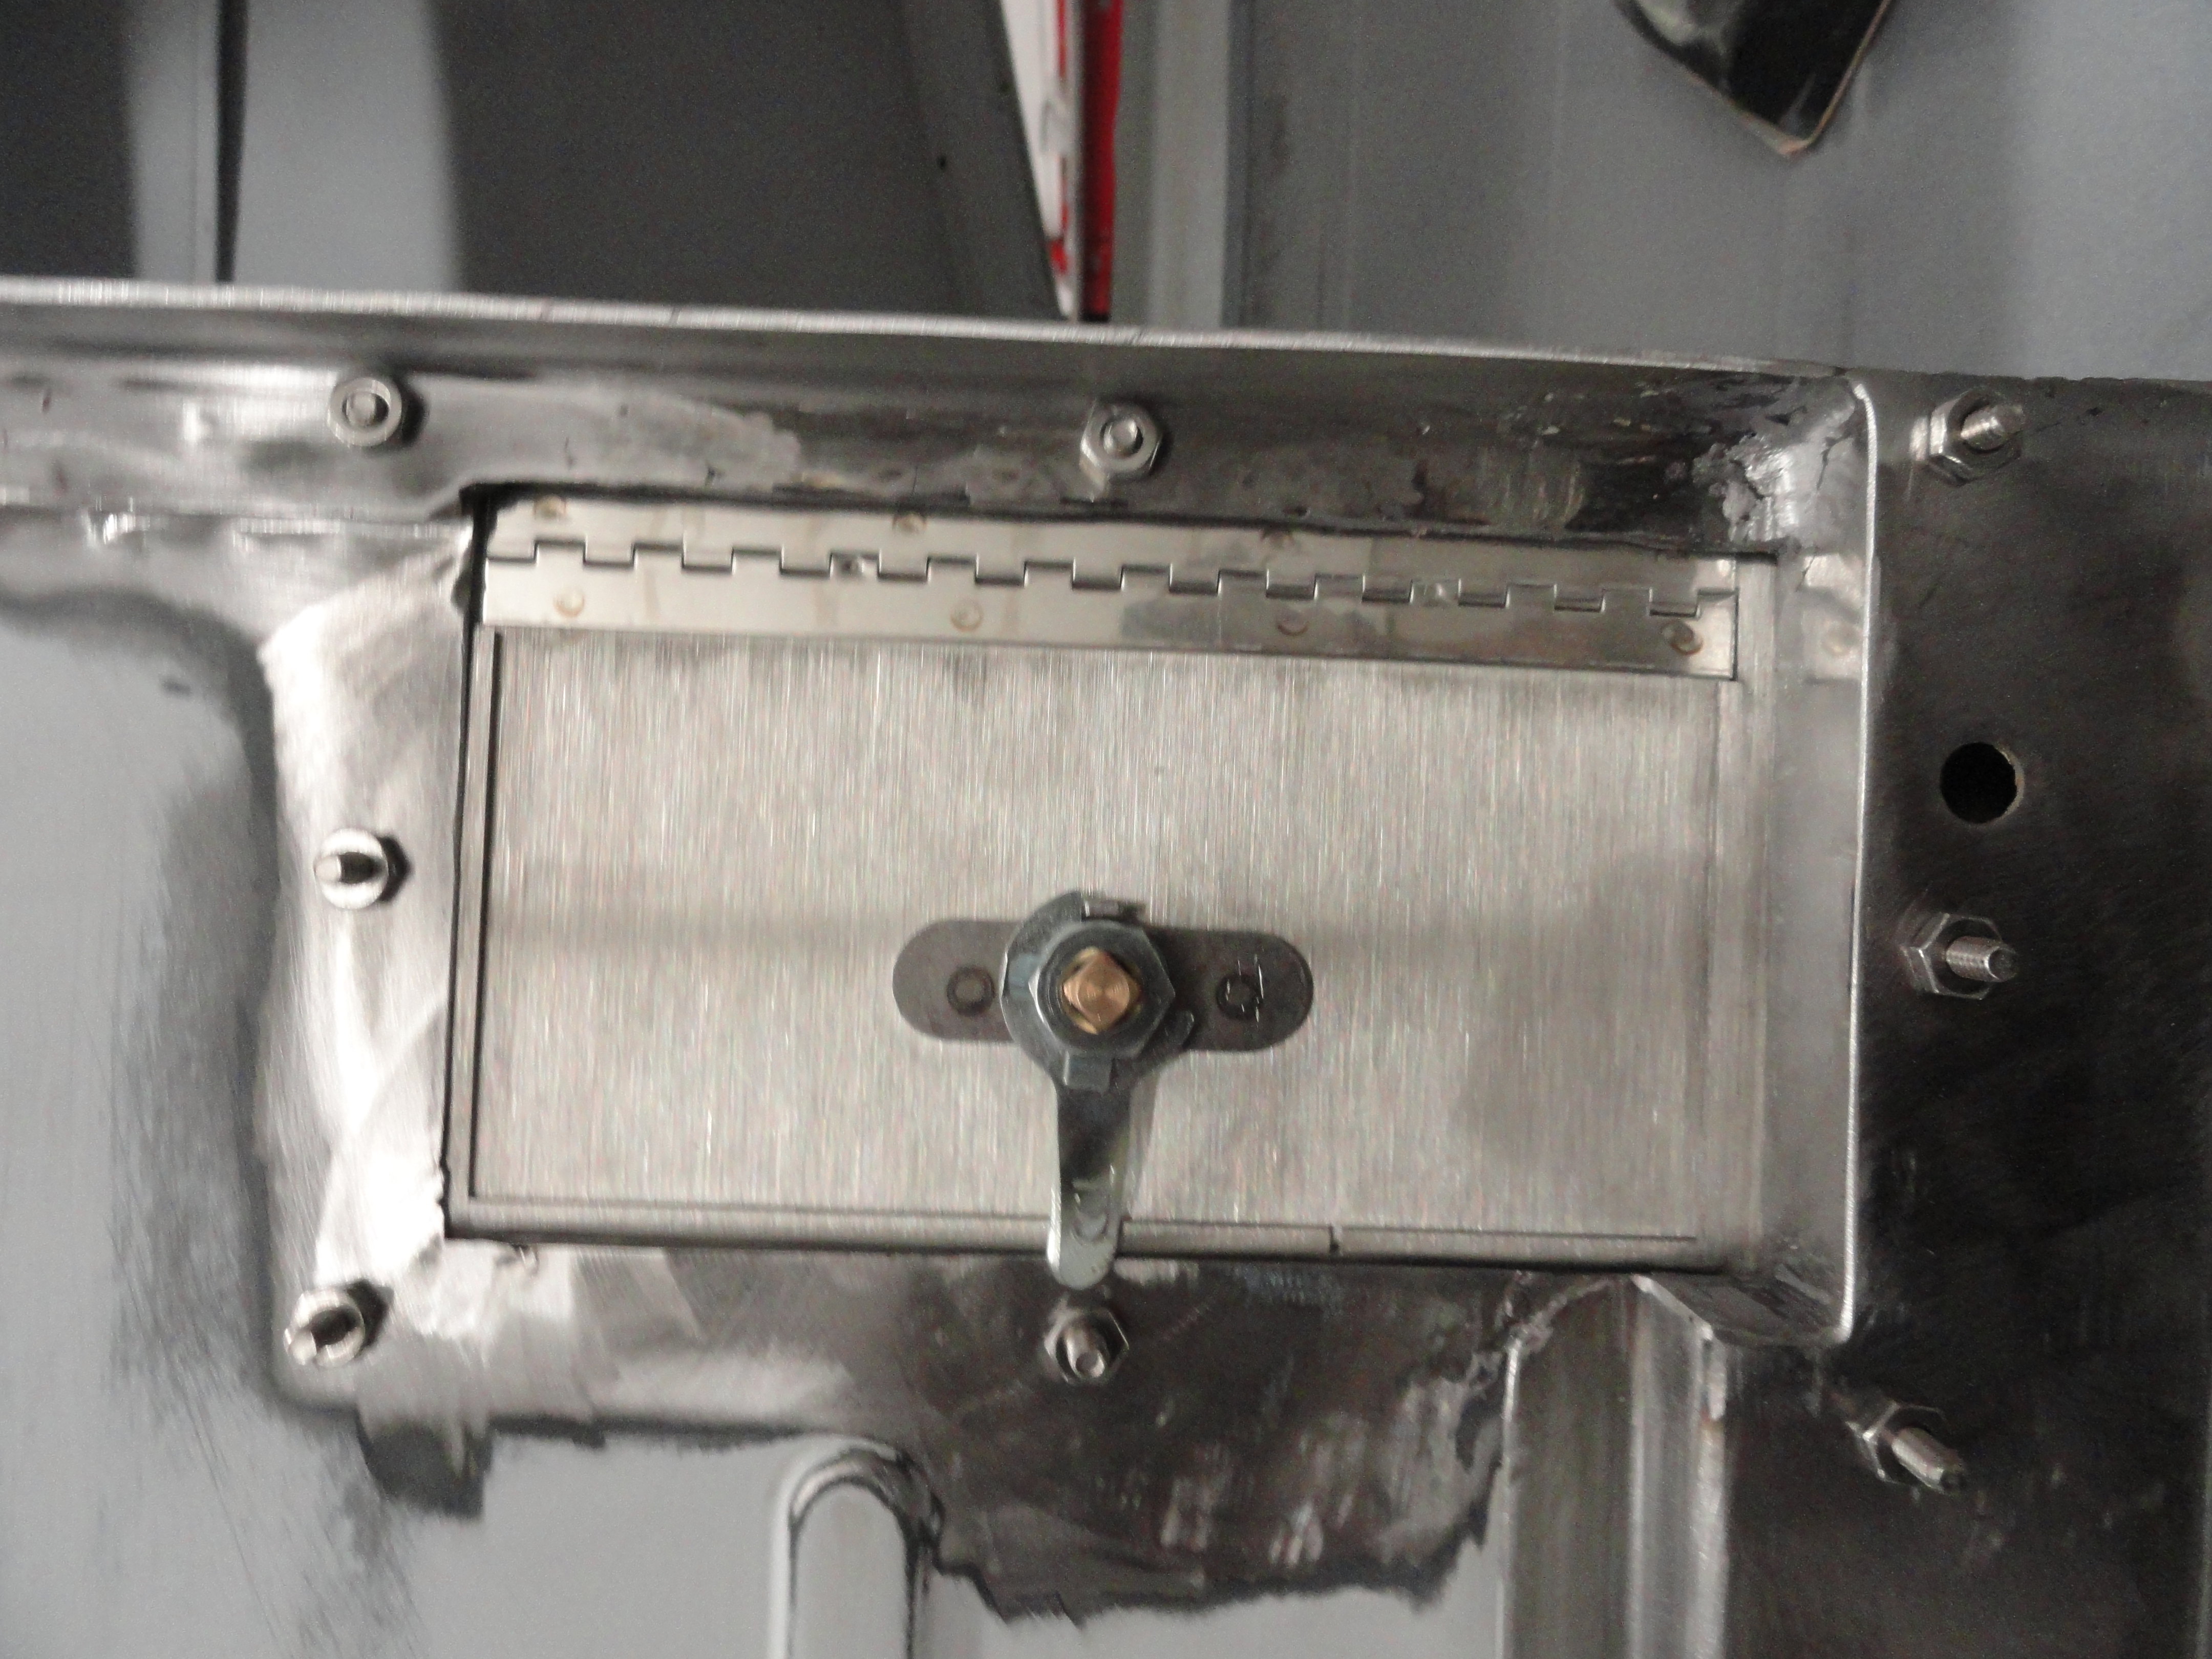
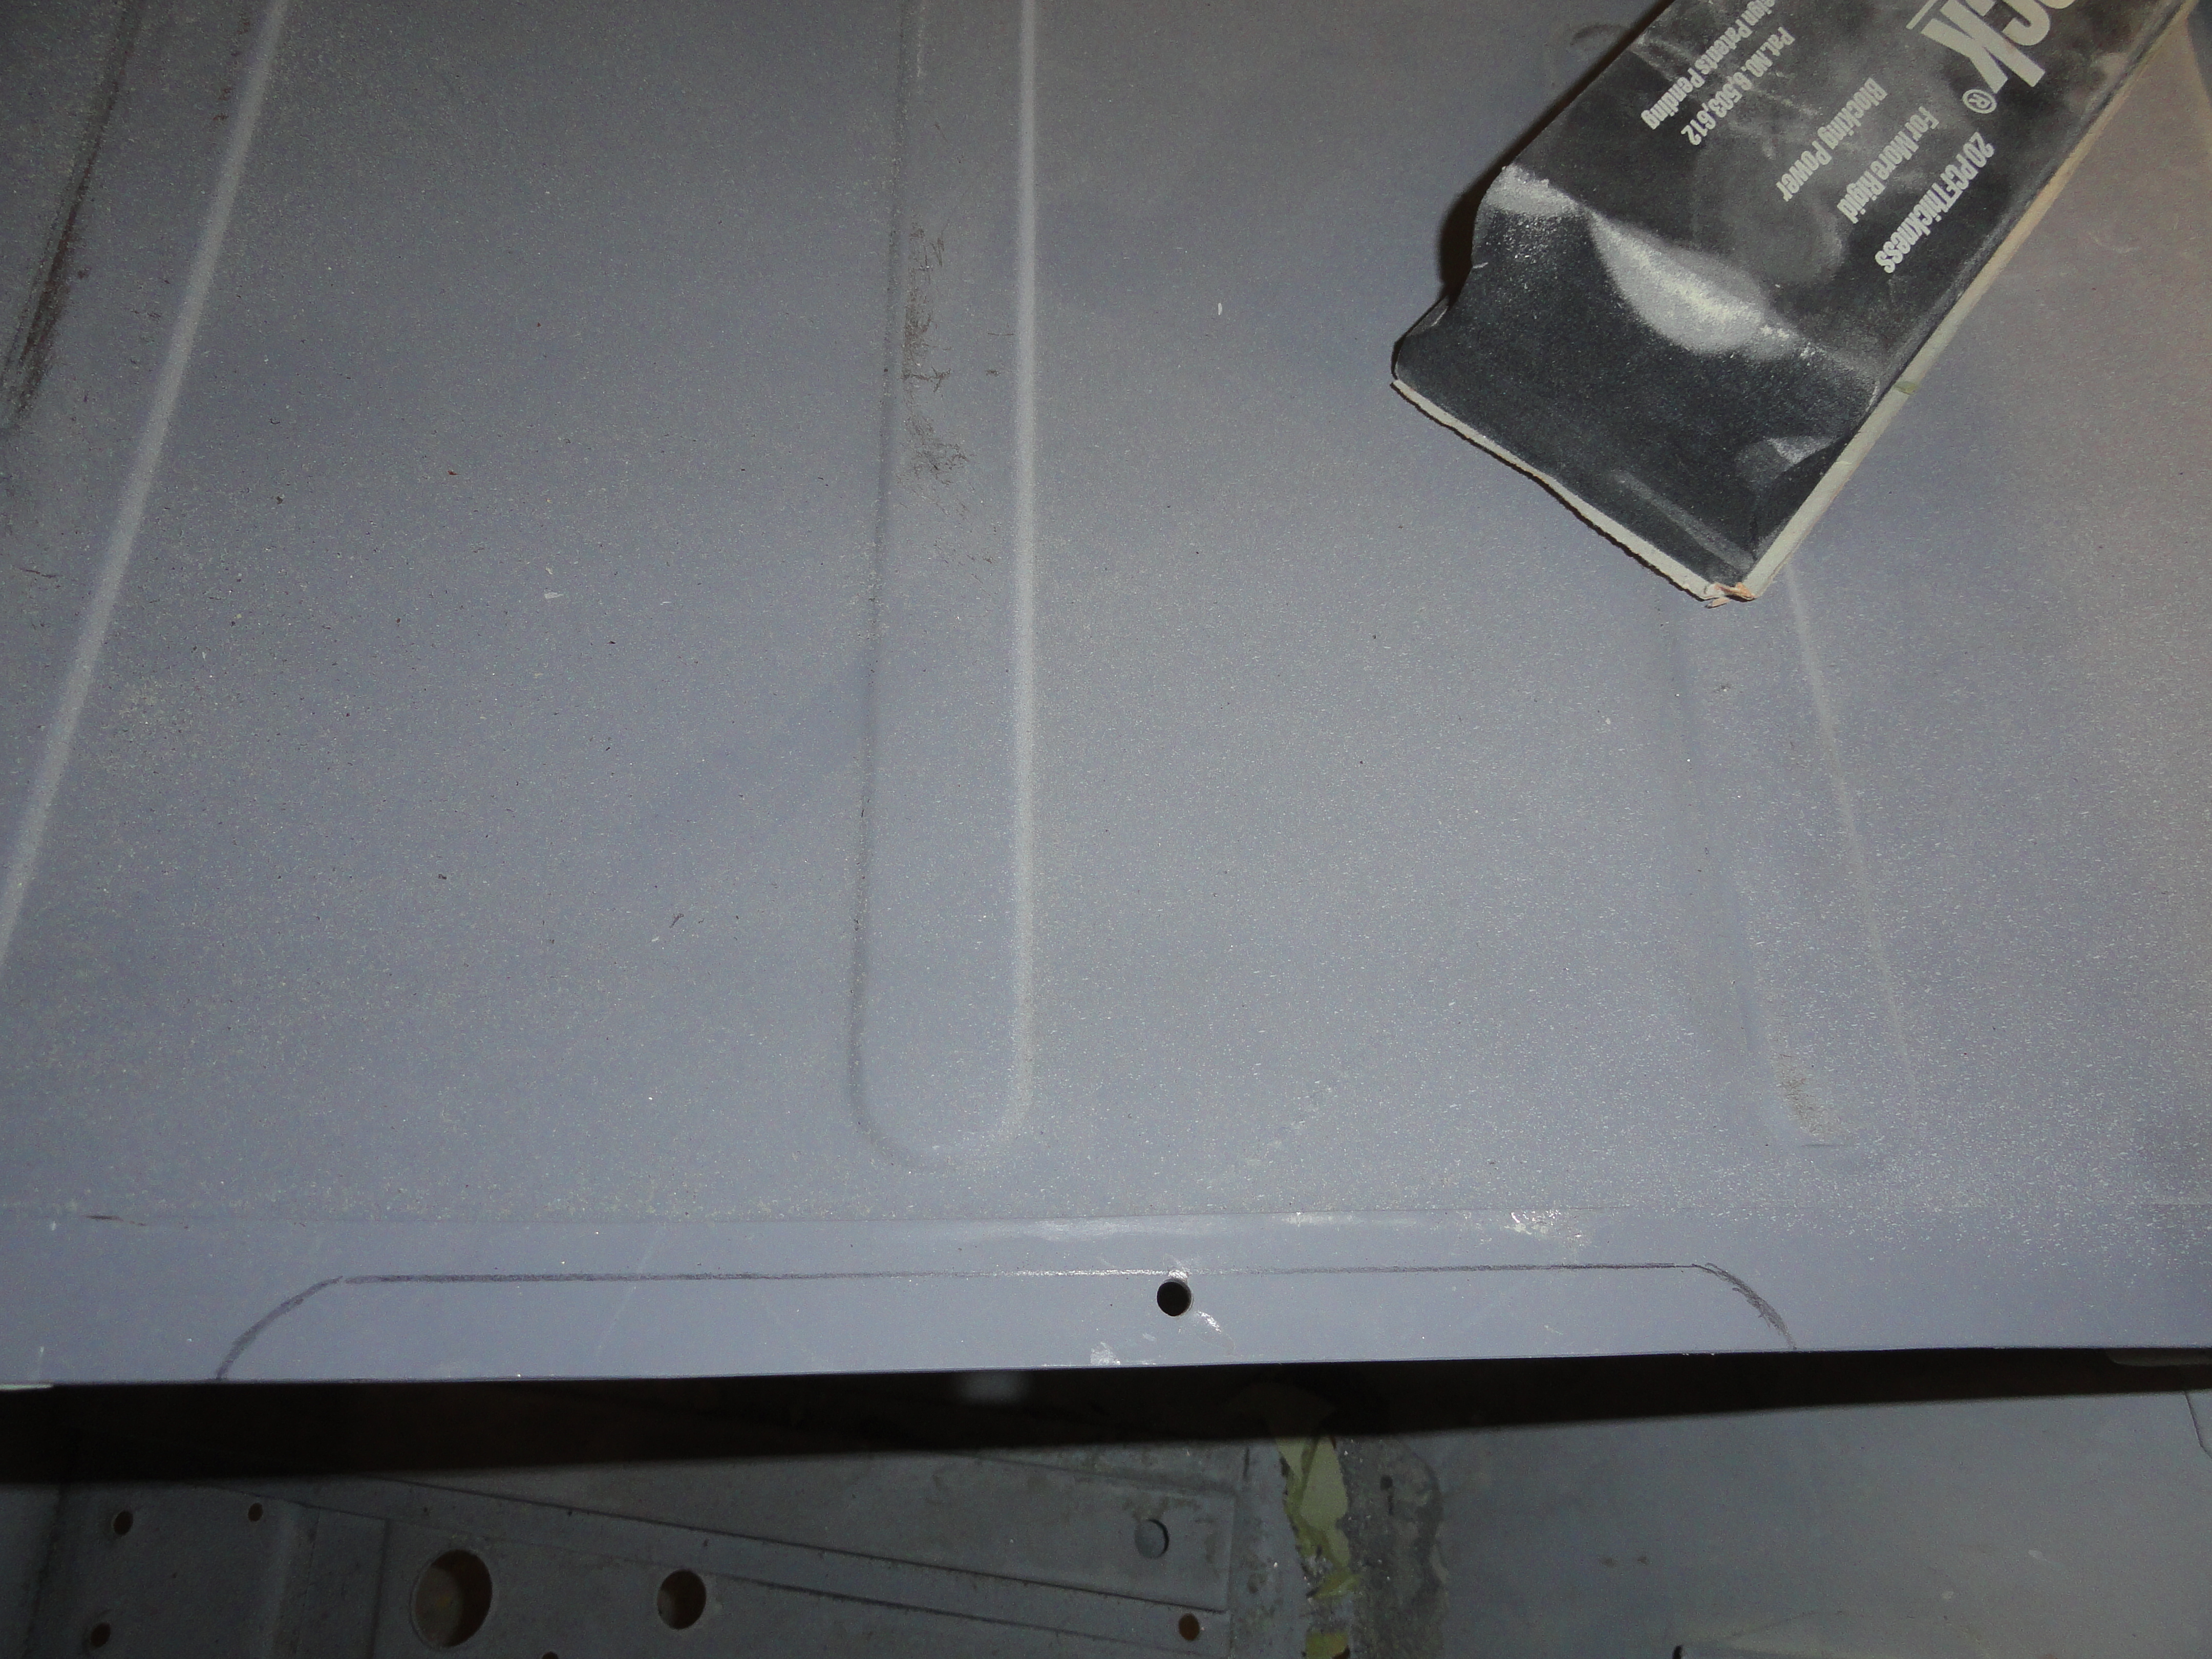
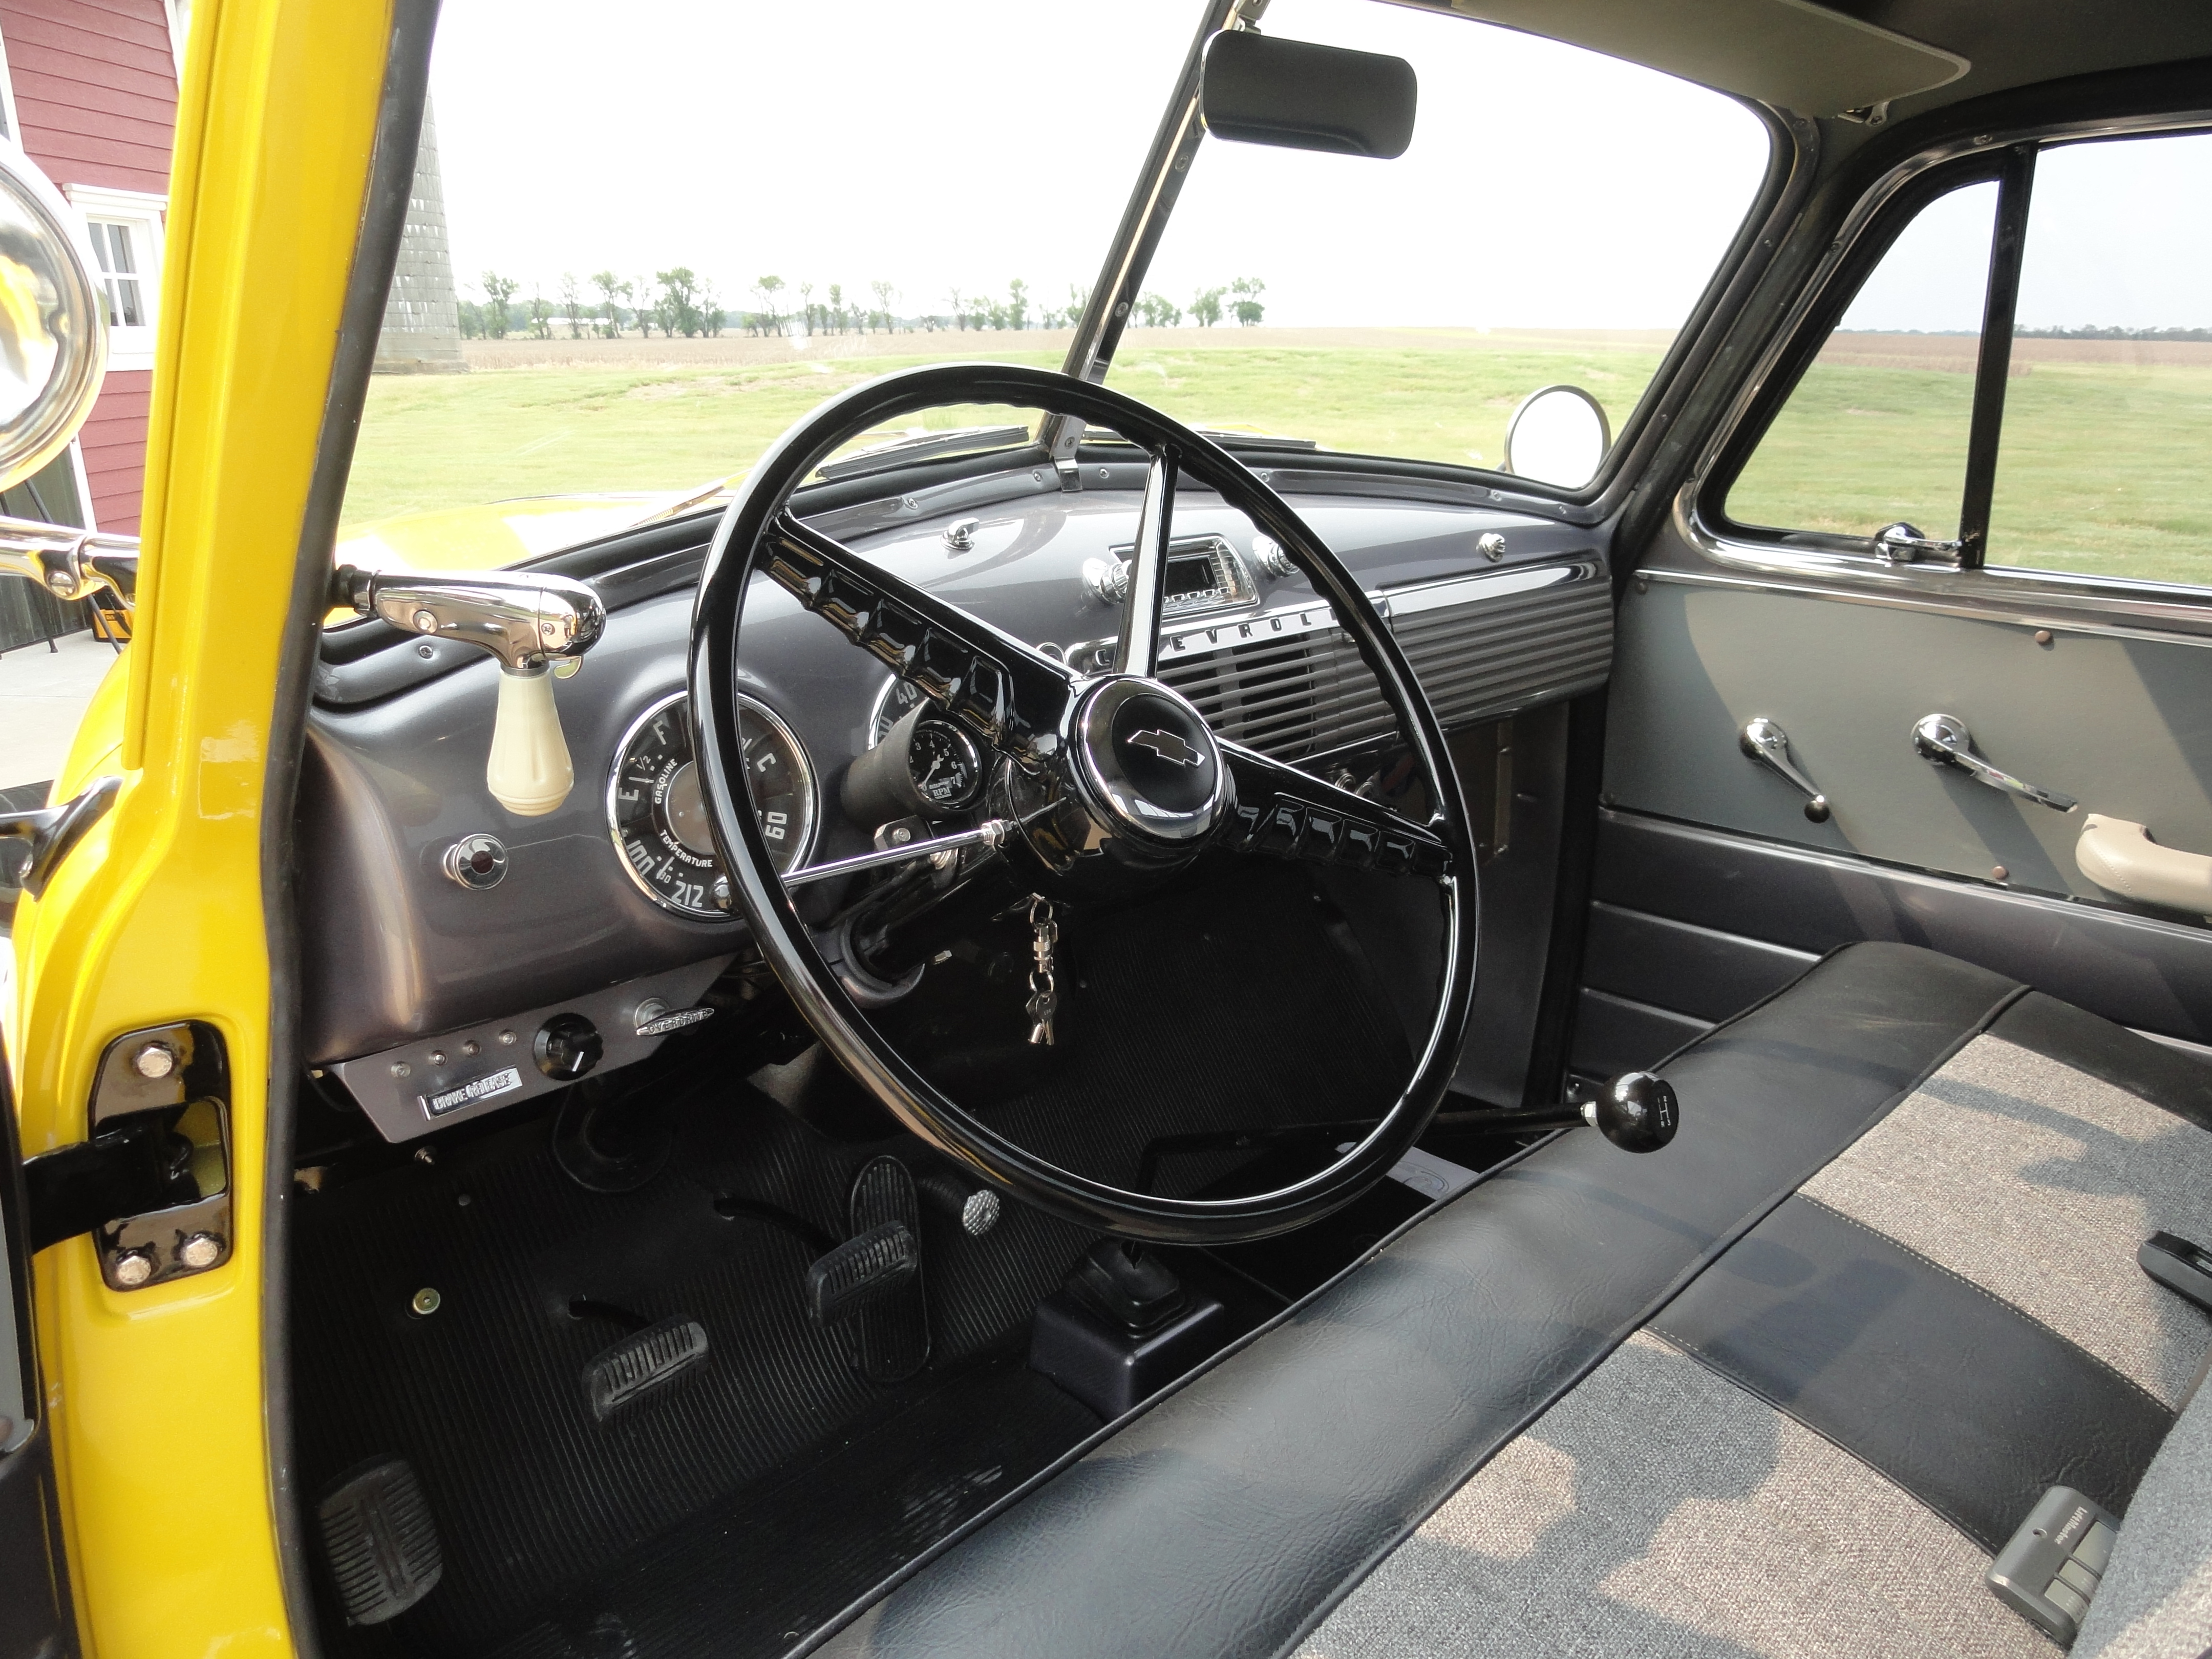
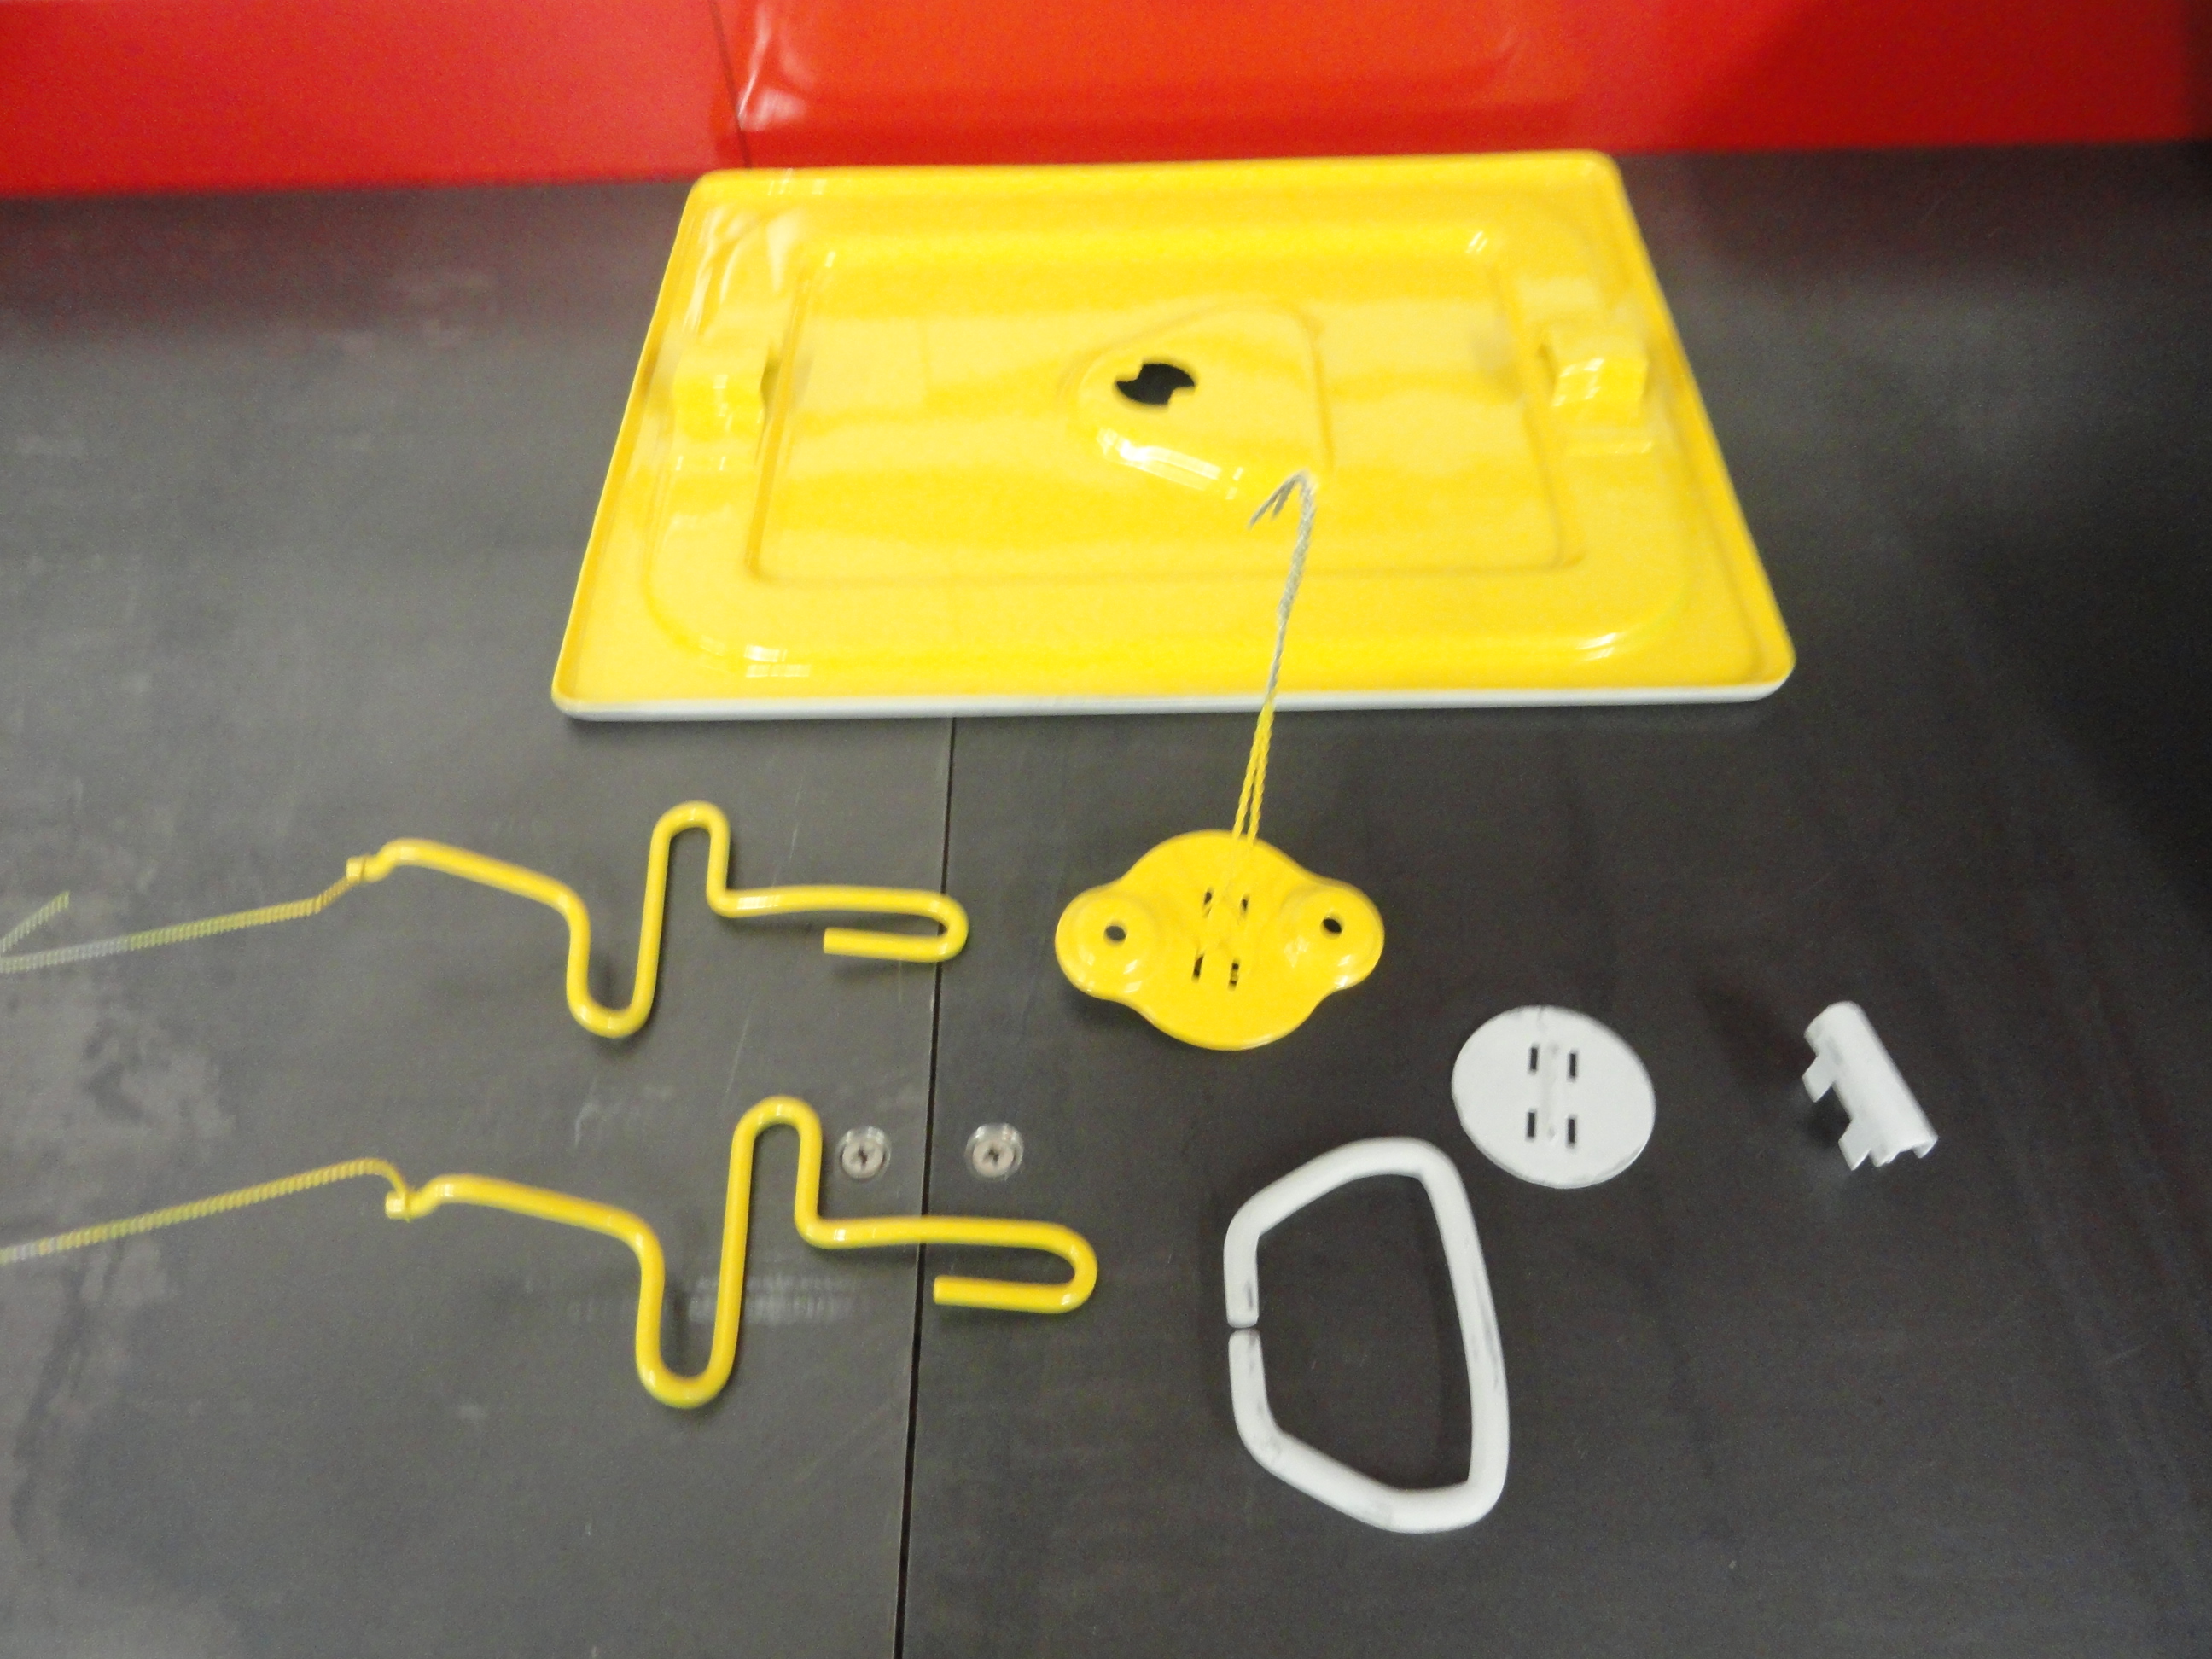
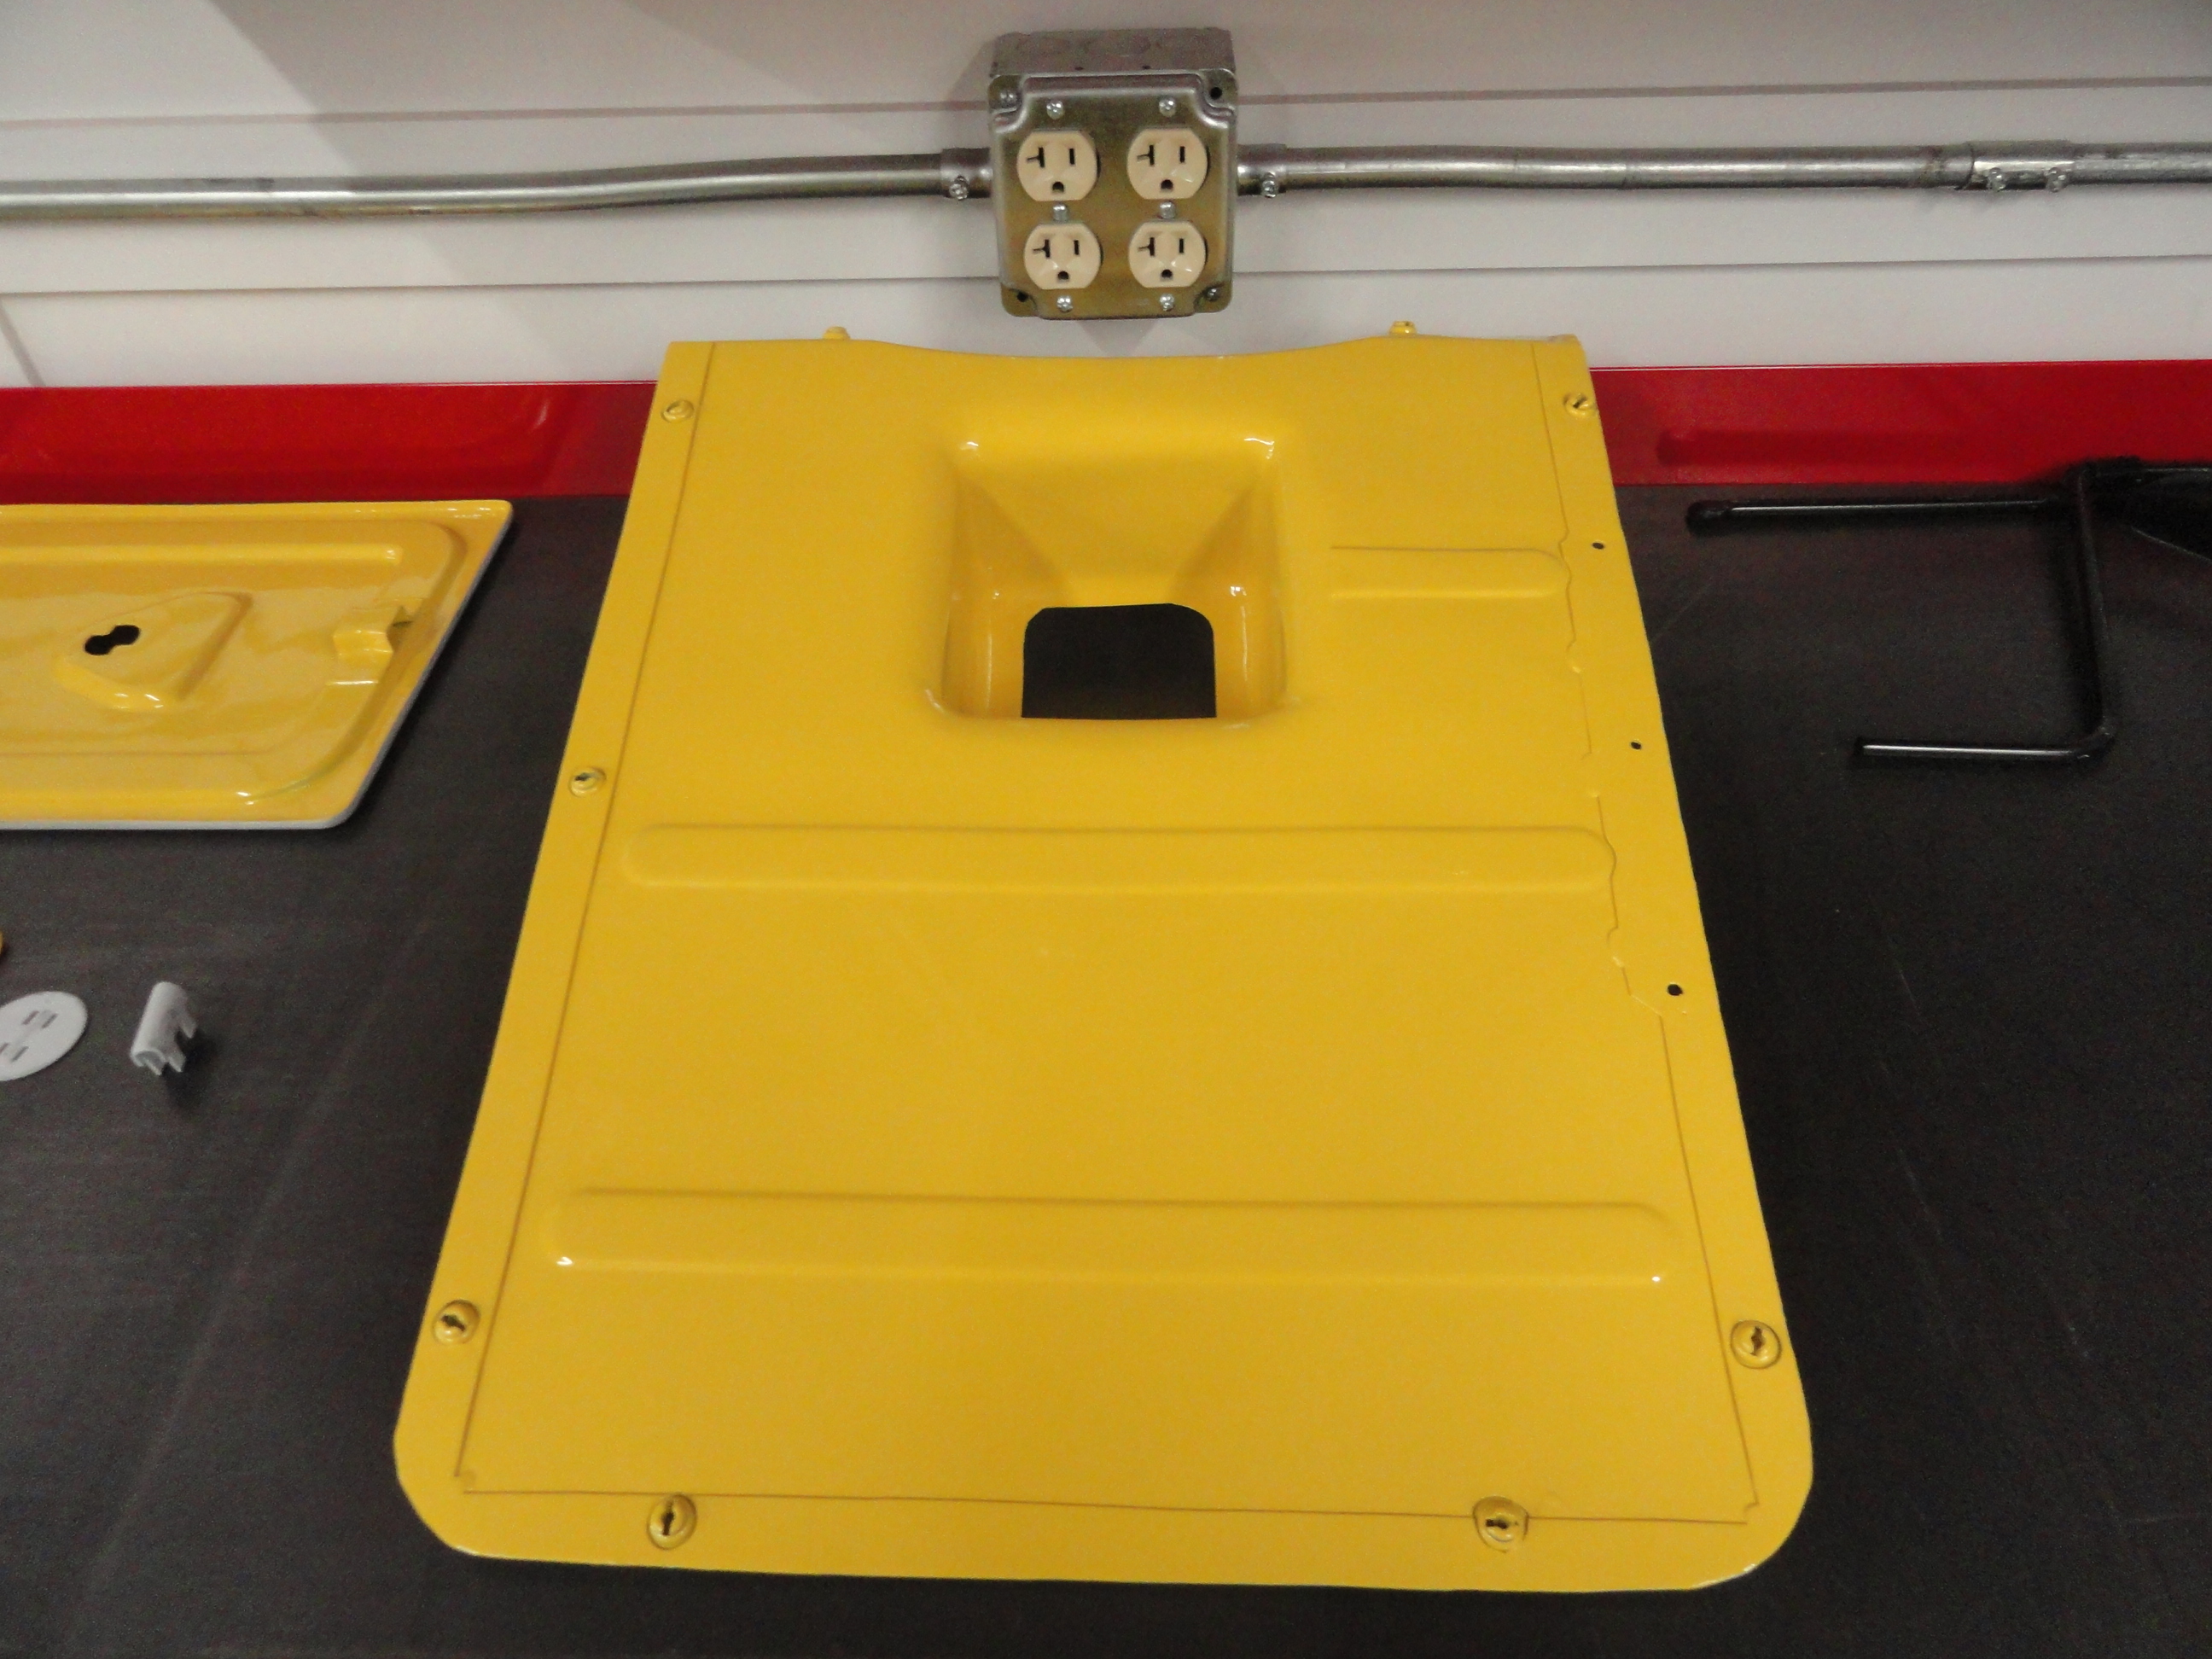
Measure the overlap and carefully cut your trans cover so that it fits nicely with the new door. You could stop there, but I didn't like that I removed one of the screw holes that hold down the cover, so I structurally reinforced the bottom of the trans cover by adding a strip of metal under the cut area to build it up. This allows the cover to lay down flat and not tend to bulge or look abnormal in that area. I could have stopped there, but I also didn't like the way GM used sheet metal screws to hold down the trans cover. Instead, I added what they call Quarter Turn Fasteners to the cabs structure and to the trans cover. This trans cover is a work in progress at this very moment since I am still fitting it for the 3 speed floor shifter in the How-To section. More on that later.
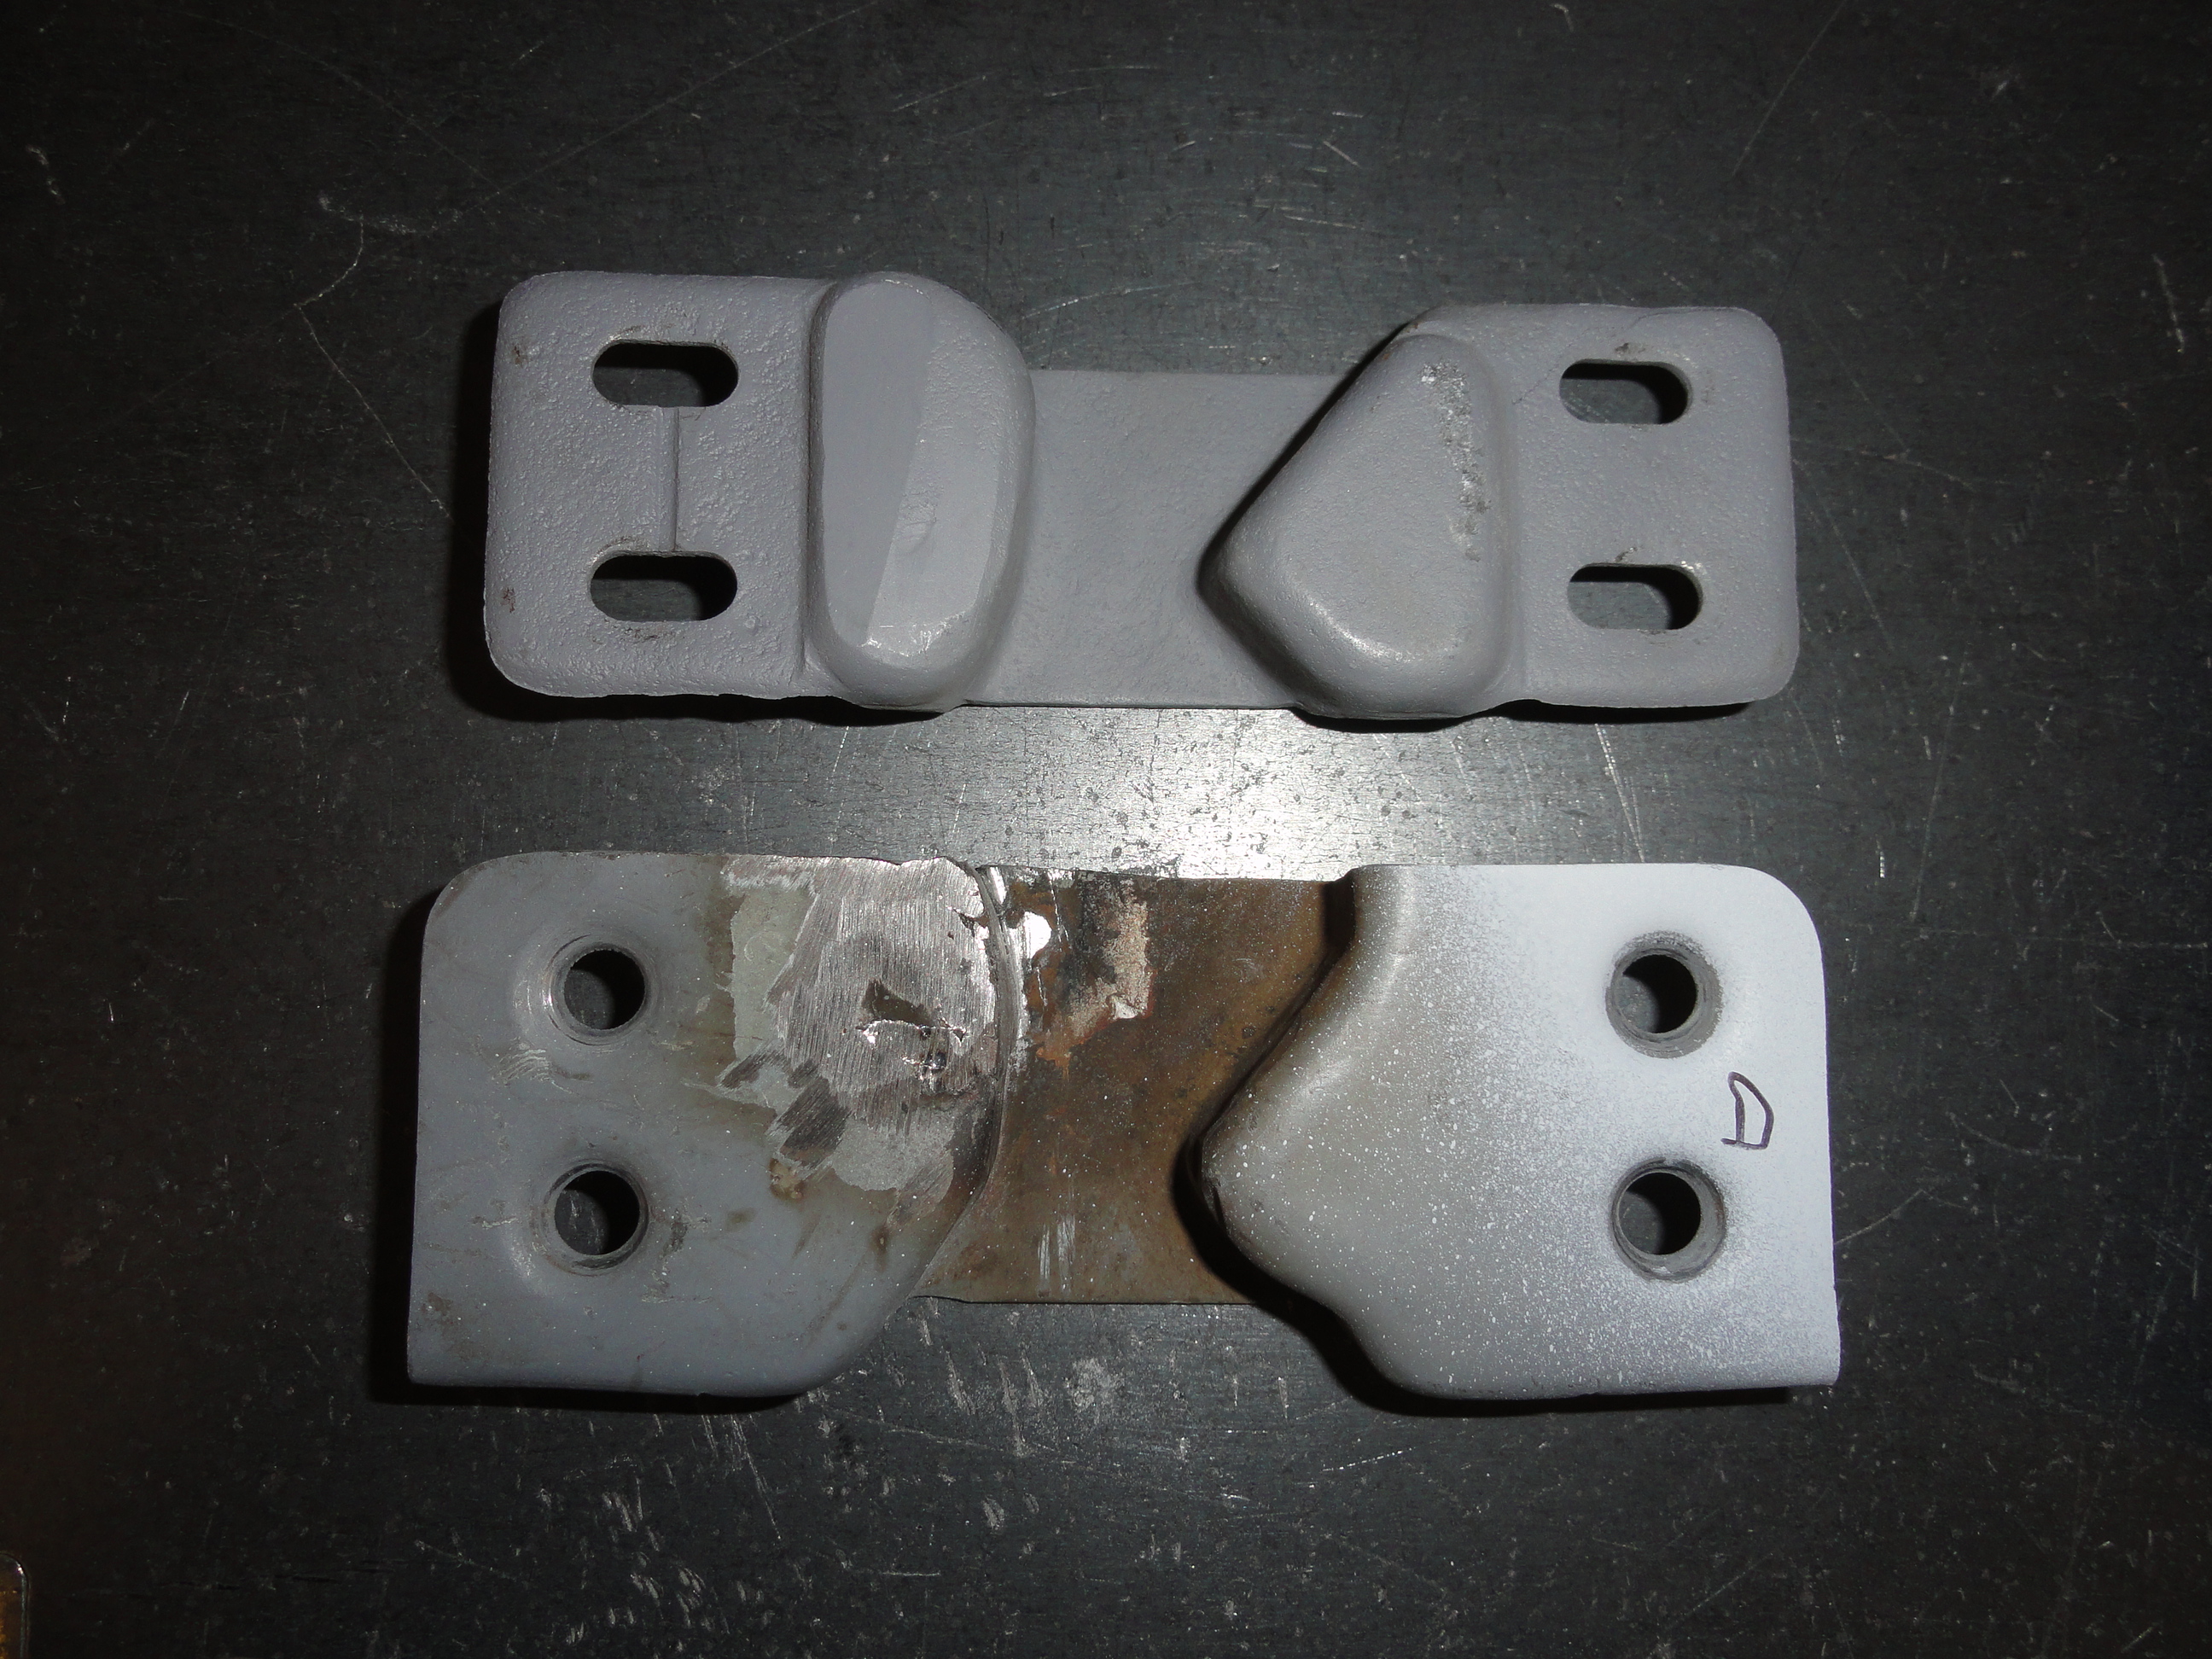
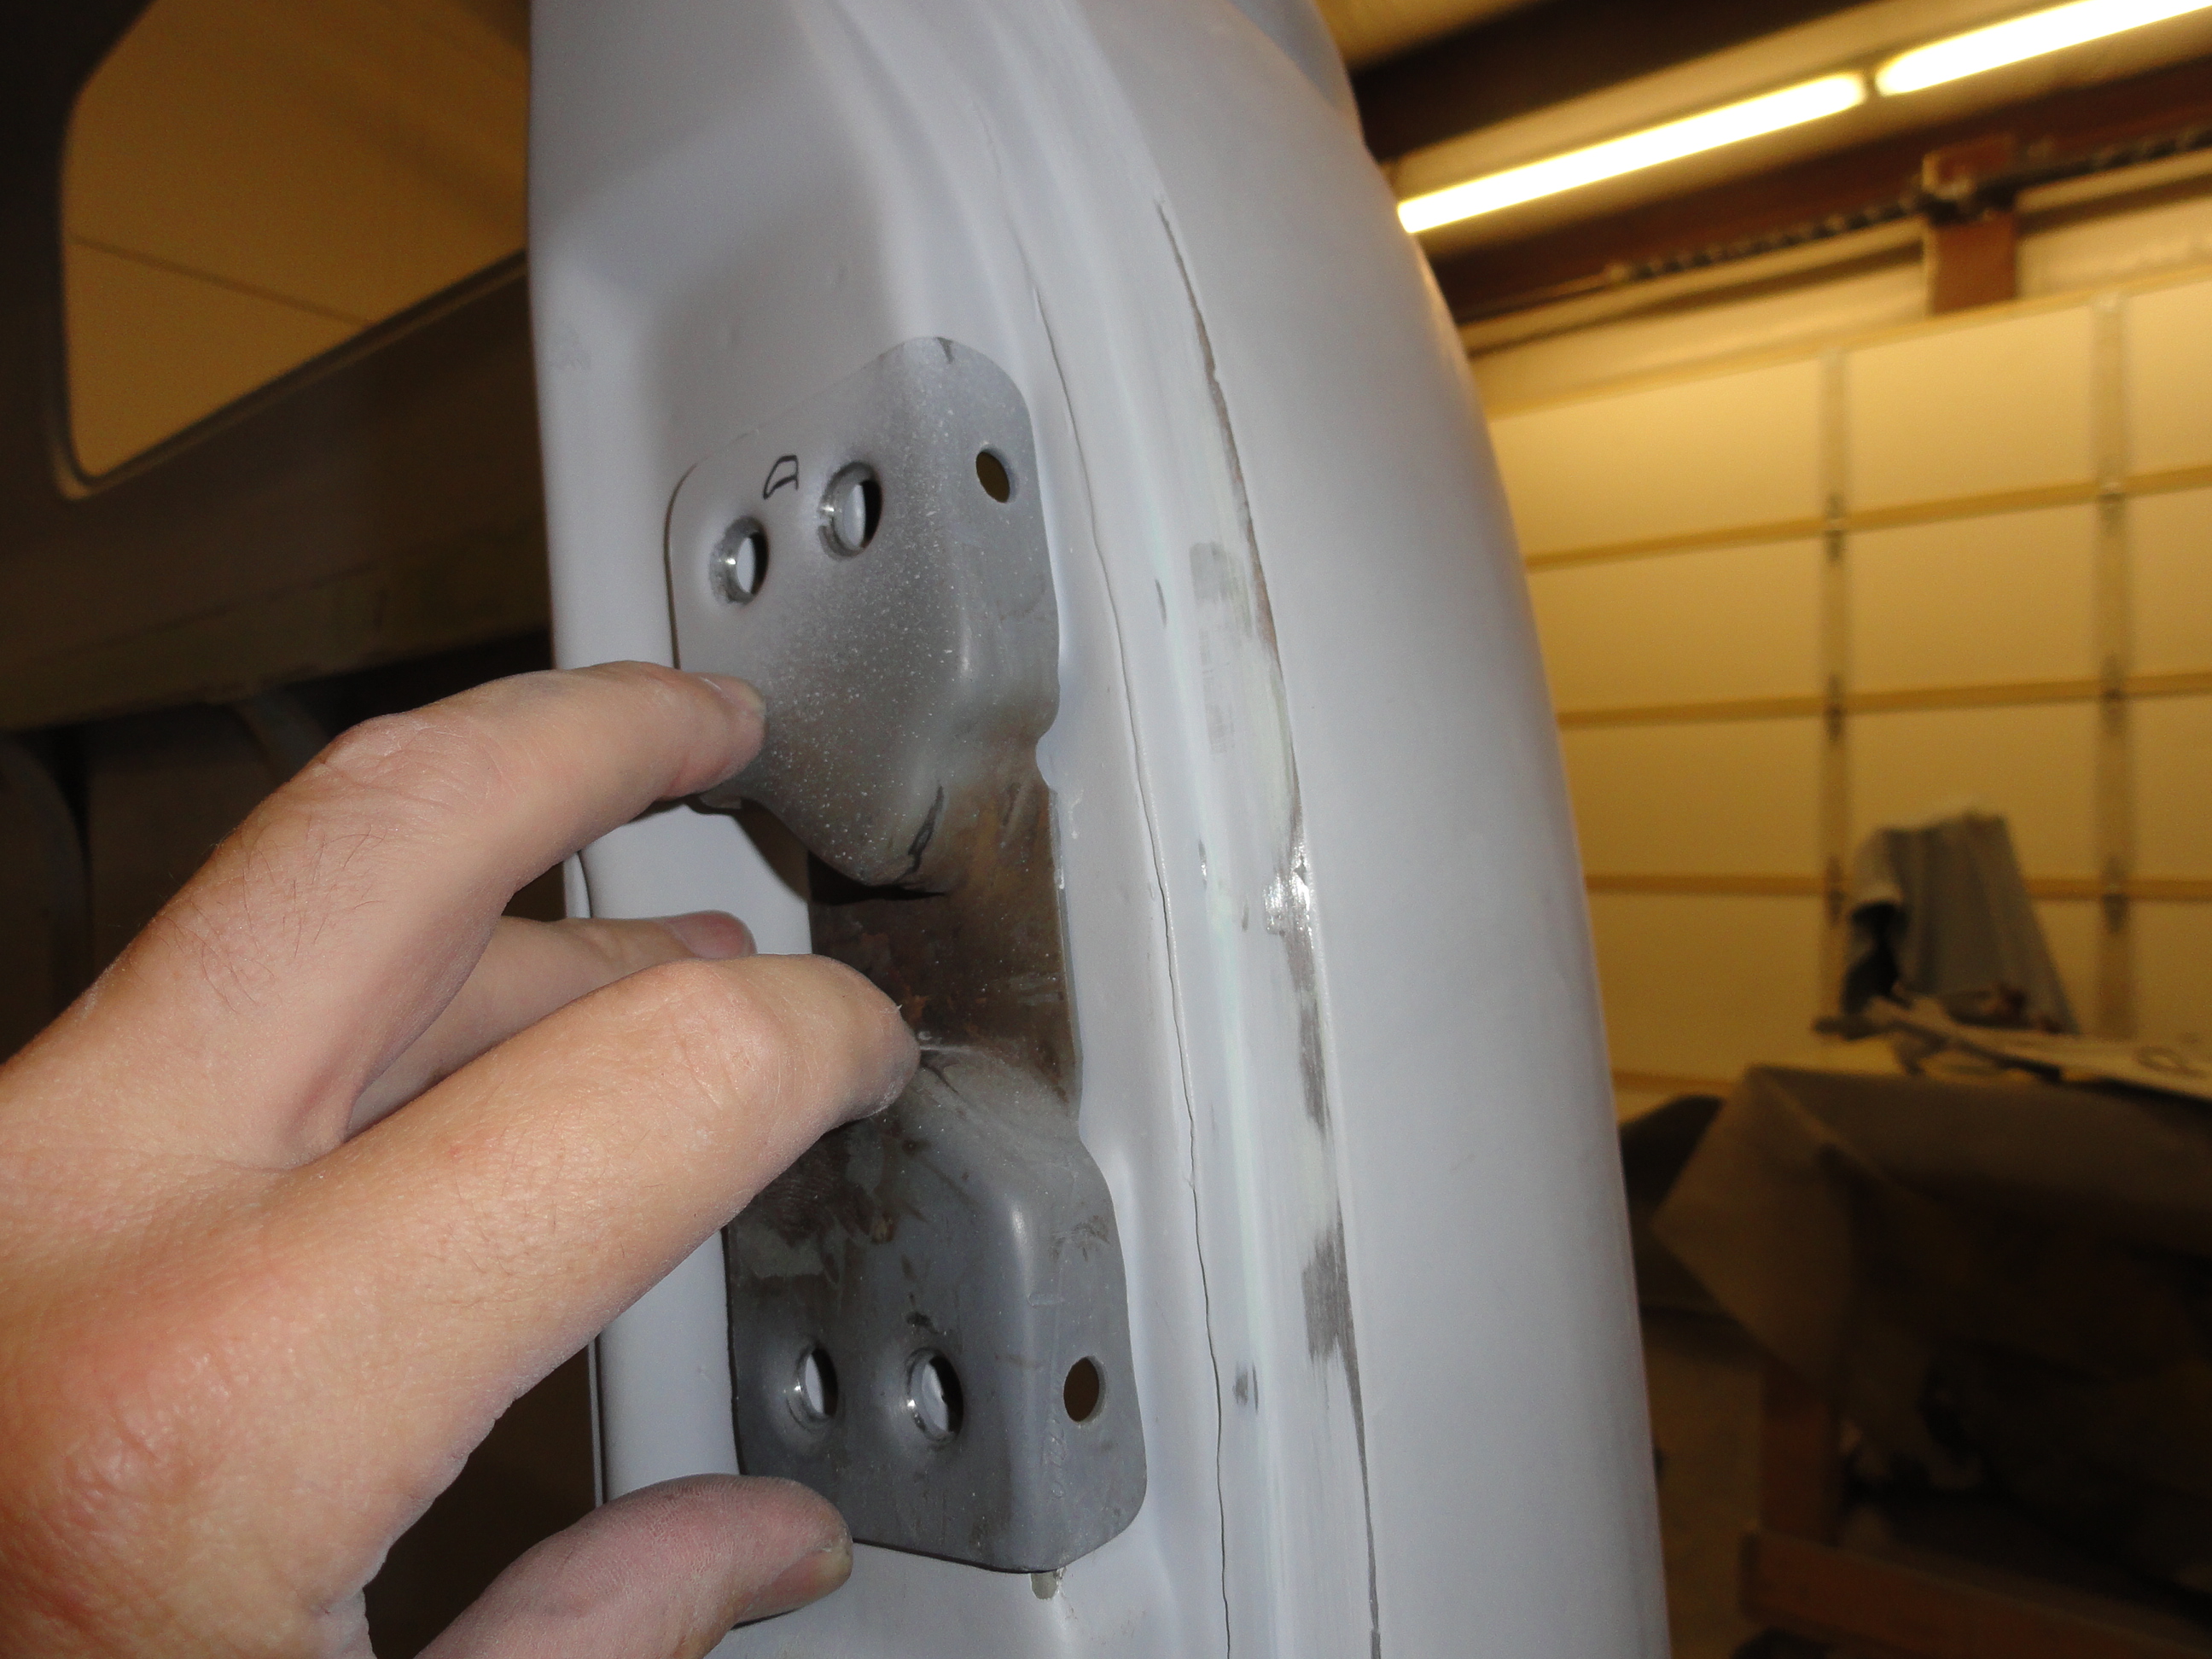
I wonder how long it's going to be before someone thinks I am crazy, but we aren't done with our cab modifications just yet. This project has some very unique Solution Criteria. It will have push button doors and vent windows. People do that all the time right? Well, I want to use the original striker plates because they wrap around the corner and conceal the holes better. Problem is, they are not shaped correctly to secure the newer style doors. Left is a pic showing the weld added to the bottom (old style preferred) plate to make it latch correctly. I then spent quite a bit of time after checking the latches on the doors adding metal to the point where they can be plated and look great. The pic on the right is how the holes are concealed by the wrap-around. Two rubber bumpers go into the small holes in the striker. Door fitment must be done now and it's very important to get your door gaps right. This may mean reworking certain areas of the door or the cab for that to happen. Door gapping is one of the more tedious parts of the job. In the case of this cab, the doors I got for it were a full 1/4" too long for the door opening! This made for many days of cutting, slitting, reworking but in the end, they fit great. I am the guy who runs across these things when everyone else just puts the door on and it just closes perfect!
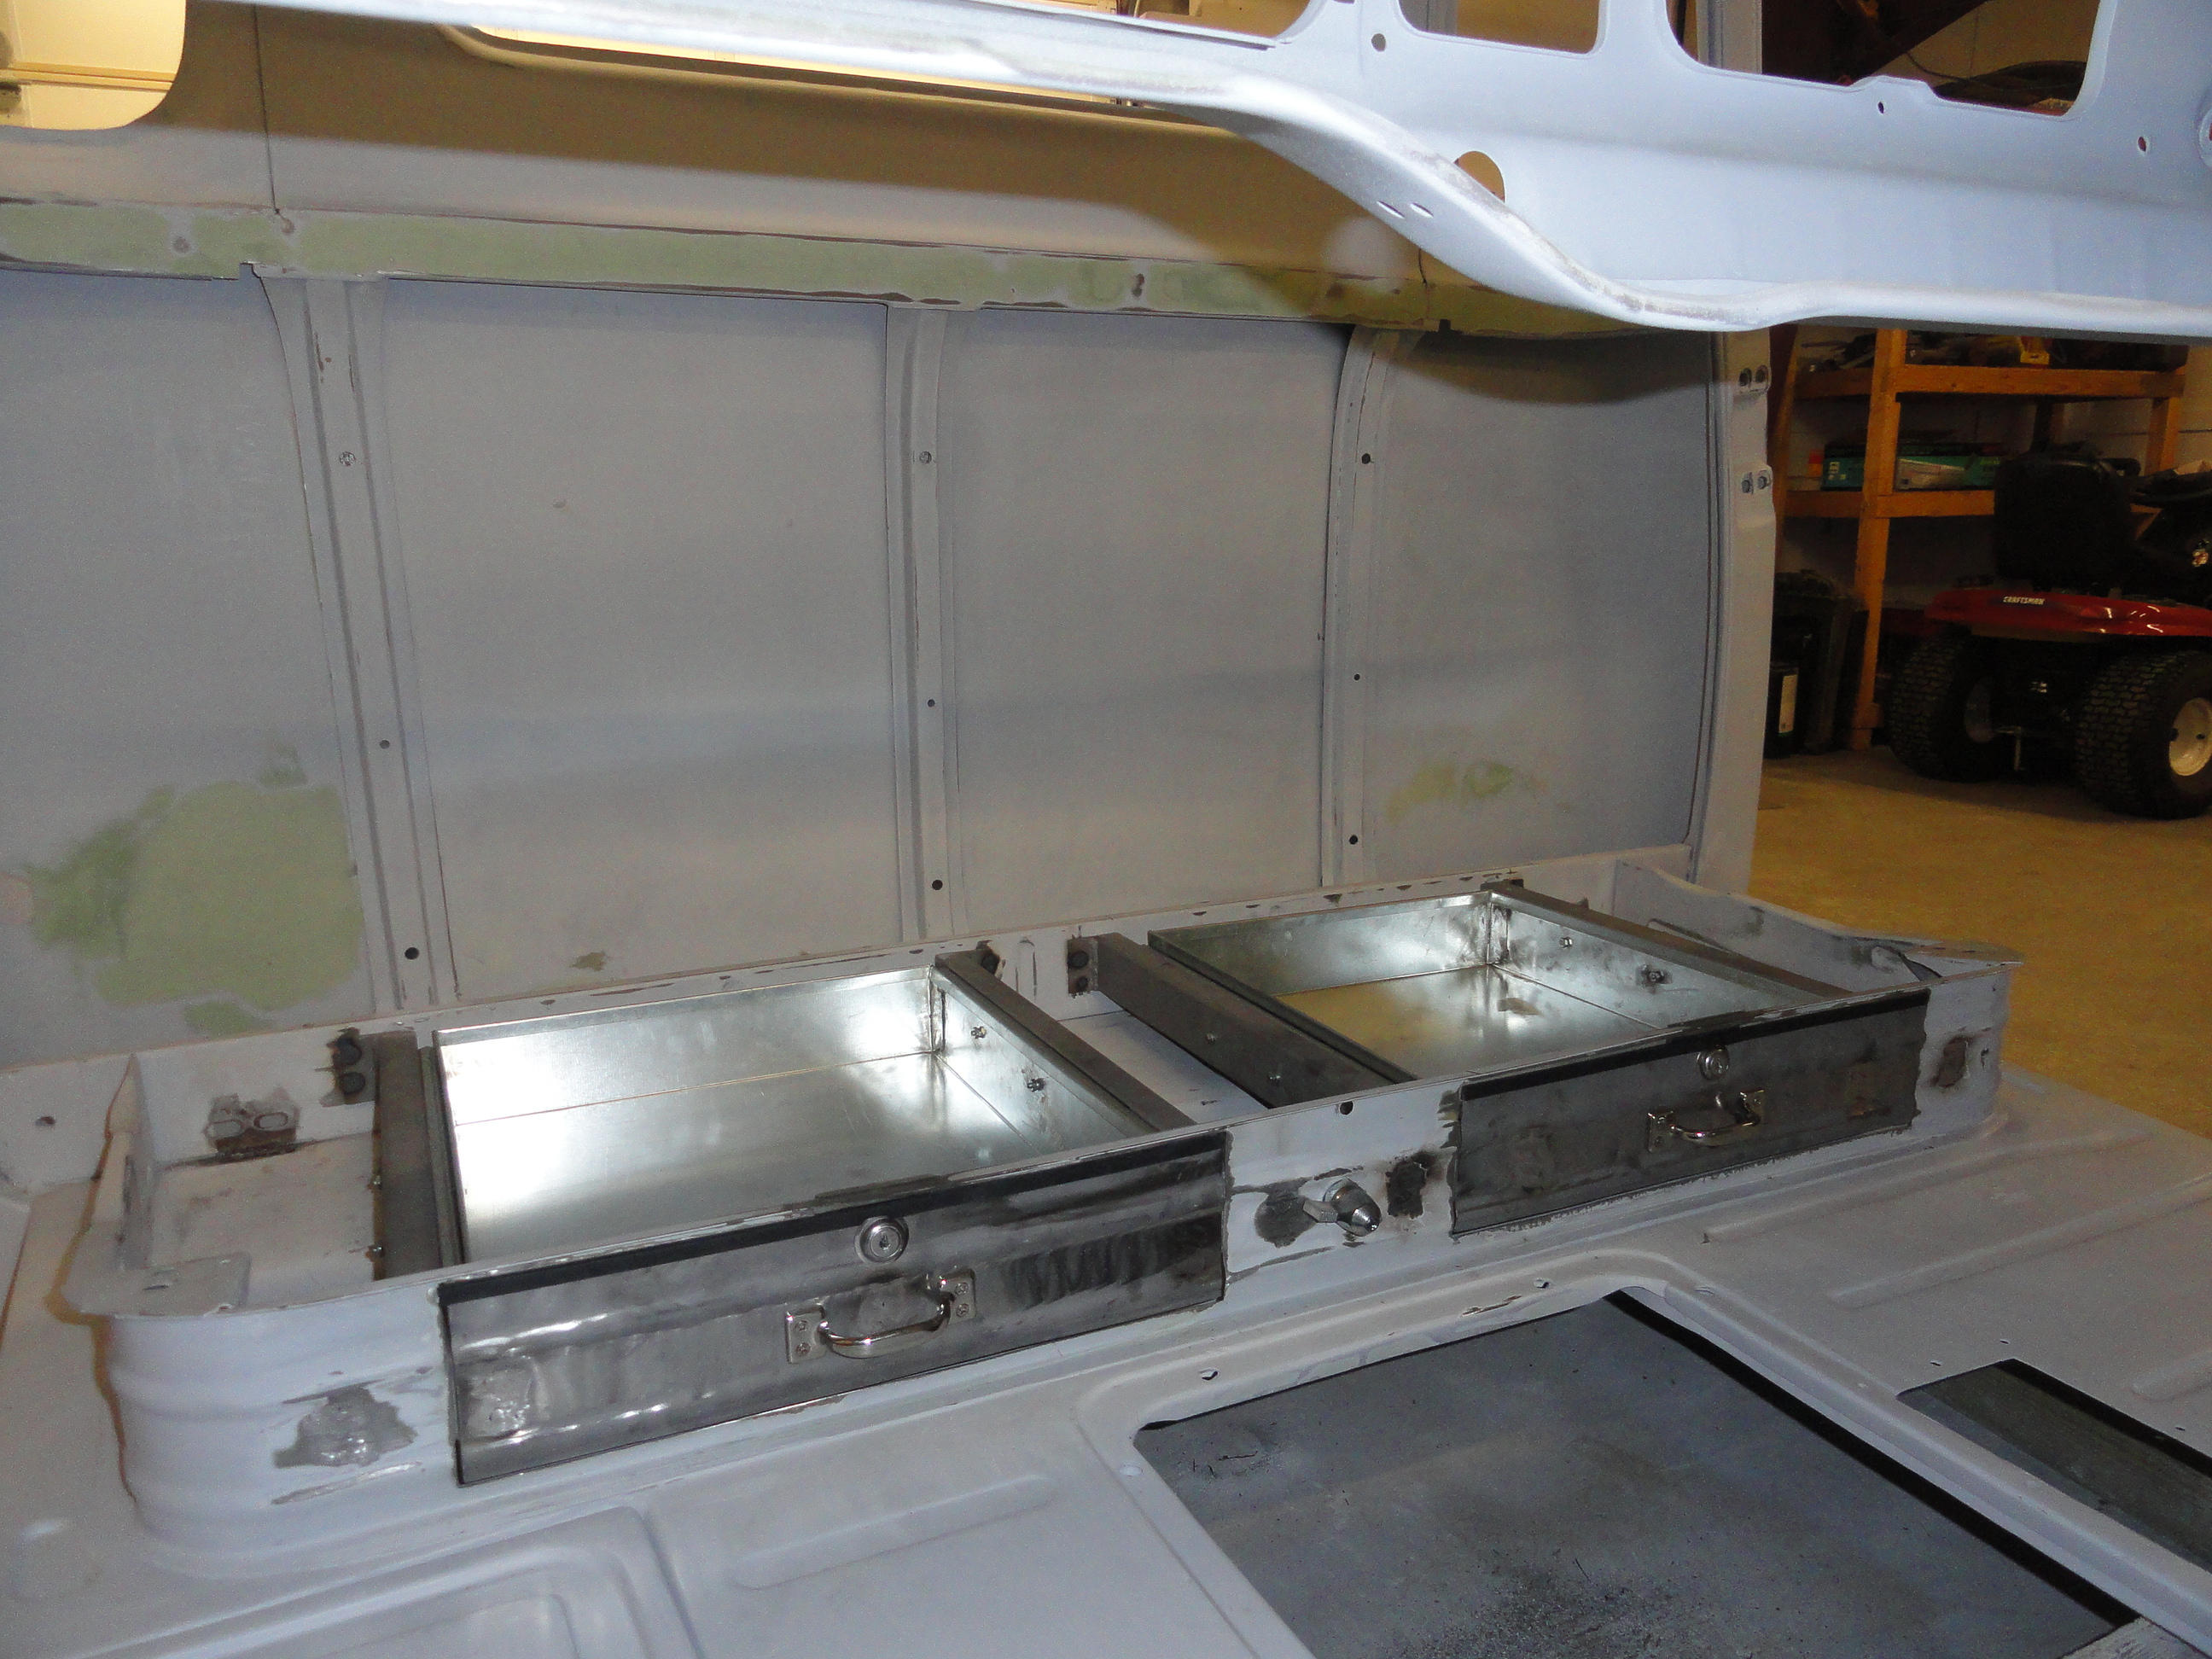

You know that seat pedestal on the cab floor? Well, there is lots of room in there that is going to waste. Sure you can pull your seat up every time you want to get to the tire jack or whatever, but shouldn't there be a better way? I sure think so. Enter: The Seat Pedestal Drawer Project in the How-To section when I get to it! You have to do these things before paint, so now is the time. Left is the done deal before I primer everything one last time. Right is some of the construction involved. This drawer system opens/closes on a slow-close slide system so it can't chatter and make noise when closed. It very nicely fits the Jack and even a normal sized fire extinguisher. The drawers are 16" by 18". Put the appropriate foam liners into the drawers and nothing slides around.

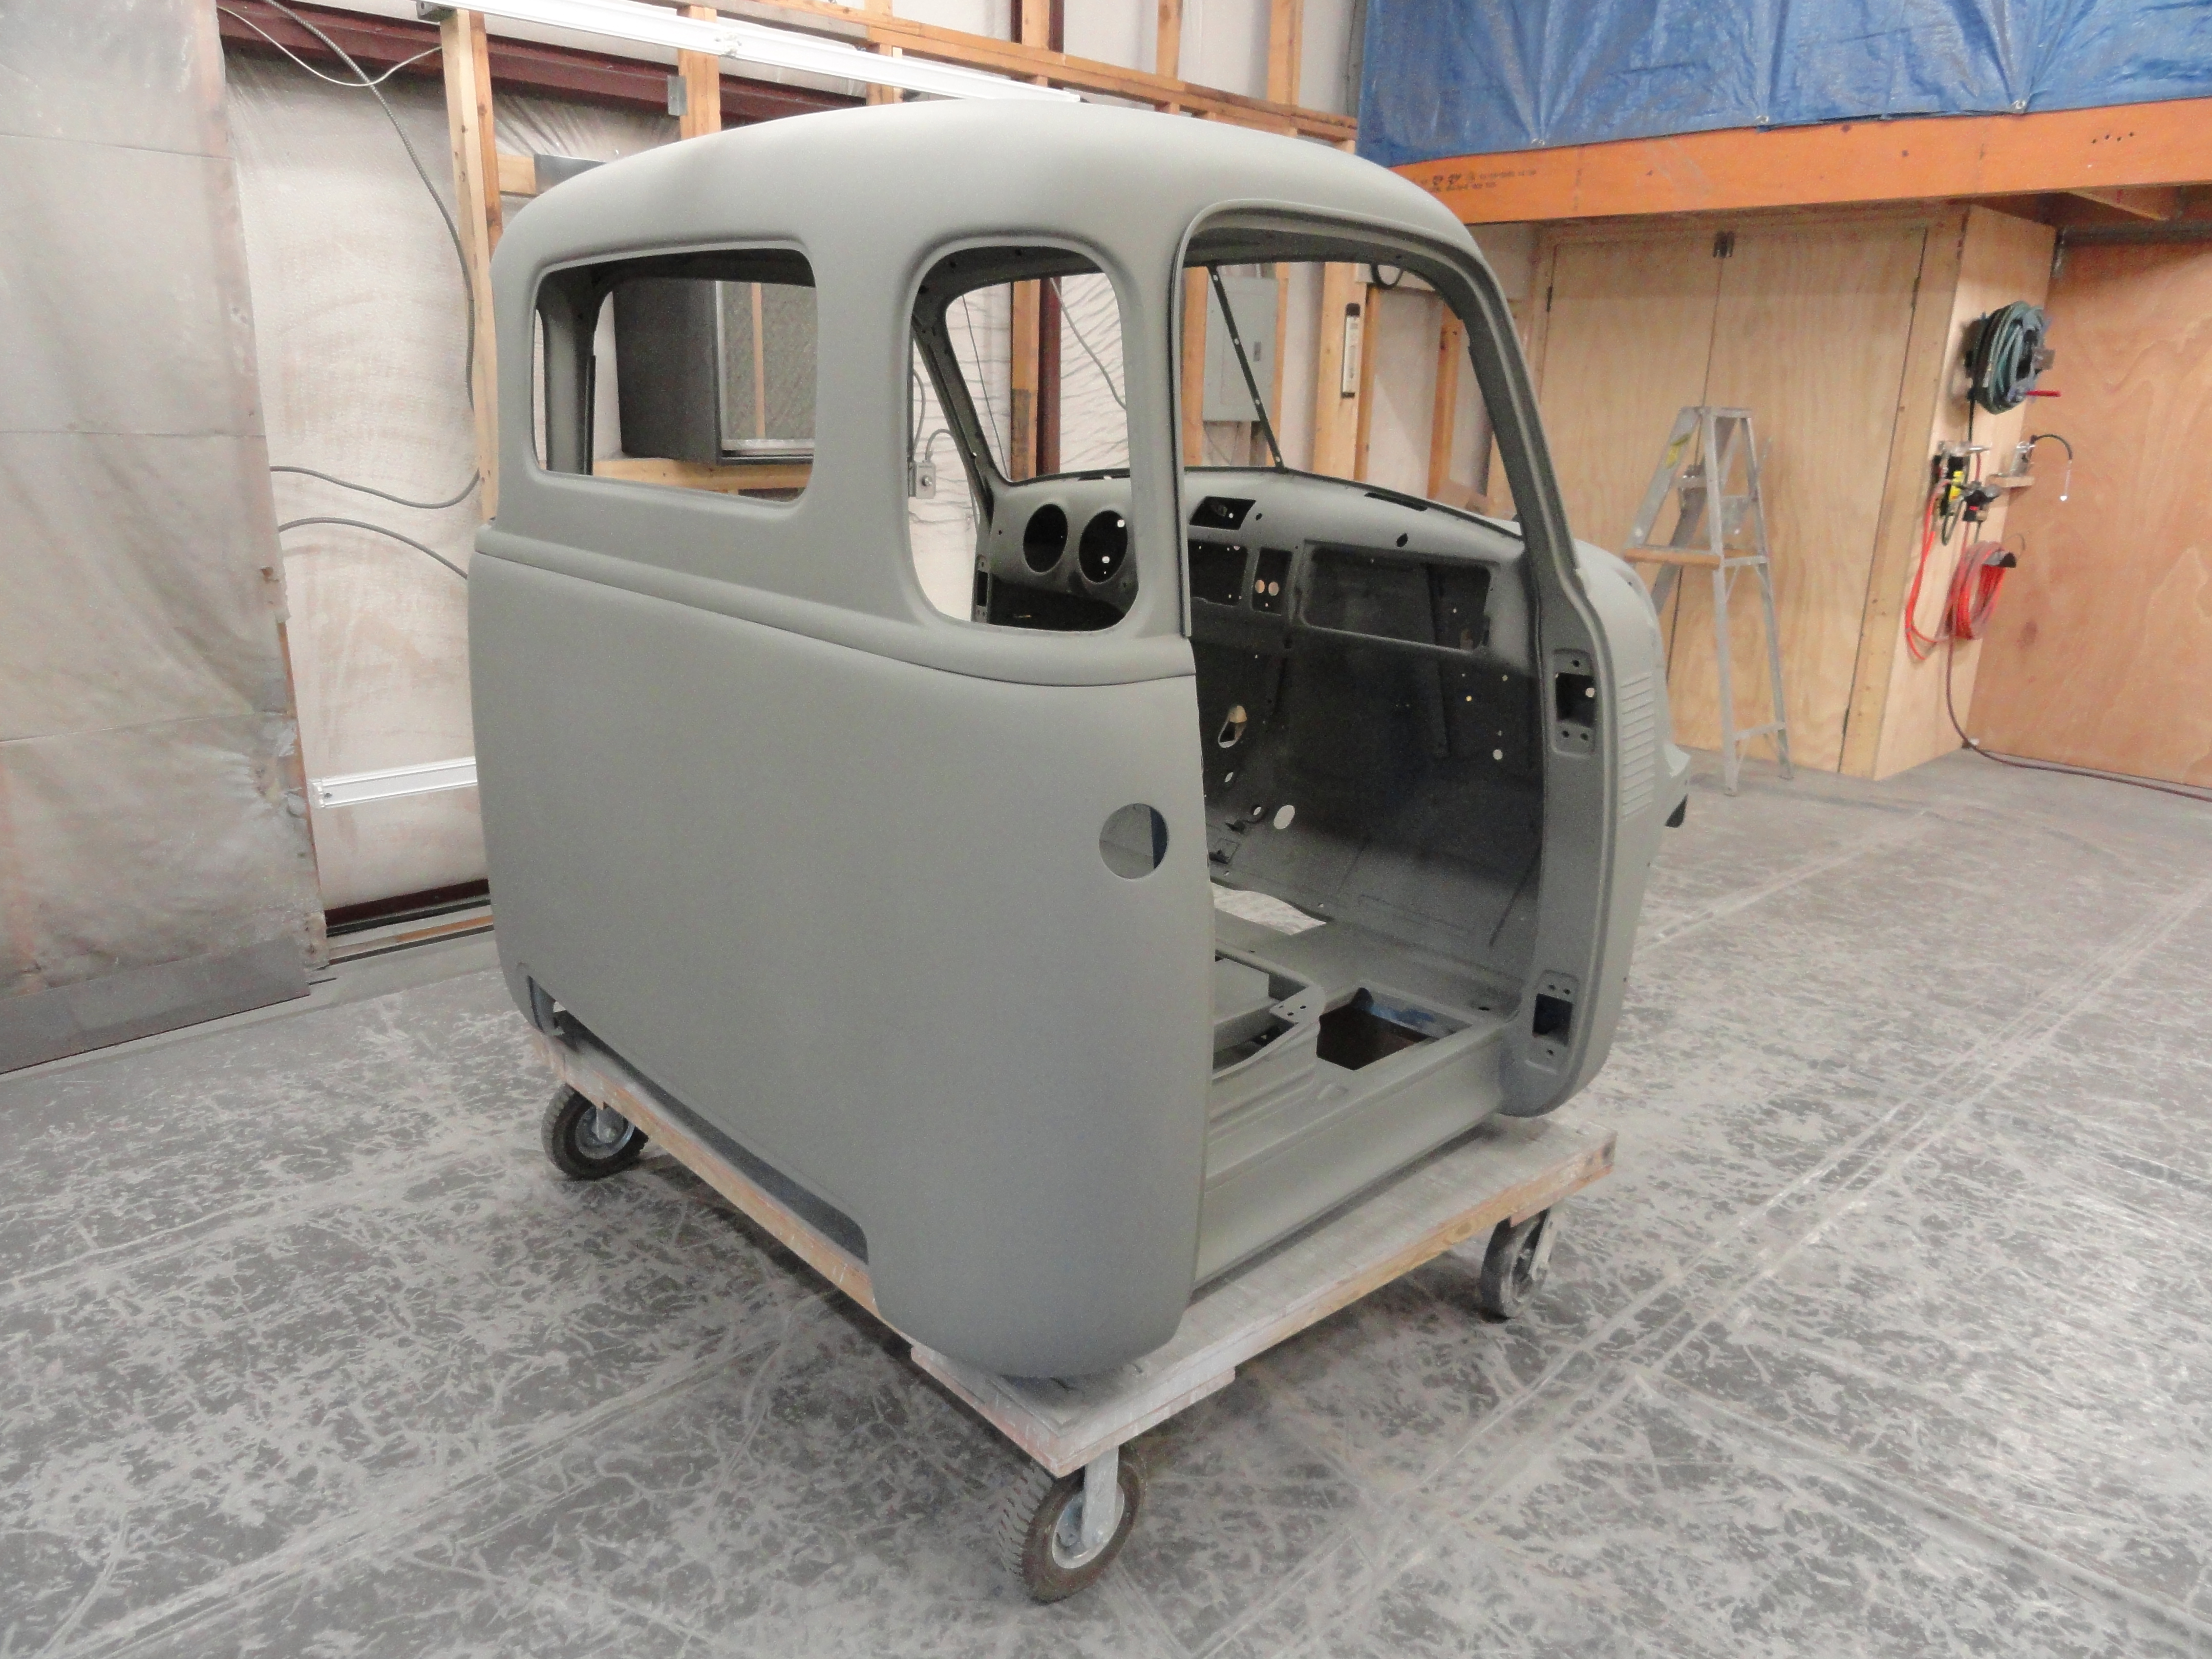
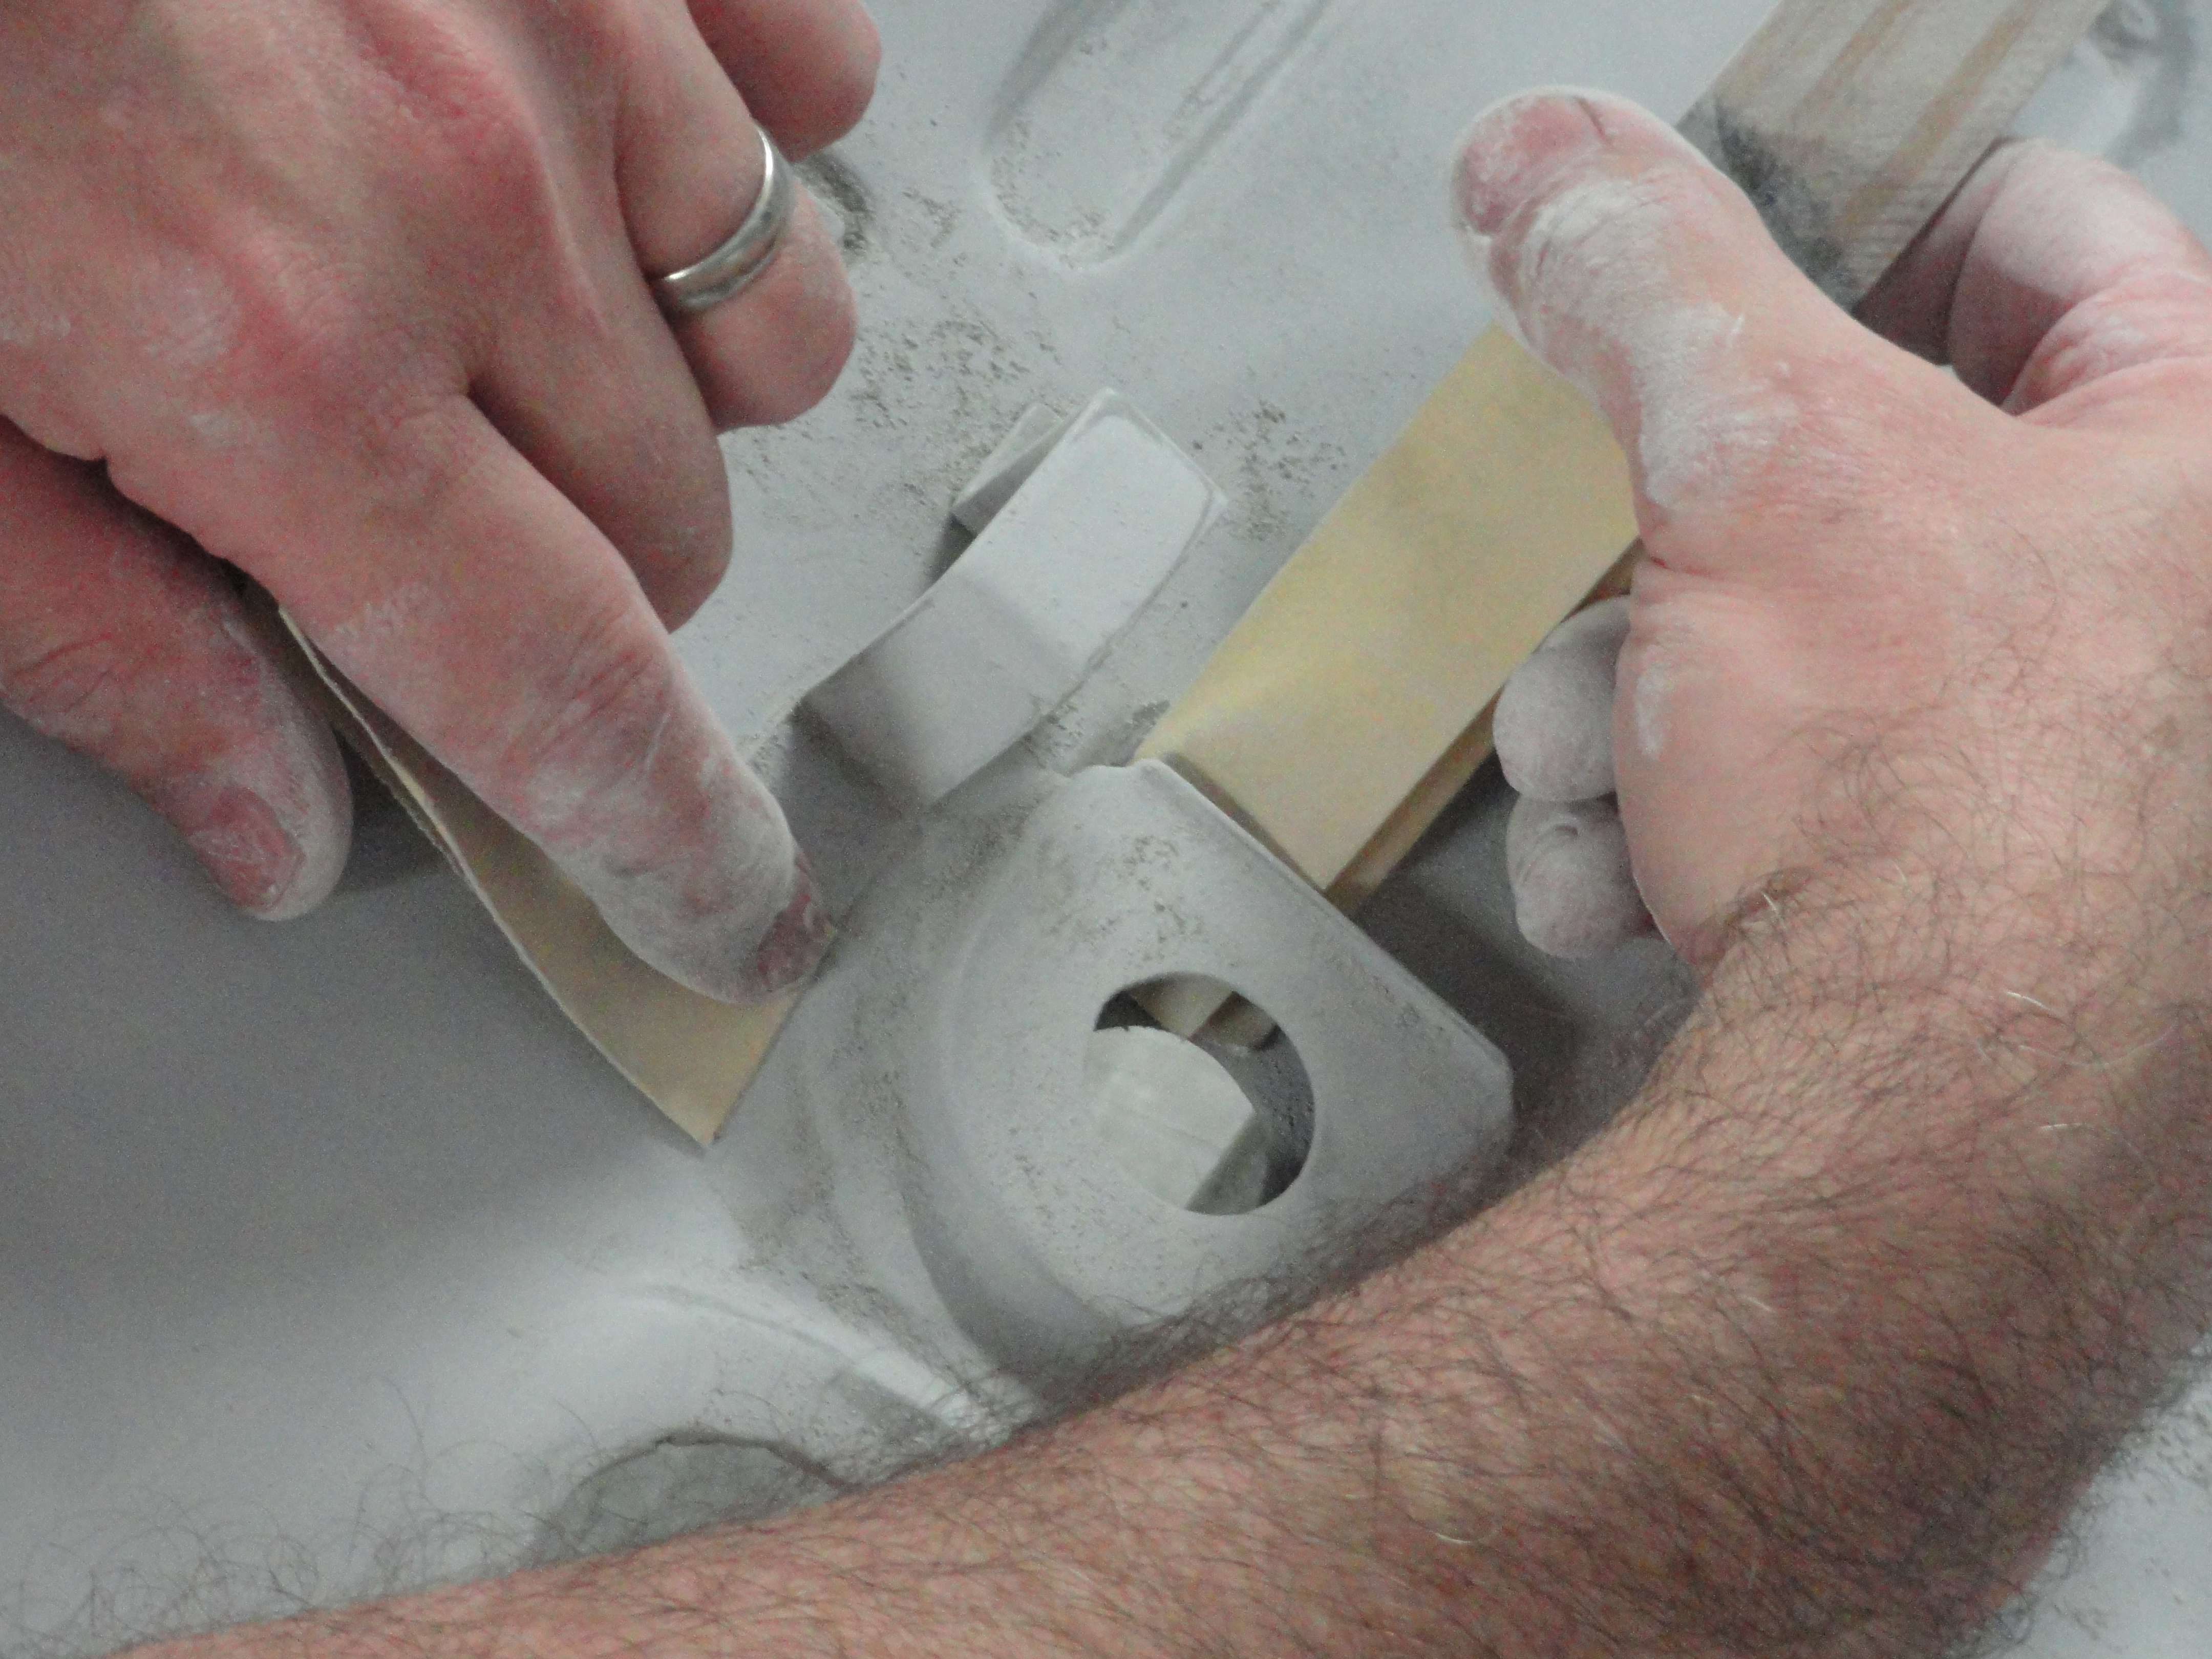
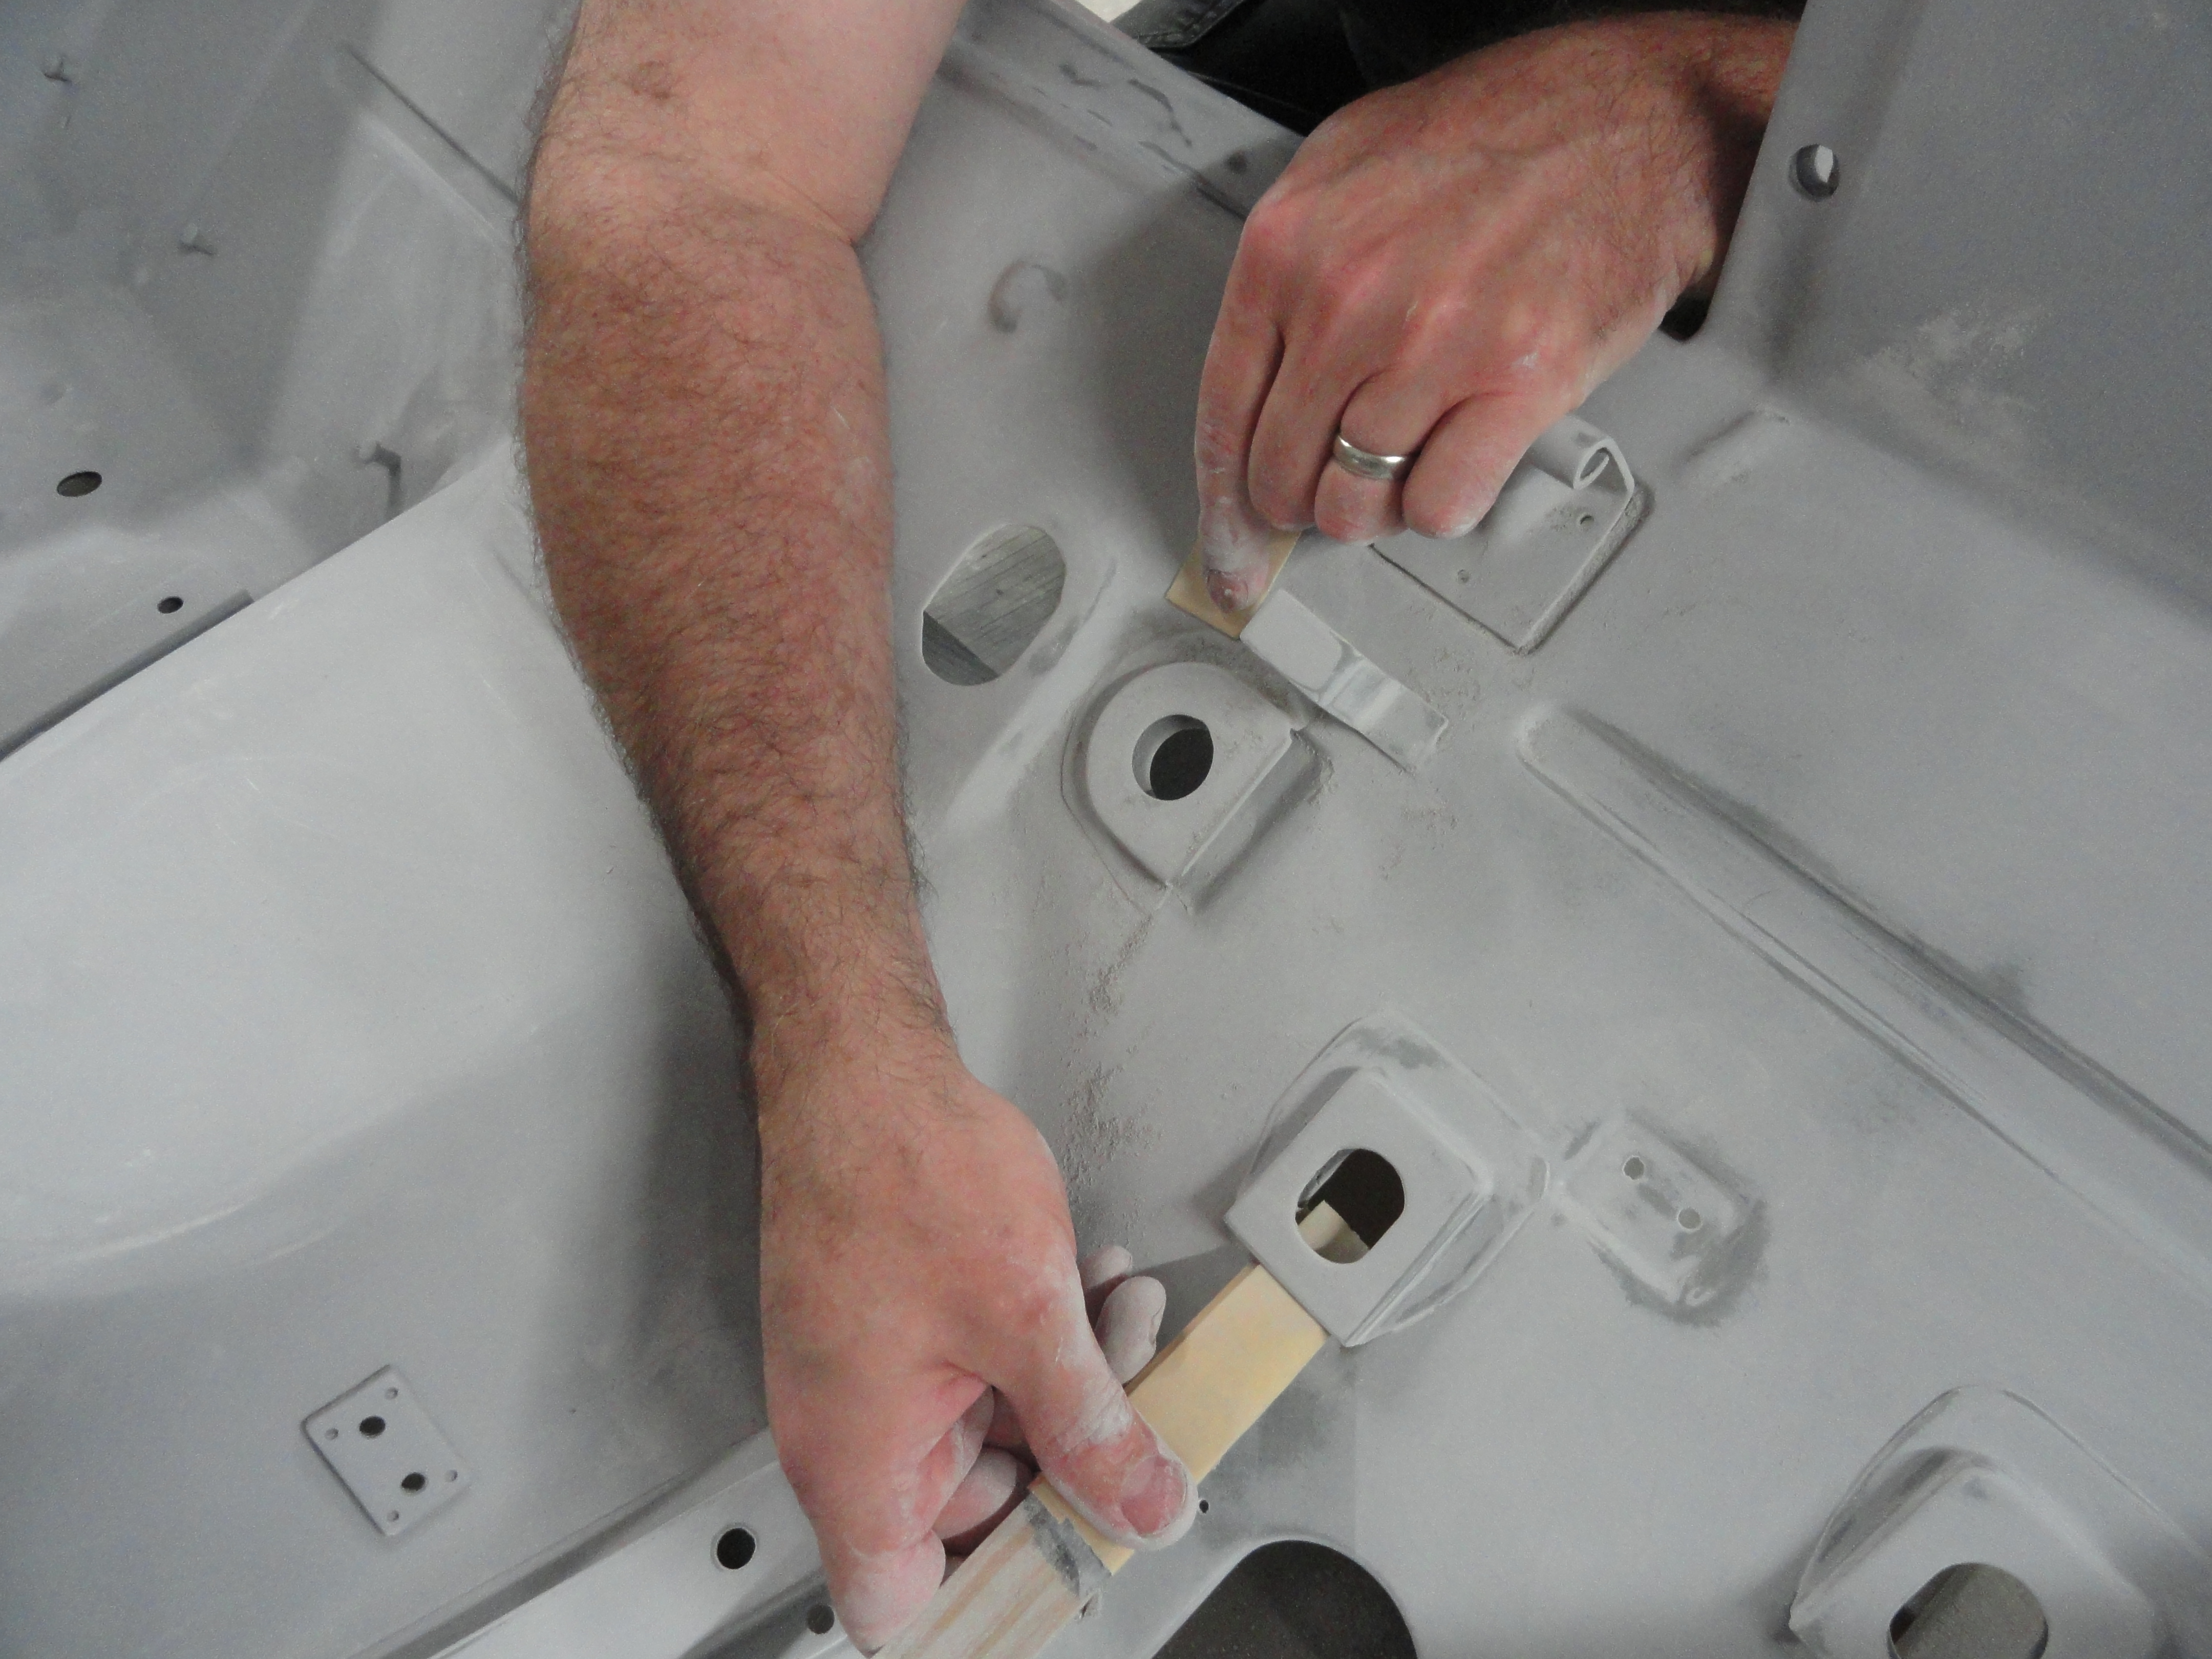
The process of painting is very very time consuming. In my case it takes years because I do everything by hand and by myself. The way it works is, do all the body panel repairs with very careful butt welding techniques so that everything is on the same level as it was originally. You then clean thoroughly with DX-330 cleaner, then DPLF Epoxy Primer, then K36 Urethane High Build primer. Now its filler and the beginning stages of smoothing. Rage Gold is my preference. All sanding at this stage is 80 grit to cut through no more than a 1/8" skim coat on the entire cab. Once everything is smoothed to 80 grit and you are sure you have all dents, dings, rust, etc. completely addressed, its time for another round of K36 Urethane High Build primer. This is sanded with 220 grit. Put the 80 completely away so you aren't tempted to use it! You will find many imperfections no matter how careful you are. Make the changes you need to make, then the last sanding phase is with 400 grit. Put the 80 and 220 away so you aren't tempted to use them! This is your final sanding before Epoxy Sealer, so by this time you have refit your doors, etc to make sure everything is perfect and you are resigned to the fact that after you have the 400 sanded, you are ready for Sealer, Base, Clear.
When I say we are sanding with 3 different grits, I do not mean over a few days. Every square inch of the cab will be sanded with all three grits INSIDE AND OUT. I use board sanders and sanding blocks and do everything by hand. Every crevasse, nook AND cranny is thoroughly addressed. Nothing is left out. With other things on my plate to do, I would estimate it takes about 6 months per sanding grit. It's slow, tedious work. The last 4 pics you are seeing here as well as the ones in the archive are taken after the 220 stage. It was then Epoxy primer again. This is because there were MANY places where metal was showing and I wanted those areas to be fully protected. After that, I added K36 and as of this writing, it's 400 grit time!
The 400 grit stage is a bit different than the grits used before it. At this stage, you are final sanding so every little anomaly has to be addressed. You want to be real sure everything is smooth an flat. You also want to be sure you get every little thing with the 400 grit because the Sealer we will use heals 400 grit, but it will not heal the 220 before it. Close and careful attention to detail is essential. This is your last chance to meet YOUR expectations.
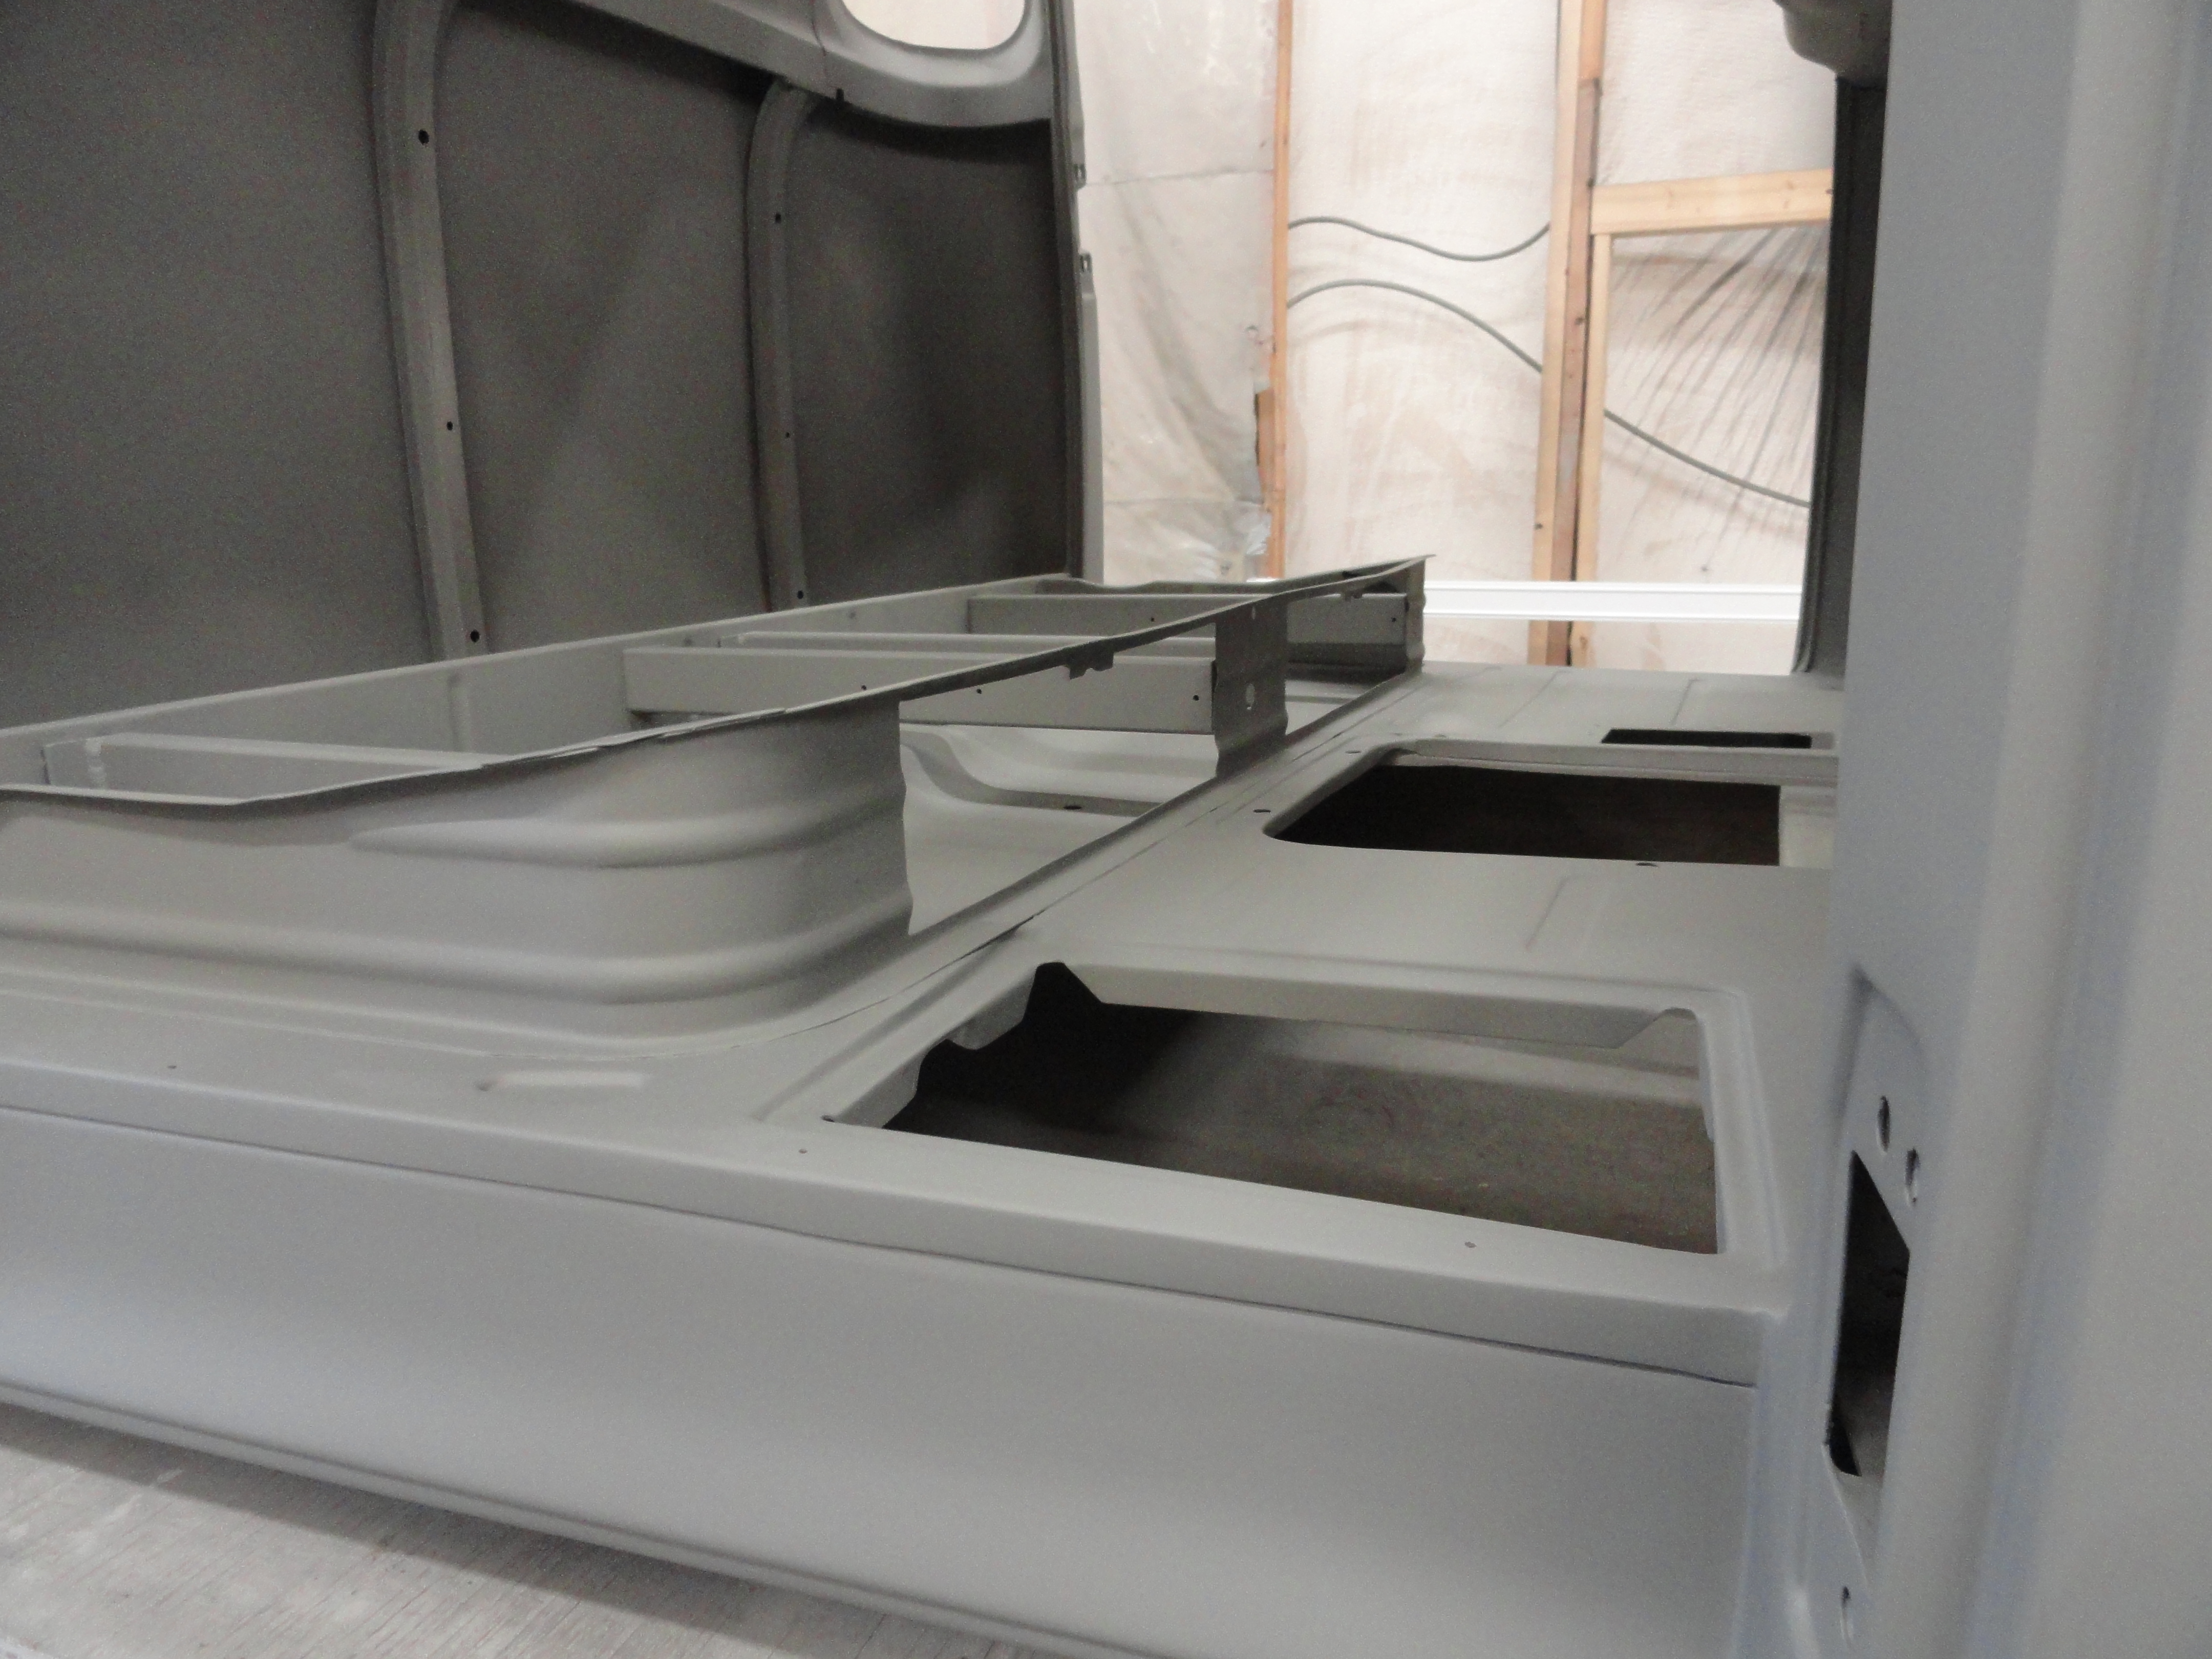
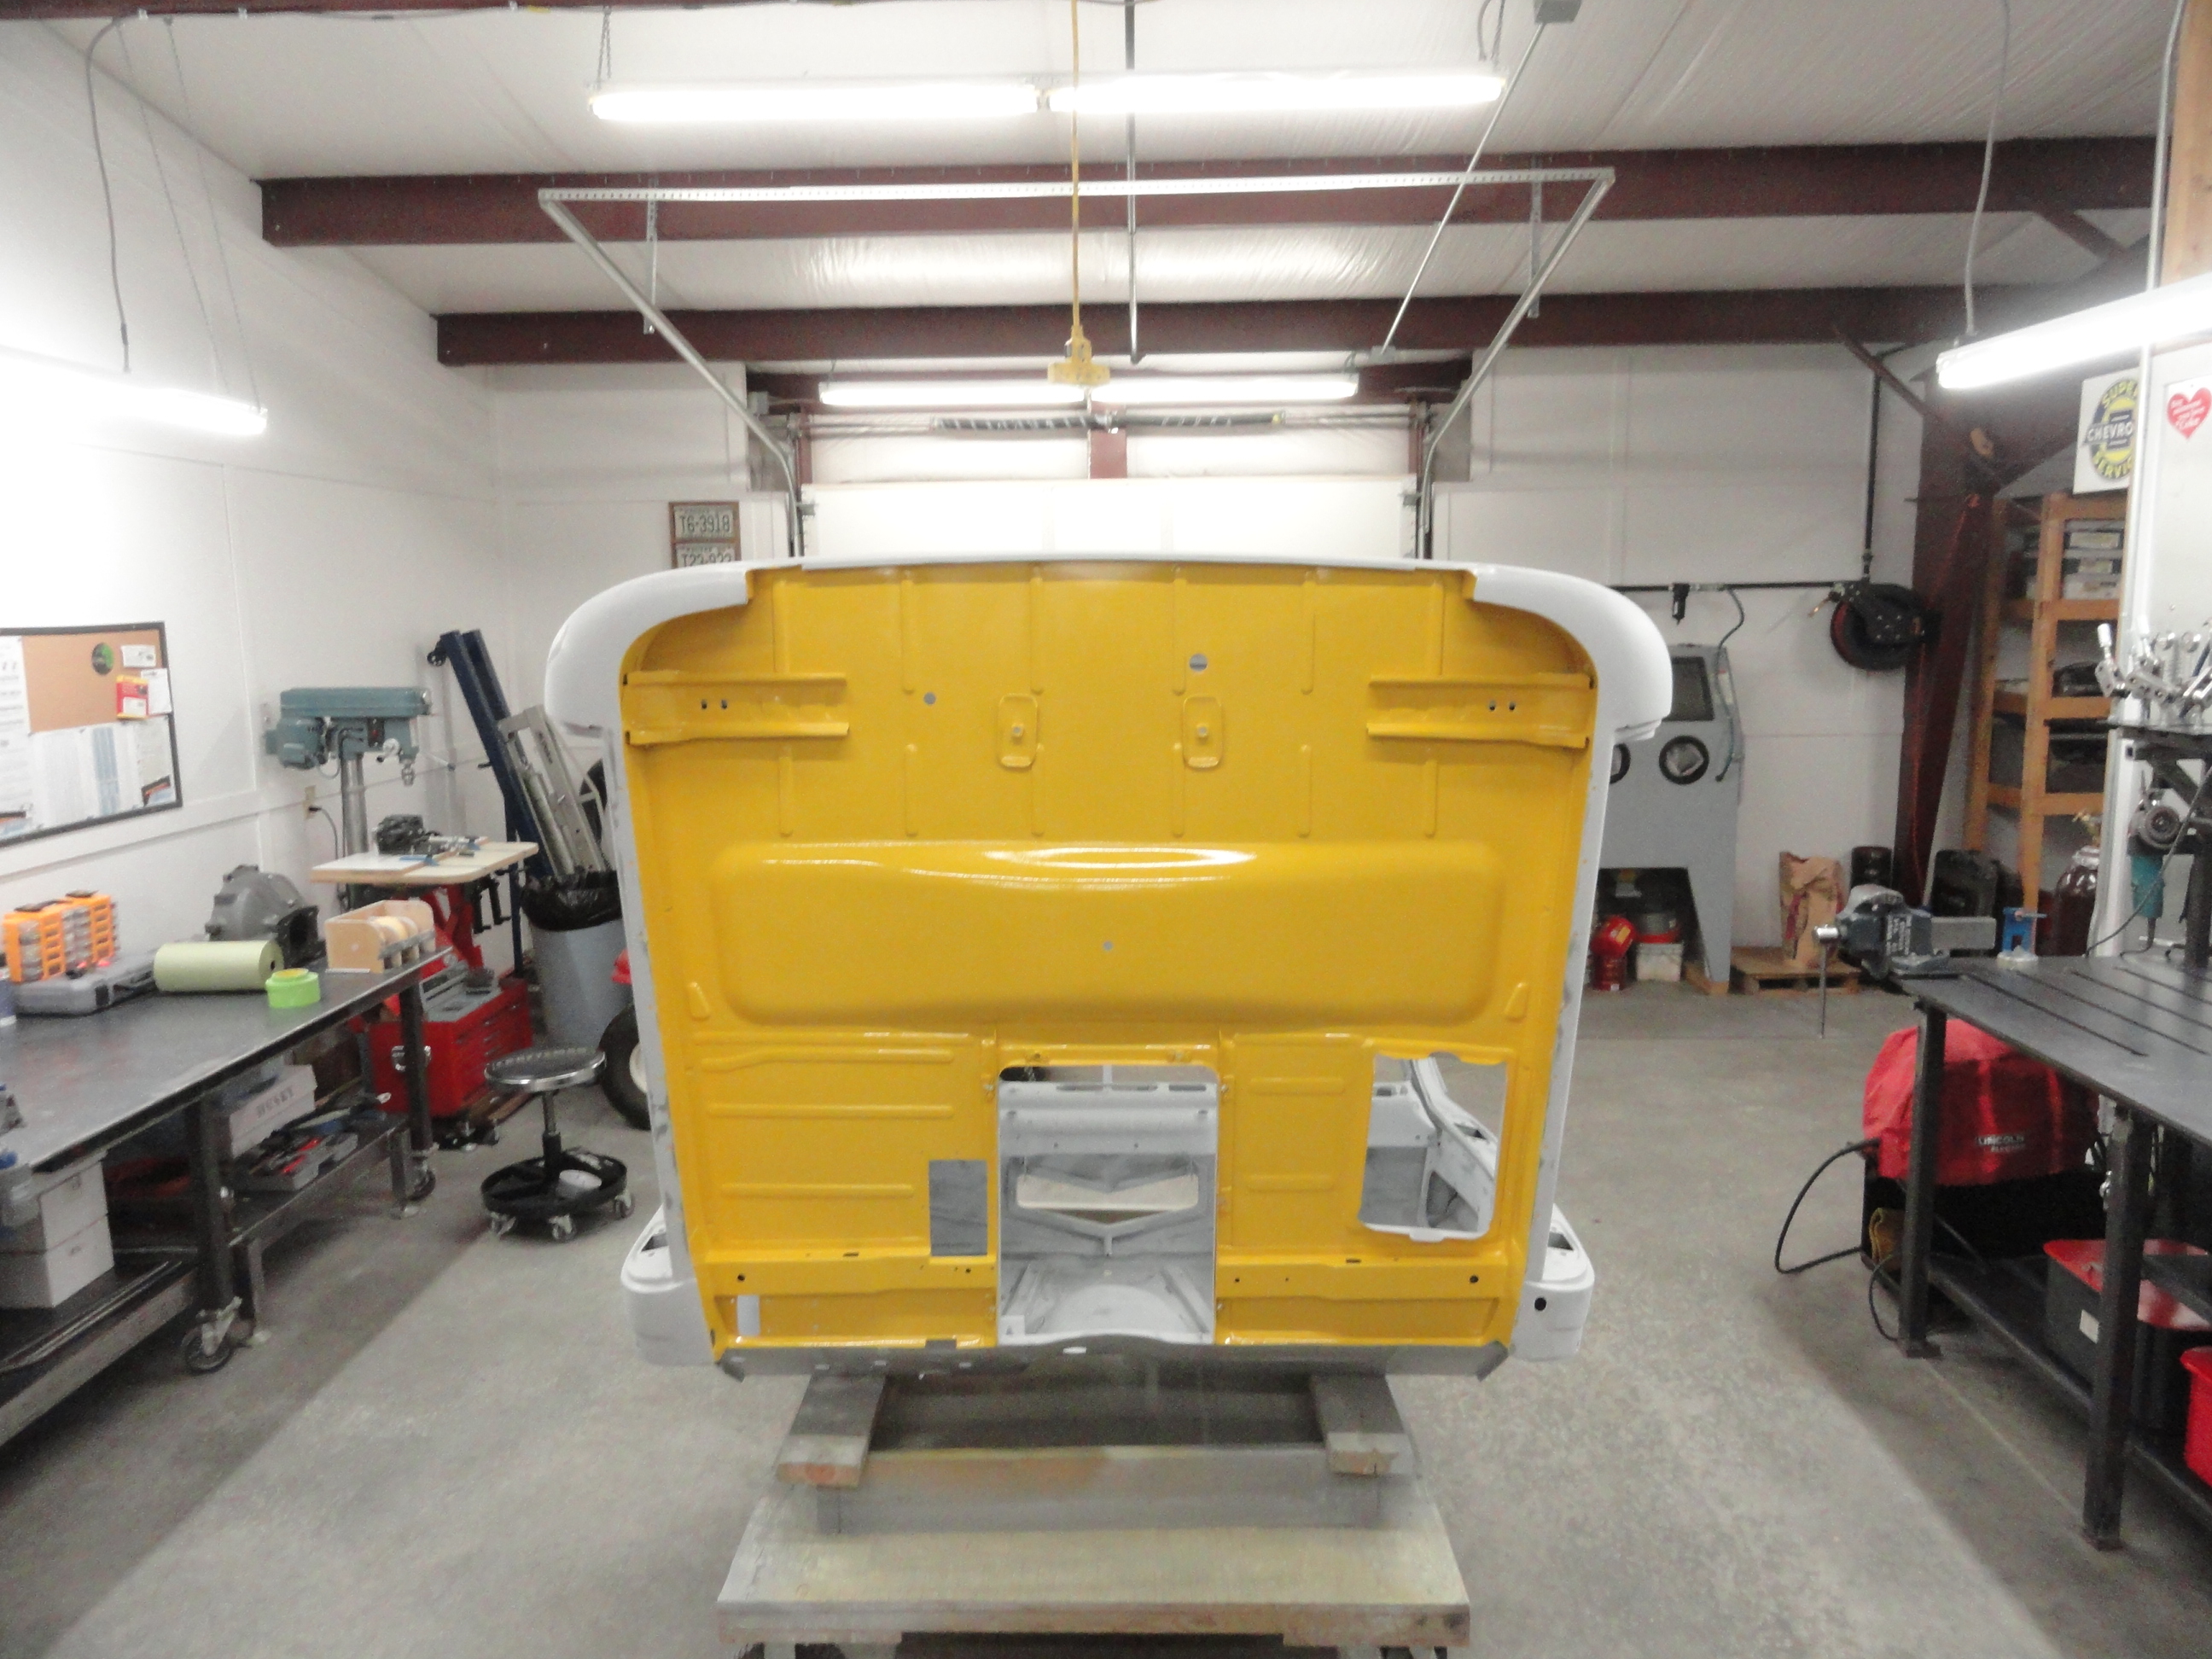
Now that we have the inside under the dash, toeboard and floorboards final sanded, it's time to start thinking about a strategy for painting. I will be painting everything on the Cab on my Cab Cart, so the only place I can't get to when the Cab is sitting like it's supposed to is the underside. I got a few friends and we put the cab on the firewall so I can address the bottom of the cab. Once I have it done, I wait a few months so it's good and dry, then lay cloth padding on the Cab Cart rails, set it back down like it belongs and address the rest.

Once everything on the bottom is sanded with 400, all problems addressed and you are ready for paint, its time to do something I had never done before which is taping and papering. First clean the bottom of the cab with PPG's DX-330 Metal Prep Cleaner. You need to really make sure it's clean. Fingerprints, oily residue from the air compressor, everything must be thoroughly cleaned. Then, go get some real automotive masking tape. Do not use the blue scotch brand that you get at the local hardware. You want the Scotch Green stuff specifically made for this type of work. It sits lower, adheres to very thin edges, and just gives you peace of mind. Also, a 12 inch role of masking paper is all I used for this part of the project.
To do this right, use a 3/4 inch role of tape and tape off the edge of all areas you do not want painted. Never mind the paper yet. The tape is your demarcation line. This takes a little planning too. In my case, I chose for example to not paint the fold over part of the battery box. I want that to be interior color. Also the fold over part of the trans cover area on the cab. That will also be interior color as is the little fold over area of the parking brake hole. Get you a really sharp exacto knife and tape the area, trim off what is wrong, and do the entire underside of the cab with the 3/4 inch tape first. Then, with a 2 inch roll of tape, tape off all of the bolt holes, holes of any kind, anywhere that paint can get into (including the cab corner vent hole). Visualize what you have done and try hard to get everything protected then, using a tape measure, measure the openings that need papered. Using scissors to cut the paper (could use an exacto knife too), cut the paper 1/2 inch all the way around smaller than the opening. The reason for this is to ensure the next tape you put on overlaps the existing tape so that no paint can get through. Practice your taping and papering skills on the bottom of the cab. If you mess up, you haven't painted anything else on the cab yet so this is the least damage you can do.

Once cleaned properly, taped and papered, it's time for painting. No guts, no Glory right? Now there is much more to the story, so follow along before you put your color on the cab. This isn't an easy process, but one that is very manageable. The first step is to spray one wet coat of PPG DAS3025 Epoxy Sealer on the entire bottom of the cab. Also, anything else you are painting at the same time. I also painted the bottom of my battery box and parts as well as the transmission cover bottom. The DAS3025 is mixed 3 parts to 2 parts of DT870 Reducer and 1 part DCX3030 Hardener. Its very thin and very smooth. This particular Sealer uses a 1.5 fluid tip (optimally) on your gun. Always change the fluid tip as instructed in the Product Sheet.
Note: I want the most silky smooth mix possible and I do not have access to a paint shaker so I purchased one from Harbor Freight. Keep it greased
and use the self oiler and it will last a very long time. Prior to ANY painting or primering, I shake the can first.
I am just learning so any comments you may have are welcome, but a few anomalies concerning your paint gun should be discussed. The top adjustment screw
on your HVLP paint gun is to adjust the shape of the spray, from a wide fan to a conical shape. Without any paint in your gun, notice if you crank it down
to the most concentrated conical shape, the air pressure goes way up! The wider the fan, the less air pressure you will see on the pressure gauge (at
the gun). This is very important for you to know when trying to get into tight places! If you want the conical shape, remember the pressure is much higher,
so compensate for that before you BLAST the area with far too much paint! So if you want a constant 22 psi at the gun gauge, which is about 10 at the fluid
tip, remember the shape of the spray WILL dramatically be affected by this adjustment.
Another very related issue is controlling runs. If you get a run in the Sealer, and you do not address it (maybe you didn't see it), then put the top coat over it, THEN see it clearly, you have a real problem because you can't sand enough off to make it look good before you hit the Sealer! Look carefully for runs in the Sealer. I use a wide flashlight and really examine it. Best thing I have found that works pretty well on runs is, take a 1 inch masking tape piece and make a ring with the sticky side up. Lightly touch the run (while it's still wet) and let the tape suck up the run, then let it flash before hitting it again. It won't be perfect but it will not be noticeable by anyone but you. Run control is a real issue and the best way to control a run is to not get one in the first place! To help prevent runs, you can hit the really hard to reach places where you adjust for a more conical spray, lower the pressure, and hit those areas first. Examine the work, remove any runs, then with the wider fan, you can just spray everything normally.
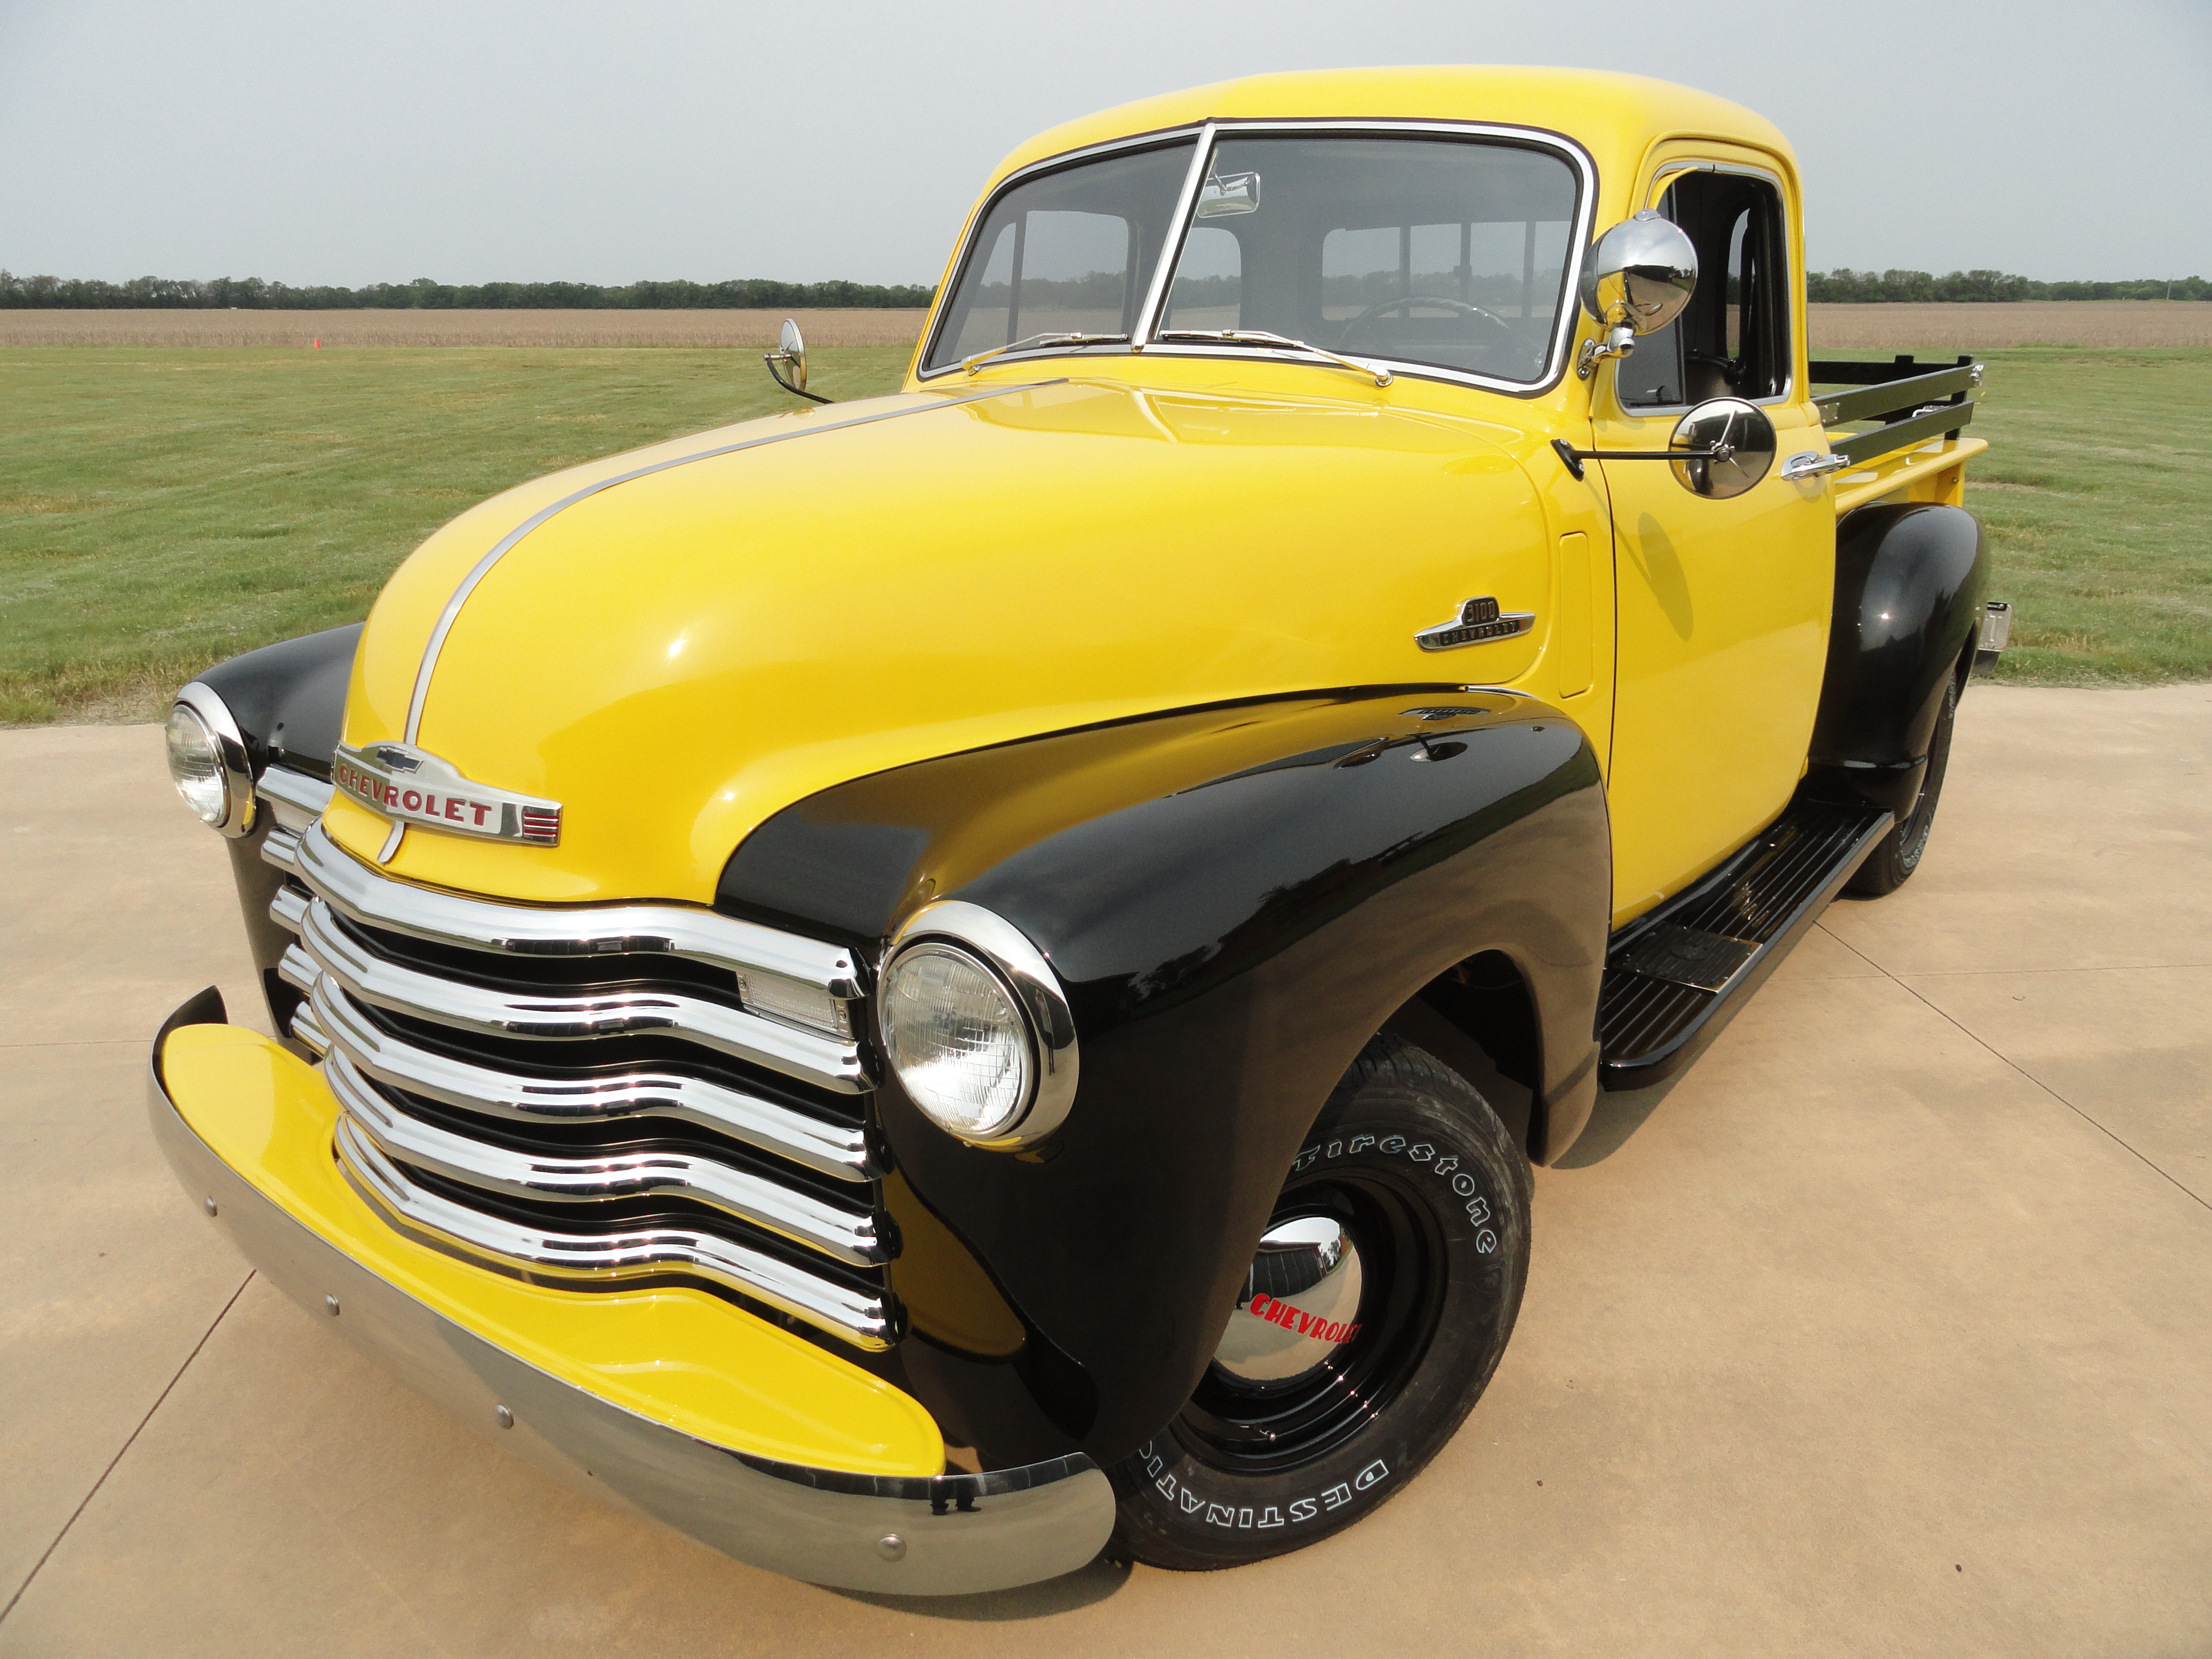
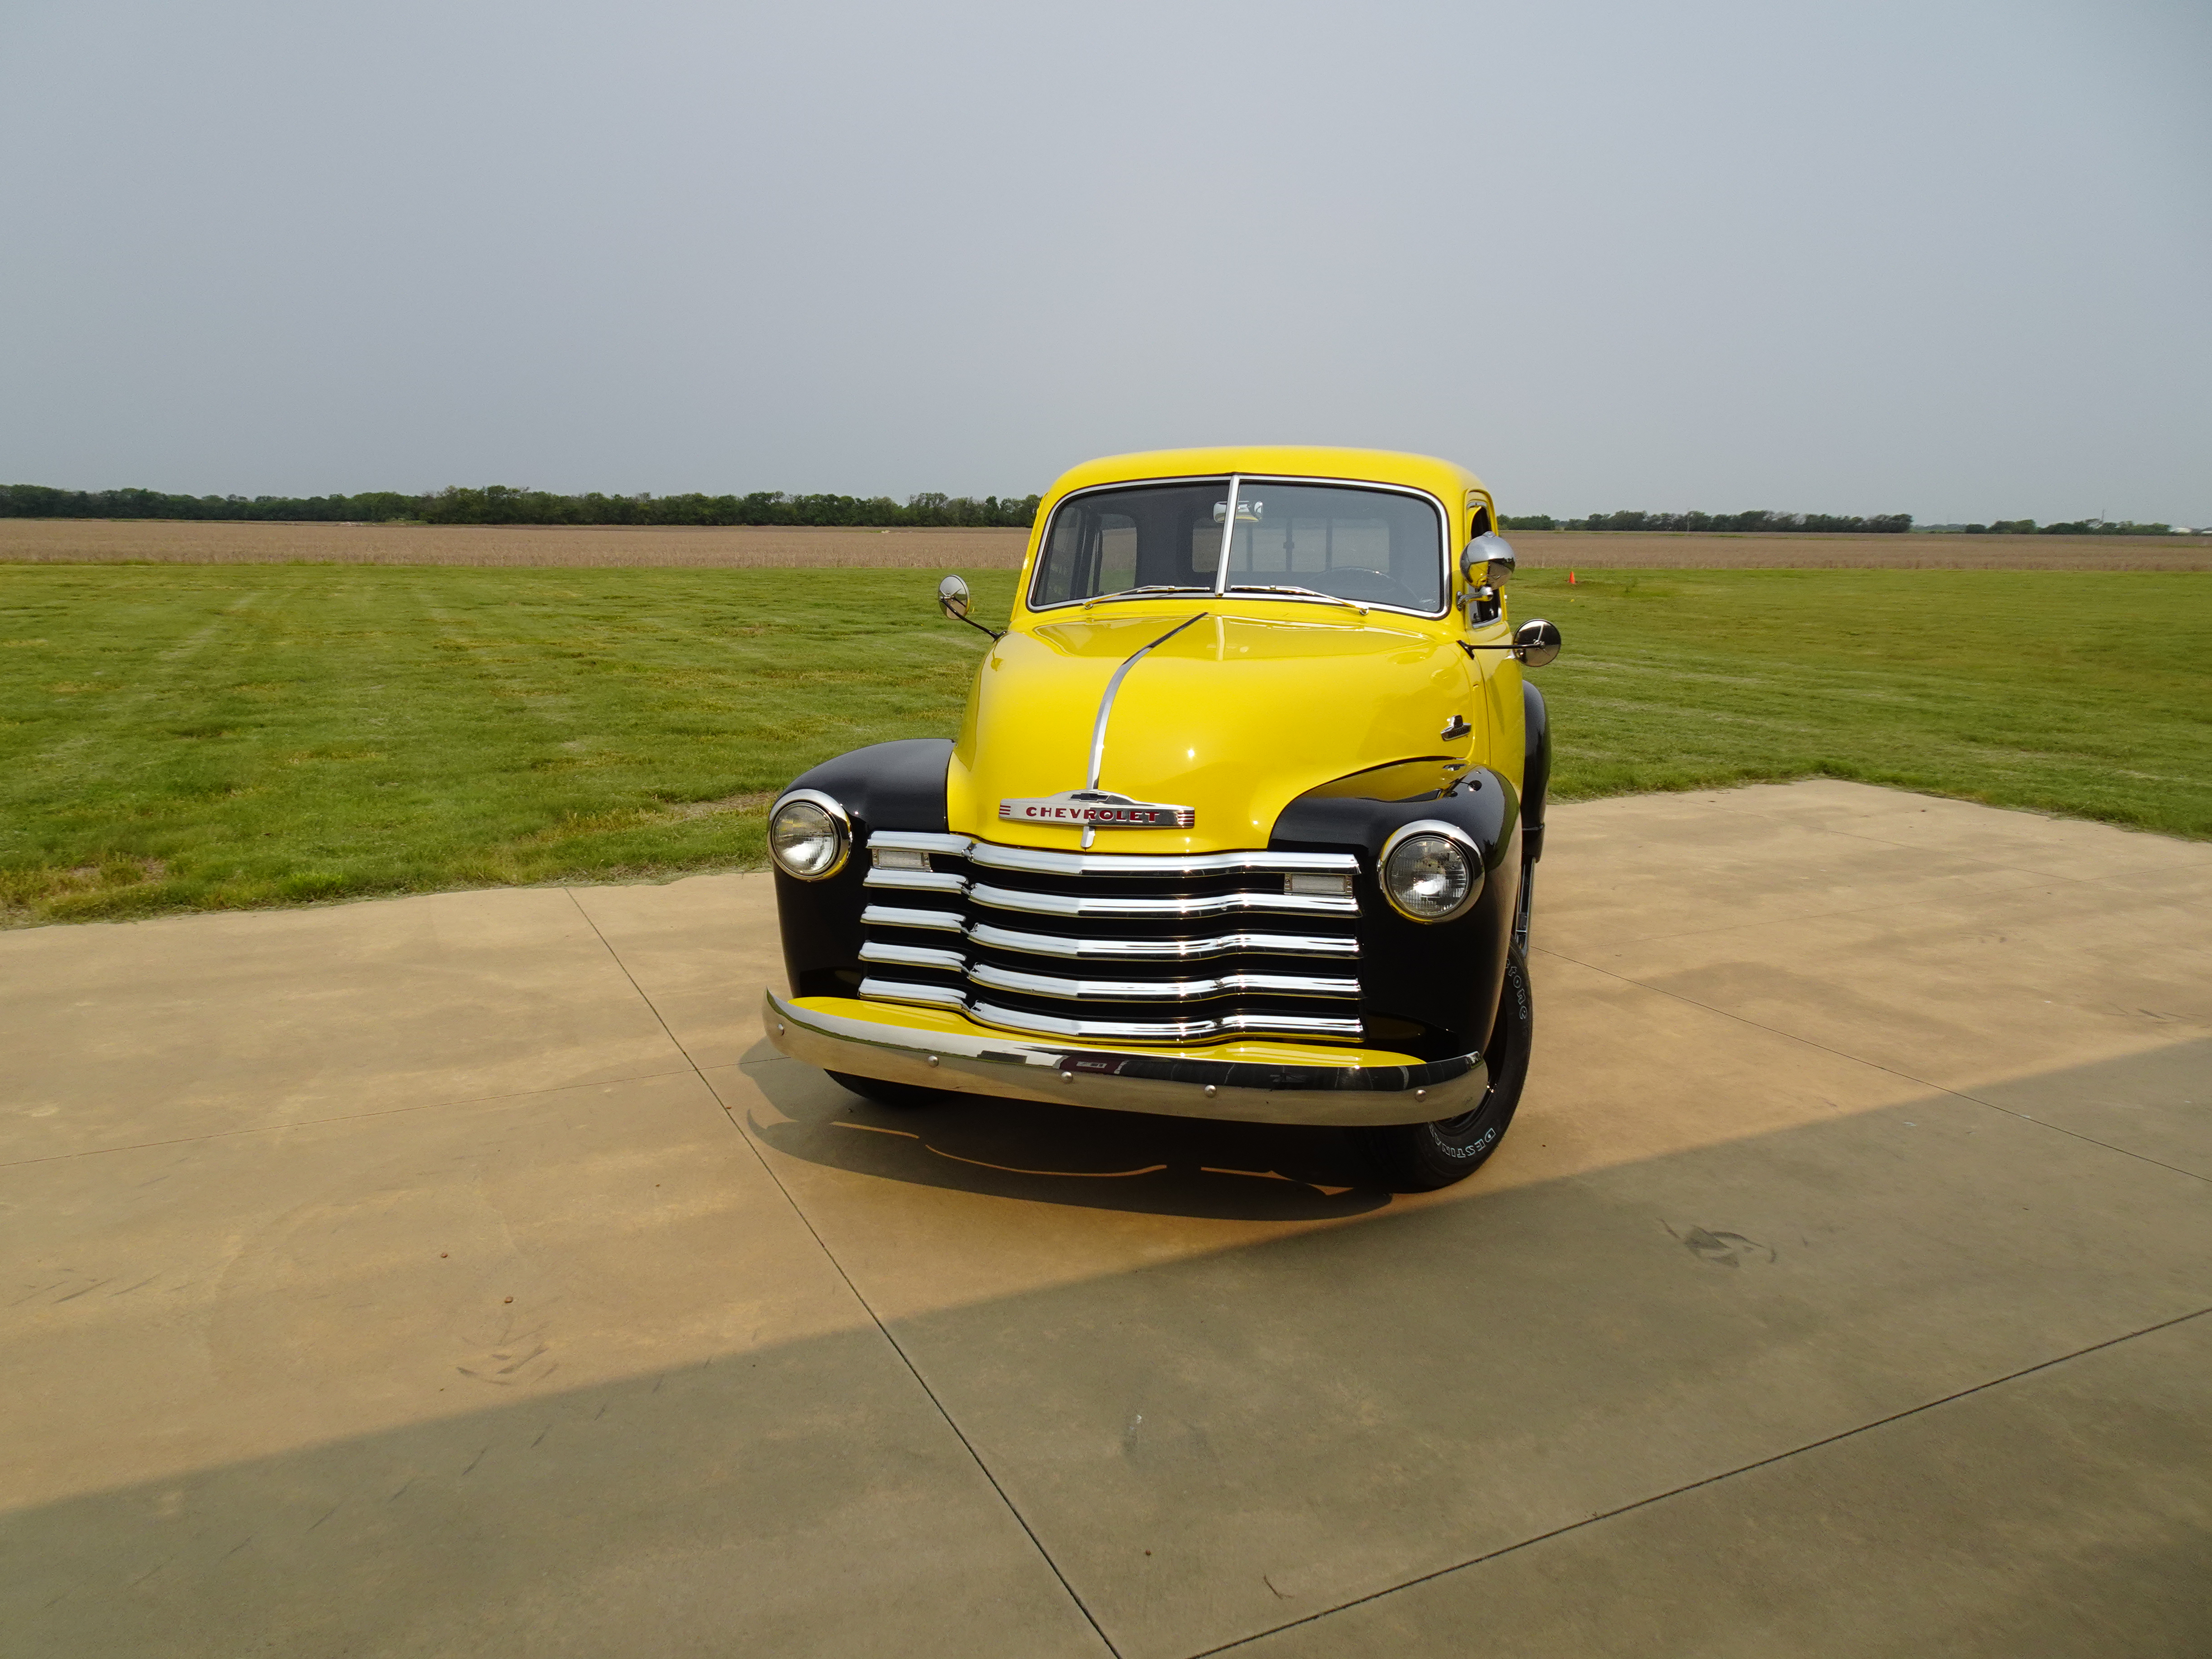
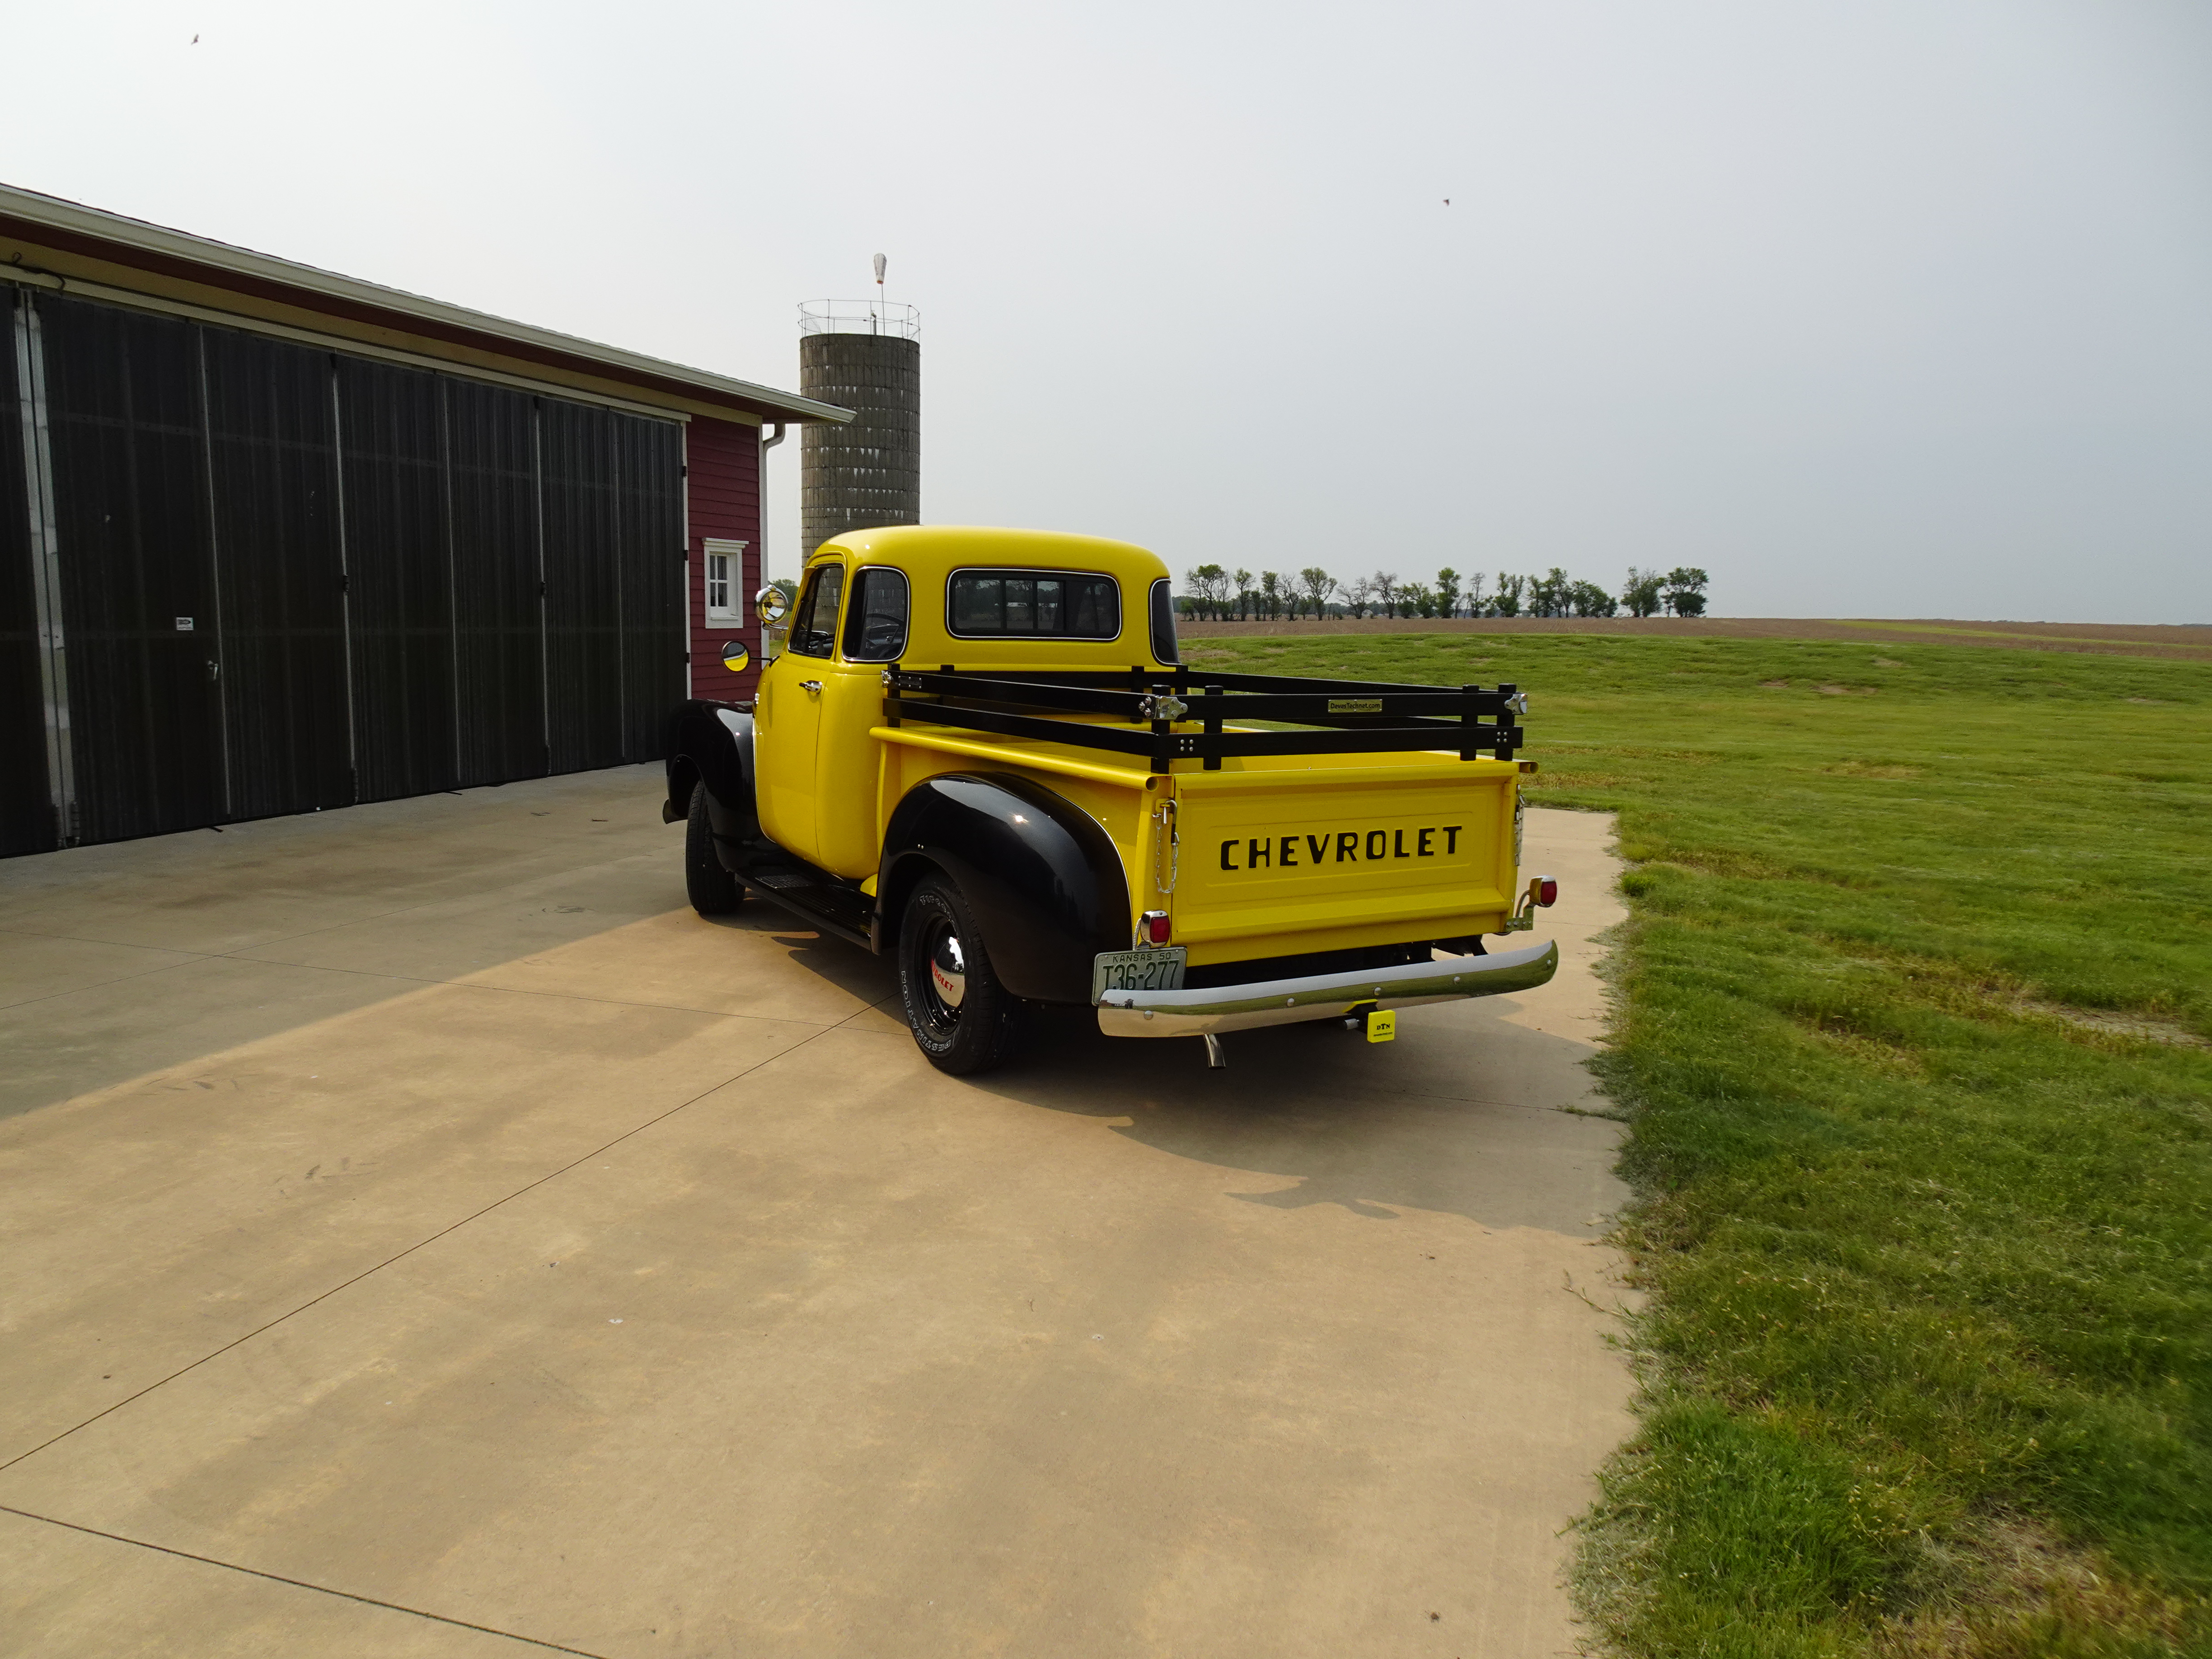
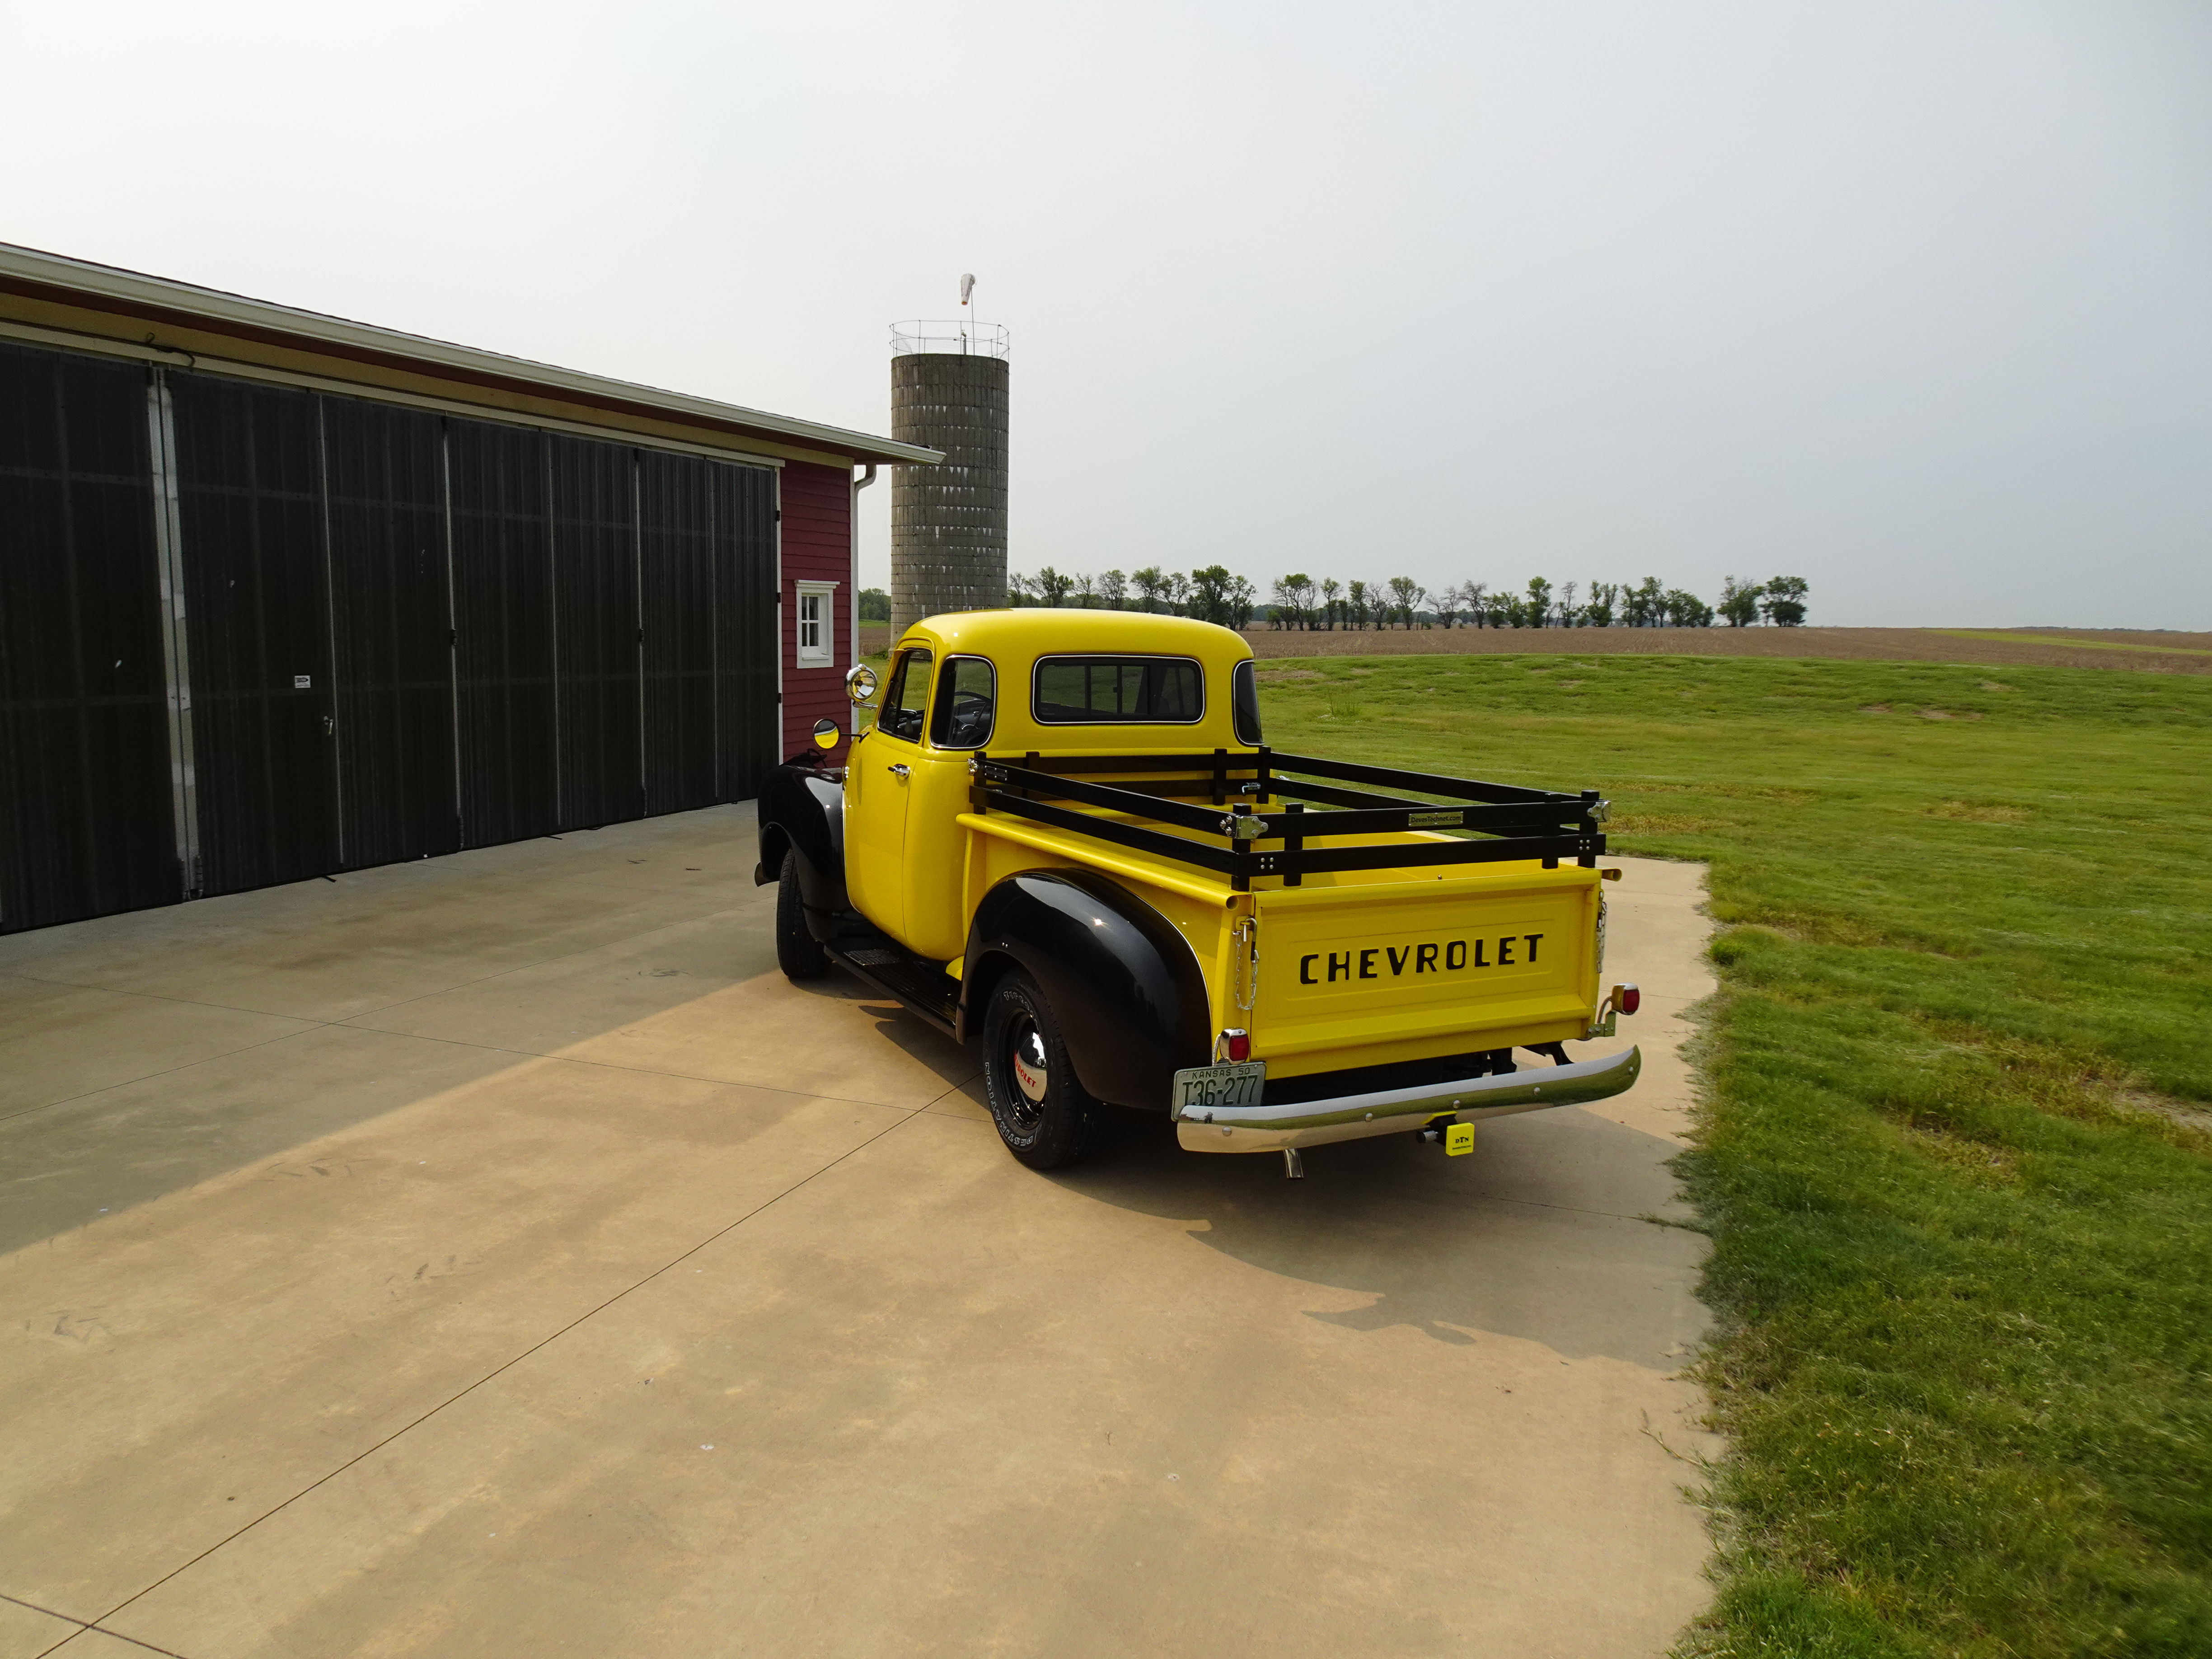
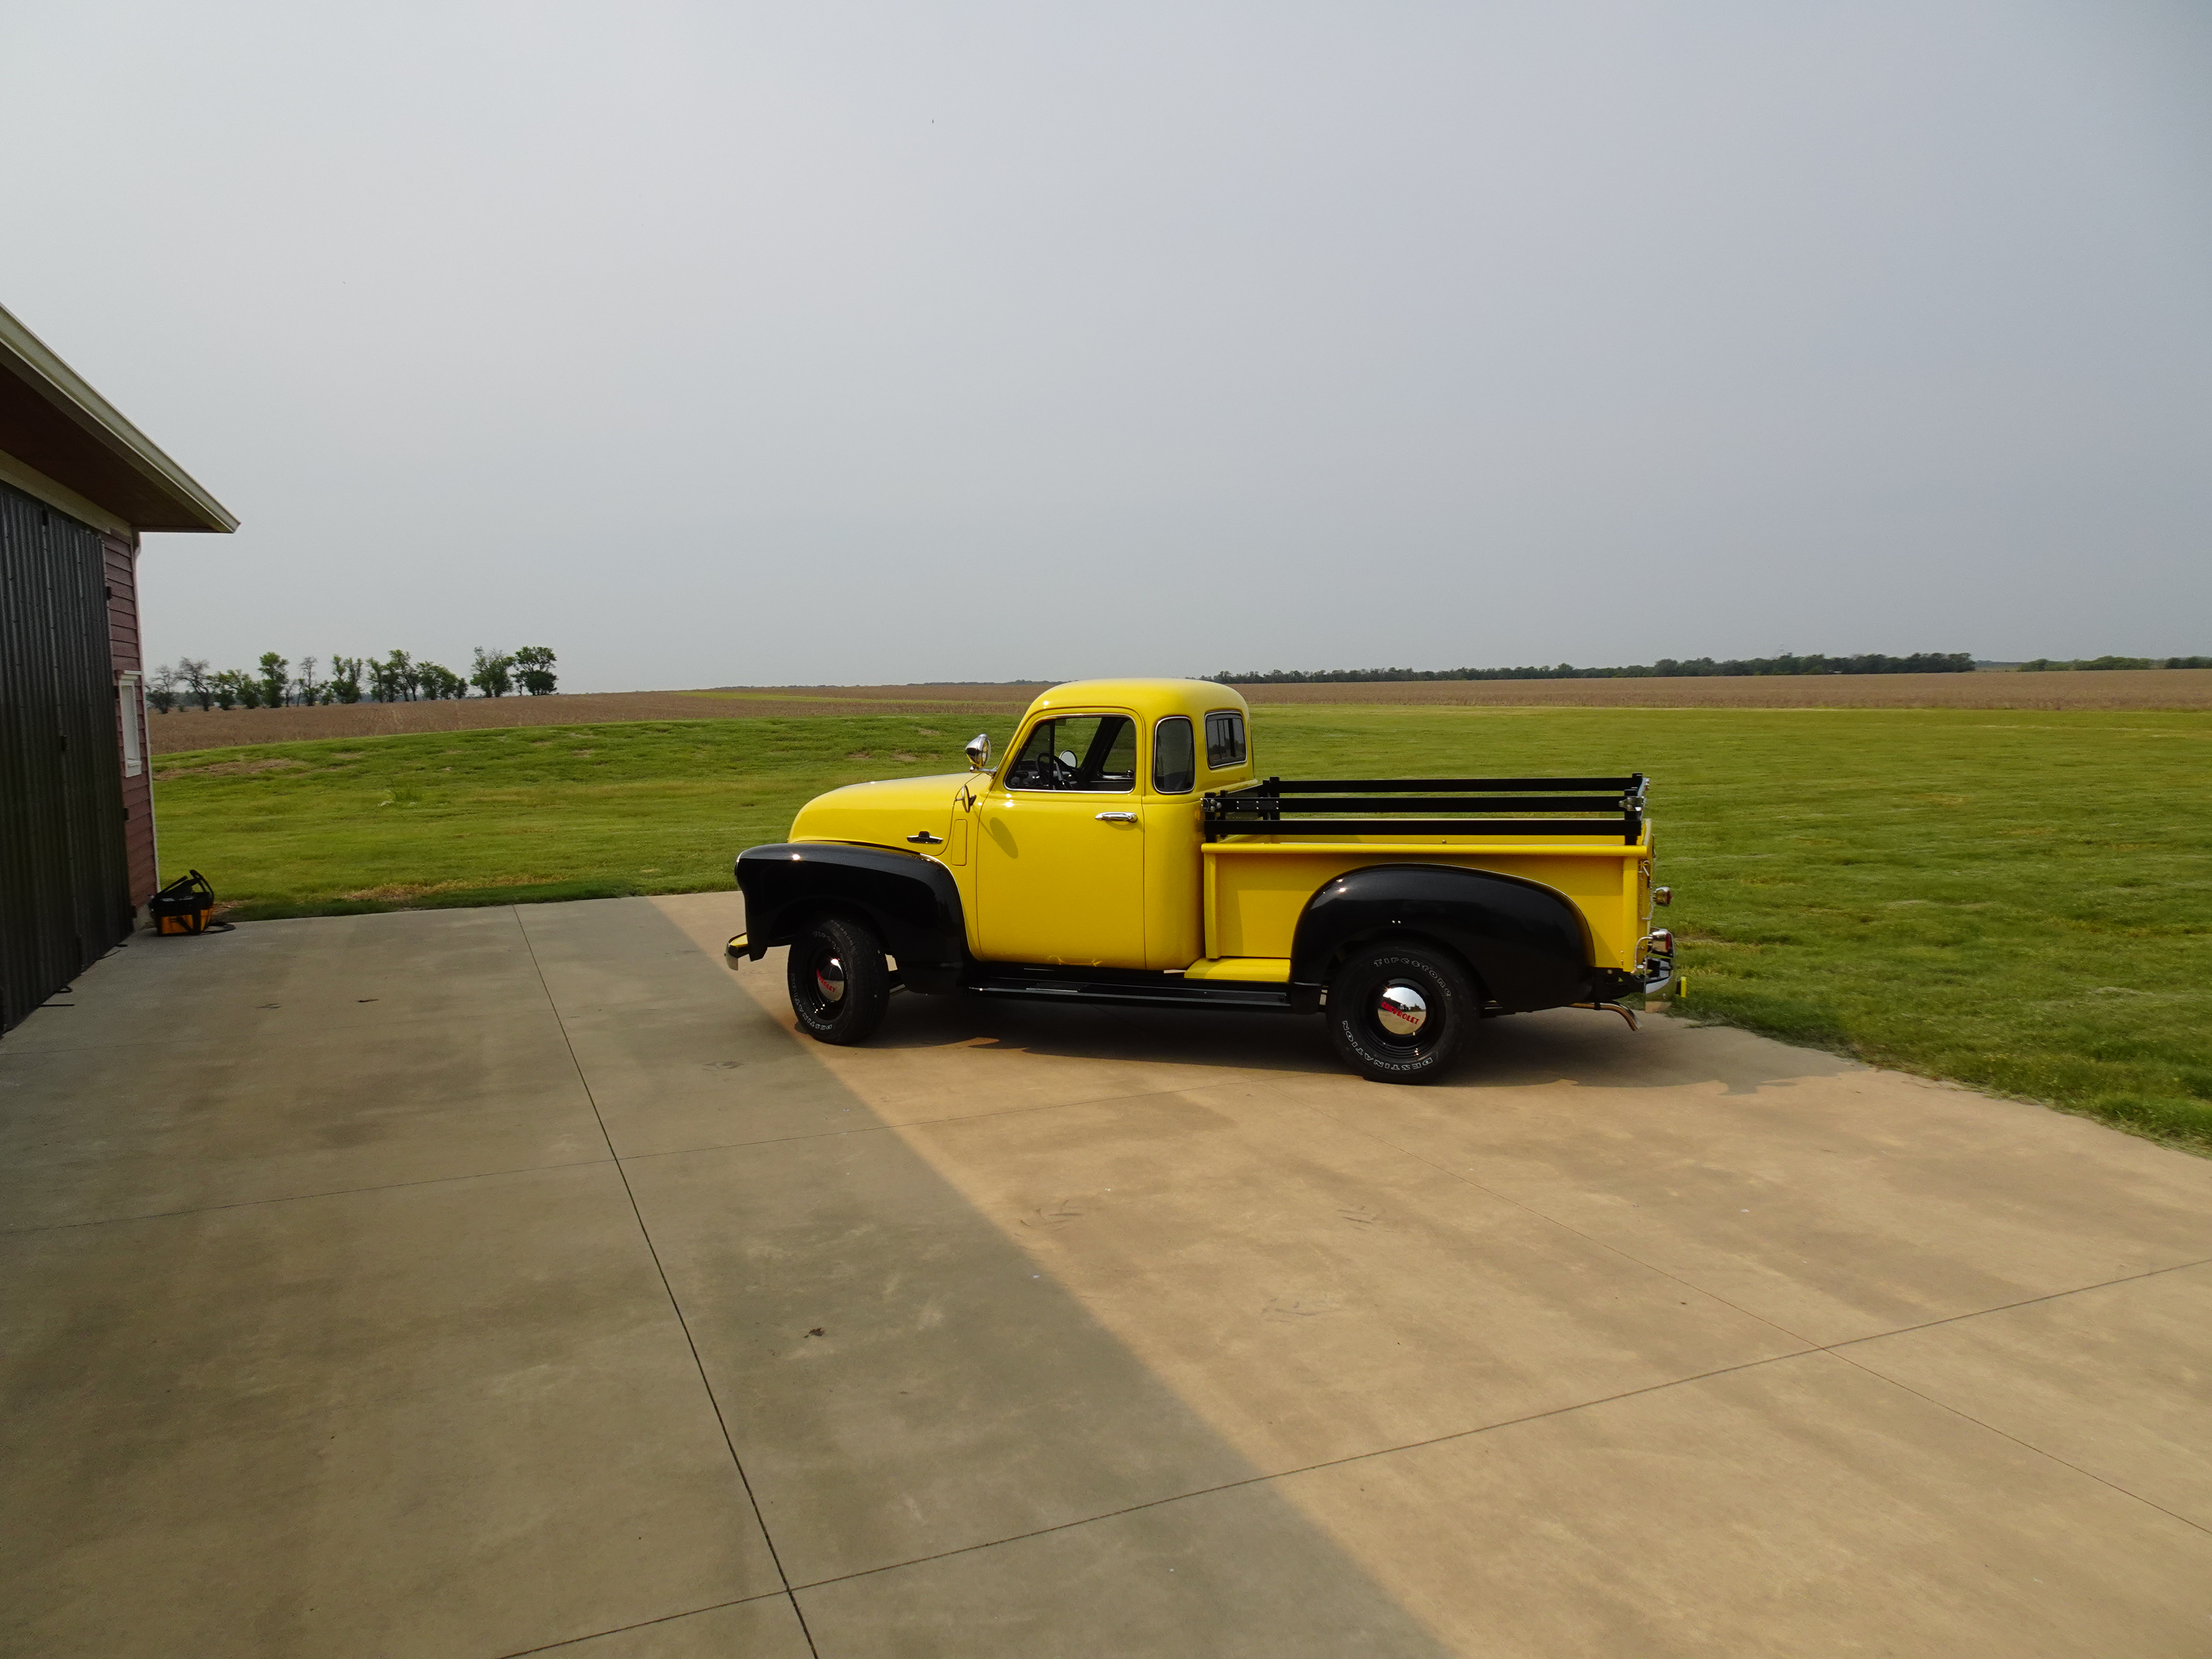
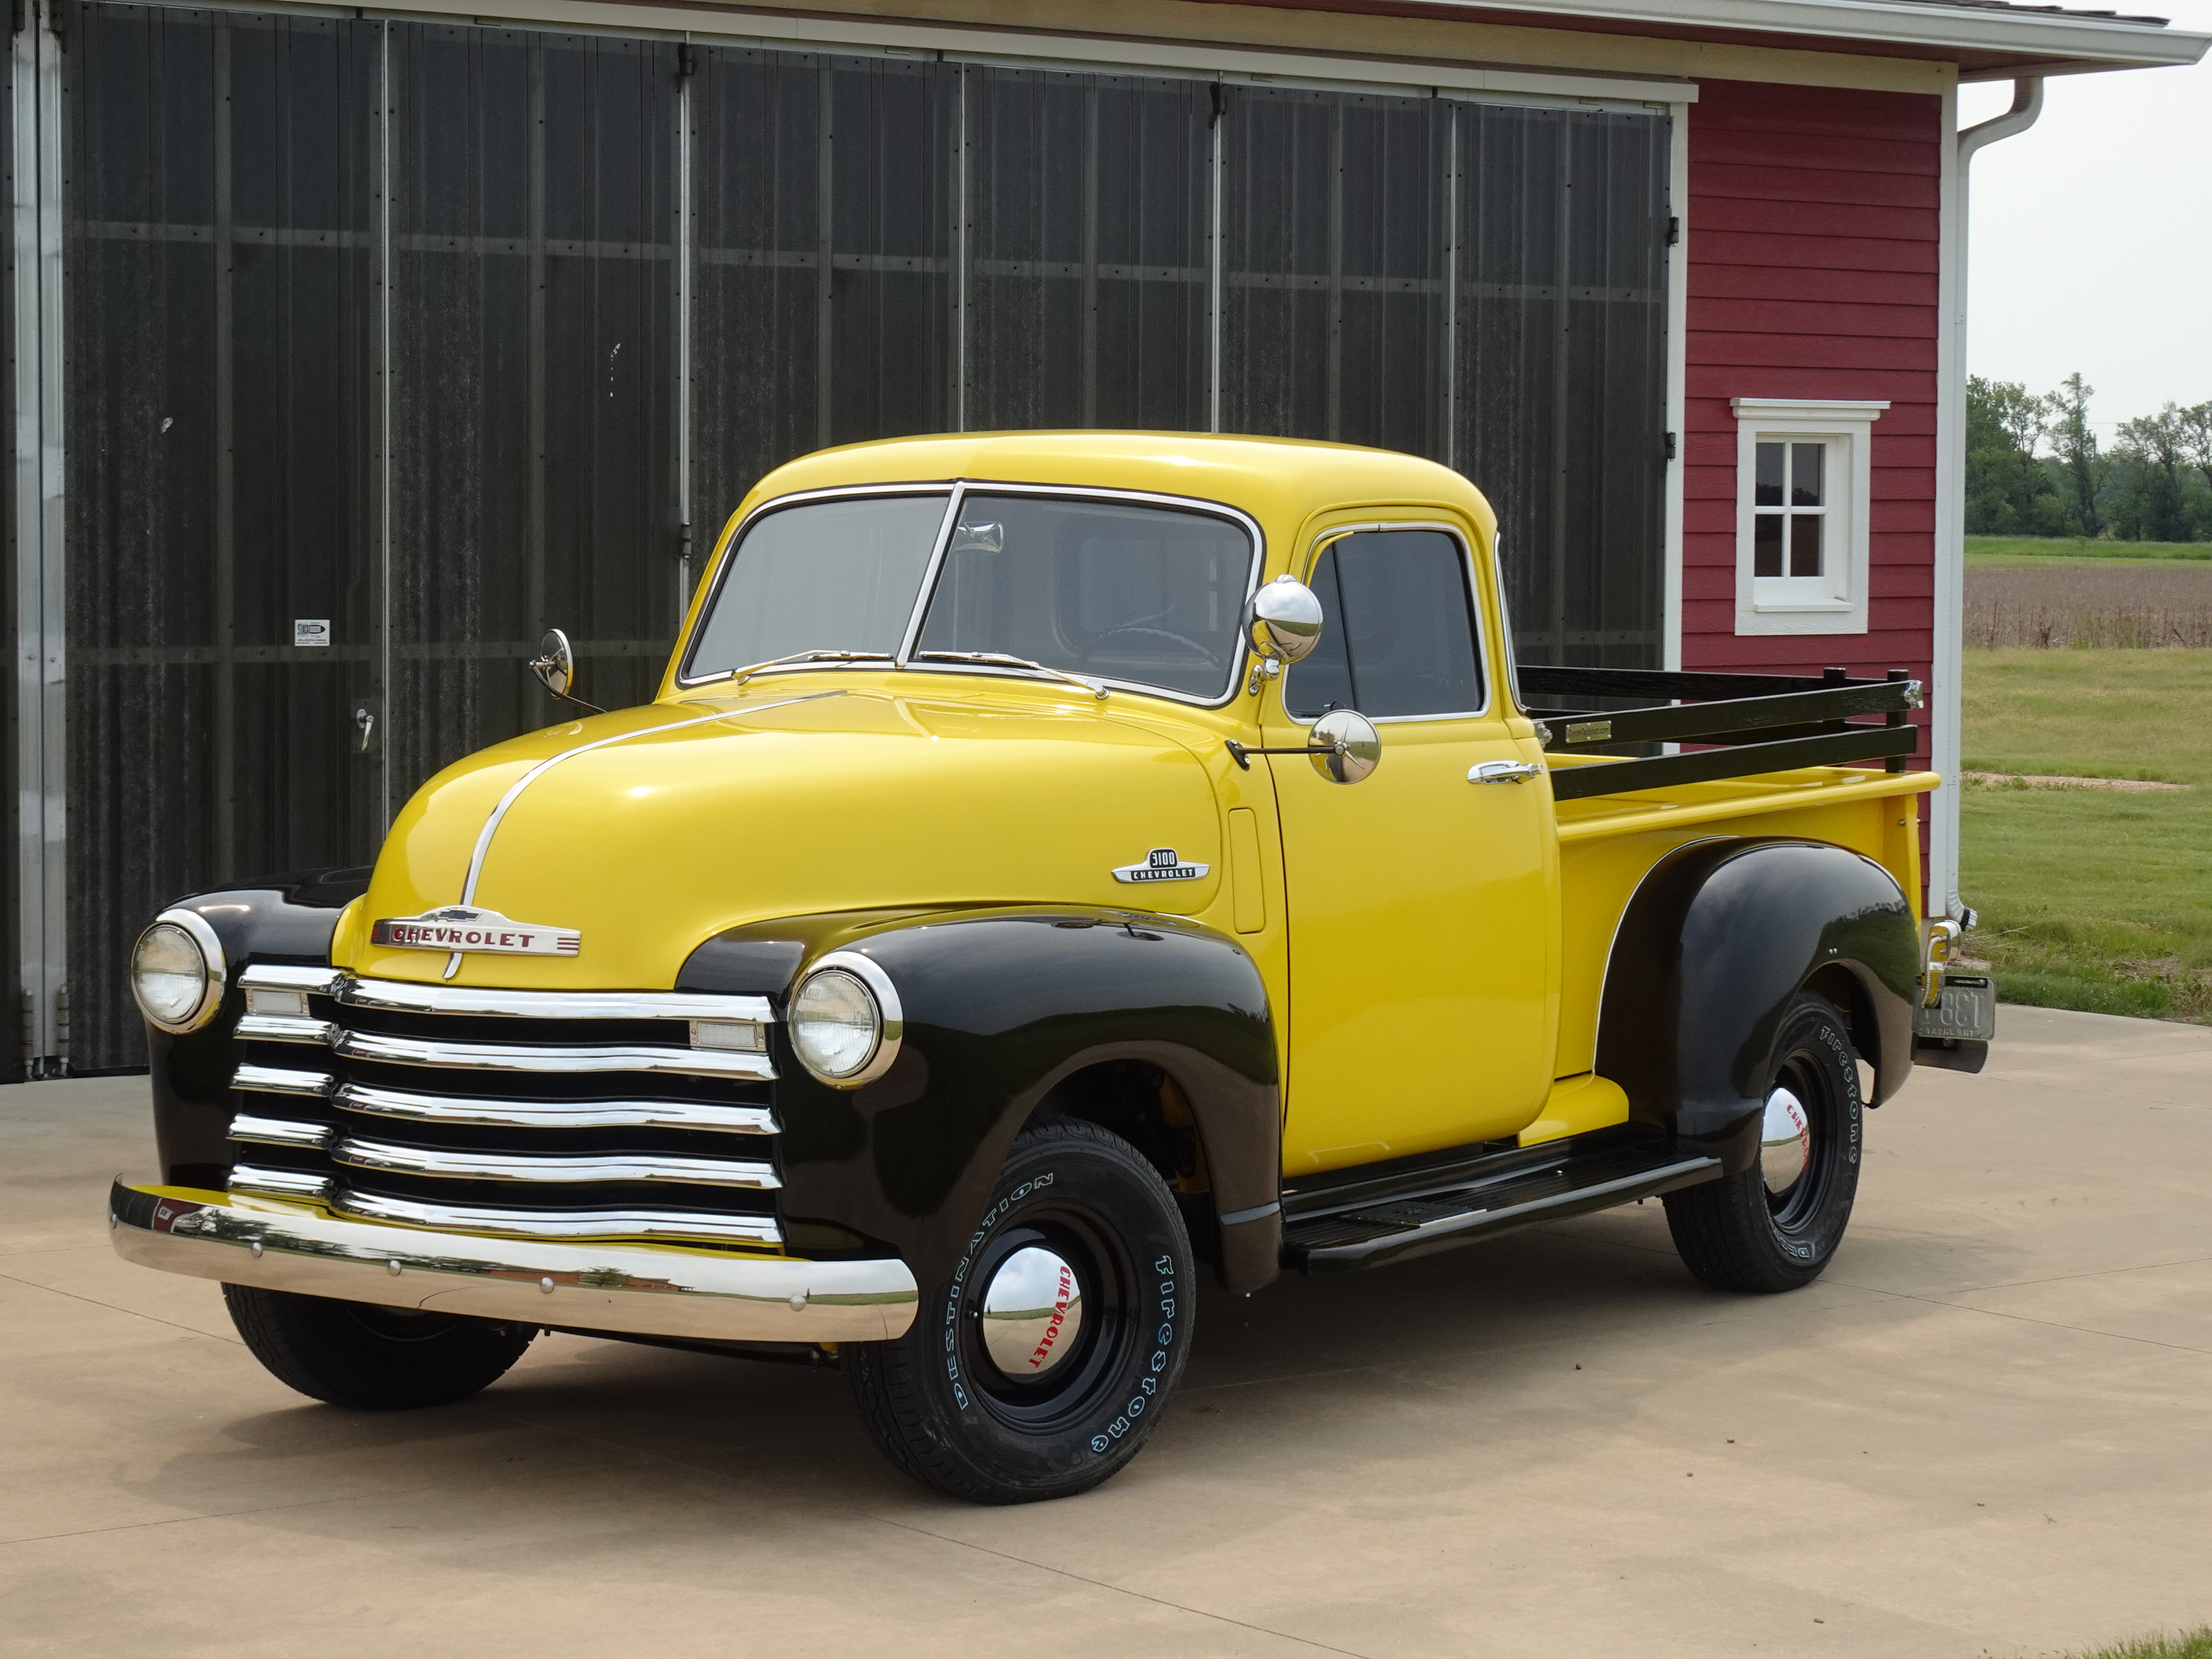
You must apply the topcoat the same day as the Sealer, so plan your day for both. I used PPG's DCC Concept (SunBlast Yellow) 4 parts with 2 parts DT870 Reducer and 1 part DCX61 Hardener. I used a 1.4 Fluid Tip. It's ready to shoot pretty much as soon as you can mix it. The Sealer requires you wait 15 minutes before applying topcoat. Hit everything the same way as you did the sealer. Once you have all of the parts coated from every possible angle, let it dry for about an hour, then very carefully remove the tape and masking paper. You want the tape off before it fully cures so it does not tear the paint off when removing. Be careful because you will get fingerprints in your paint at this stage. Do not touch the new paint when removing the tape.
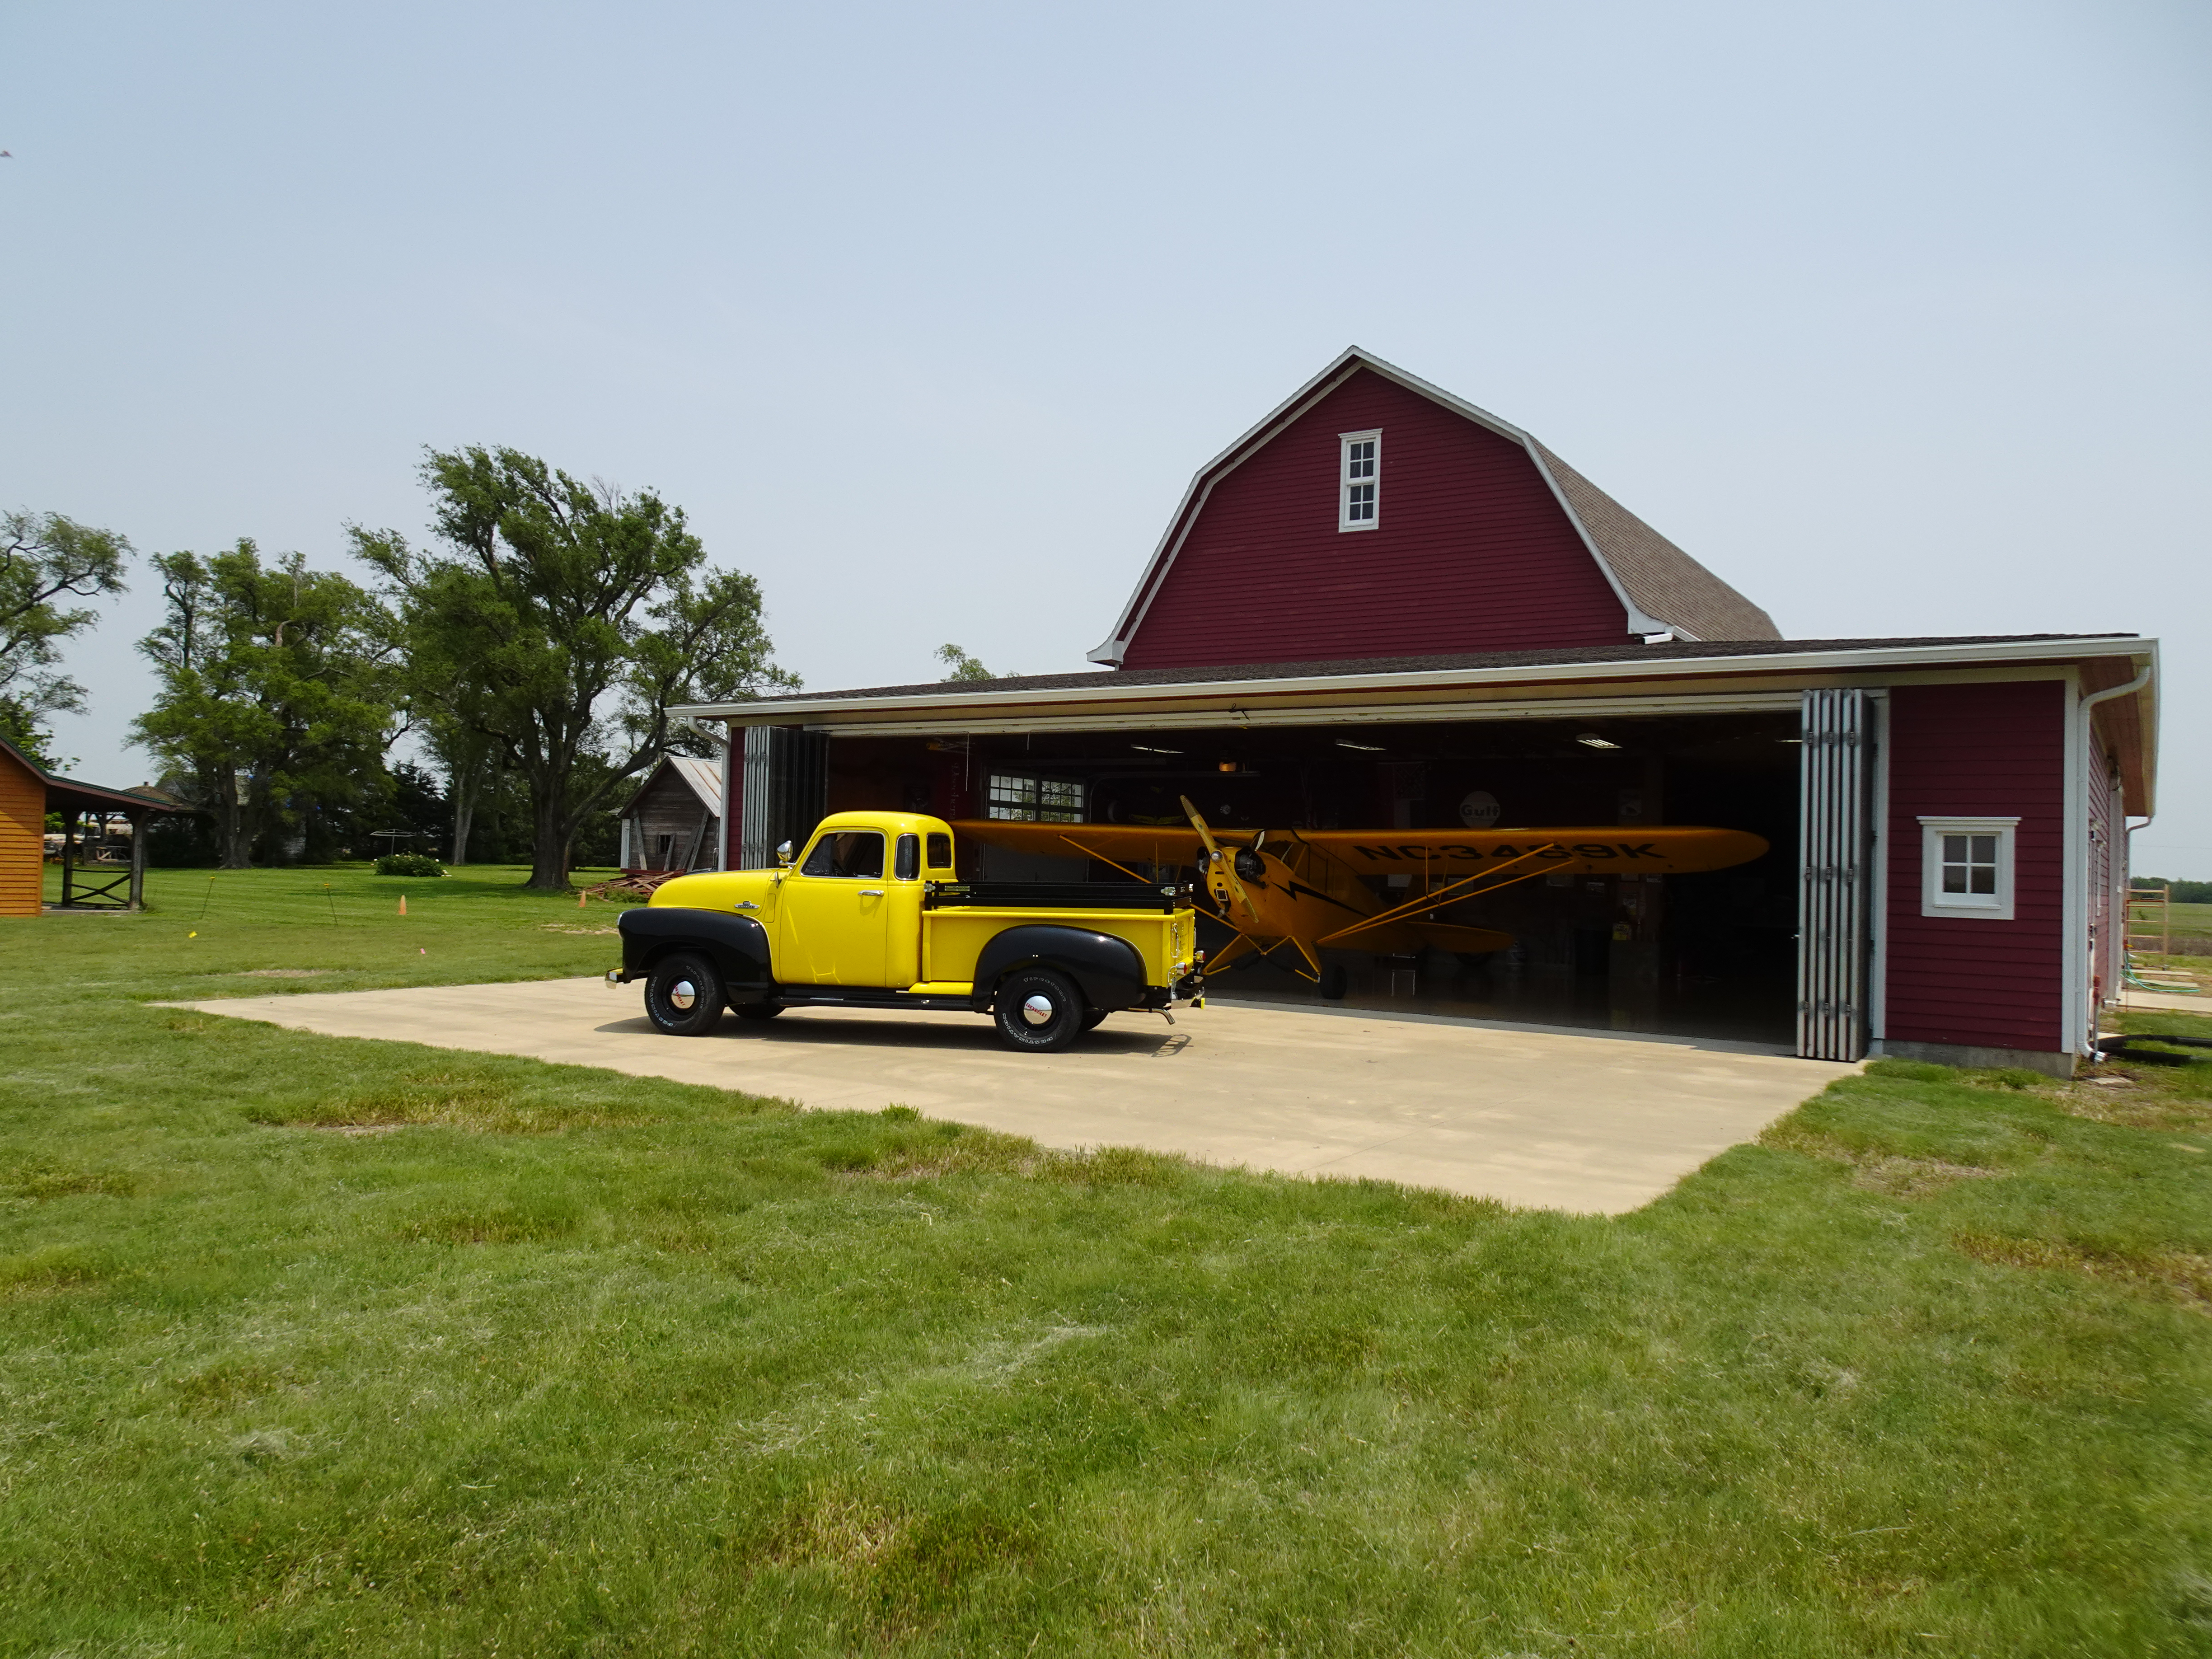
This more or less takes us up to present day (05-30-2015). With the web site programming, creating all of the How-To's of everything, I am keeping pretty busy and having fun doing it. If you have any questions, or comments, contact me! I will add more detail to the content of this page as I can. There is a lot more to the story!
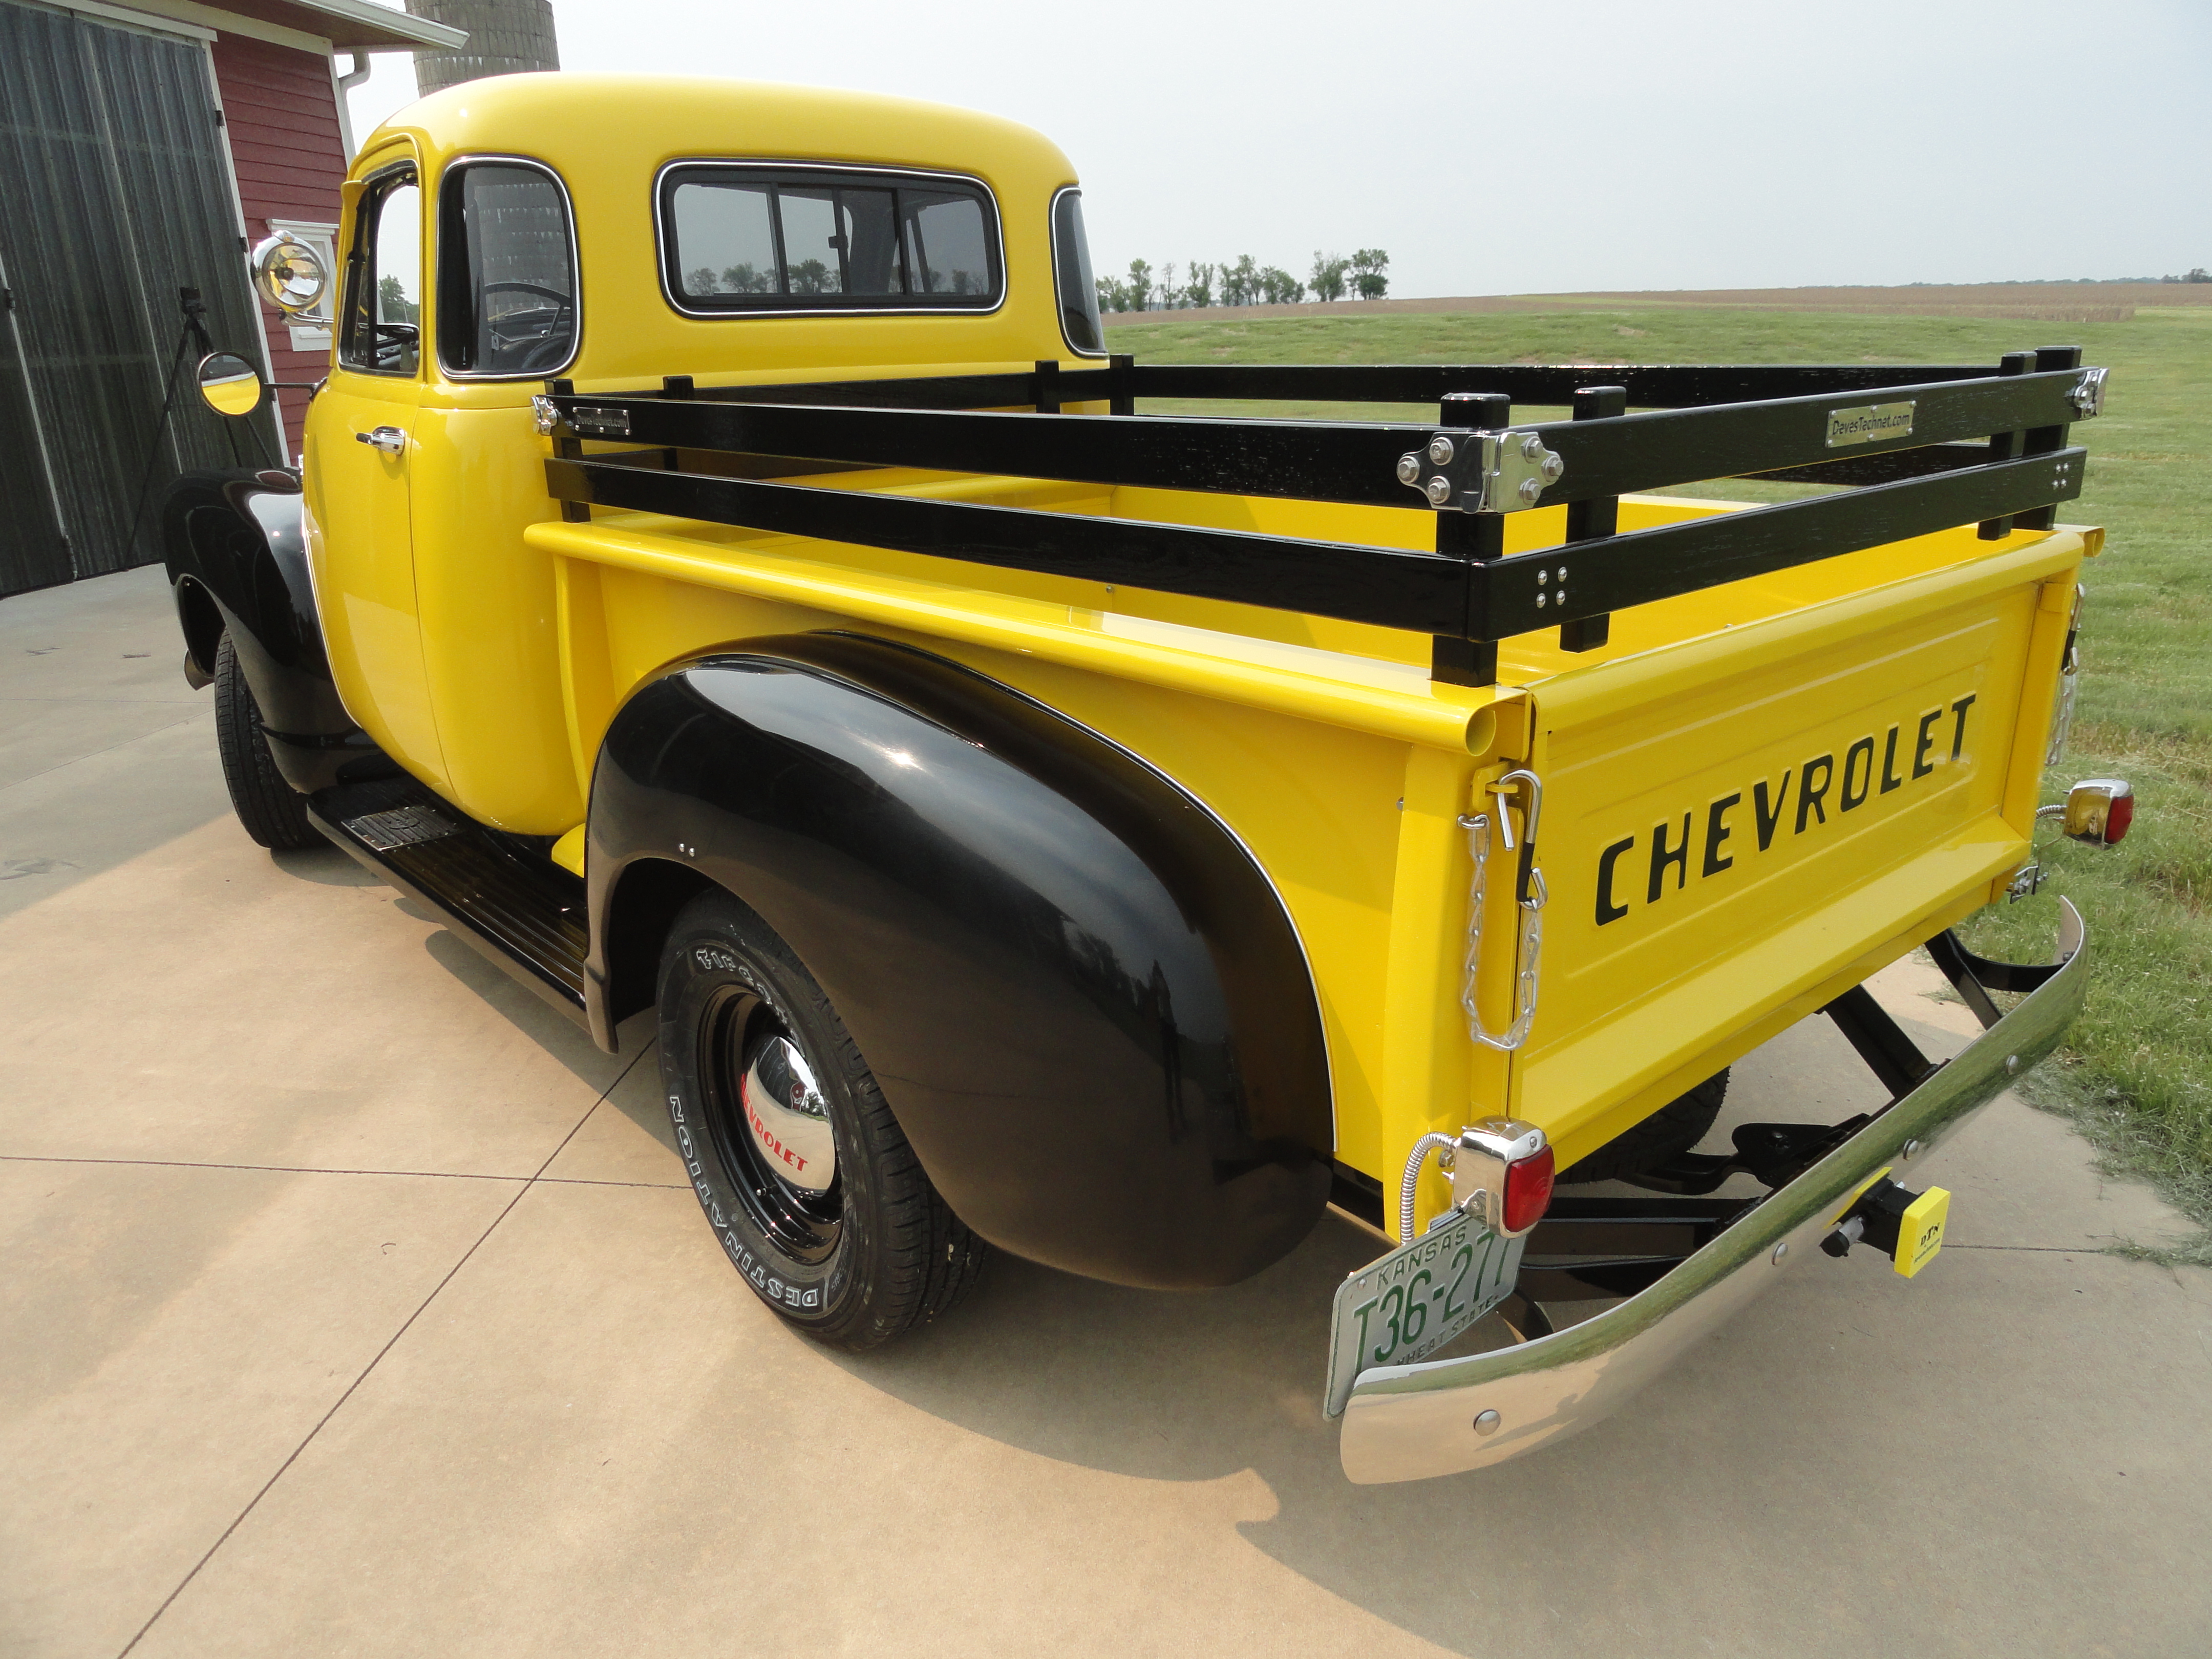
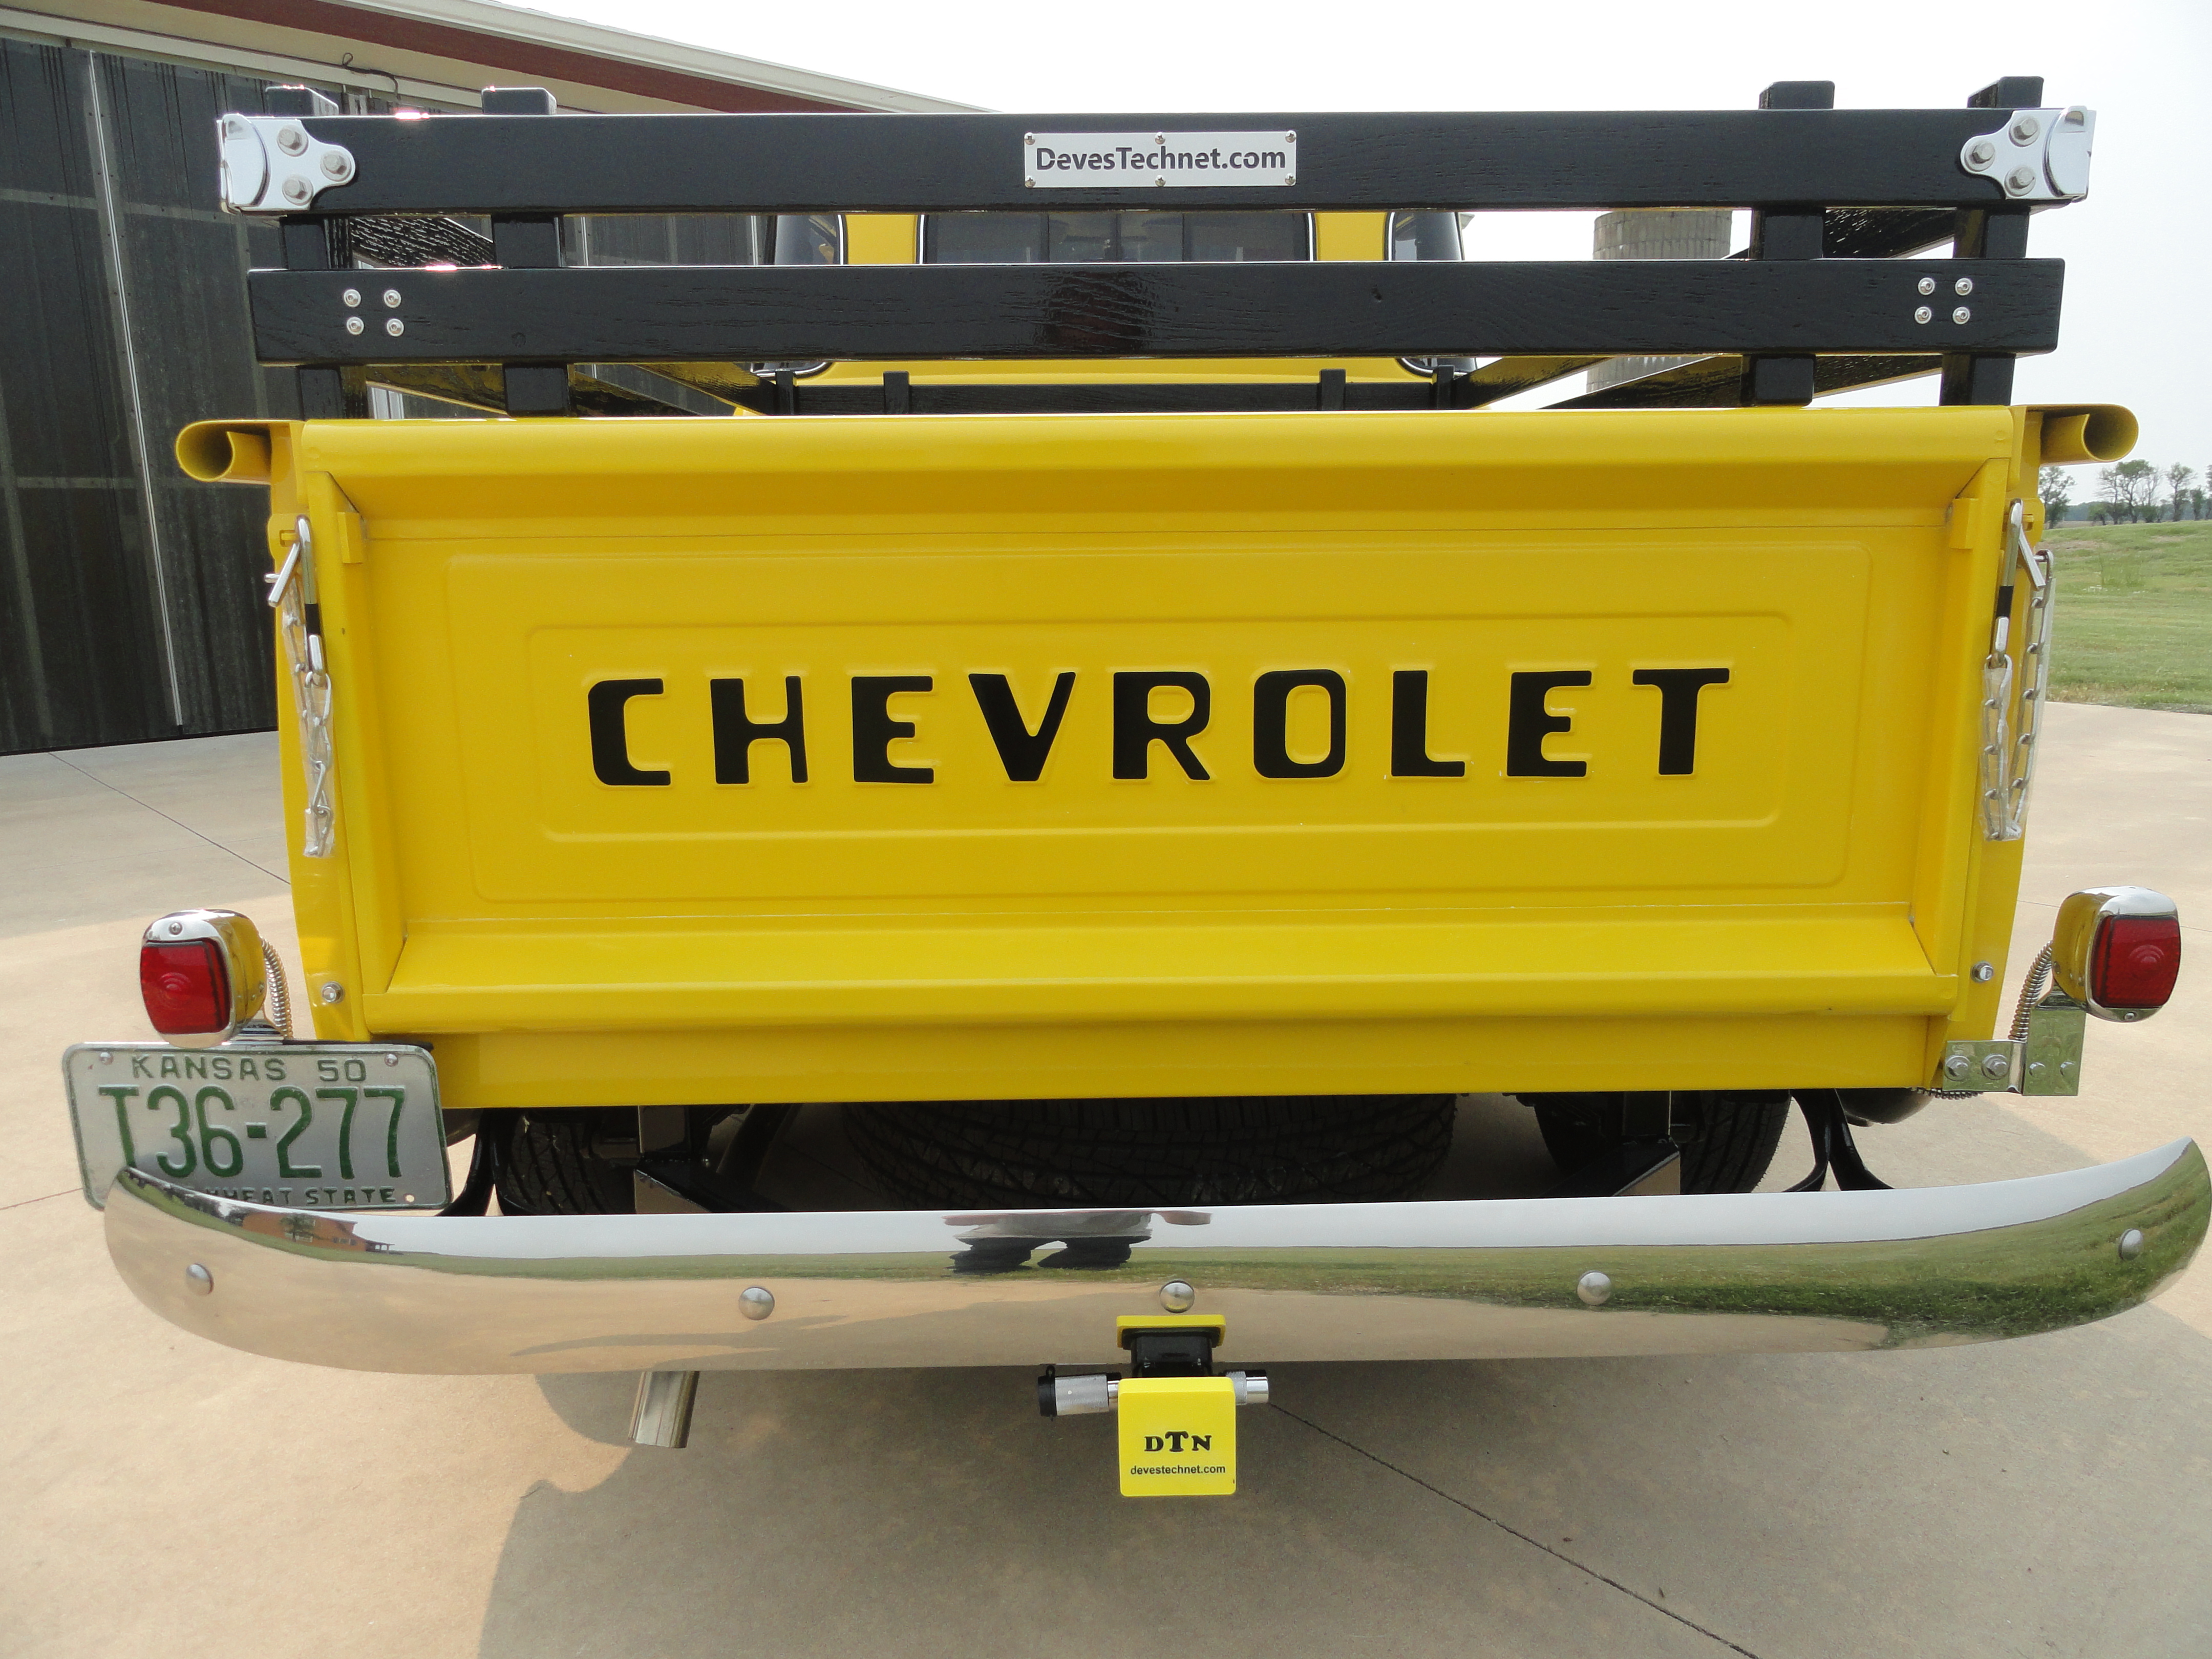
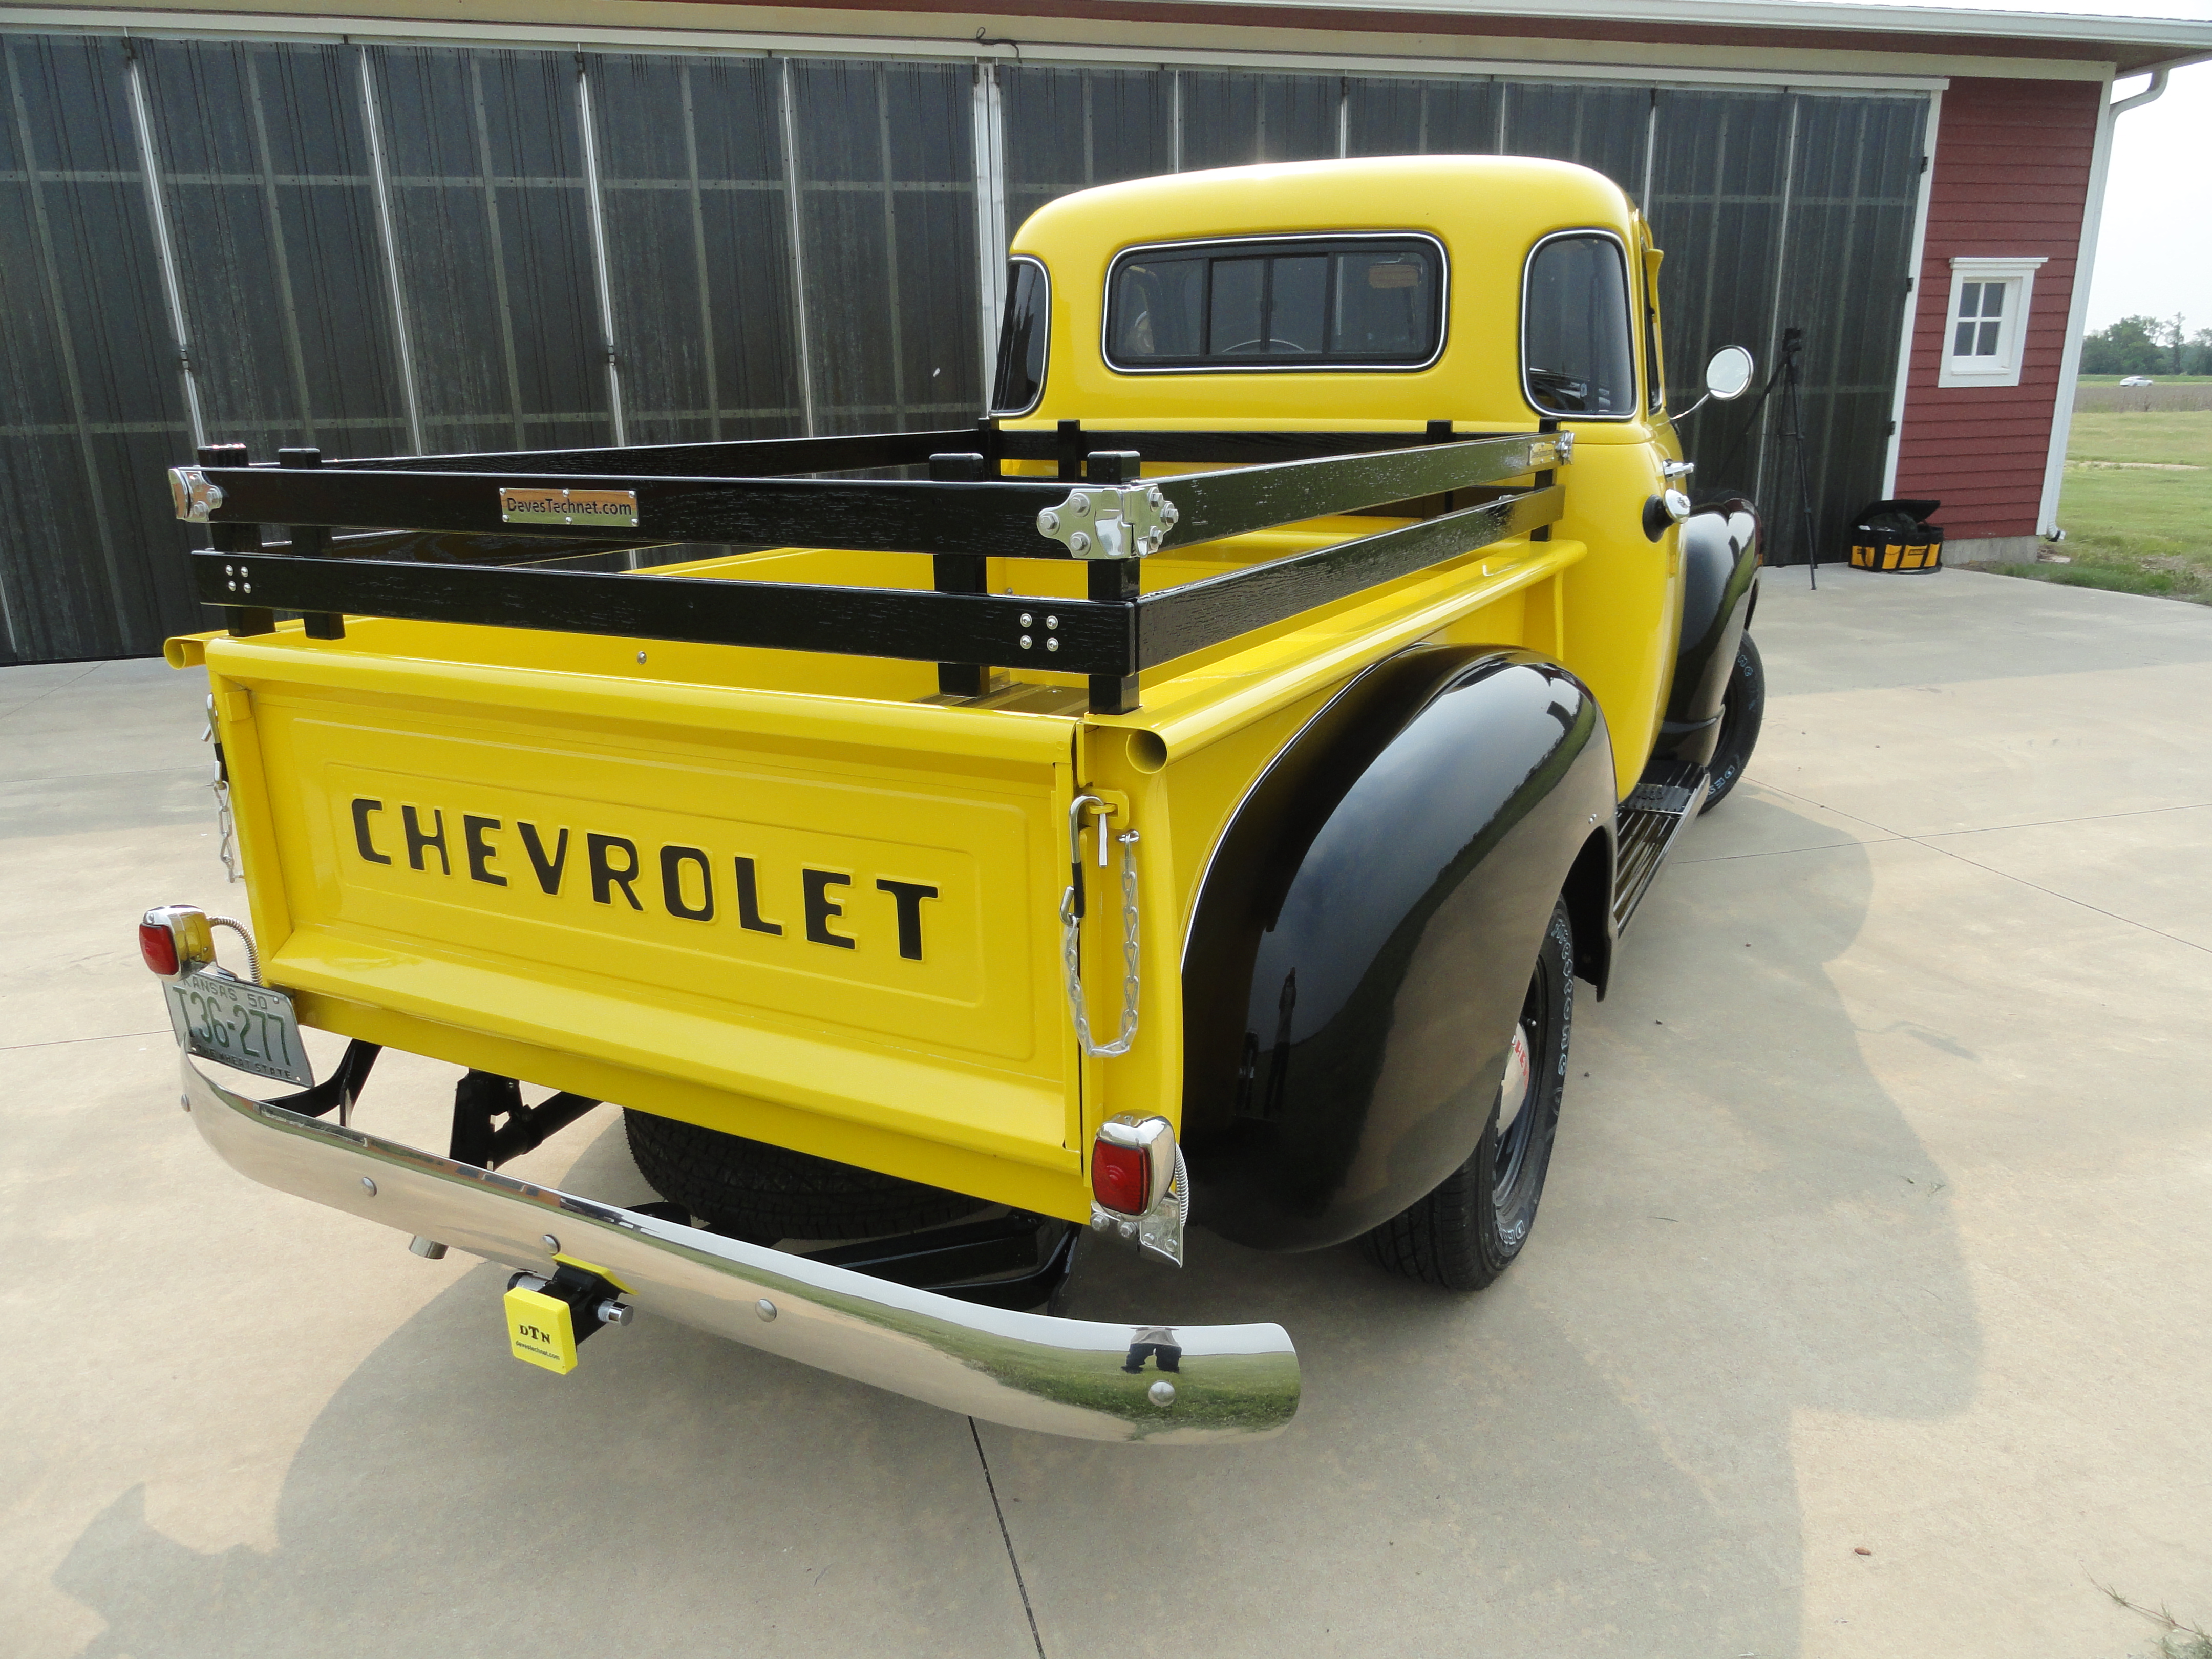
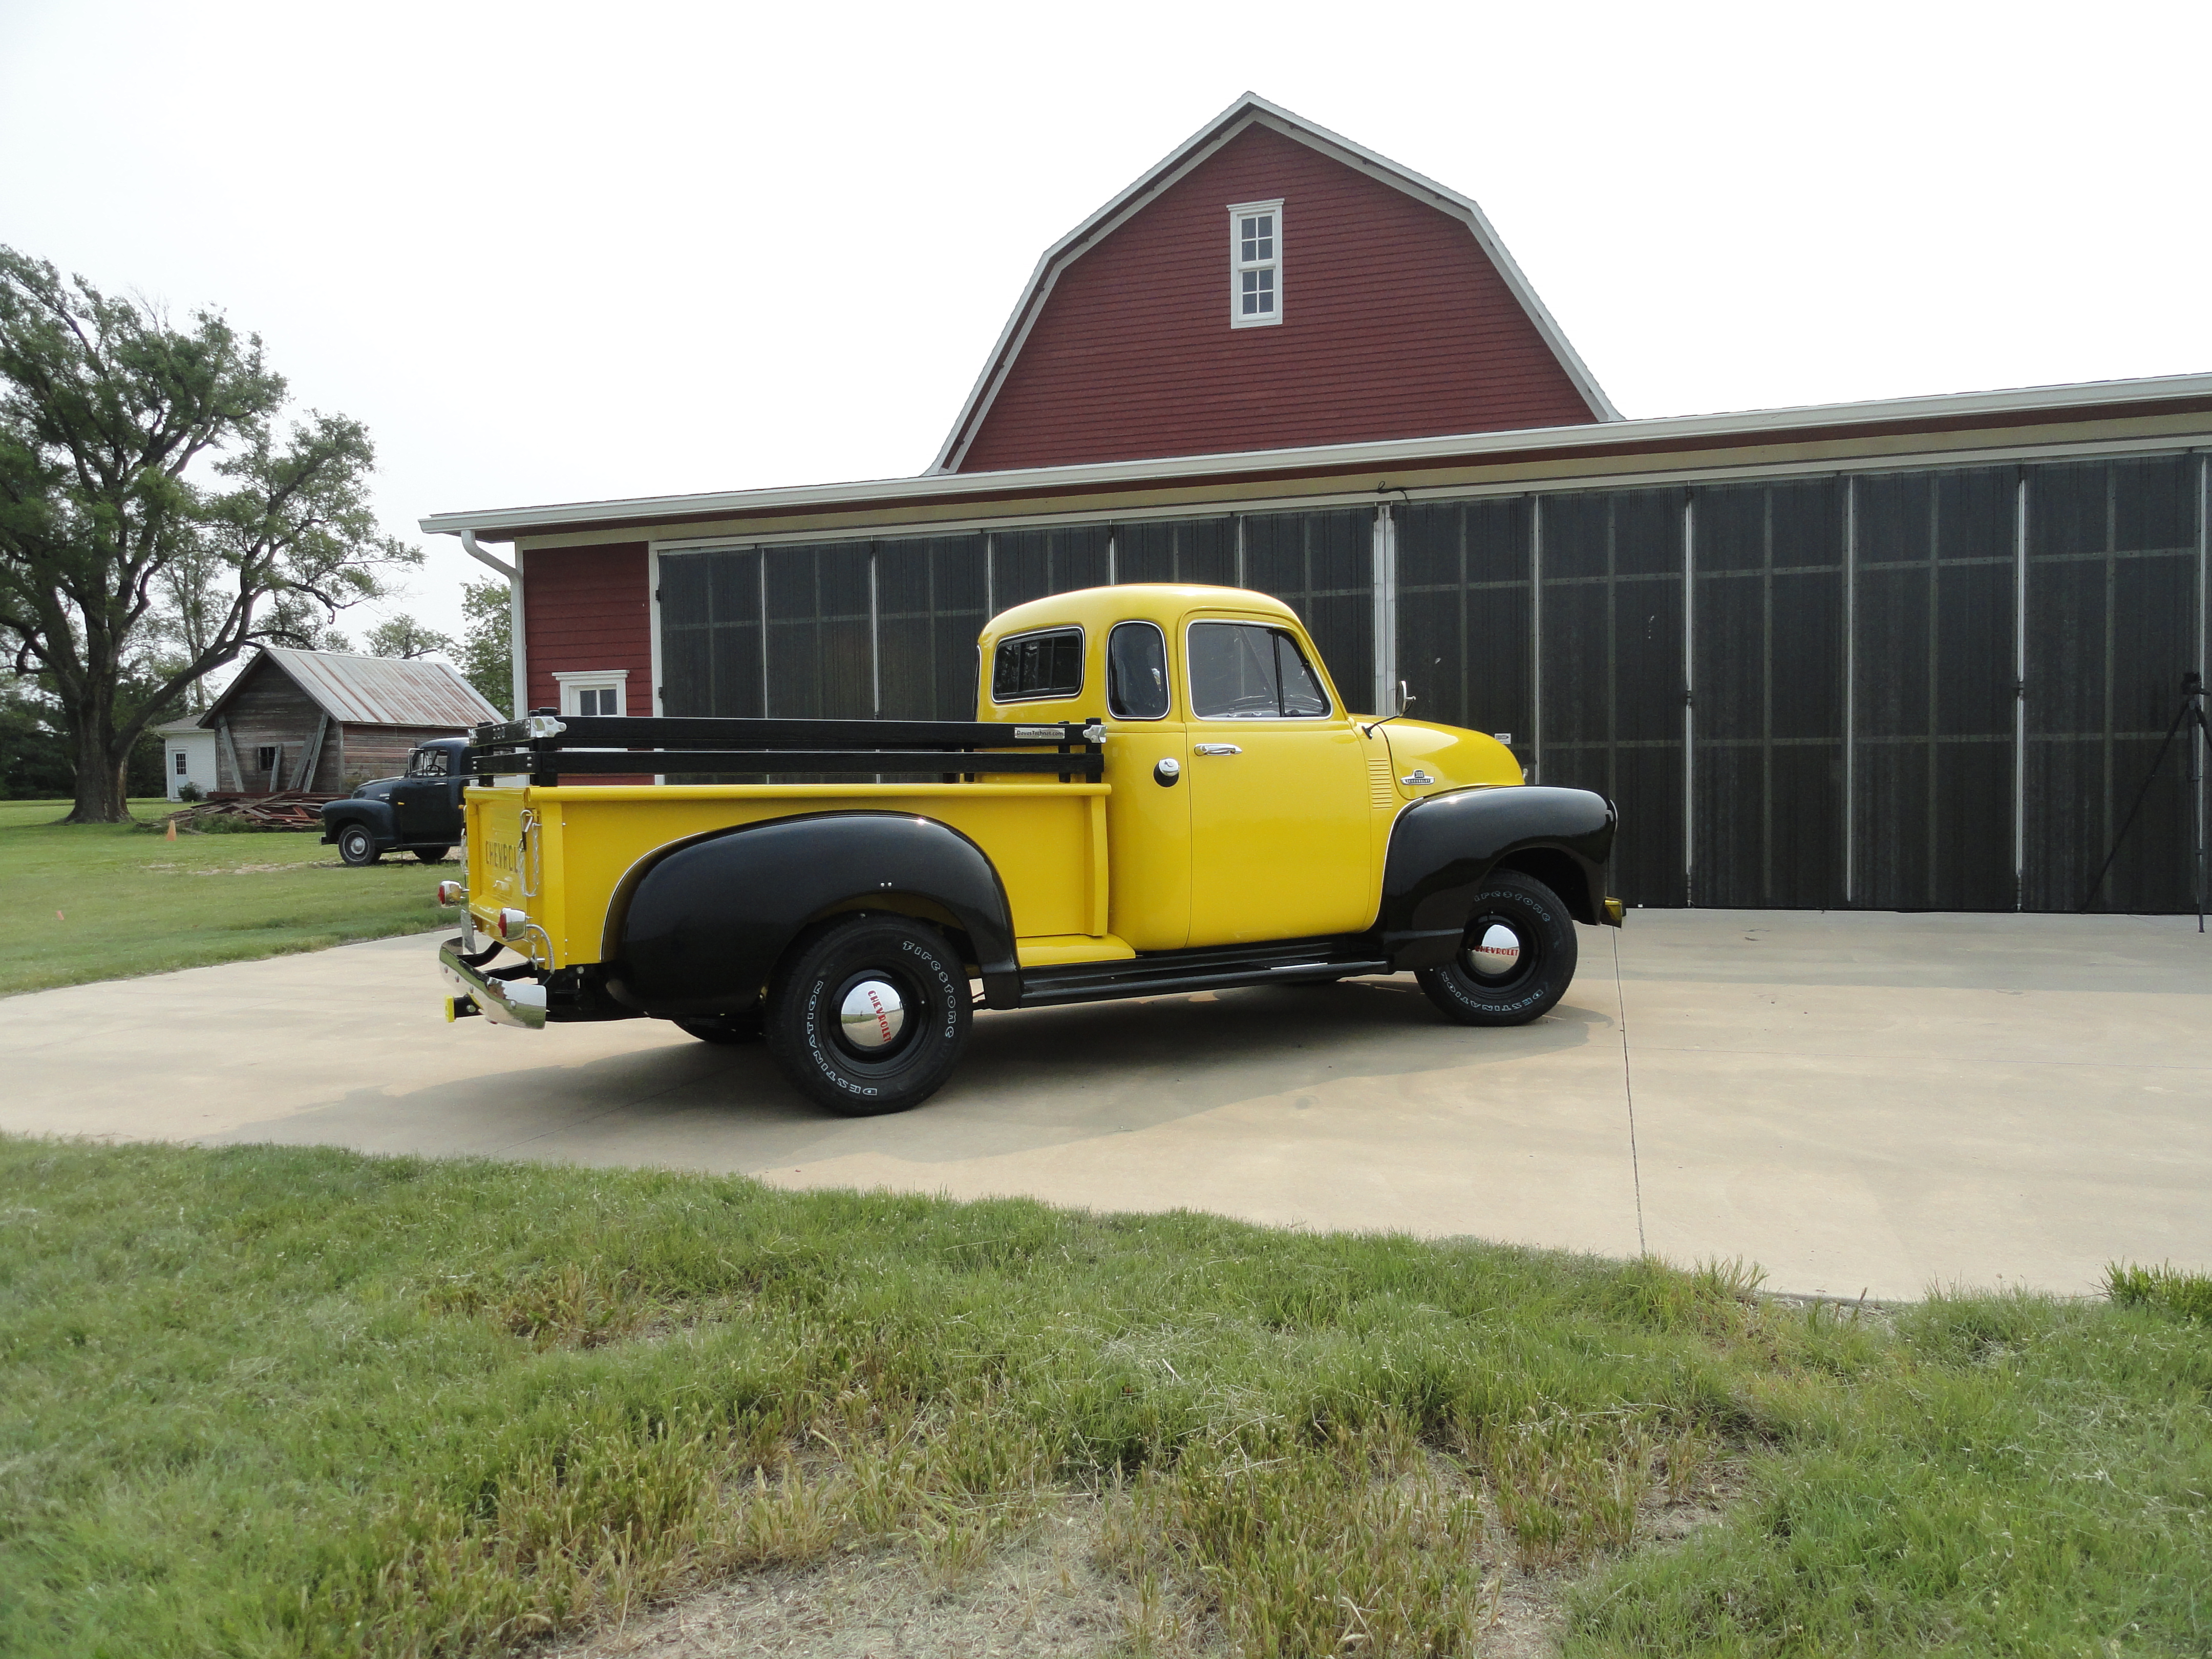
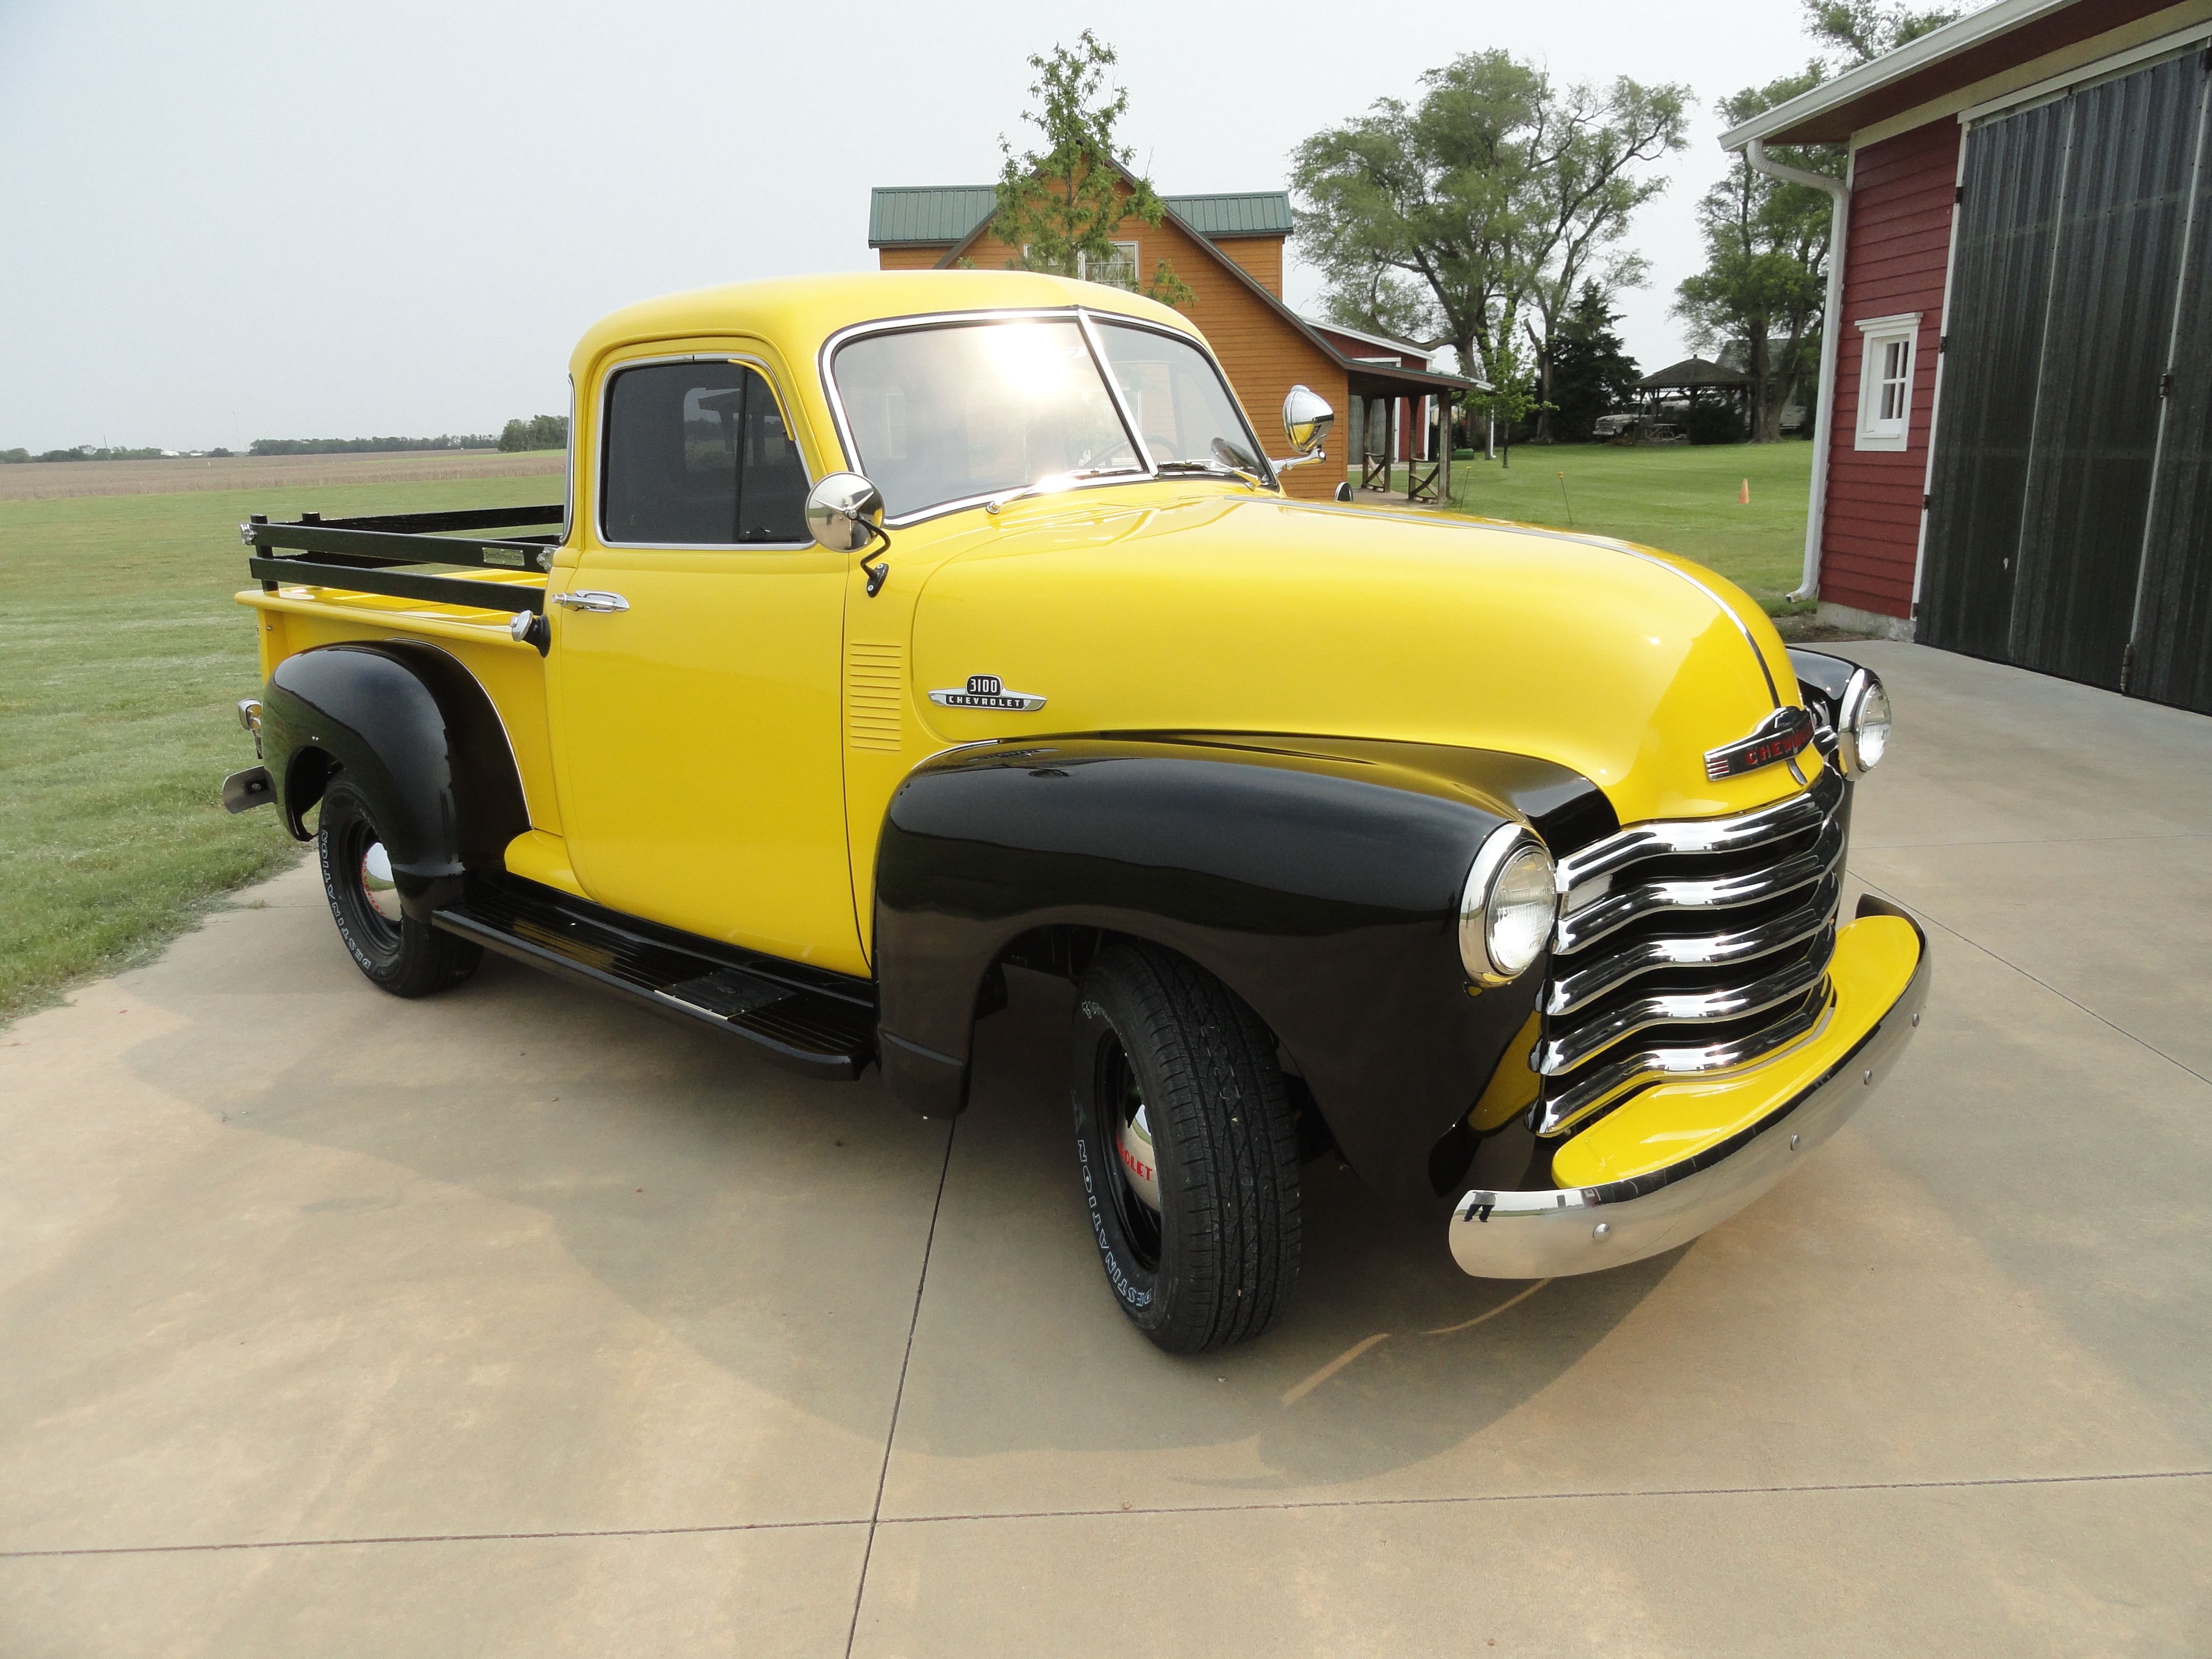
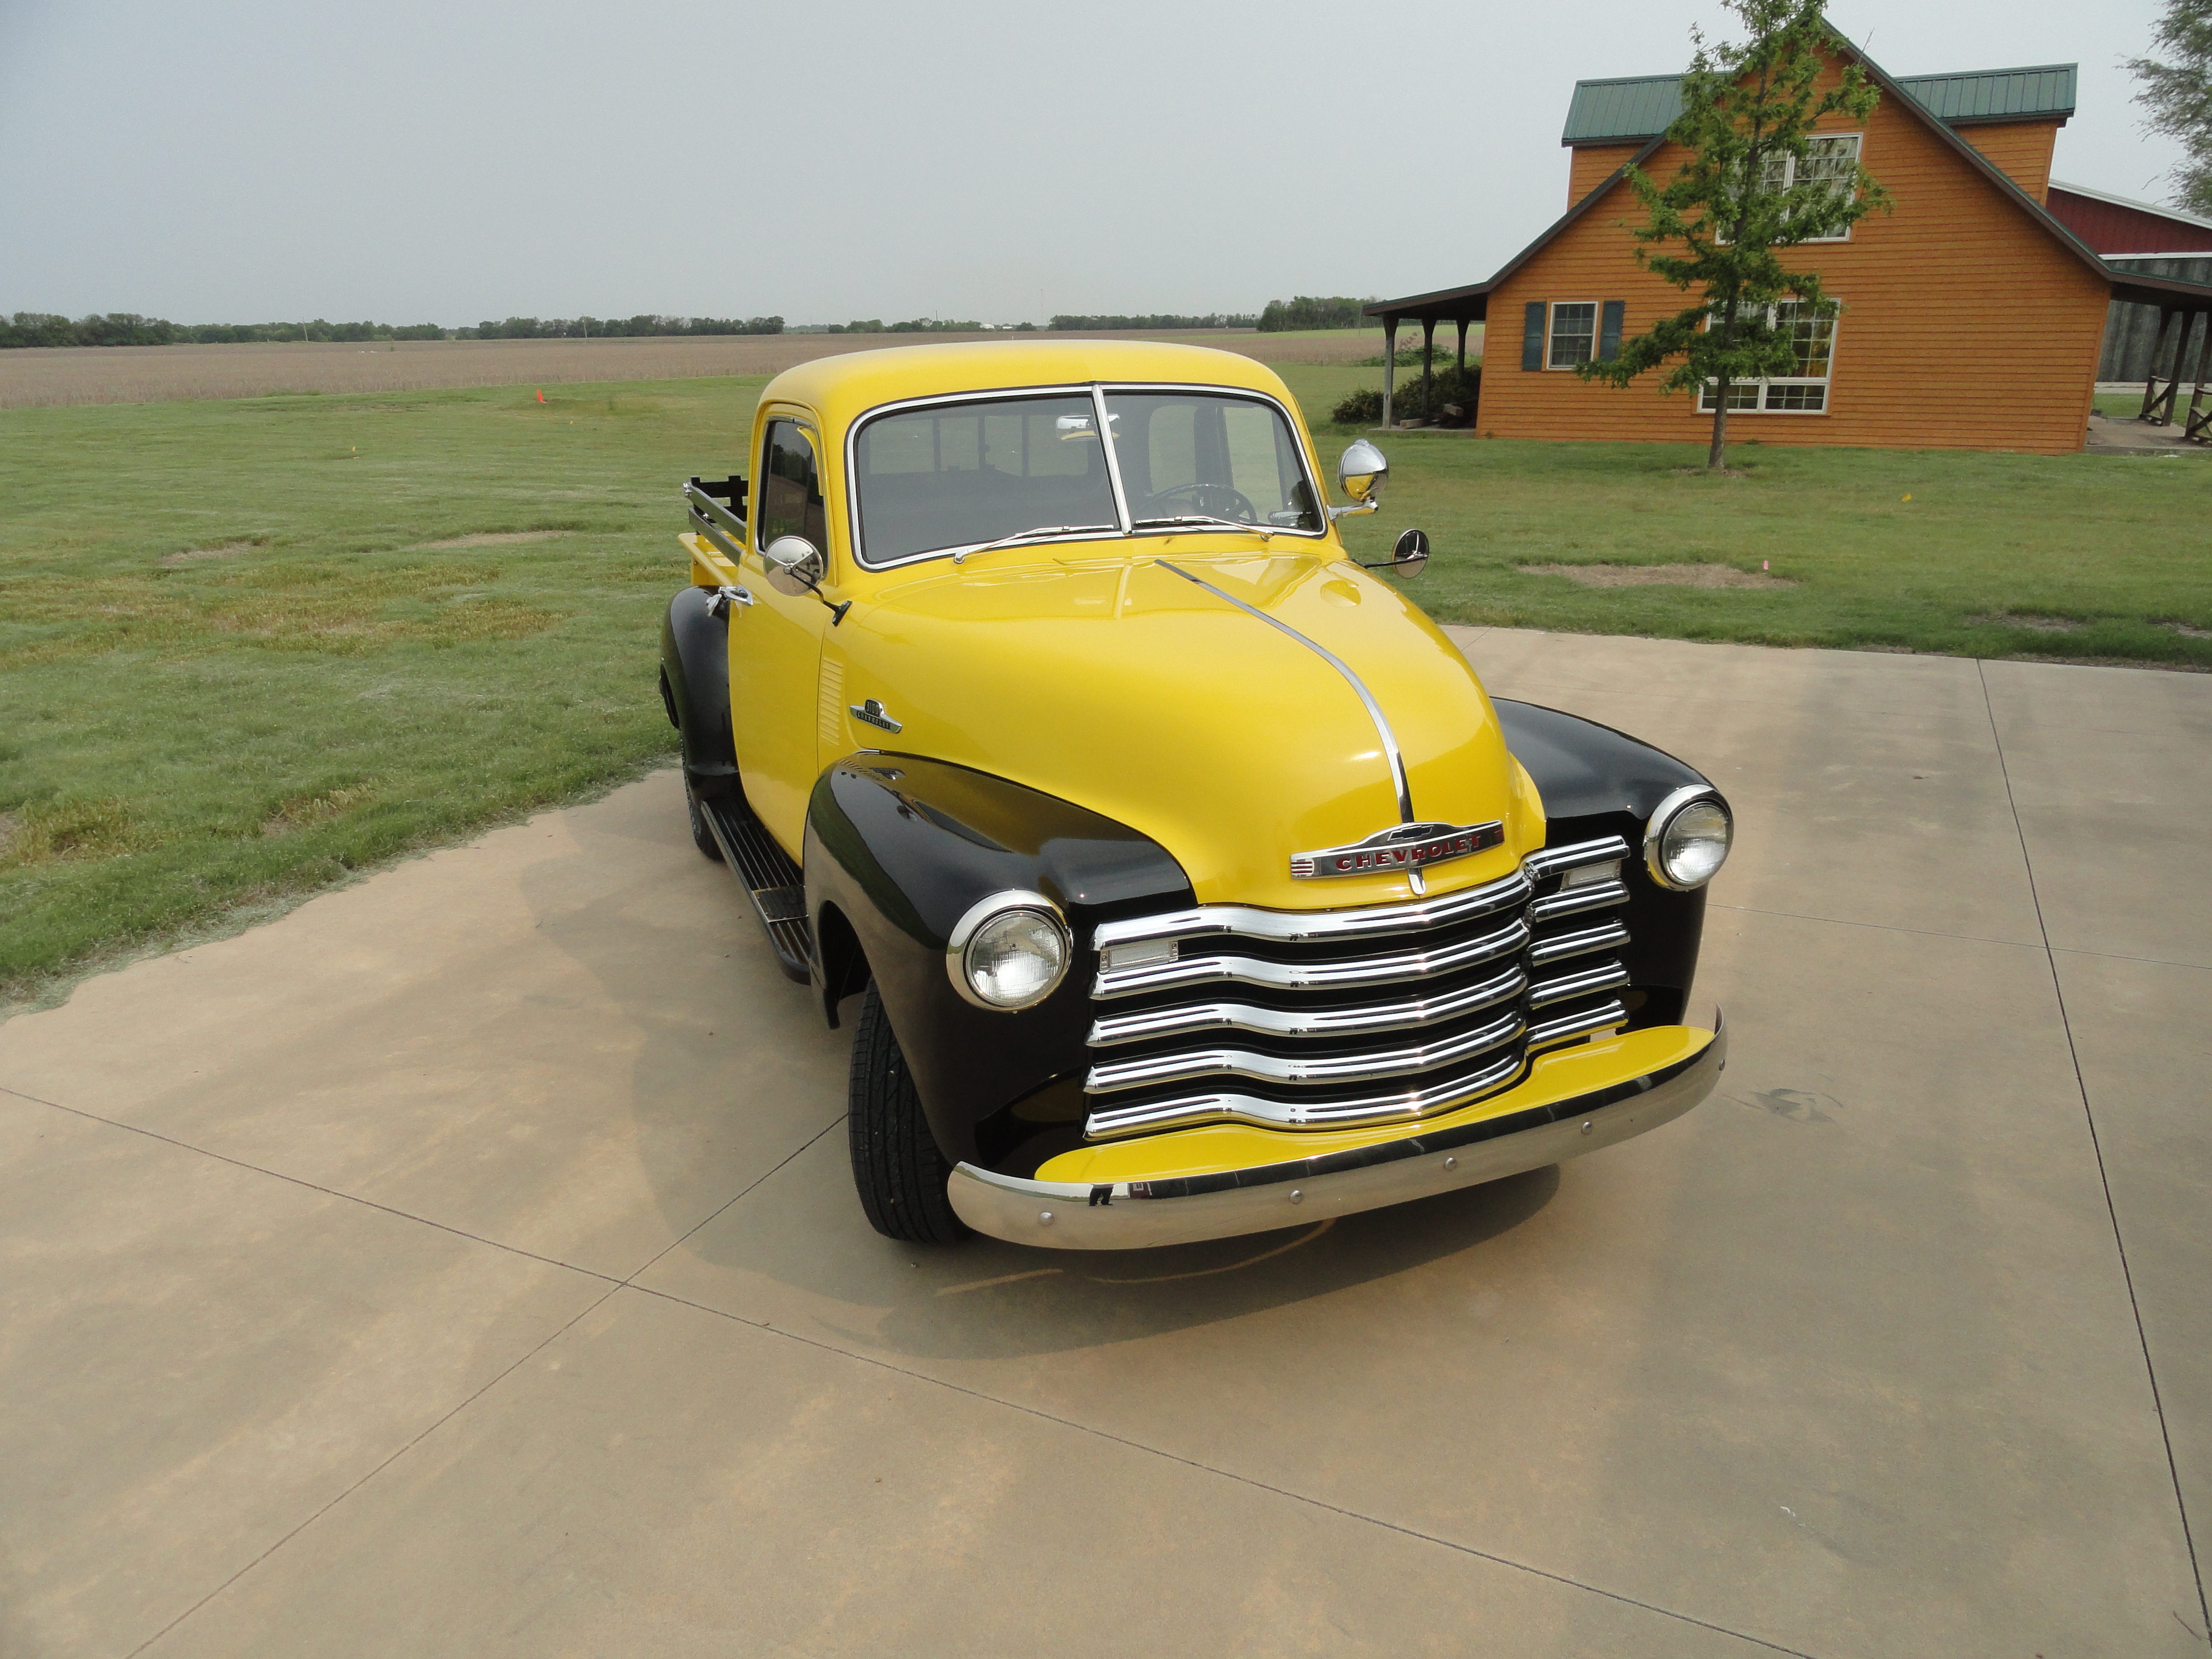
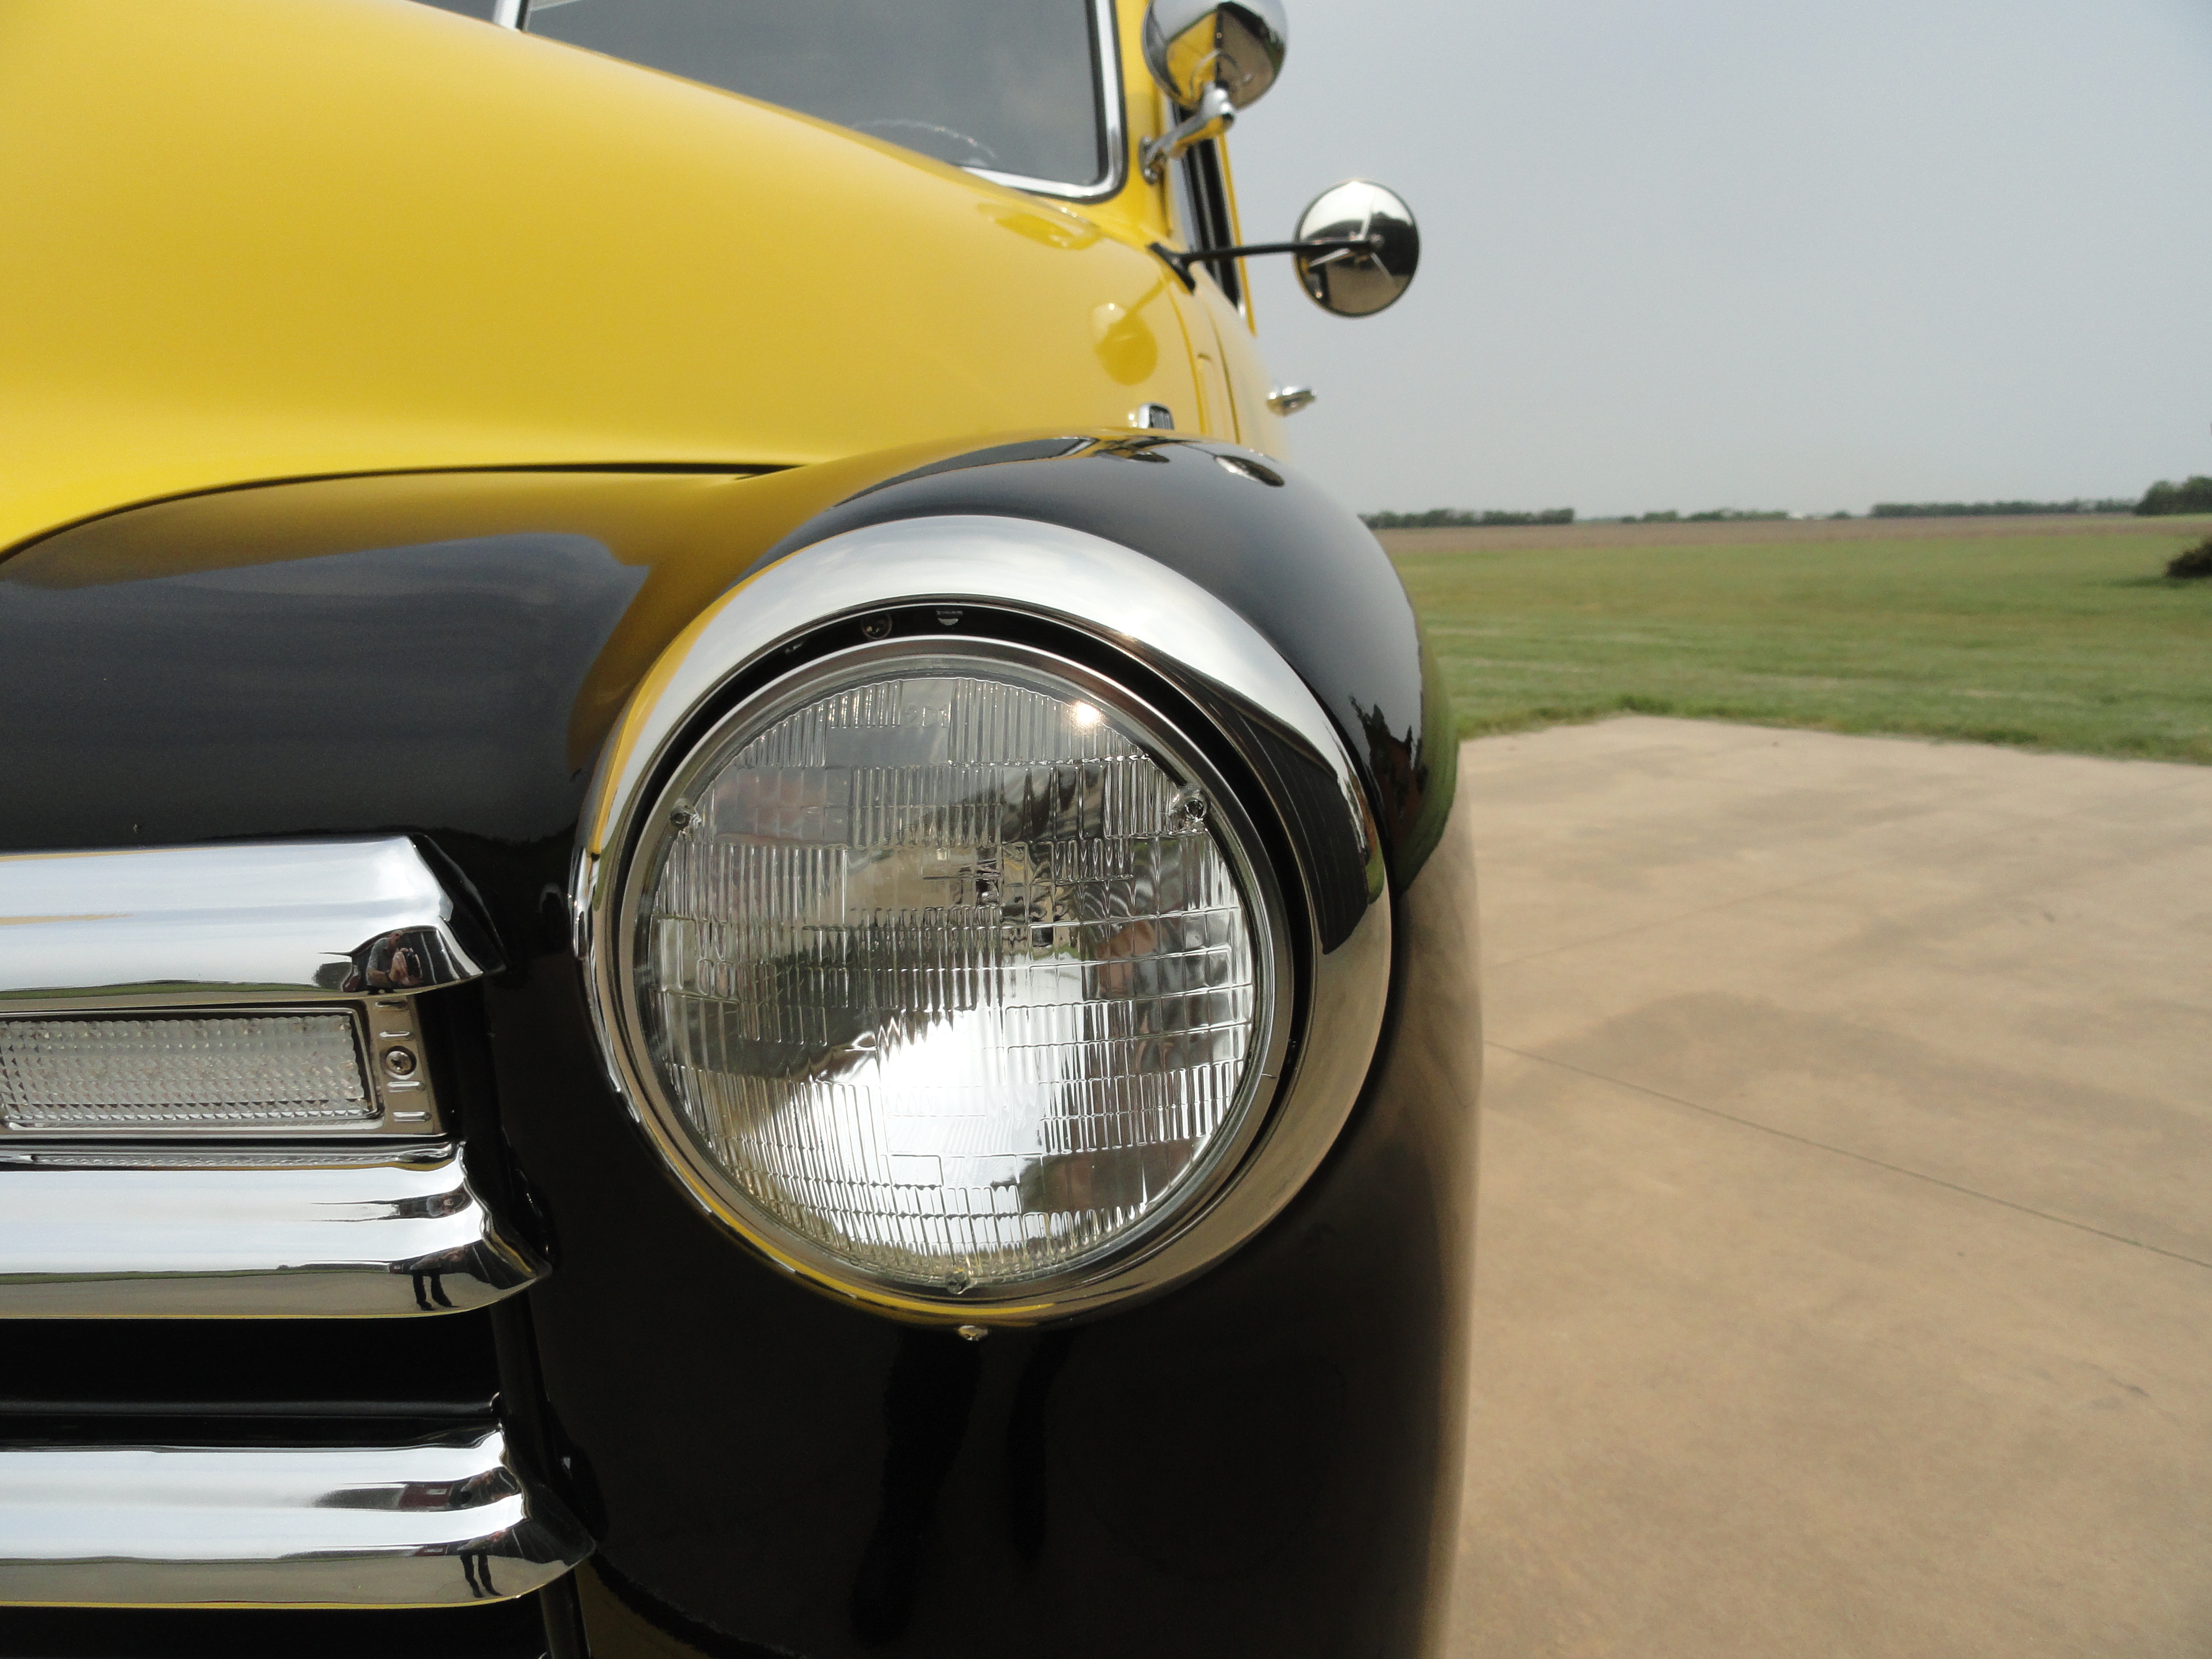
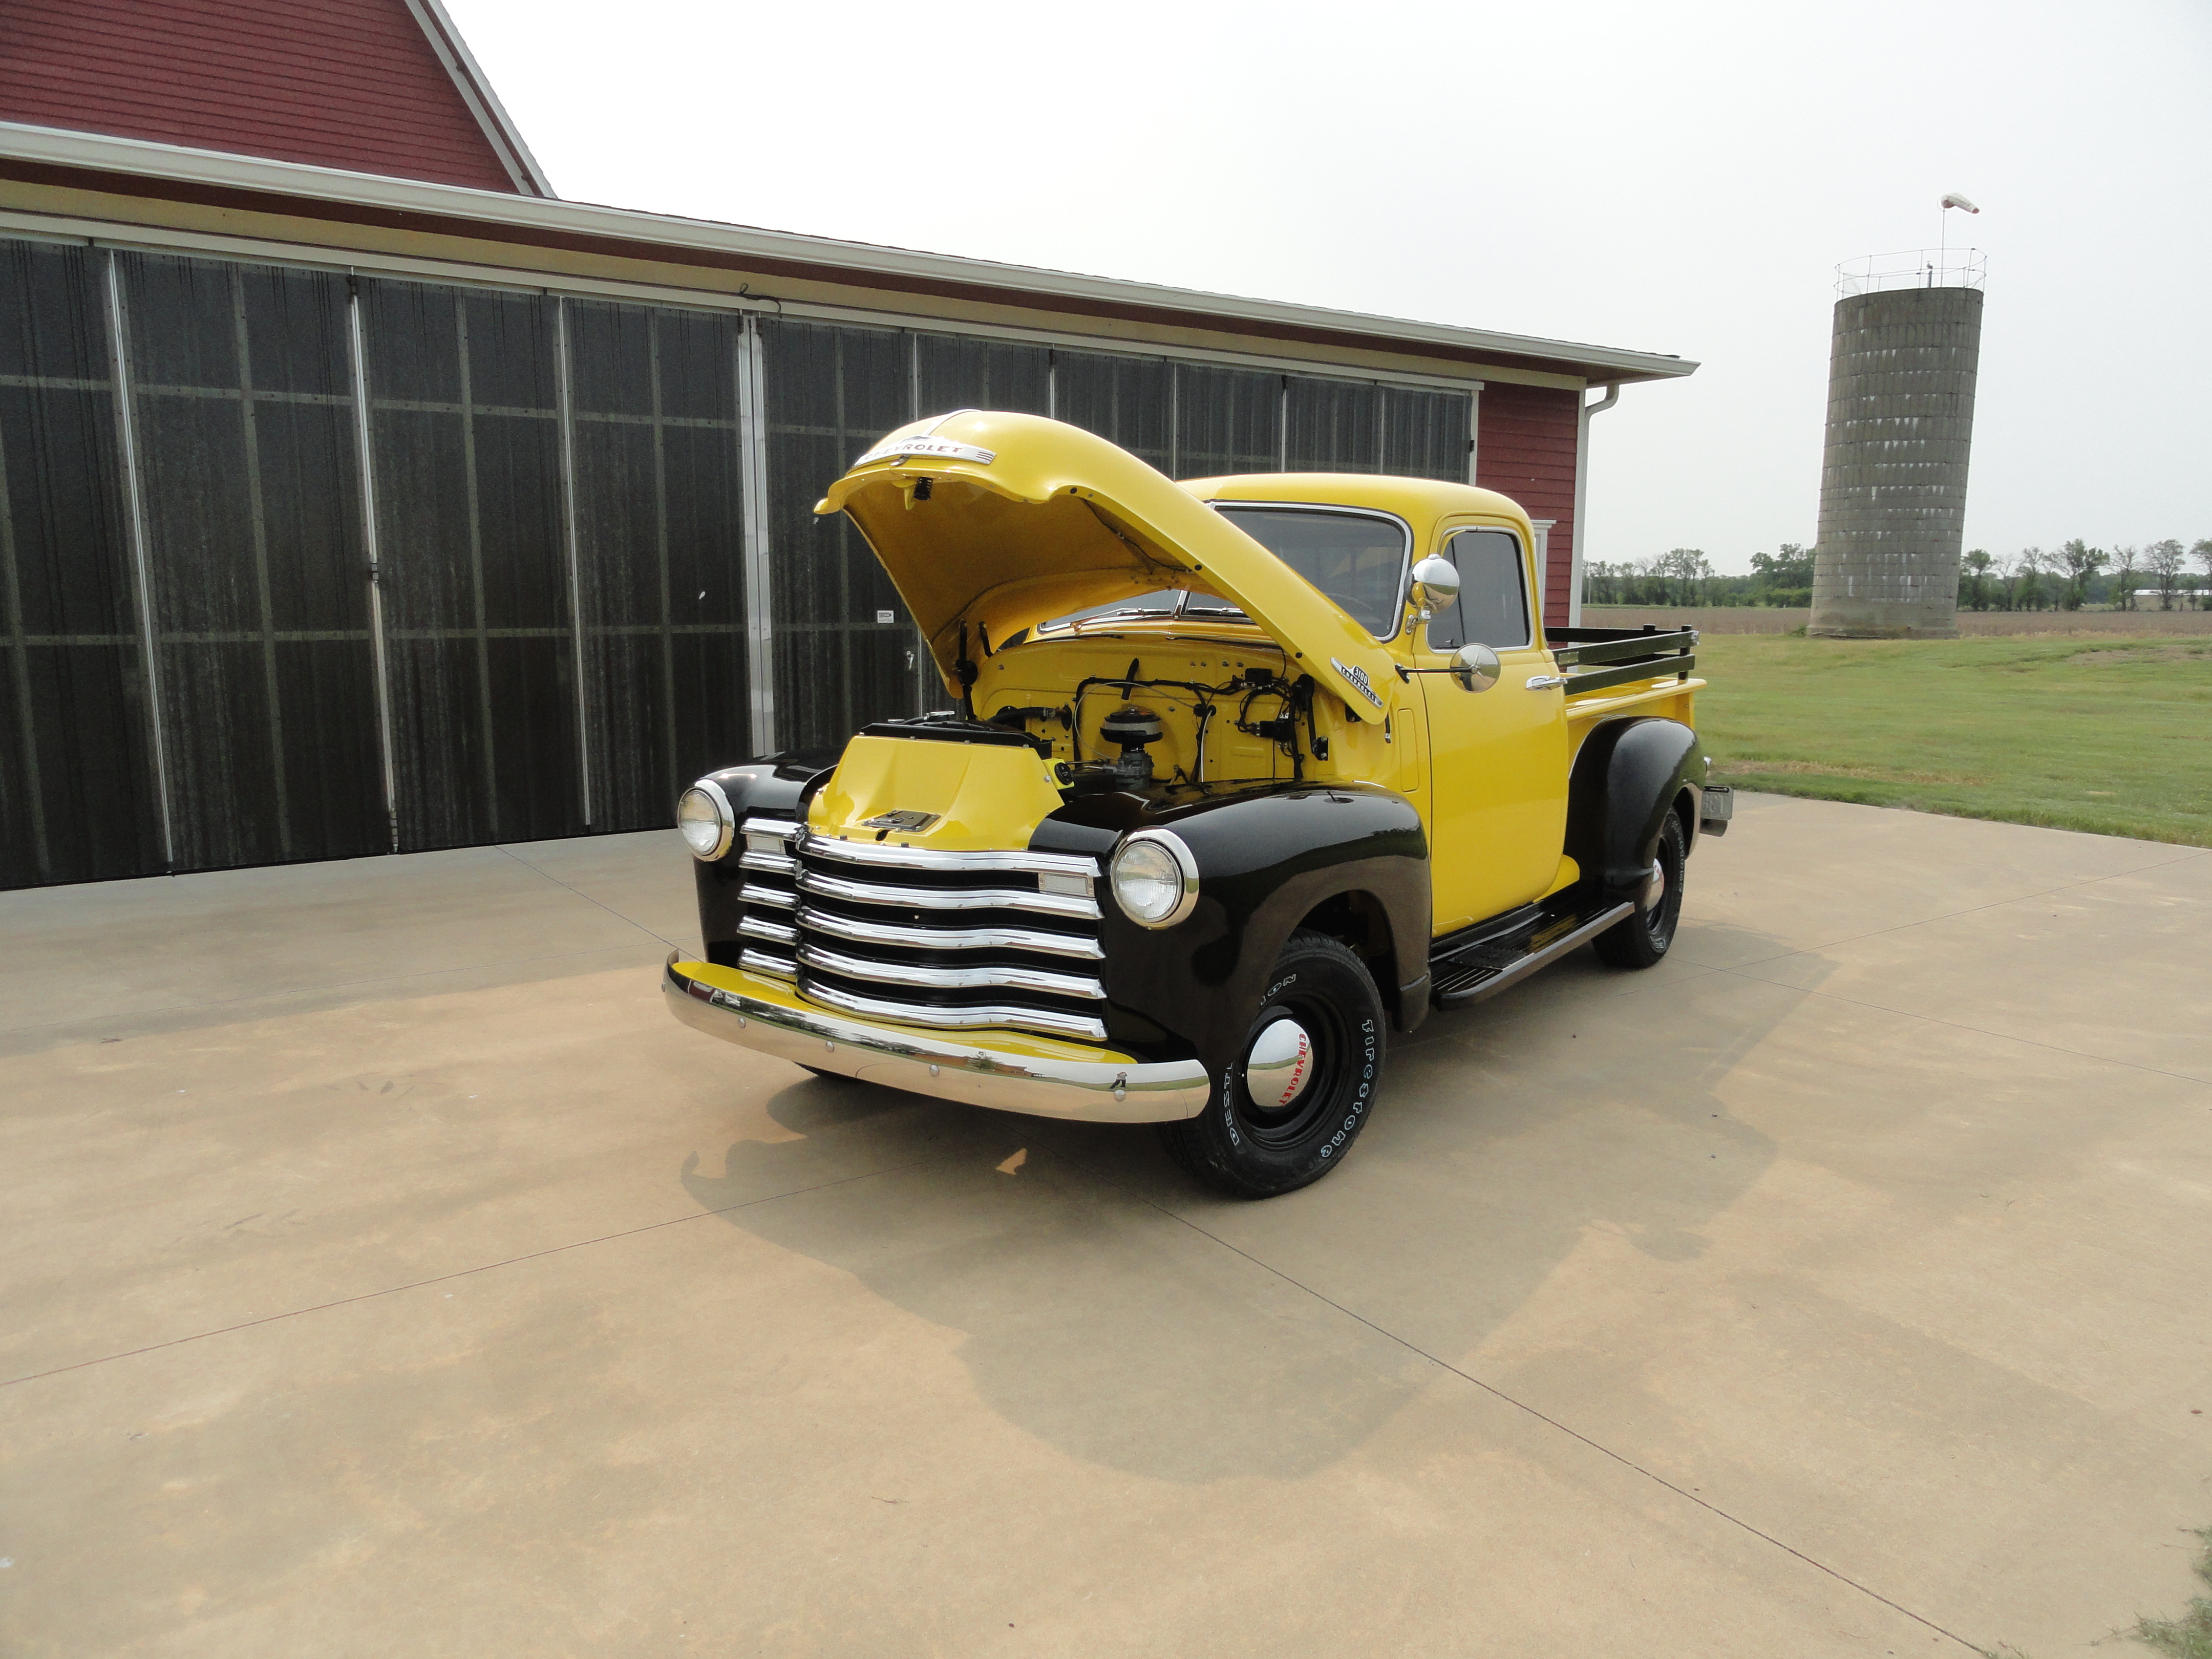
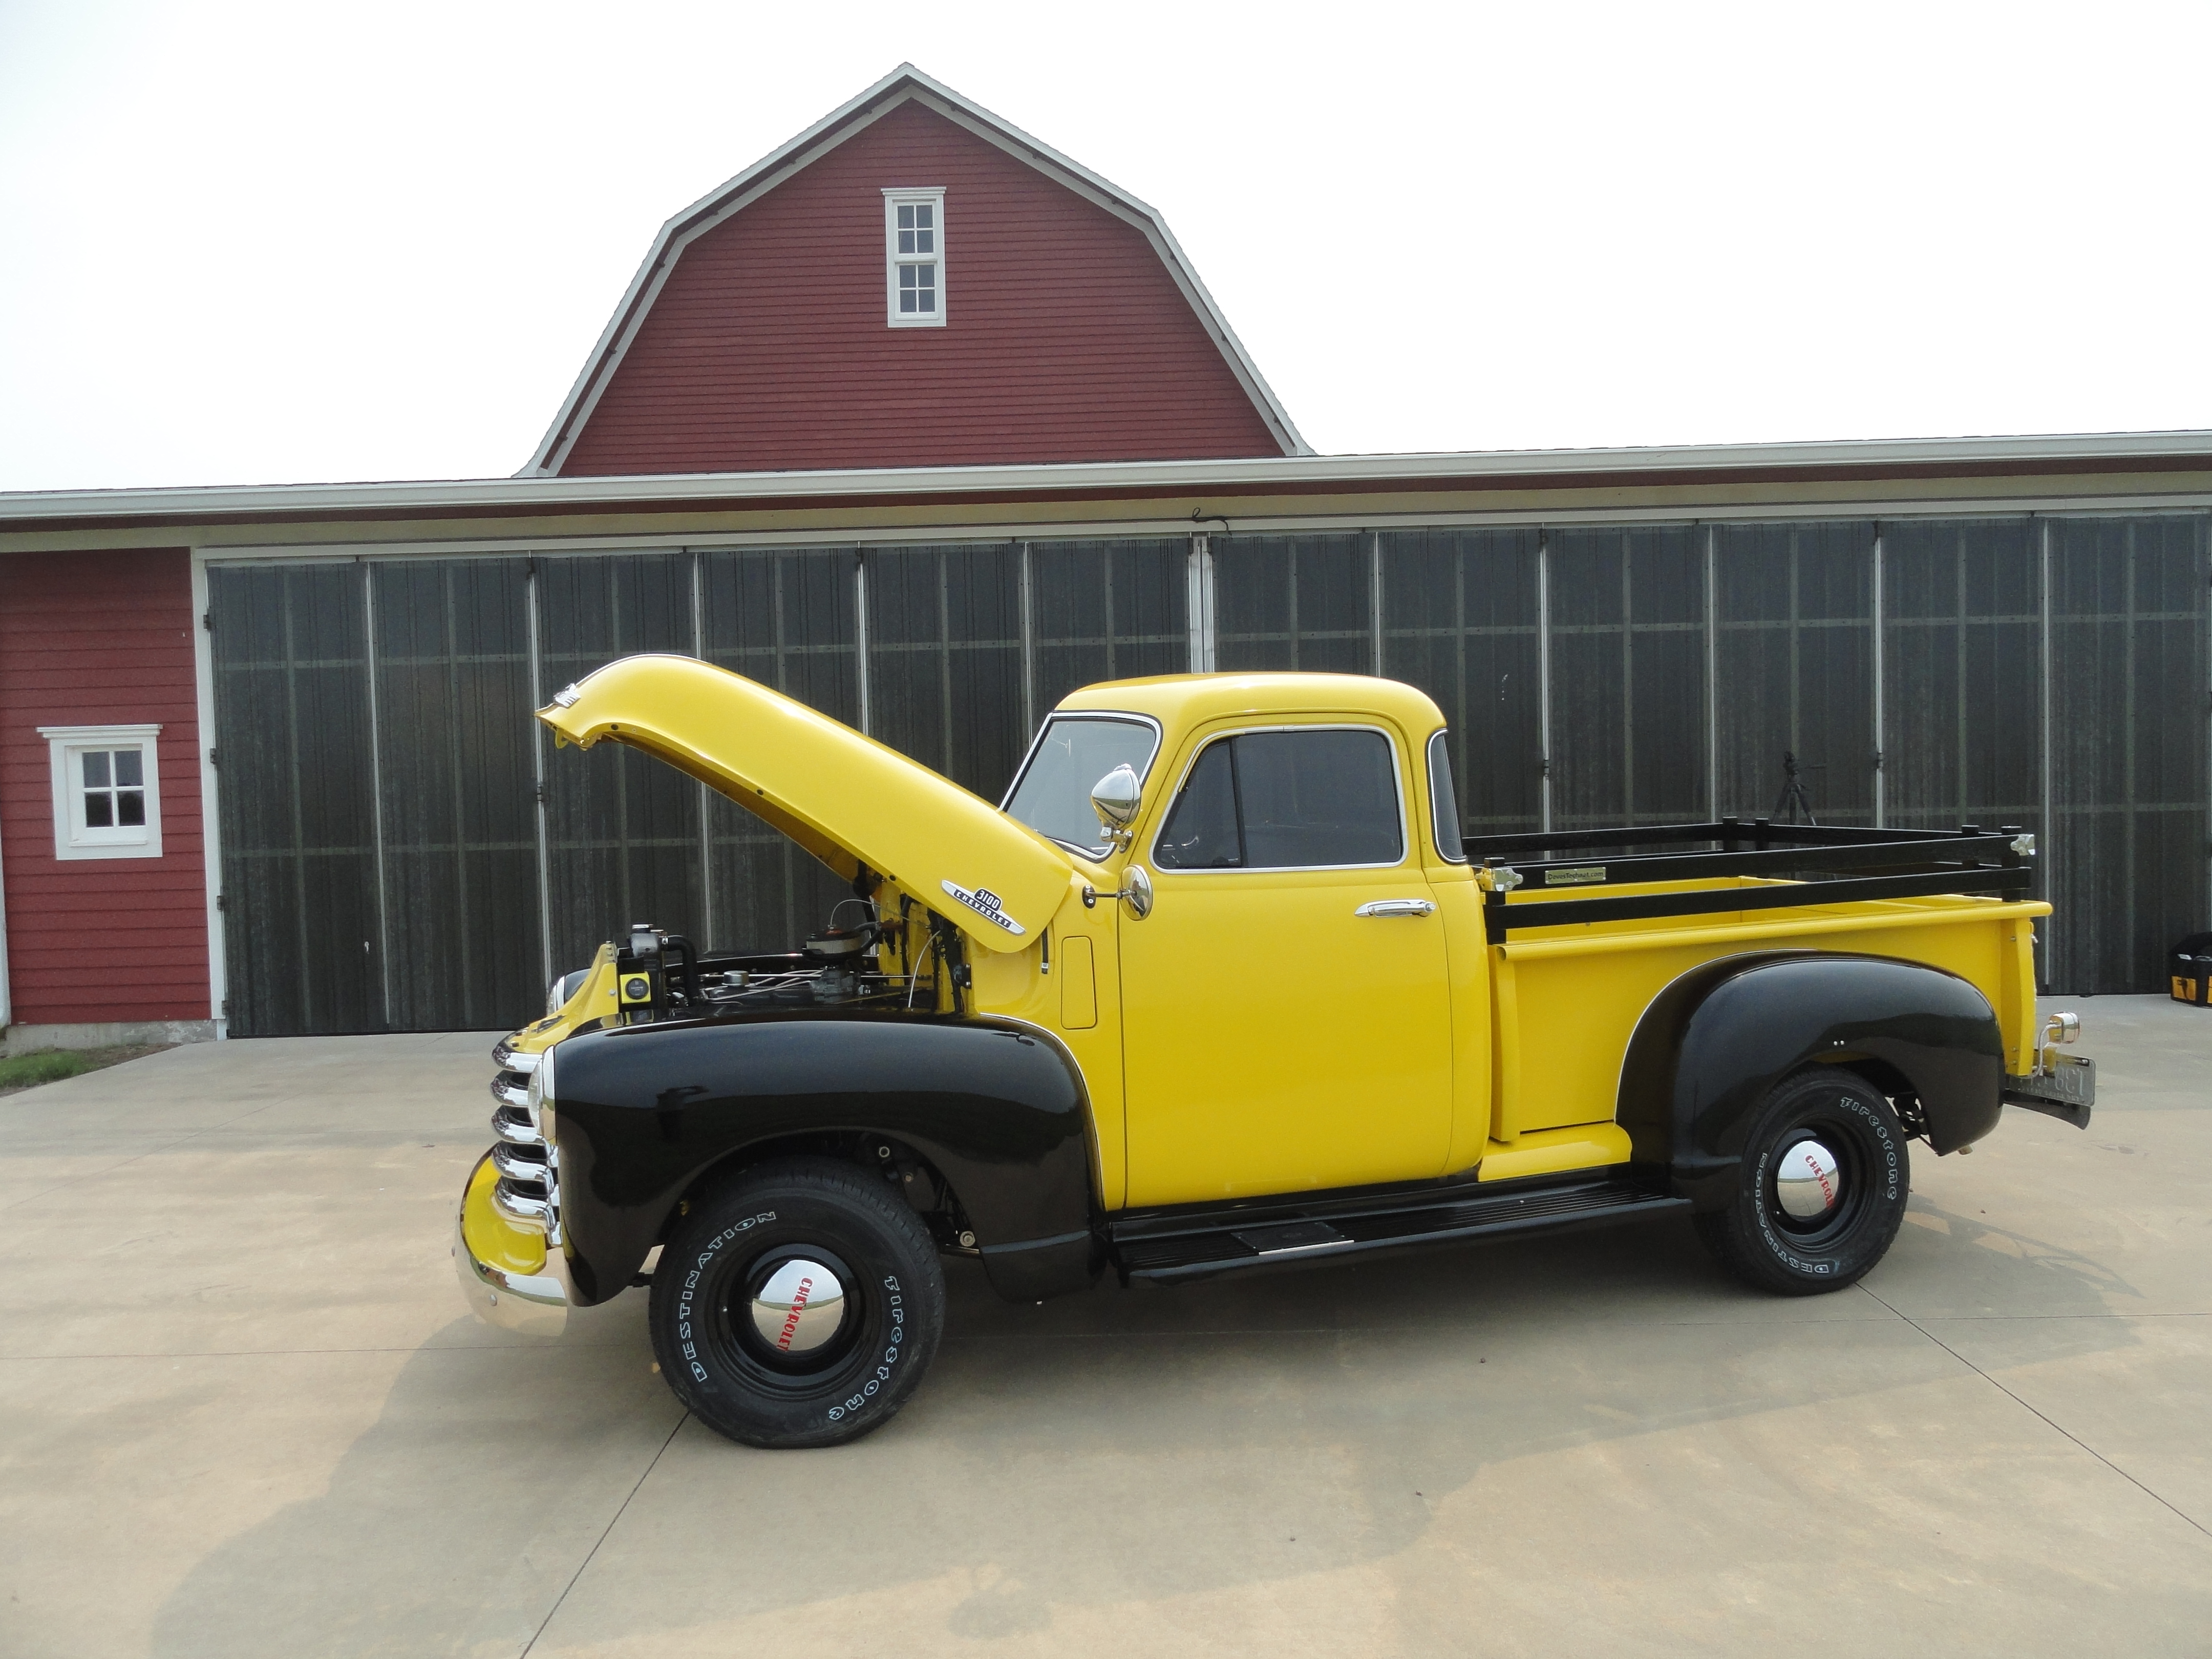
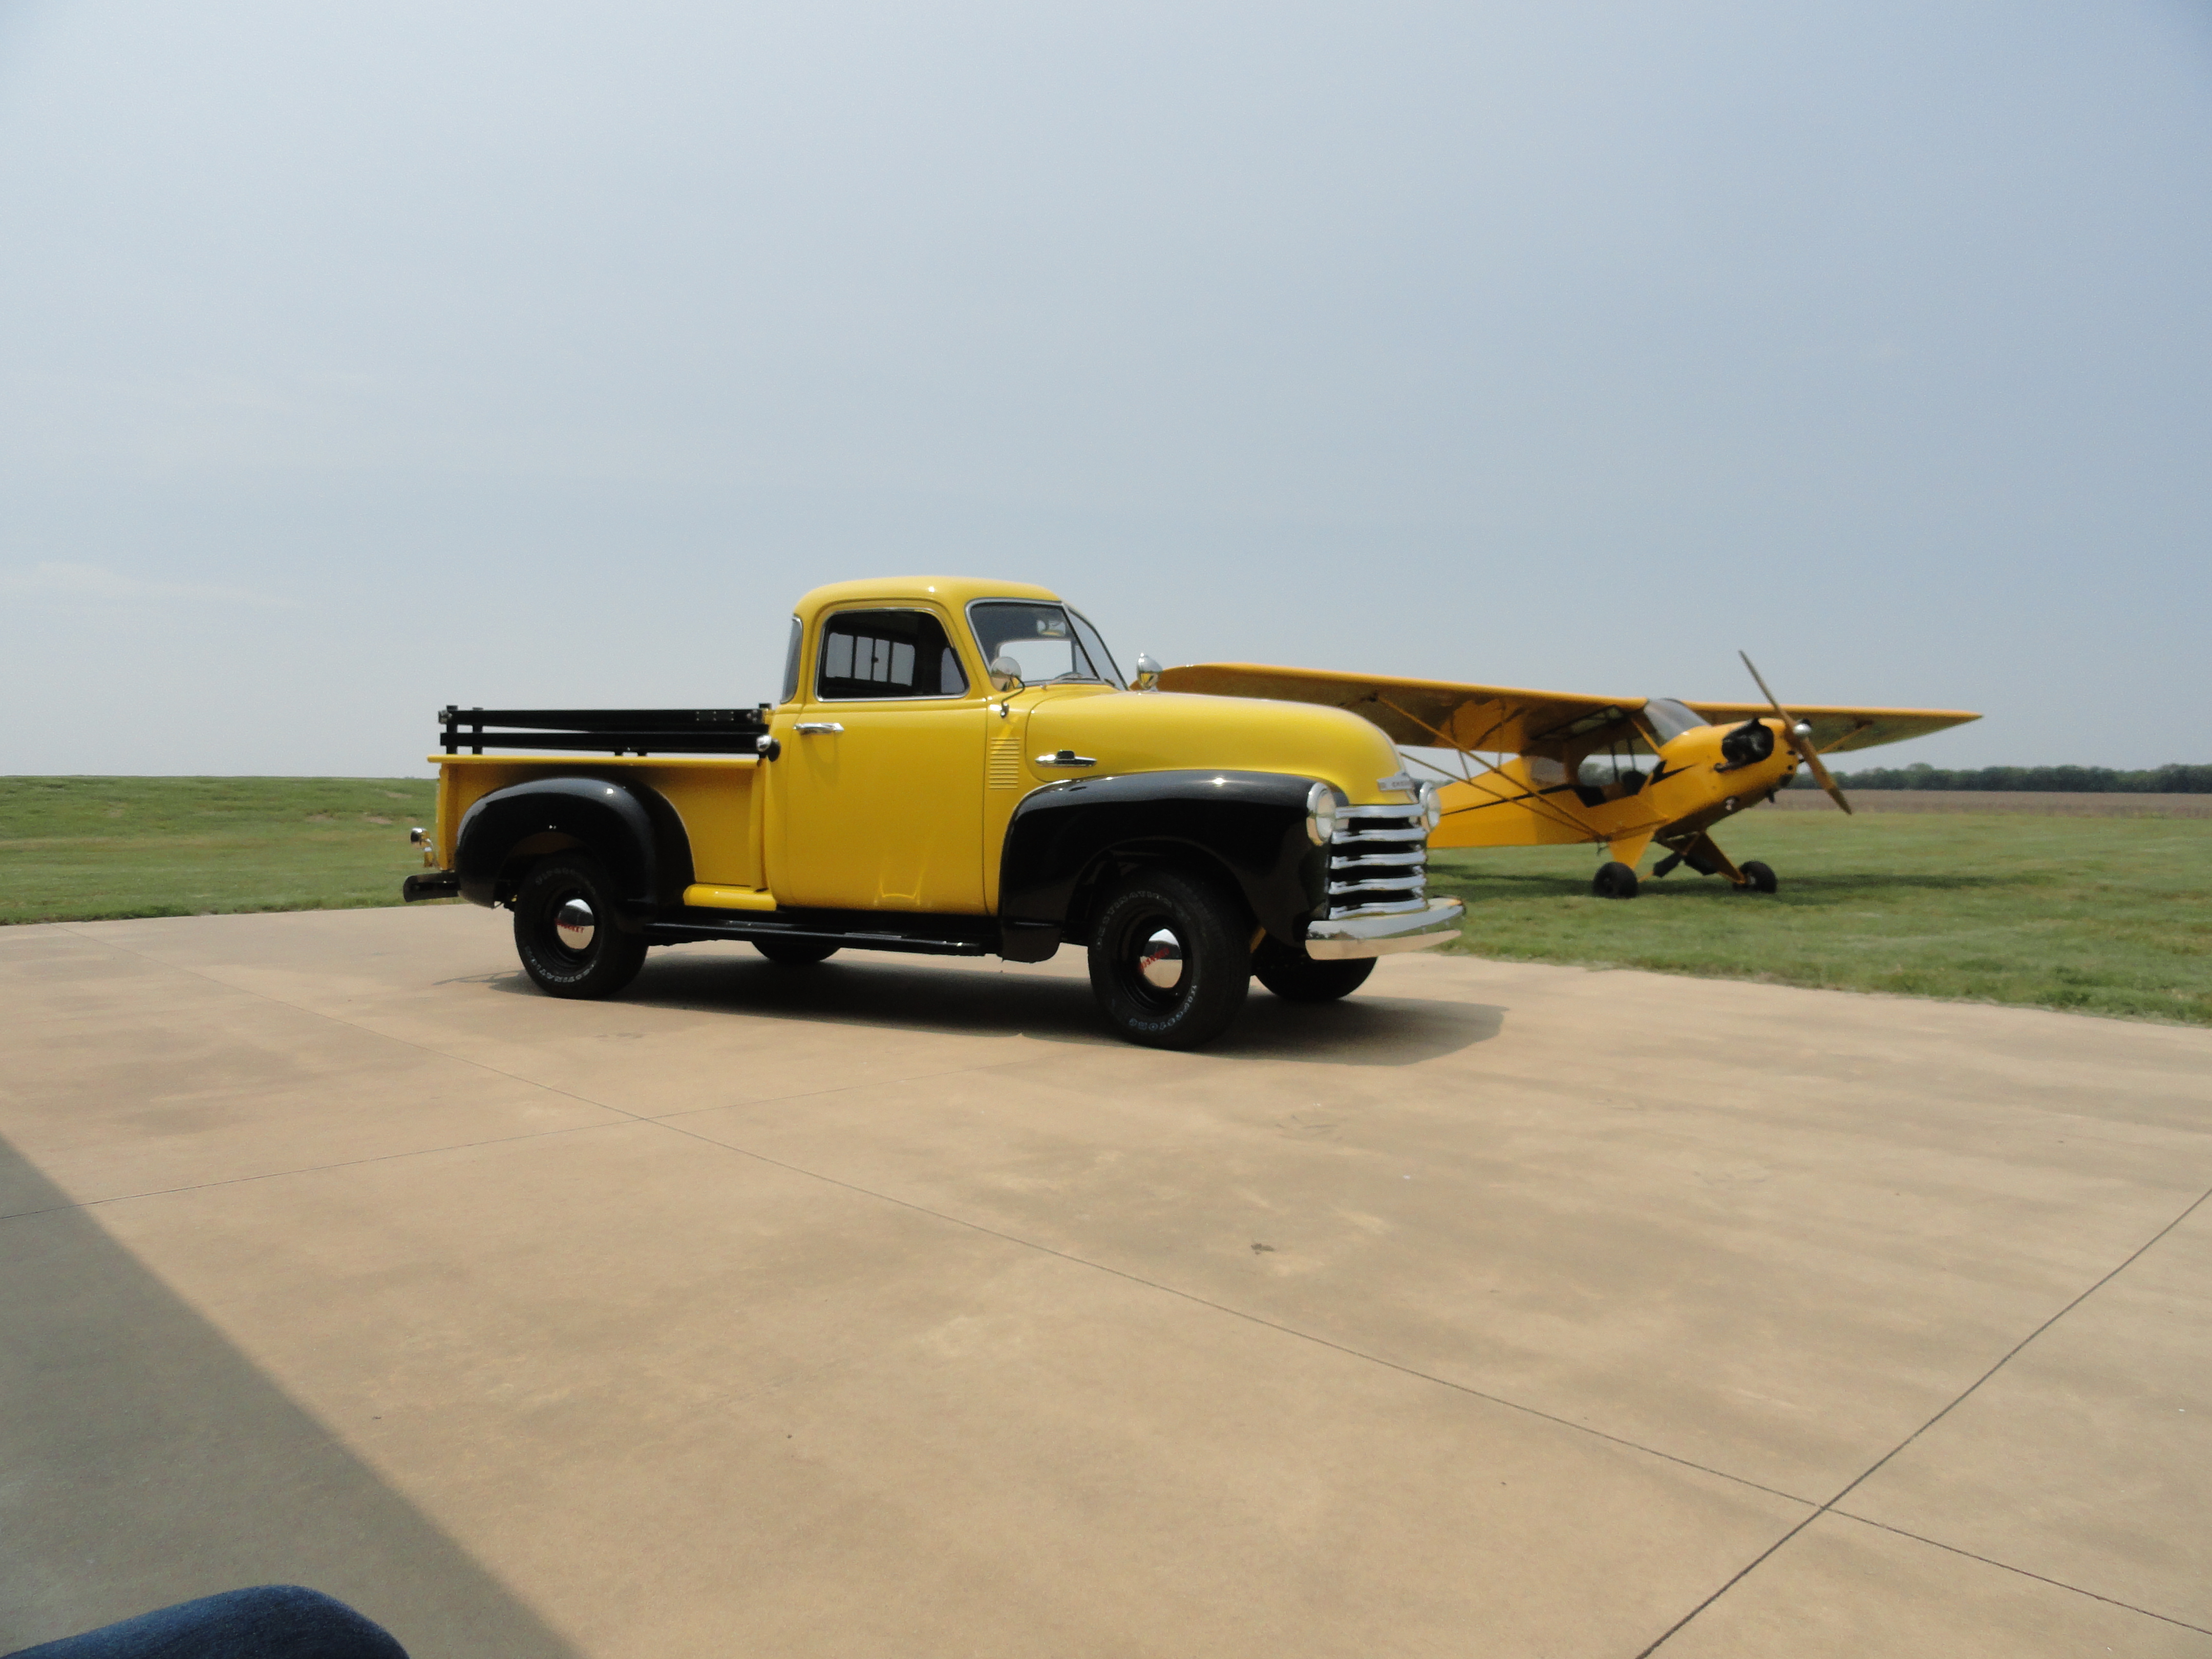
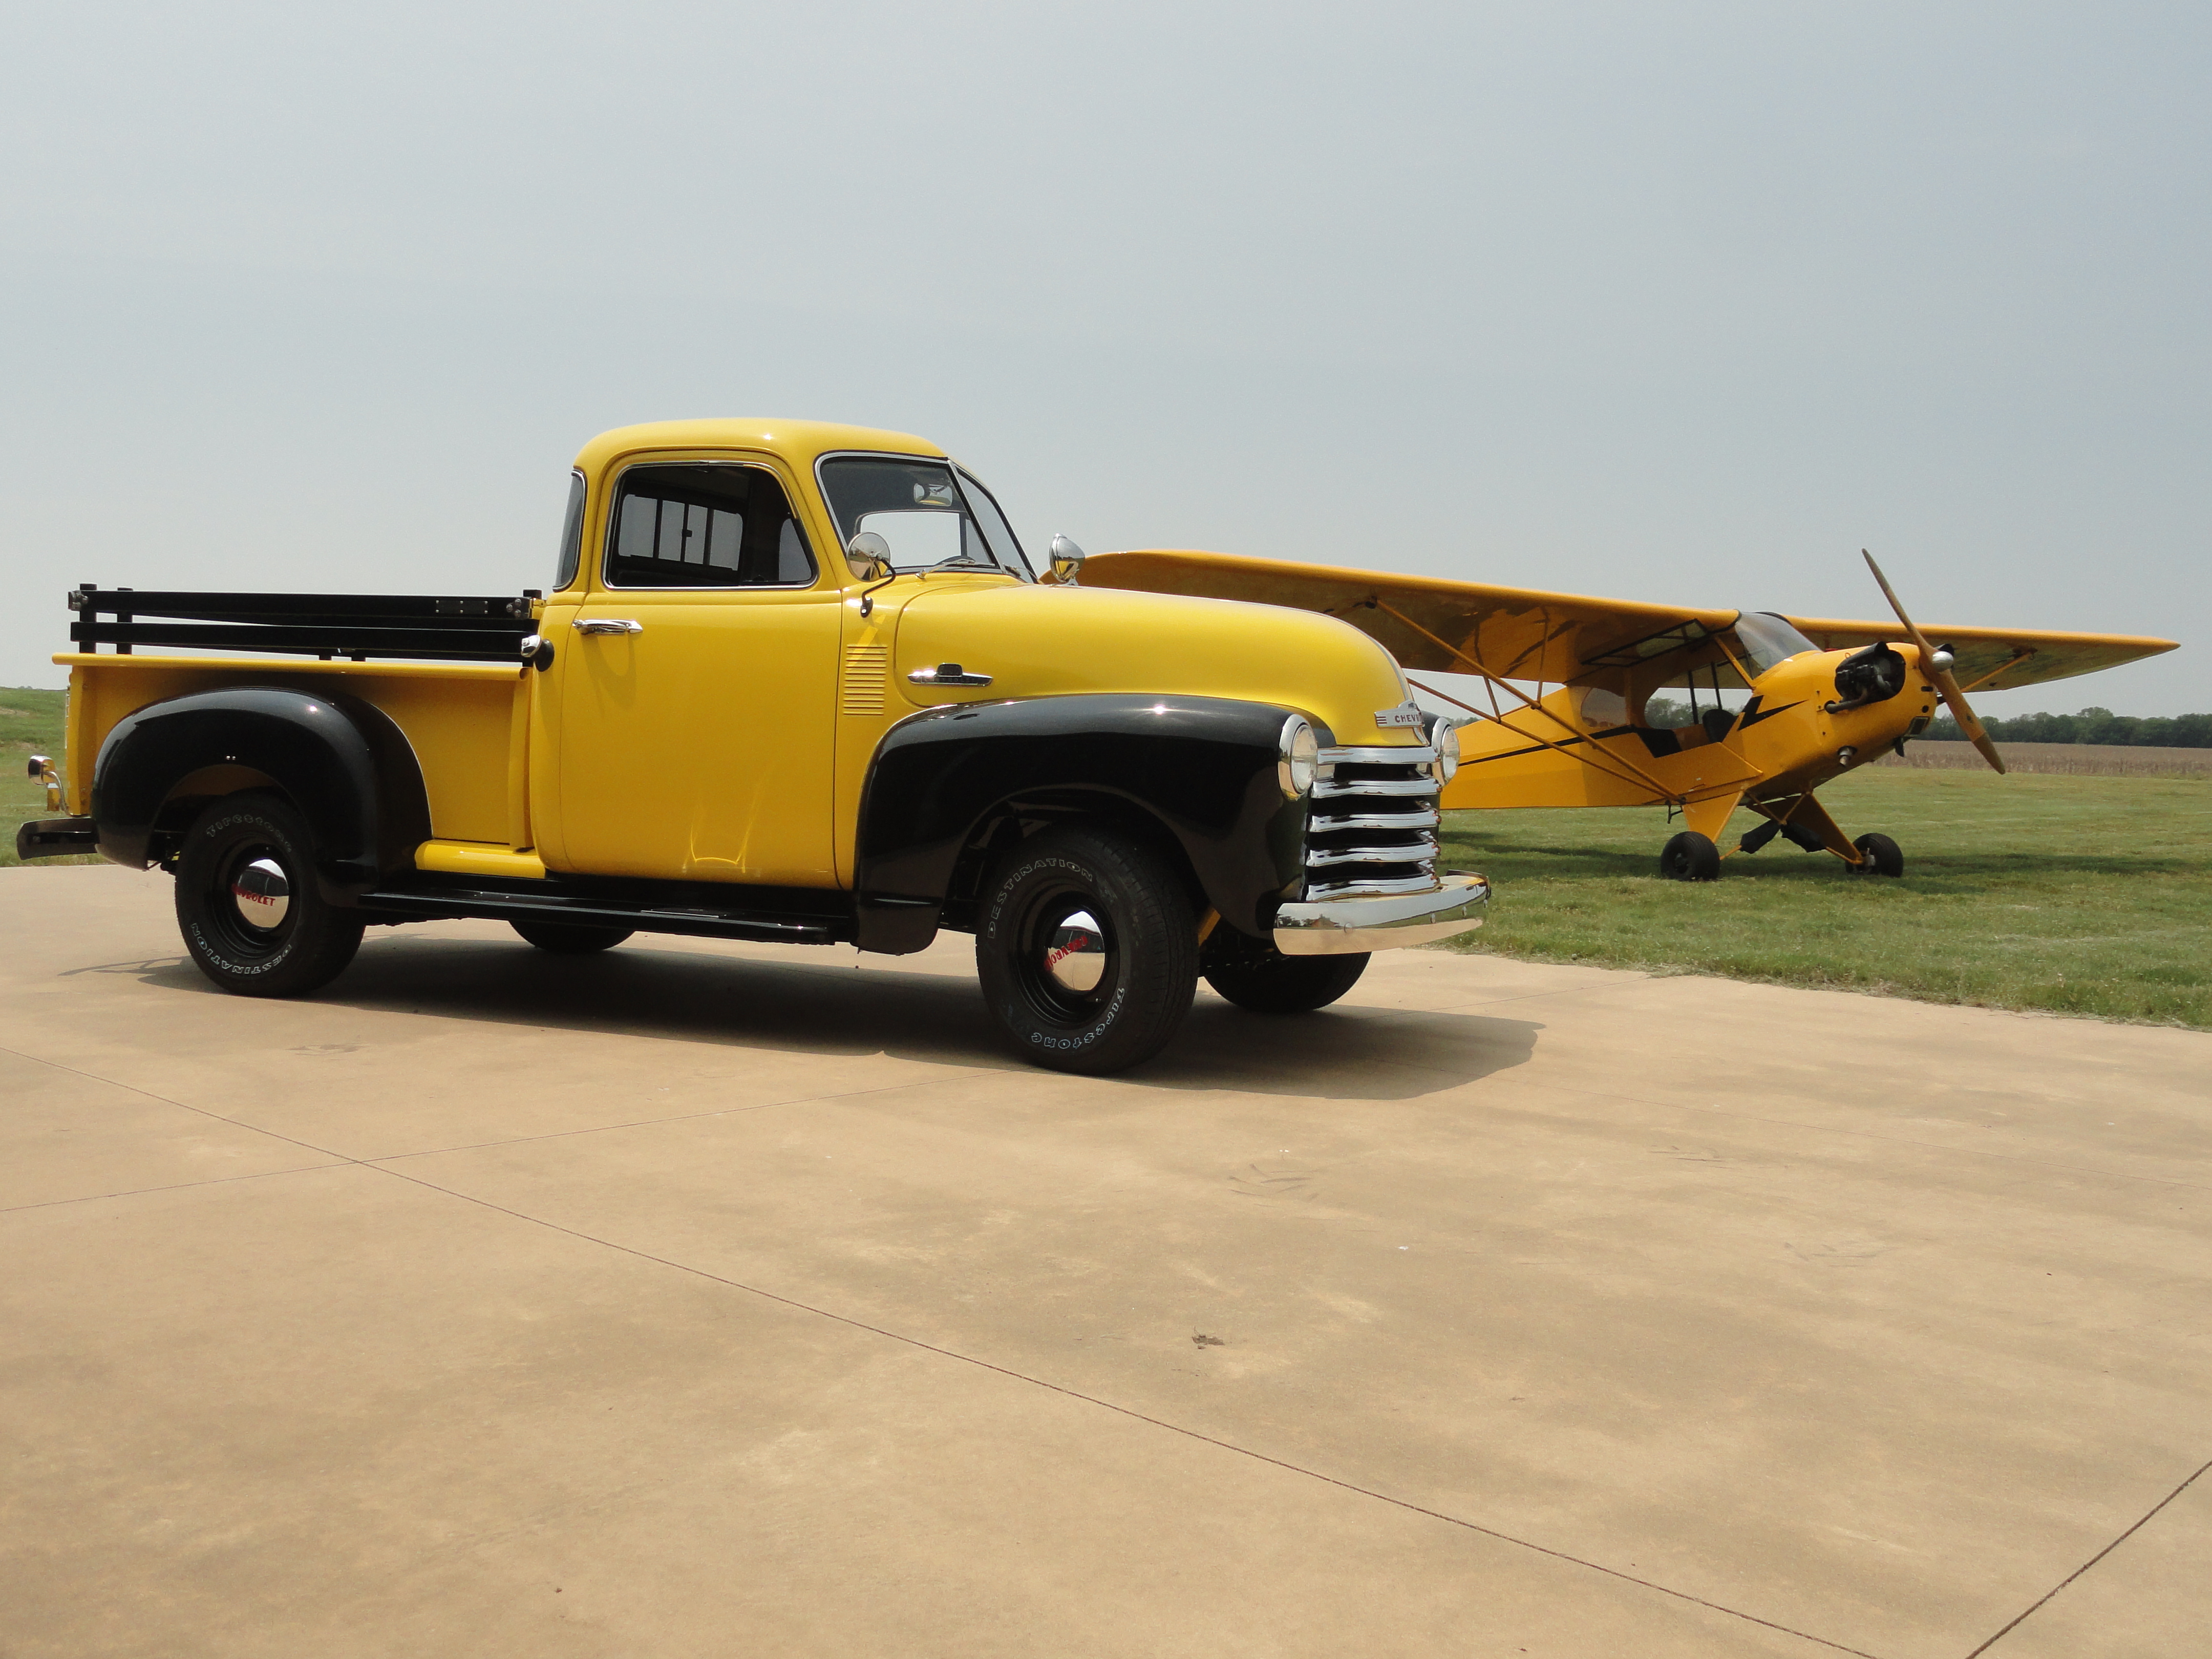
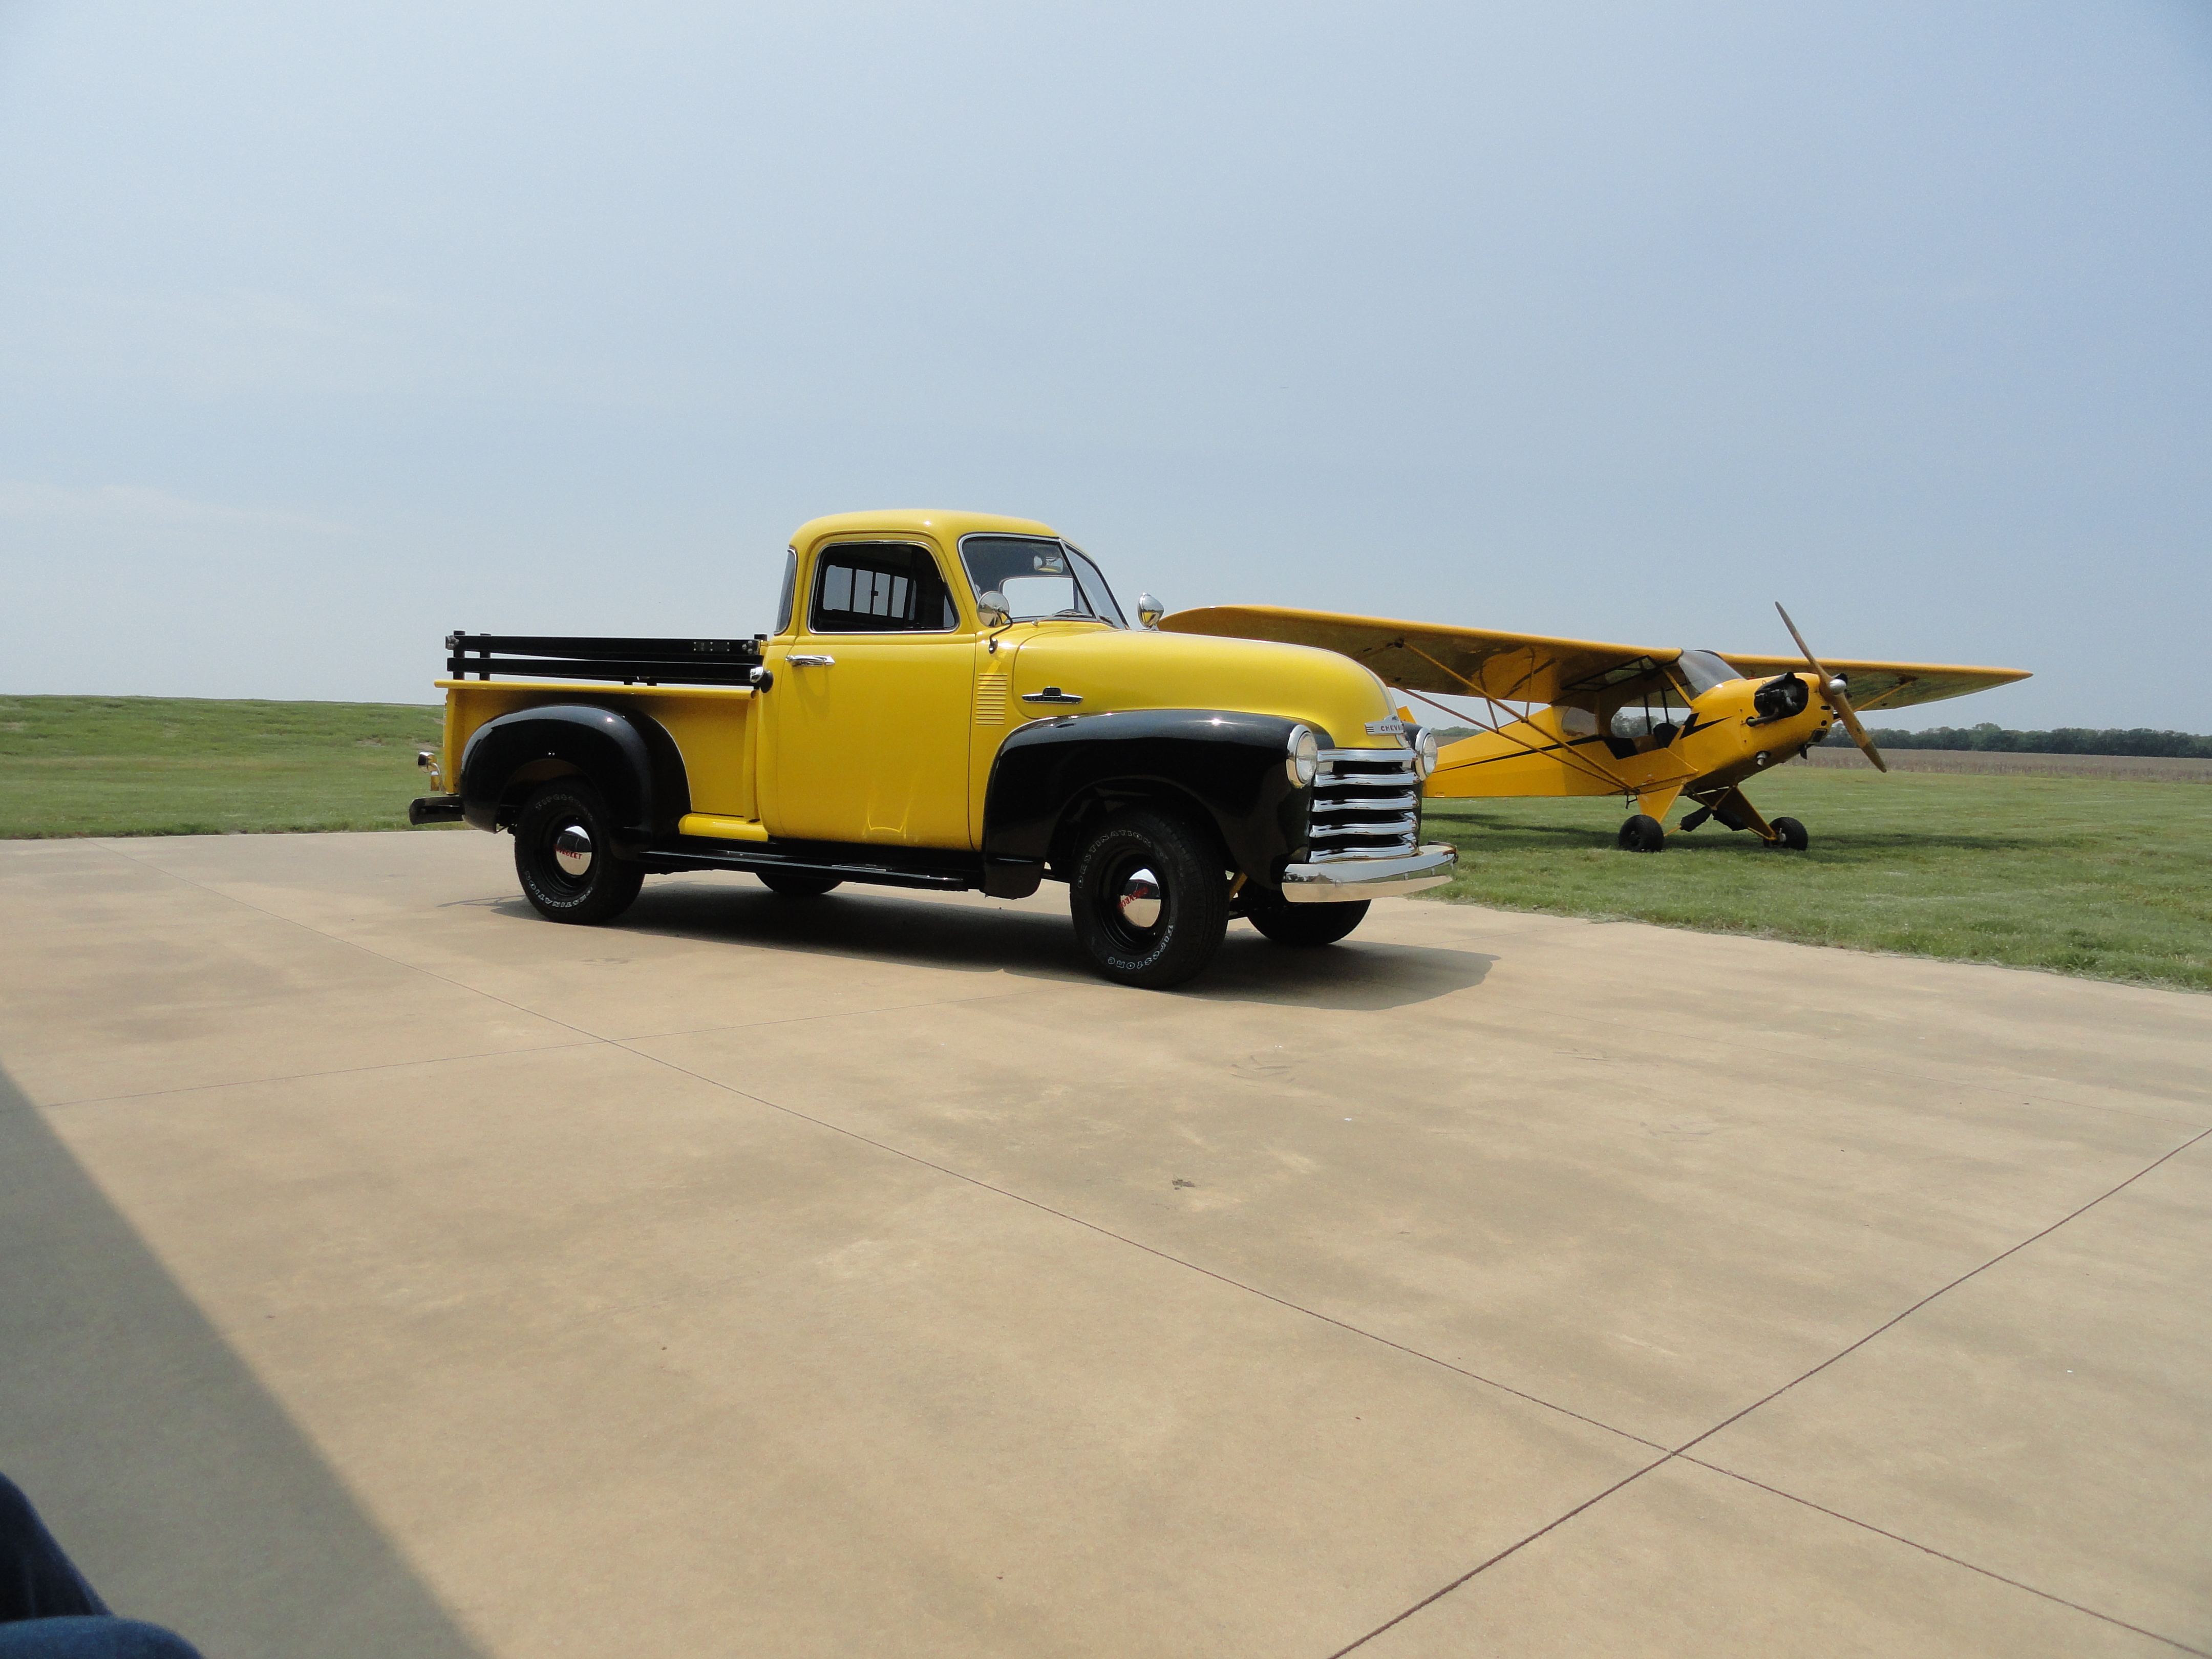
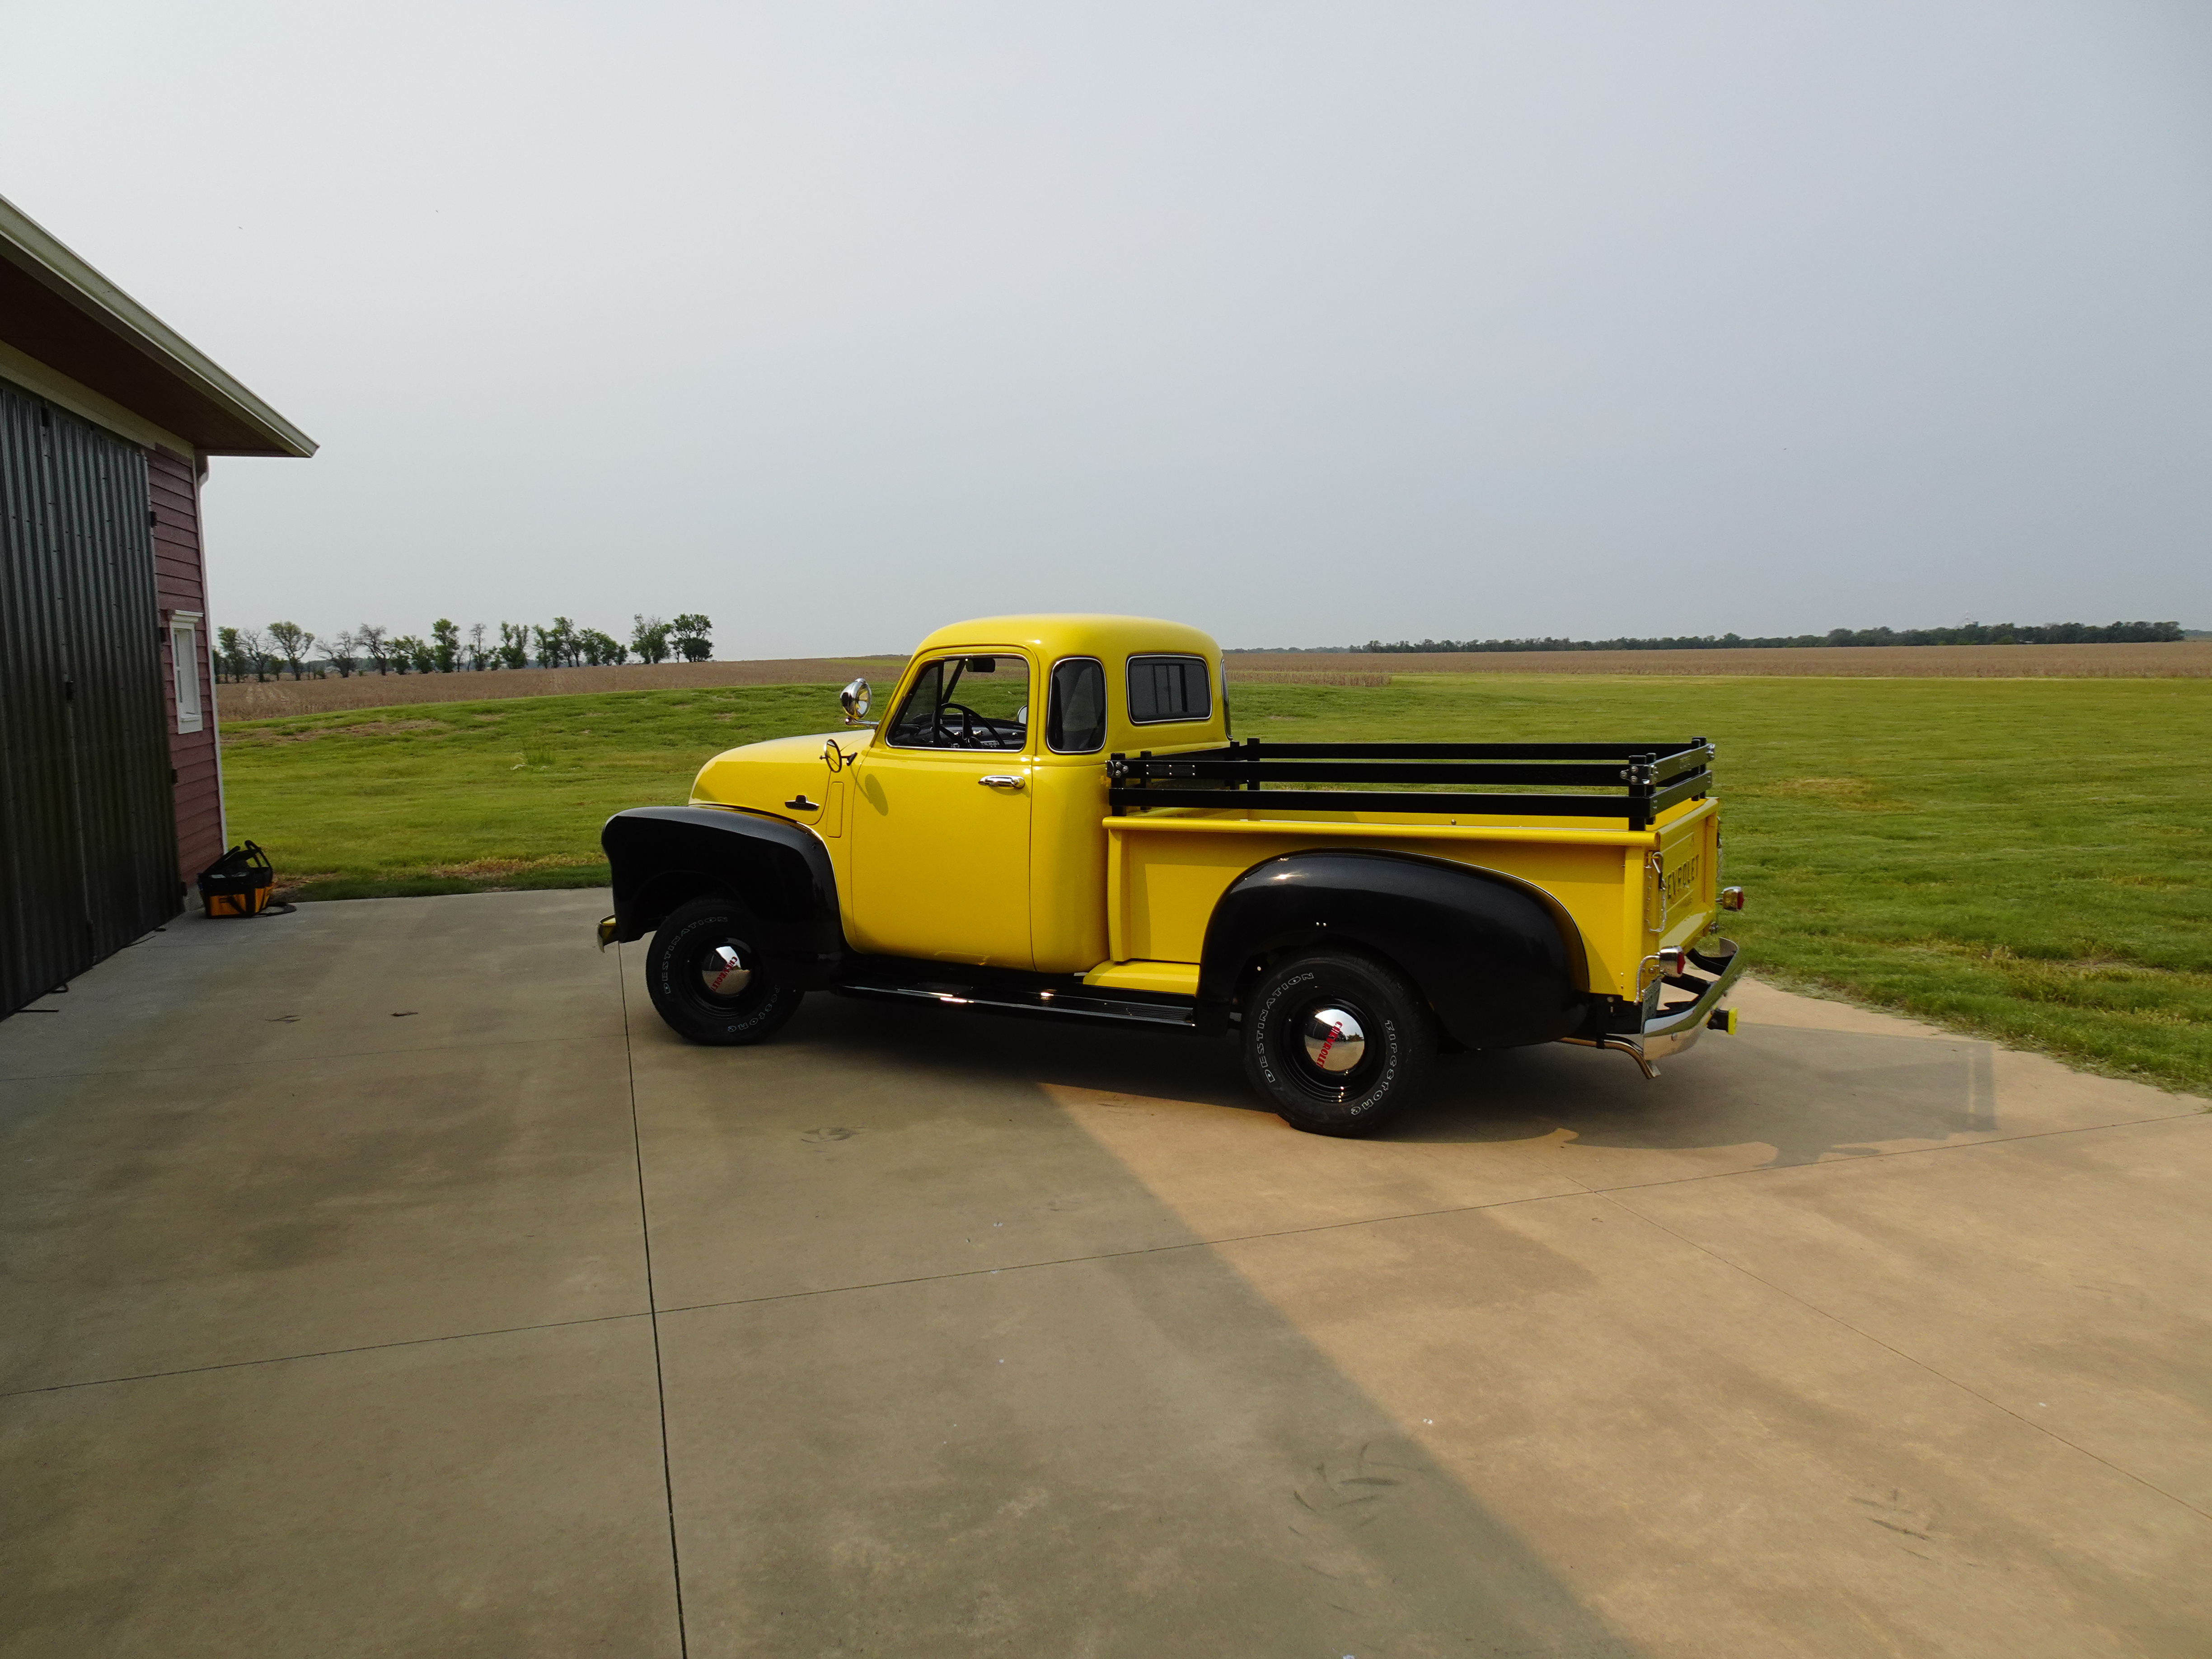
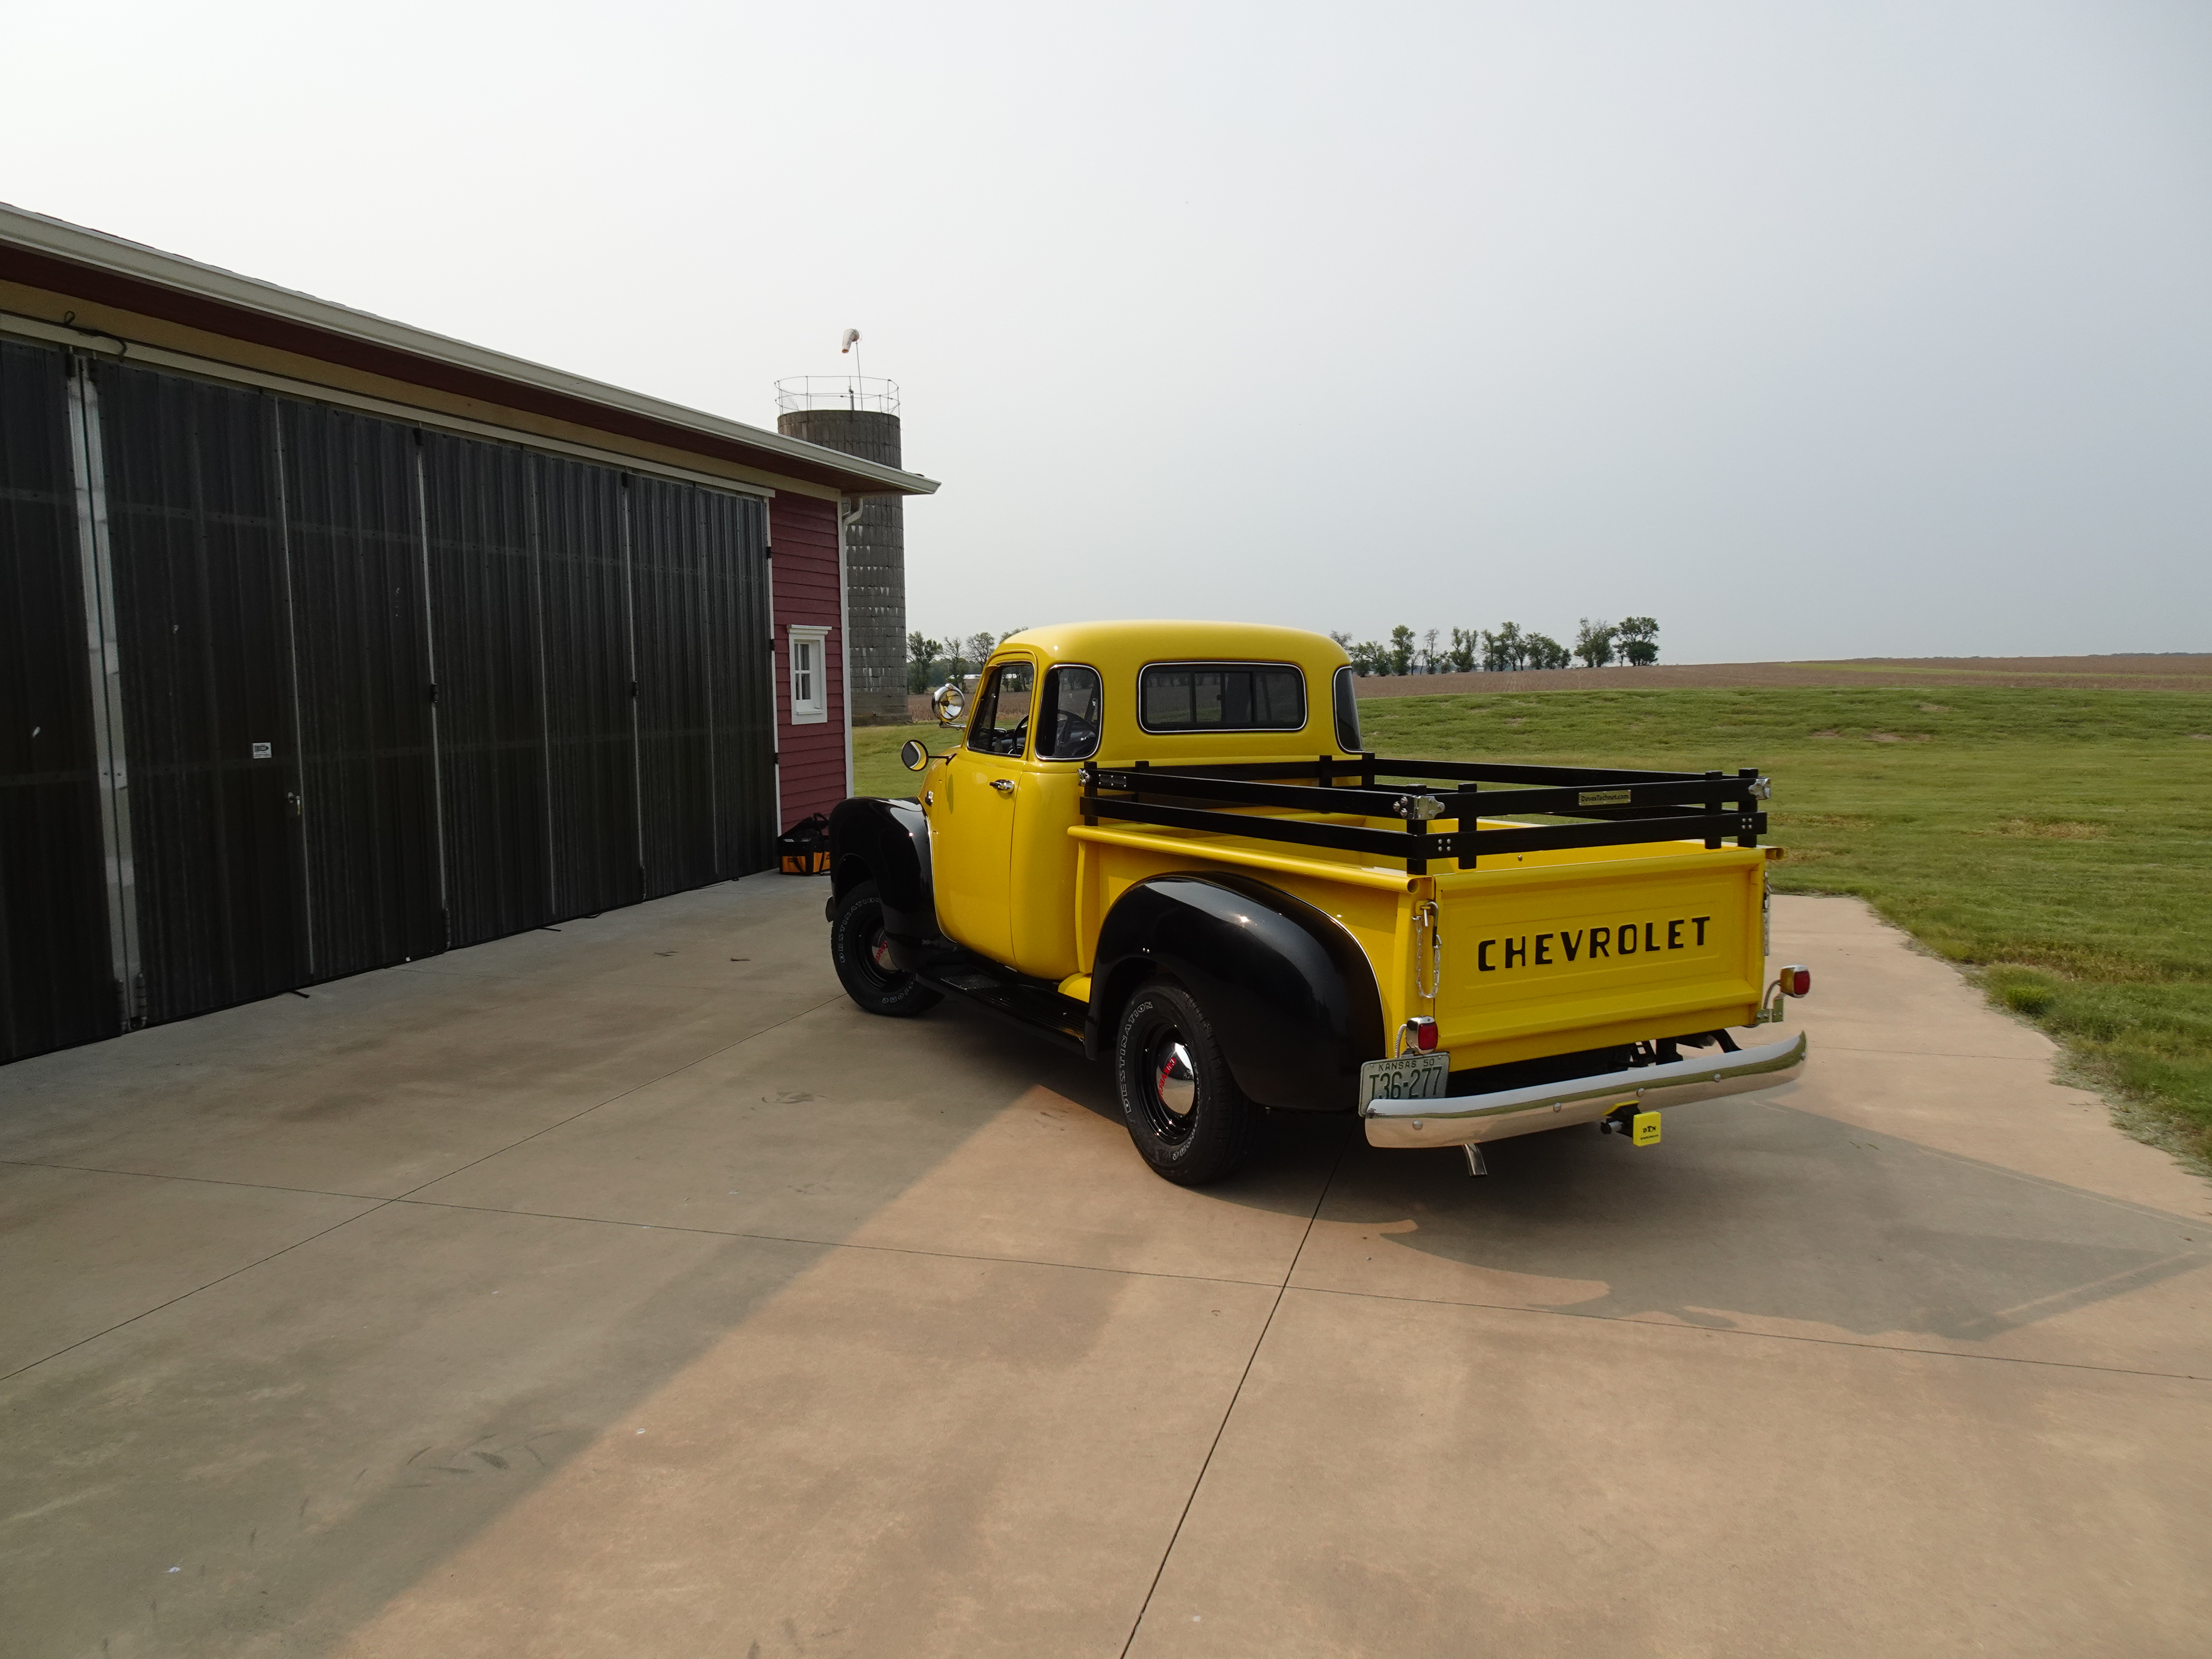
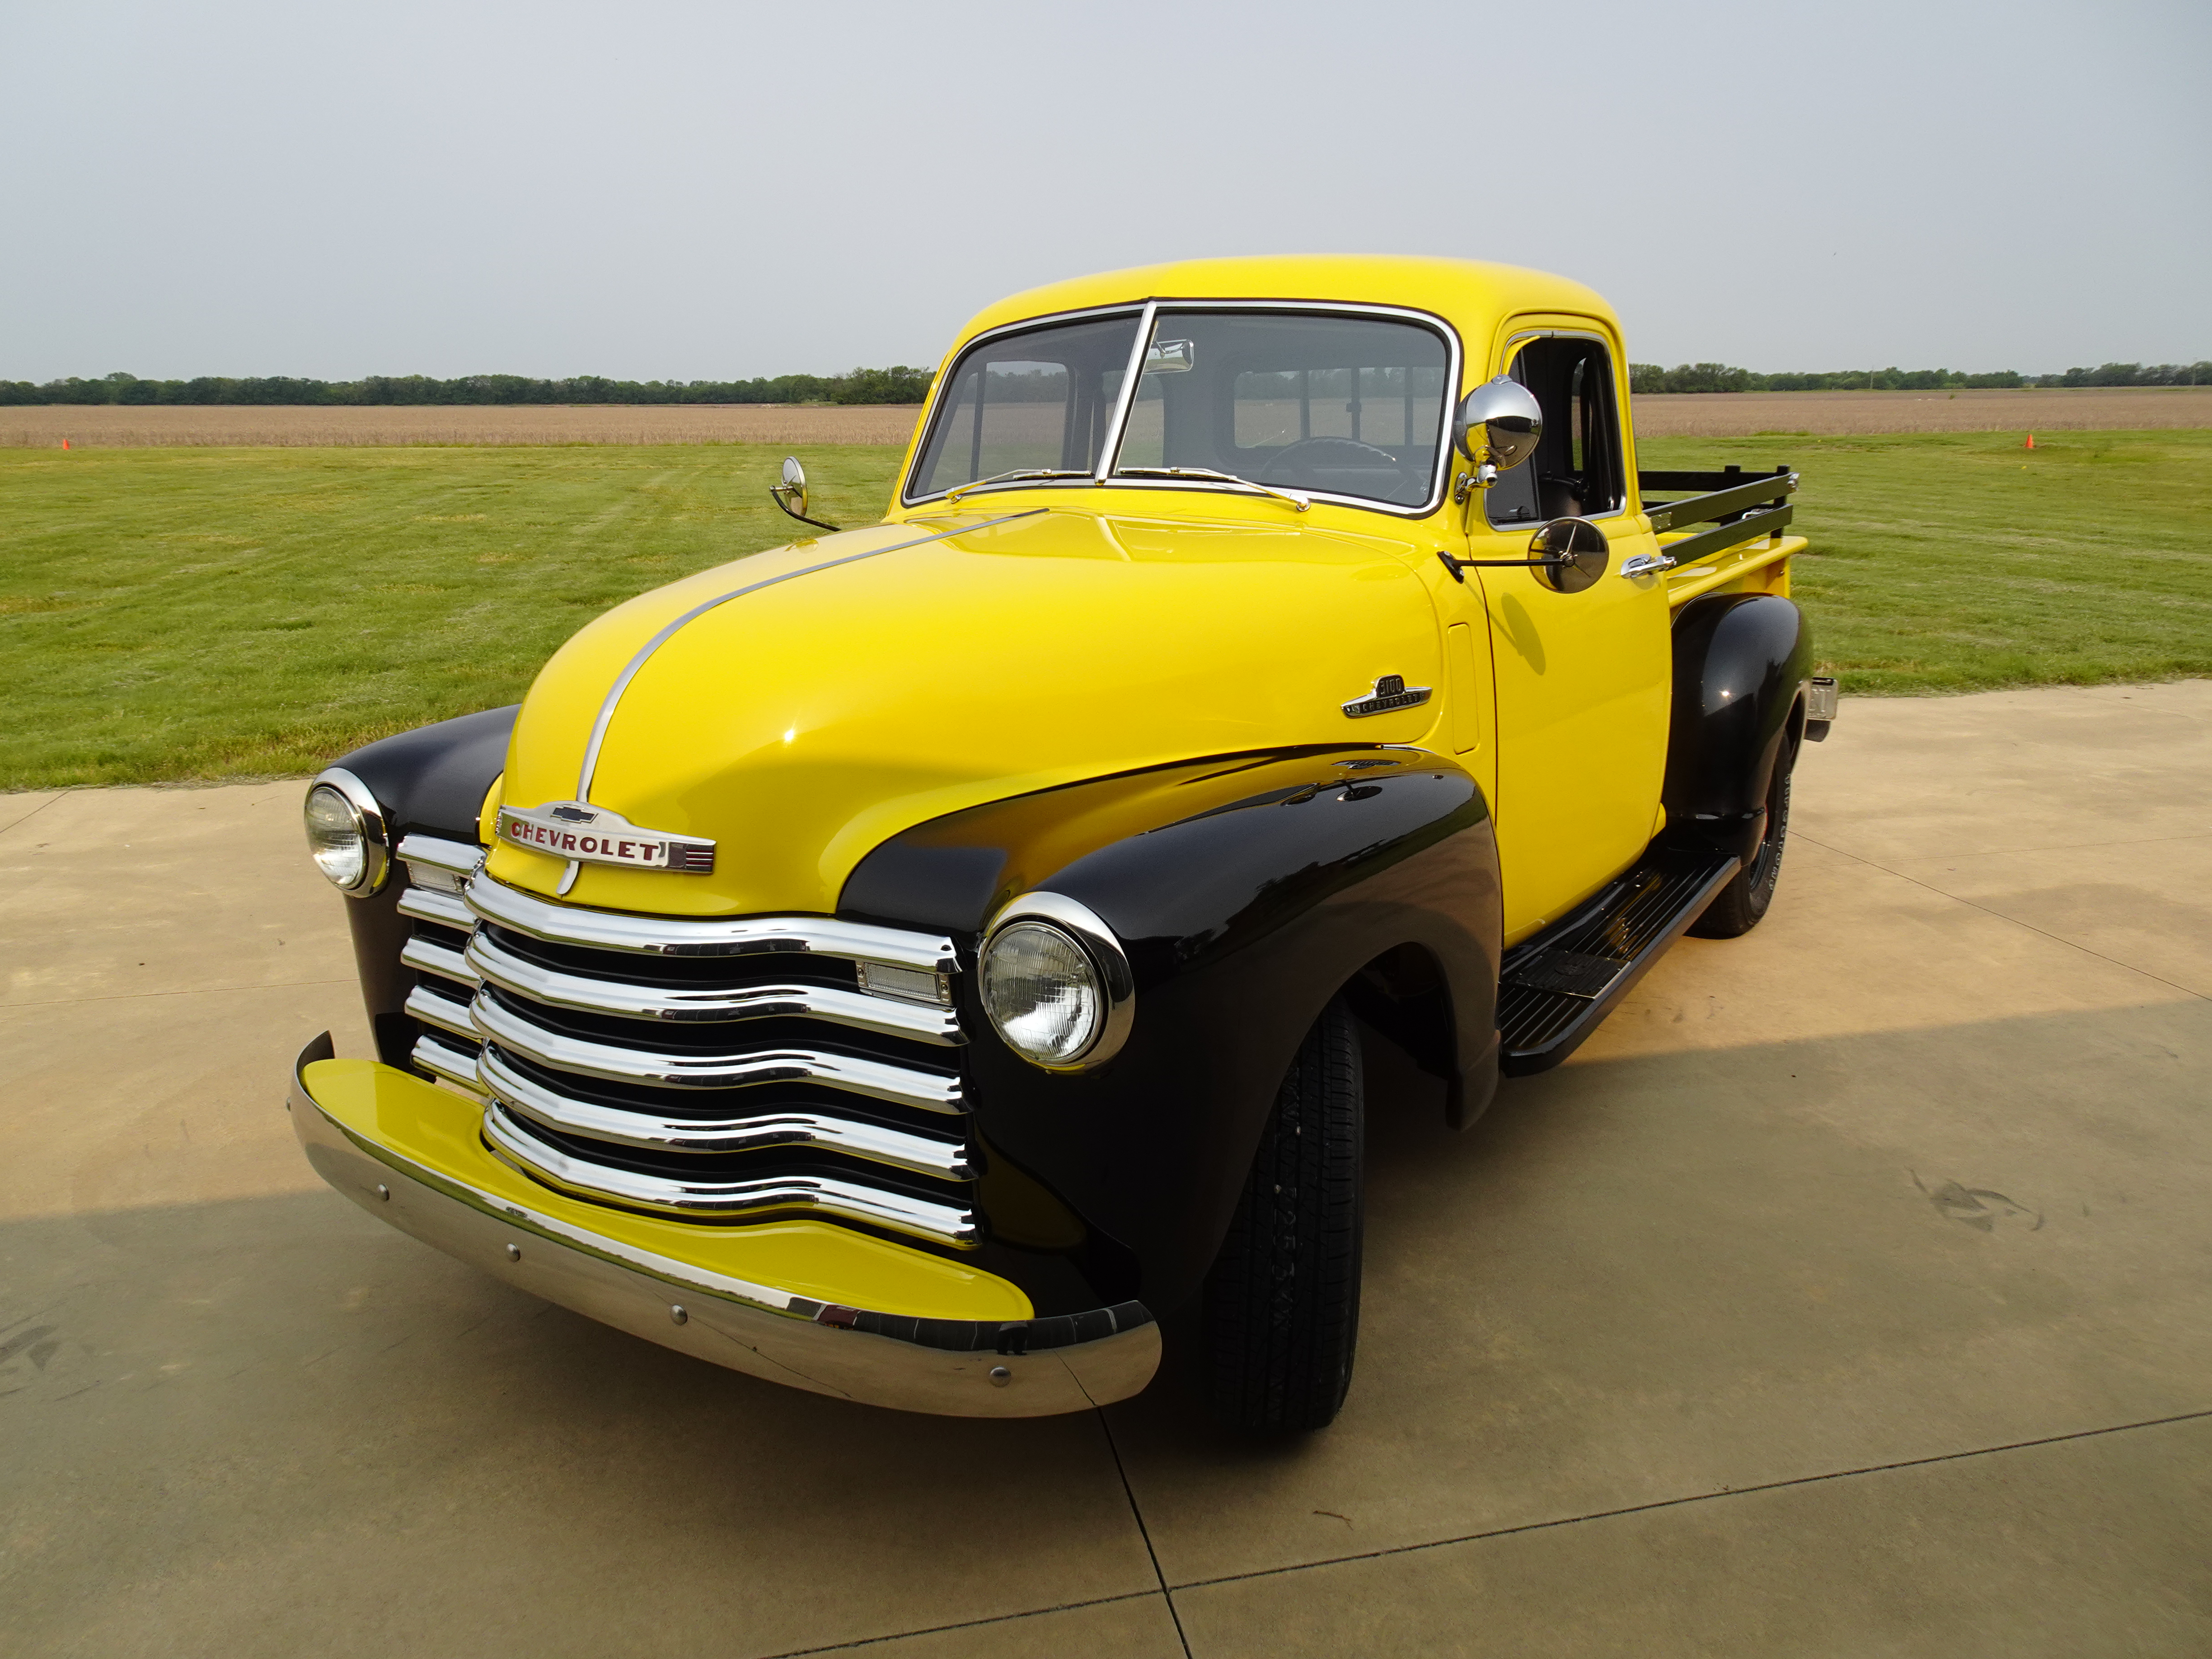
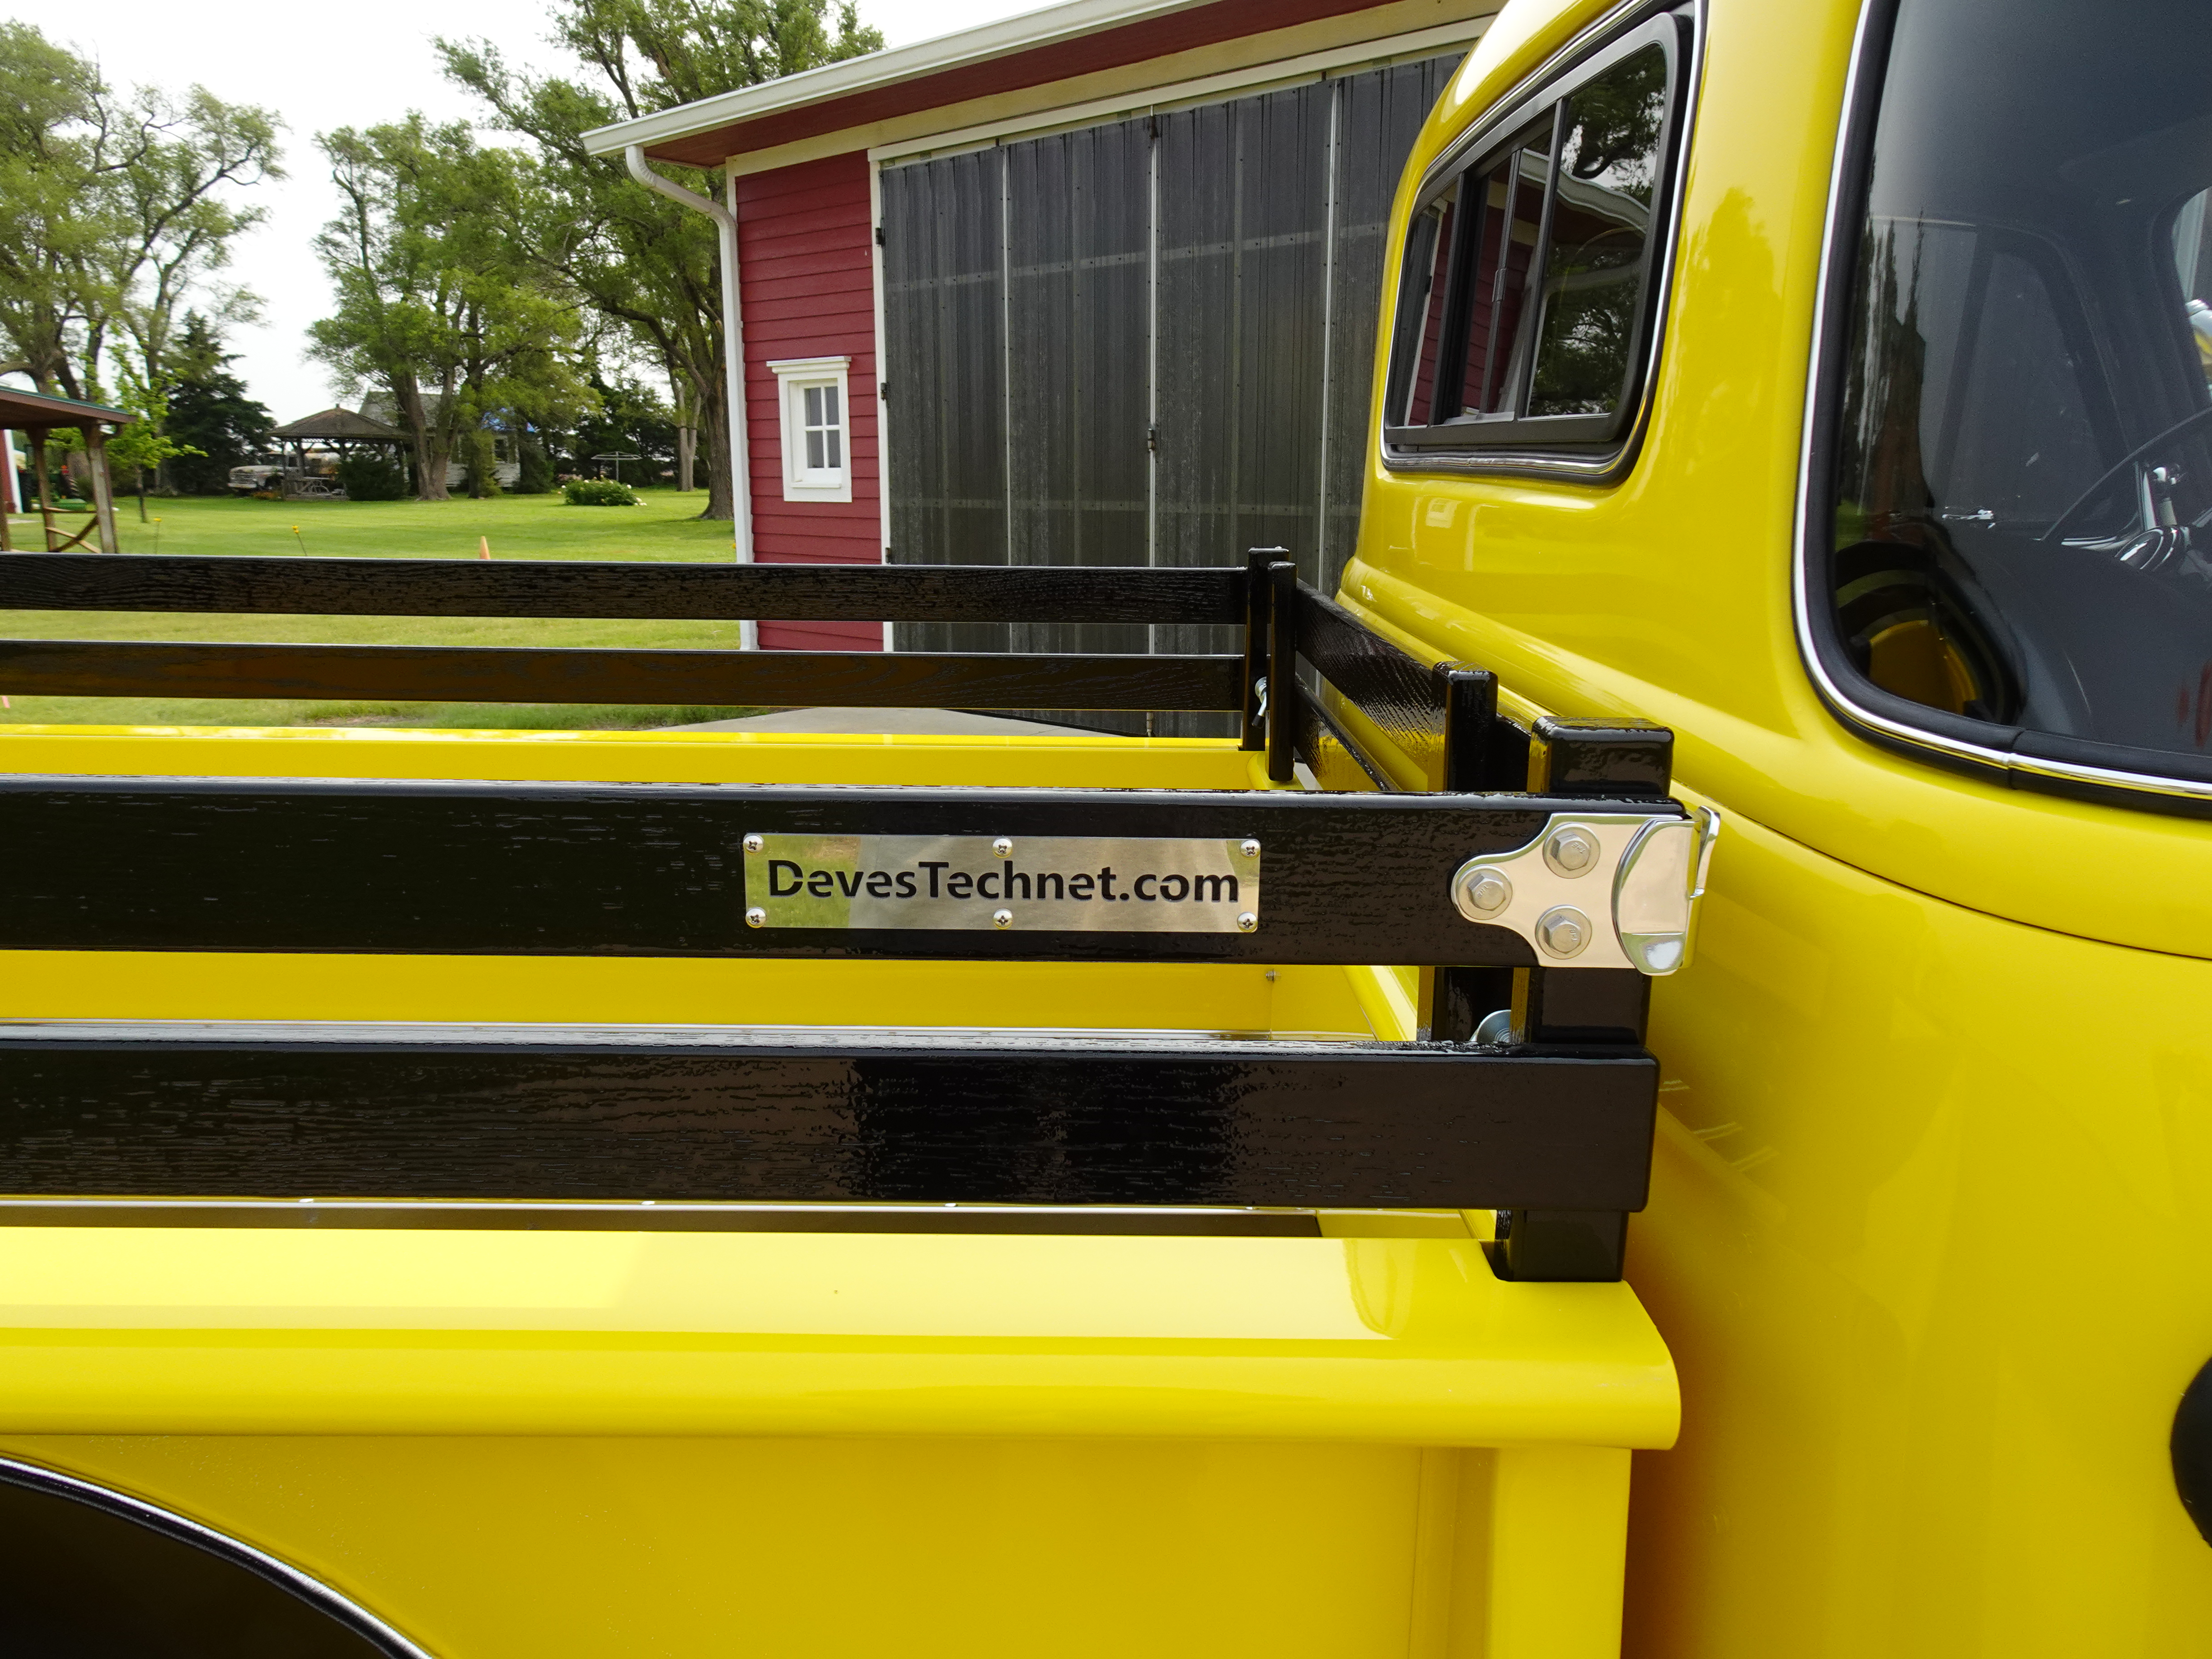
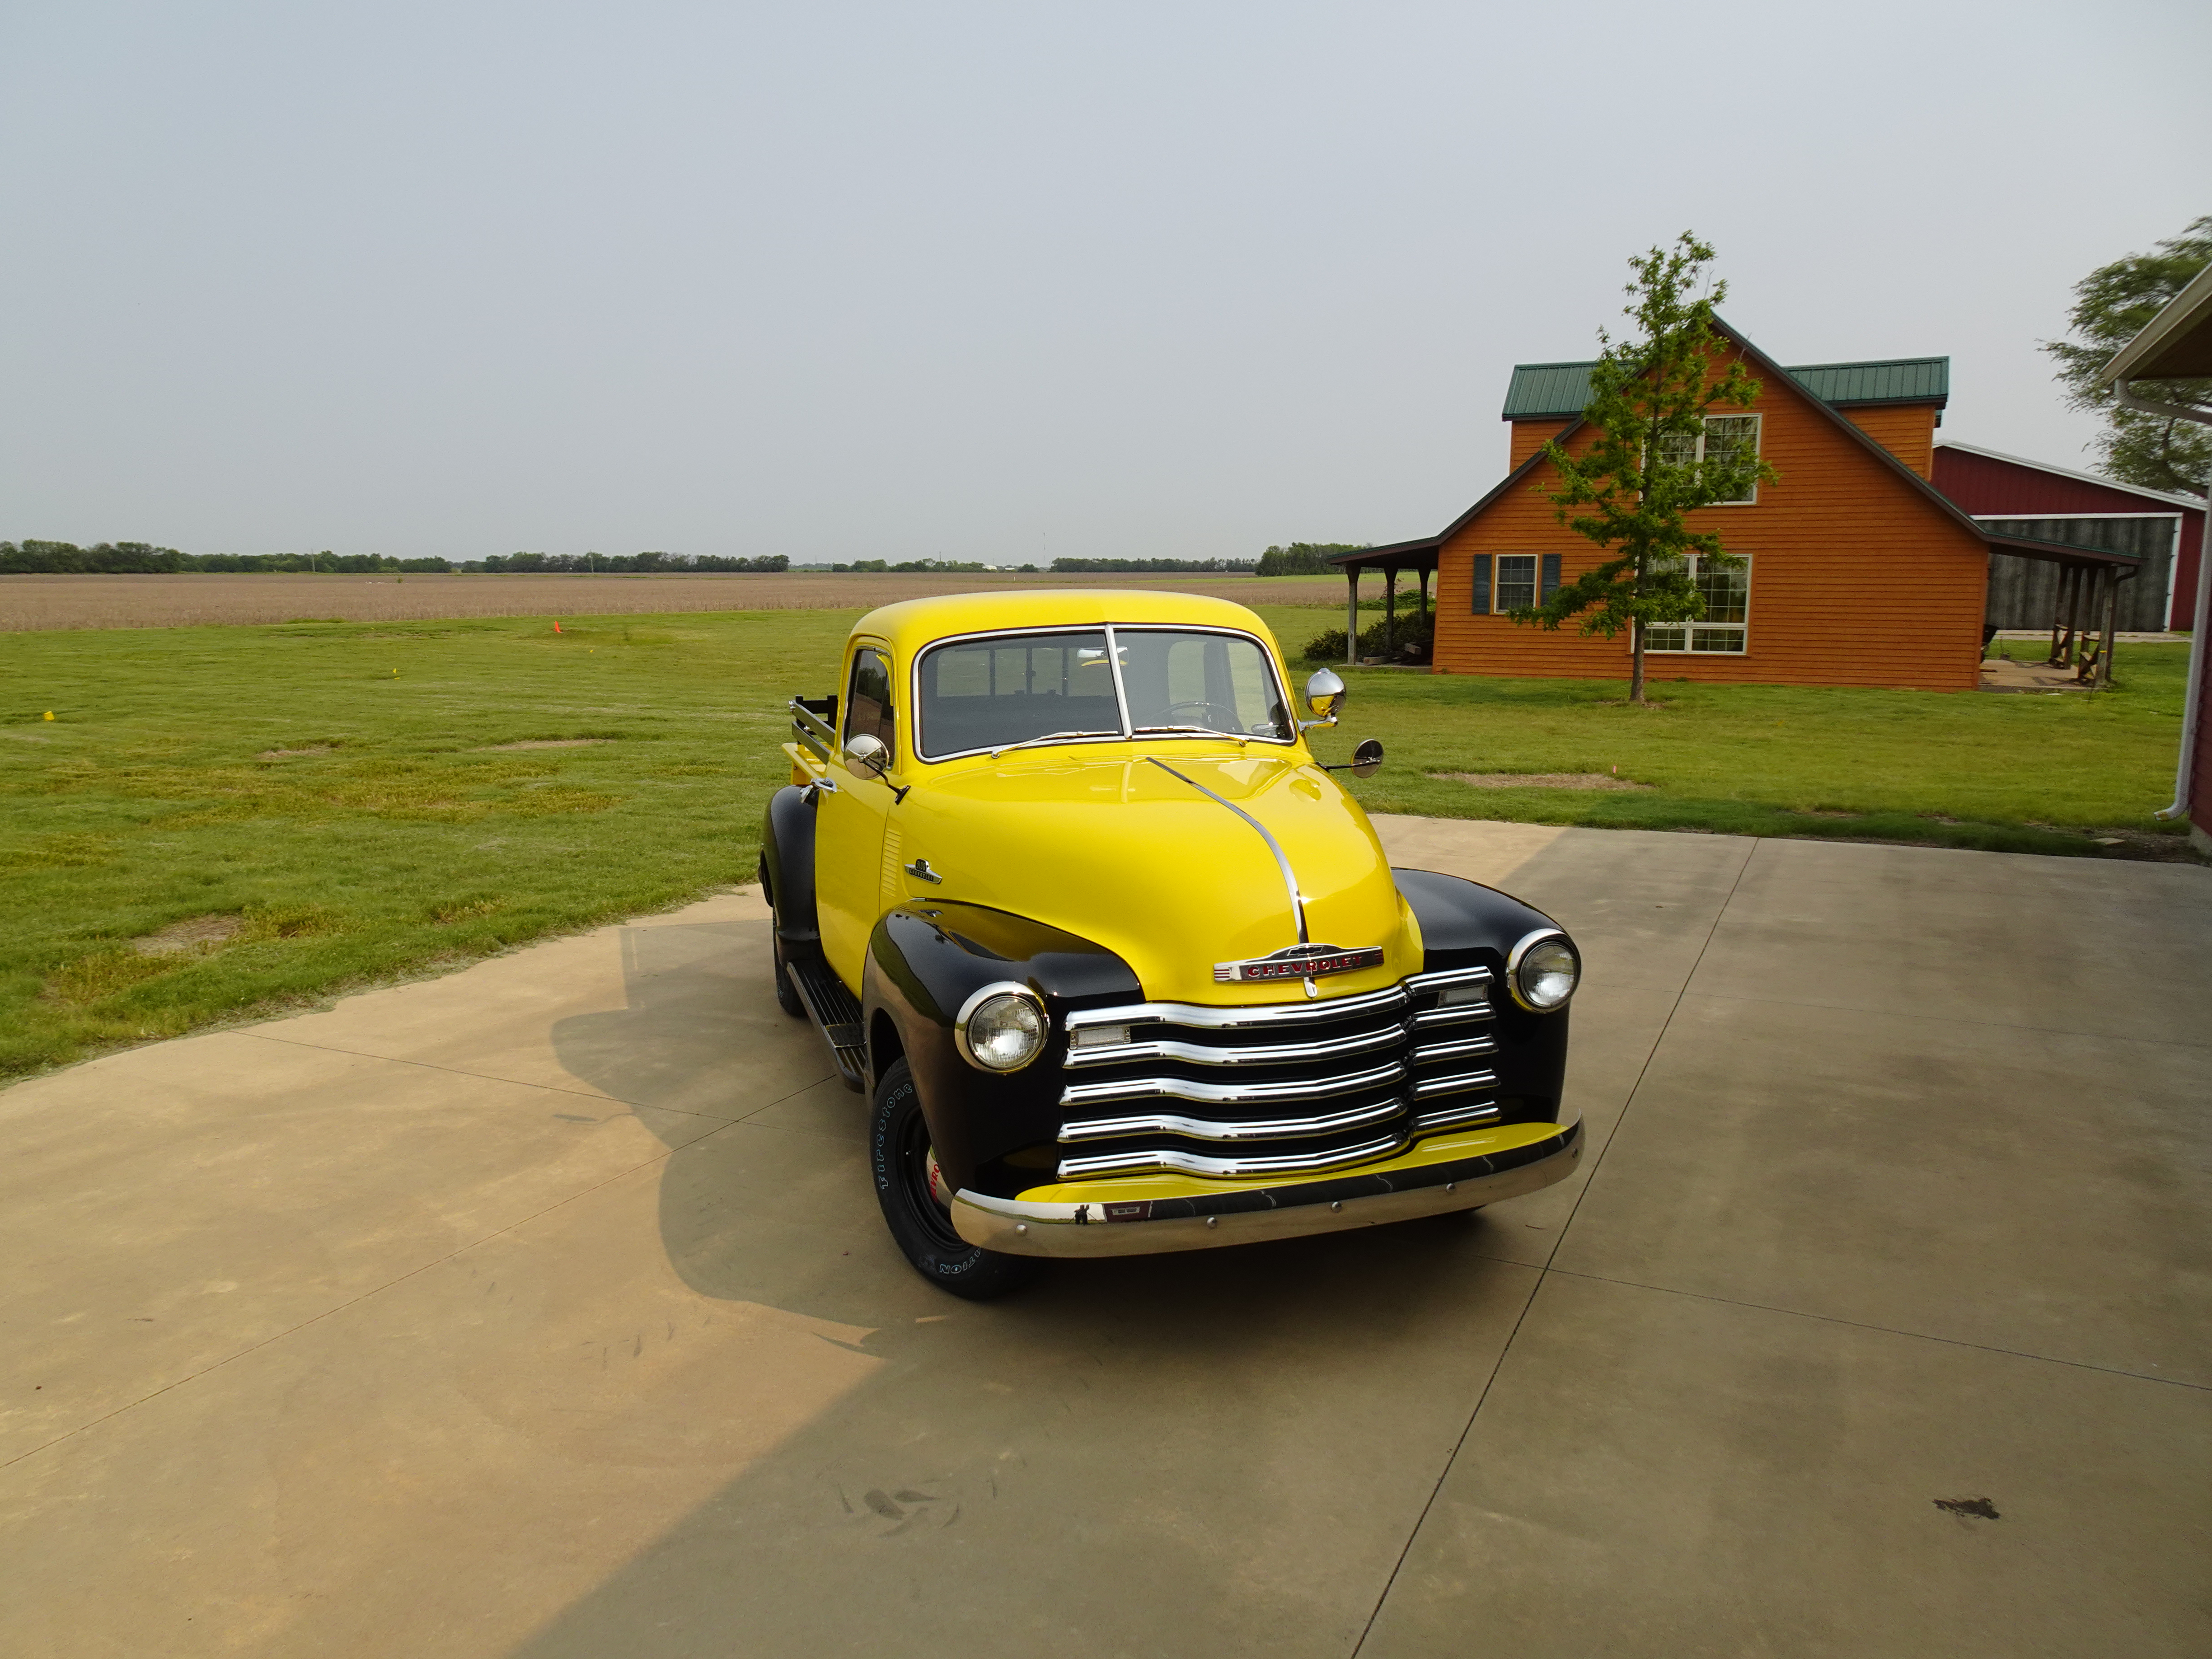
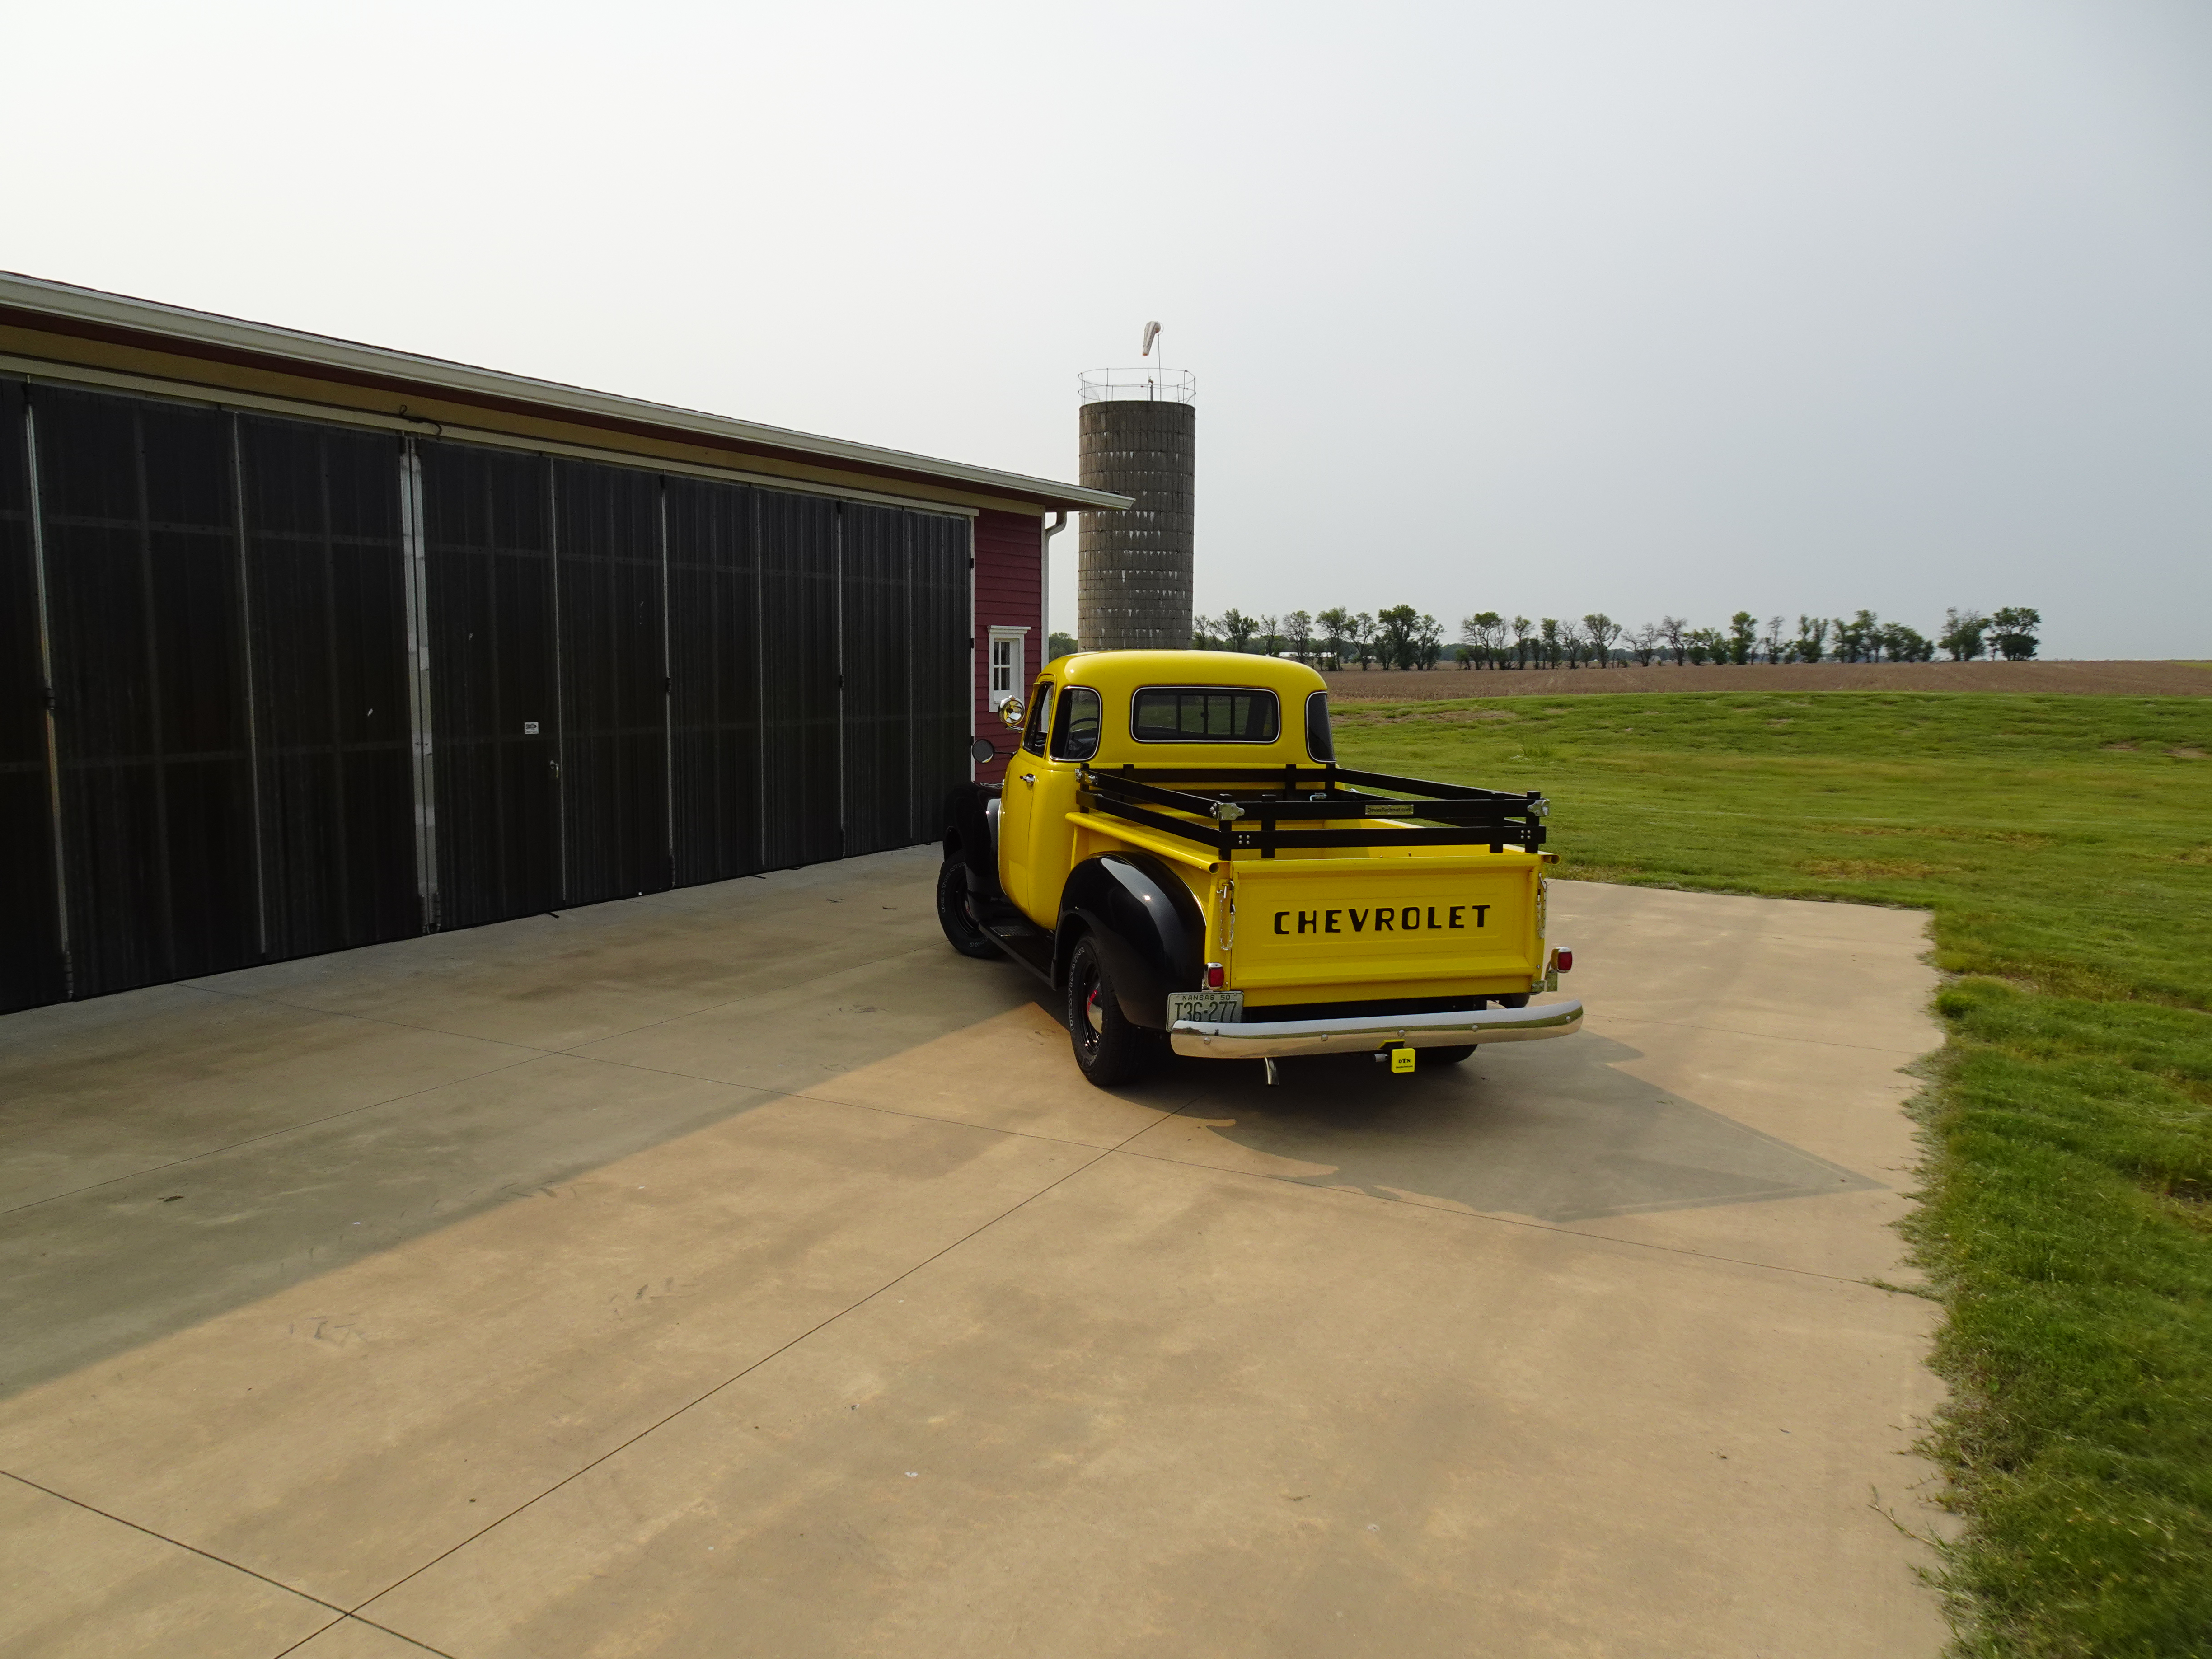
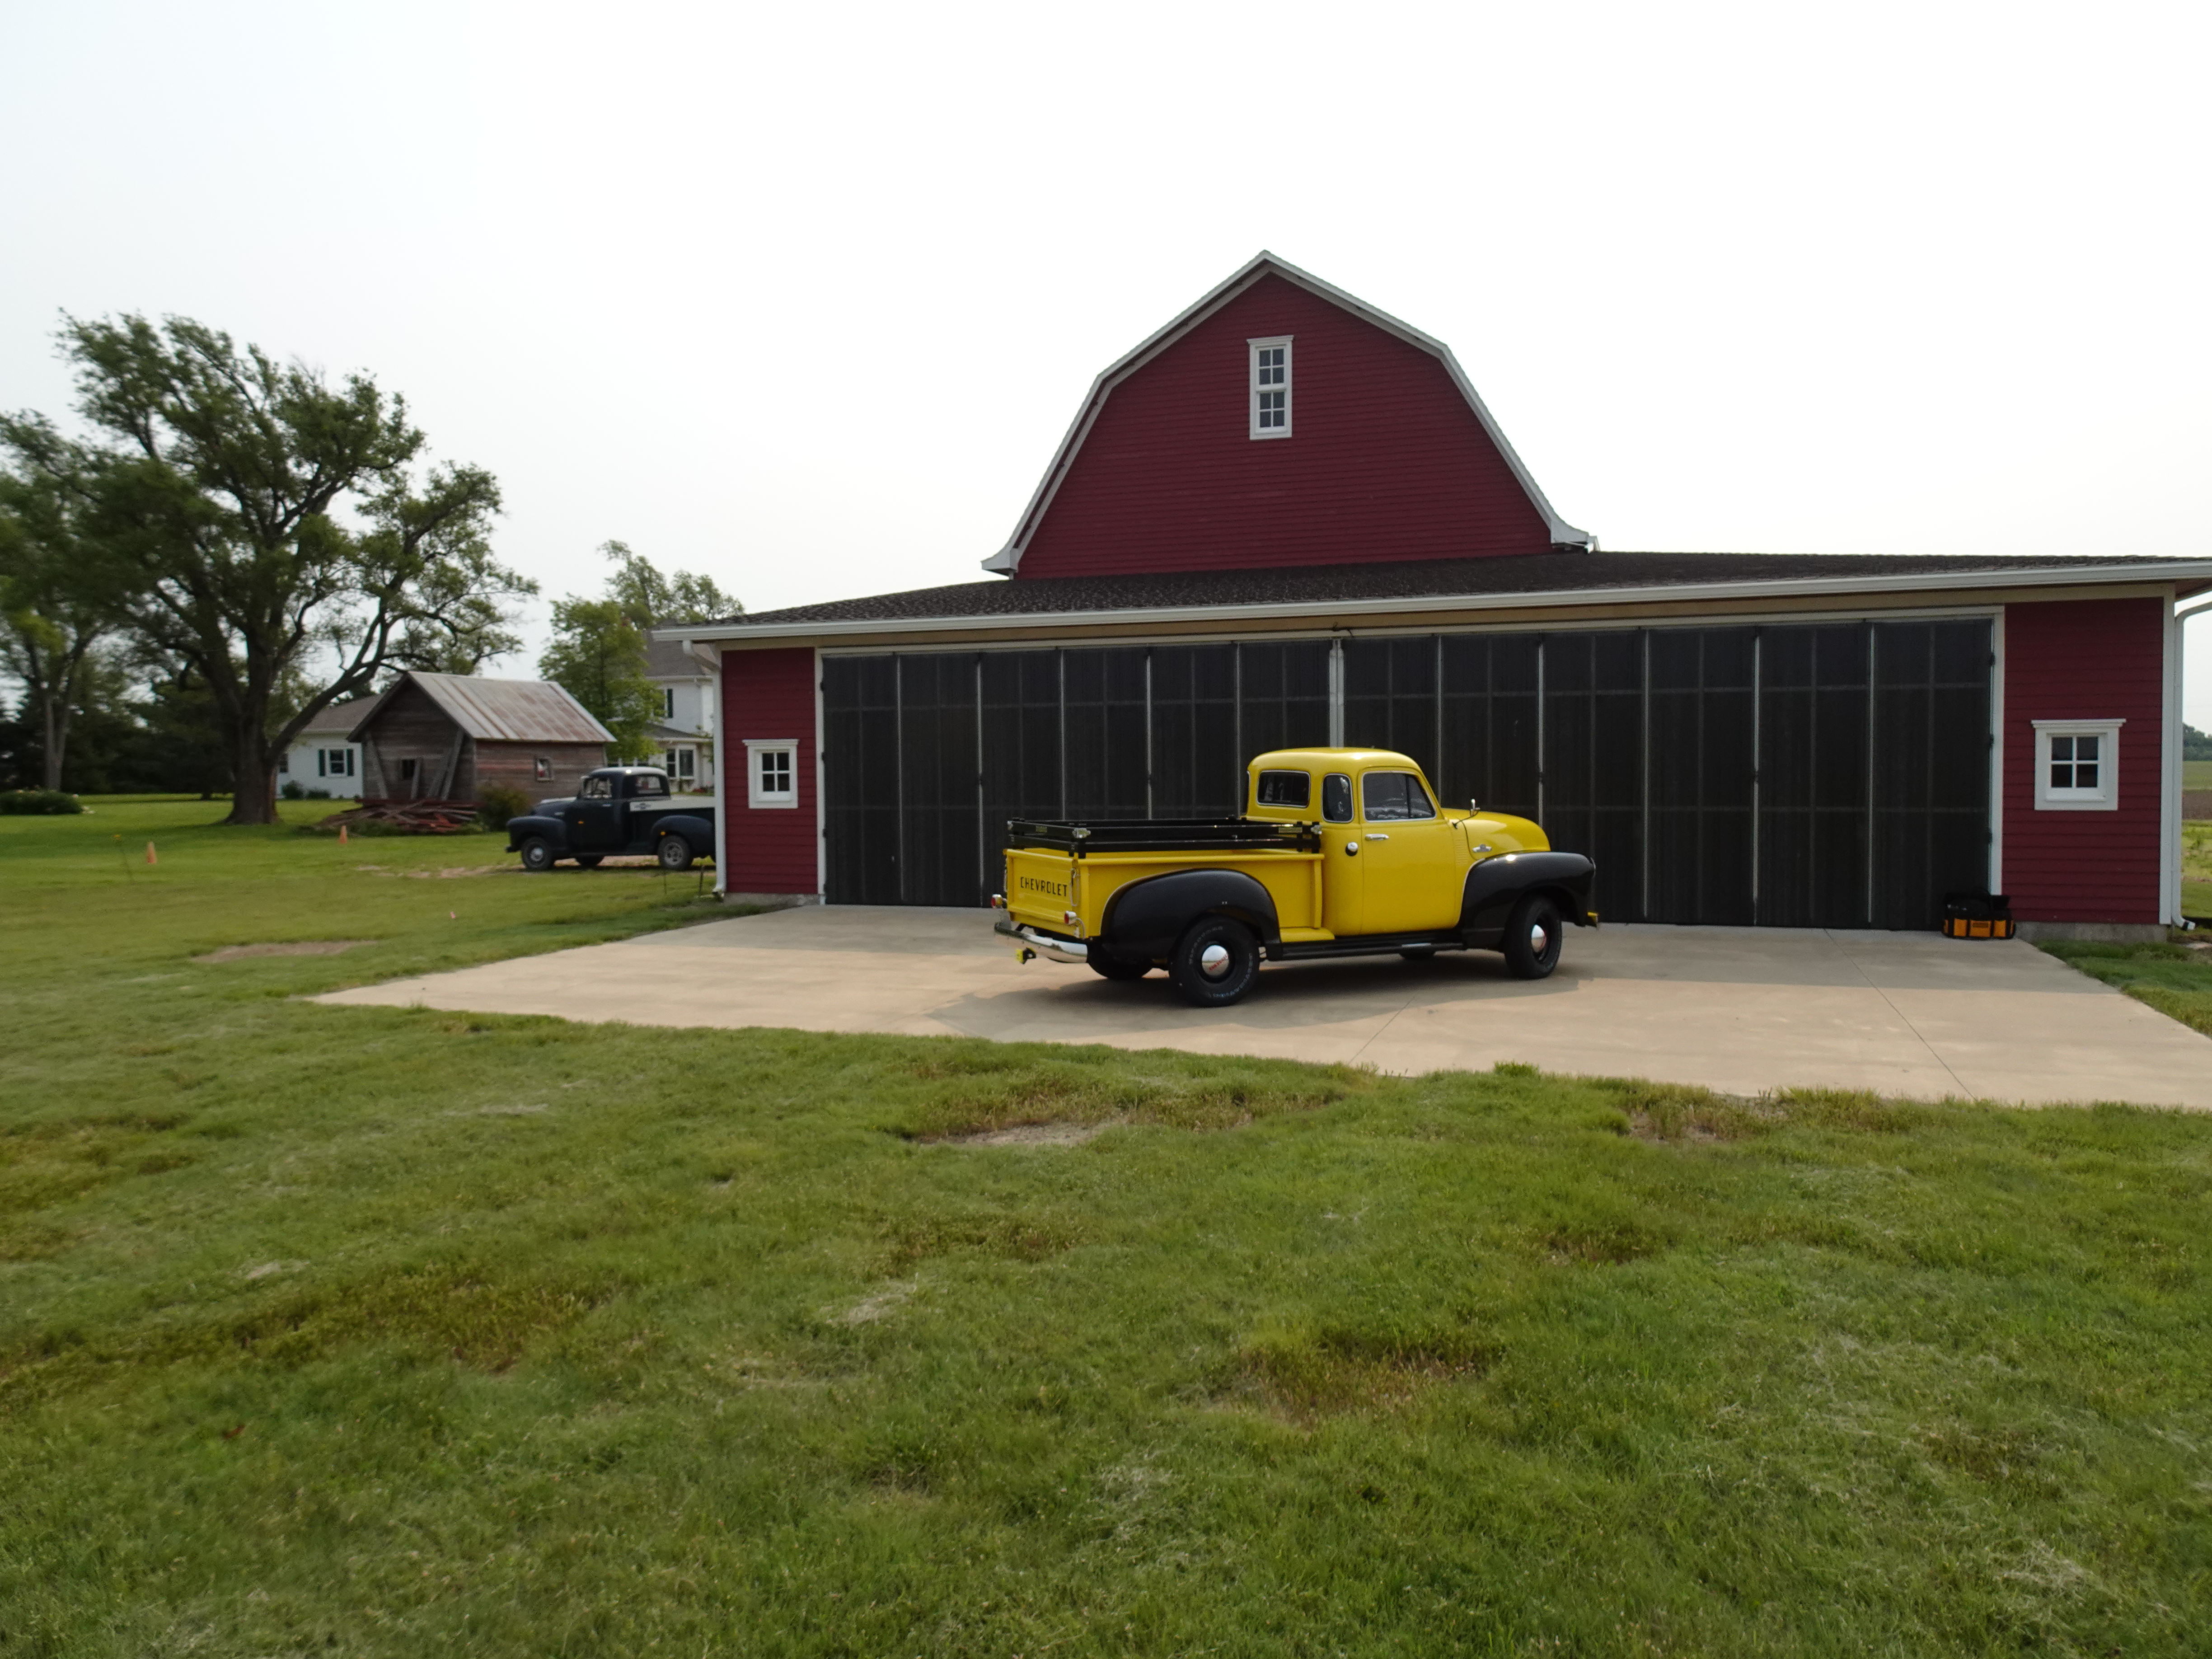
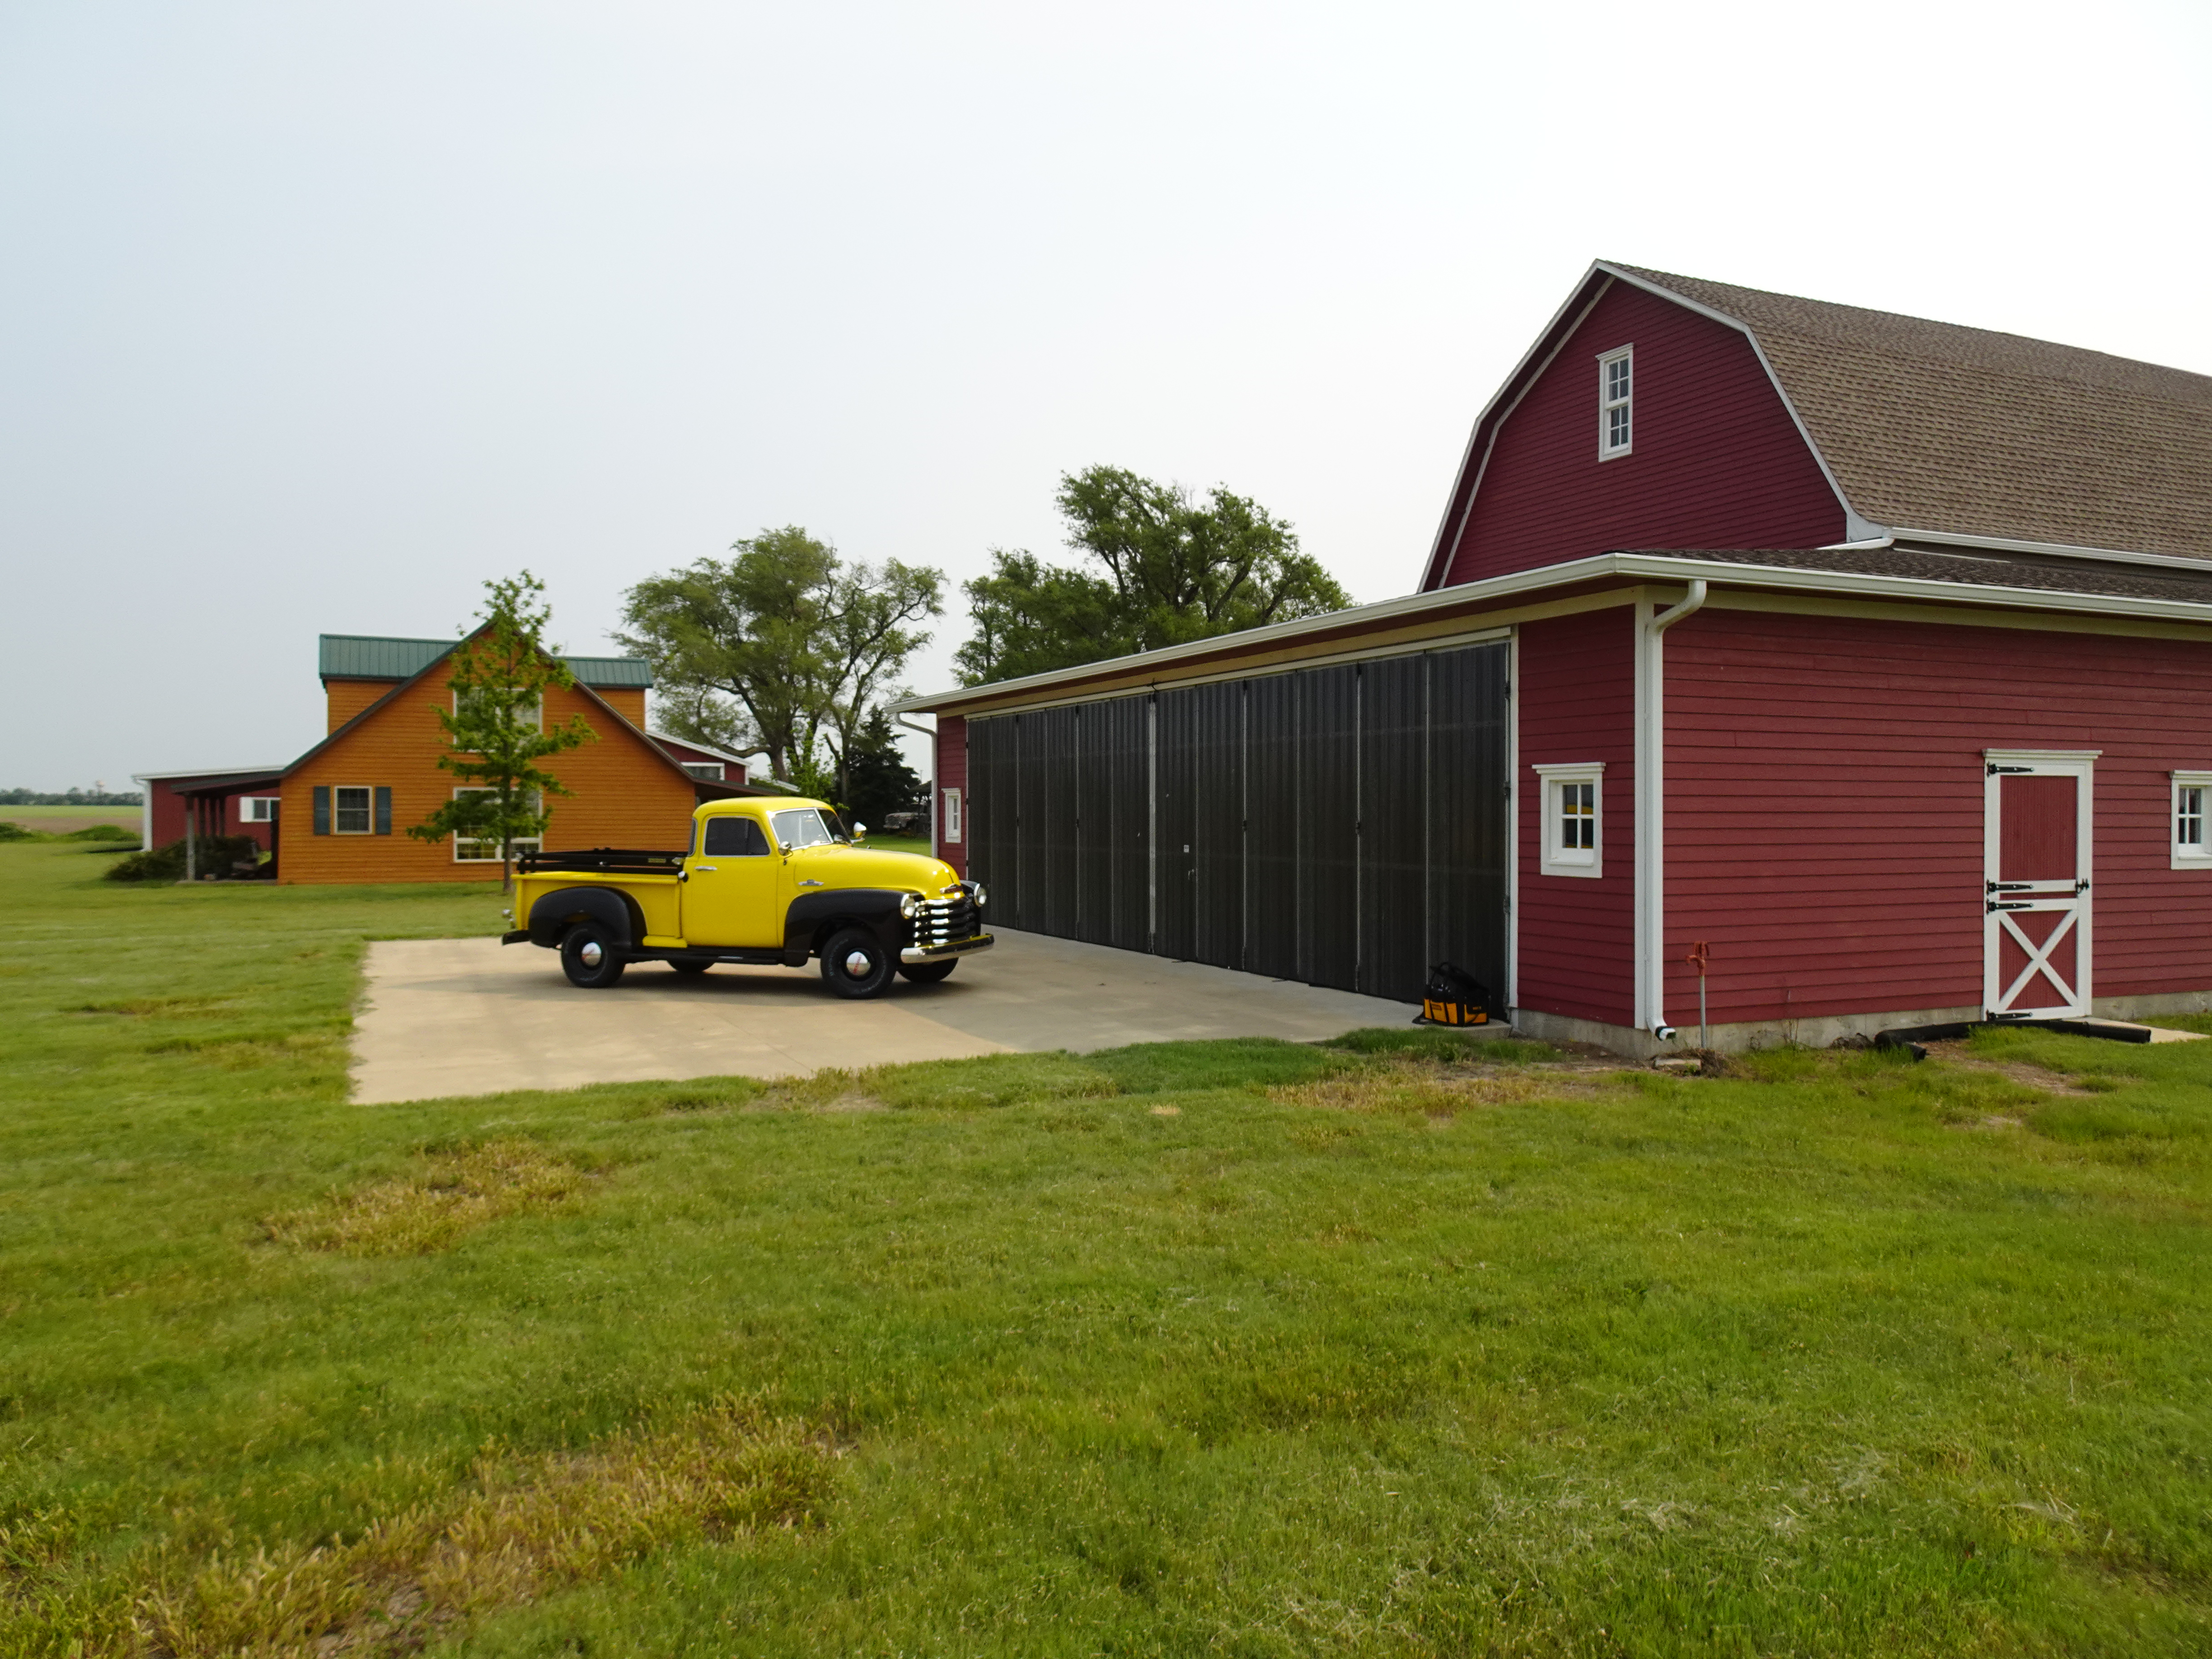
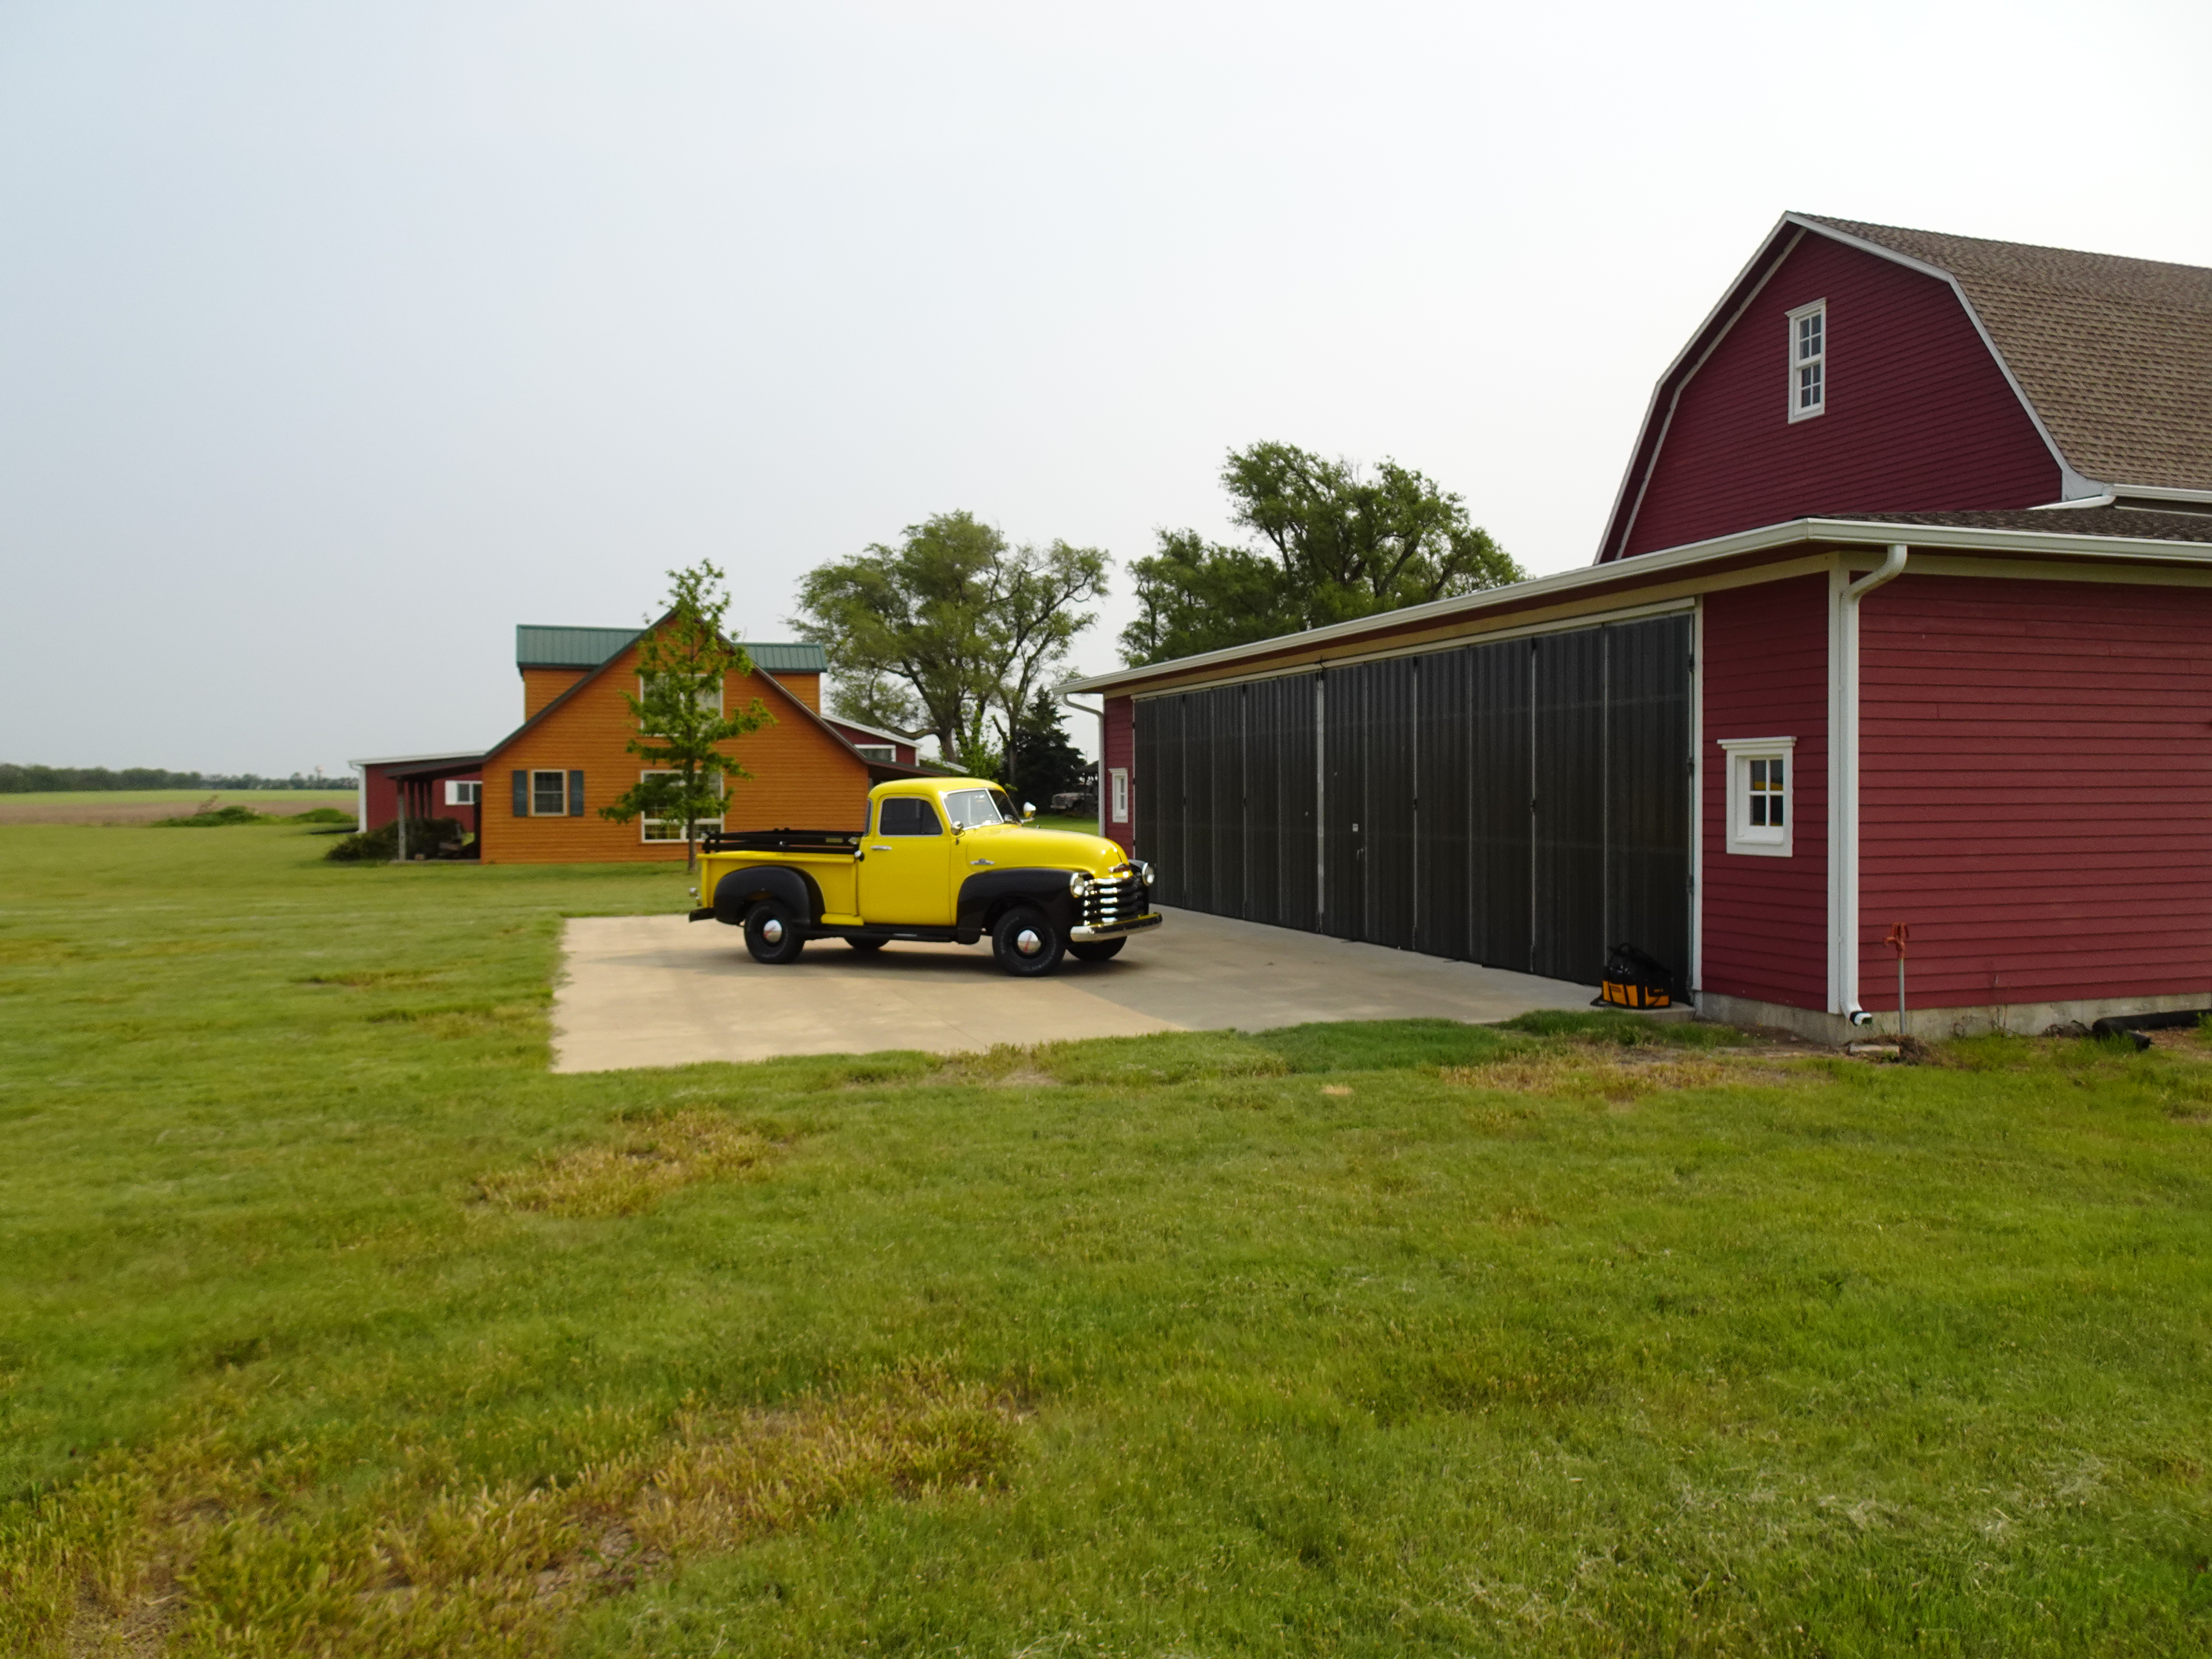
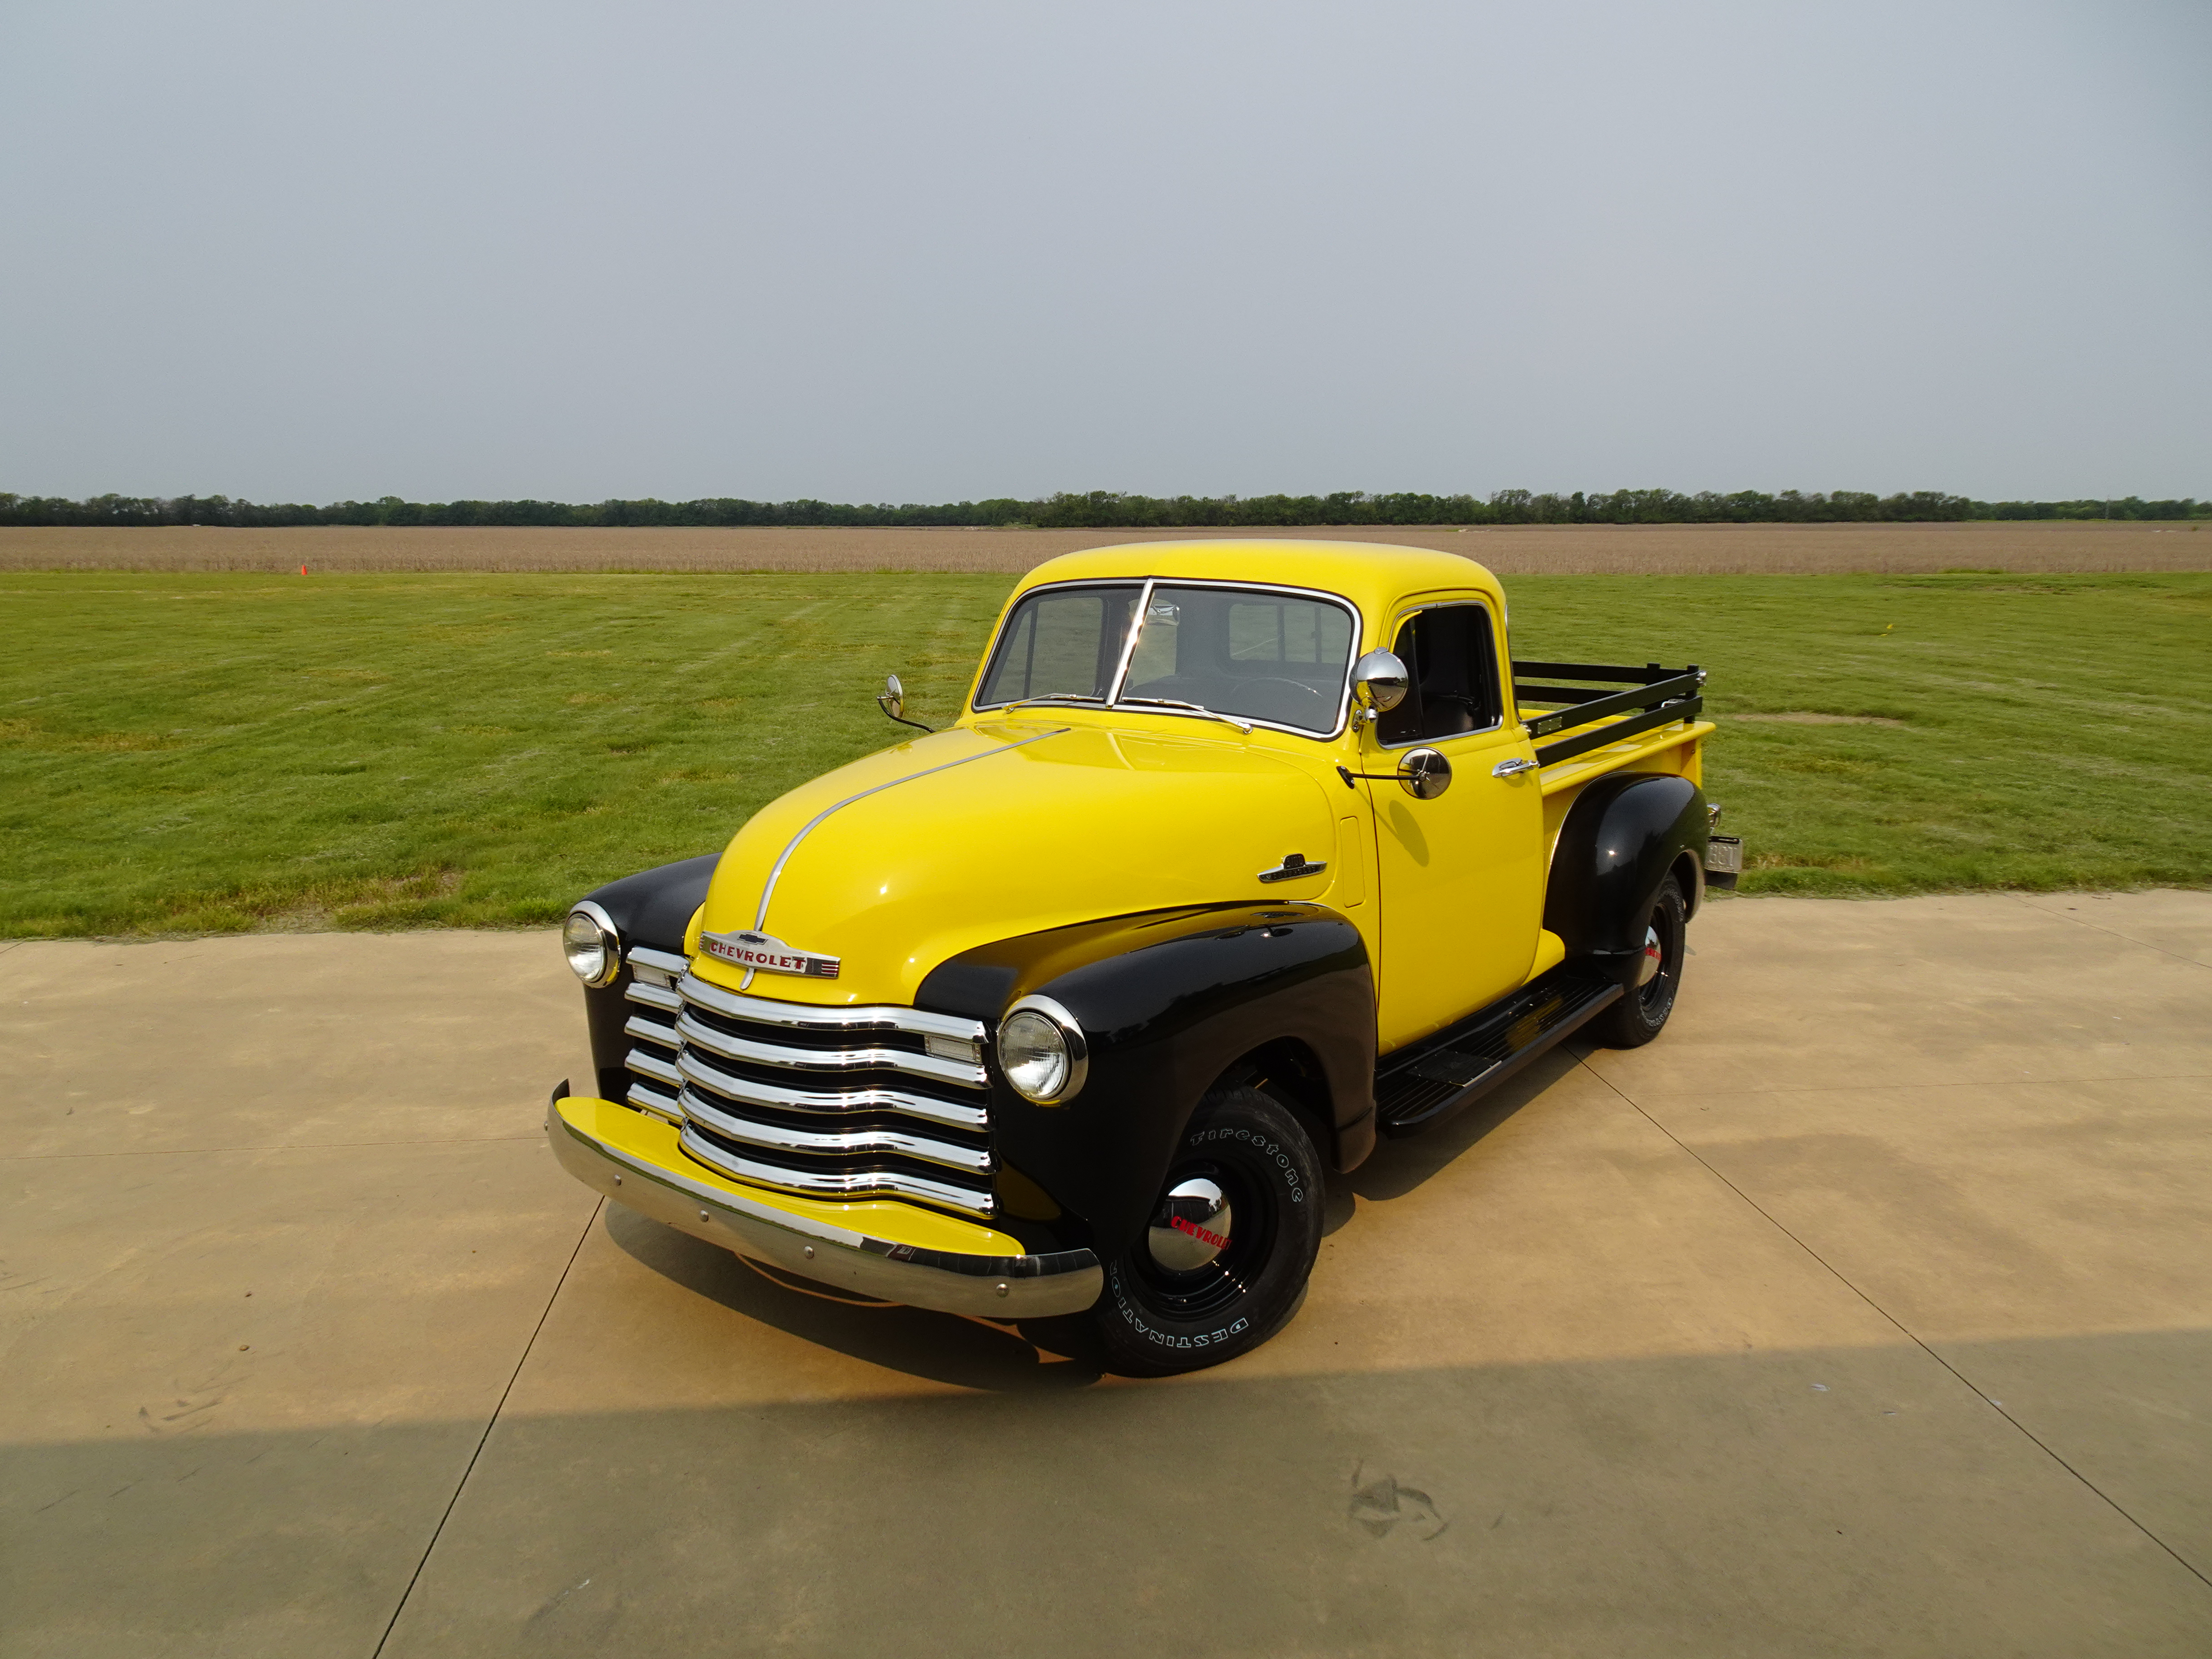
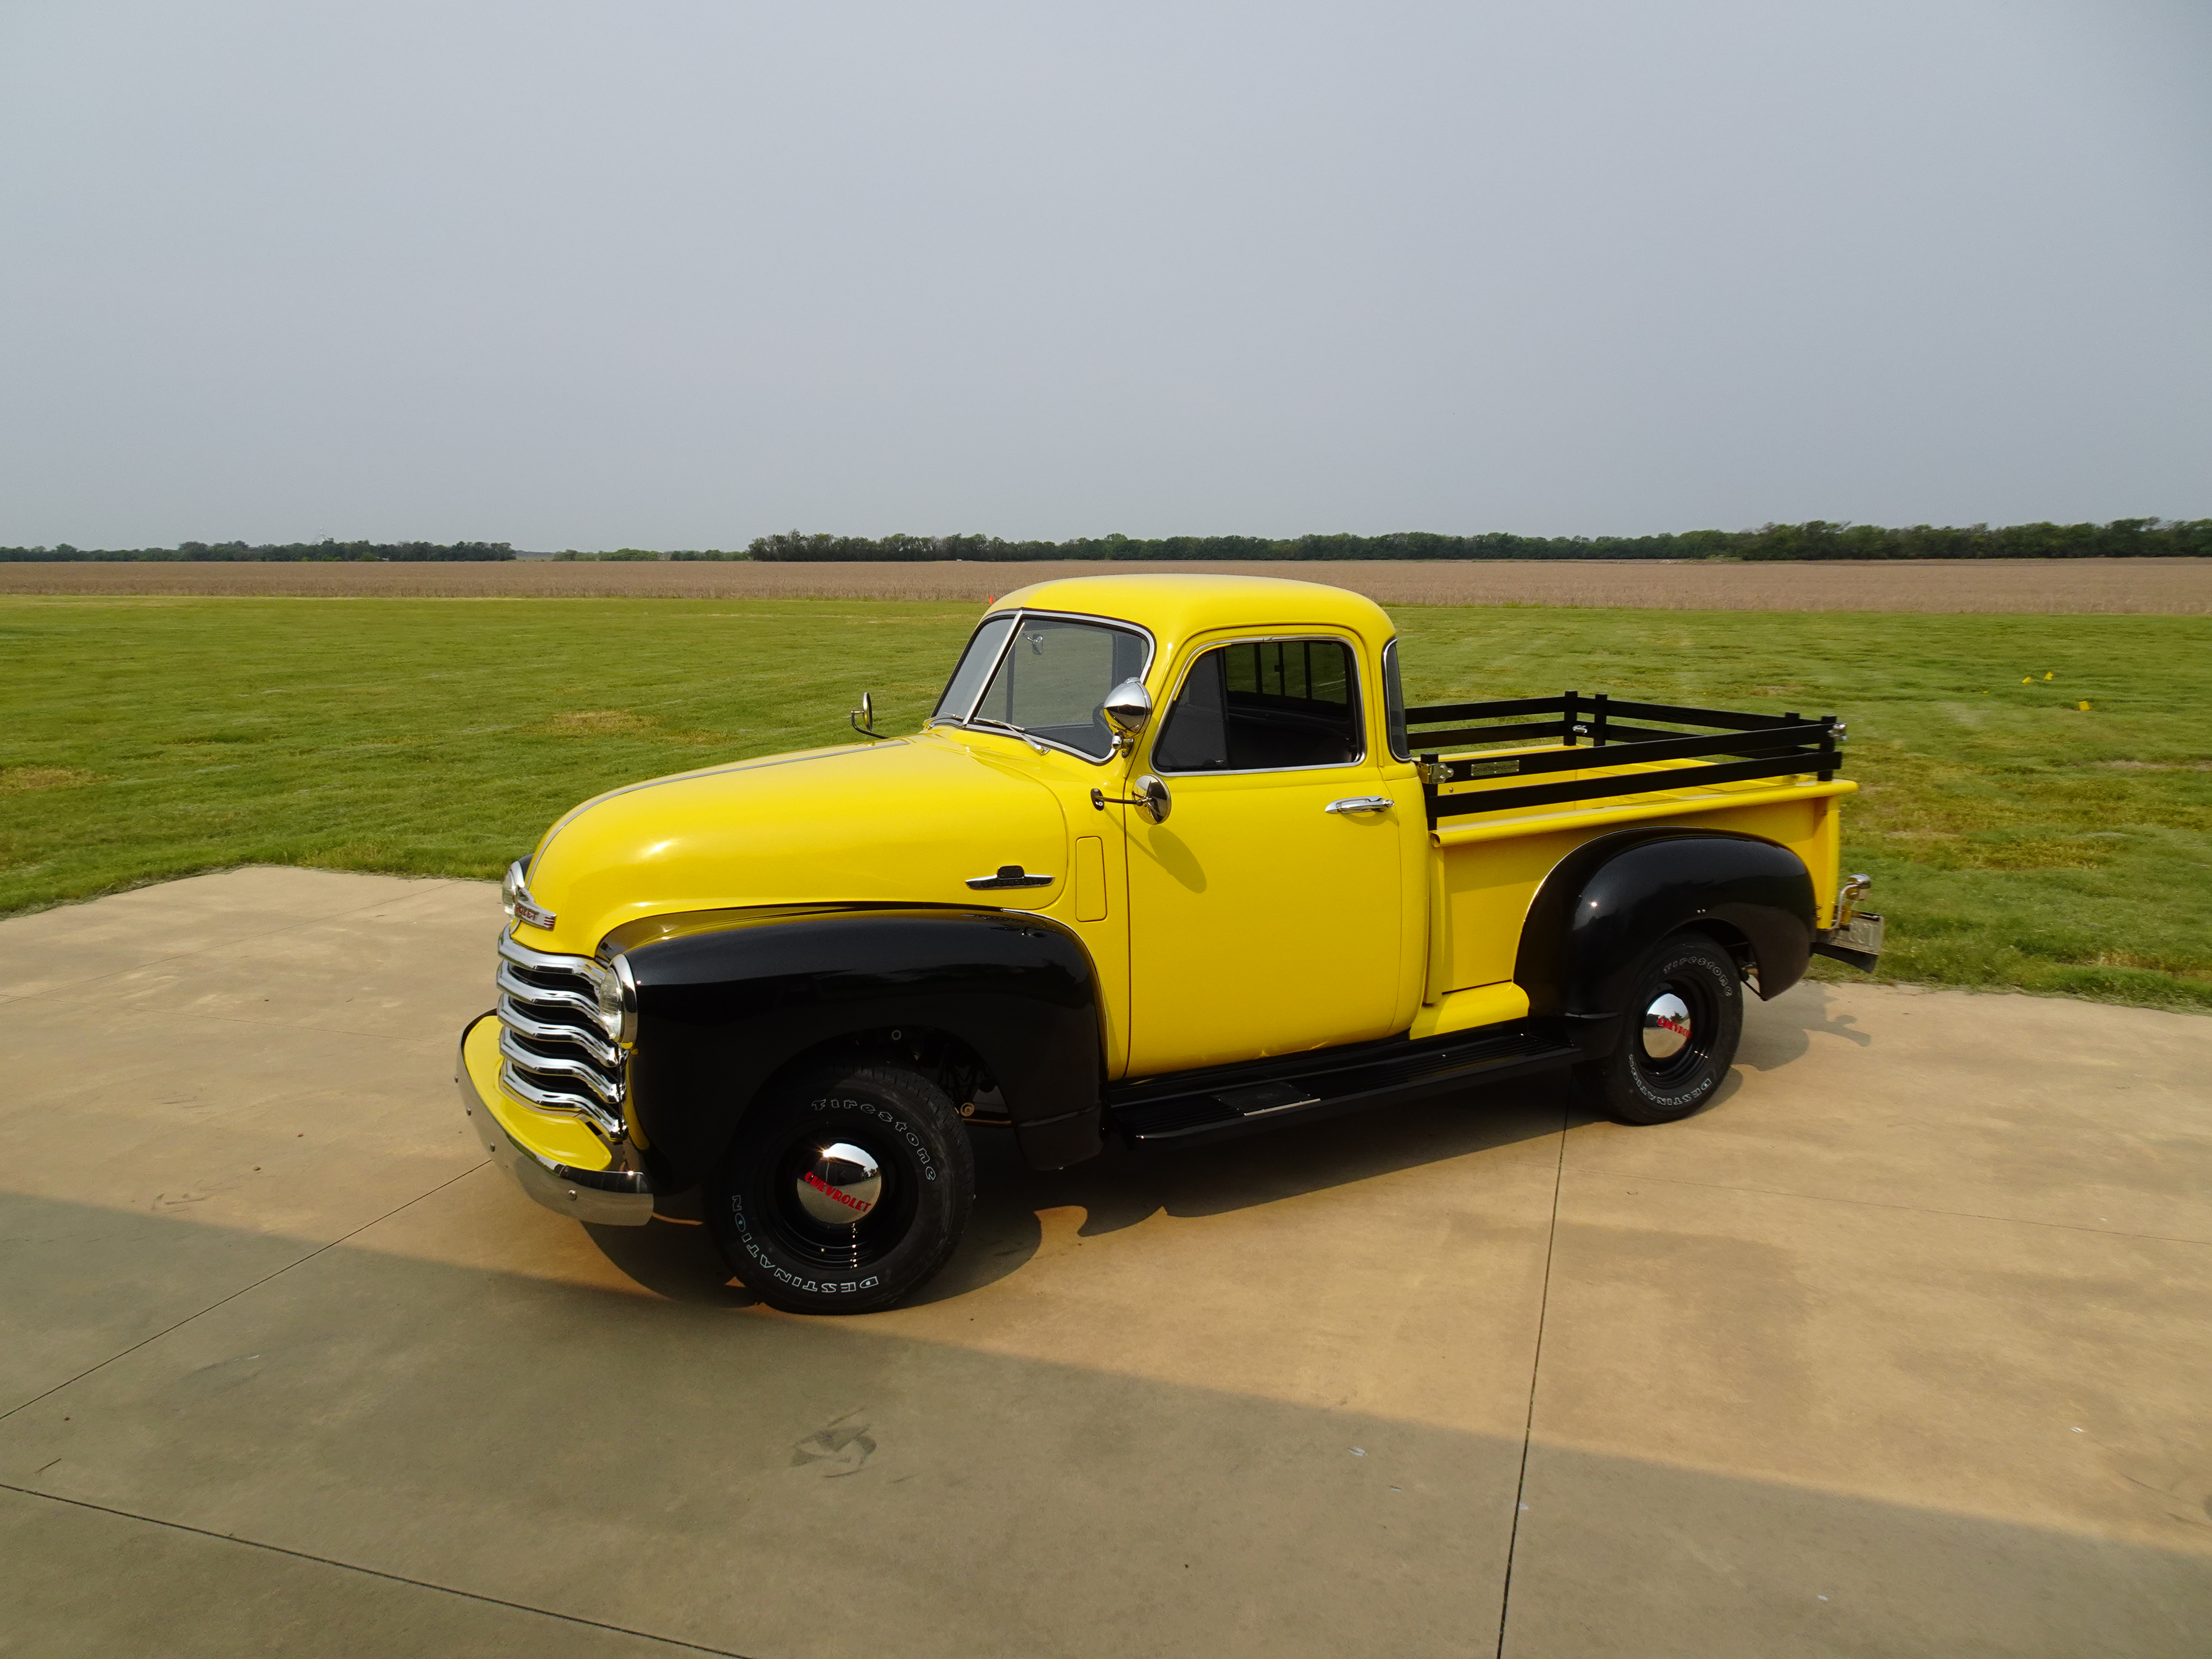
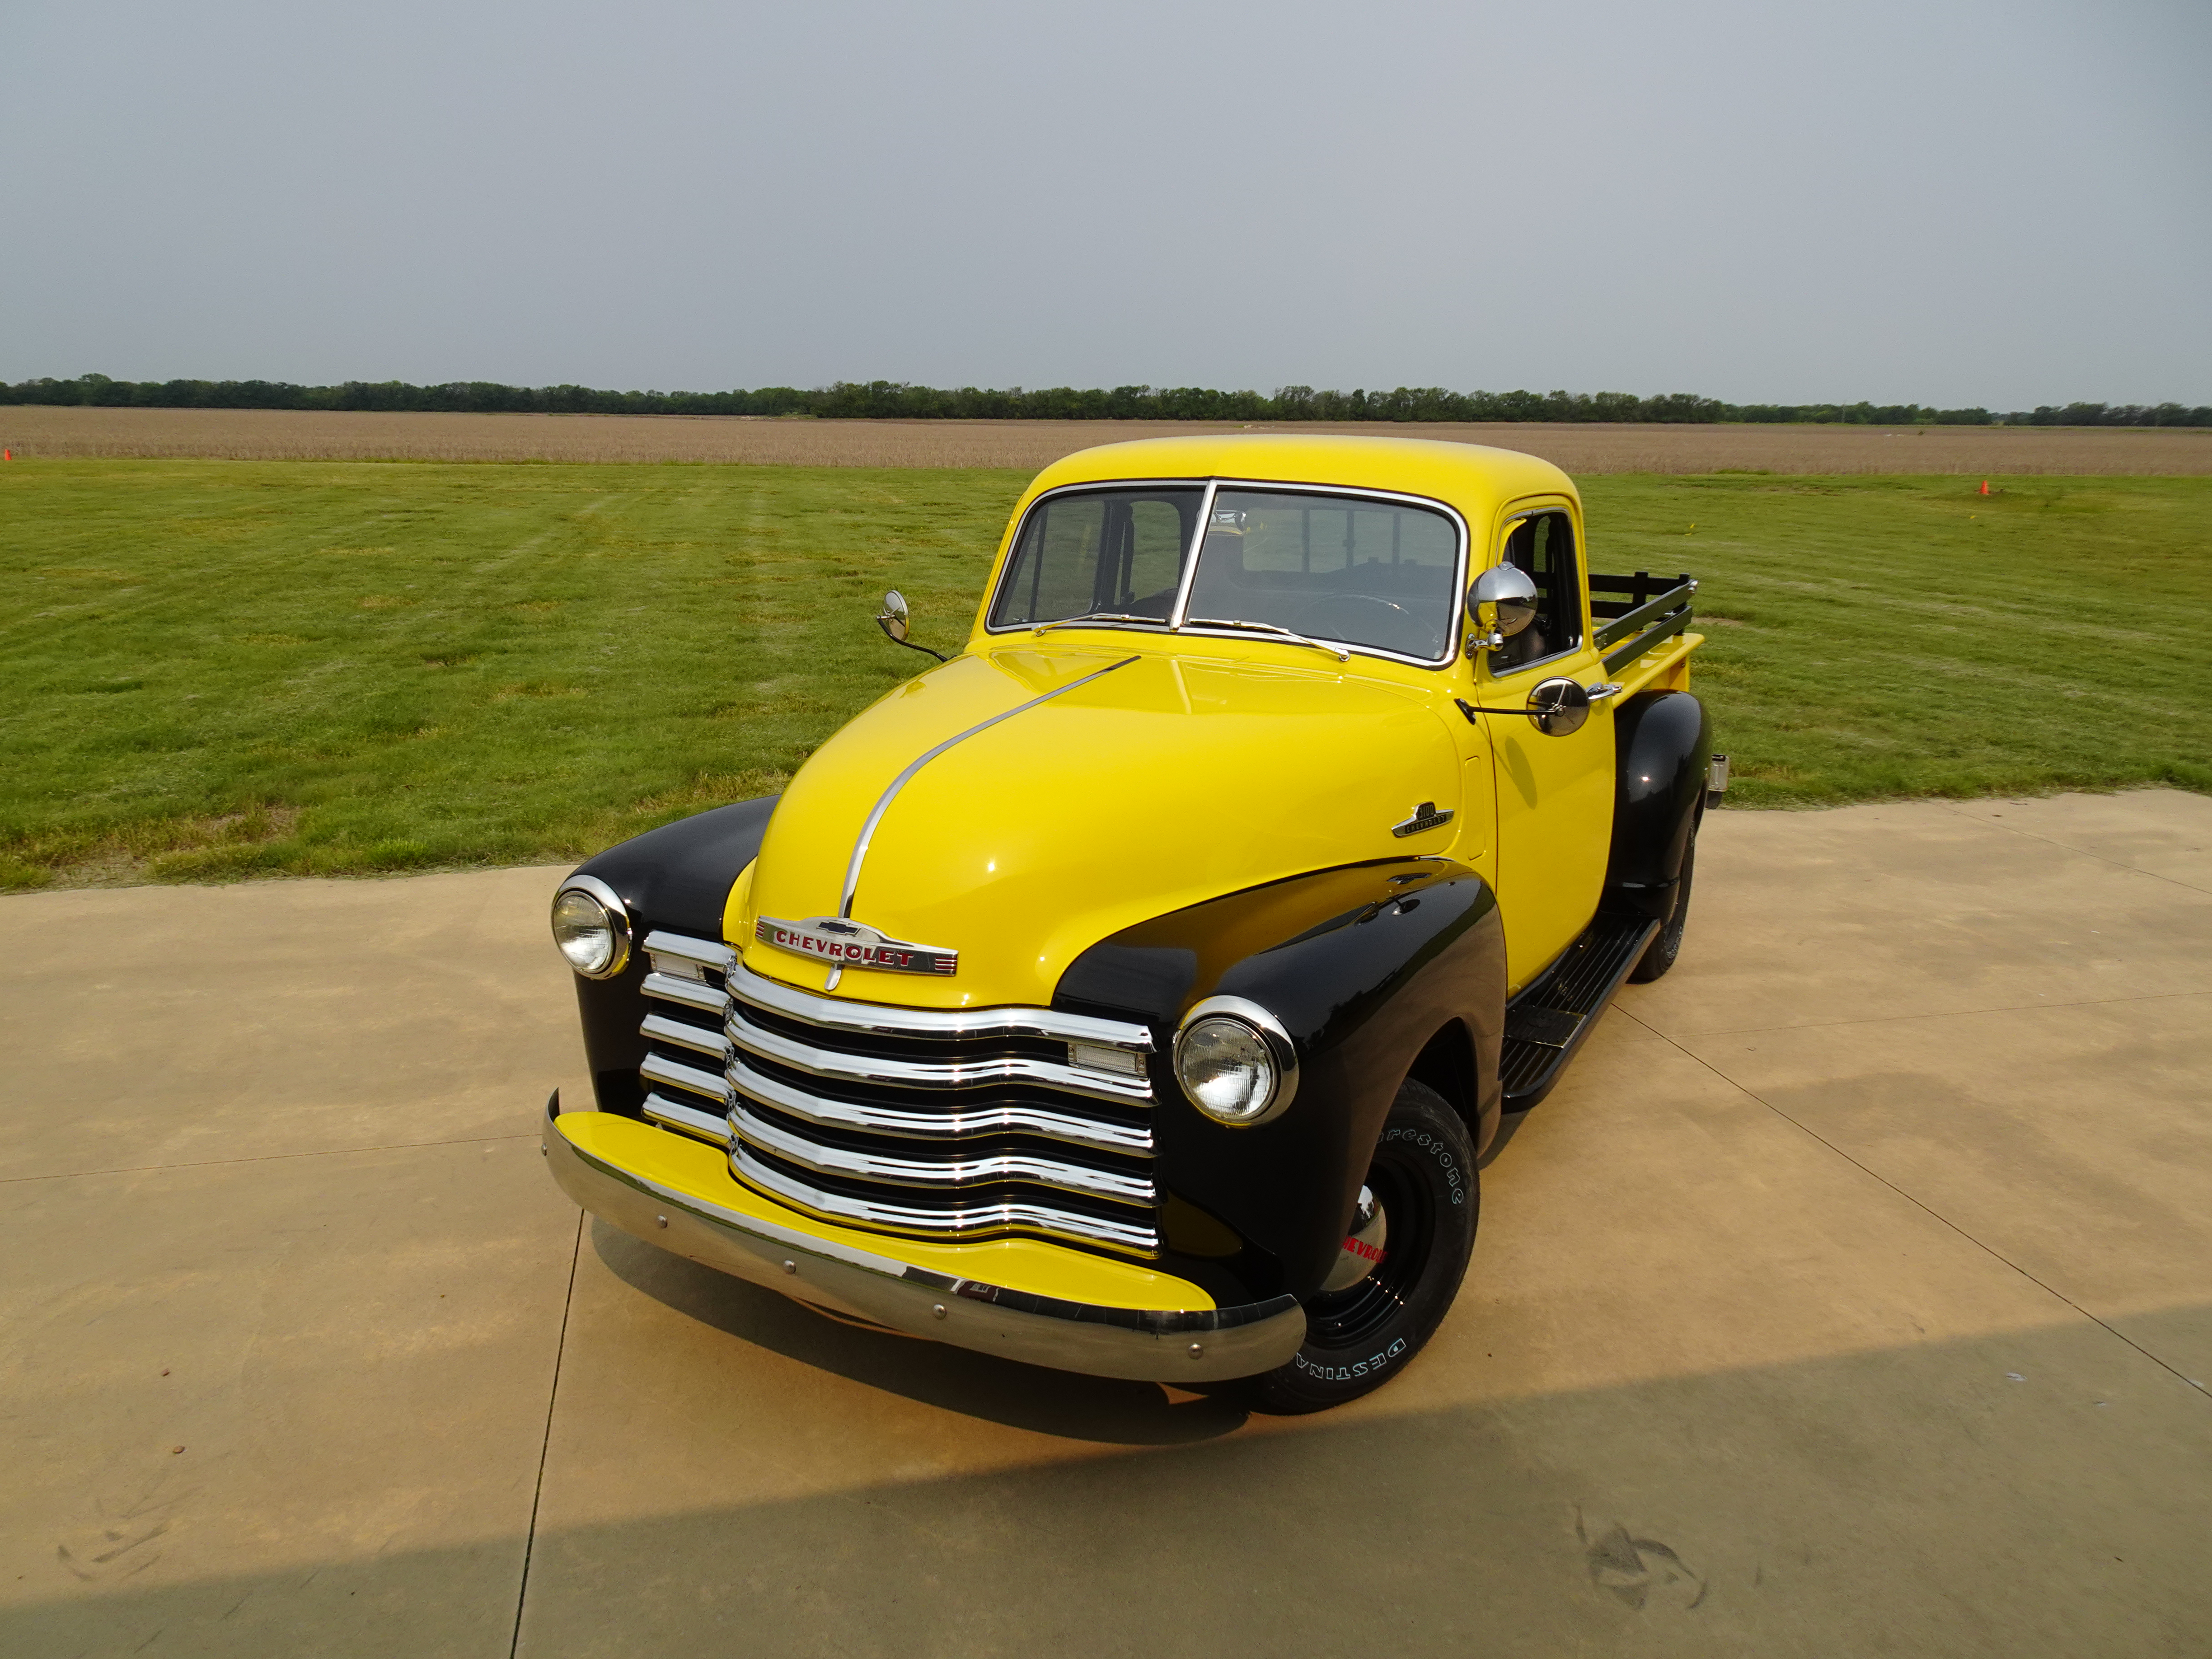
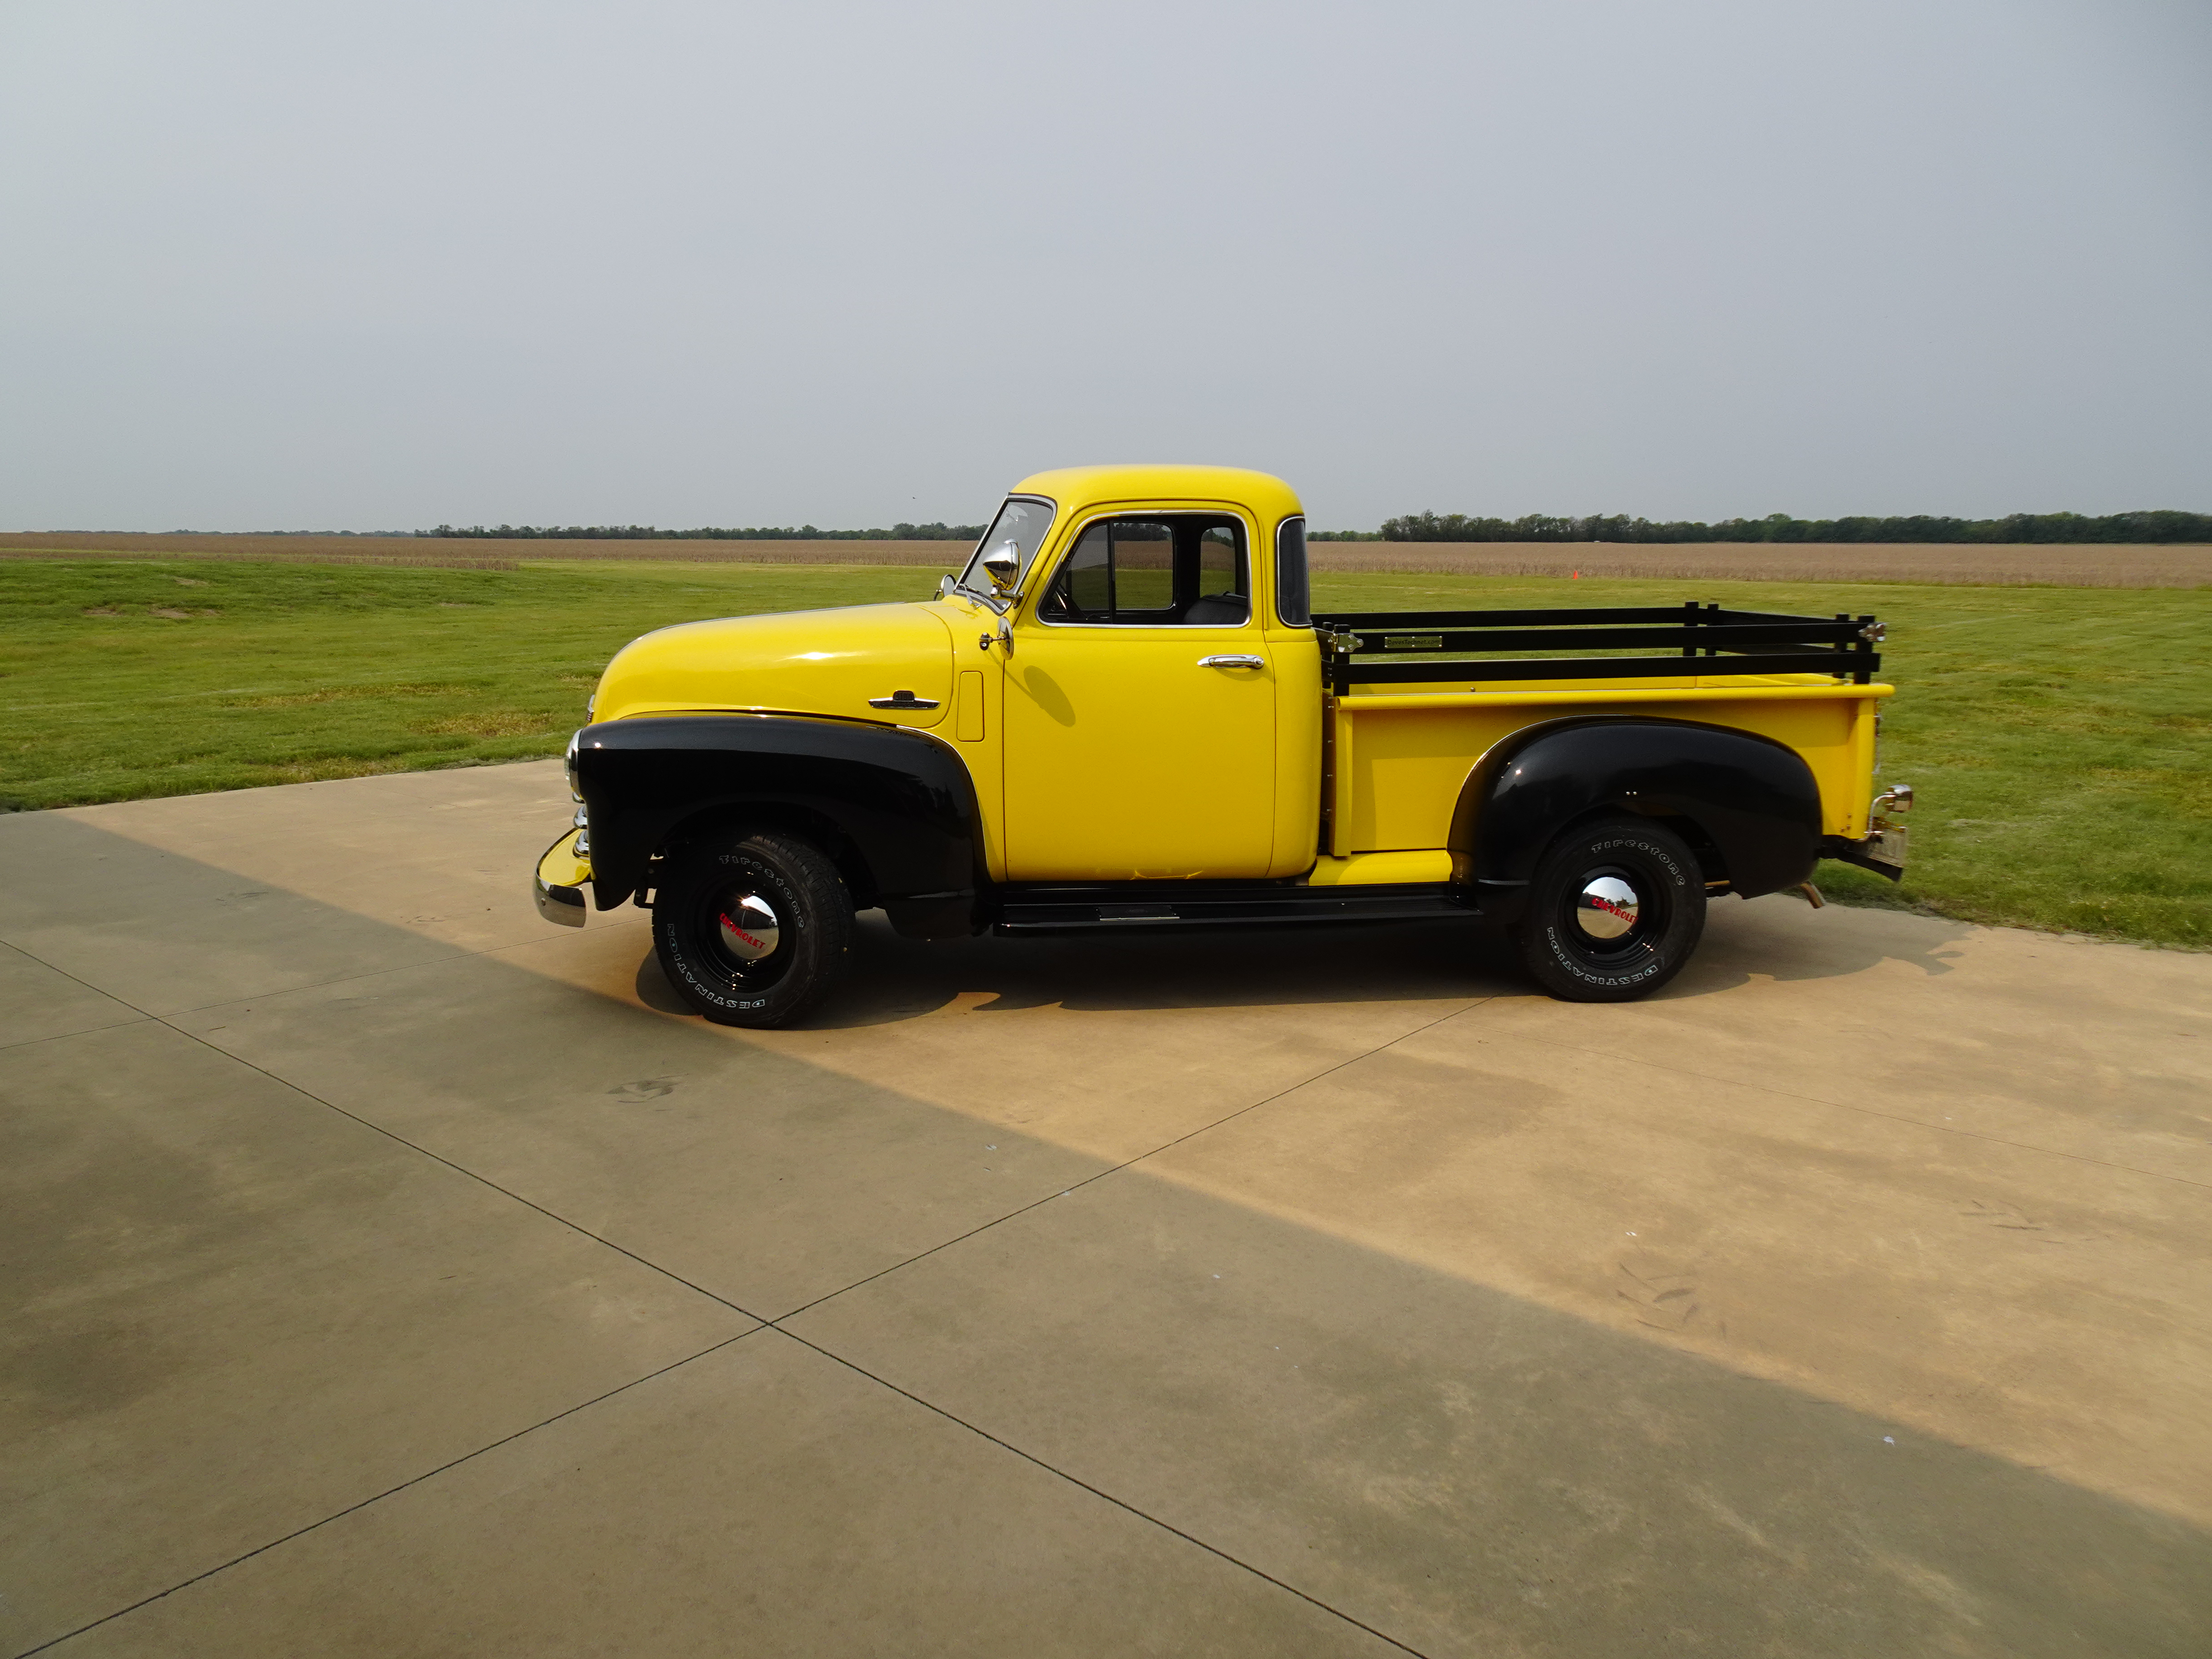
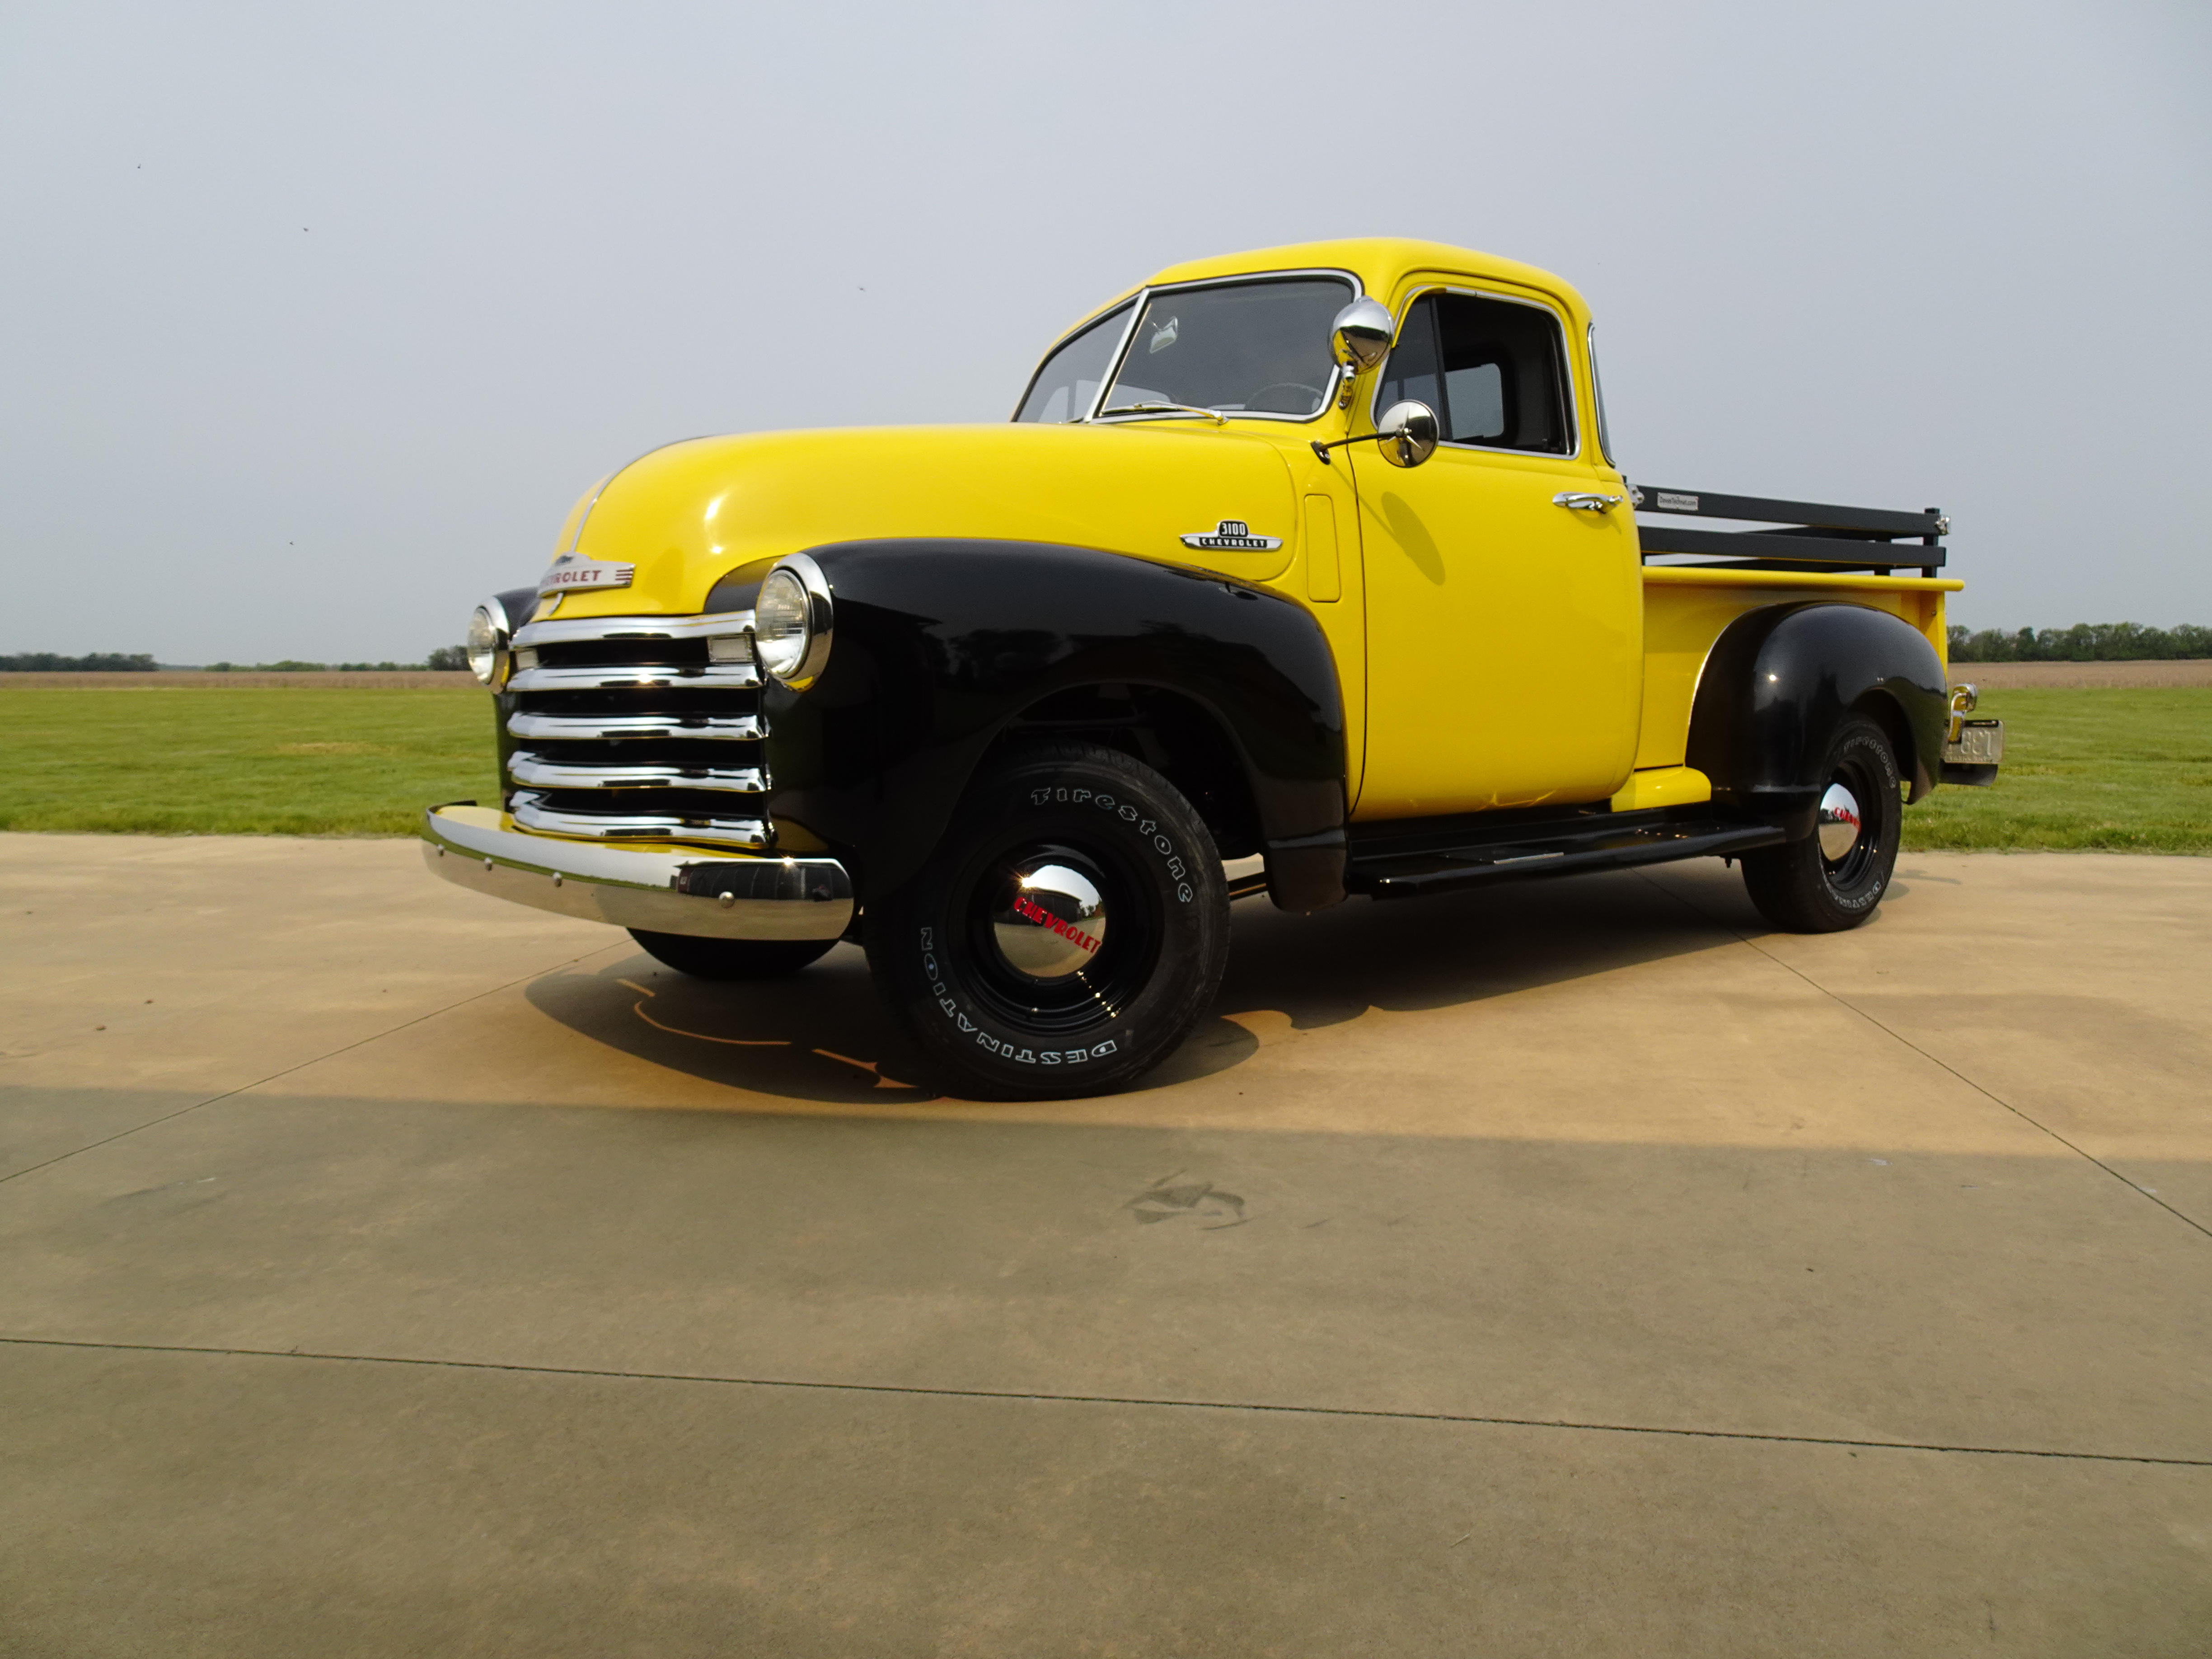
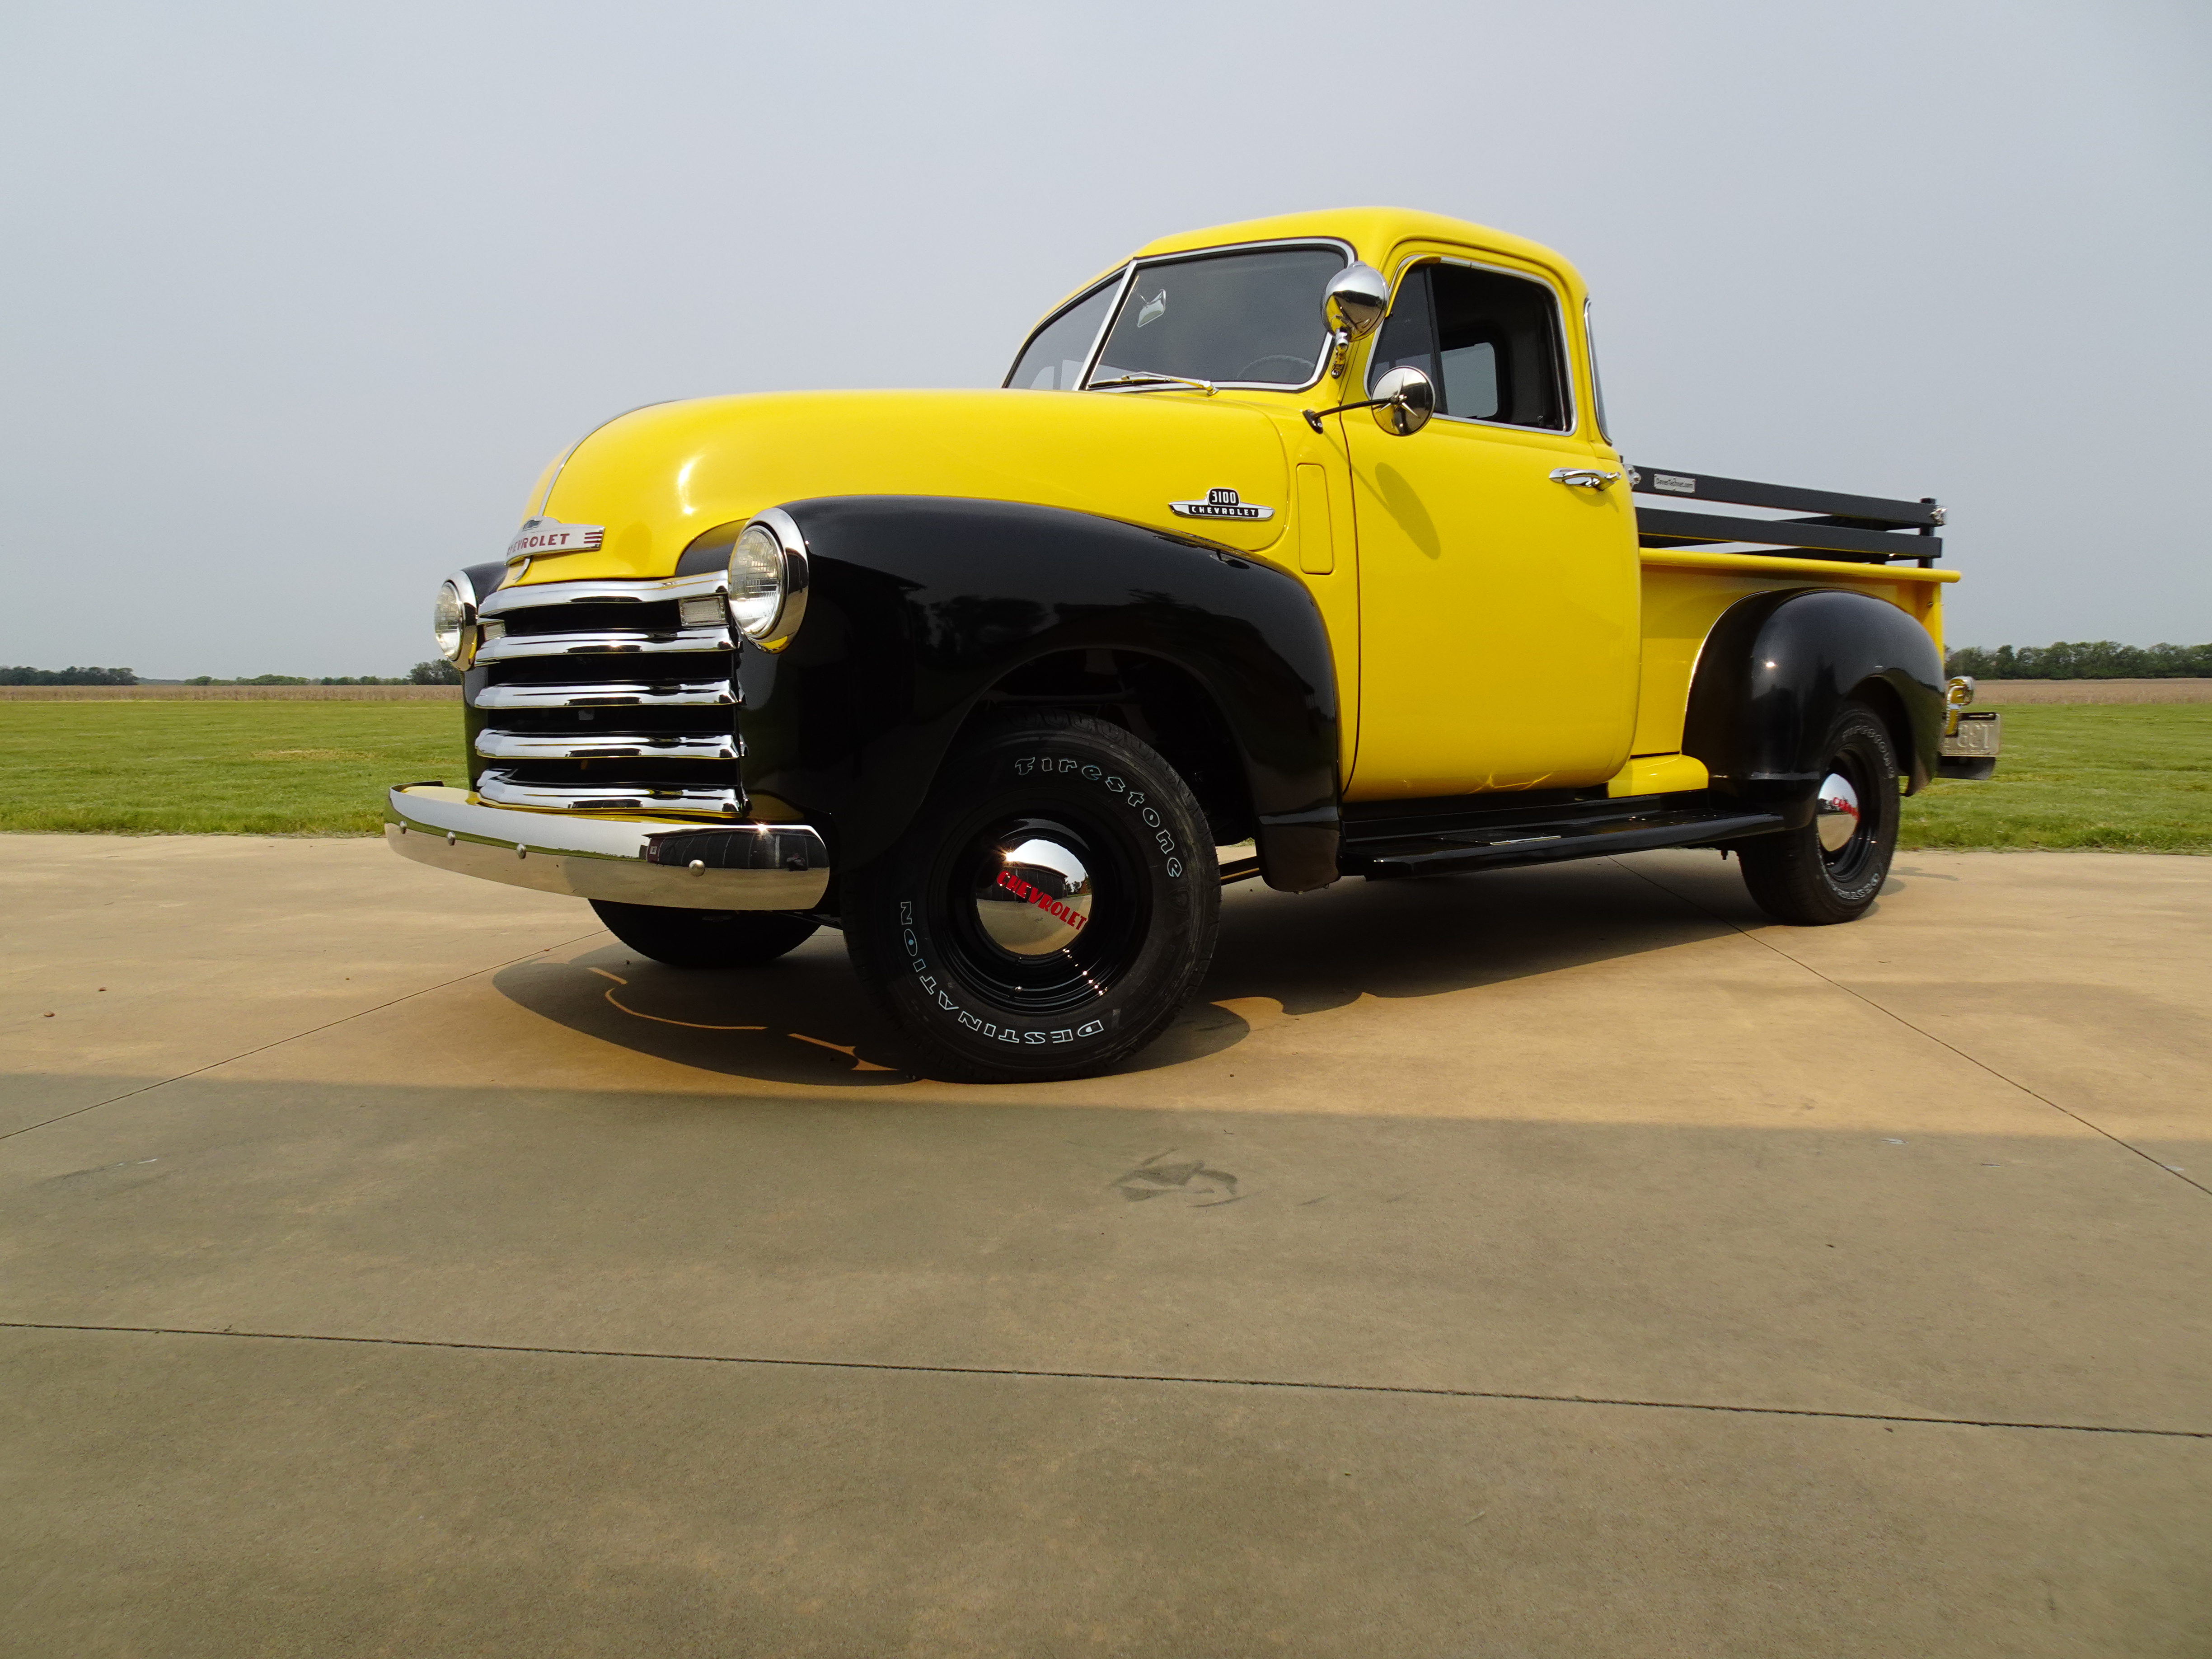
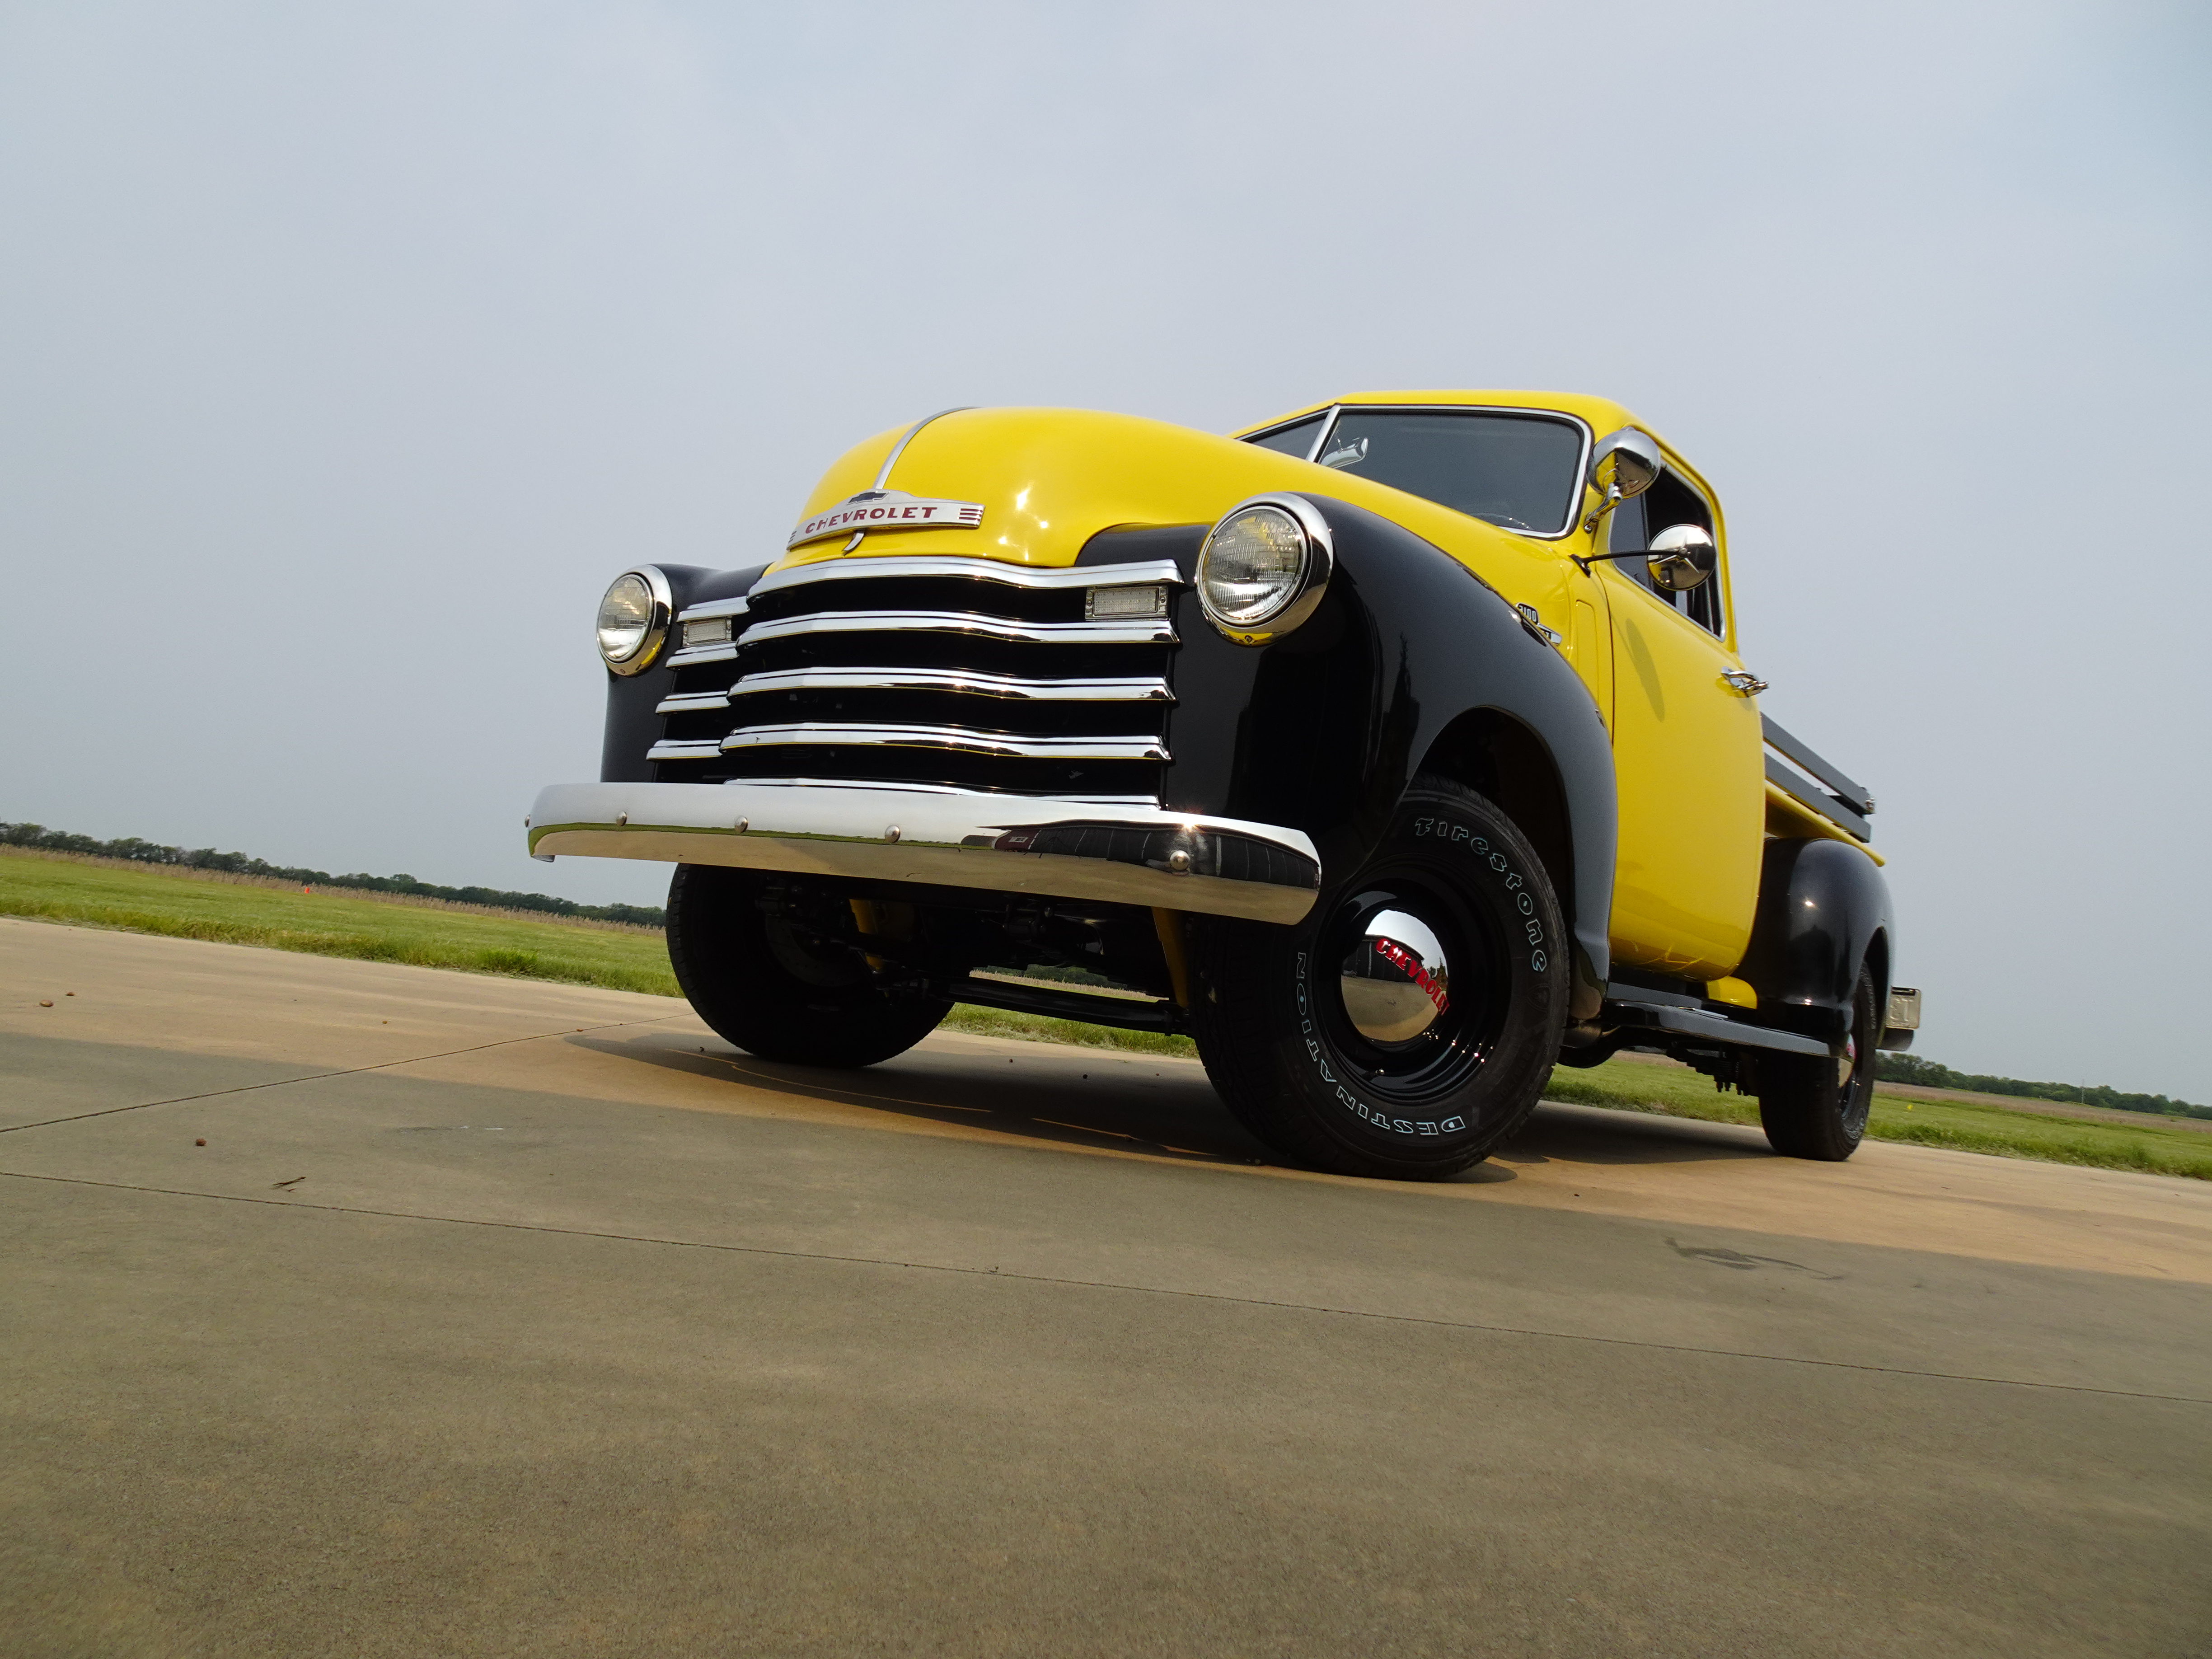
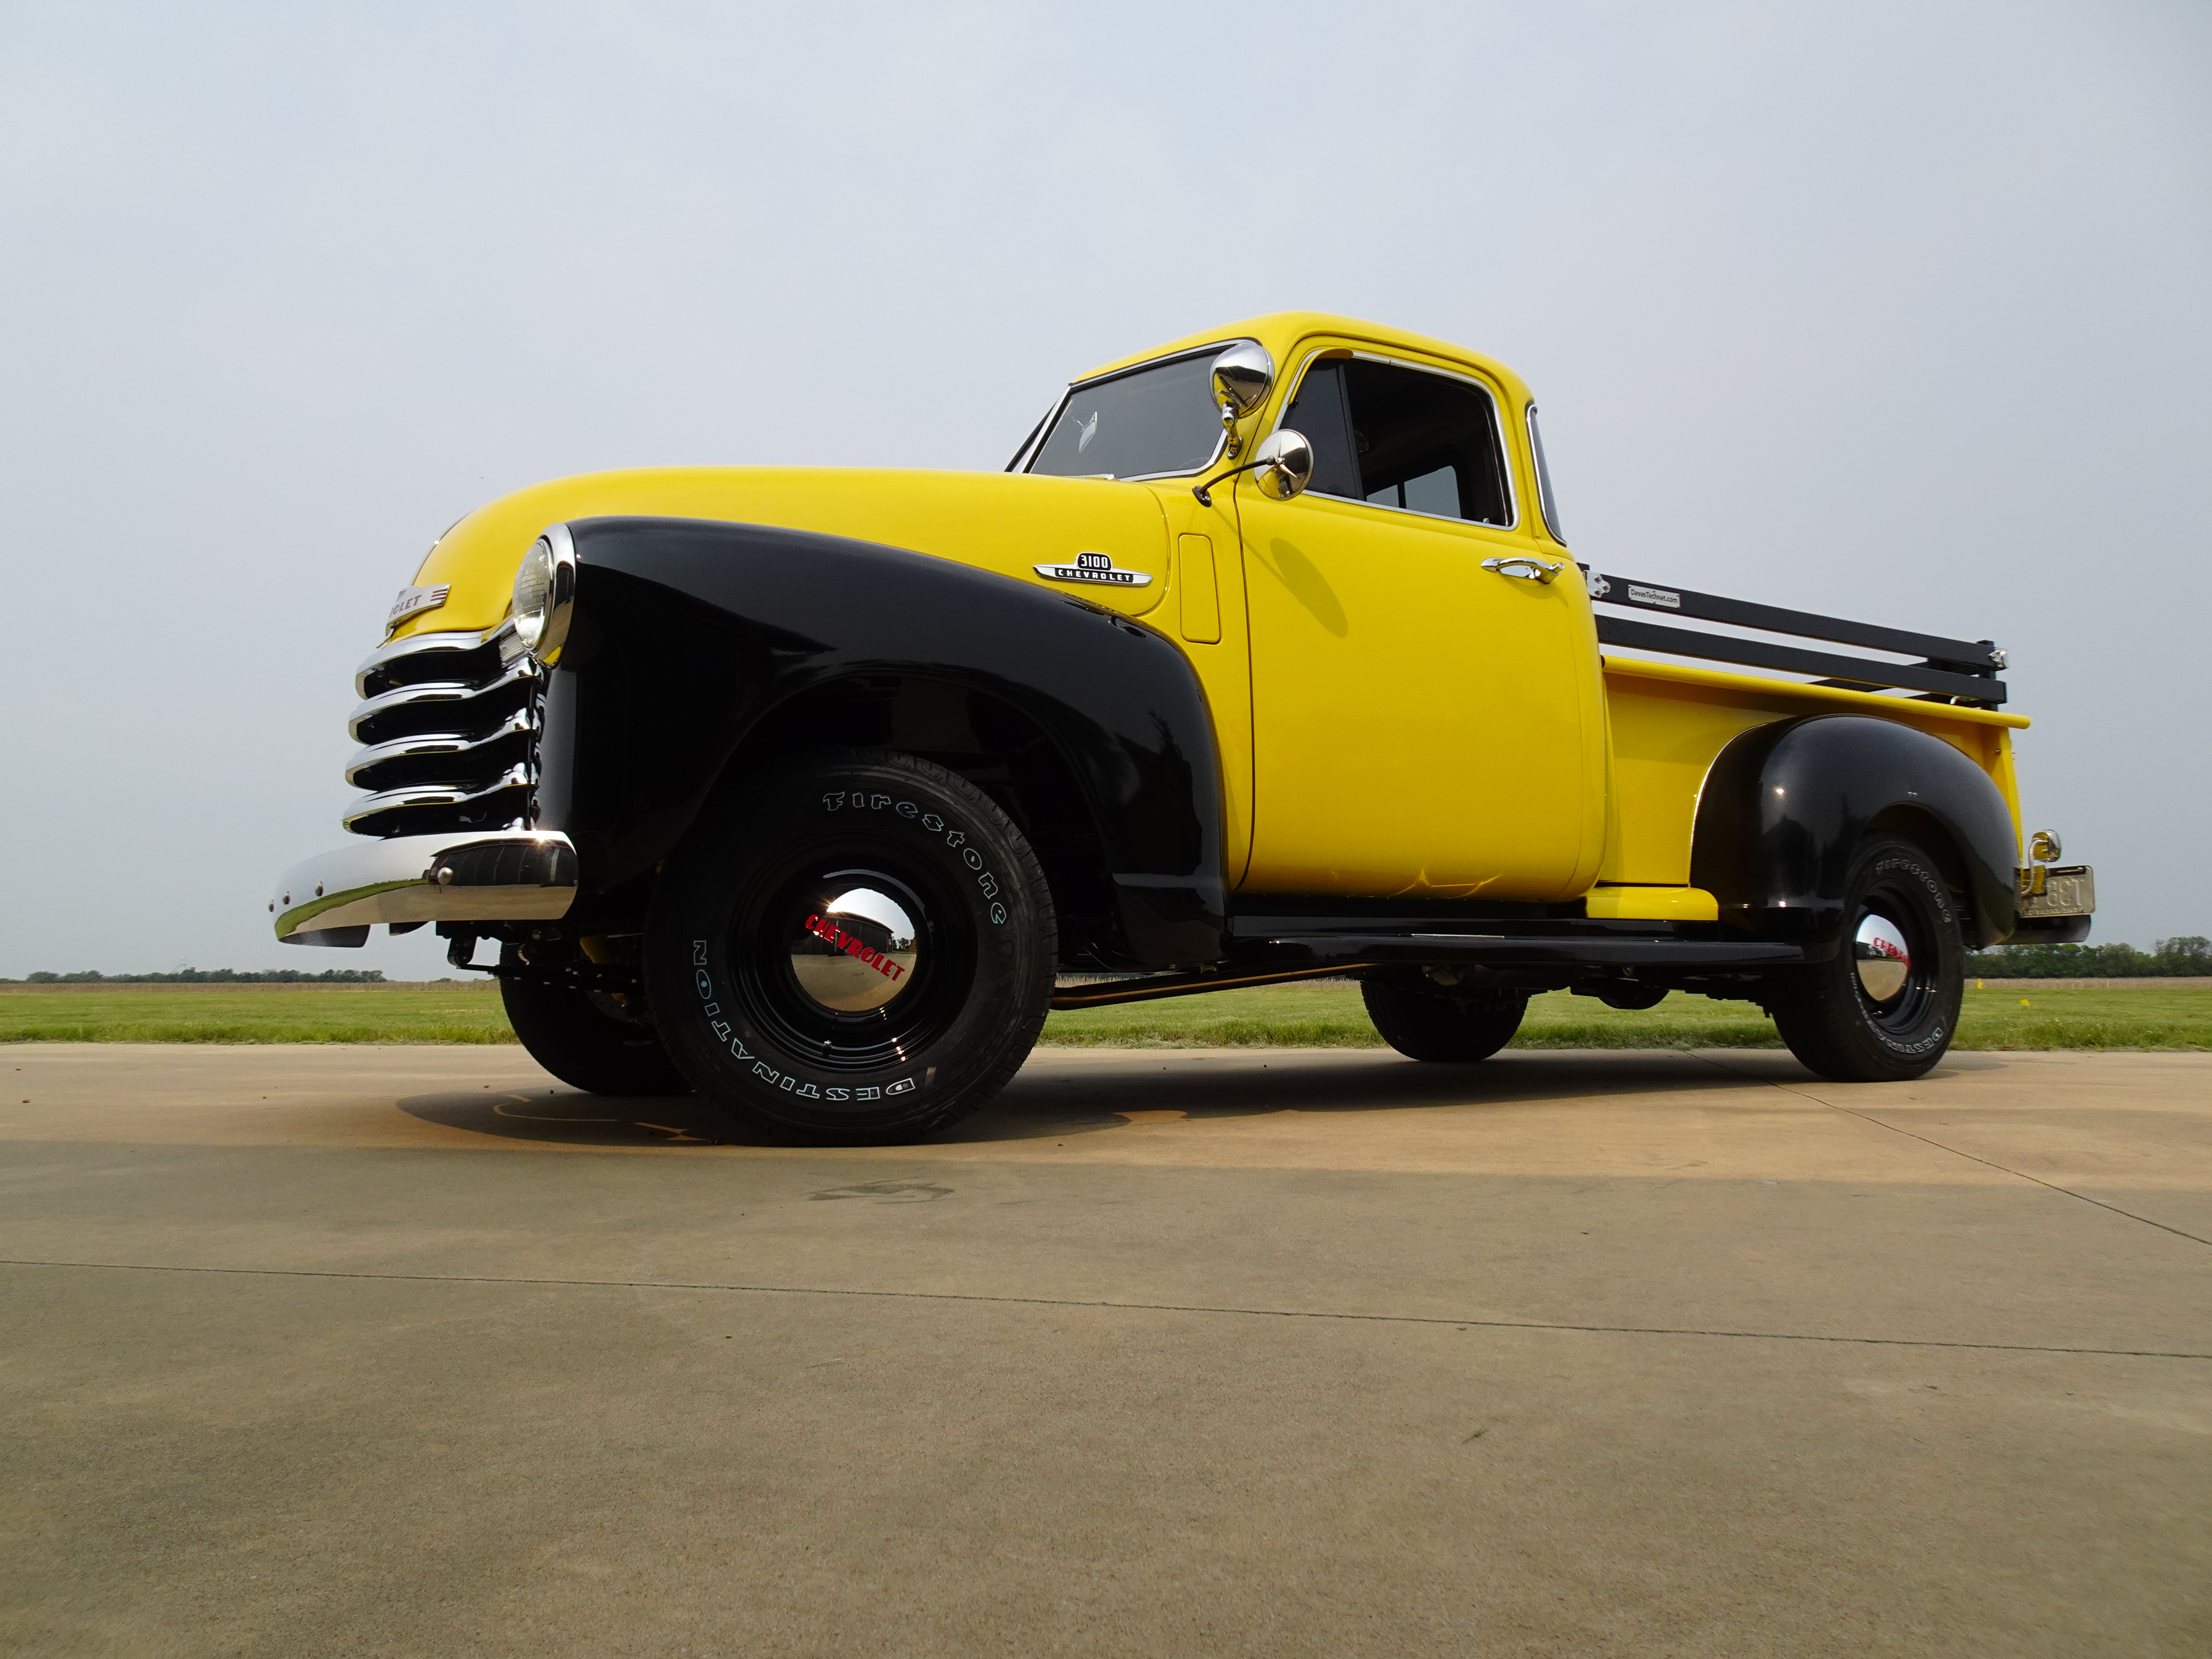
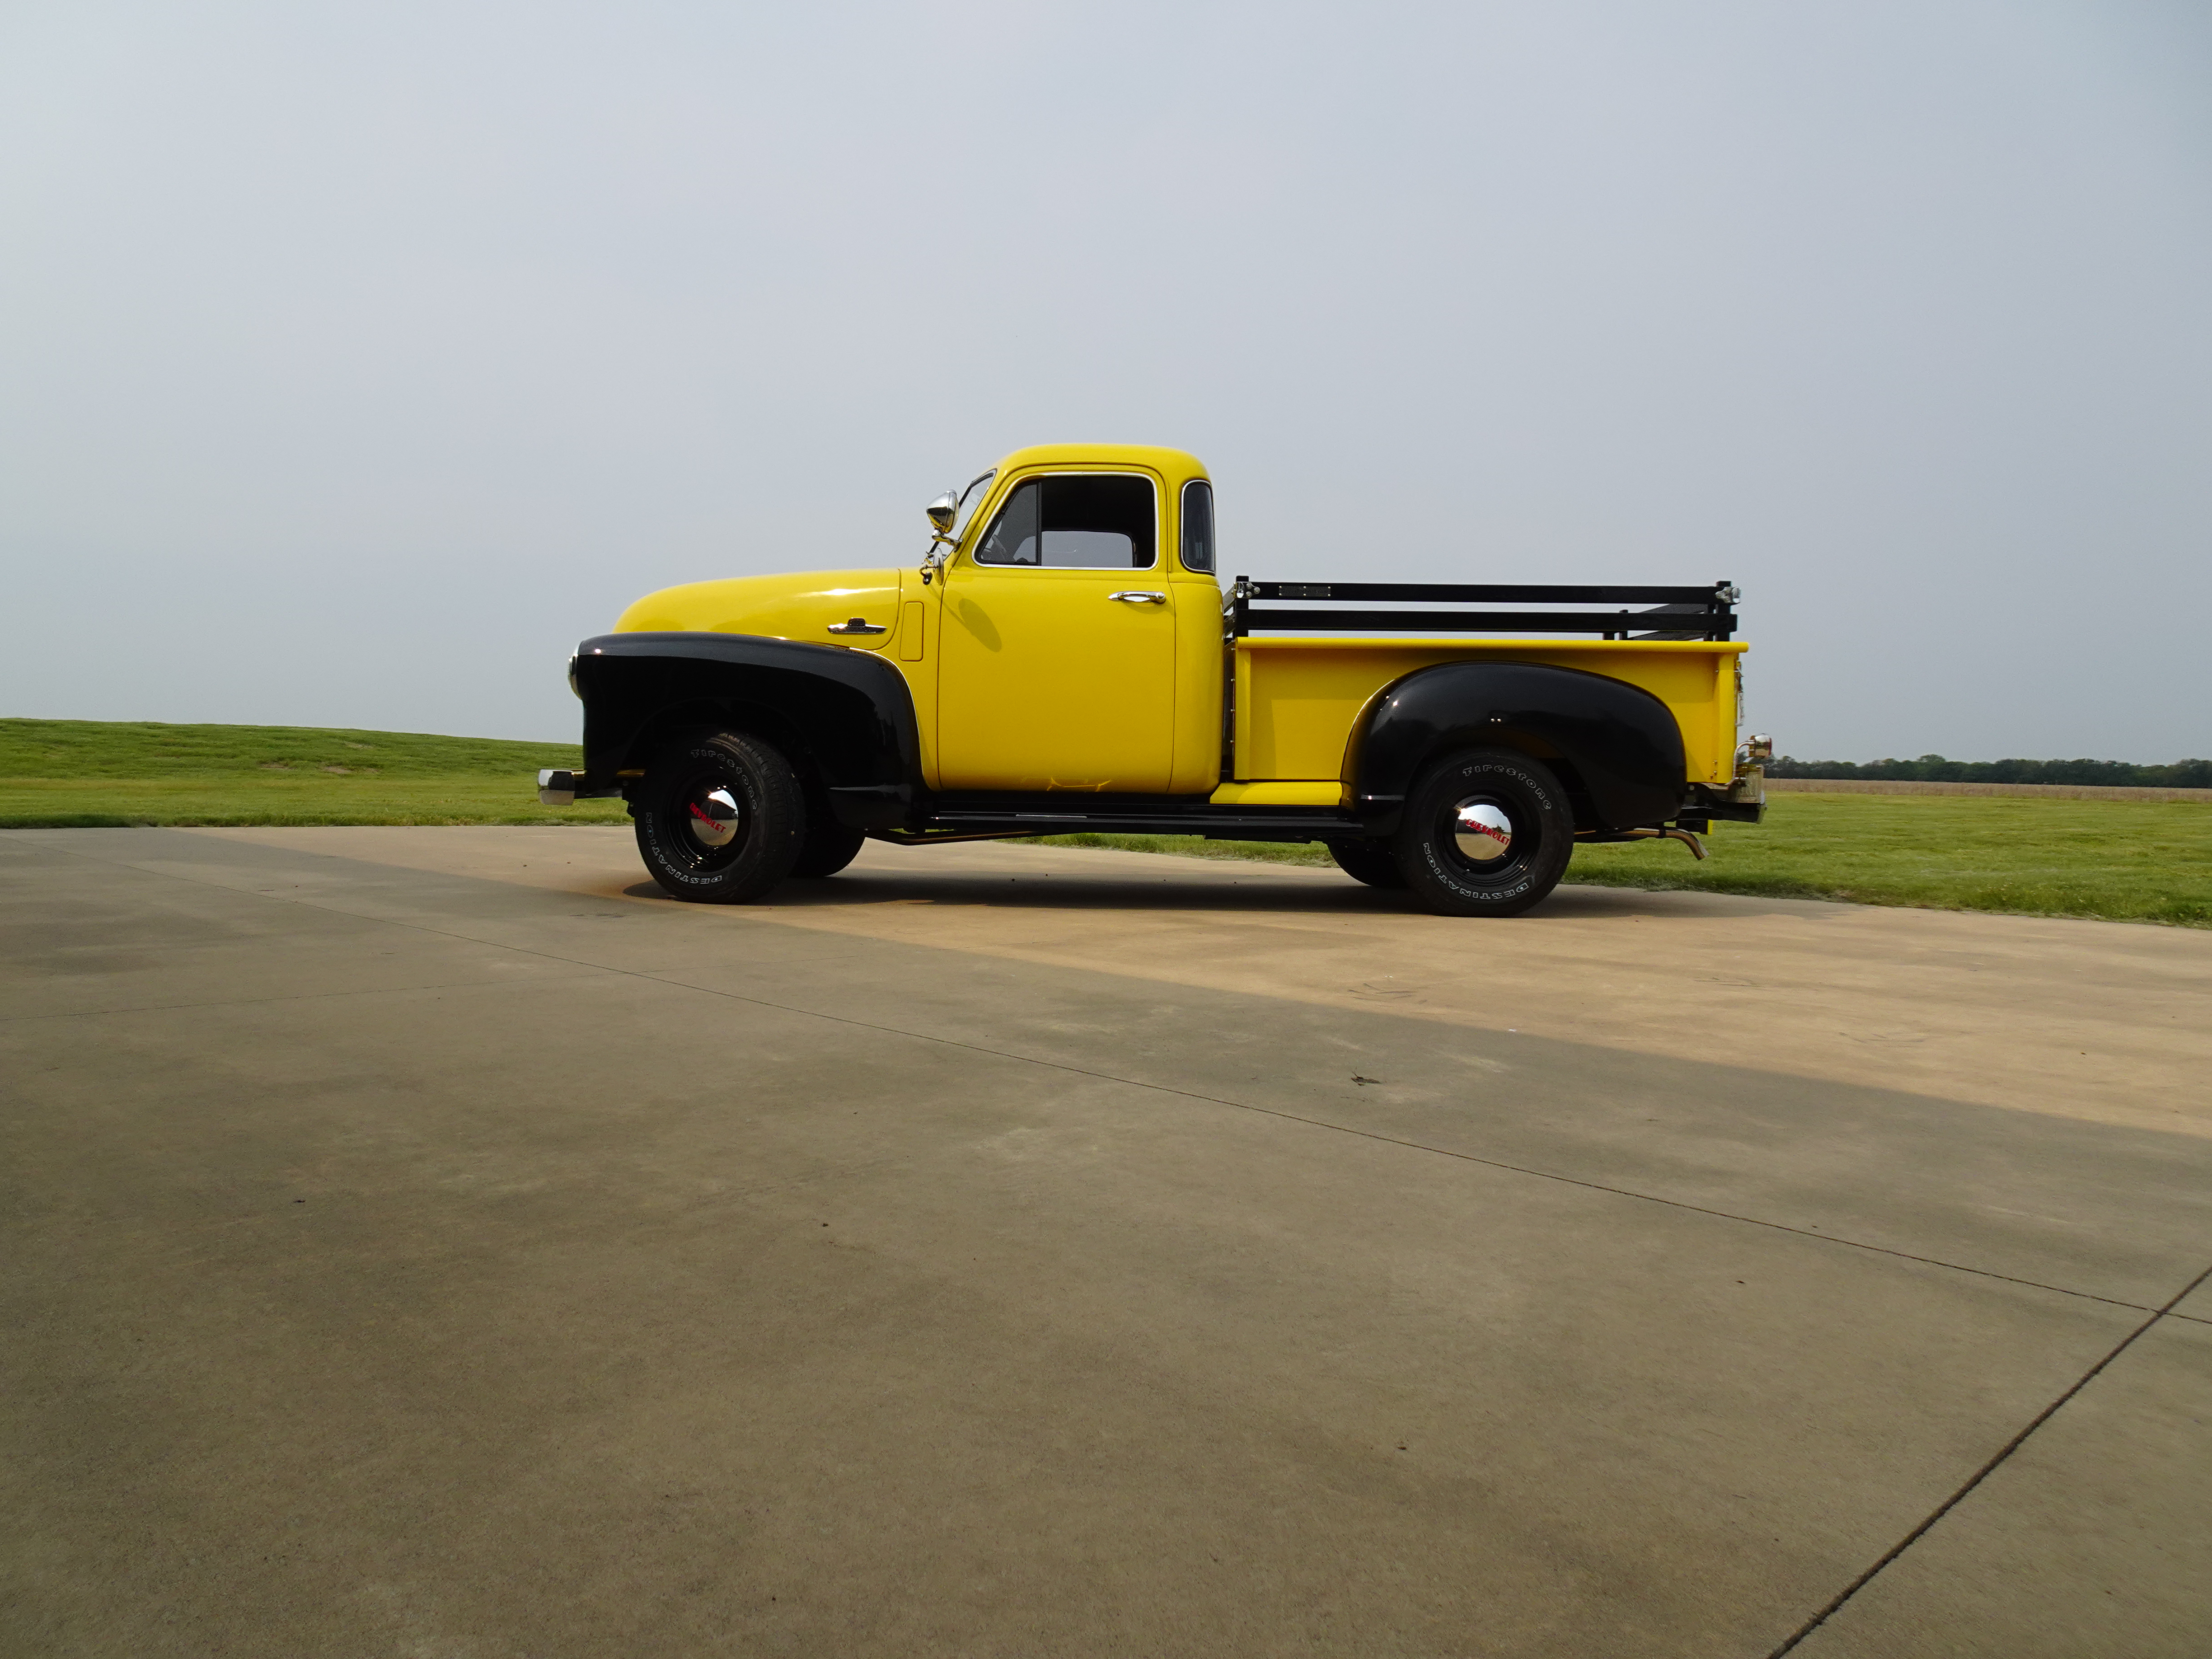
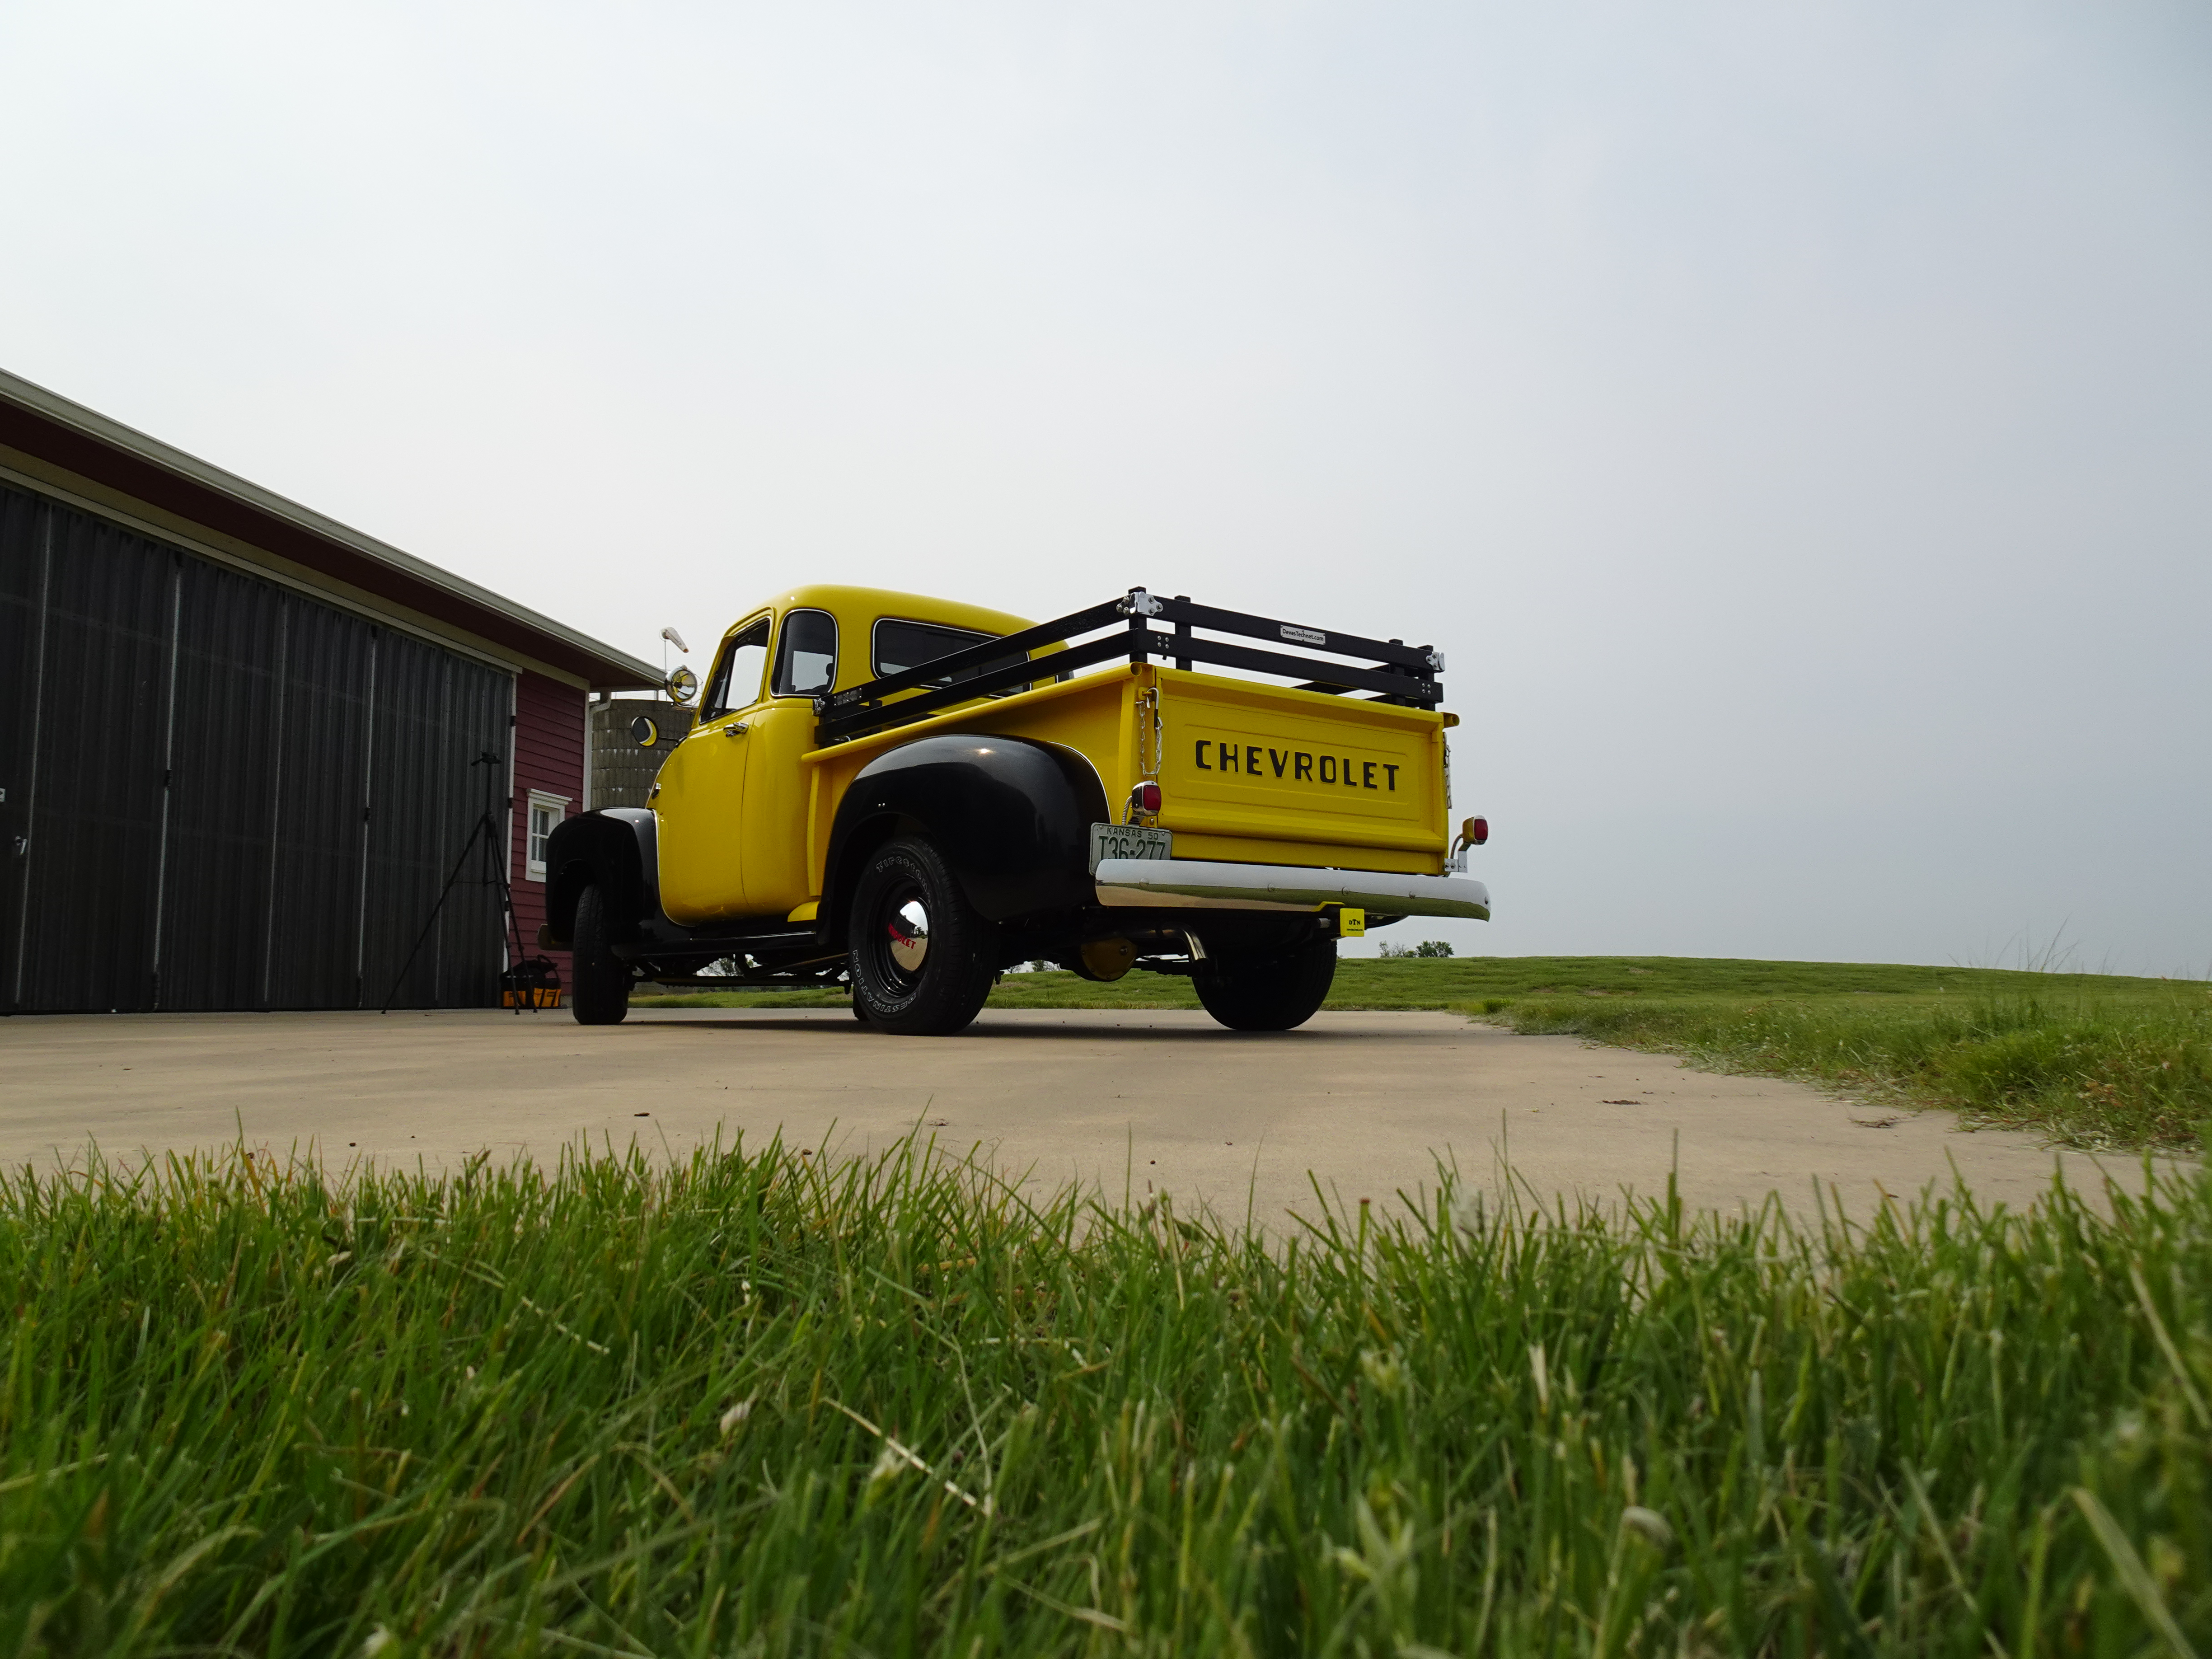
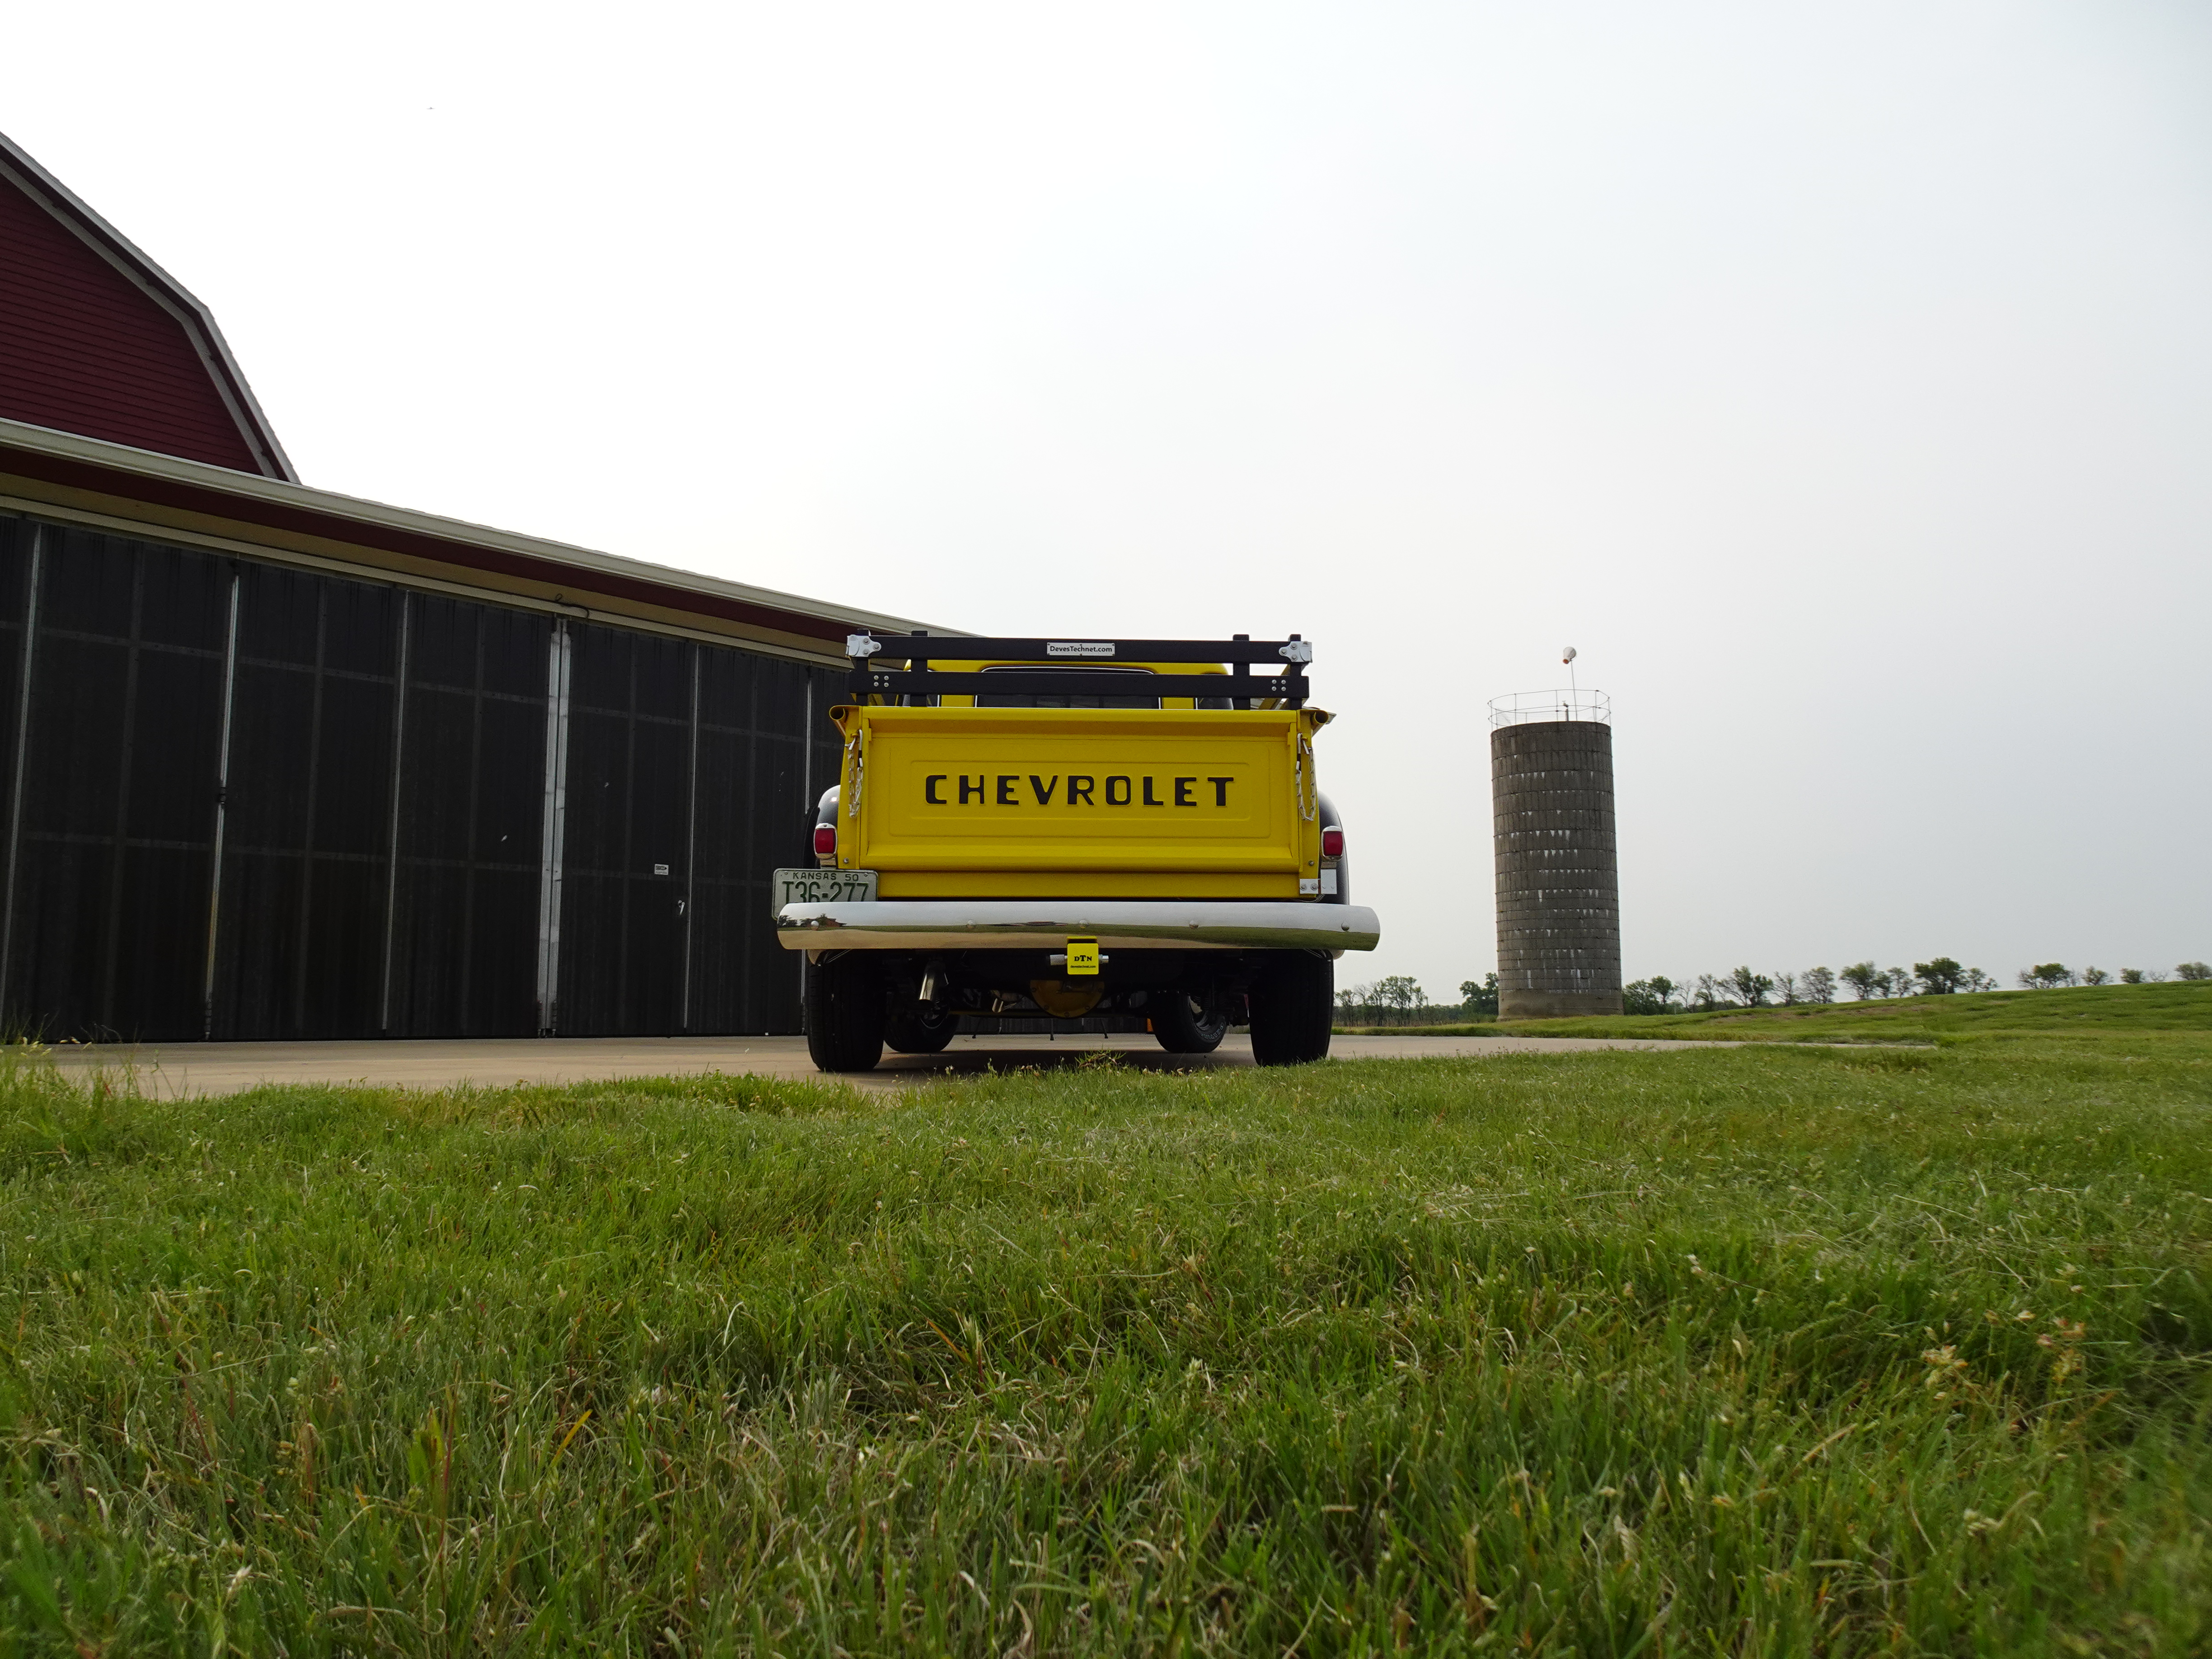
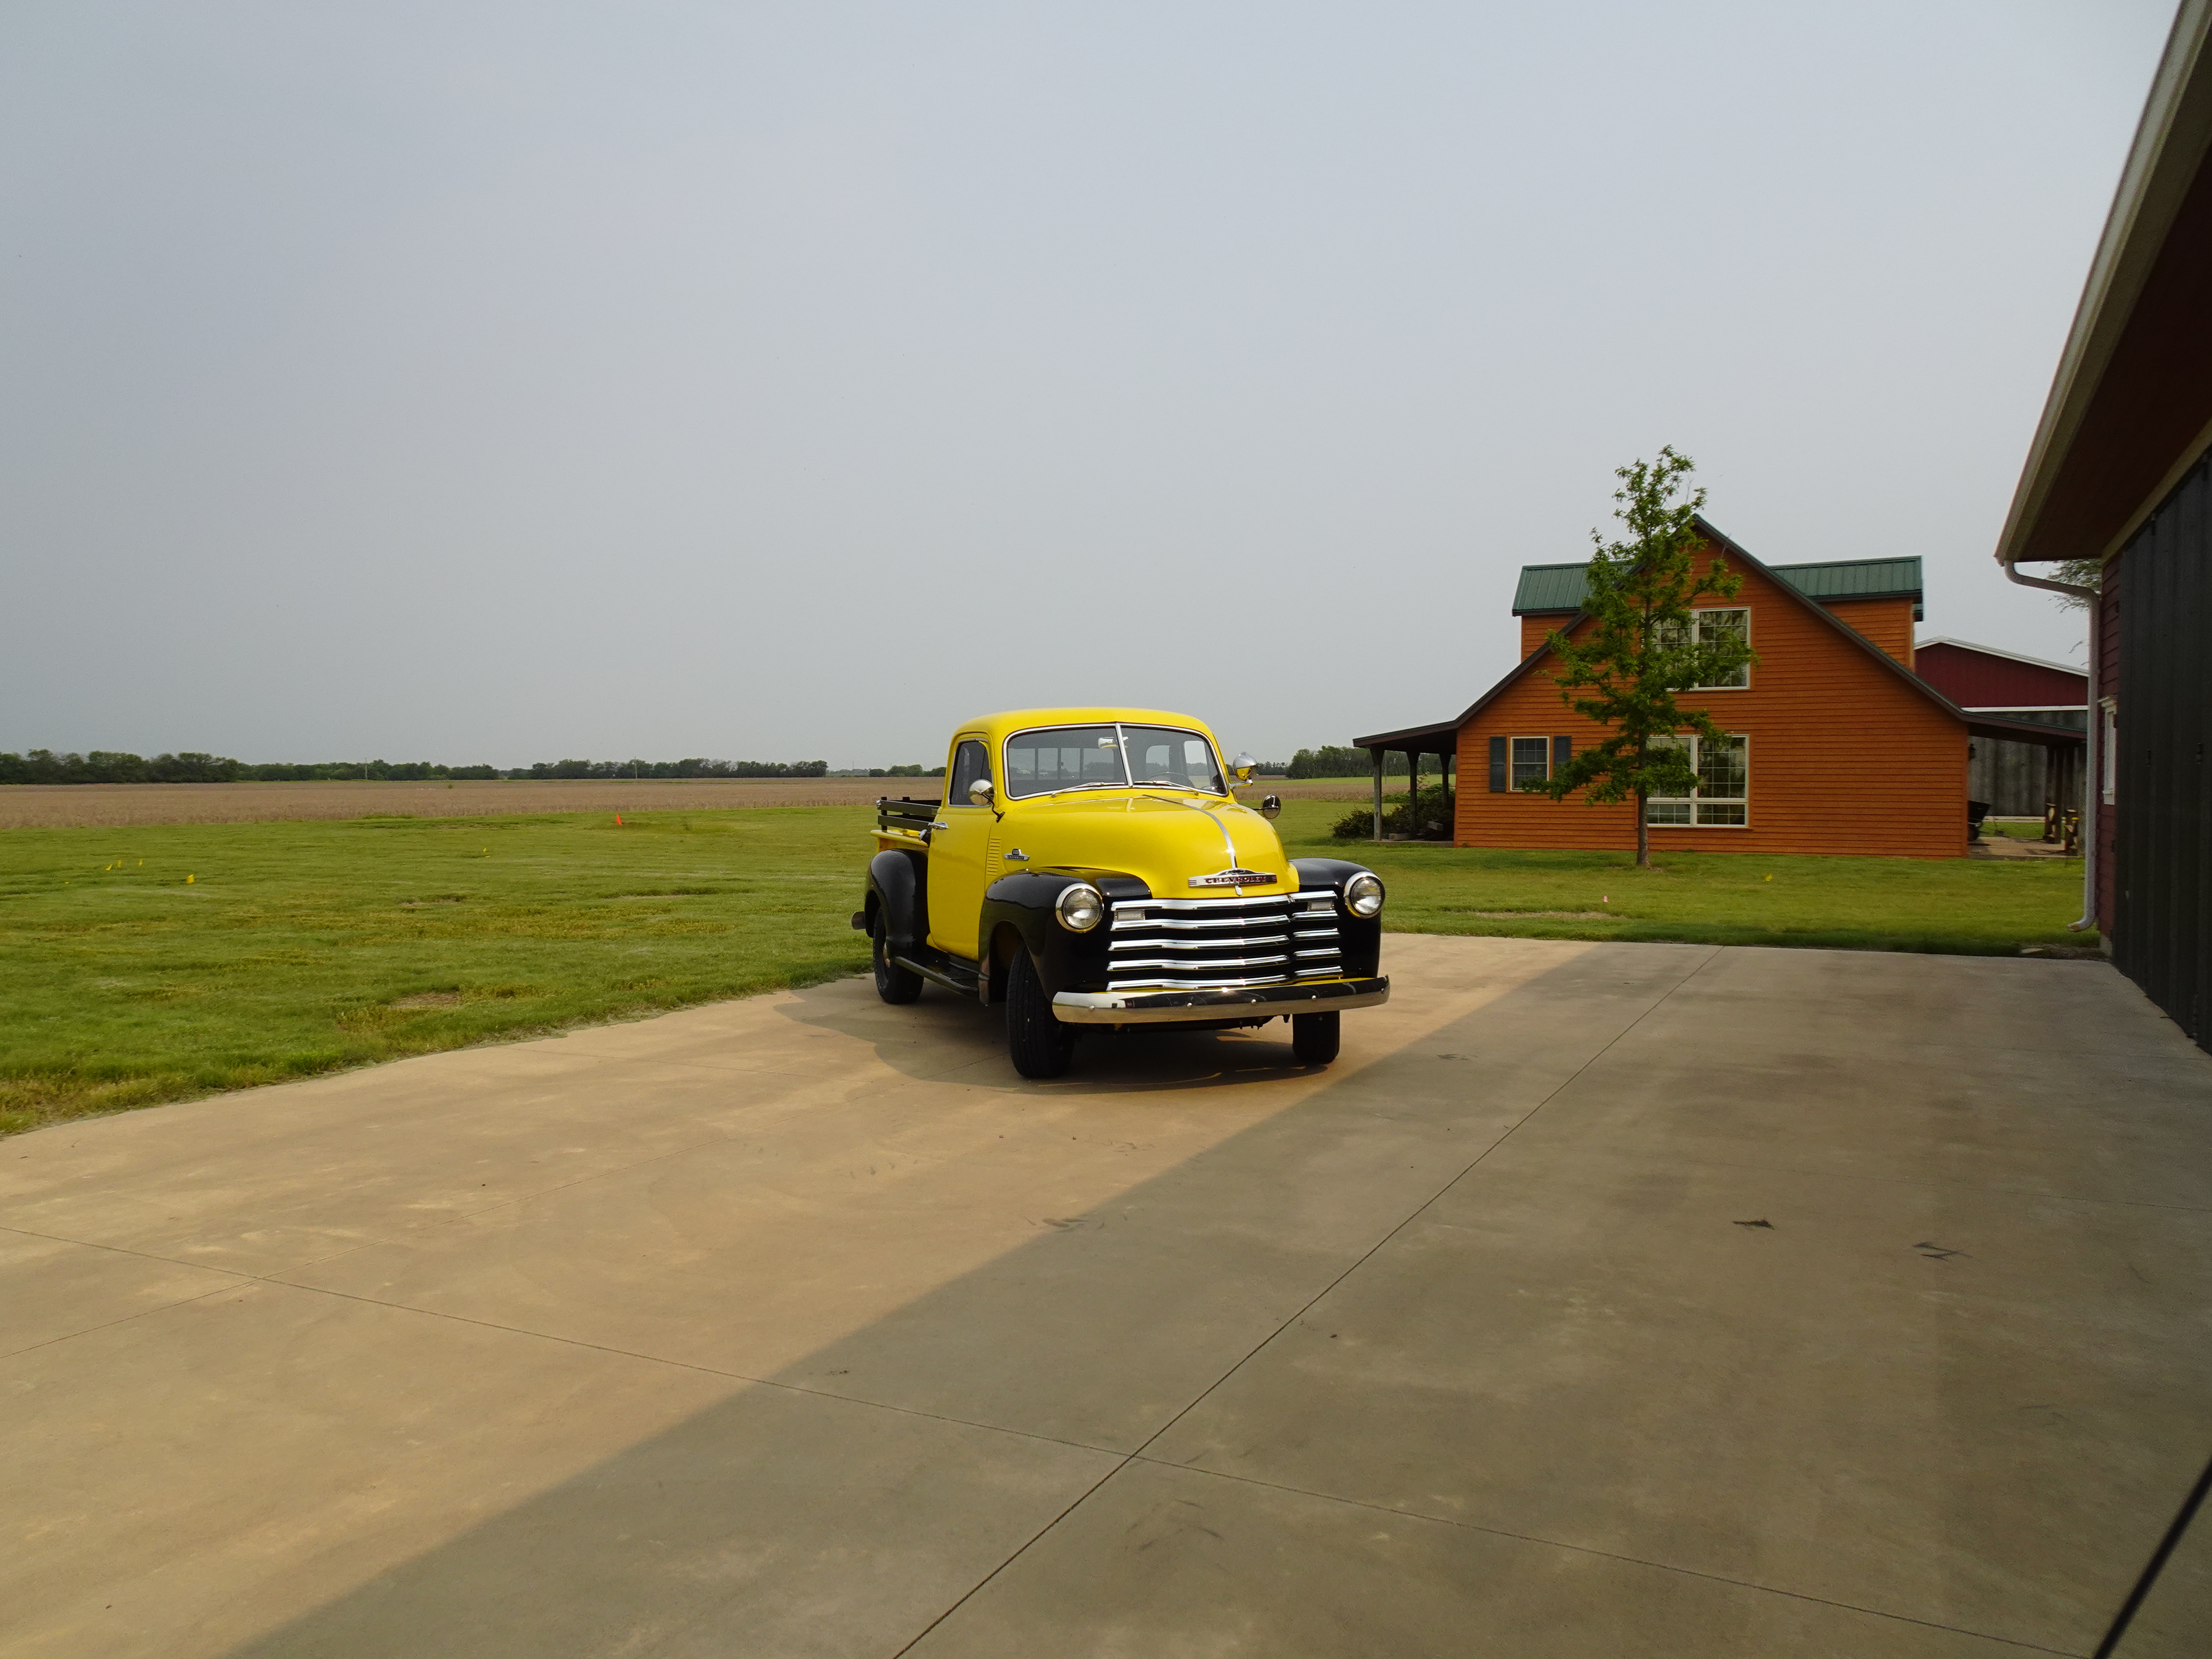
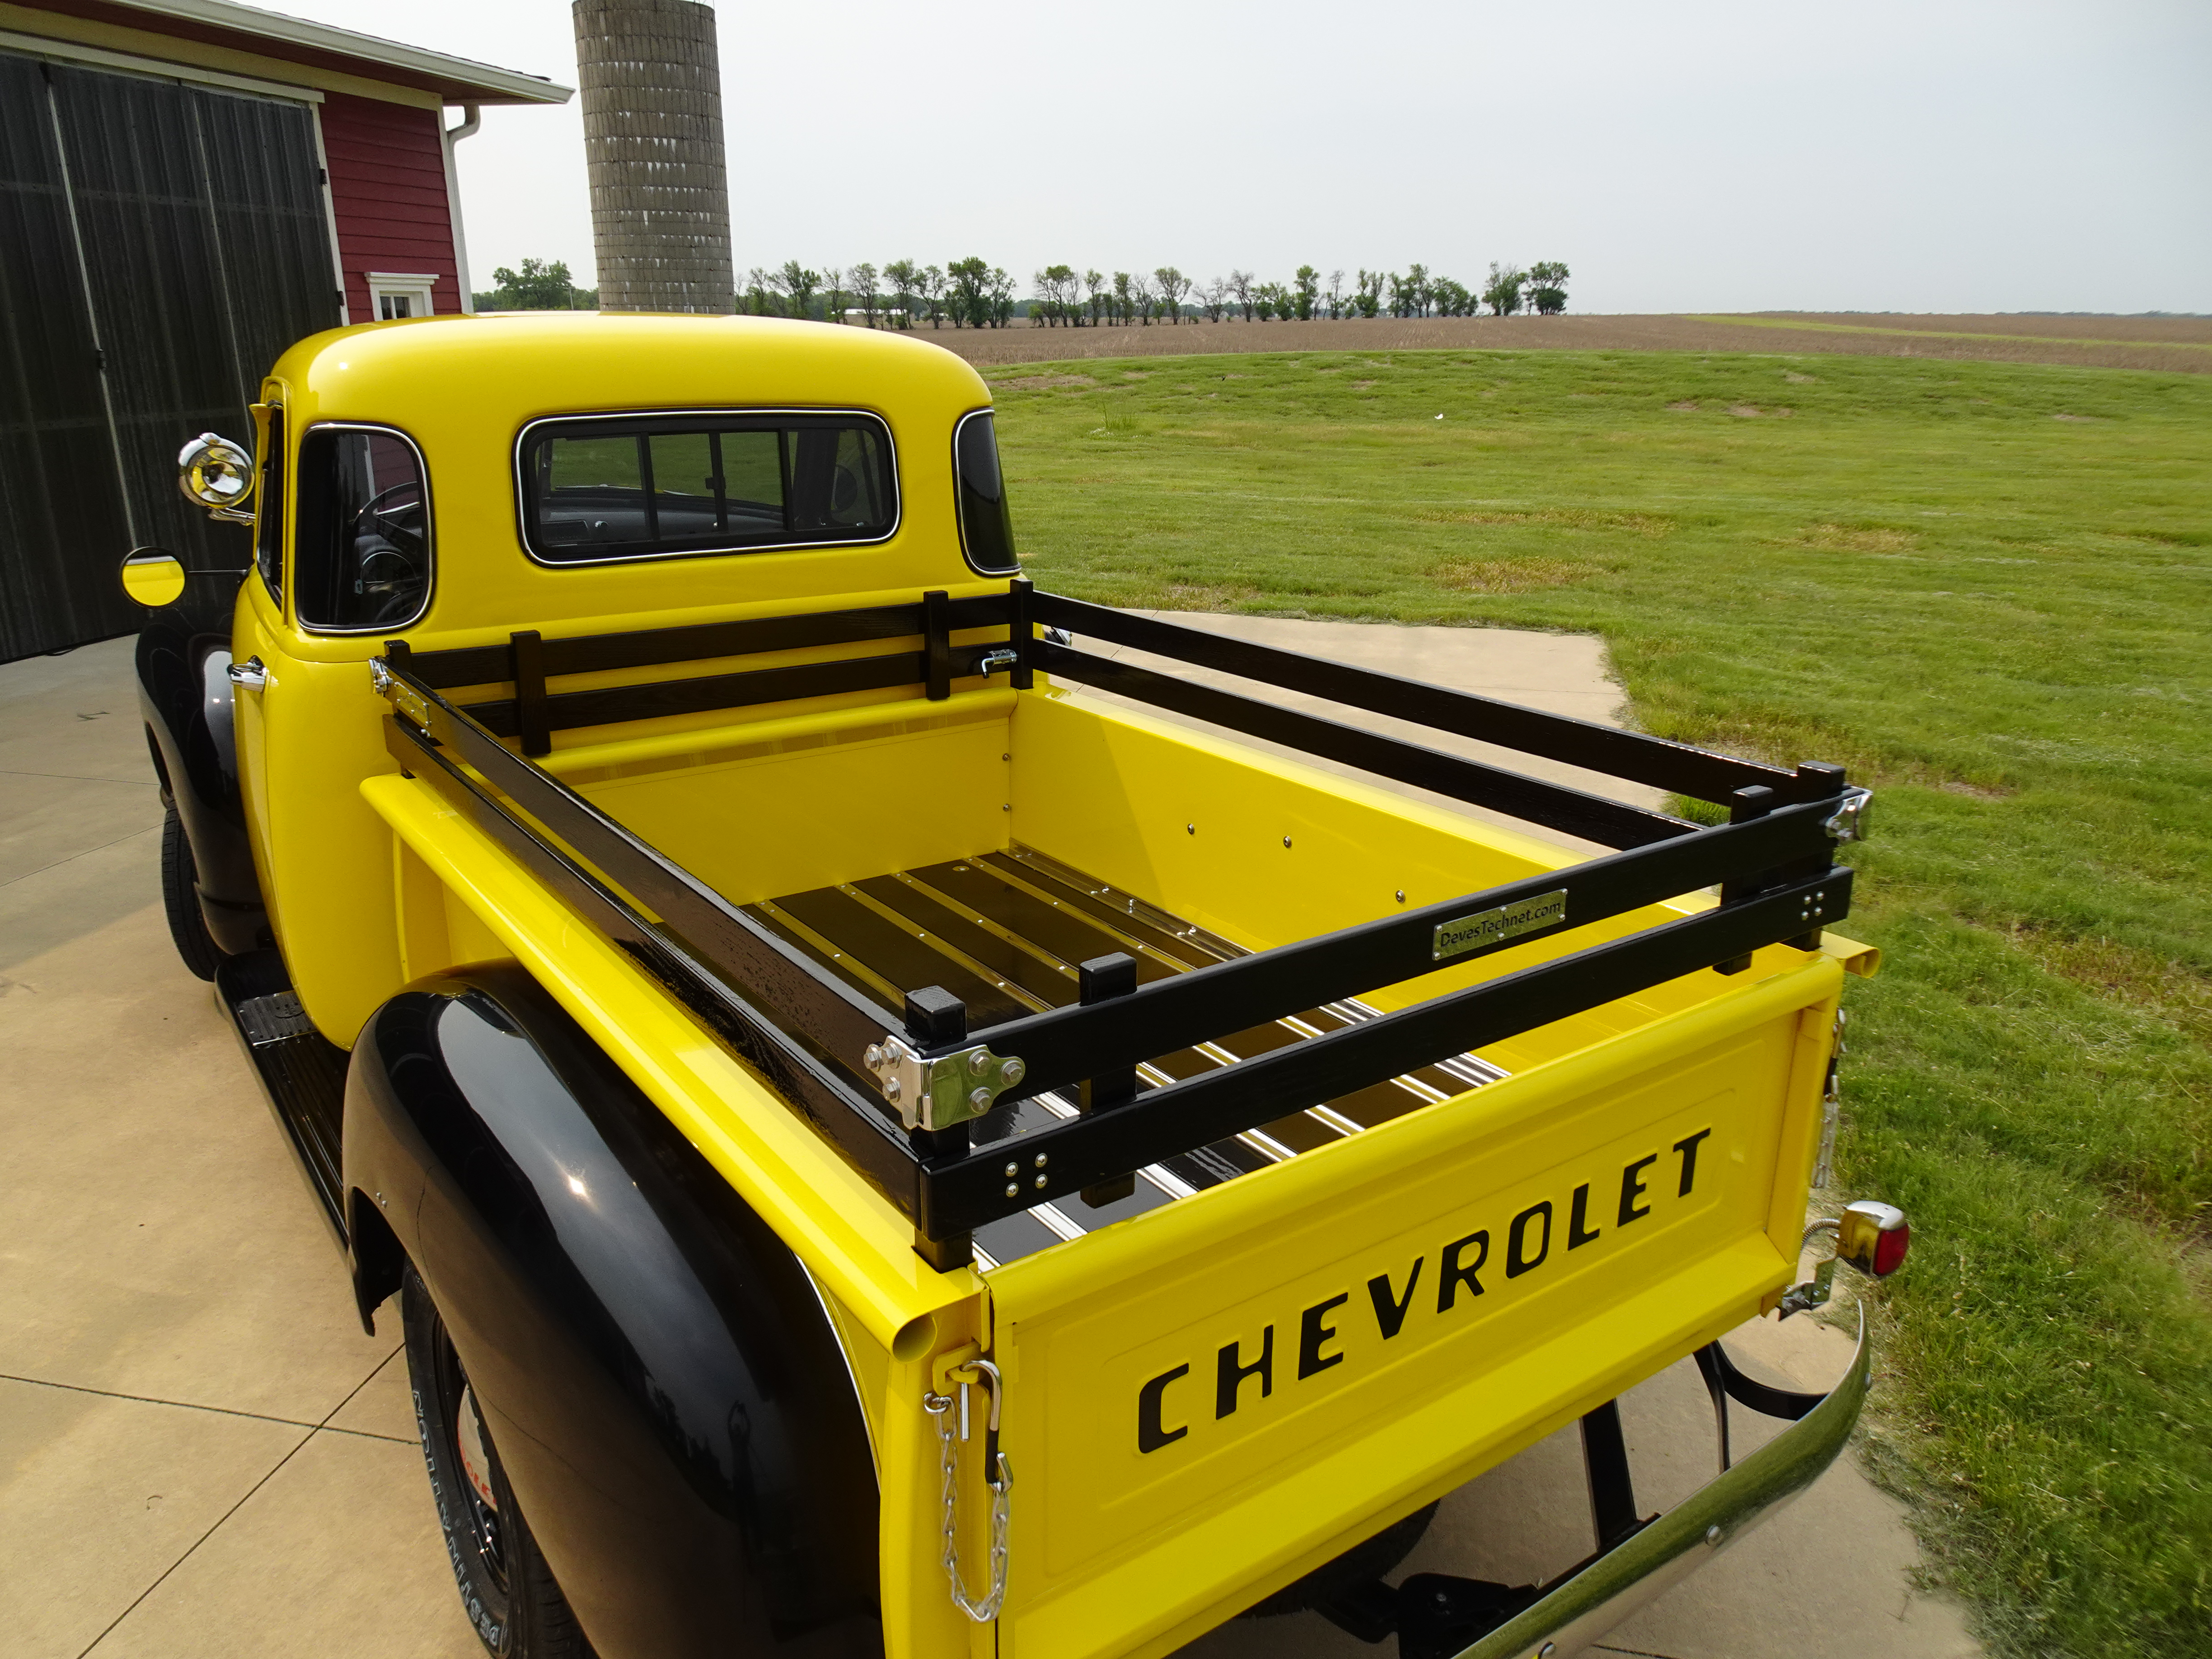
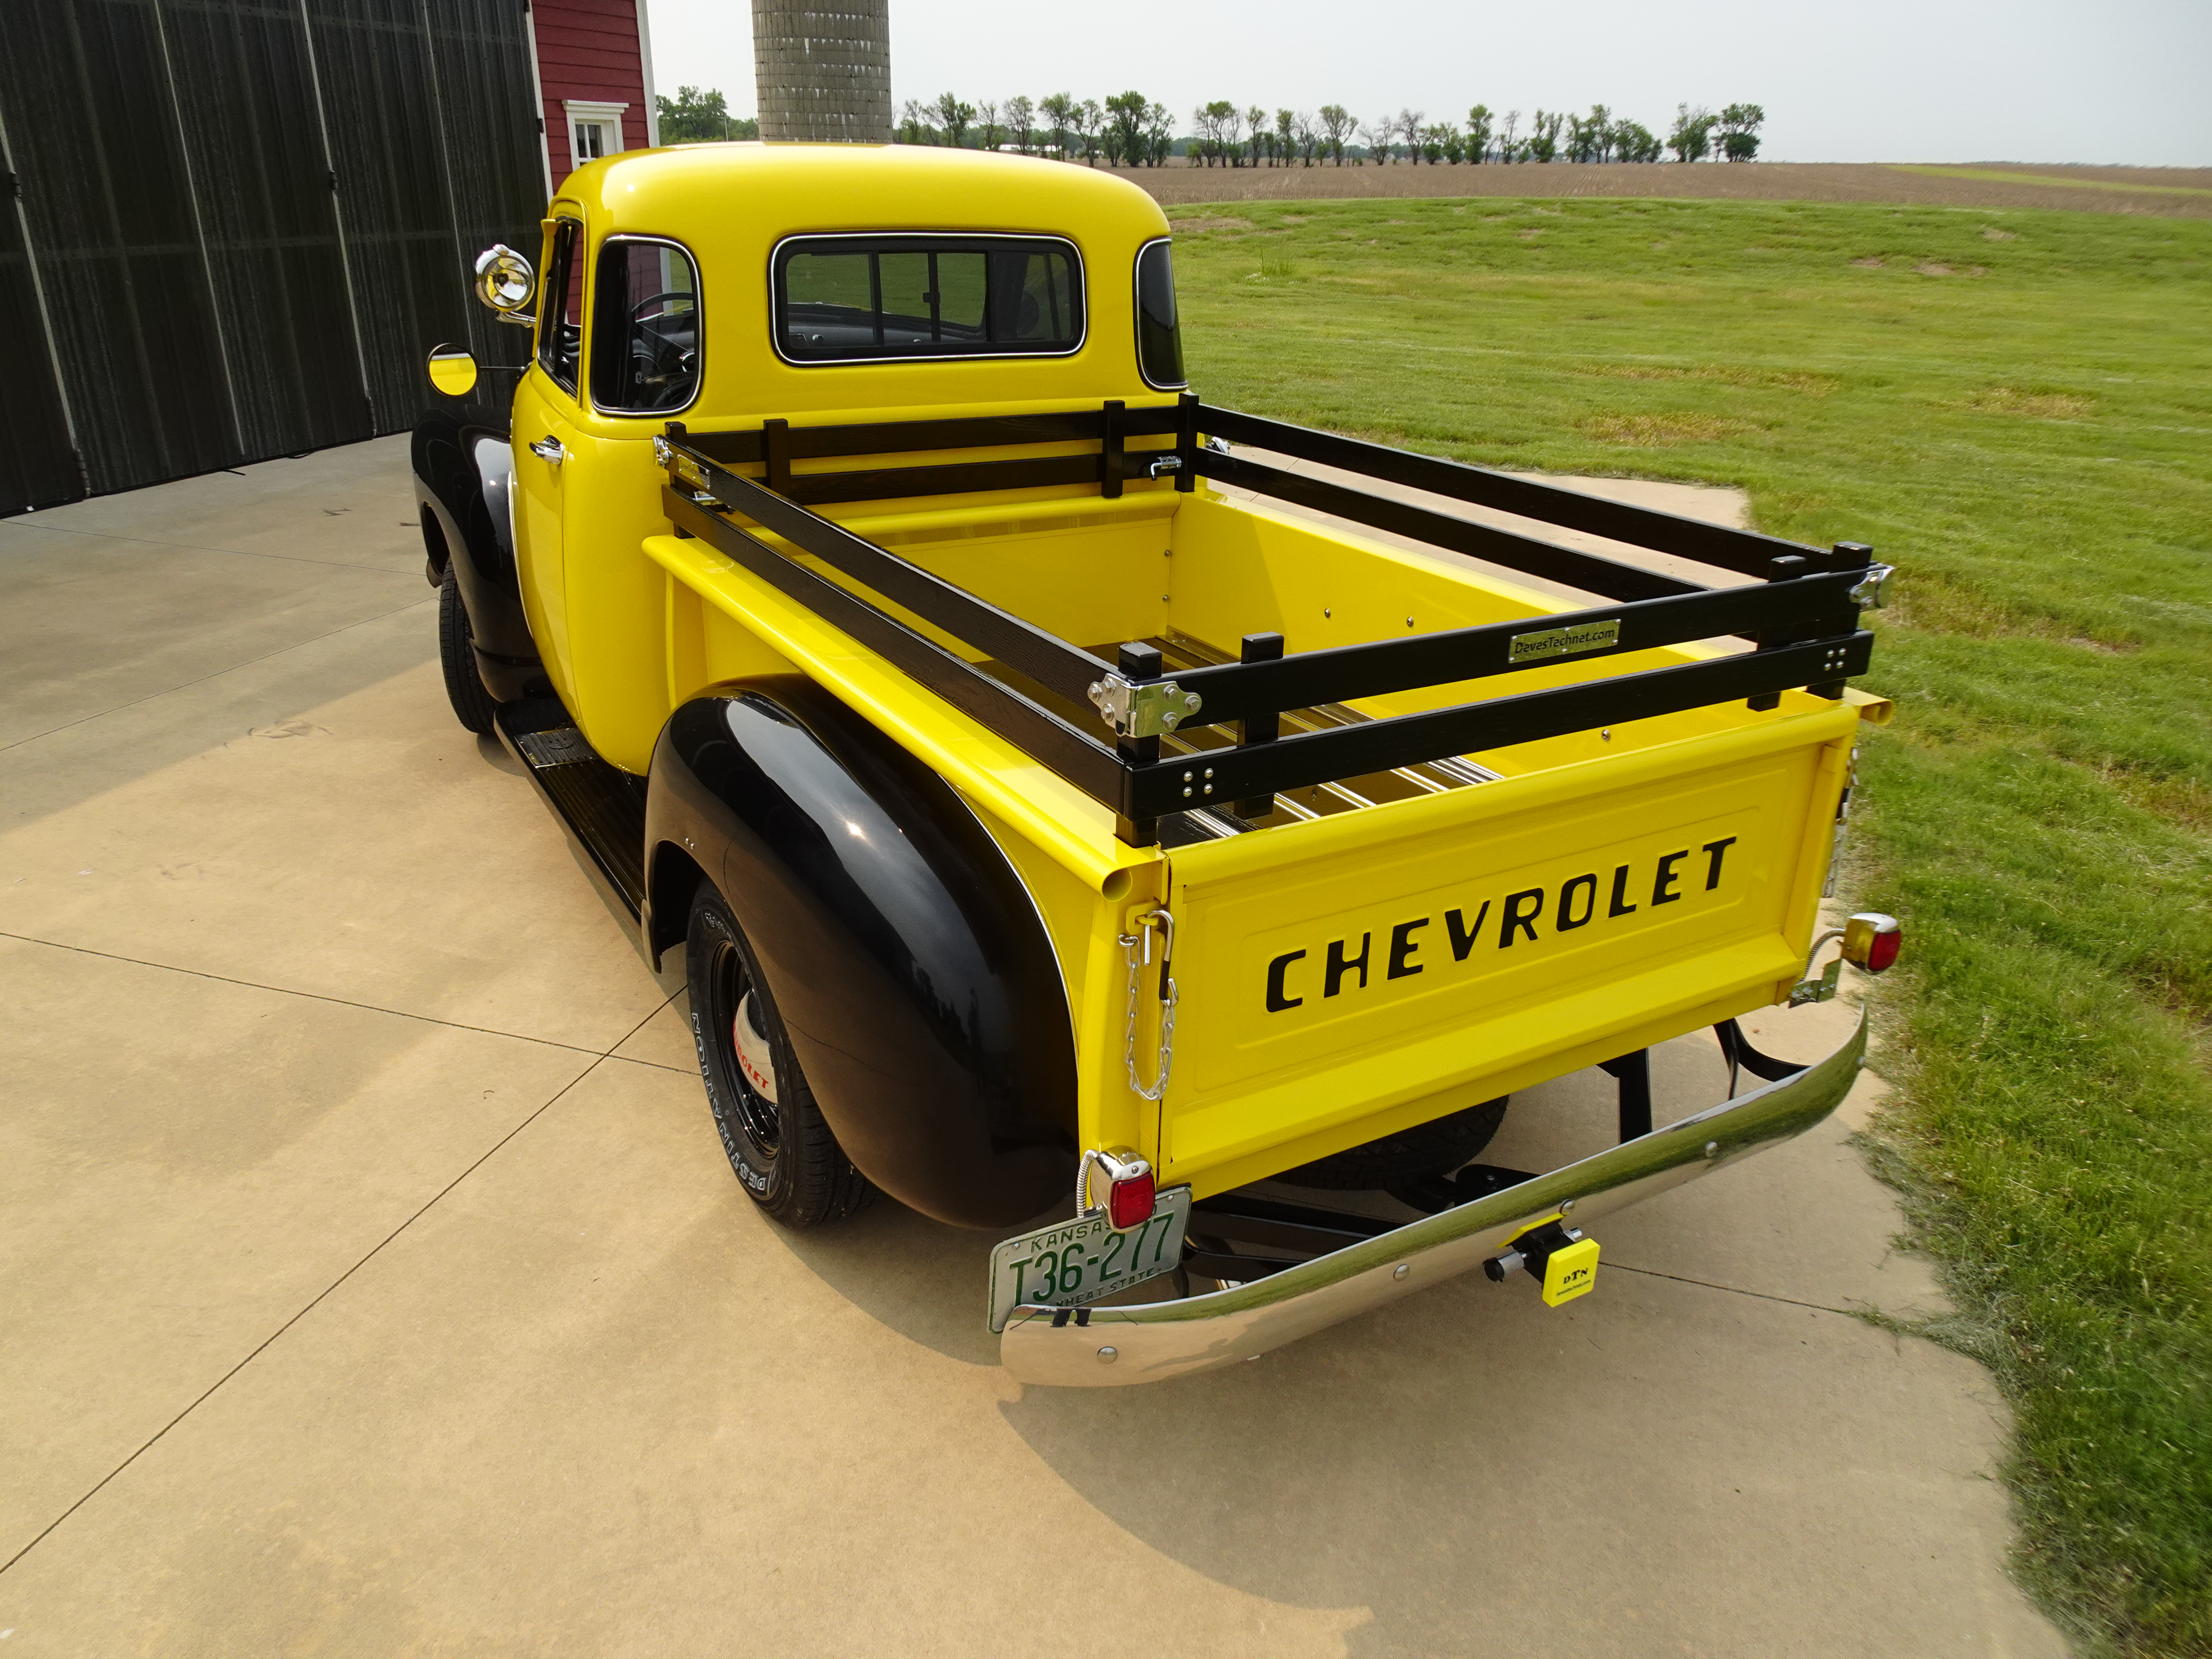
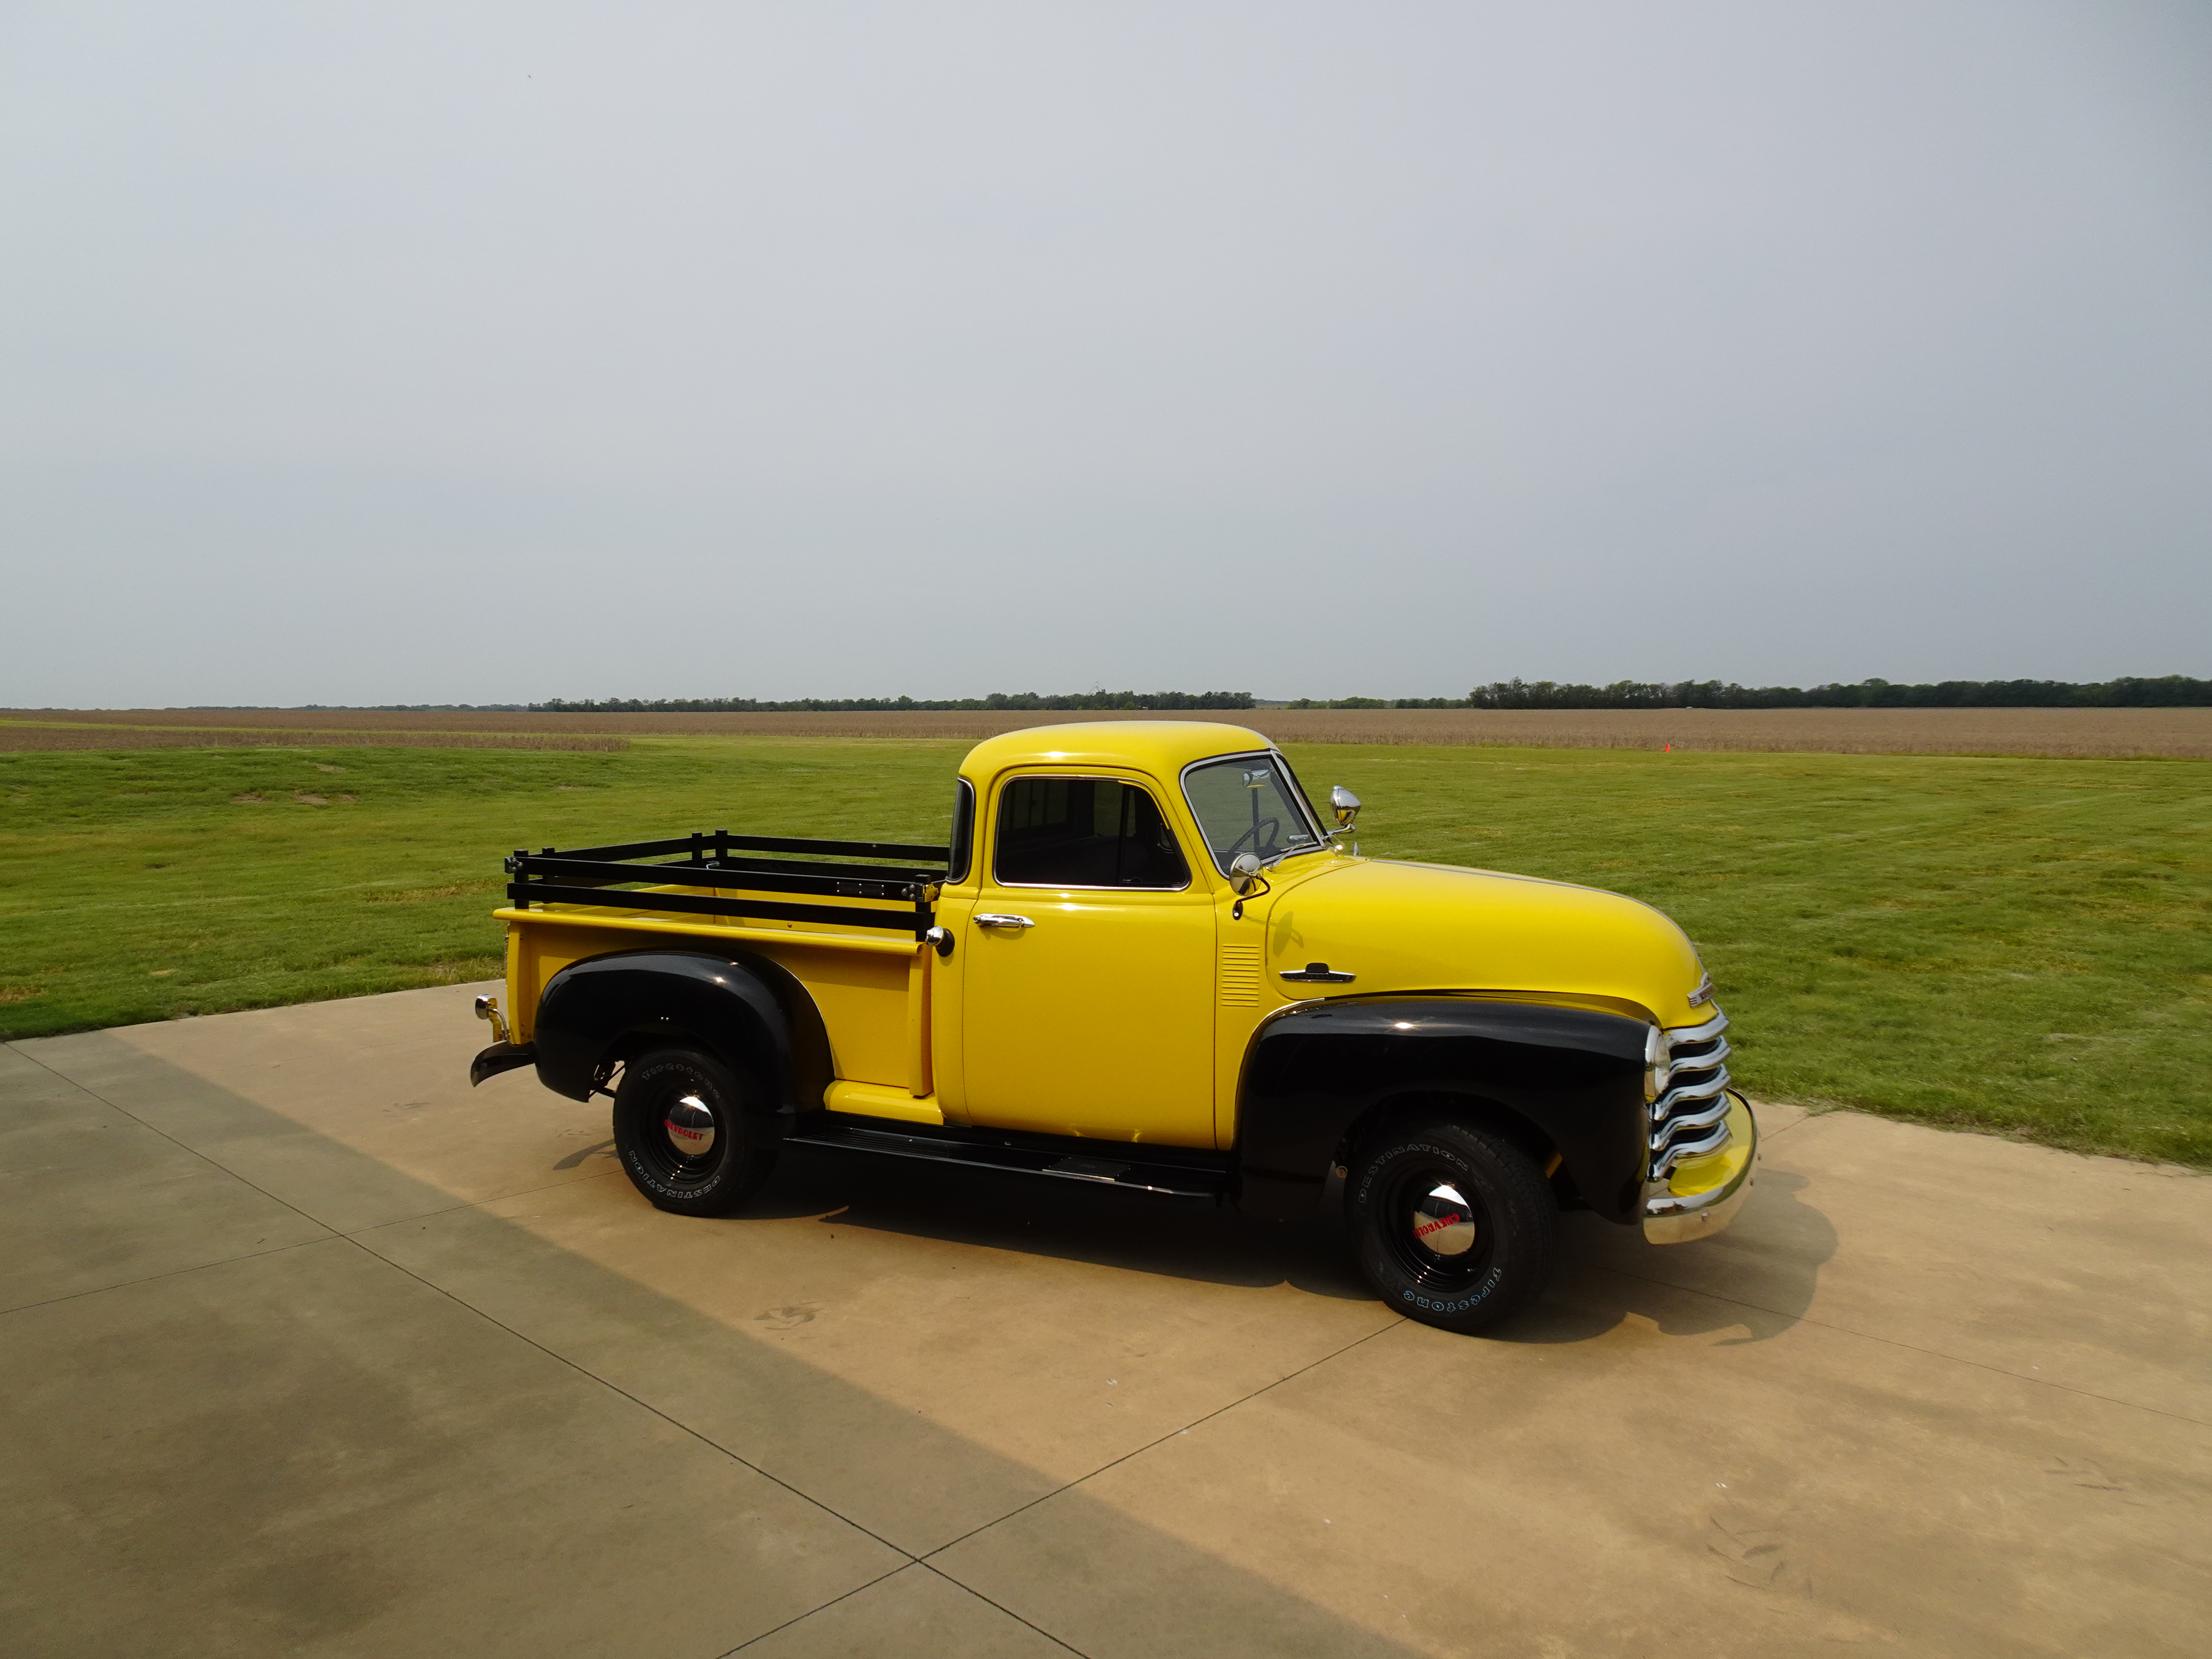
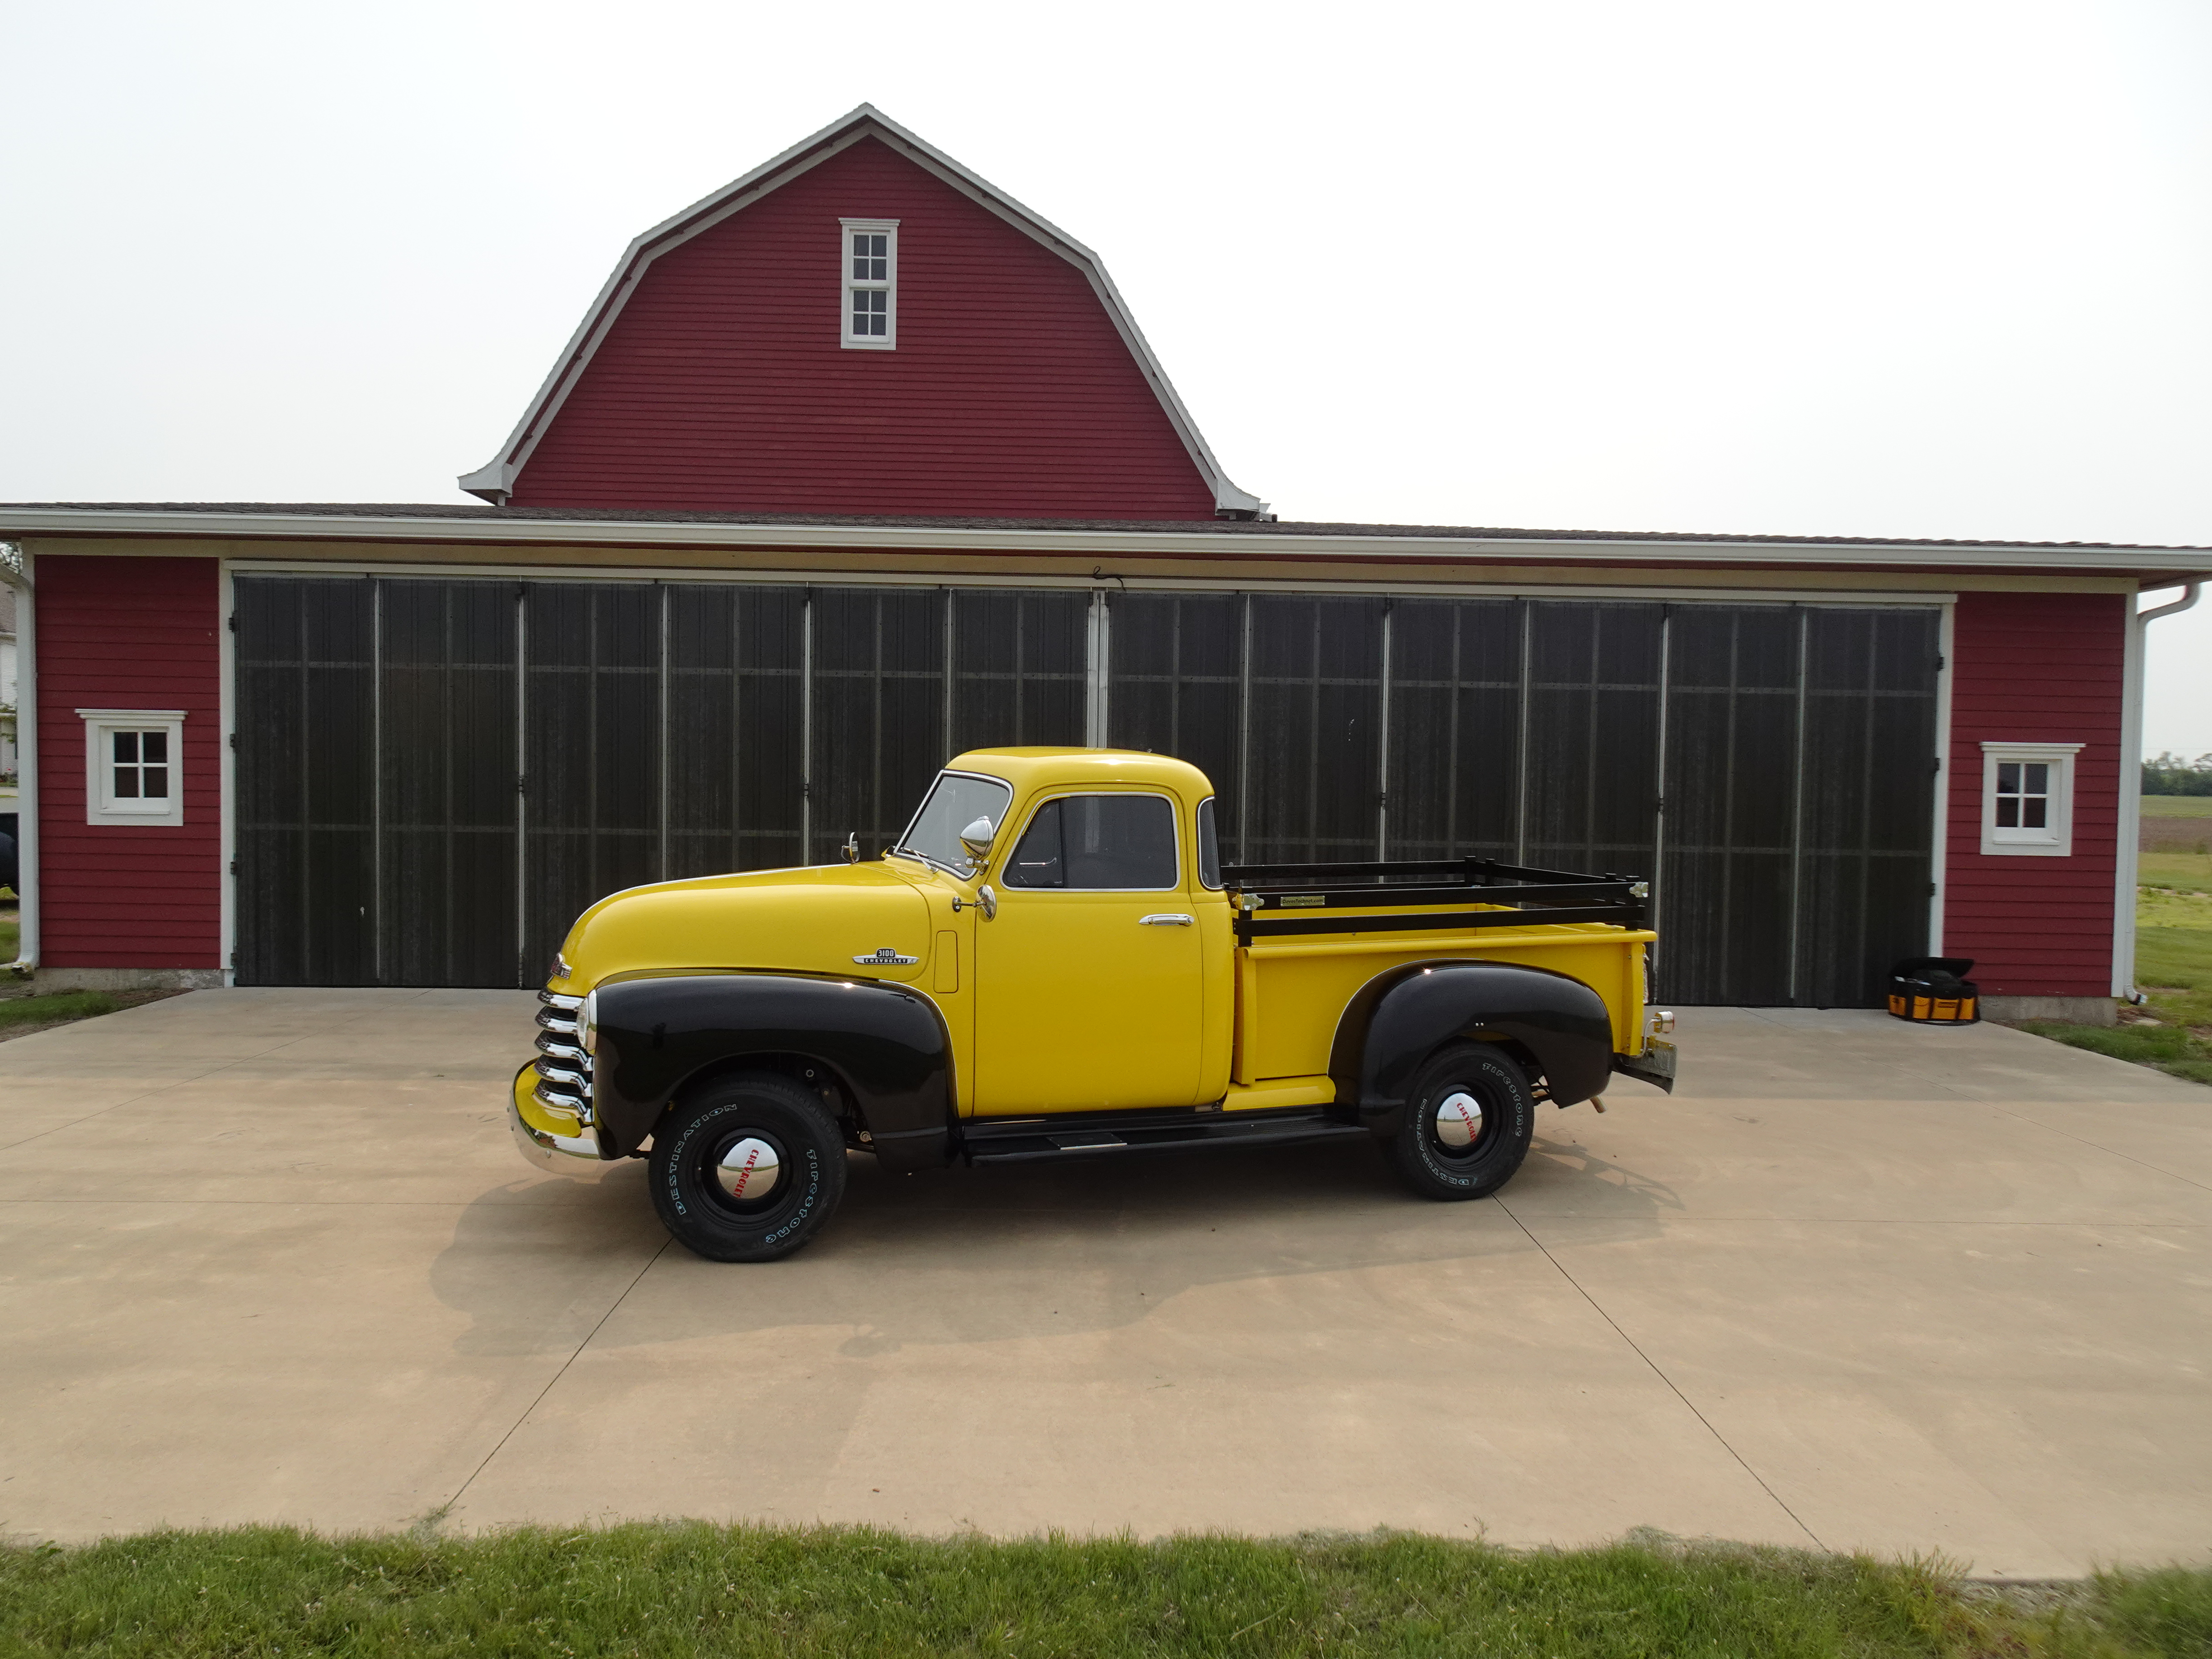
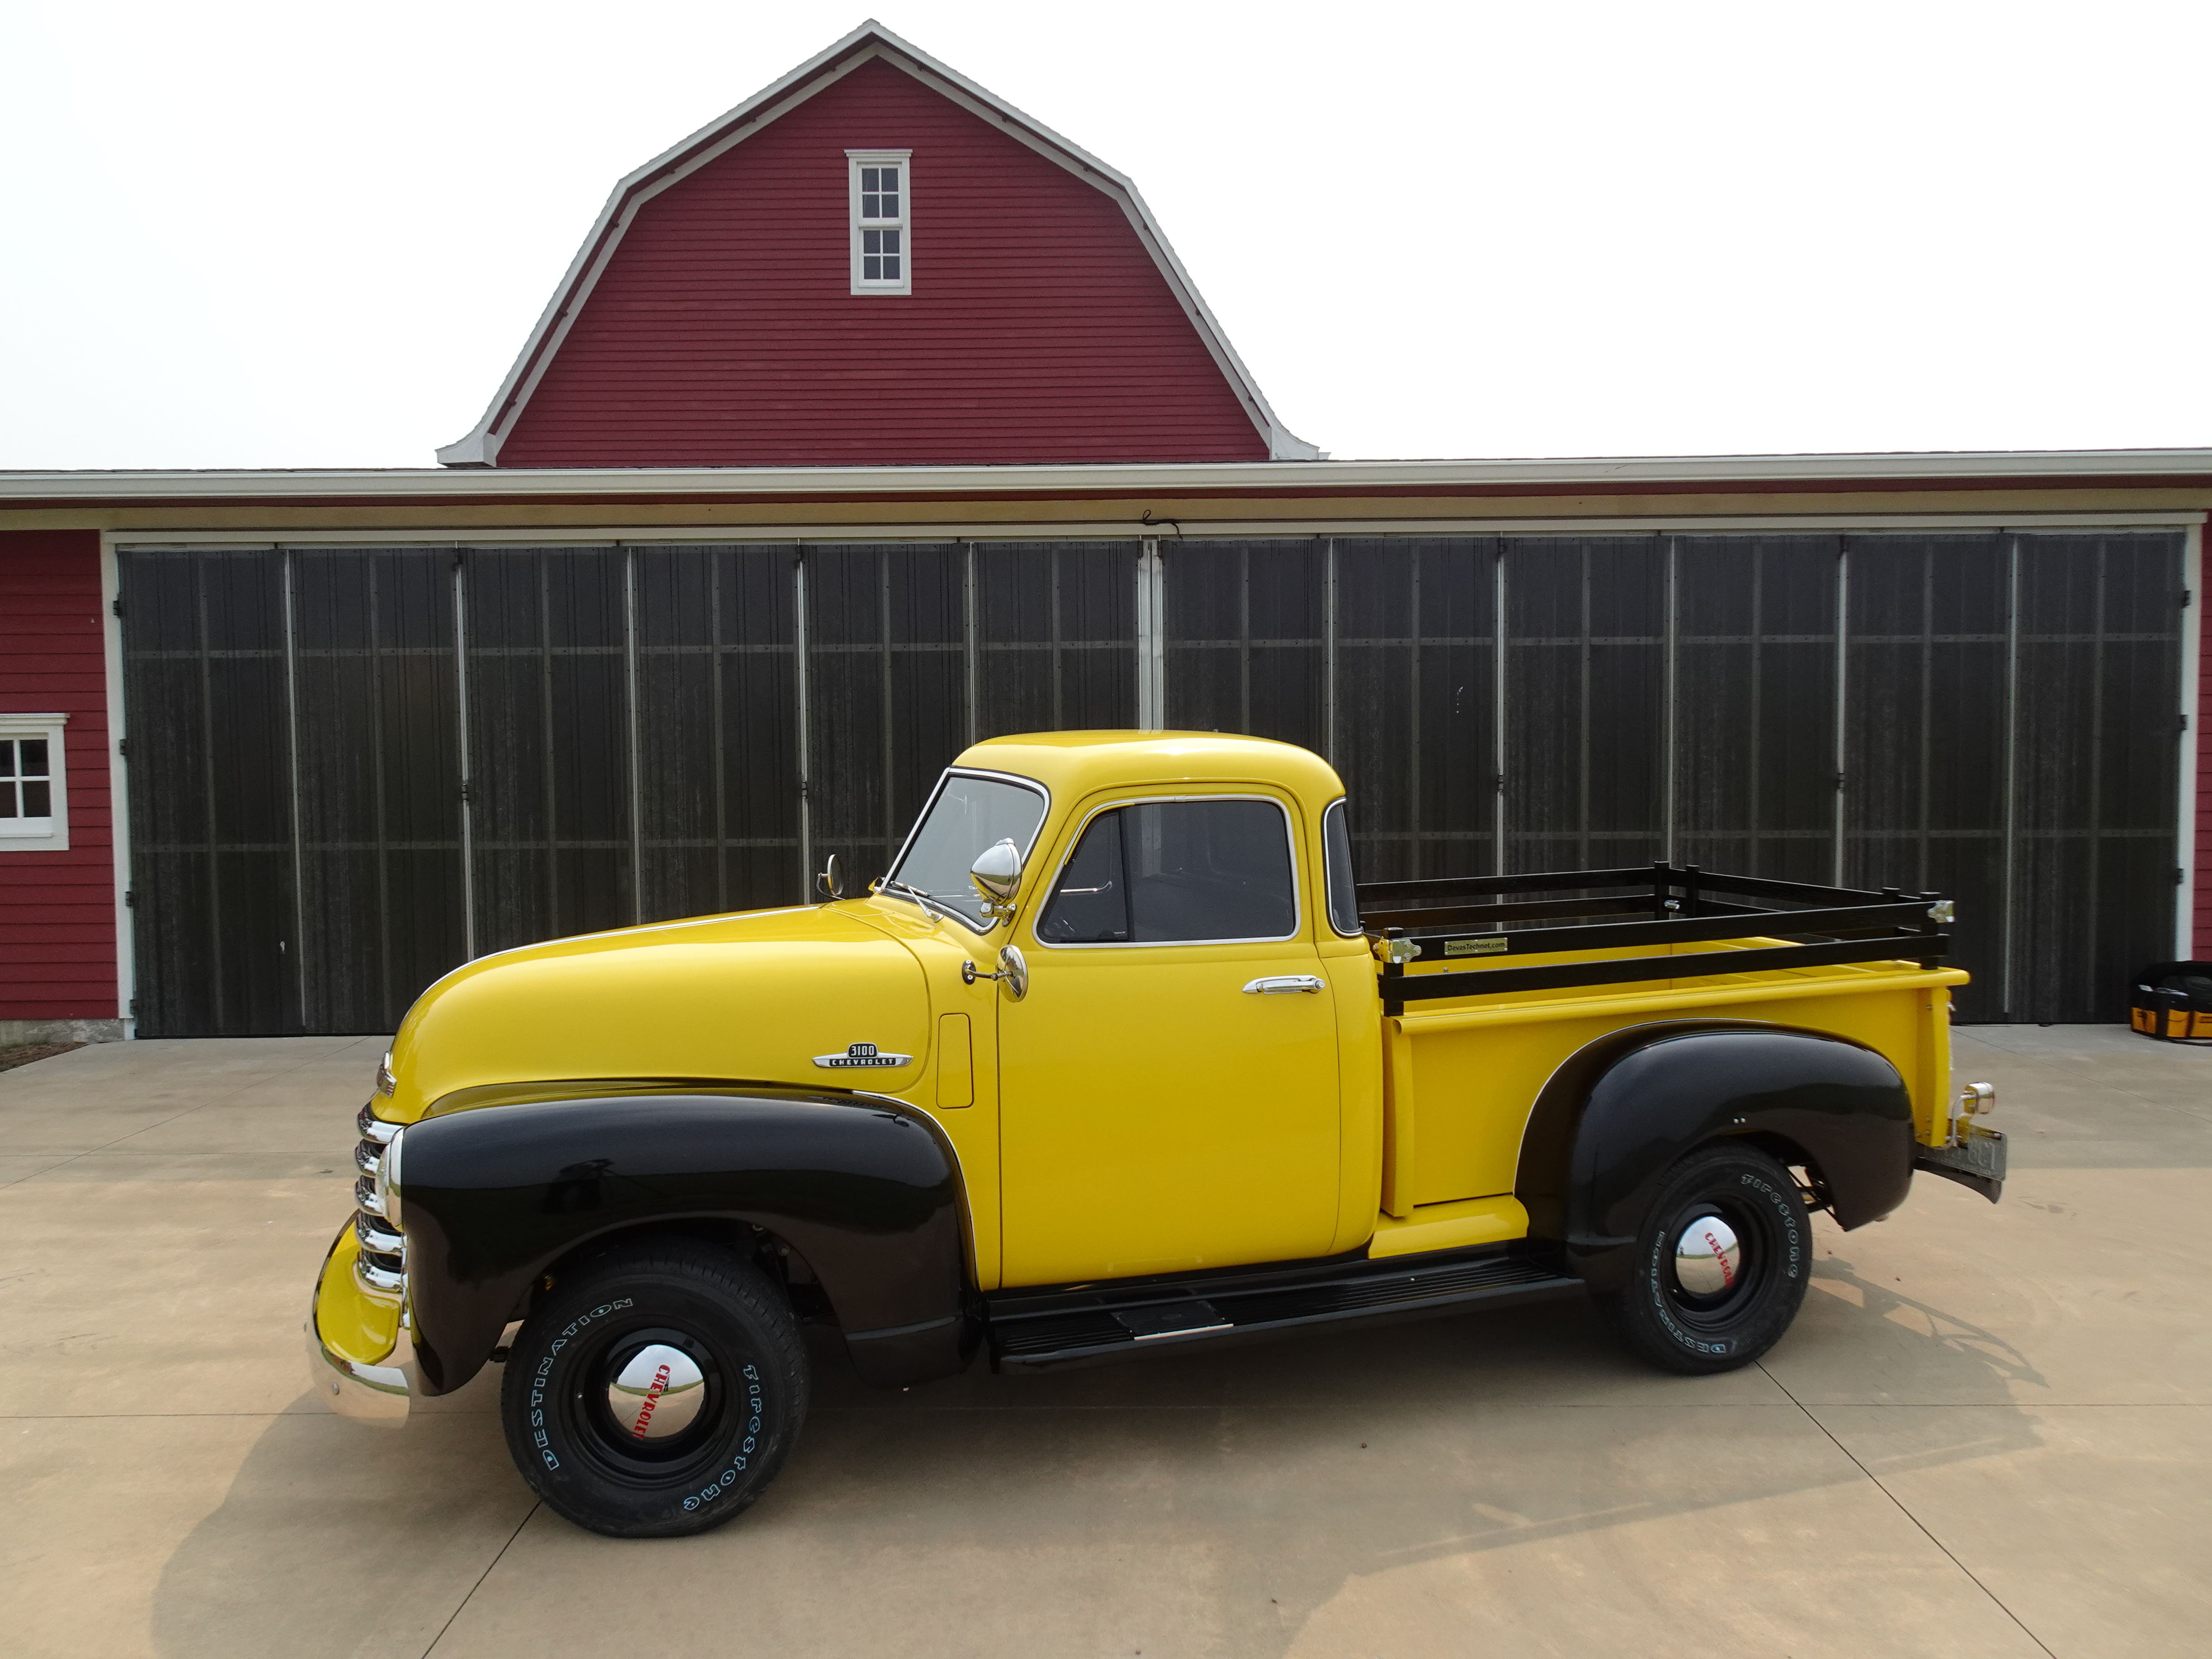
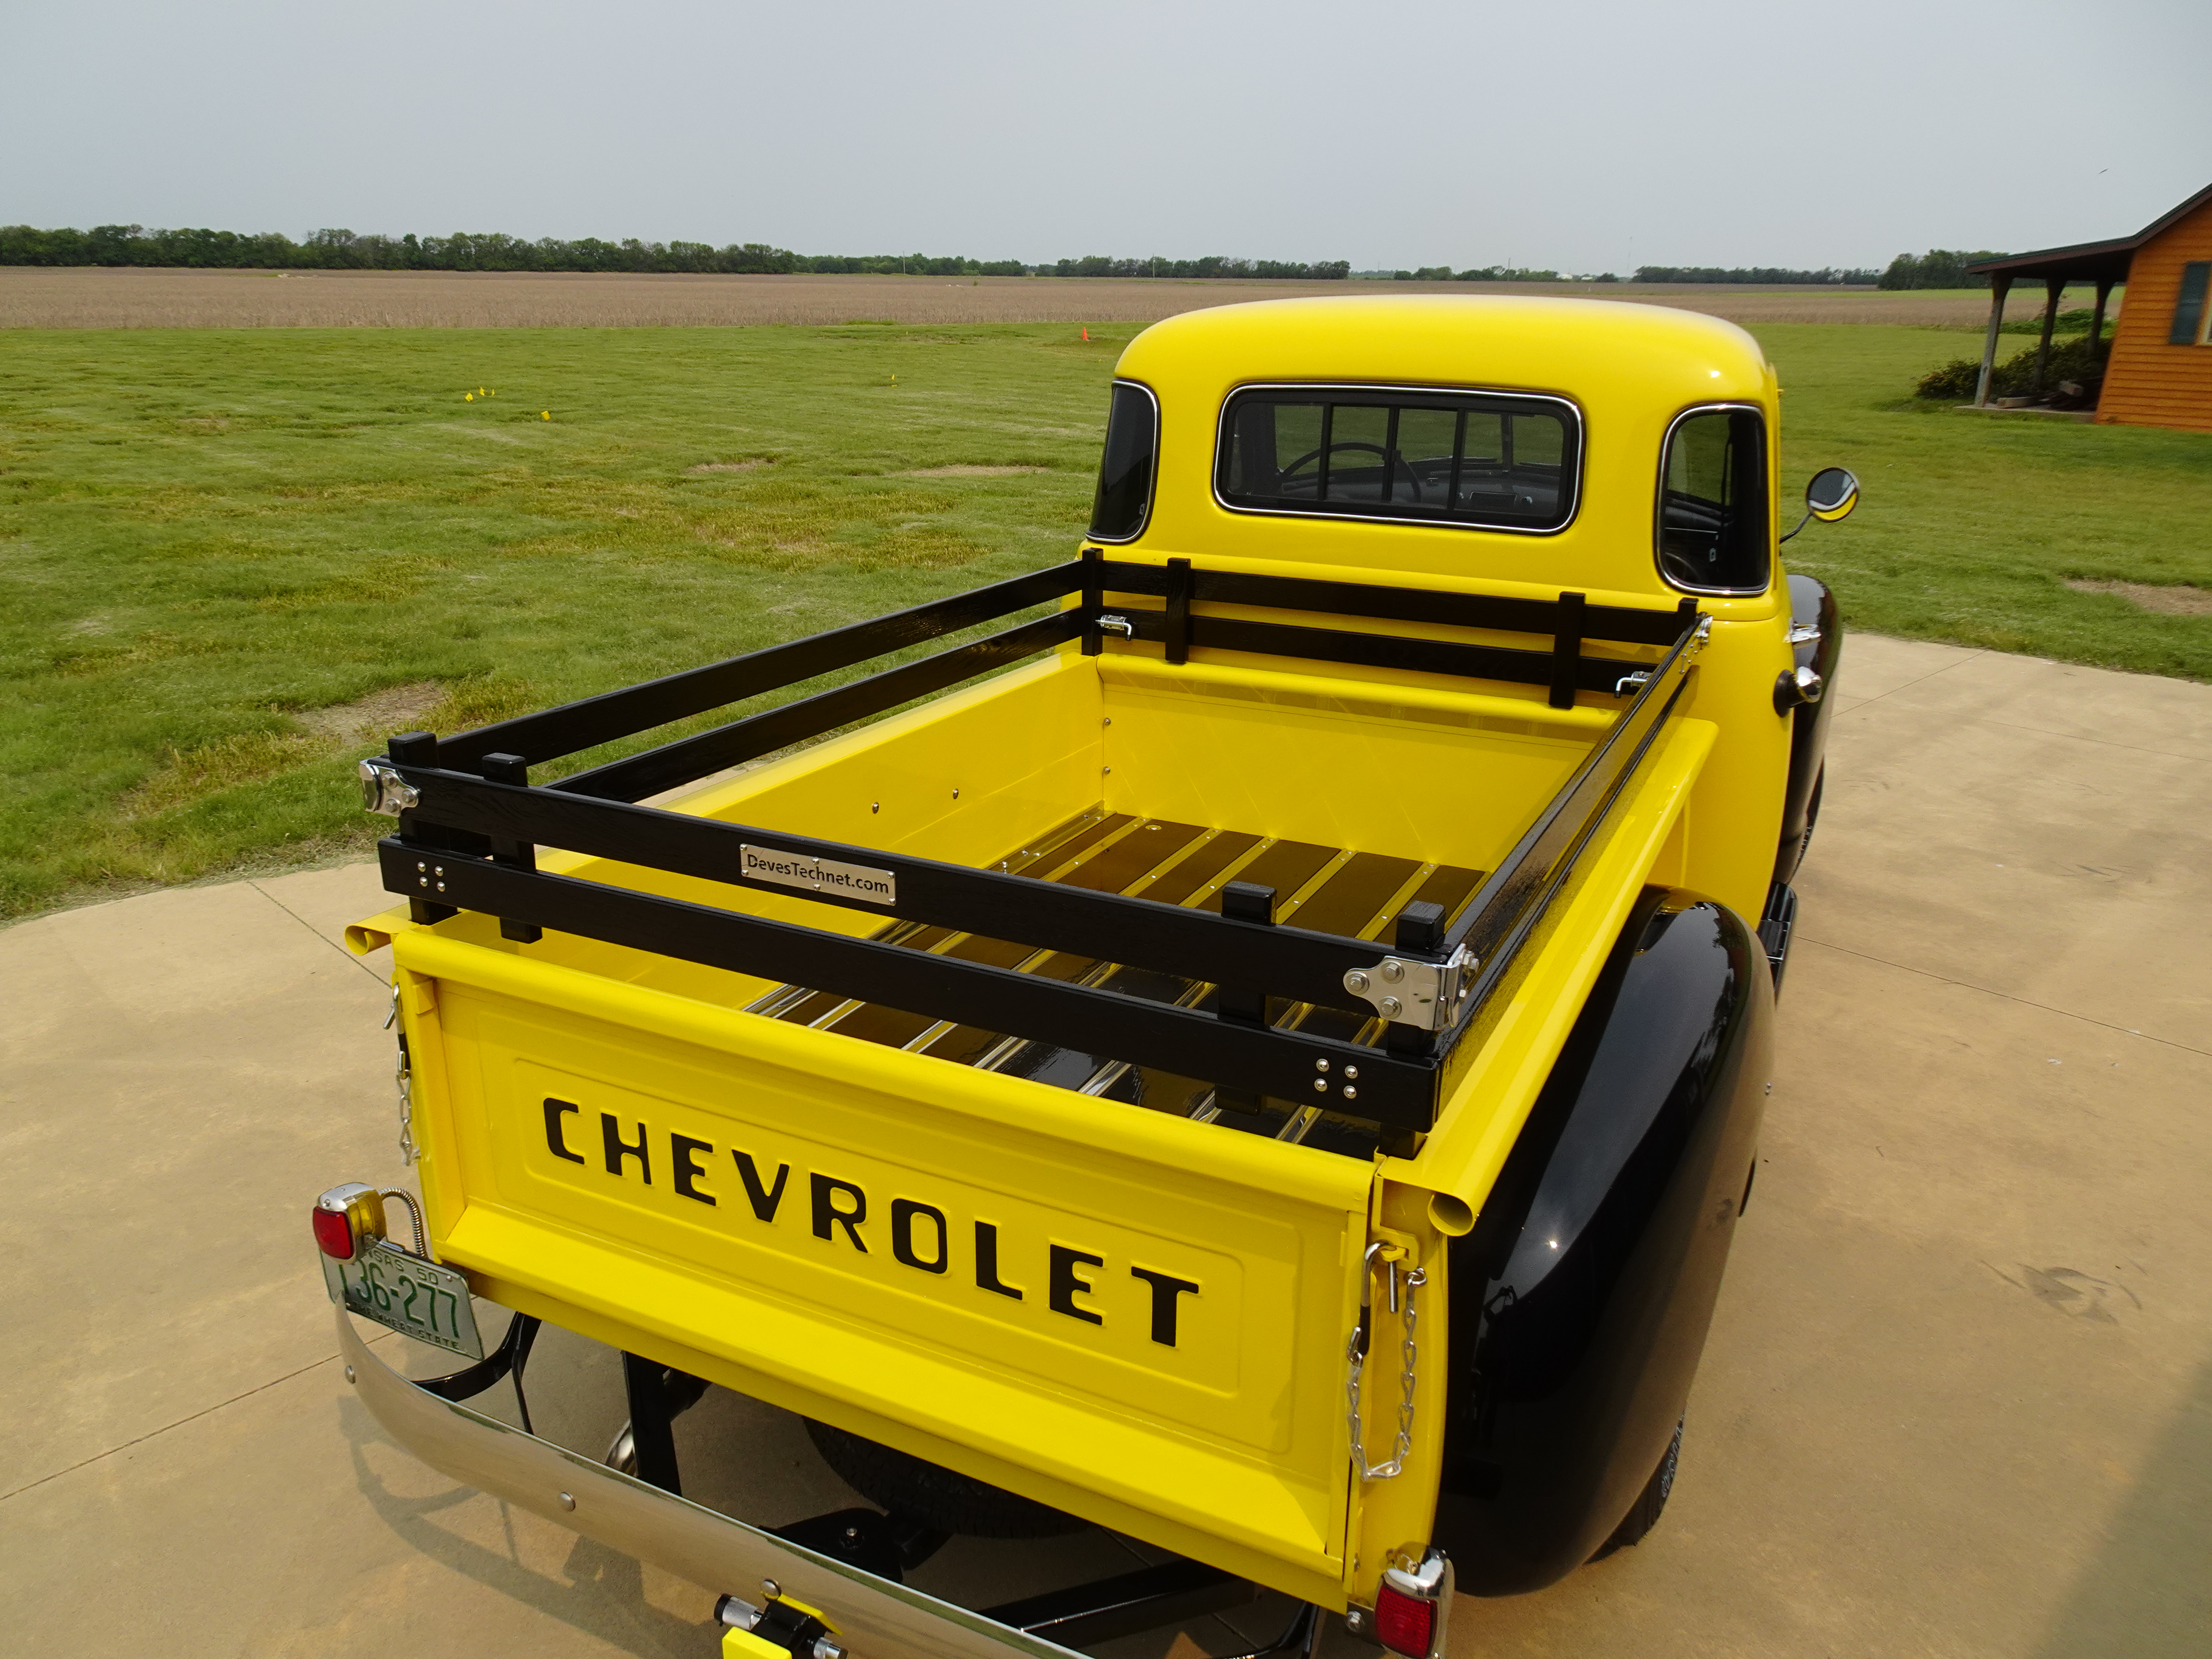
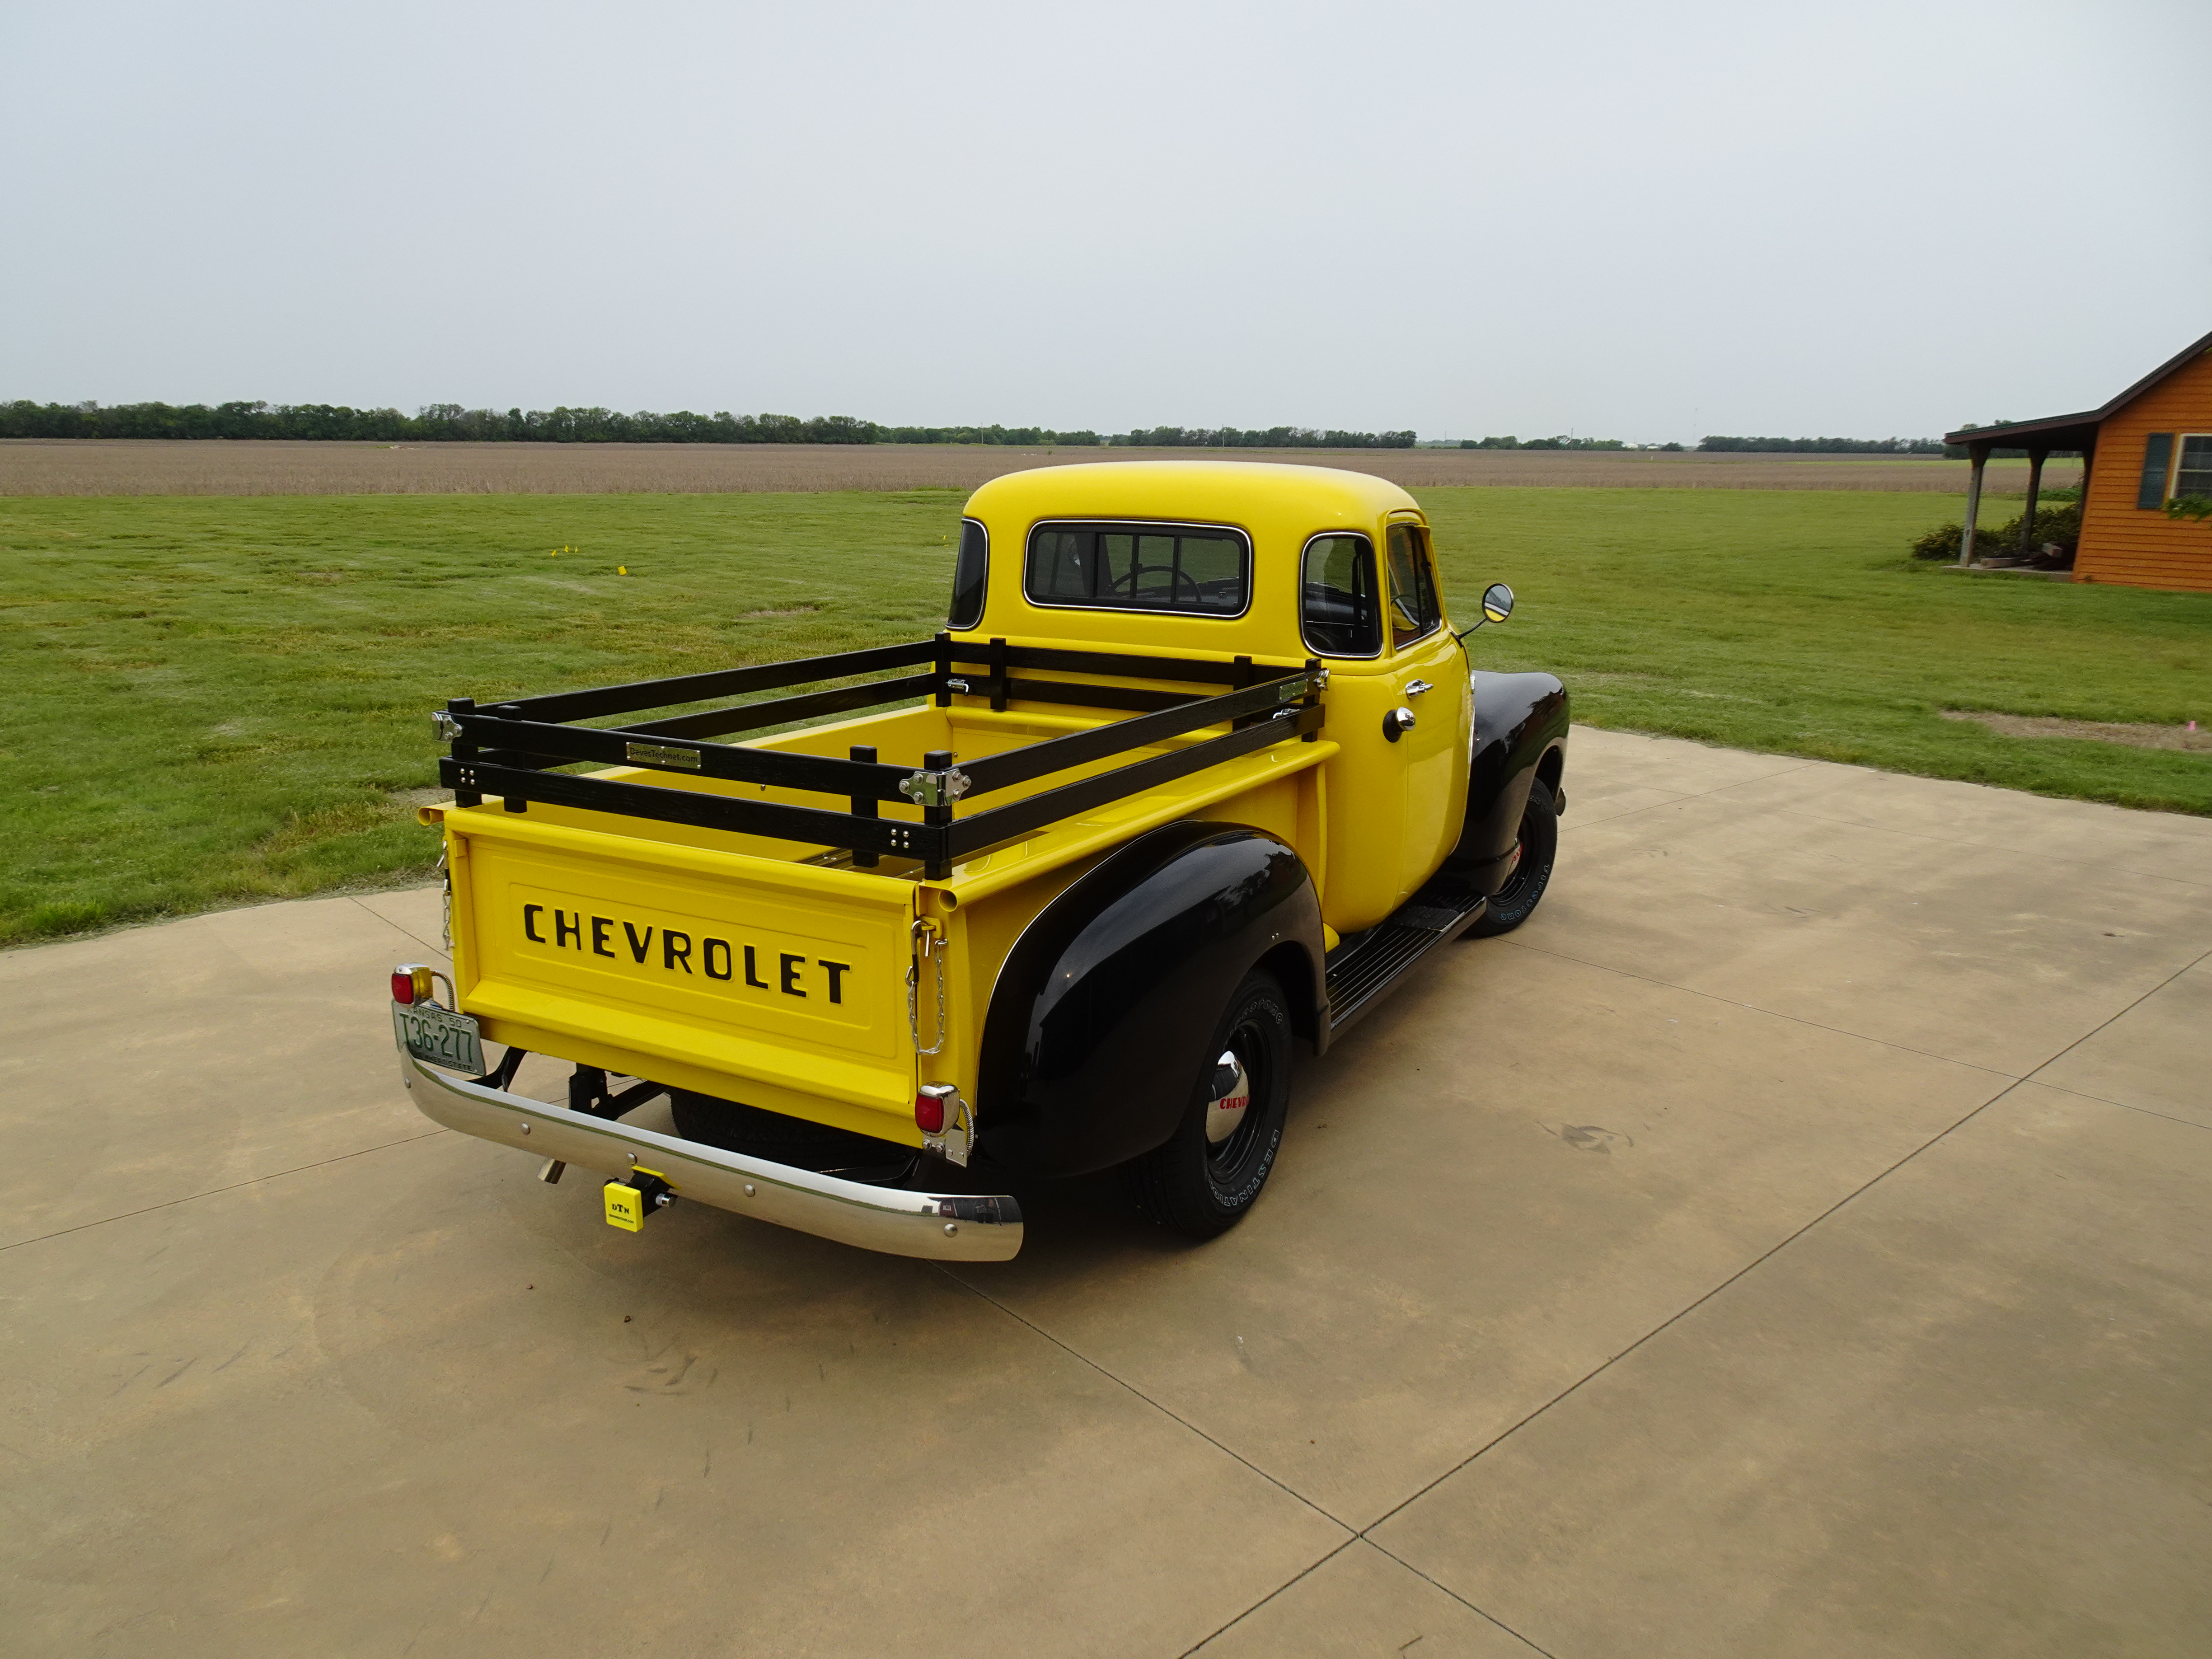
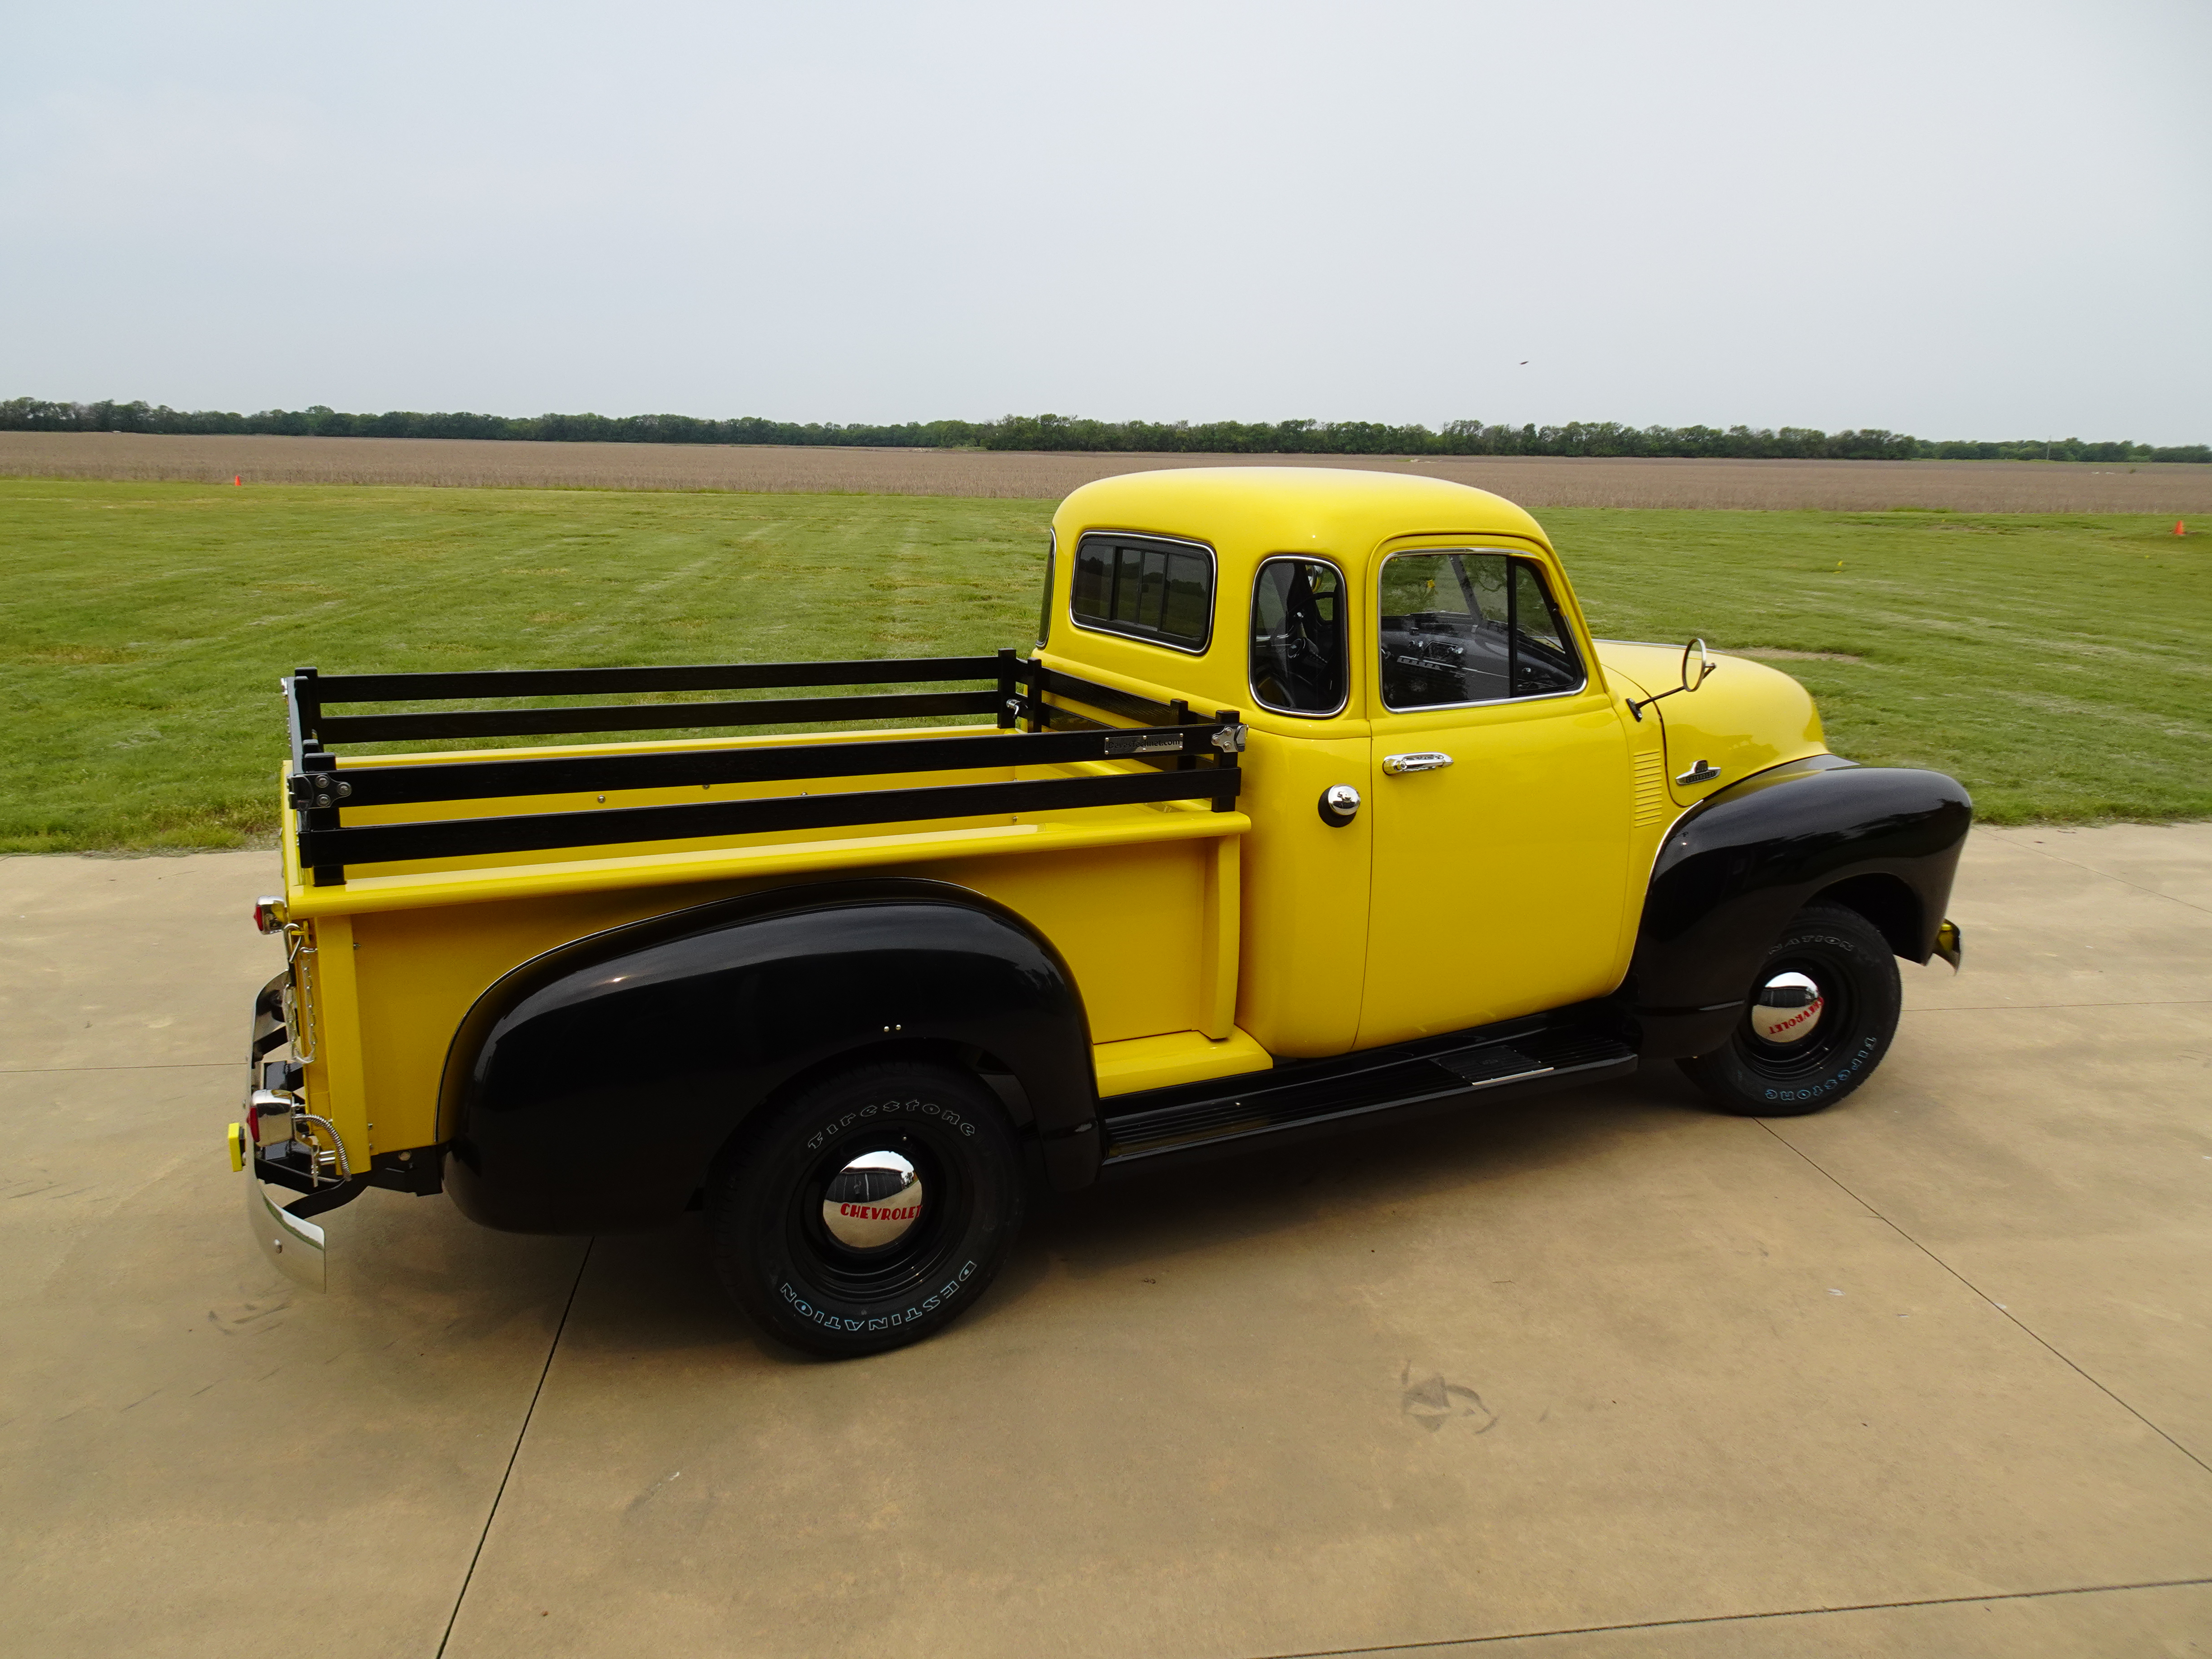
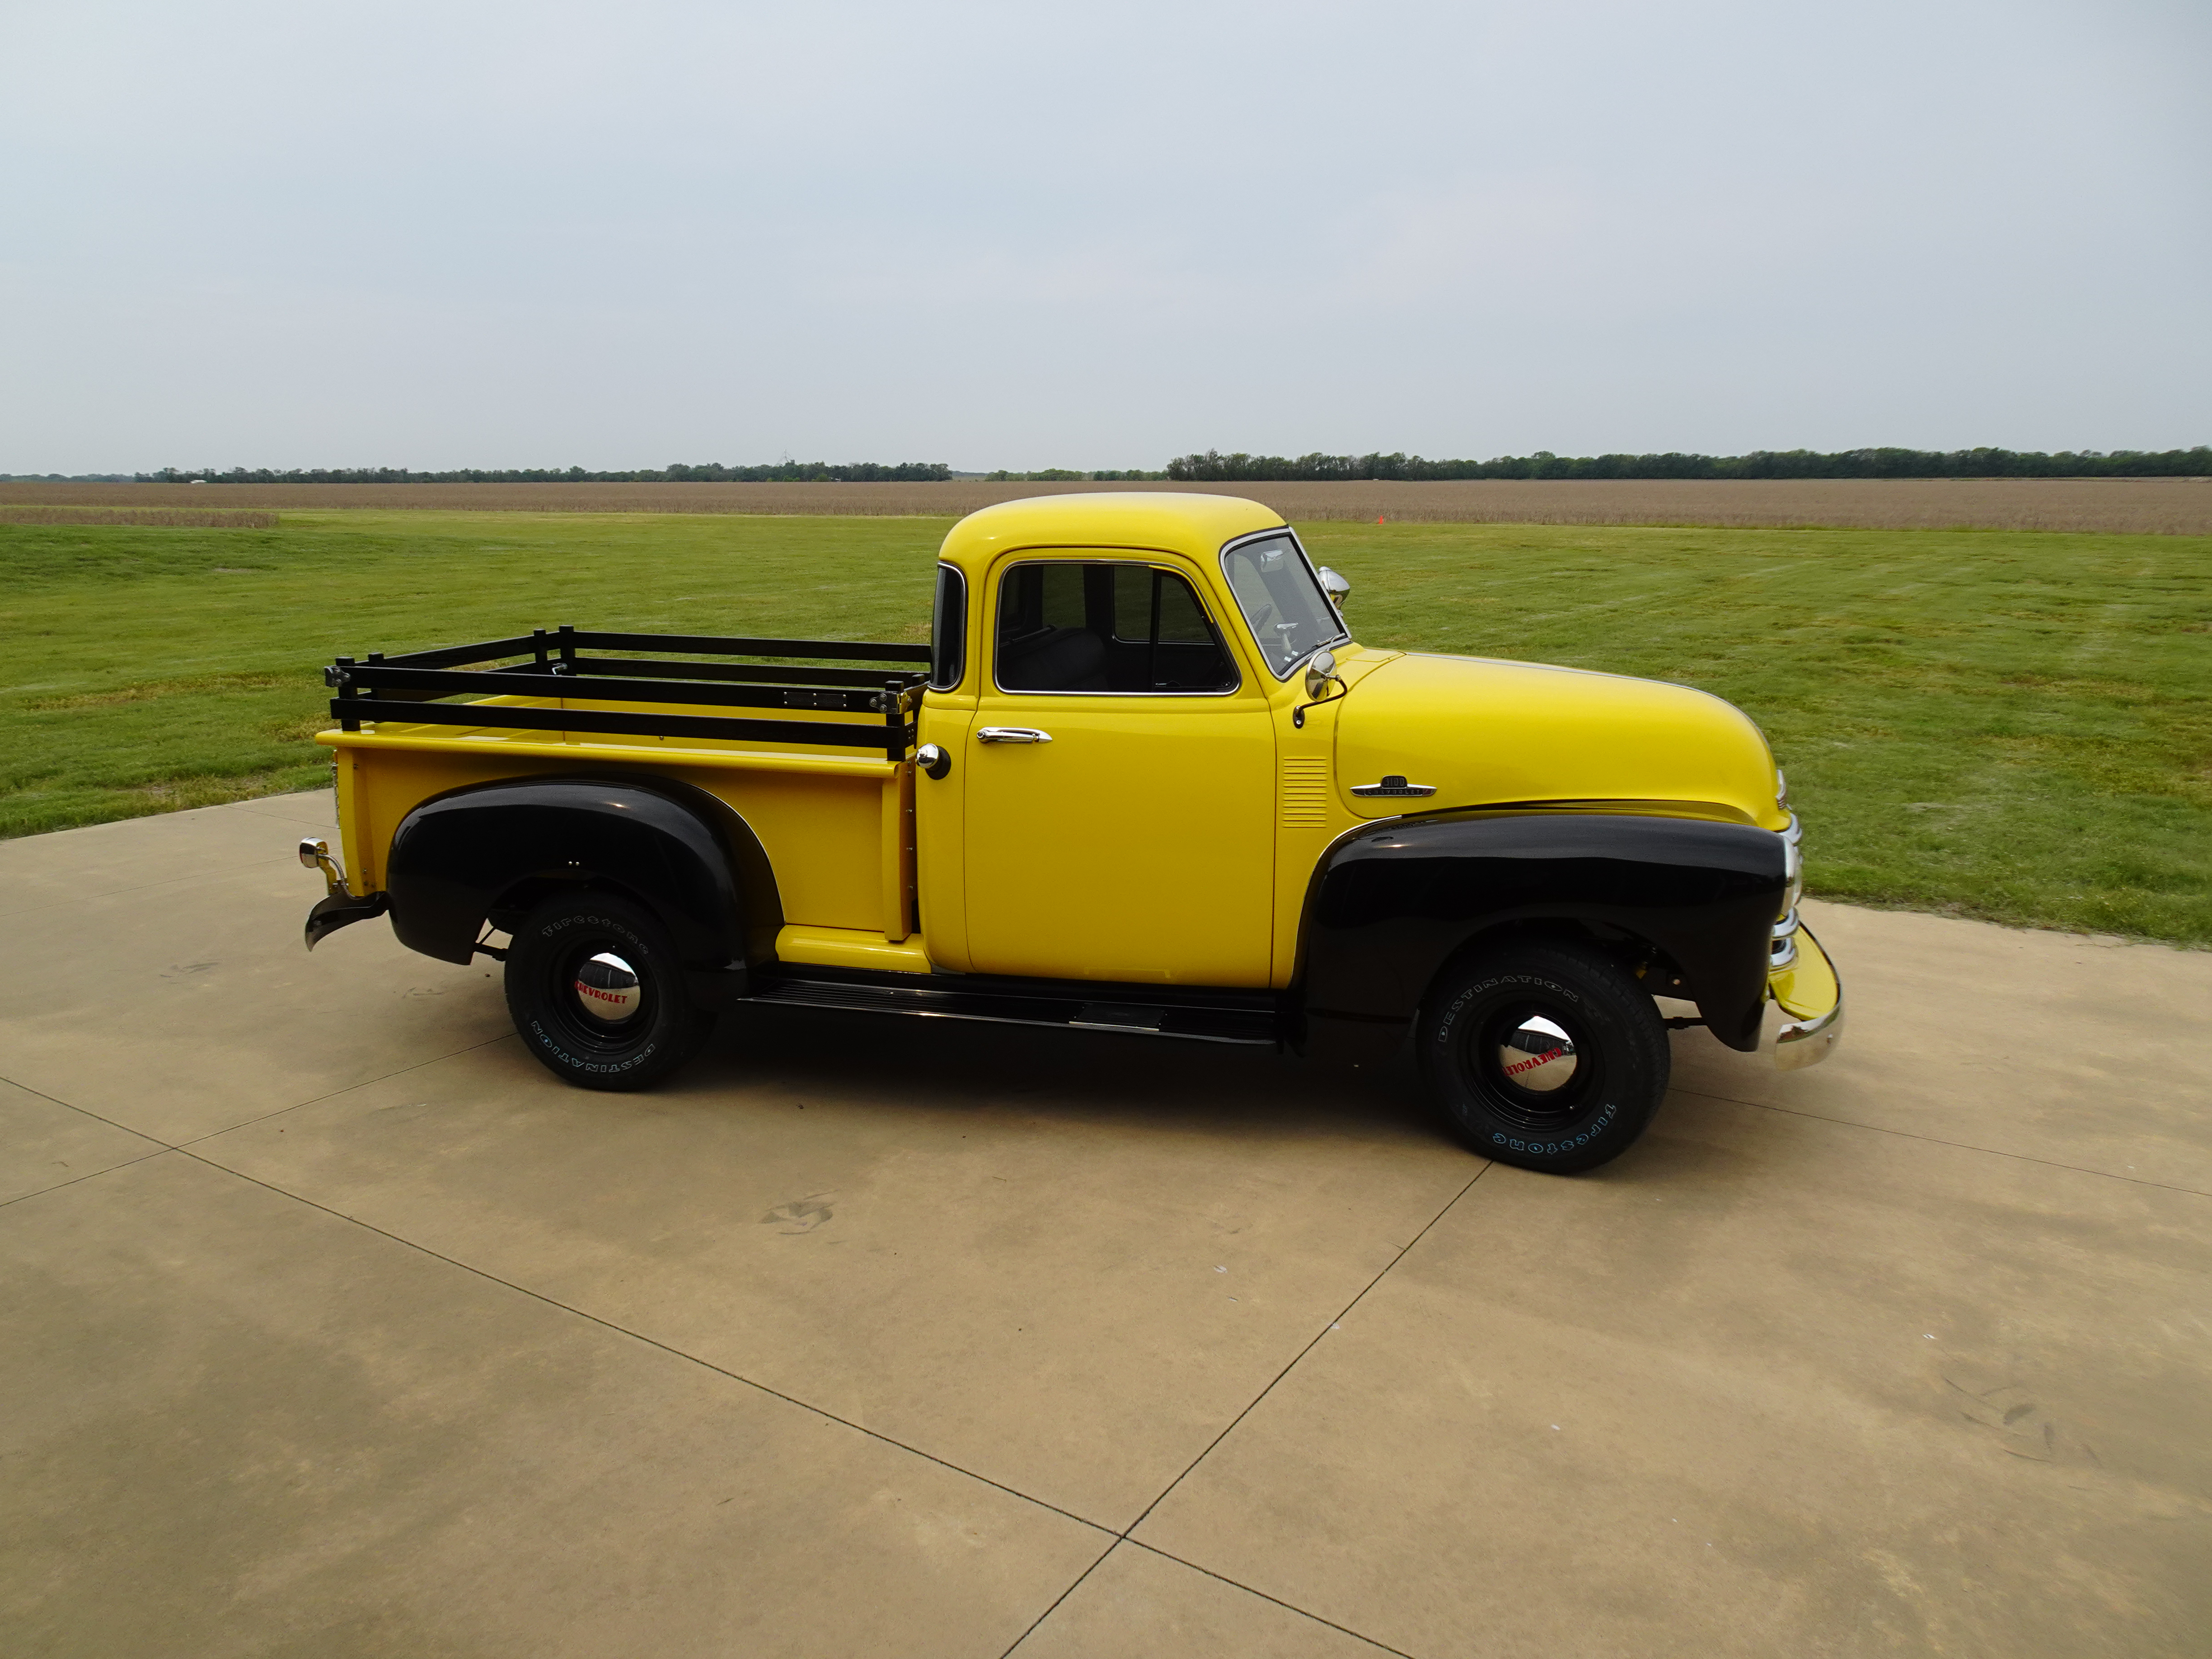
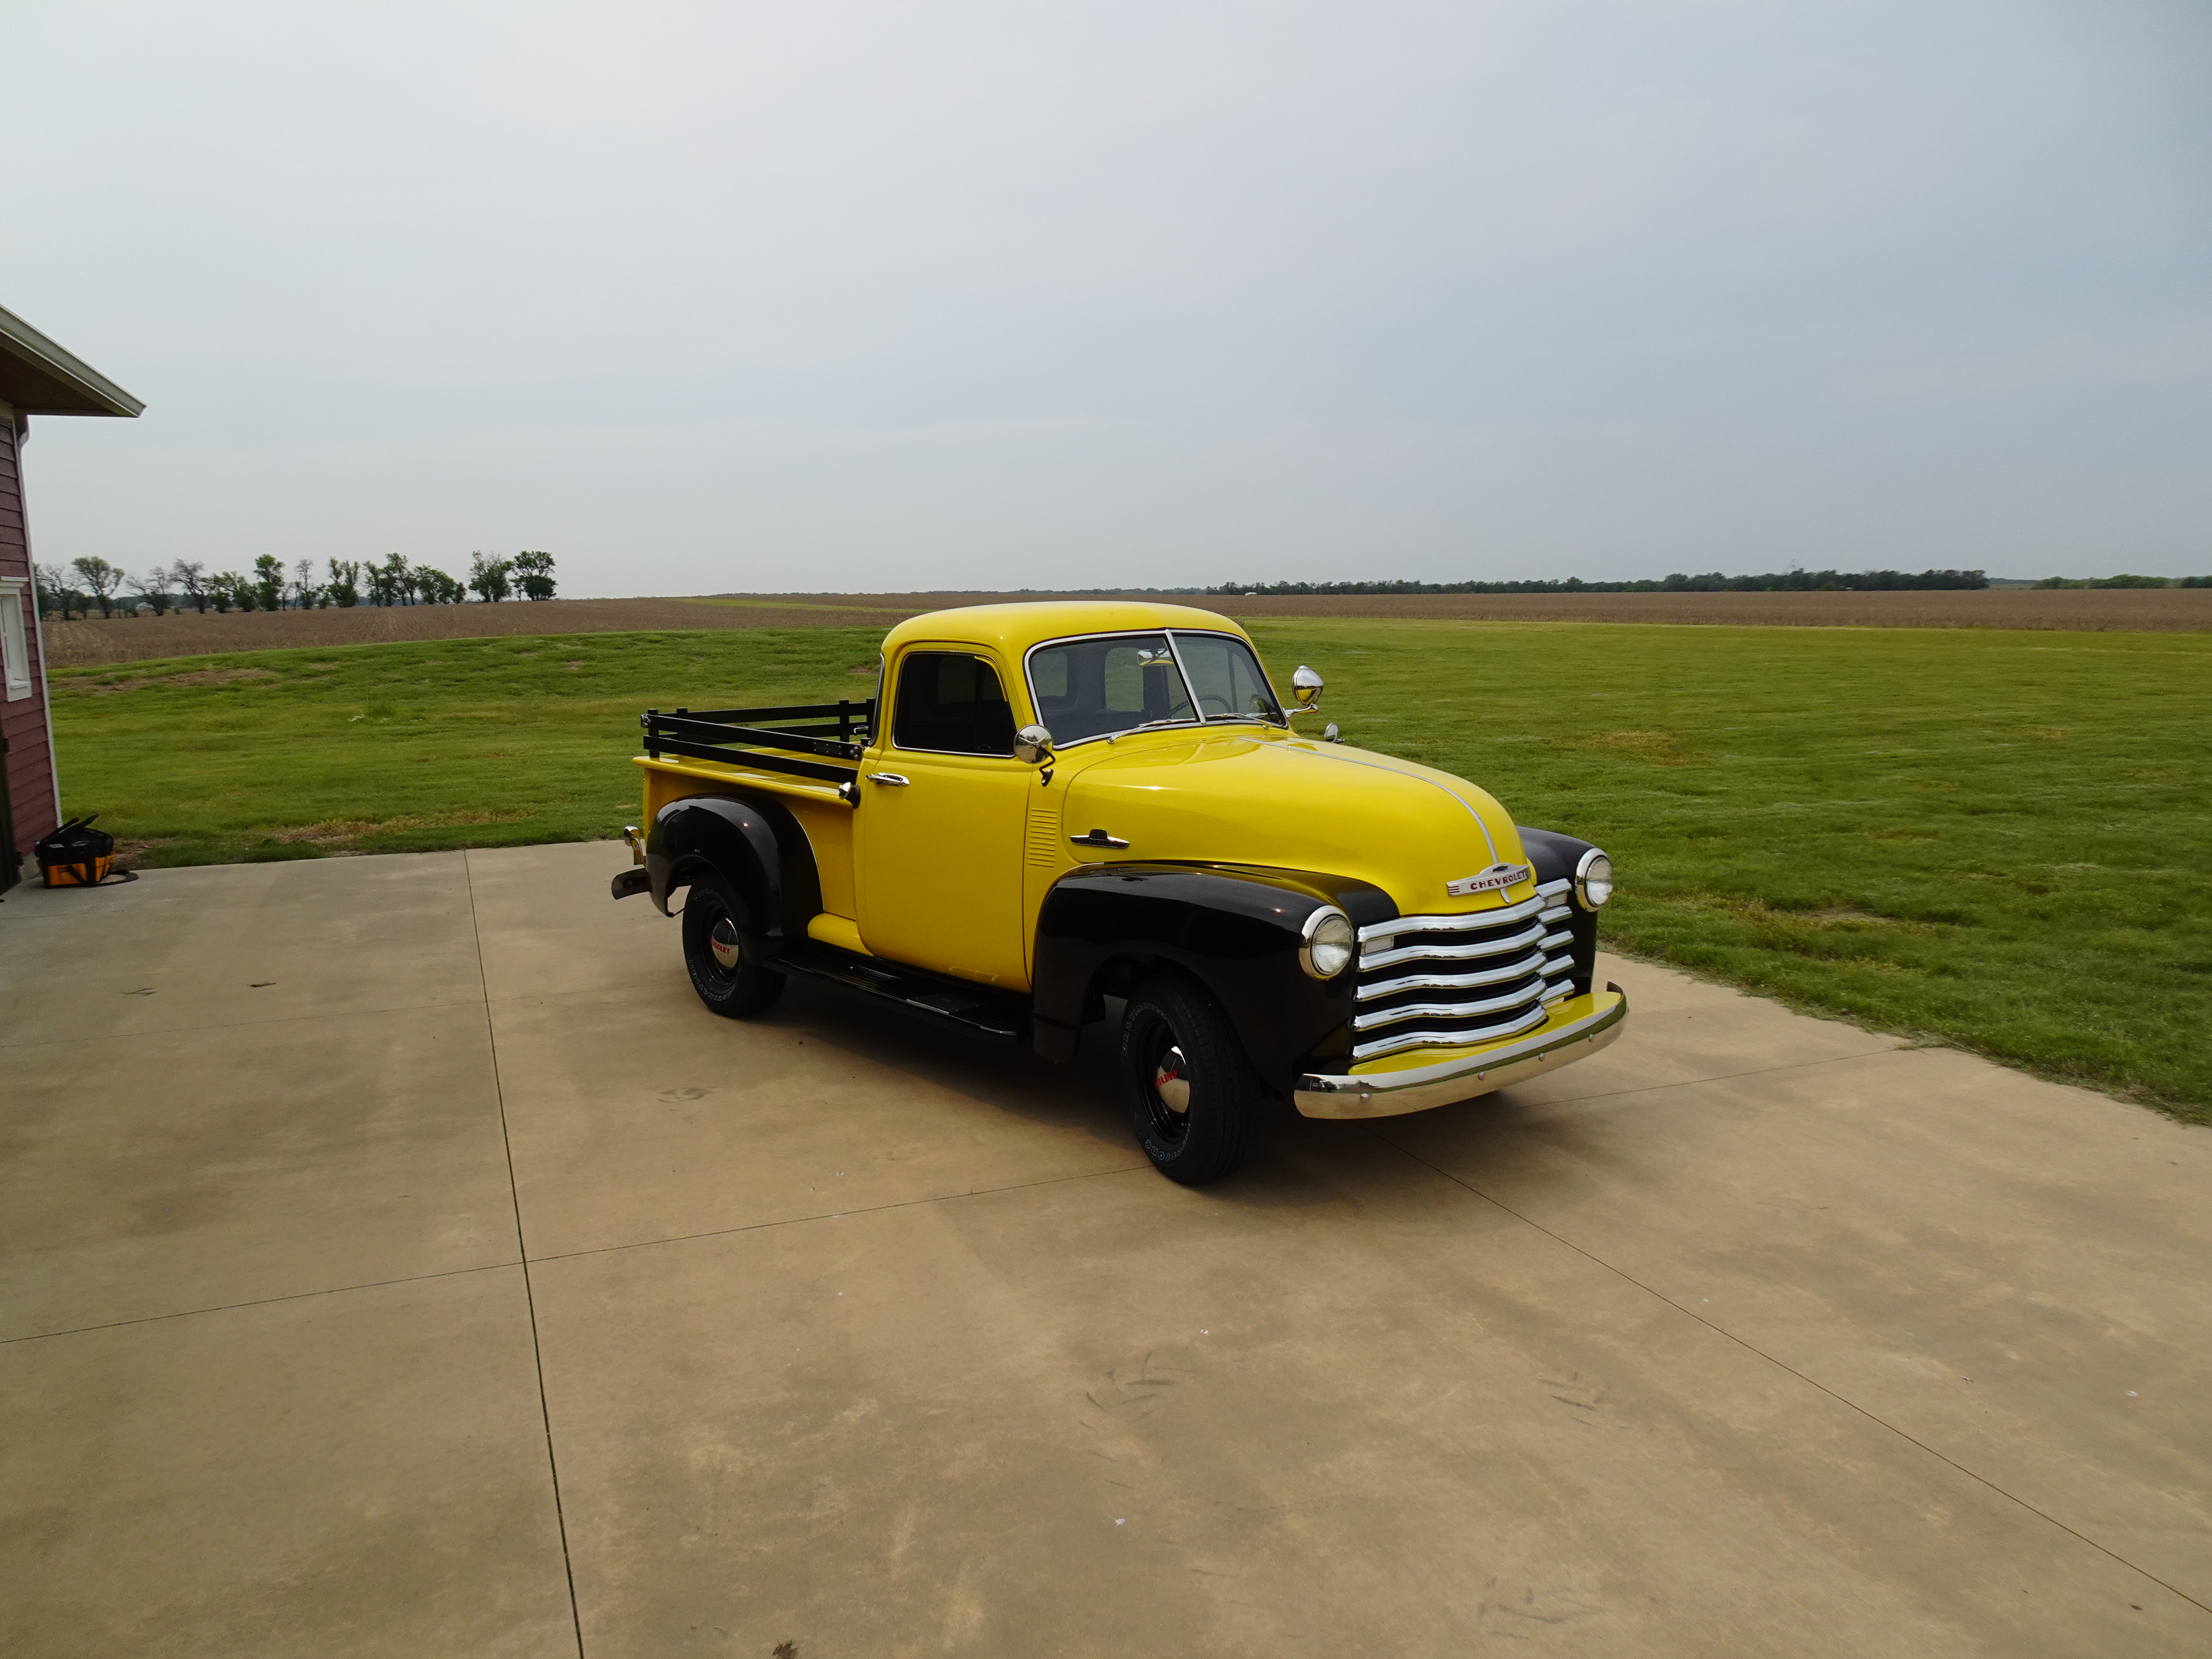
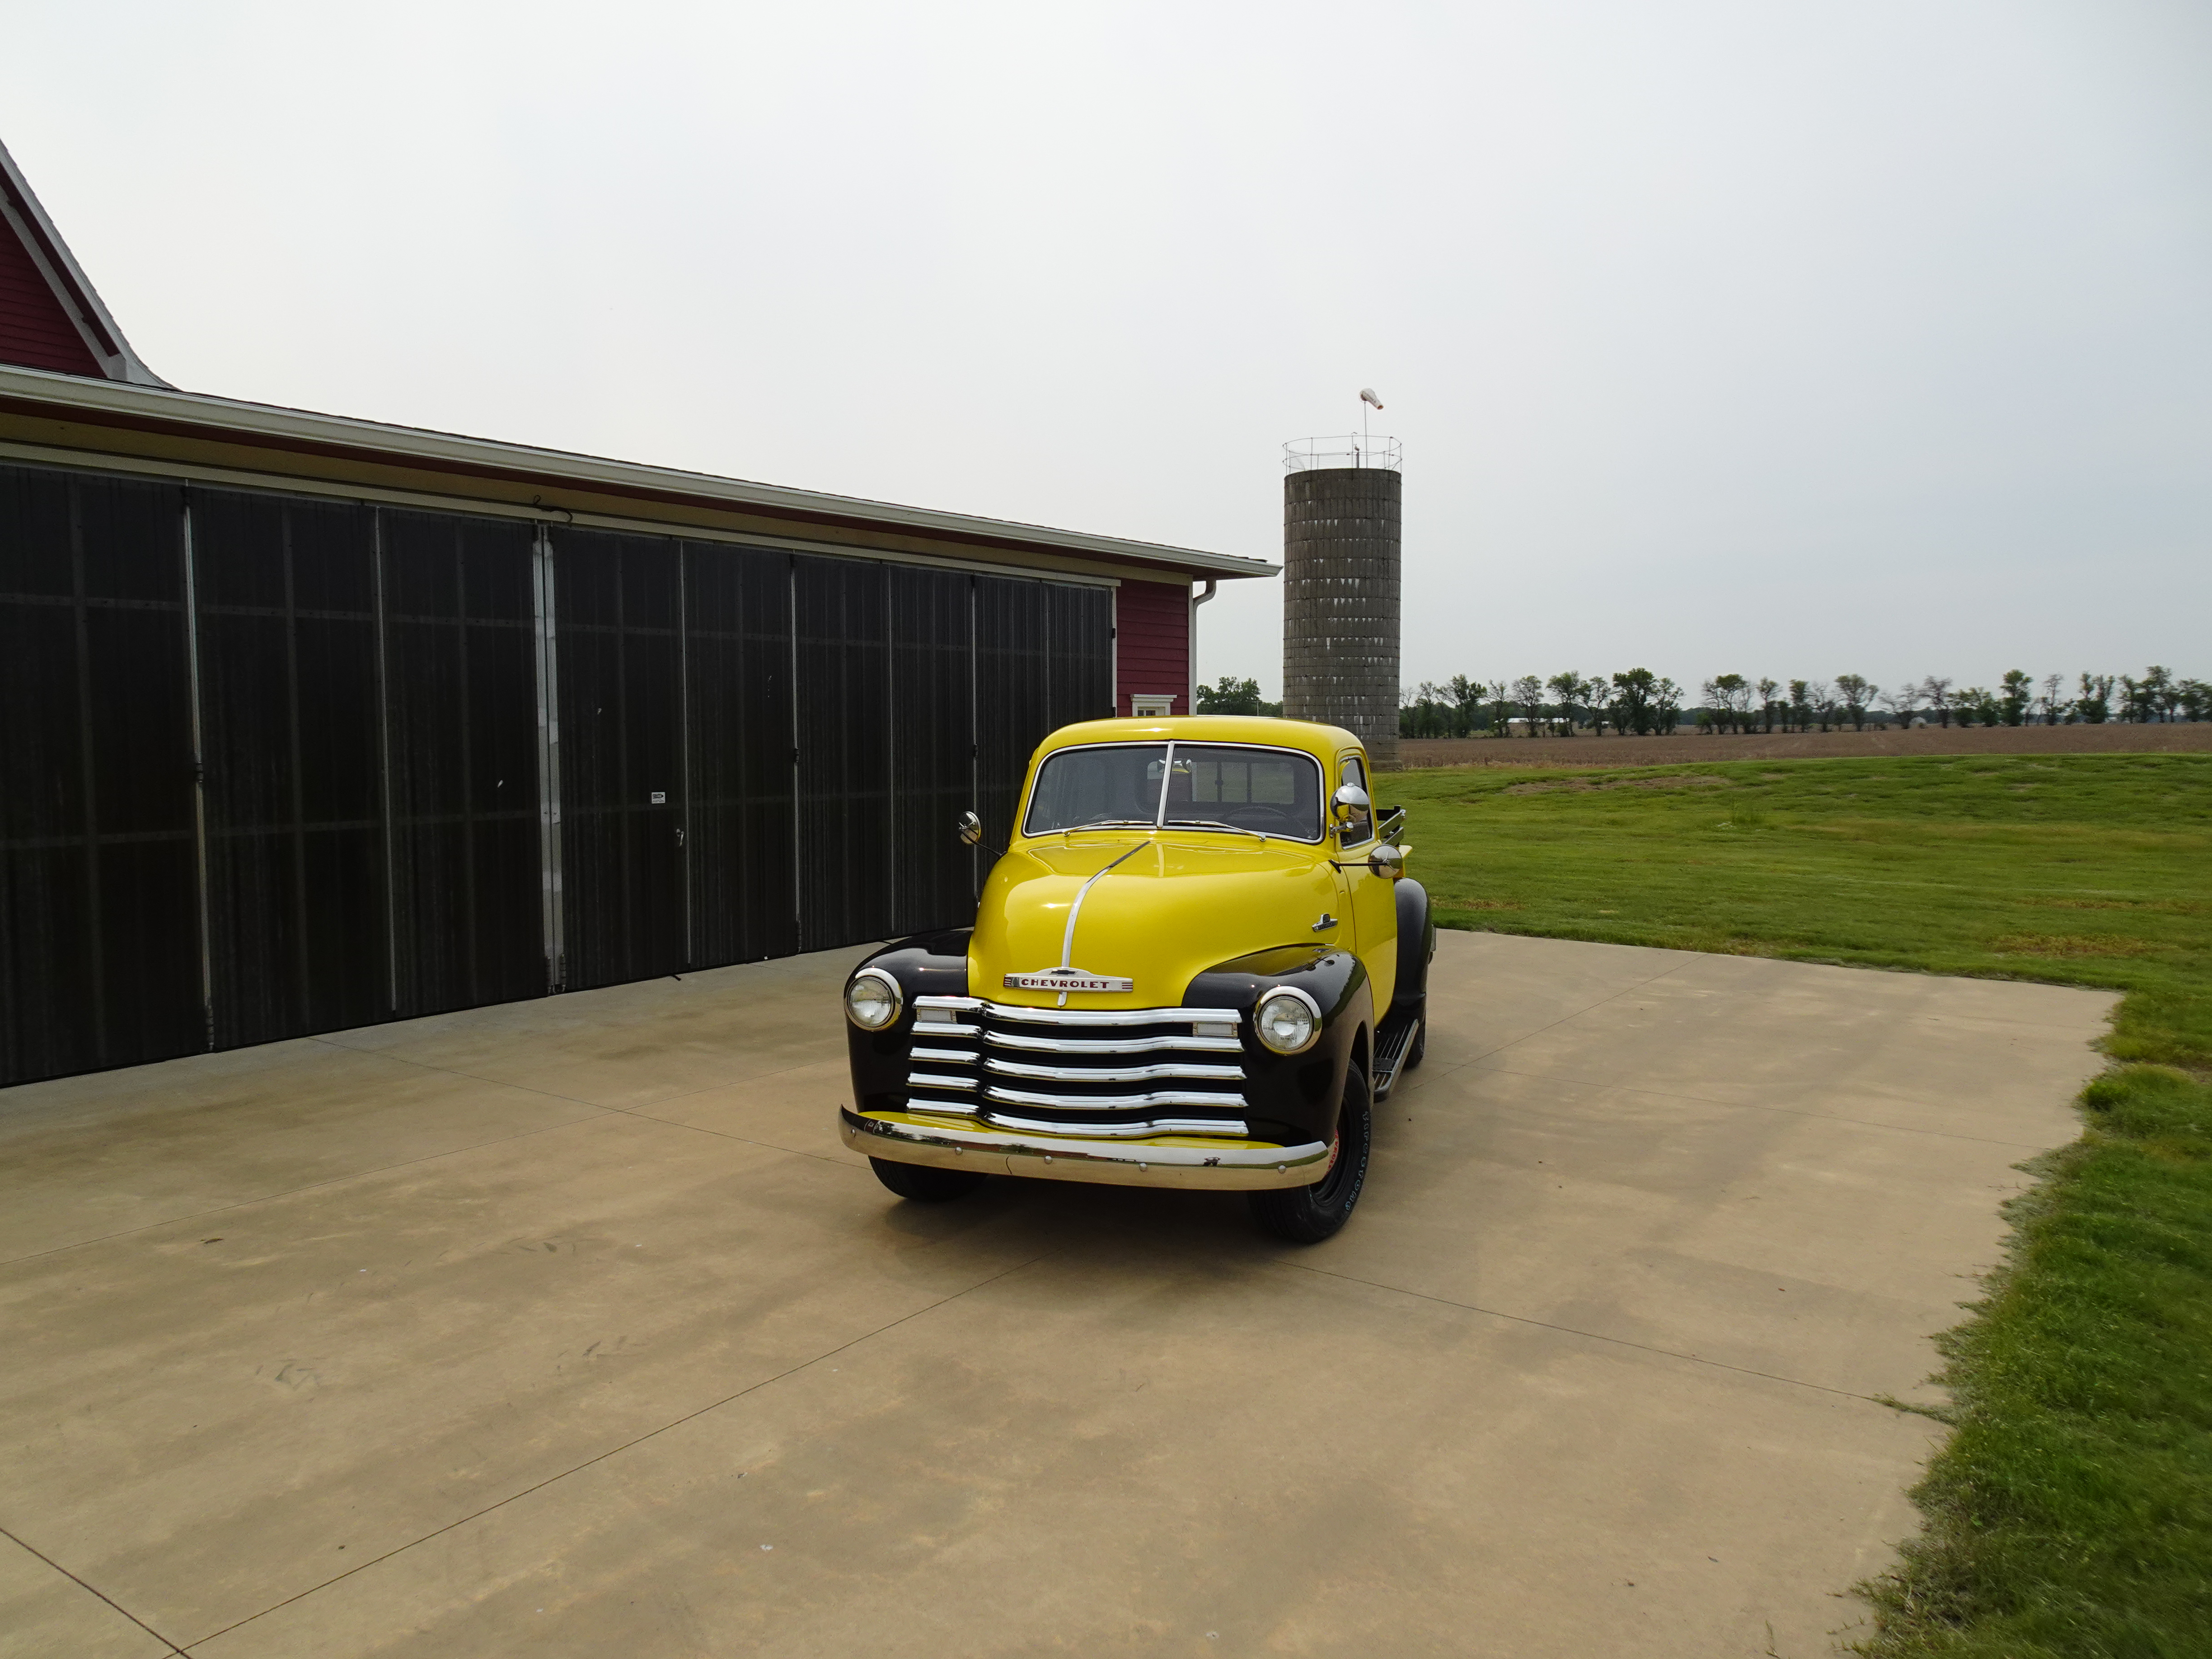
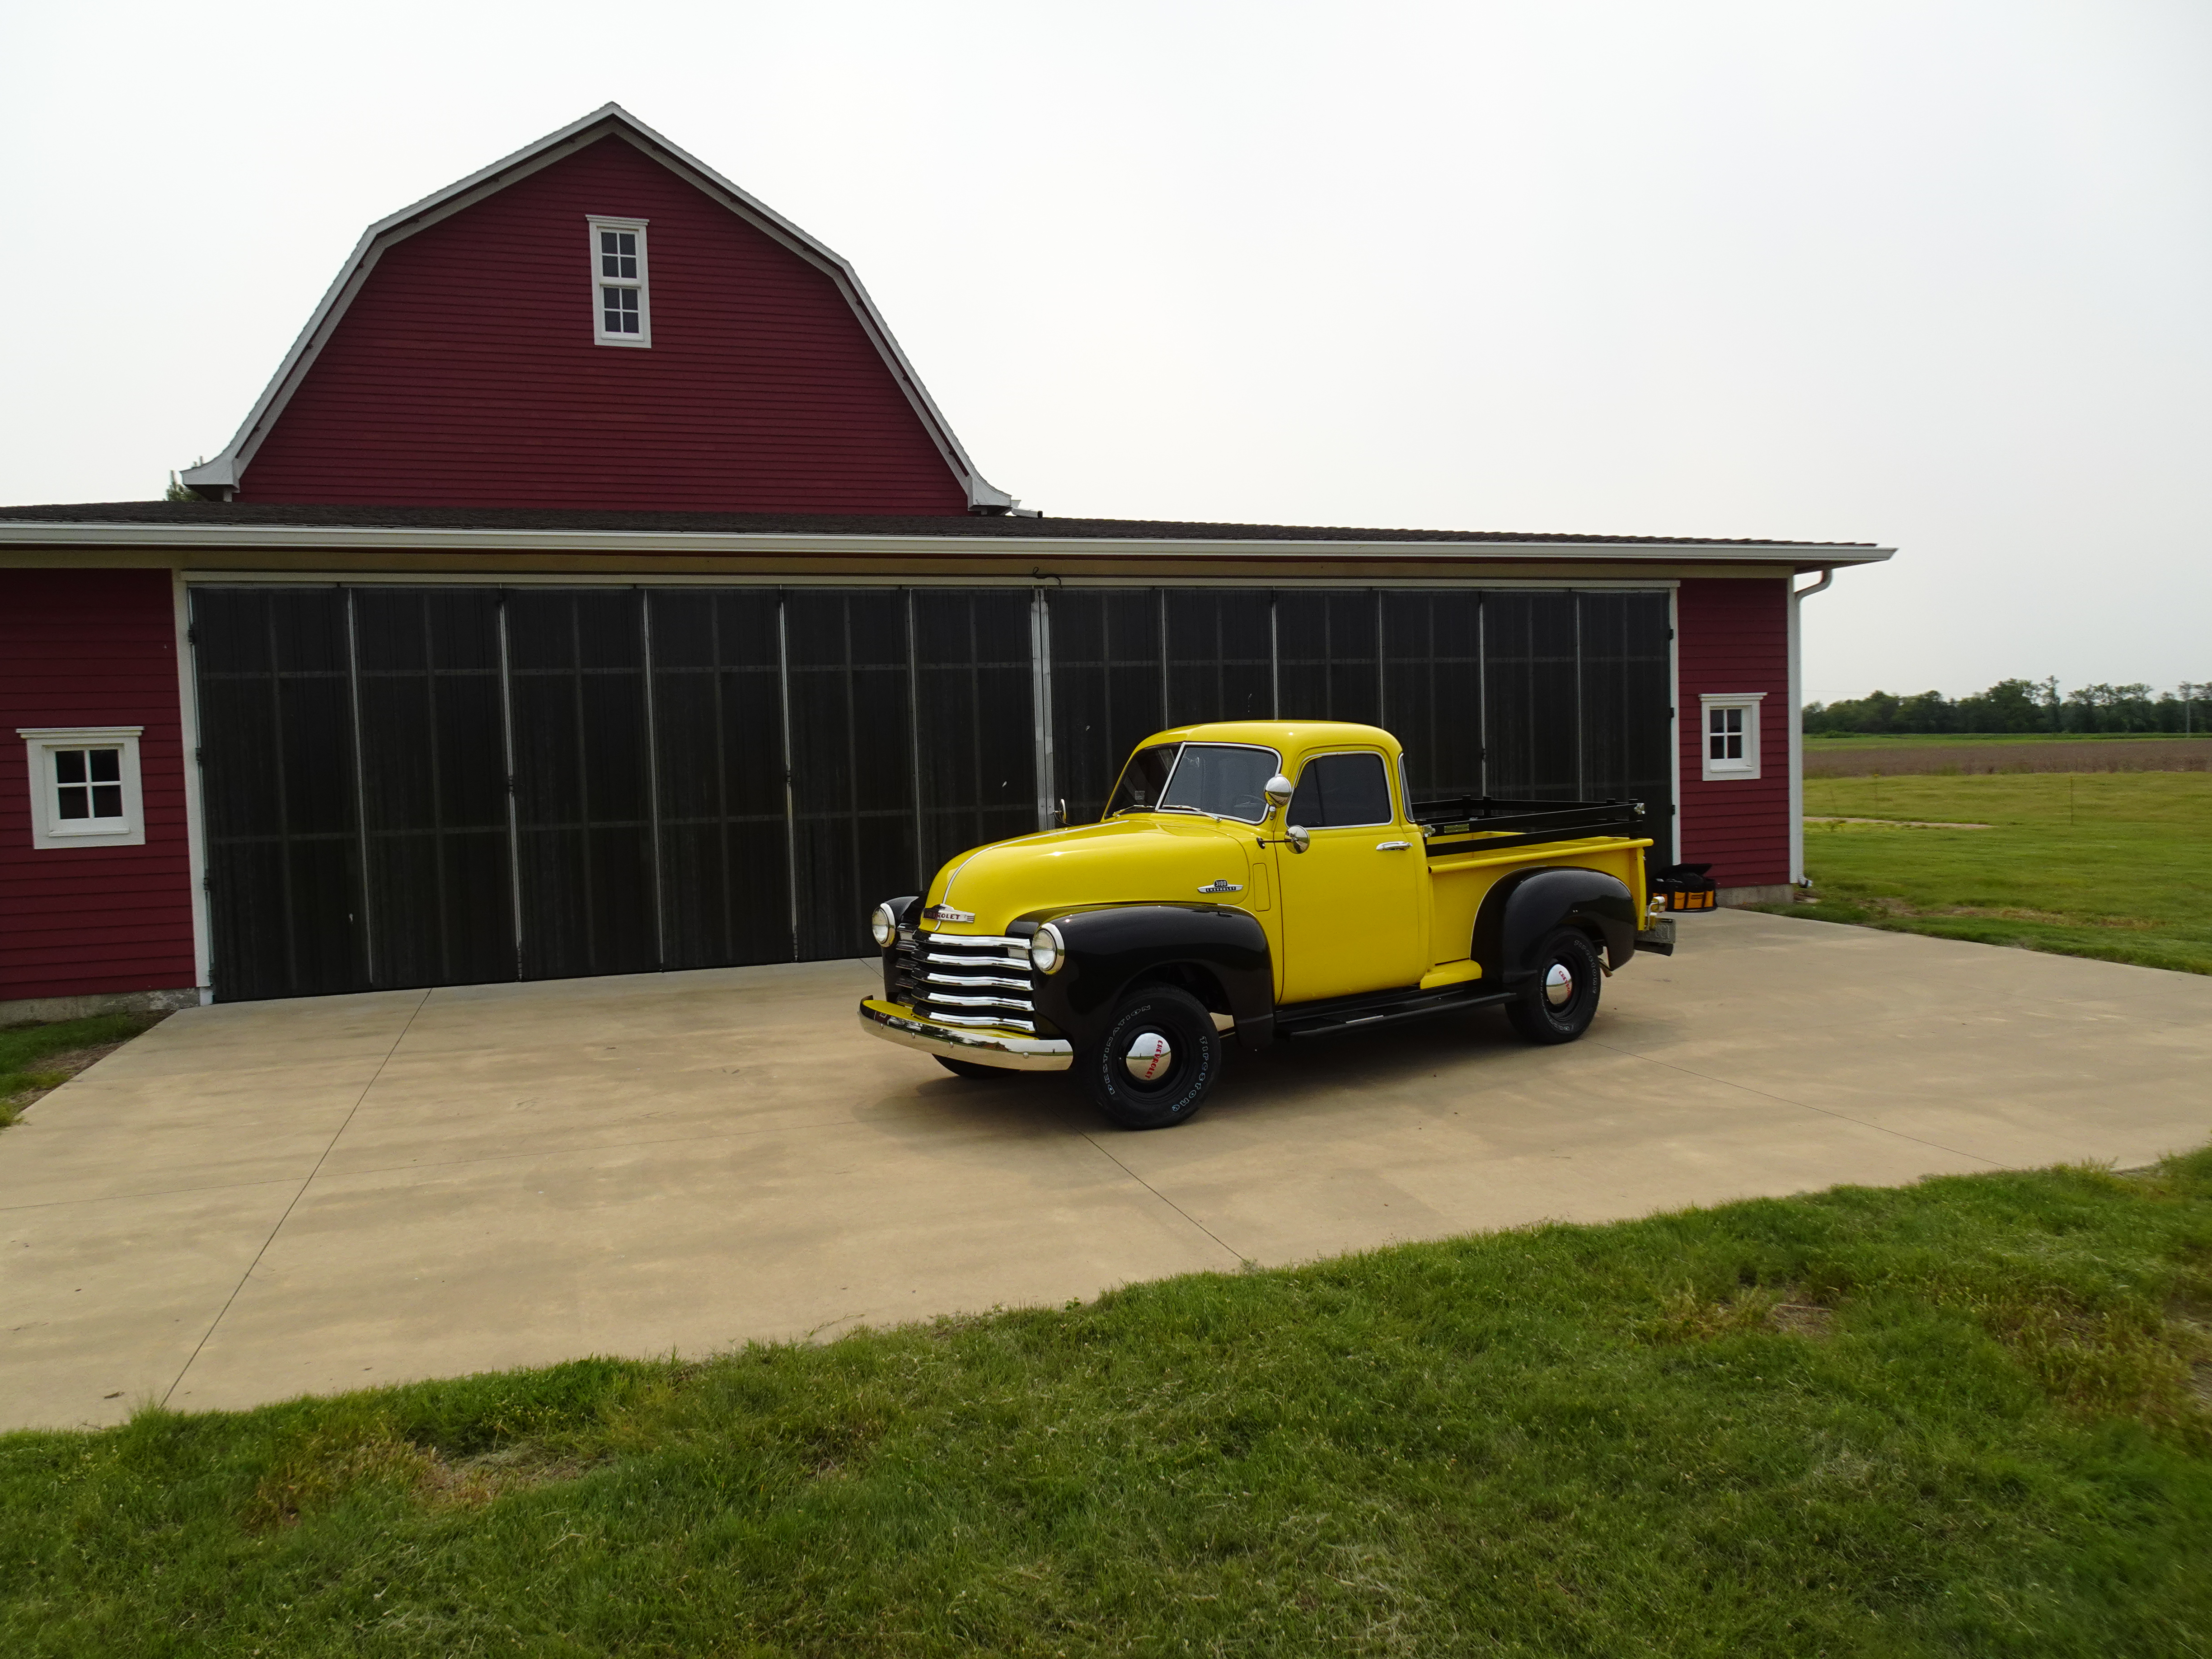
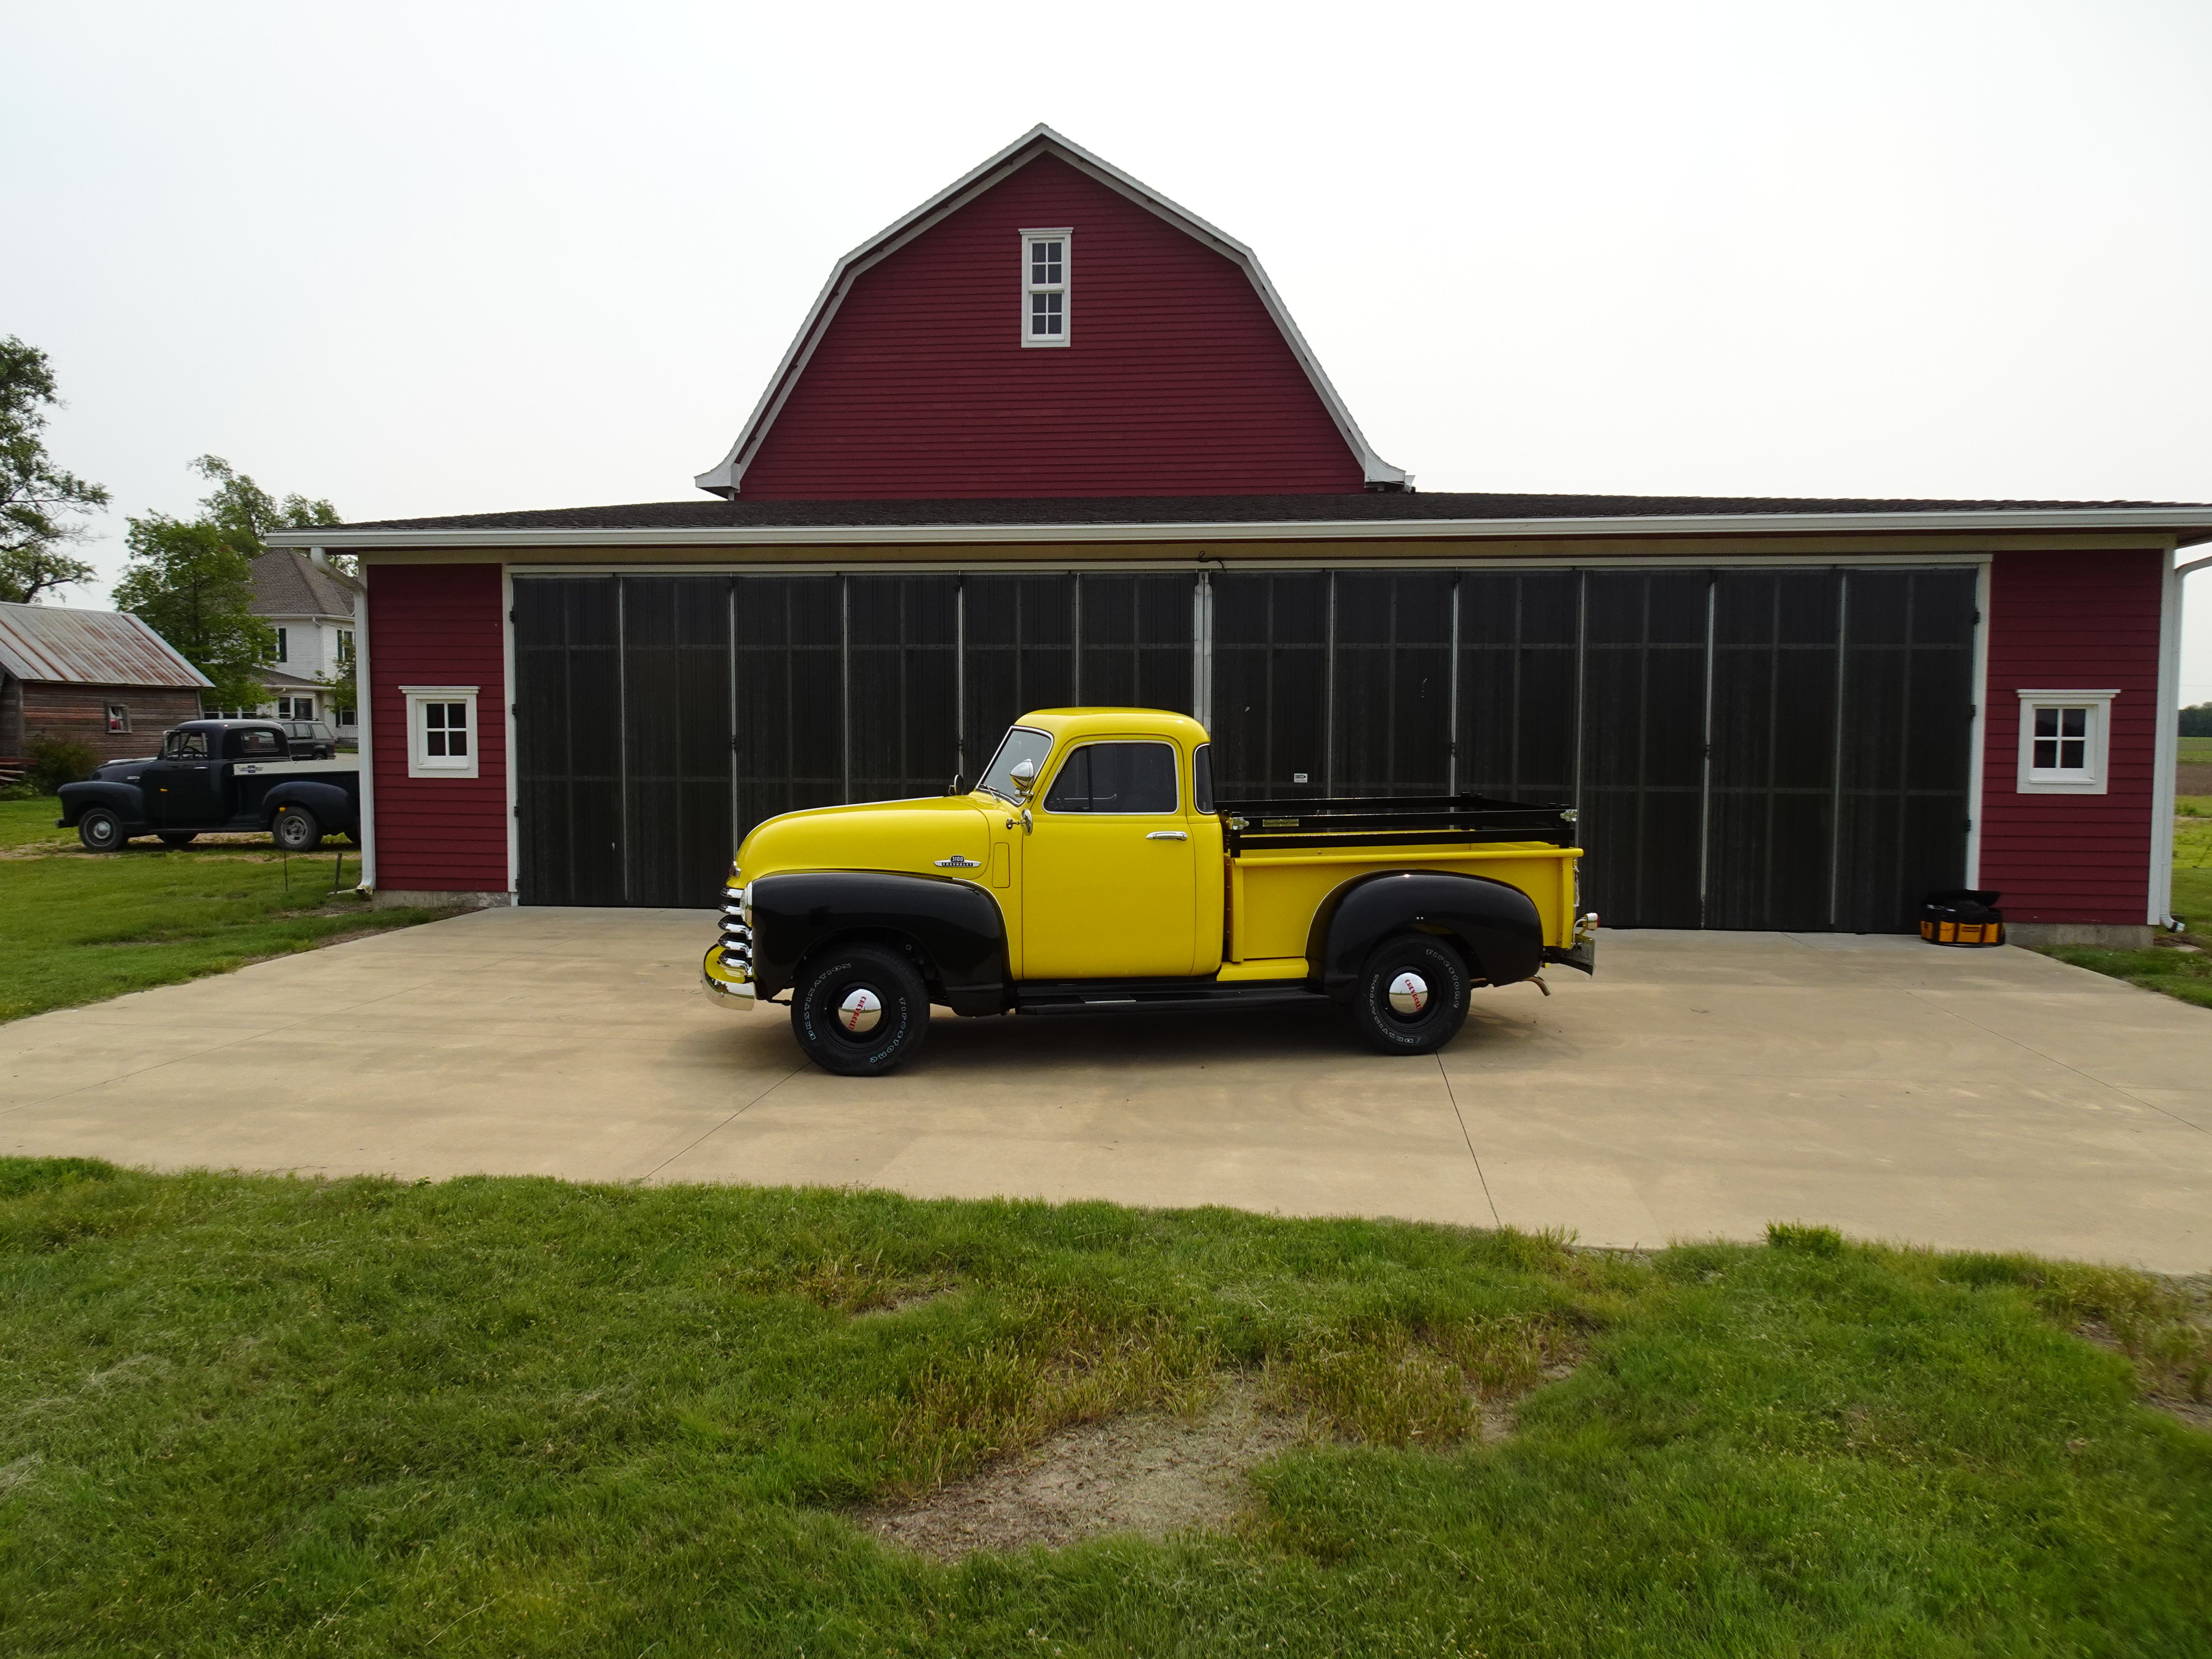
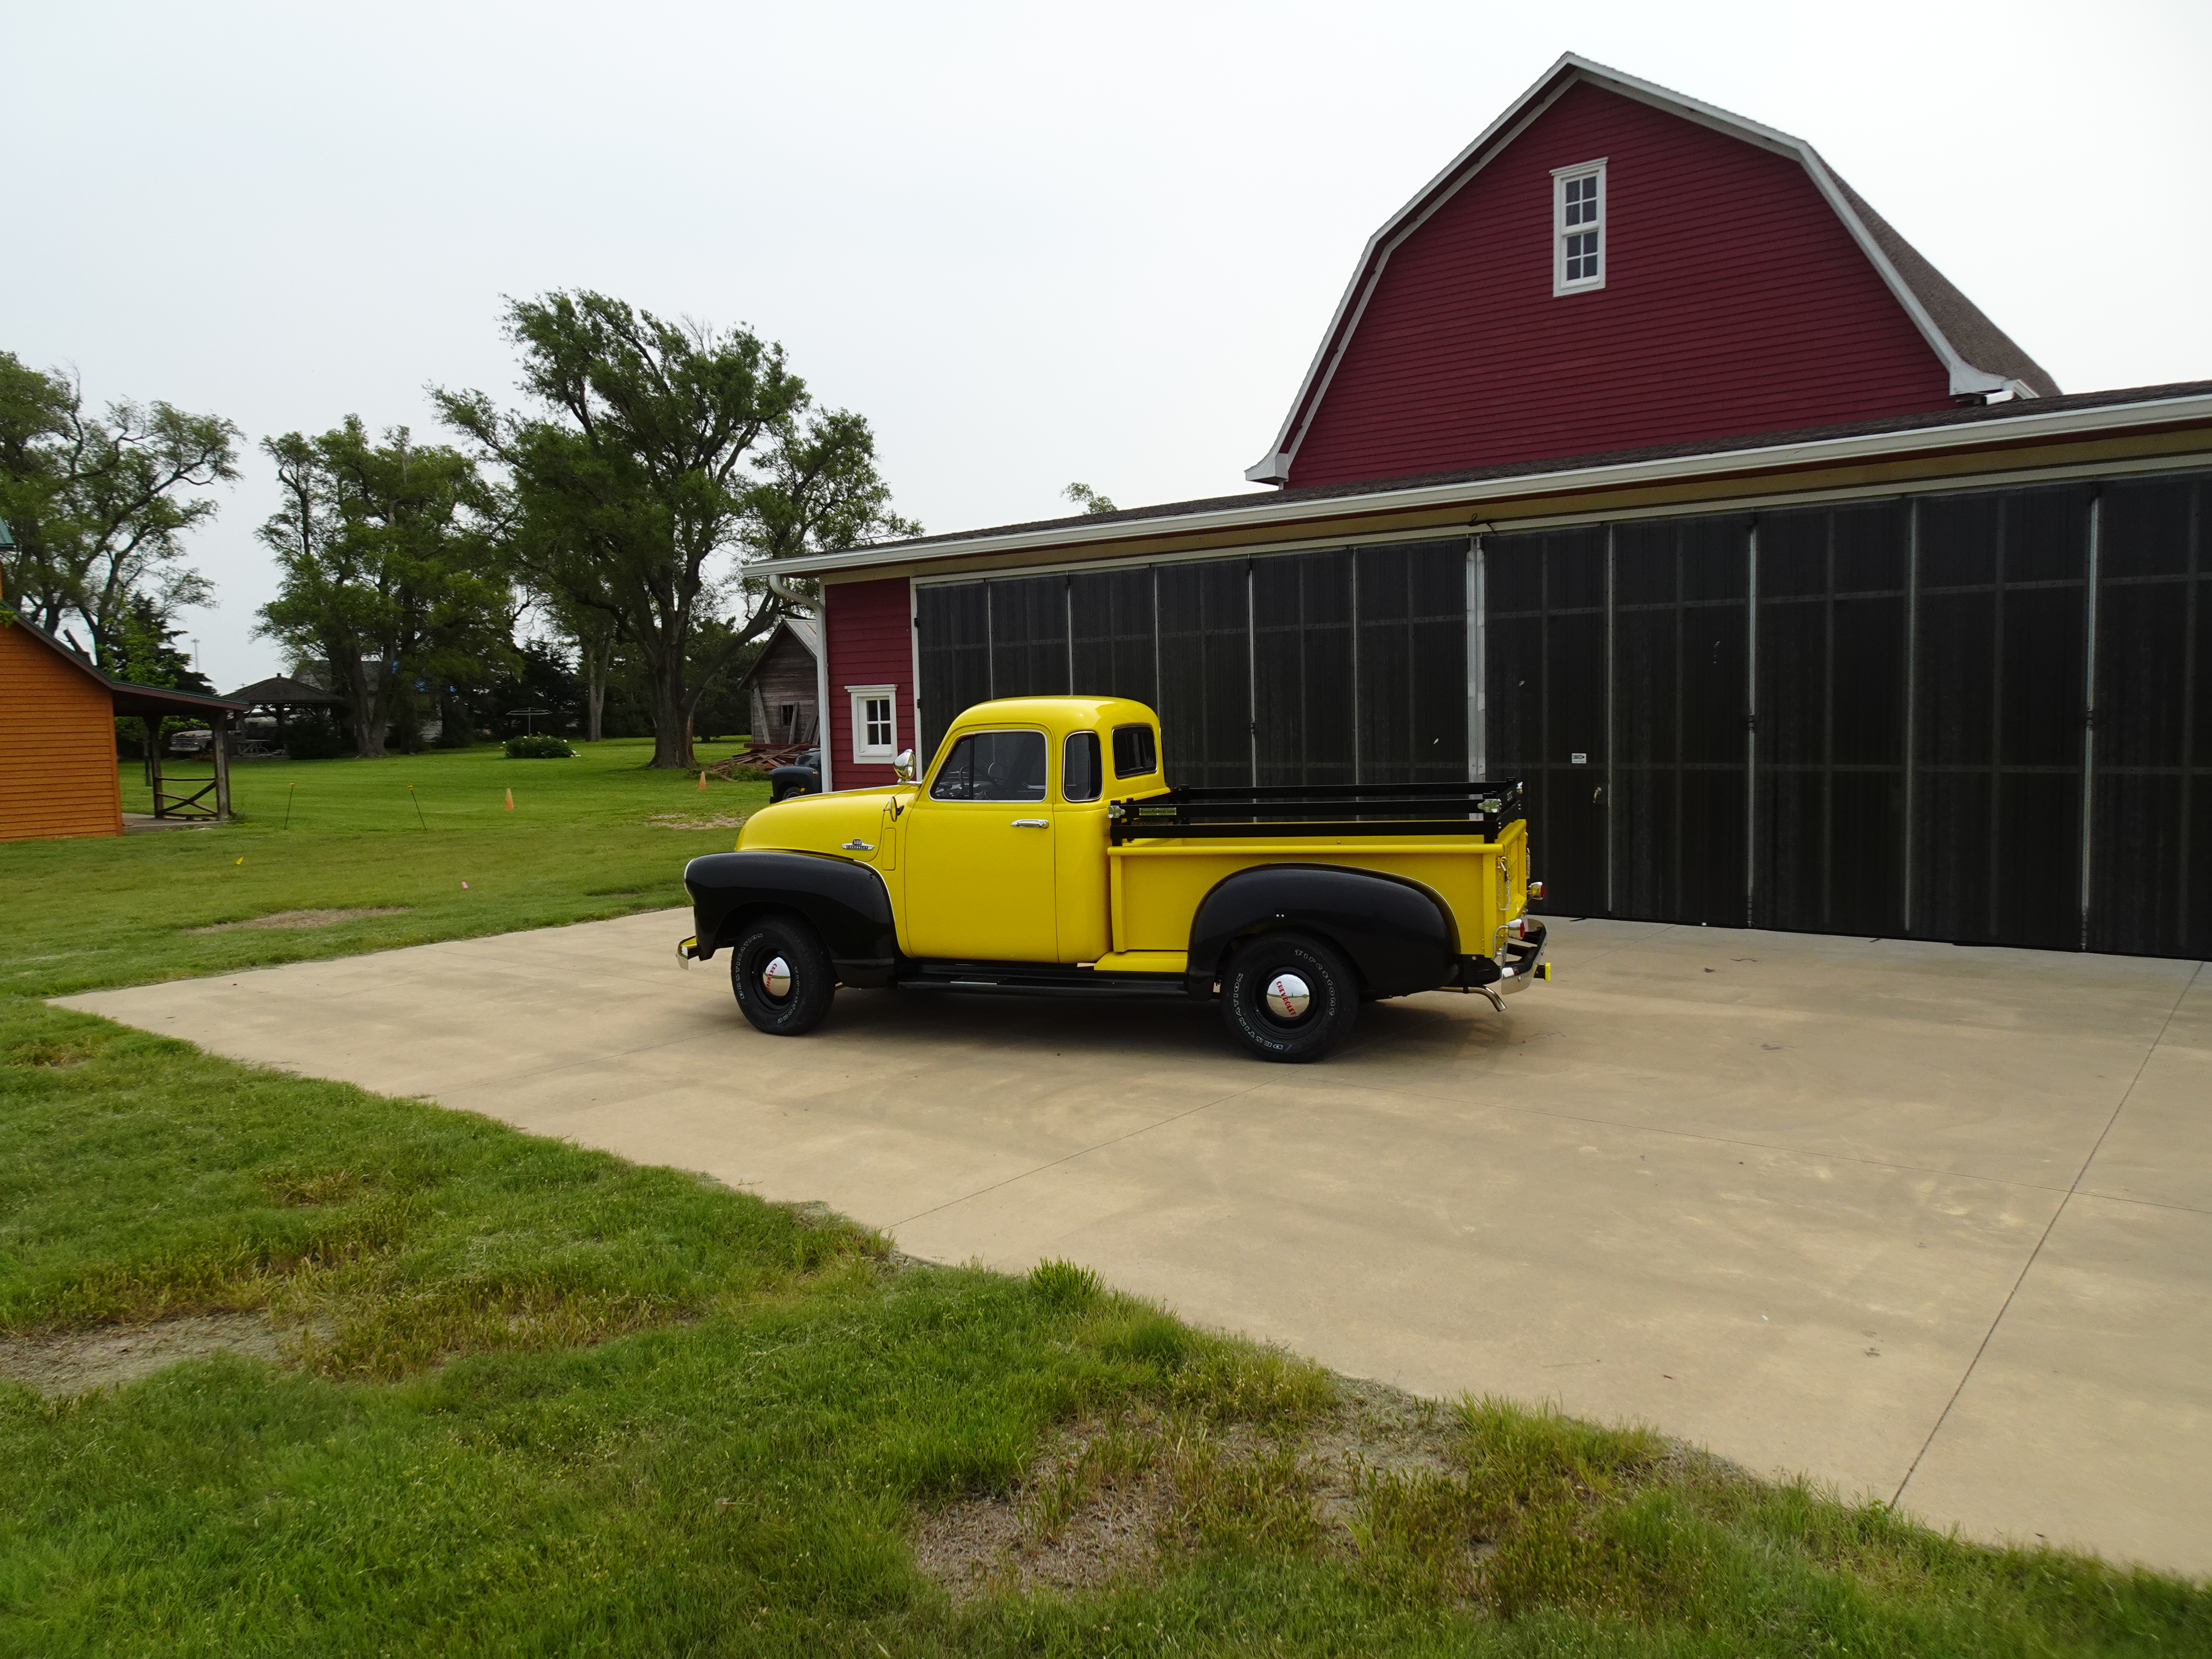
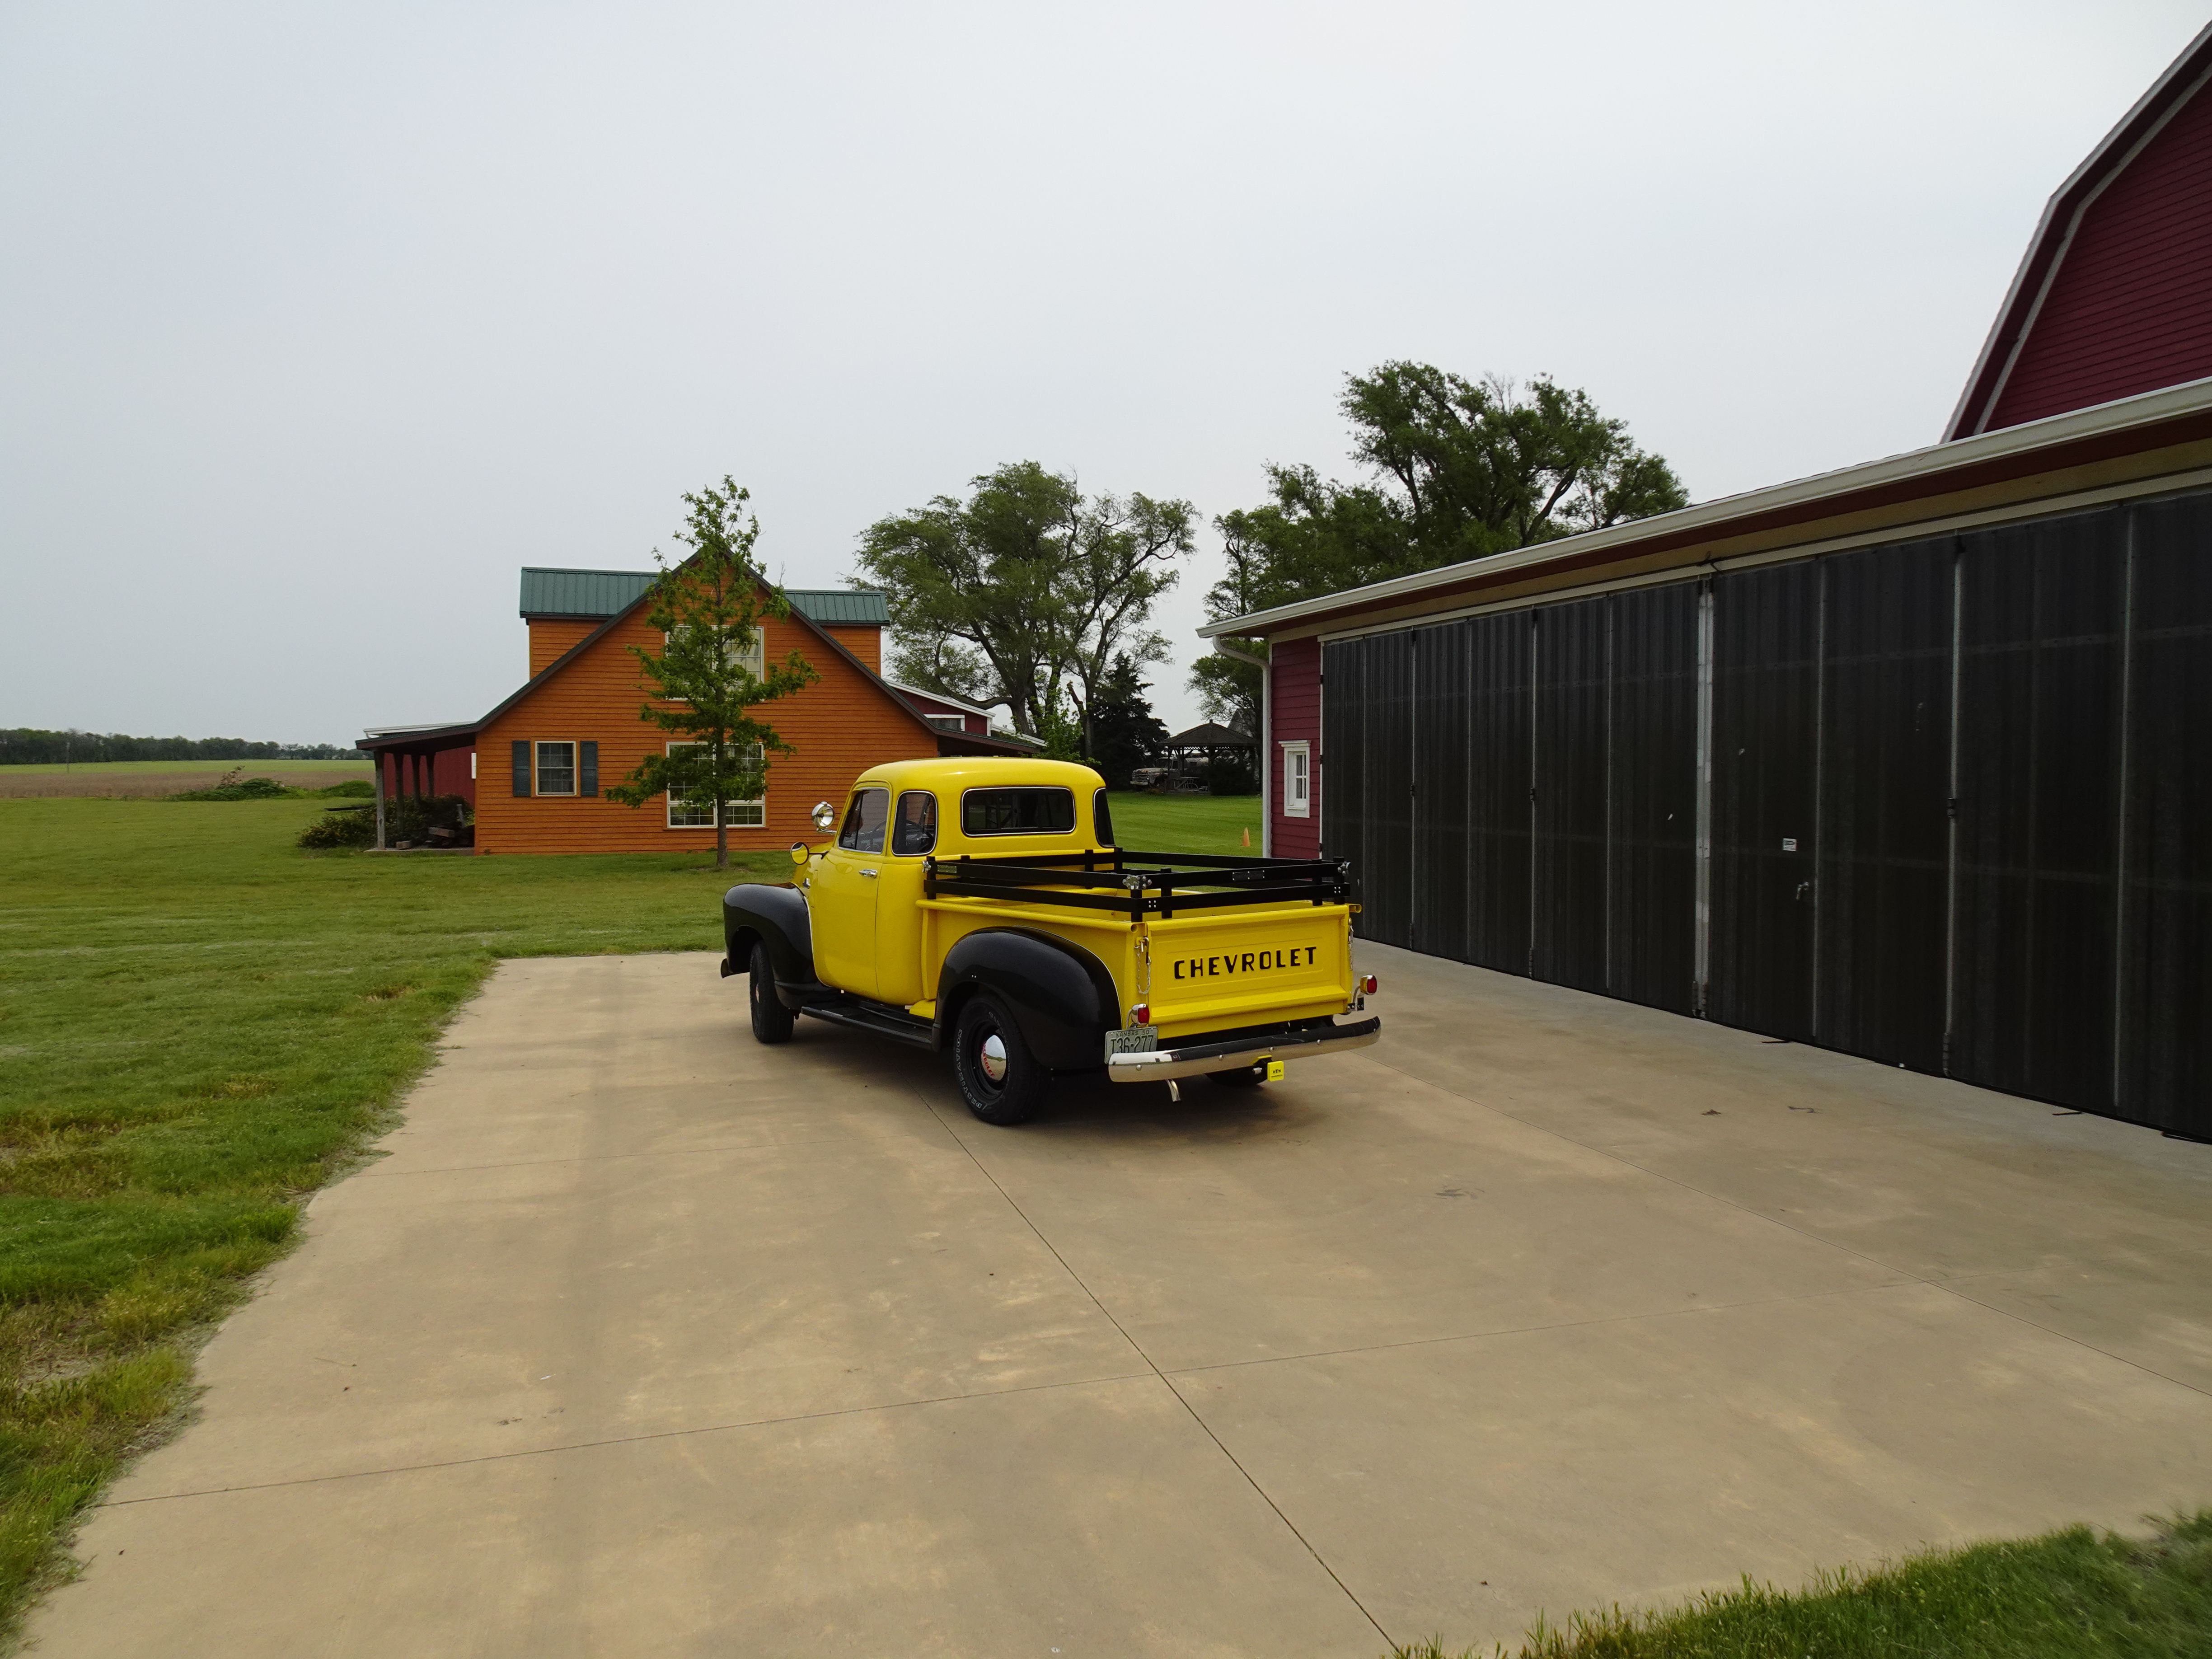
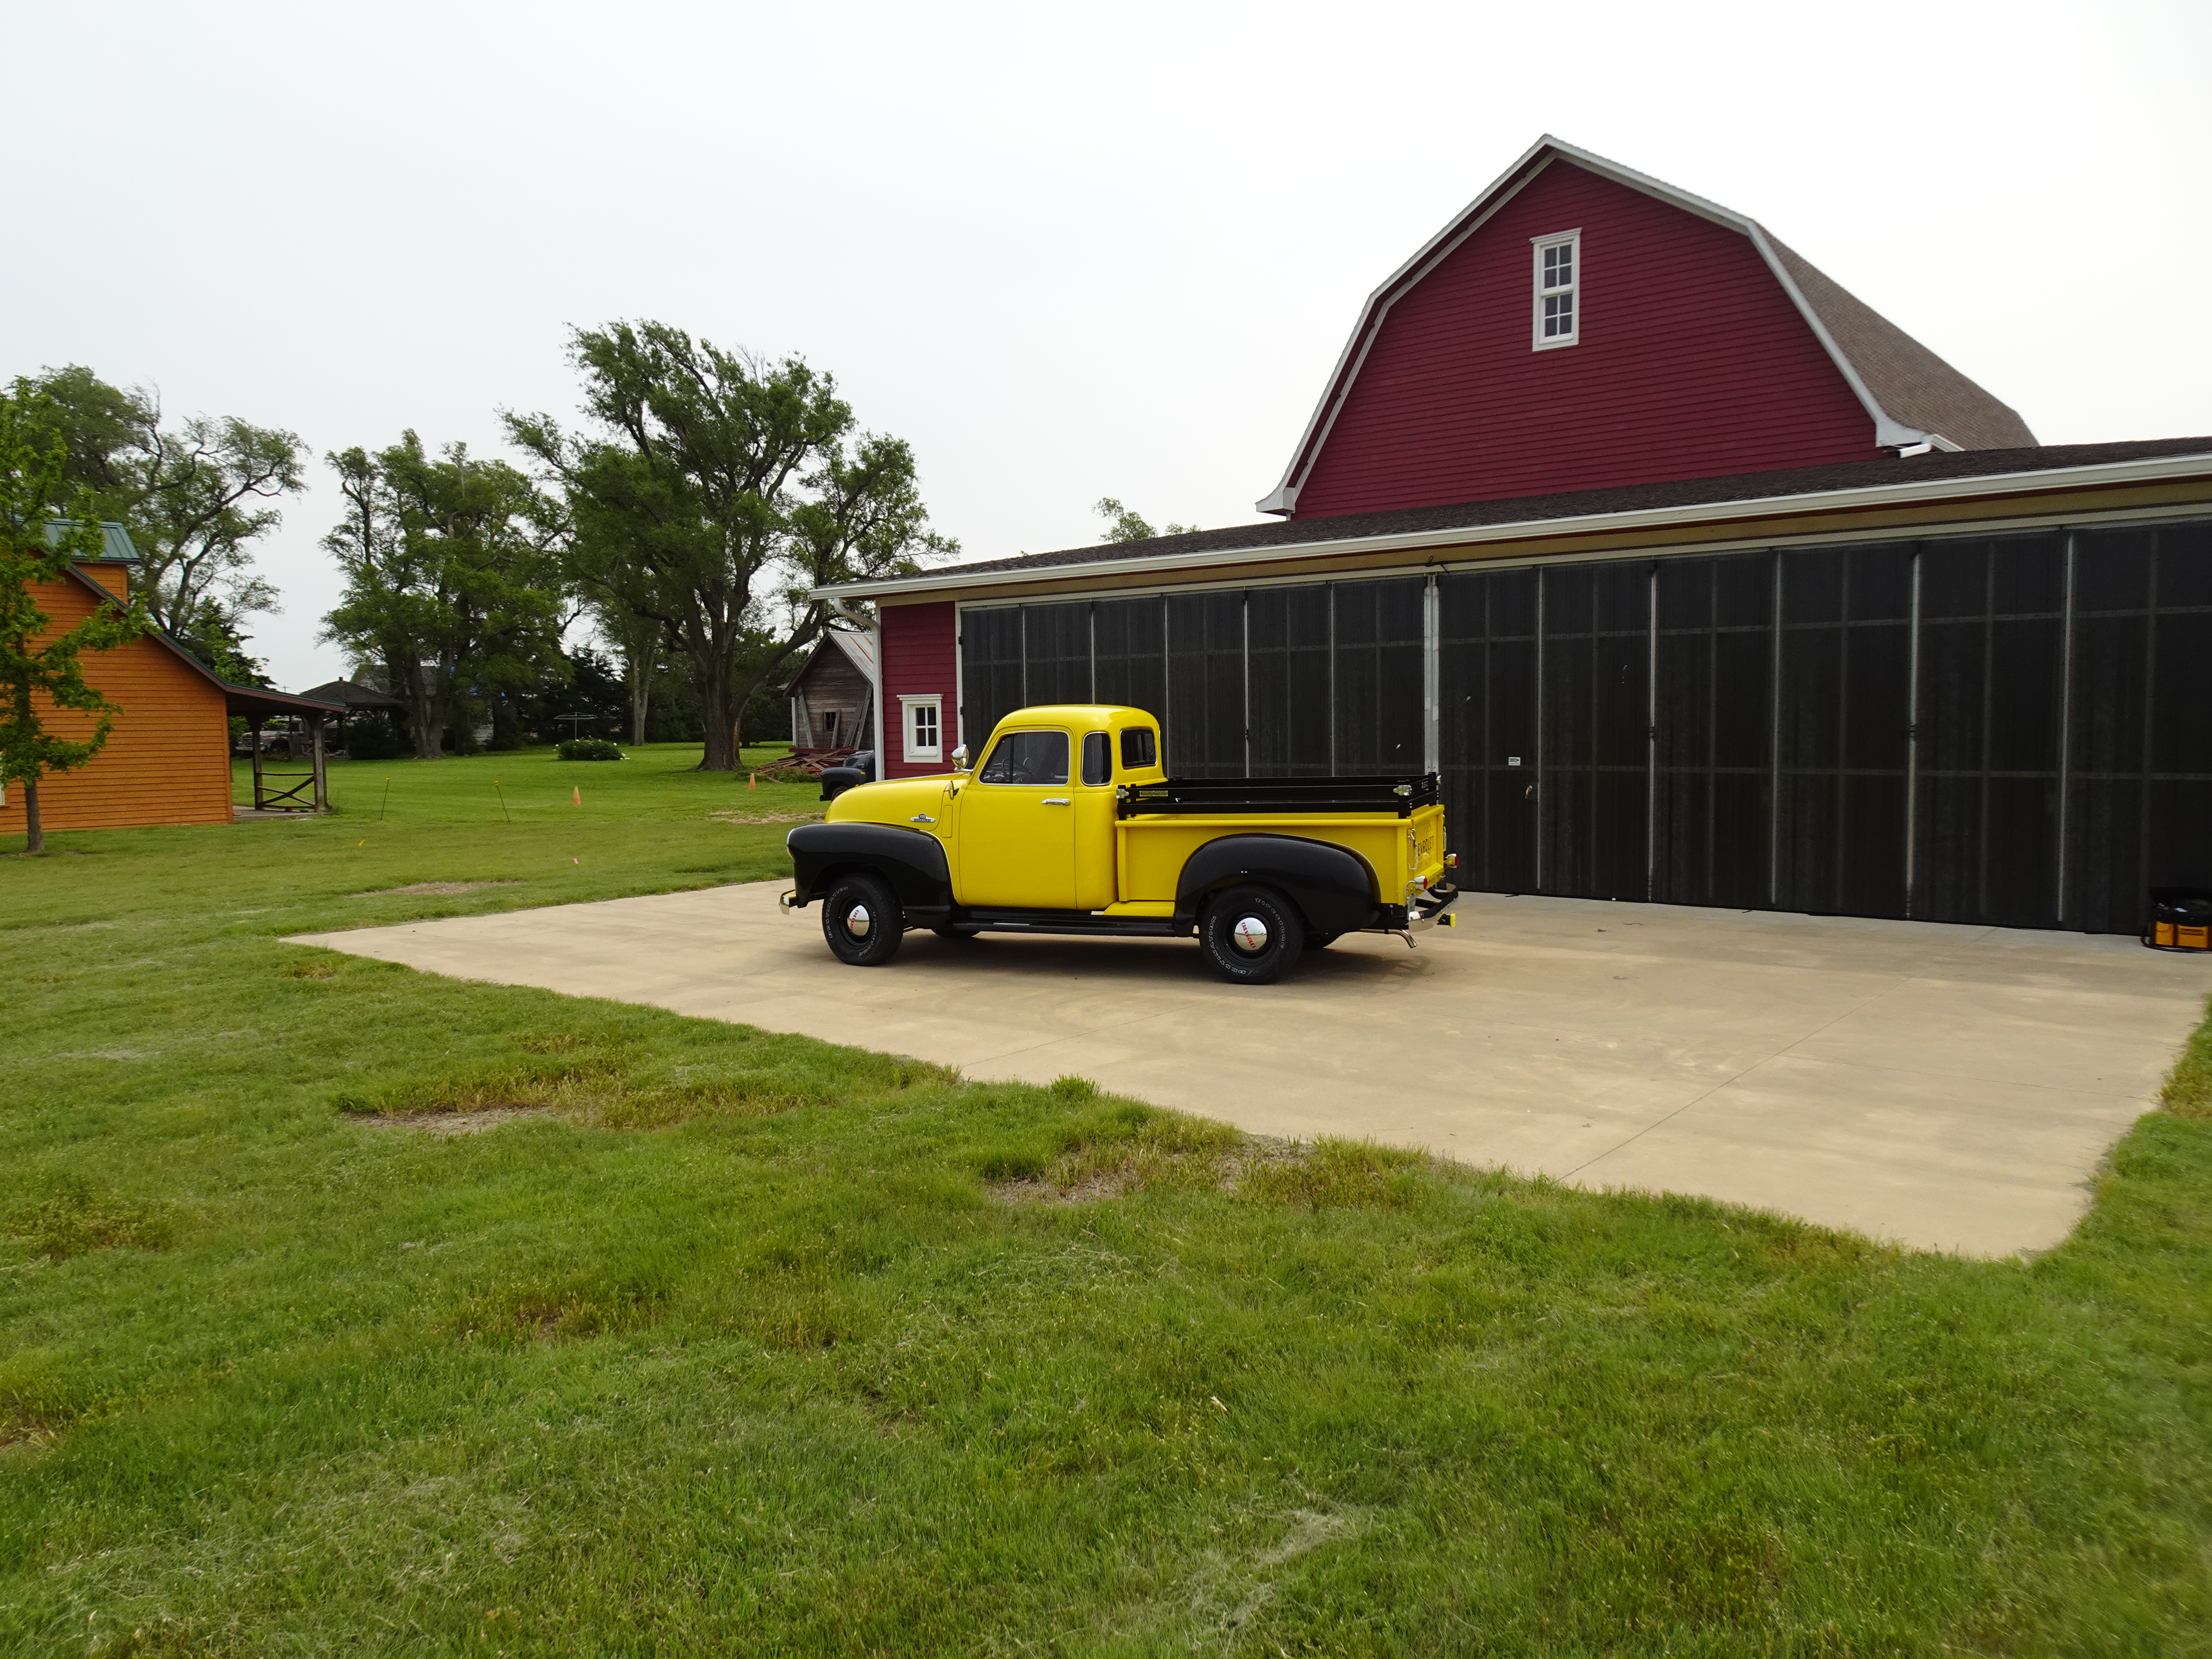
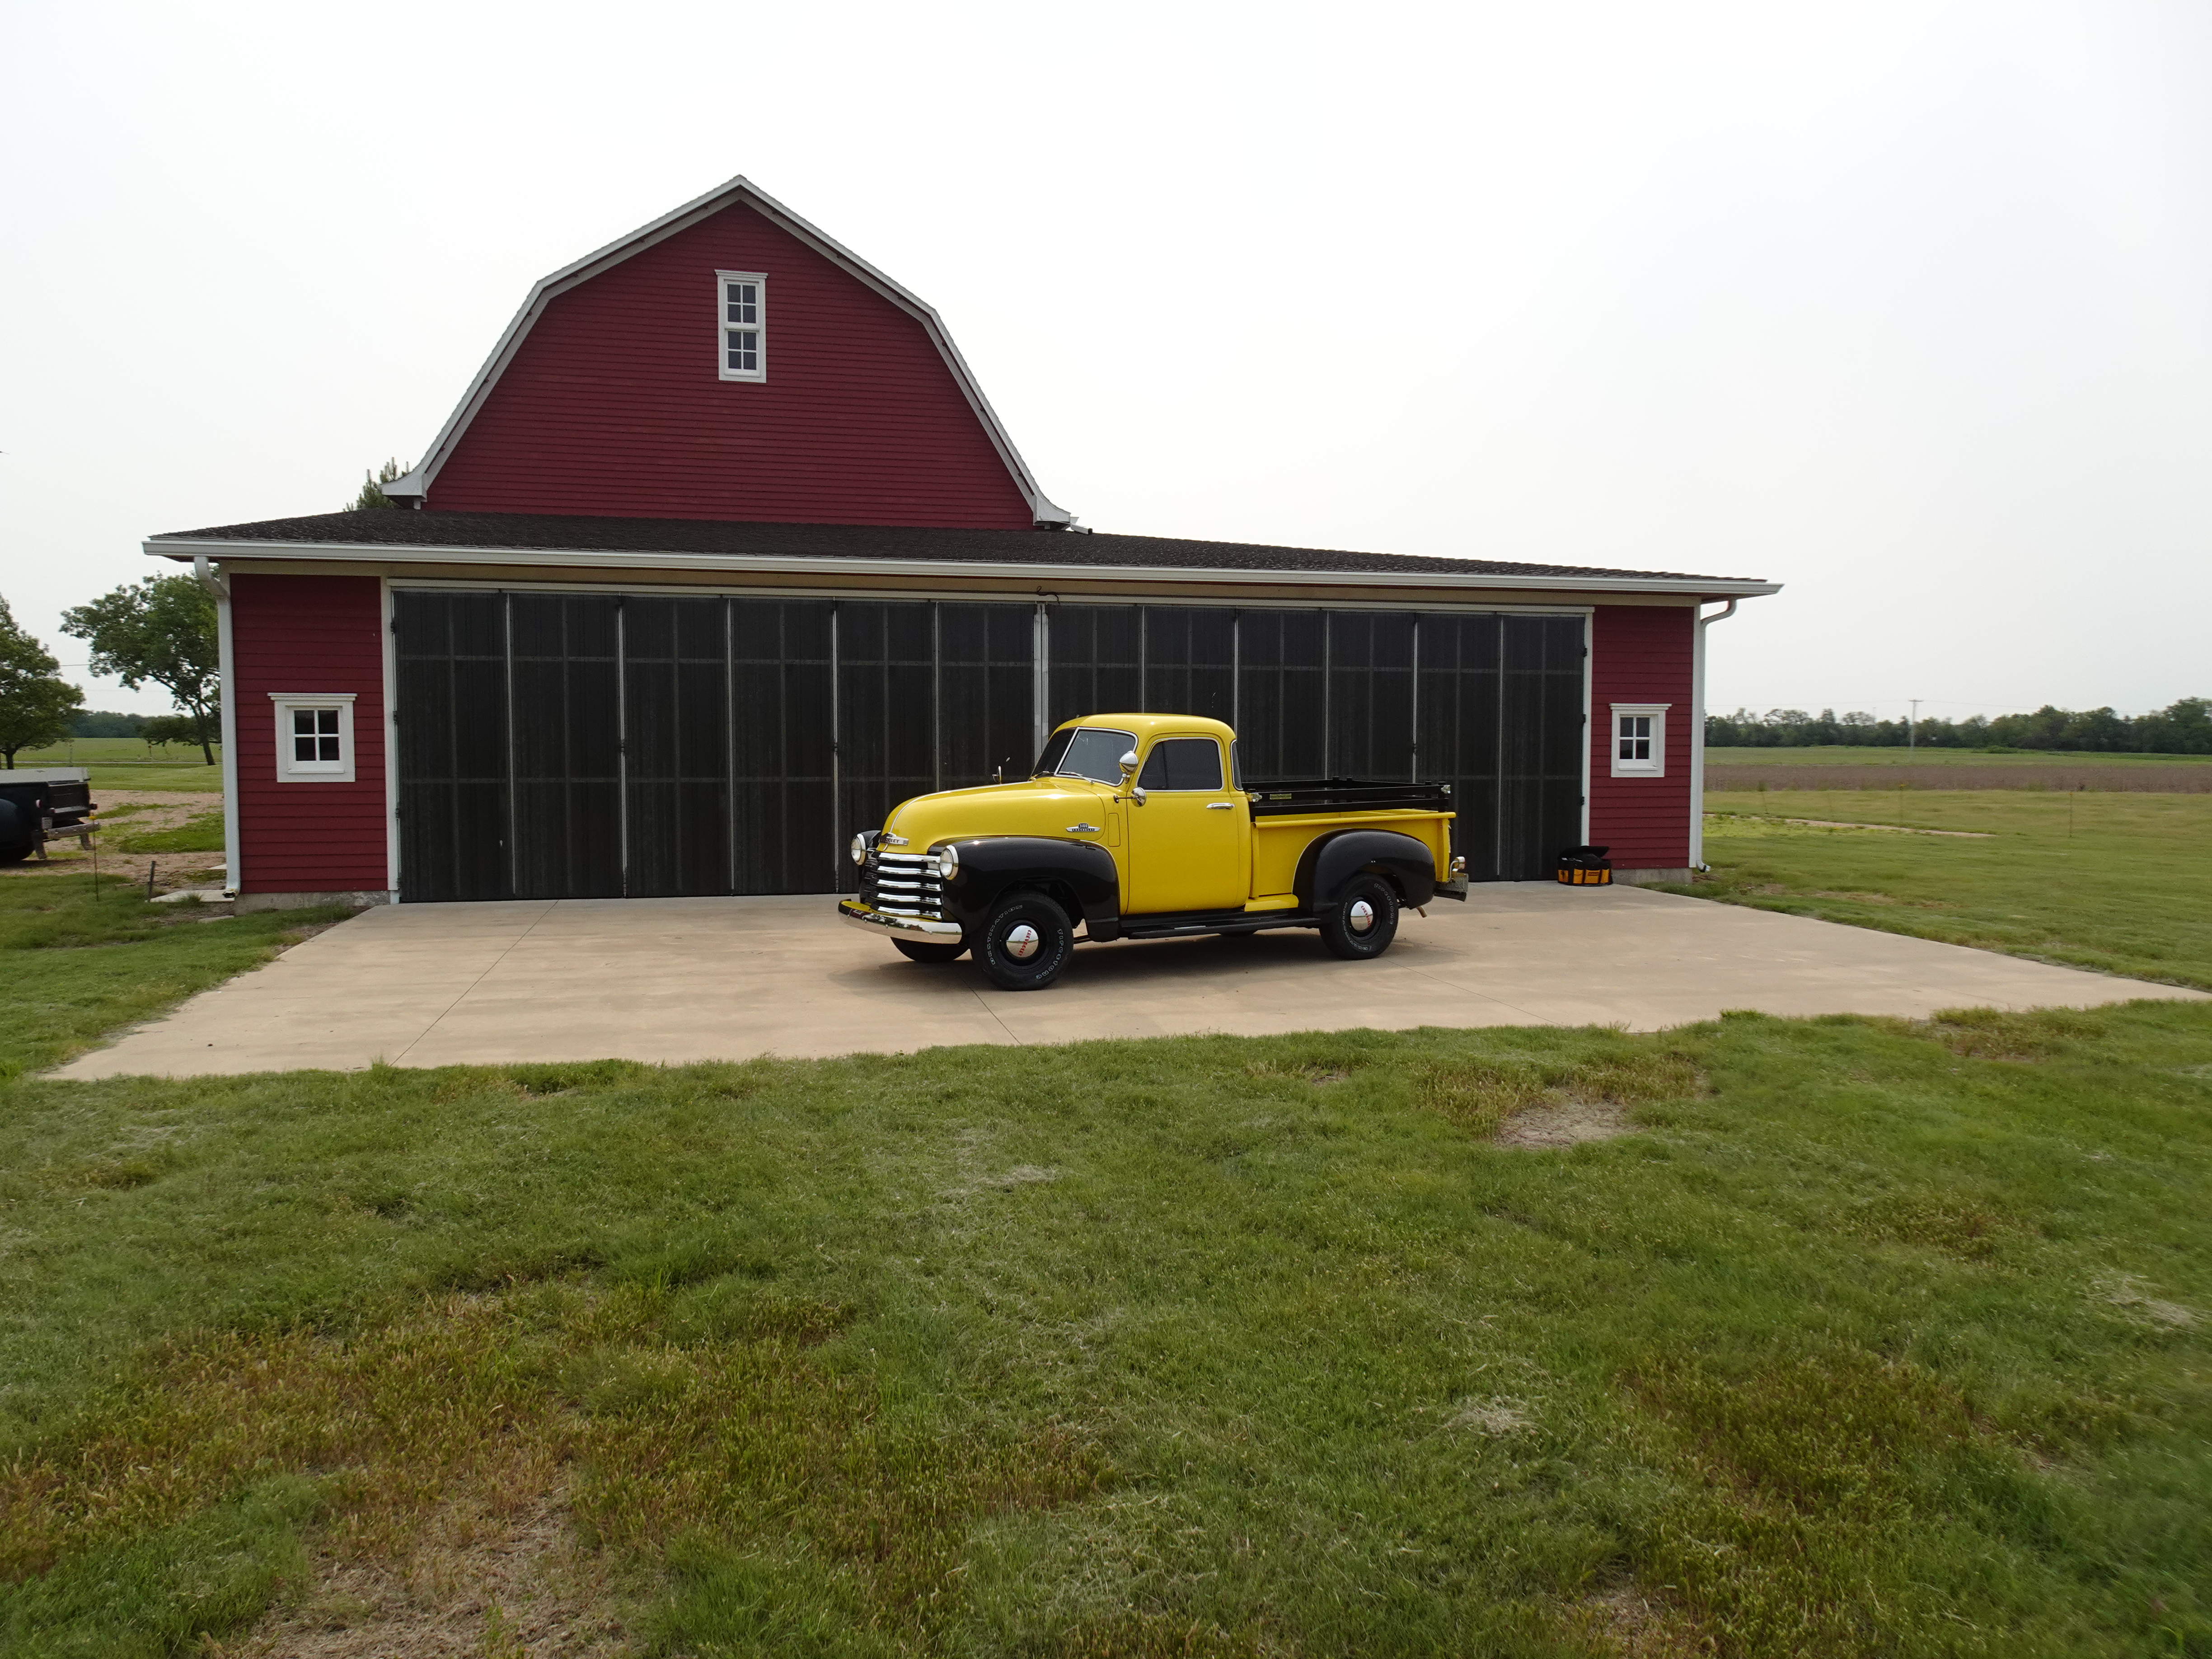
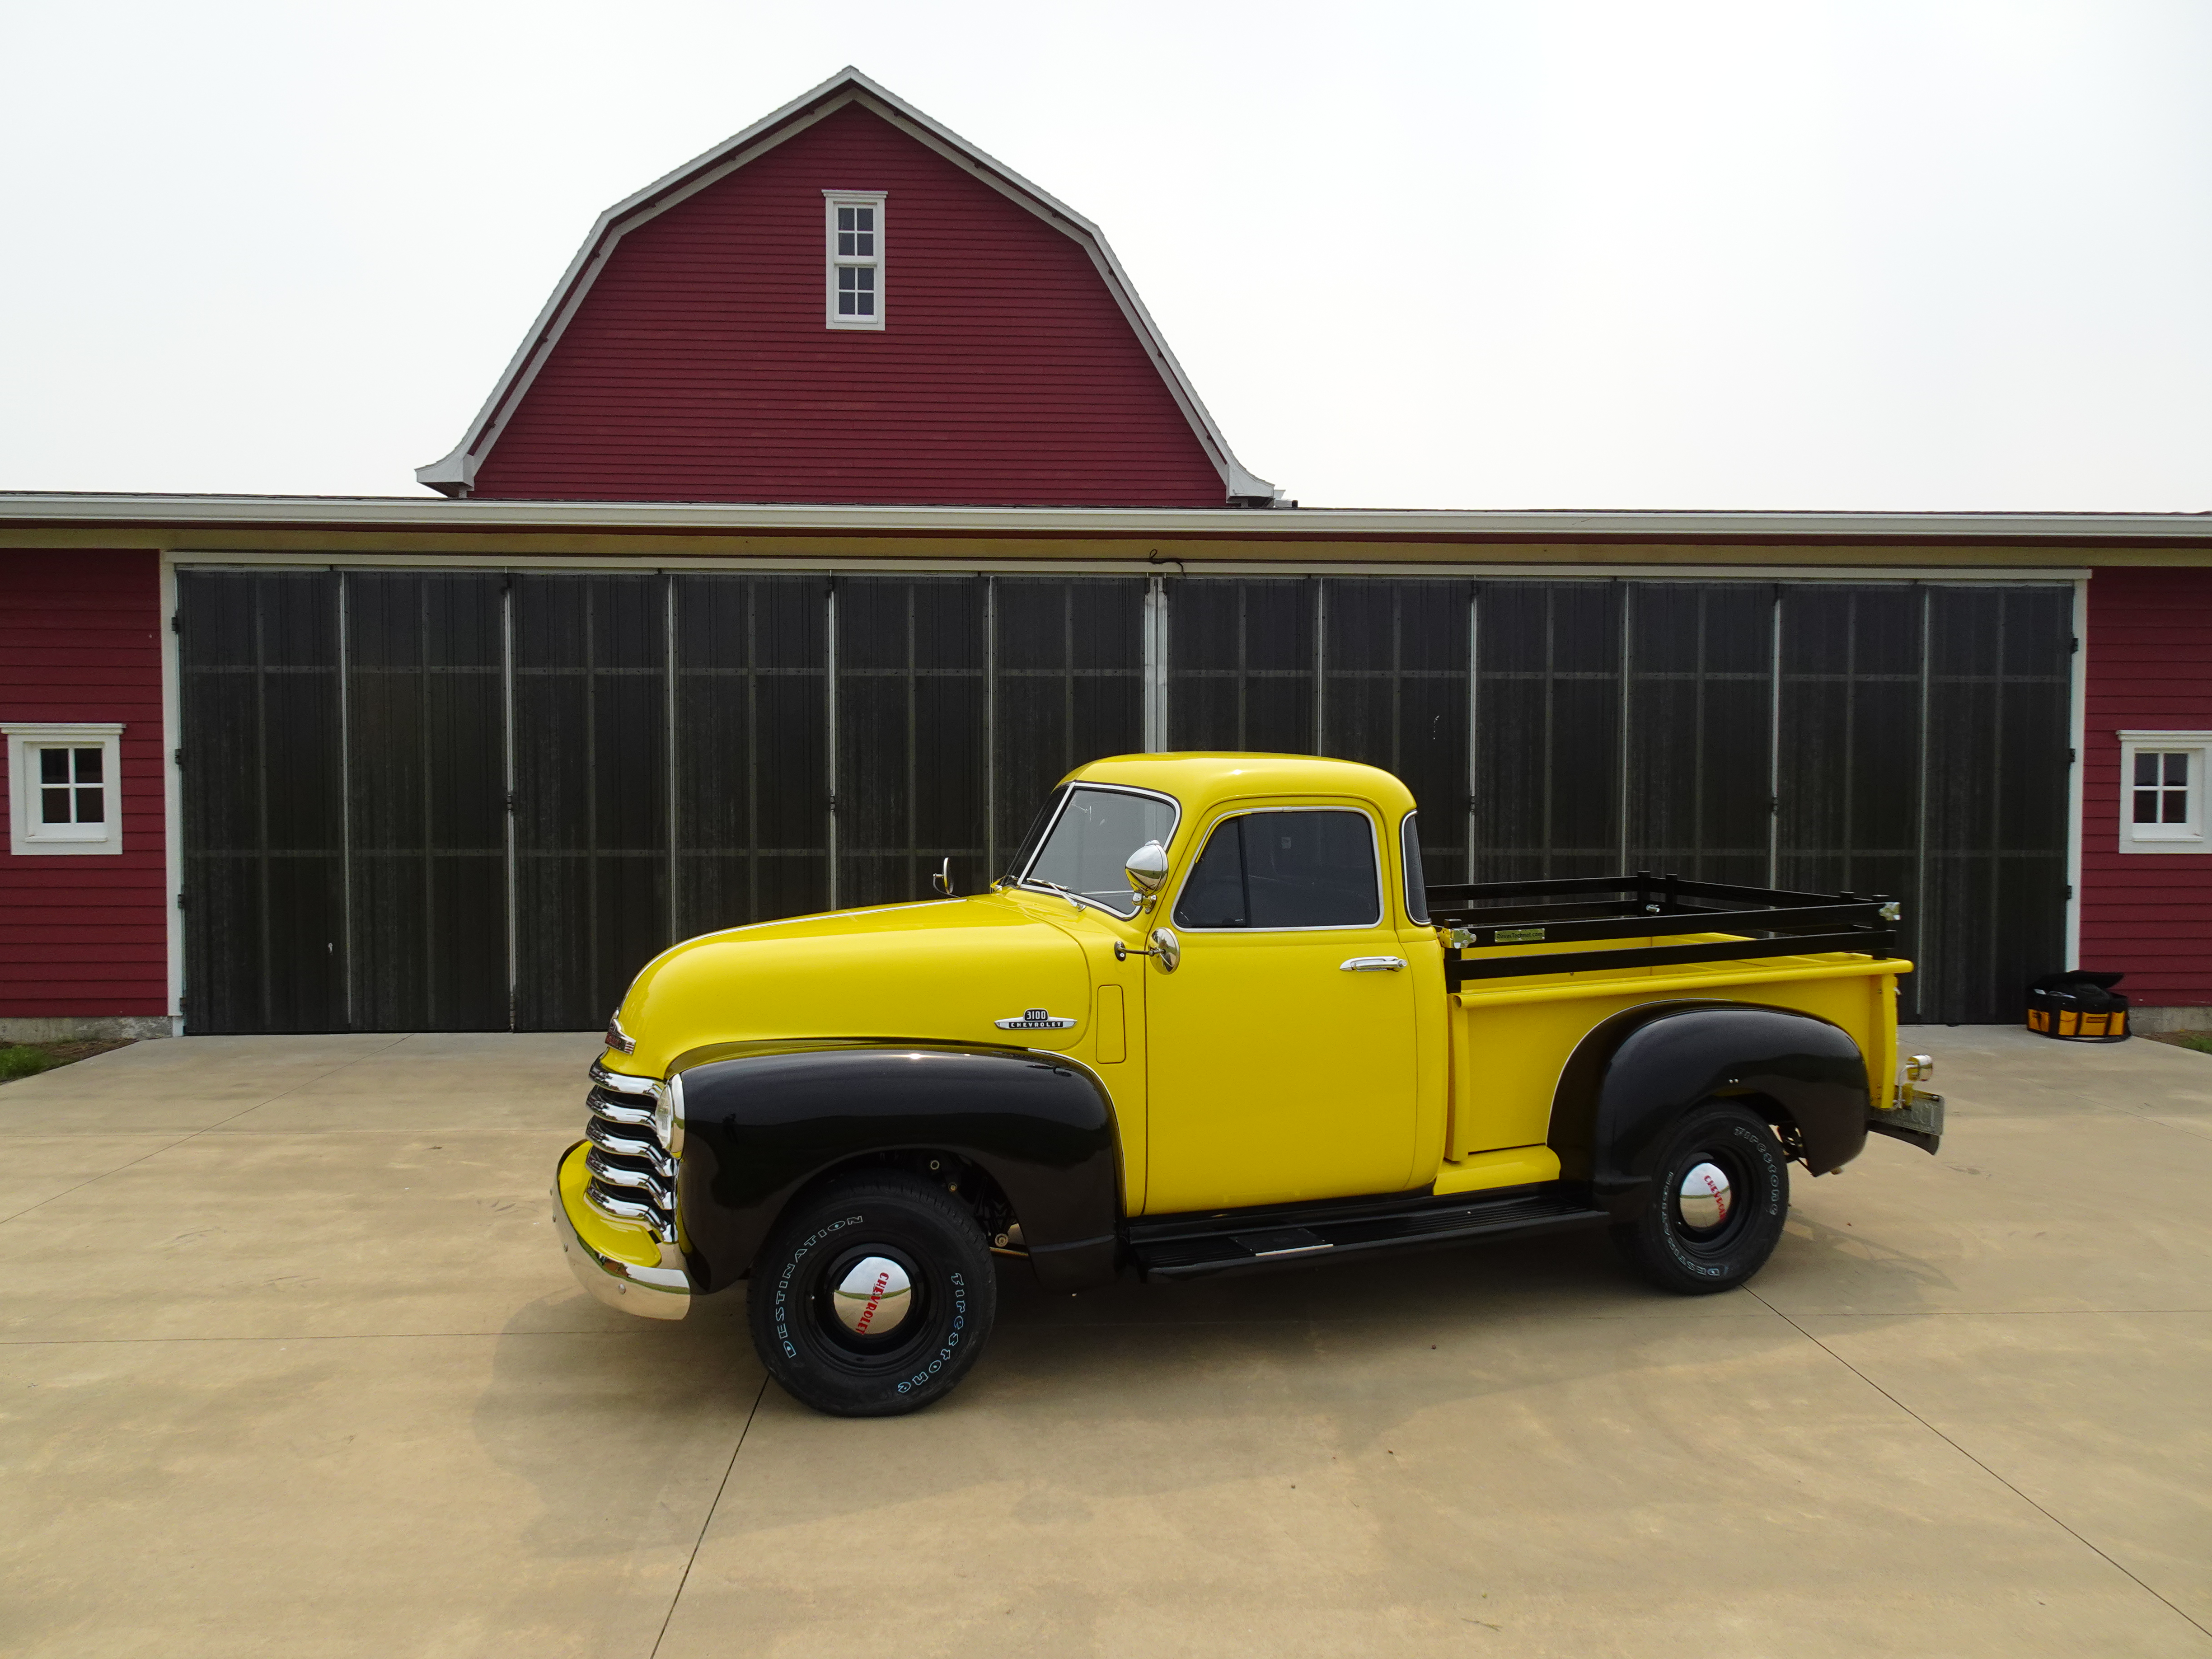
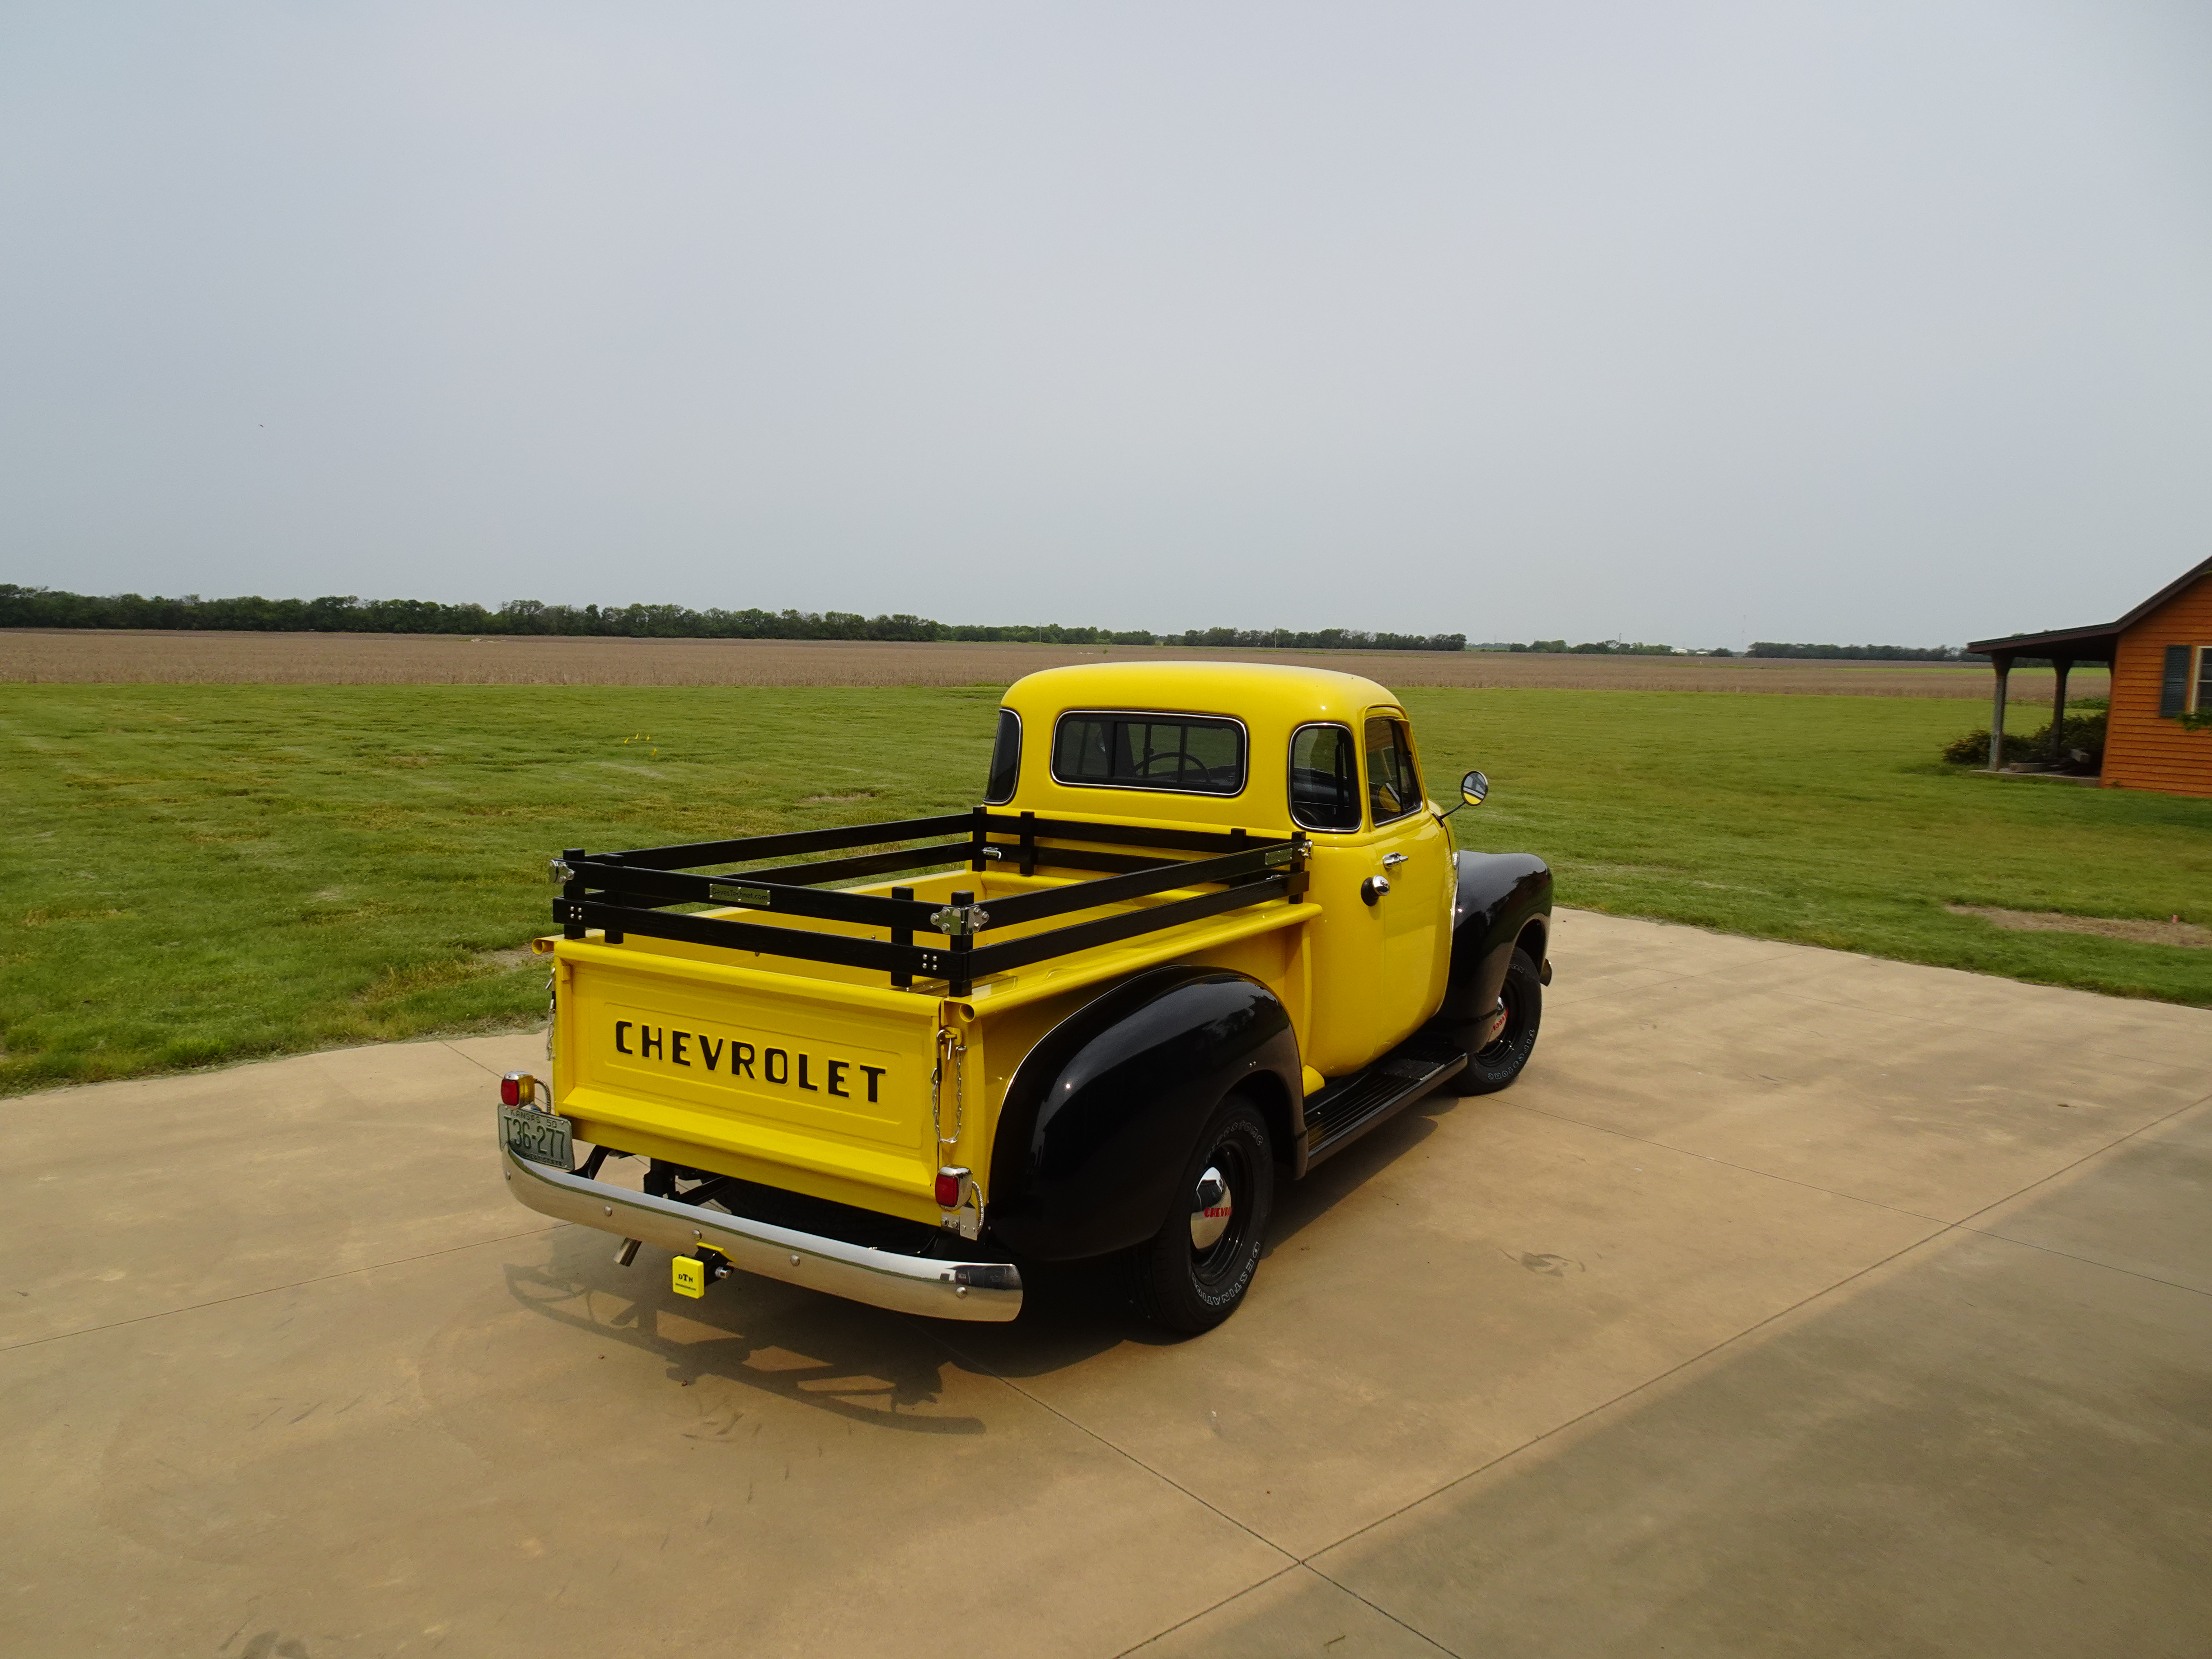
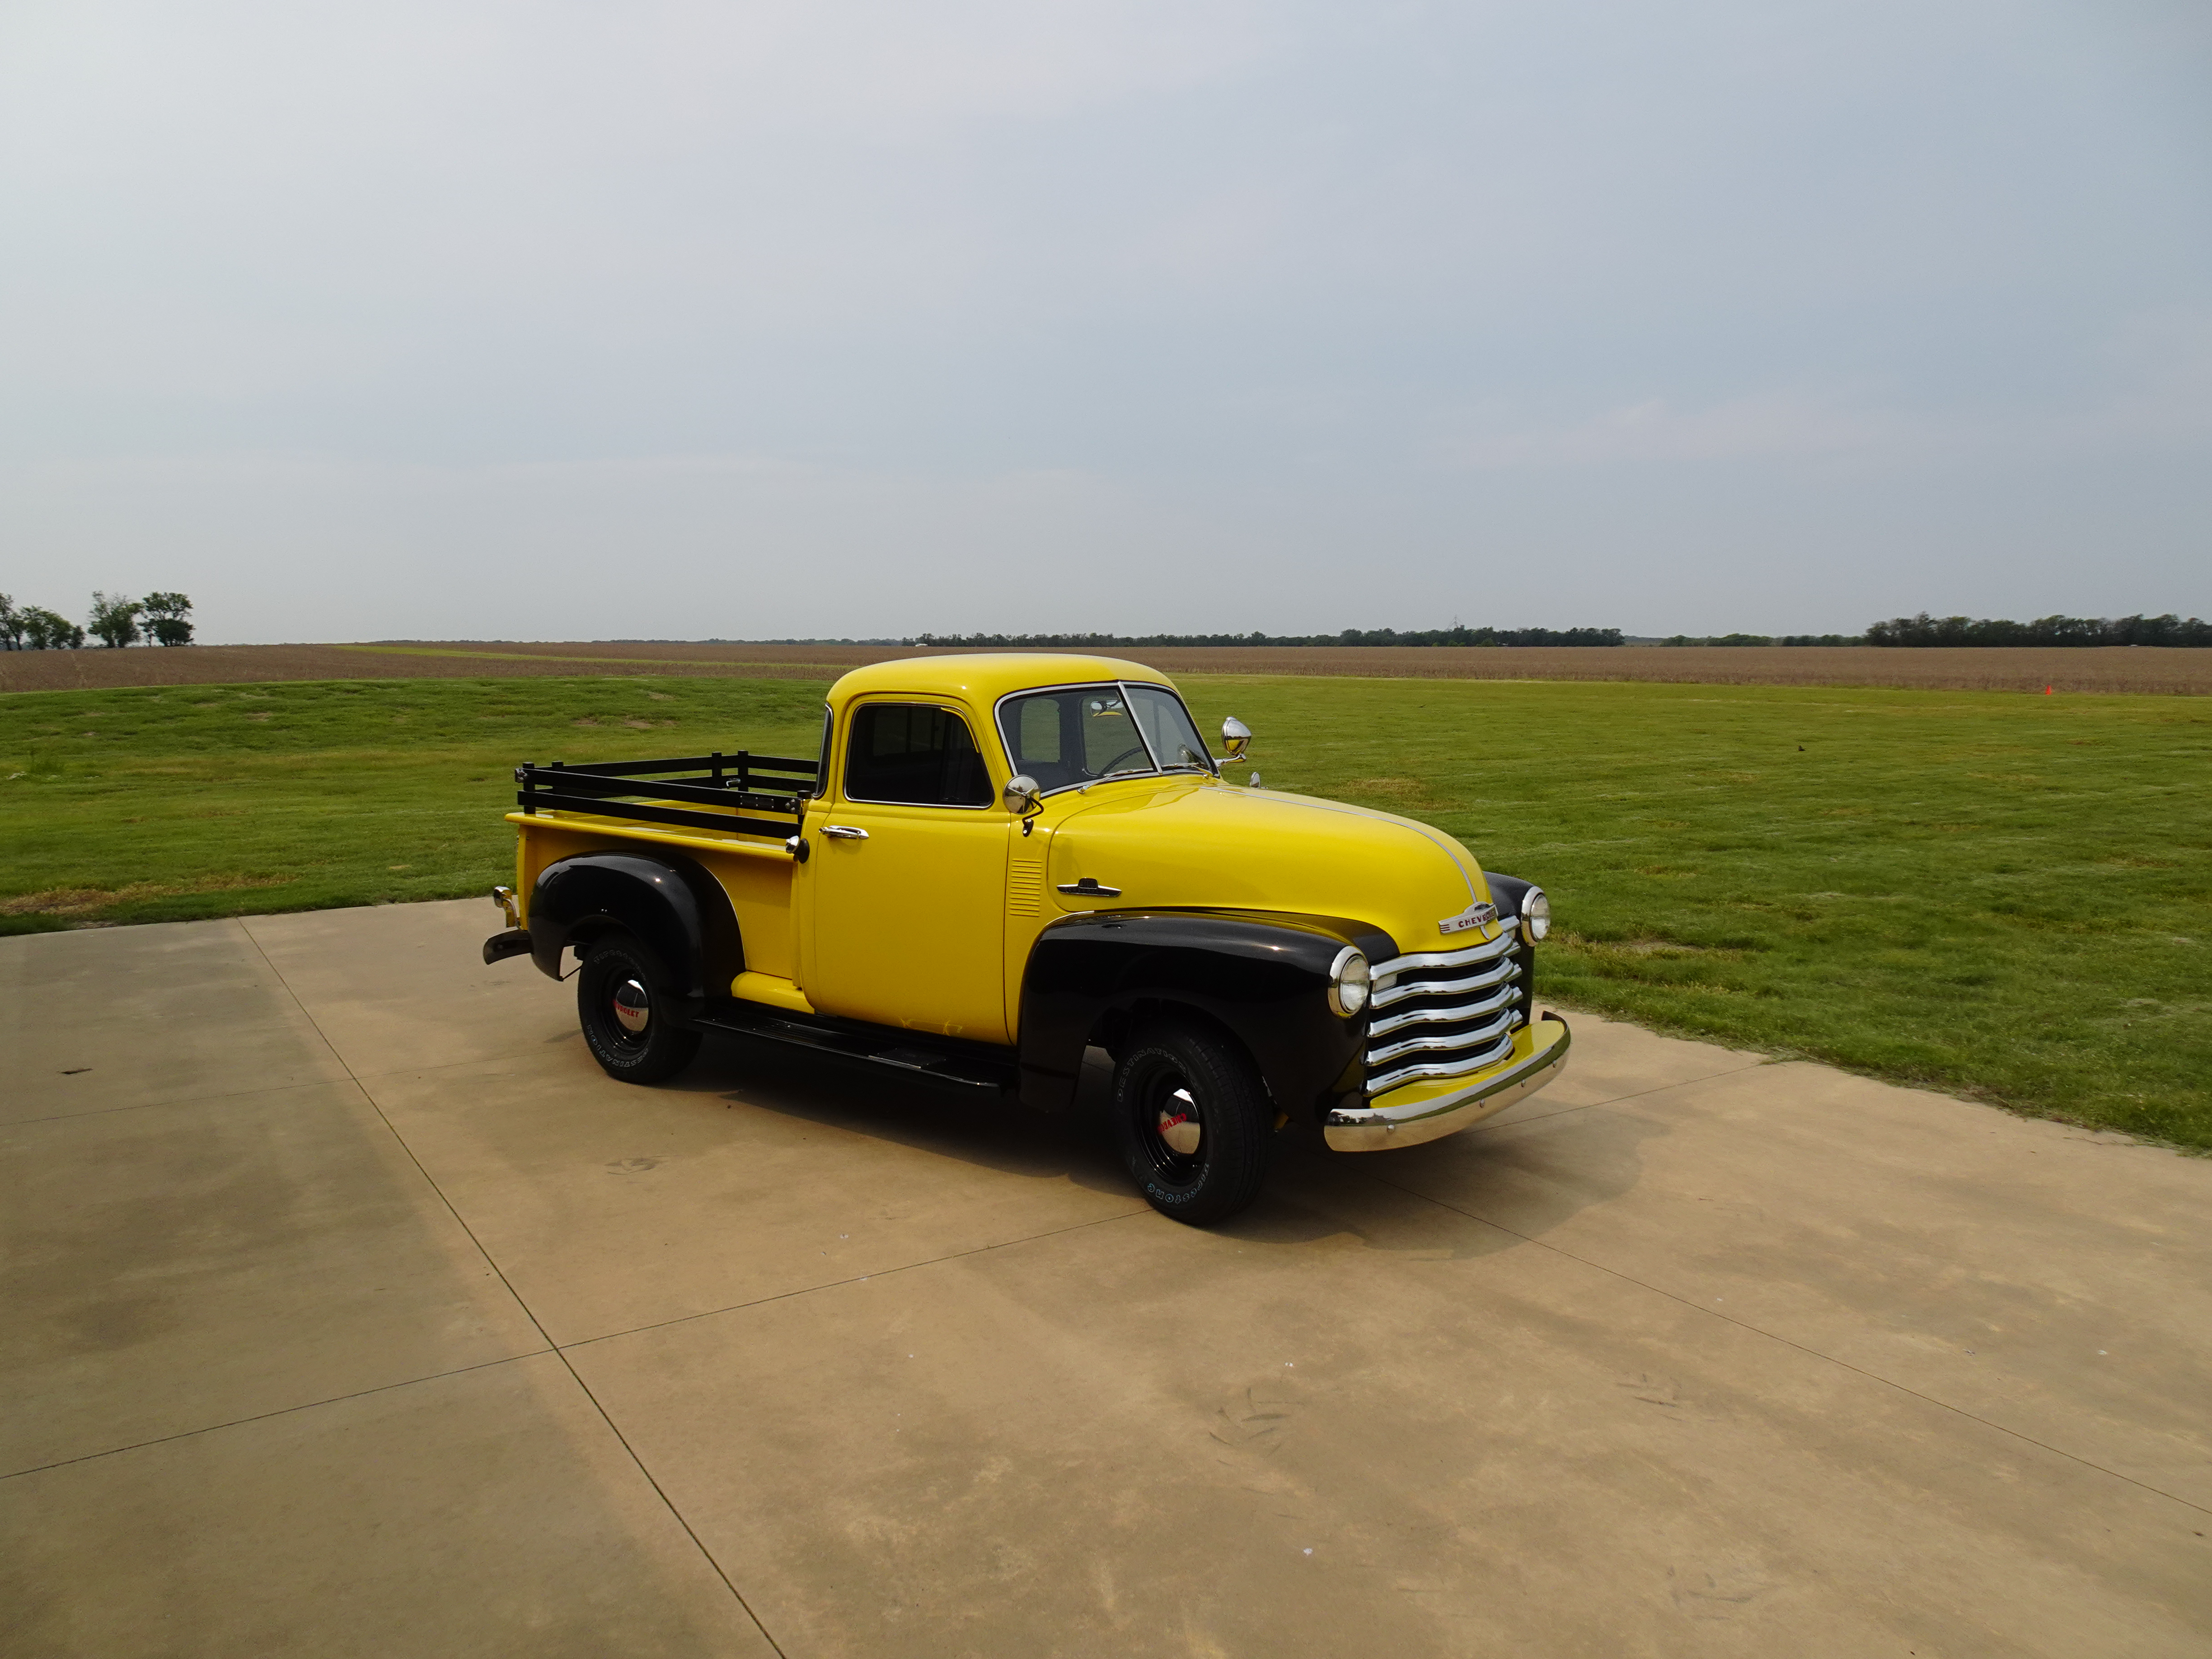
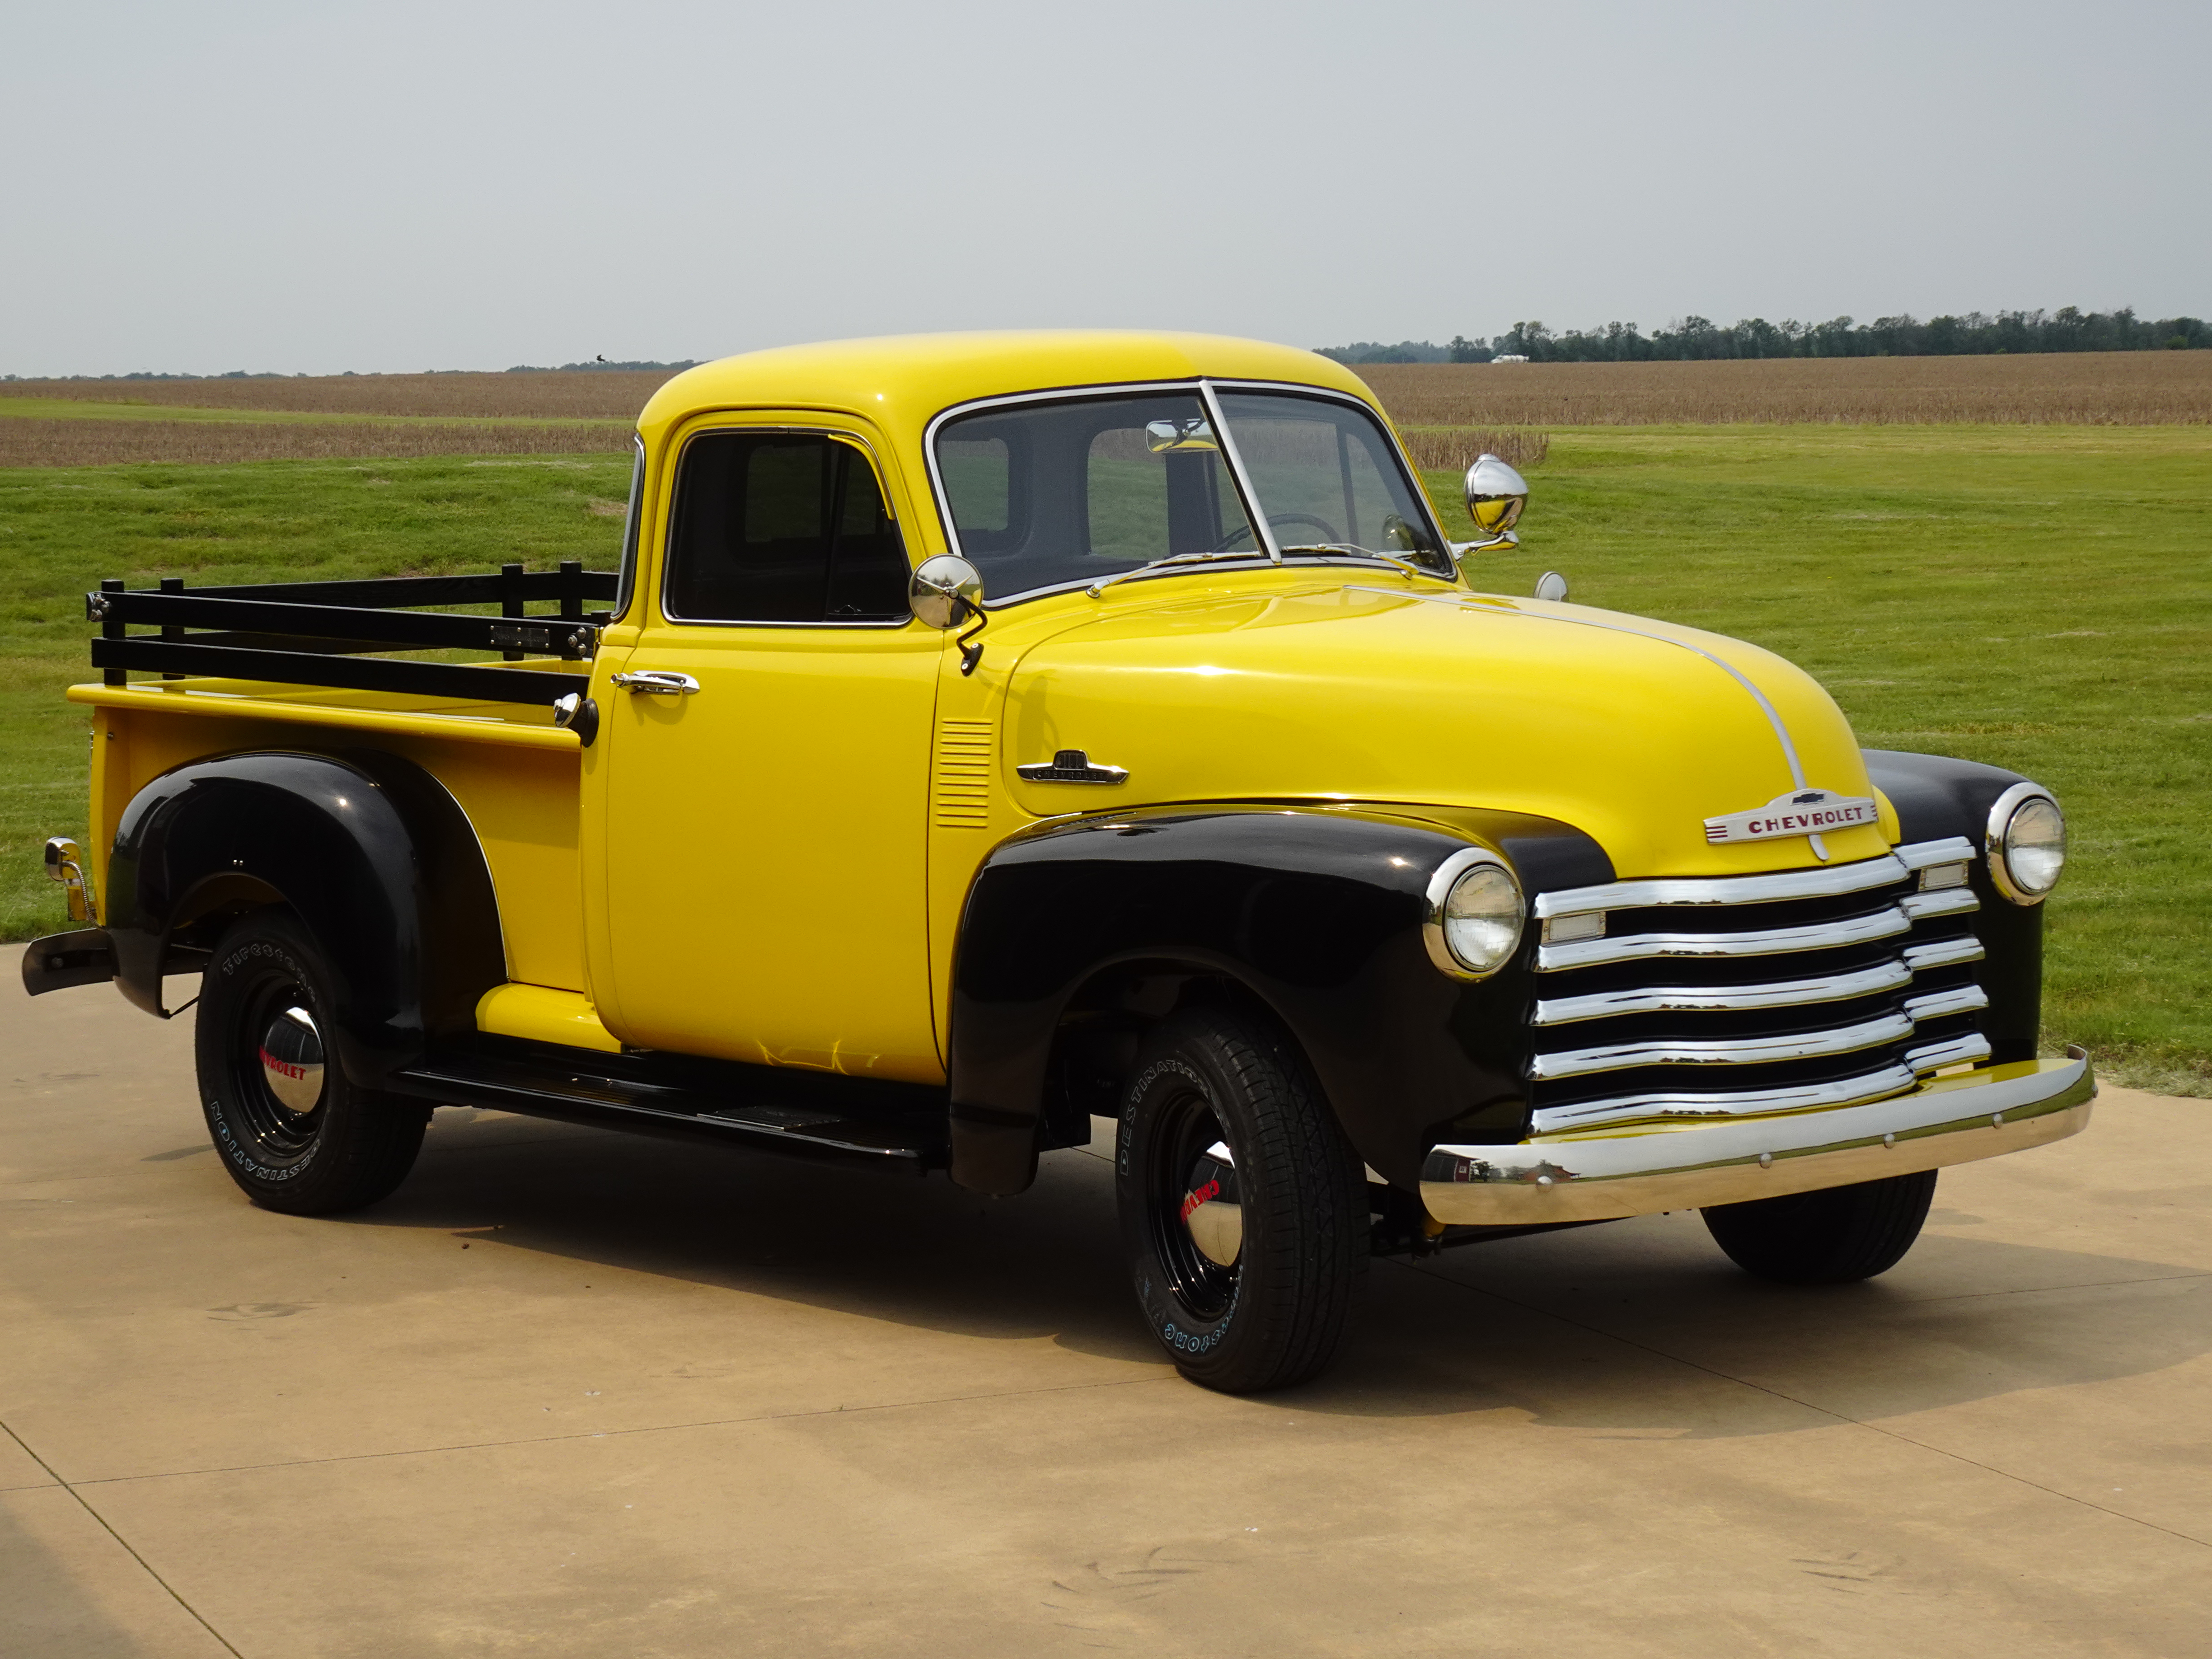
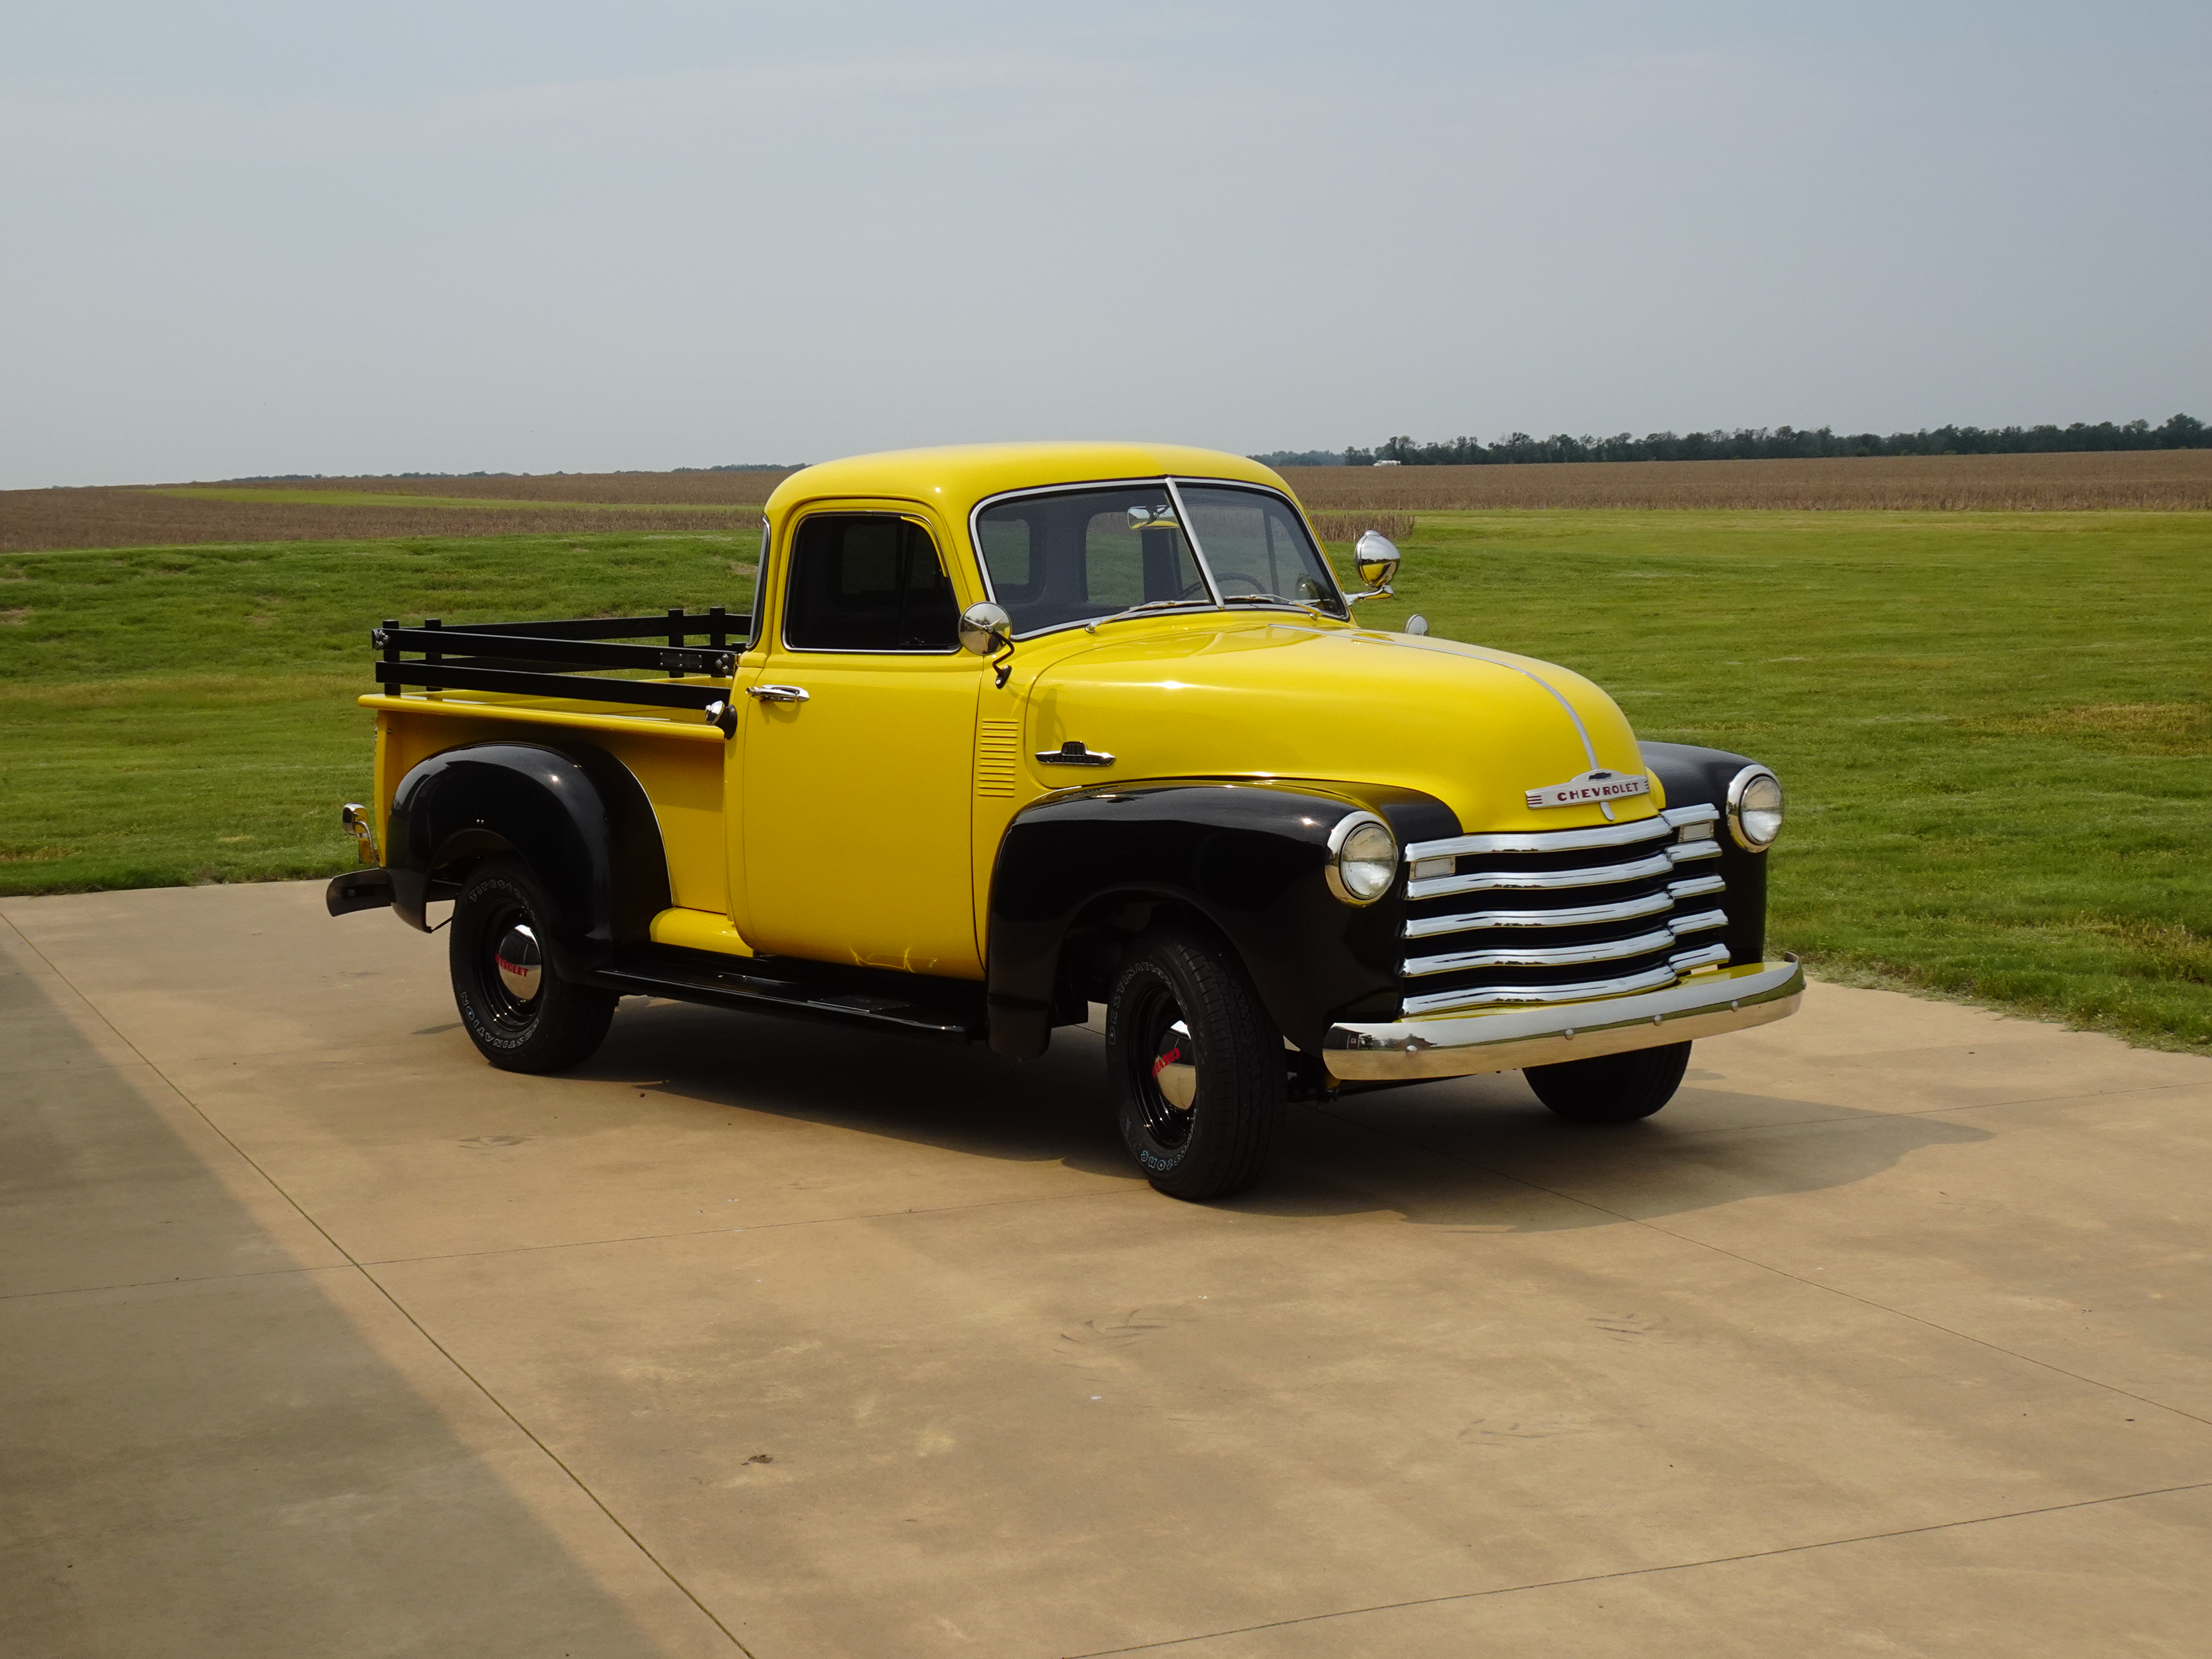
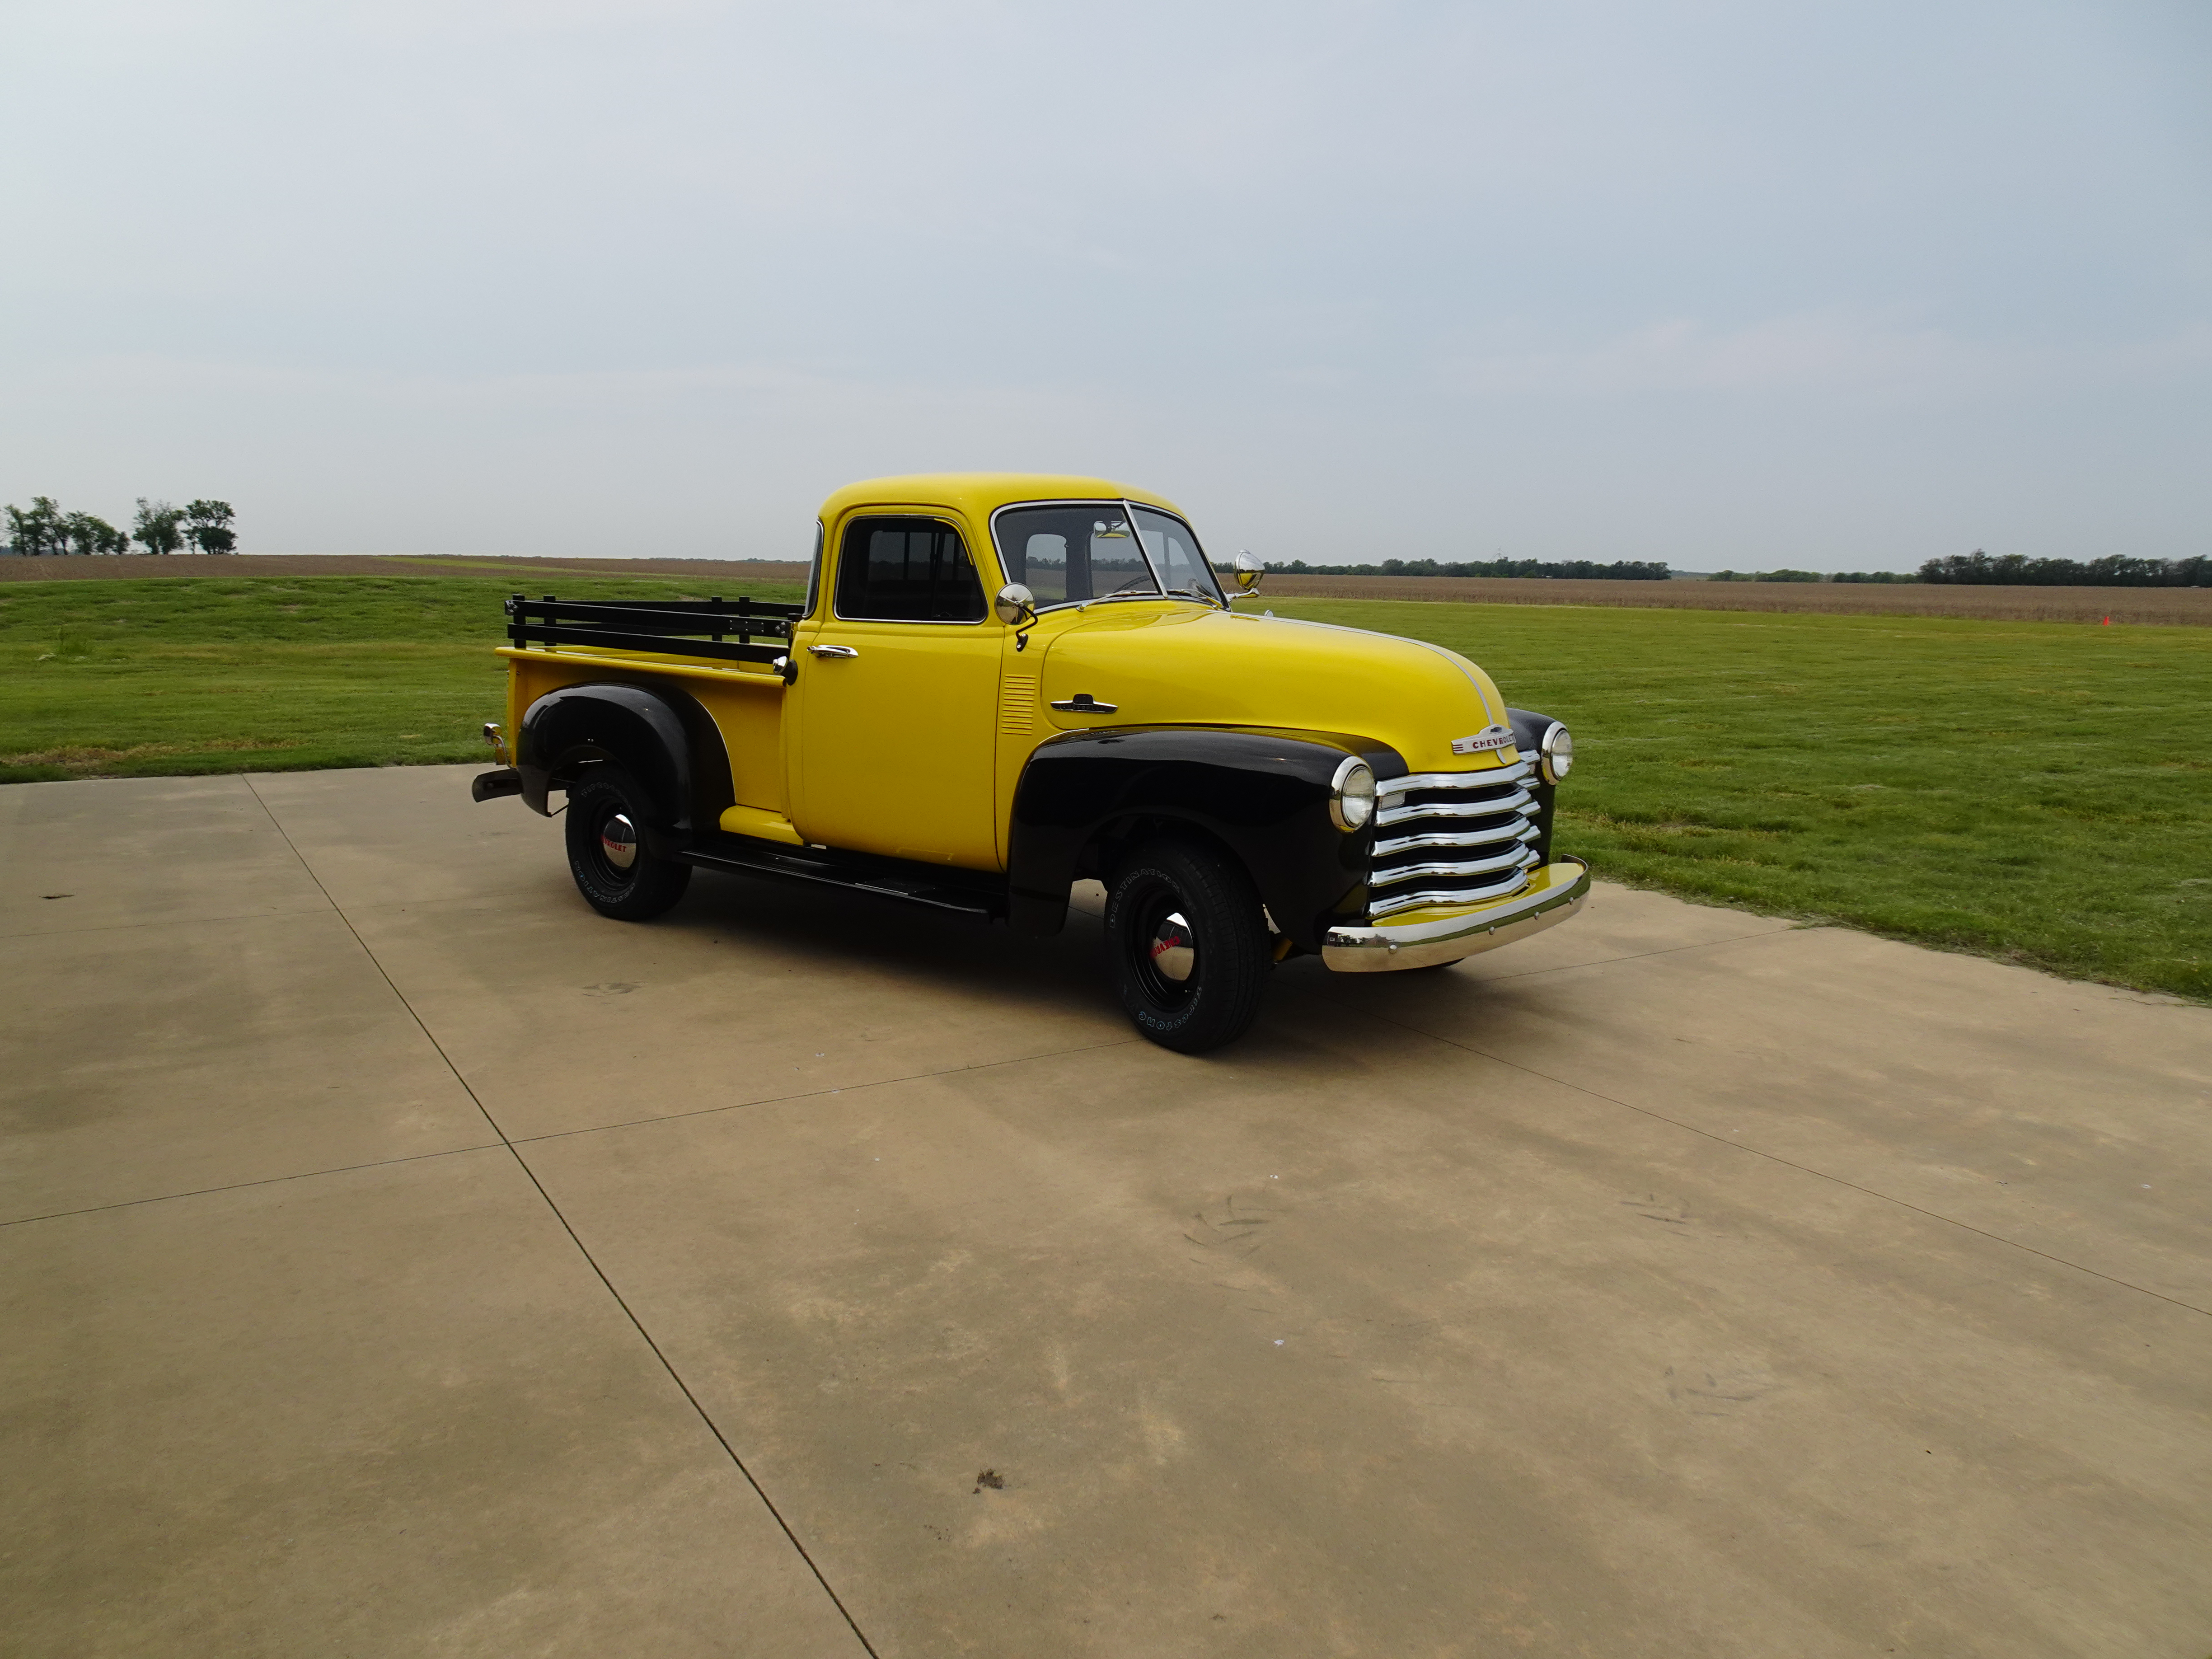
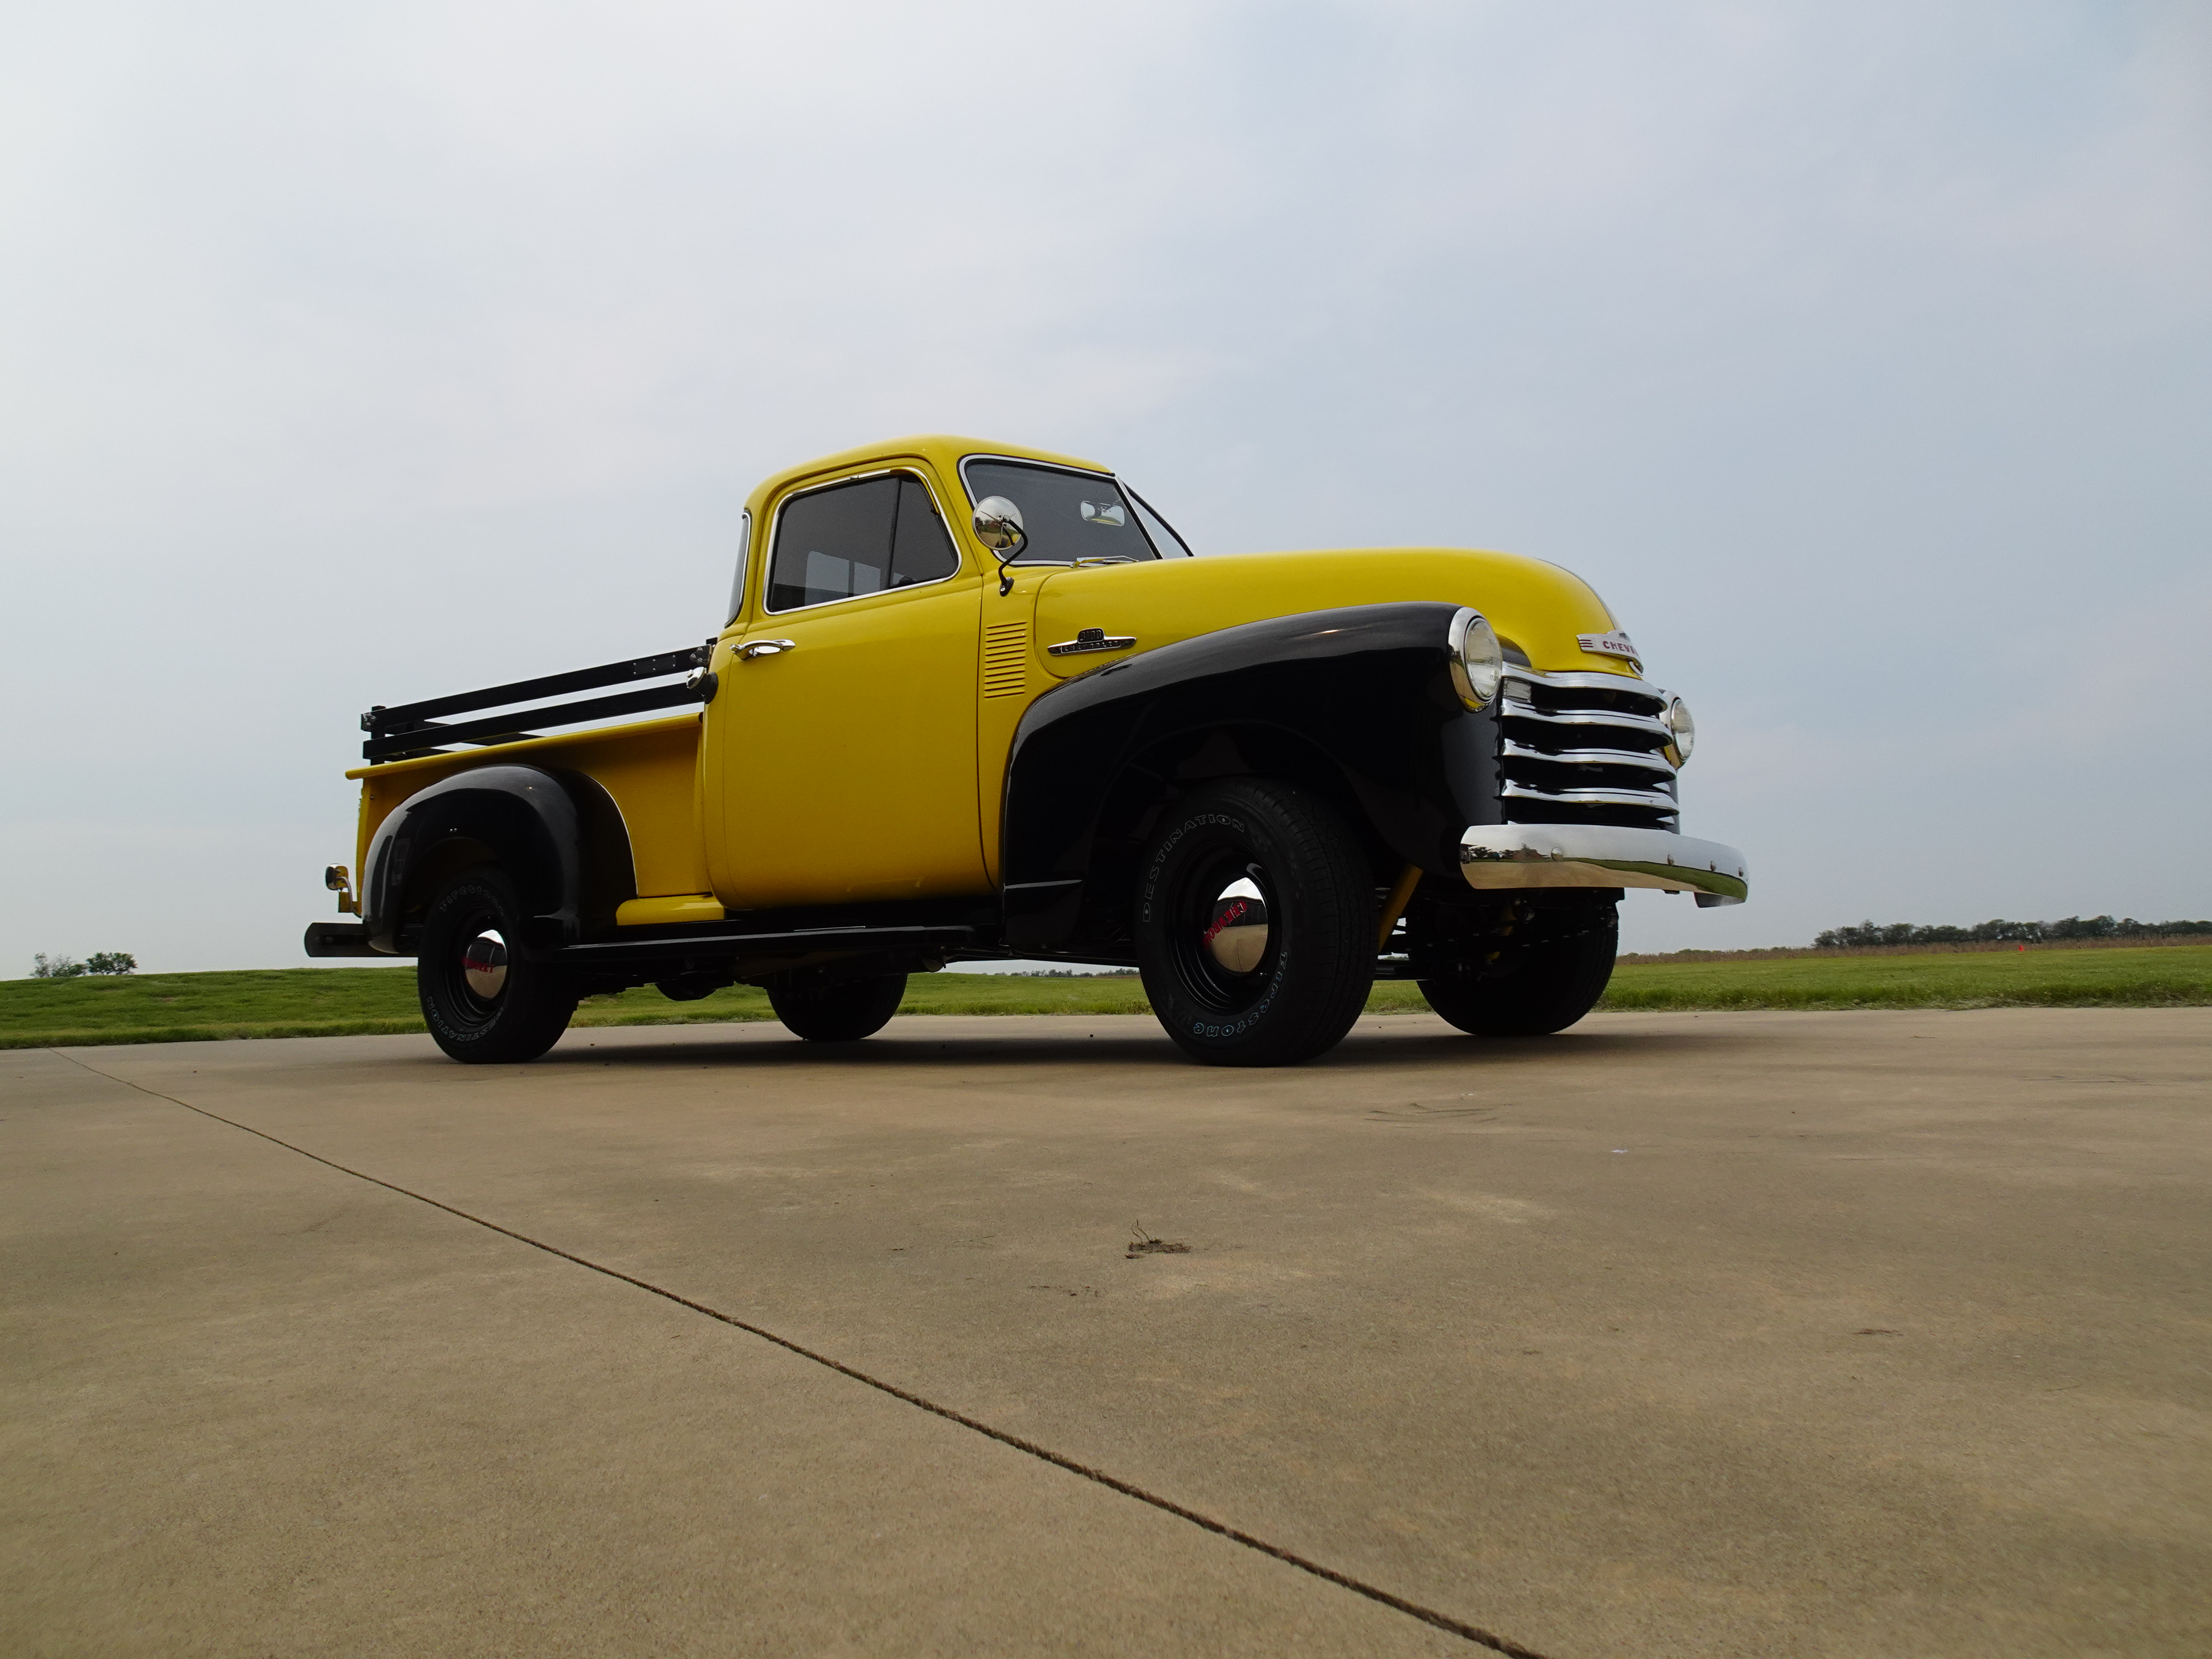
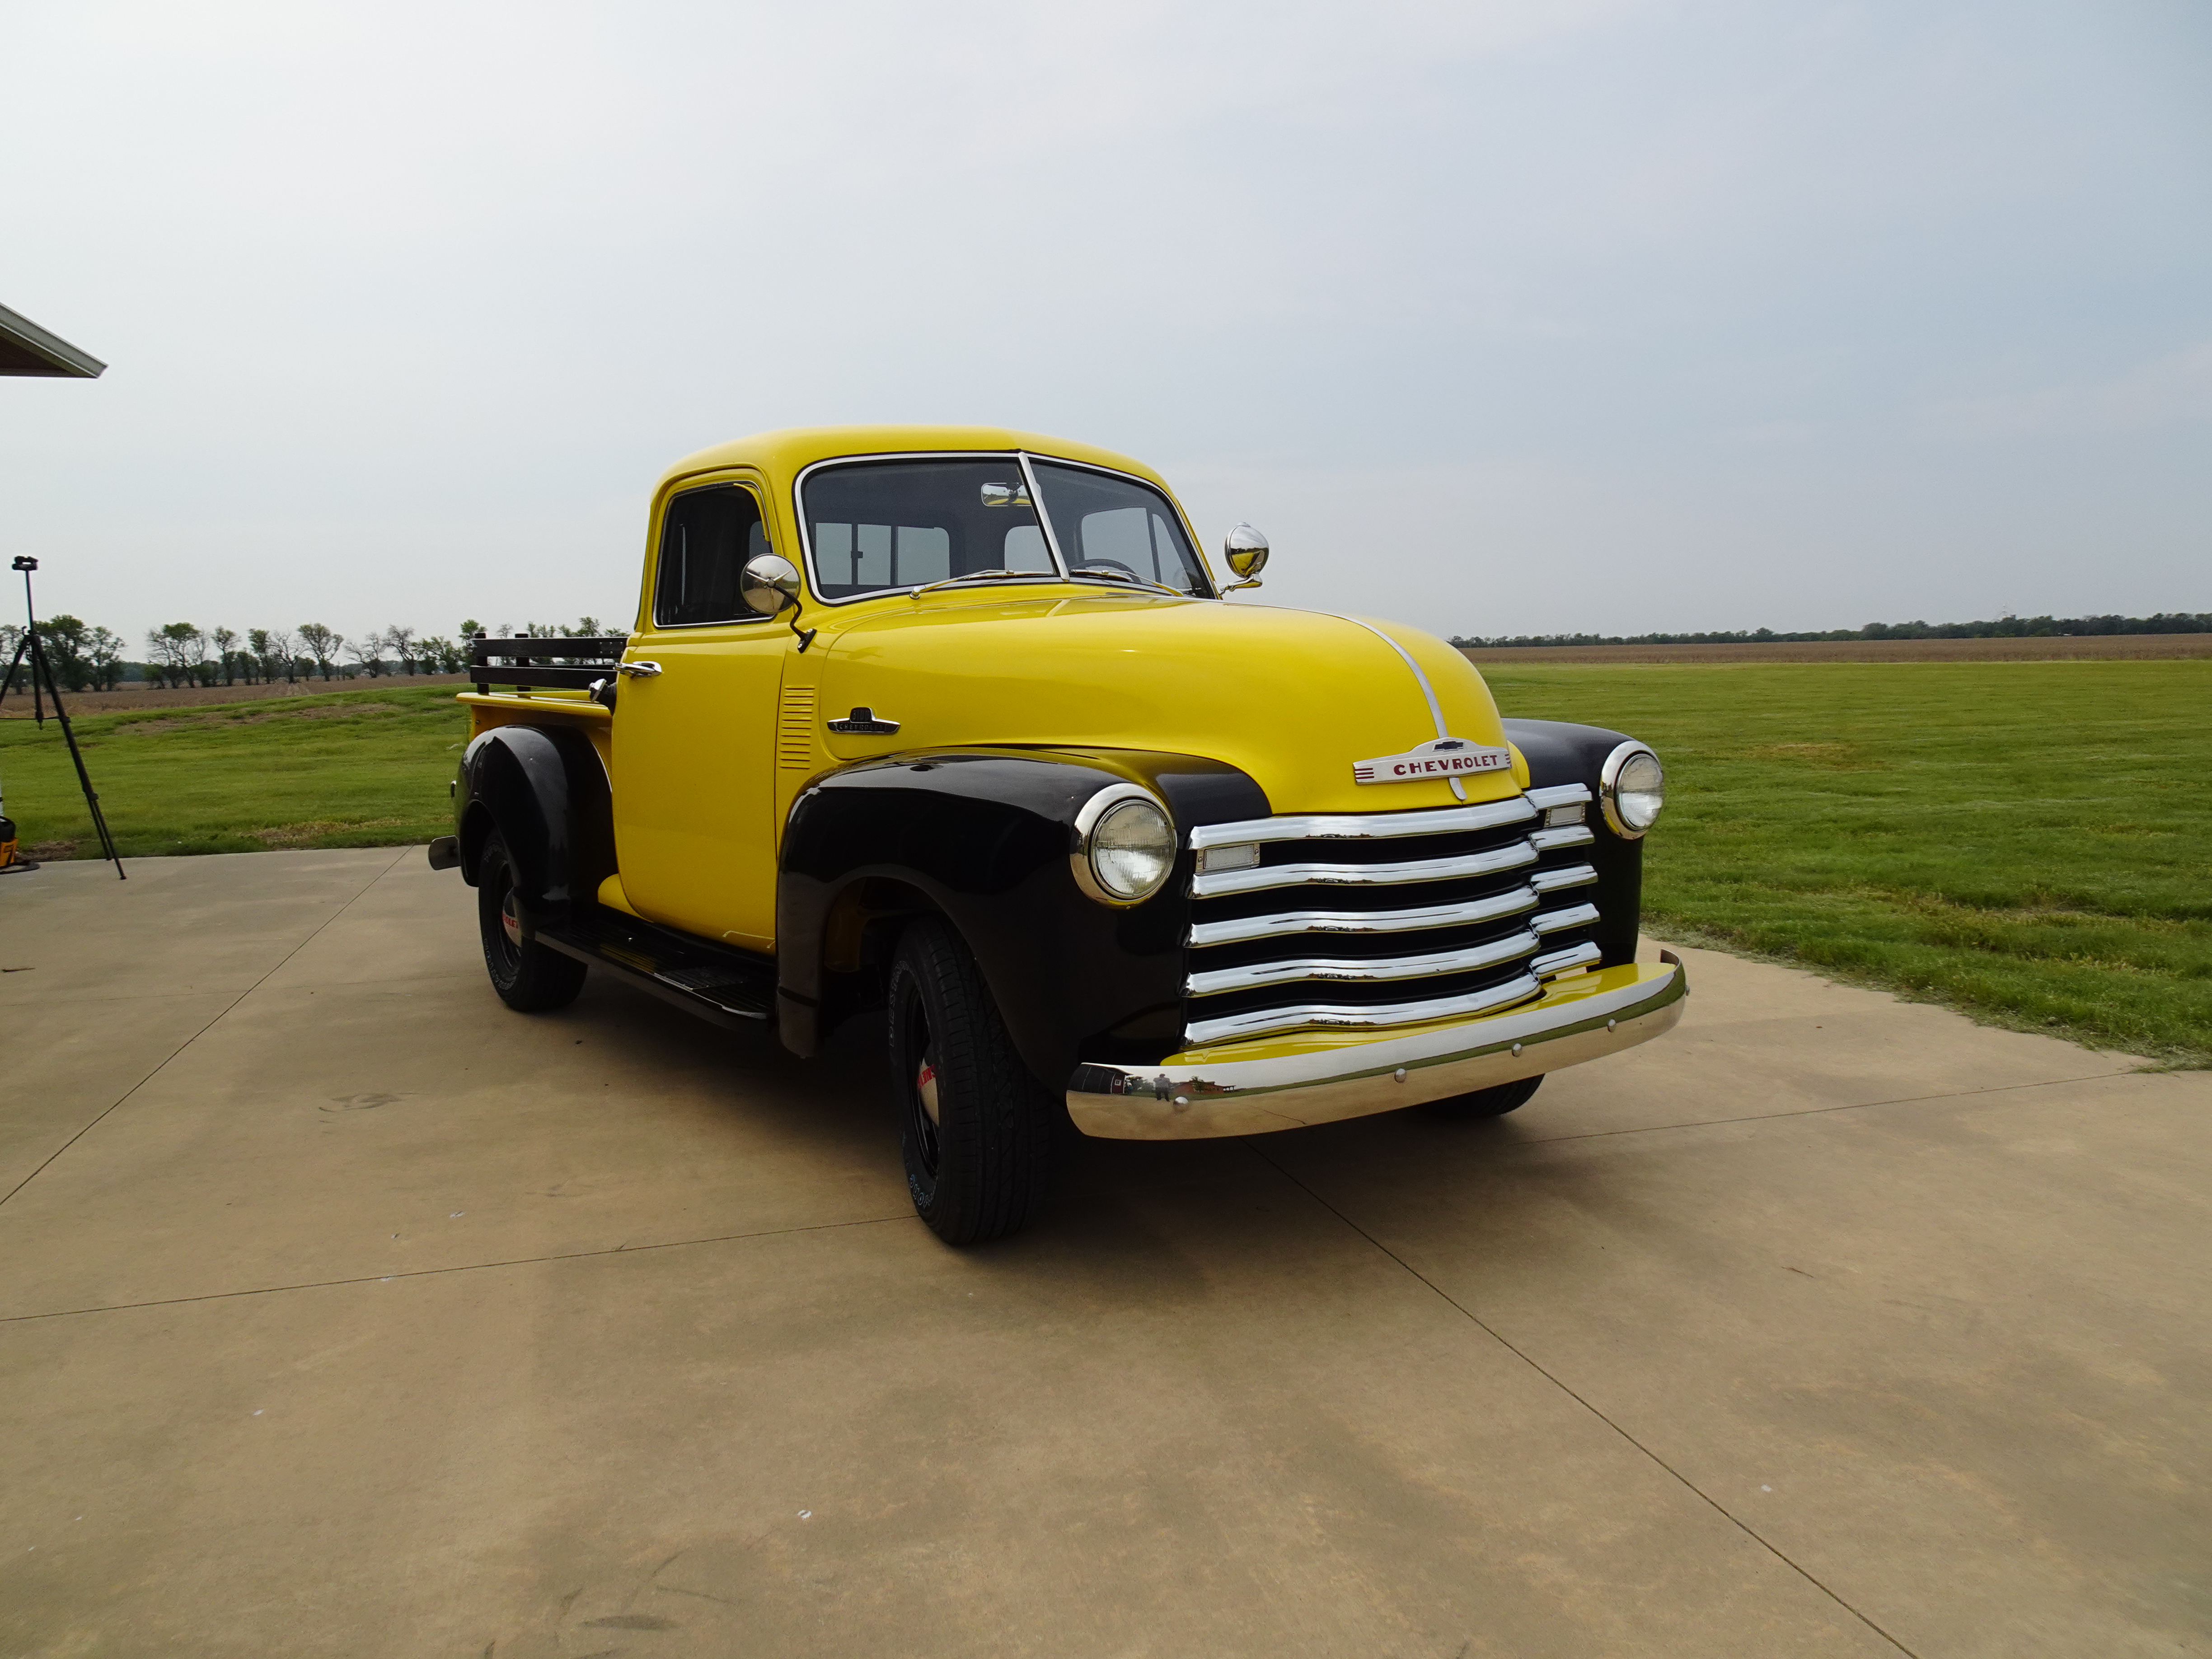
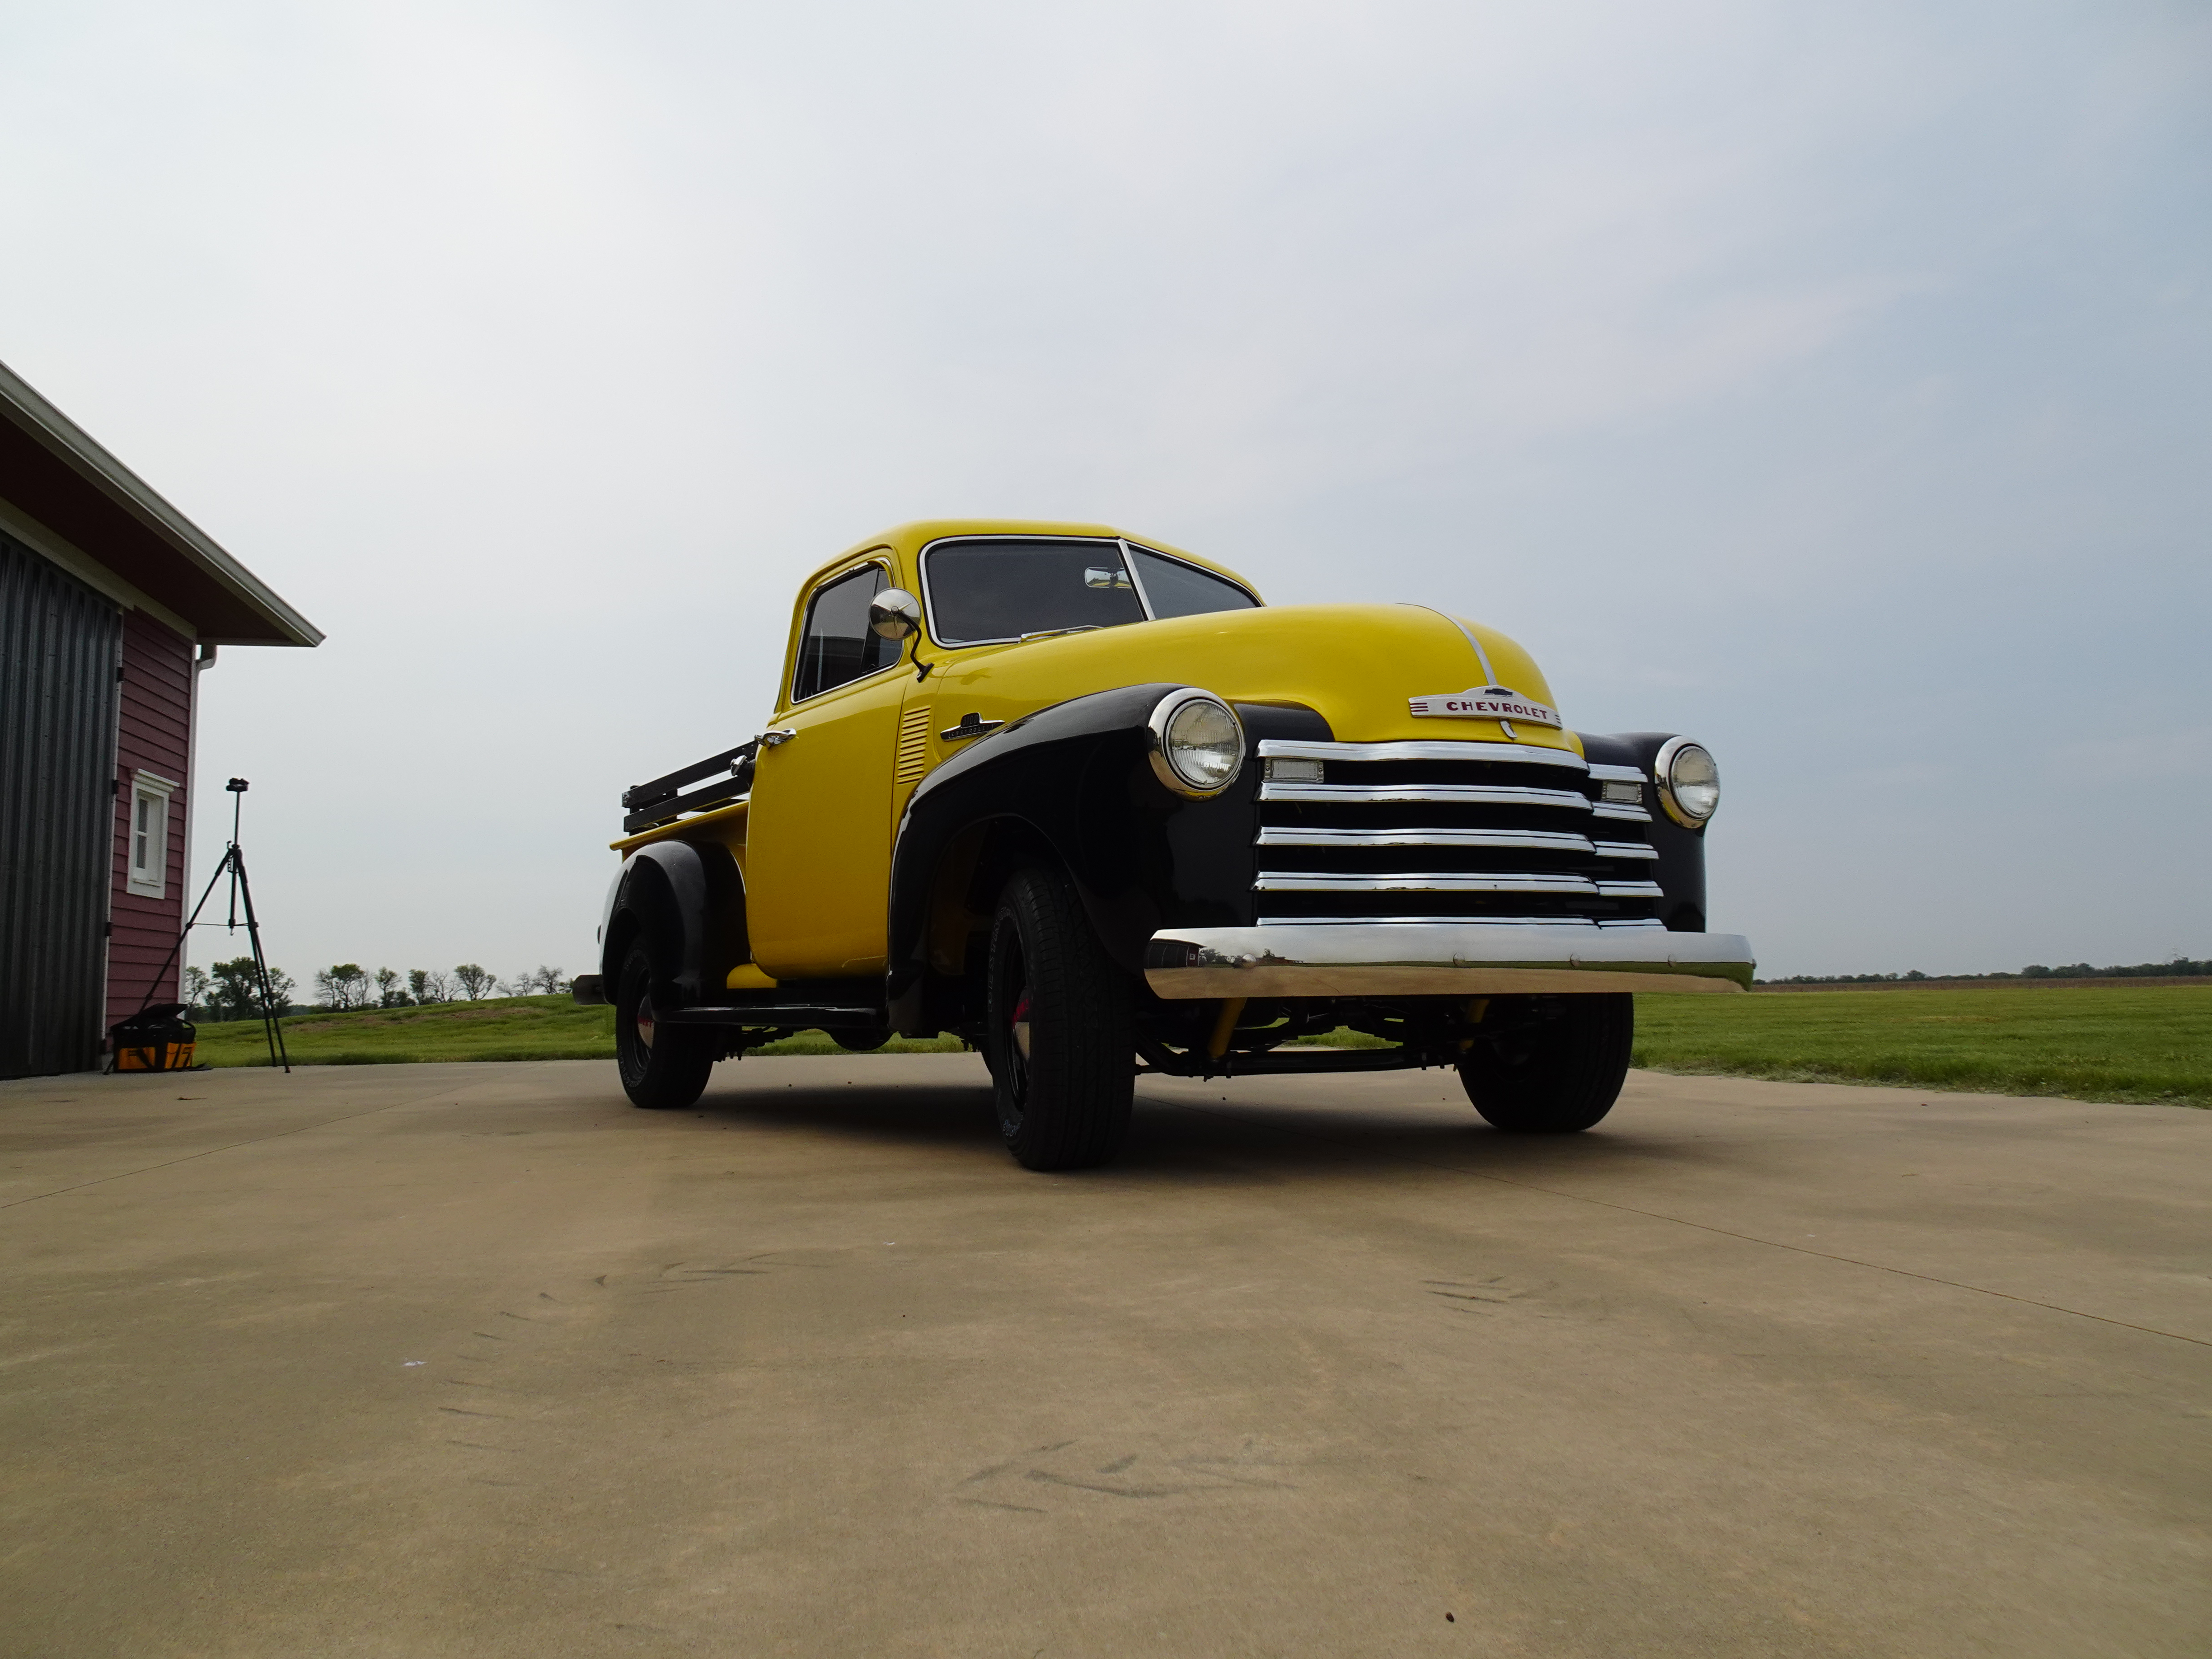
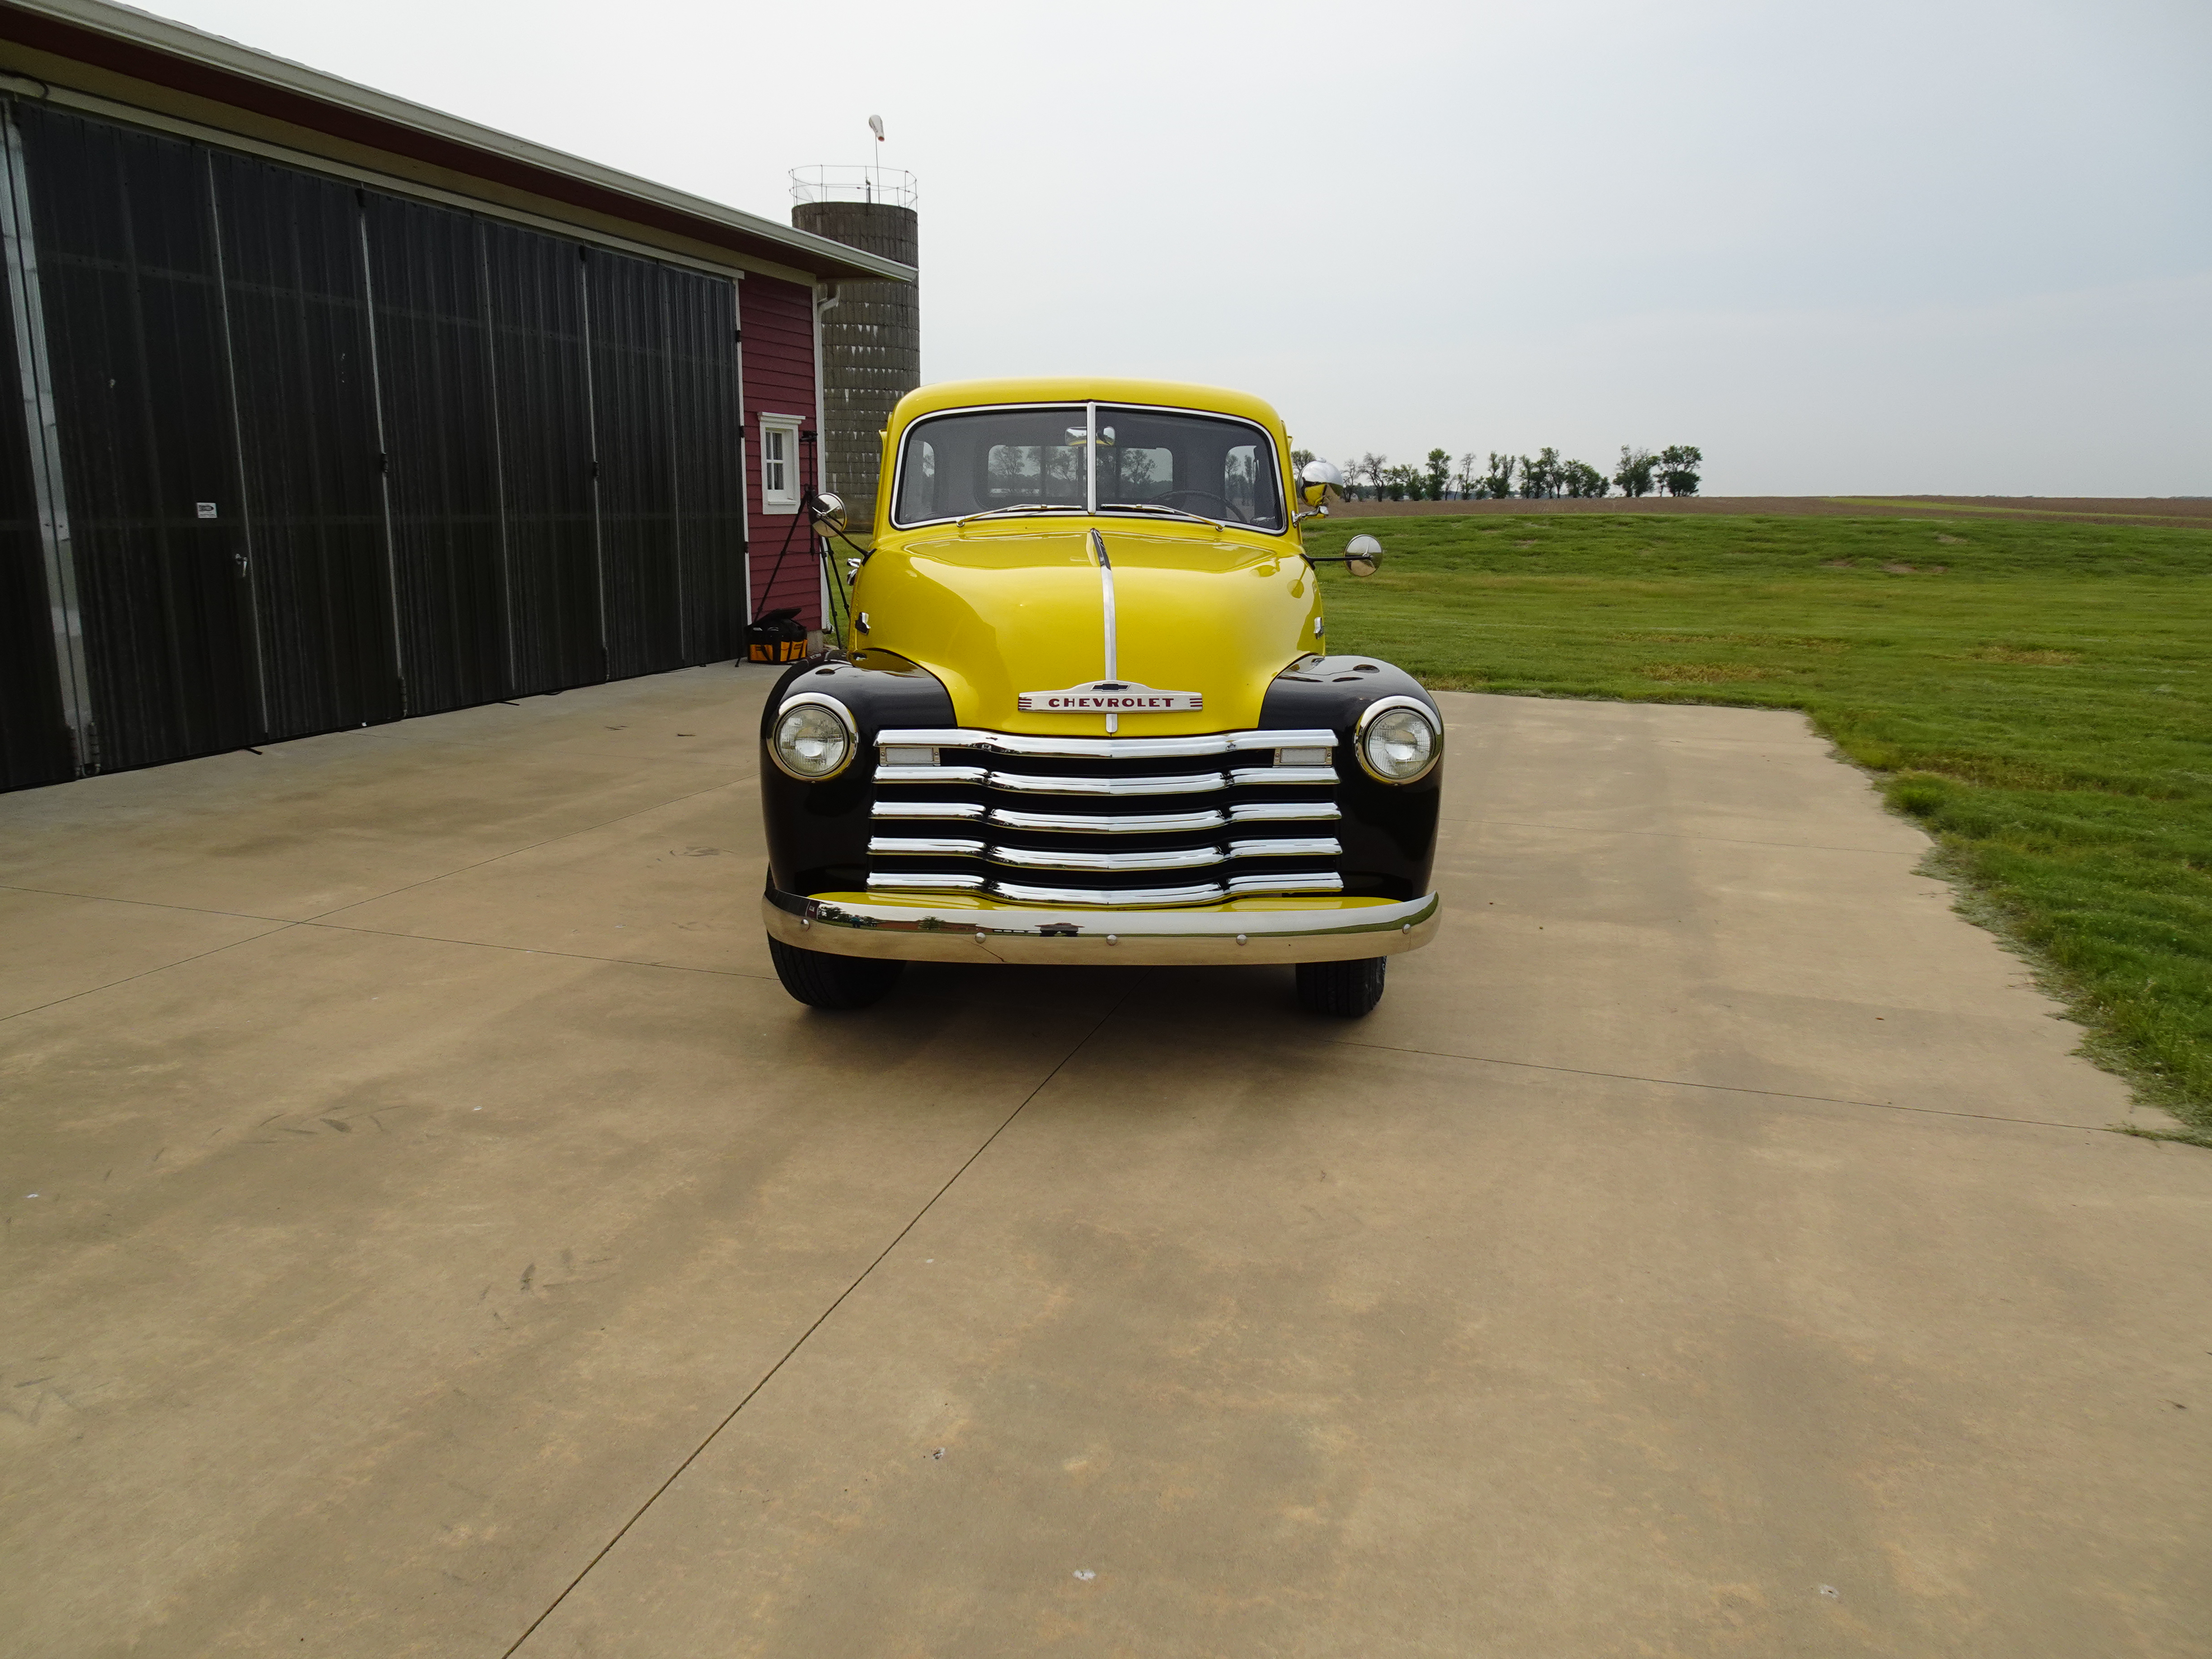
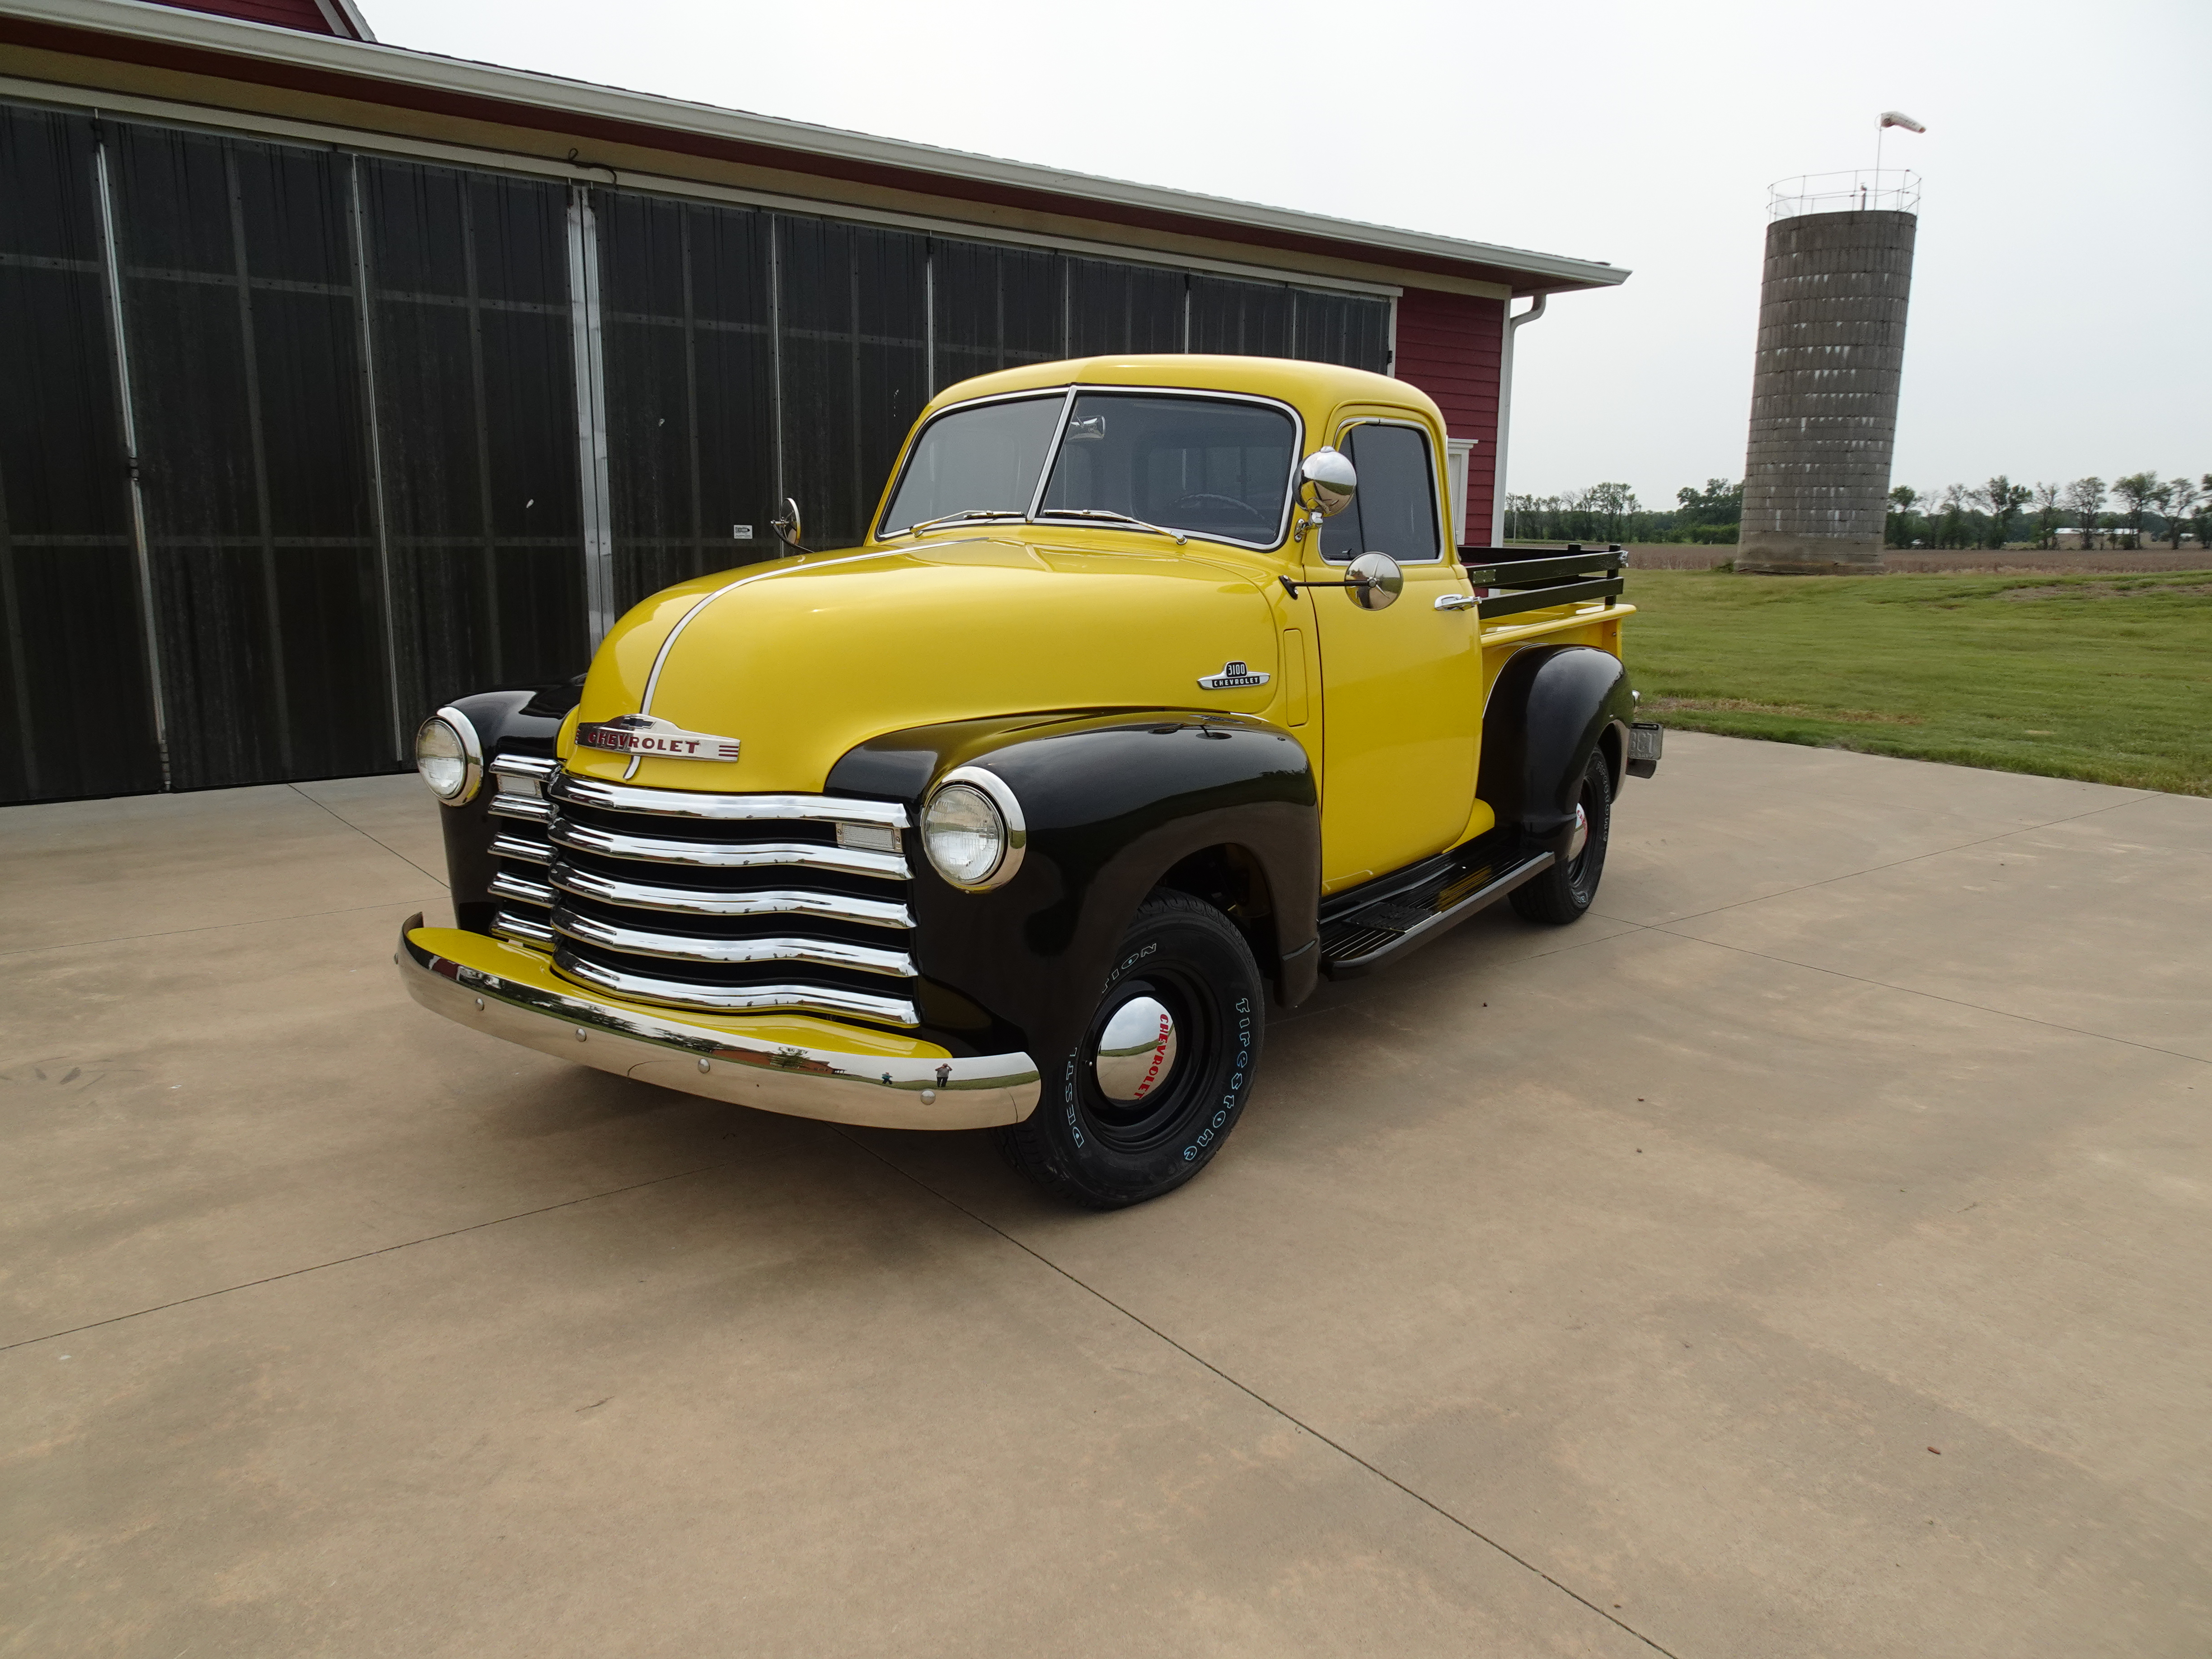
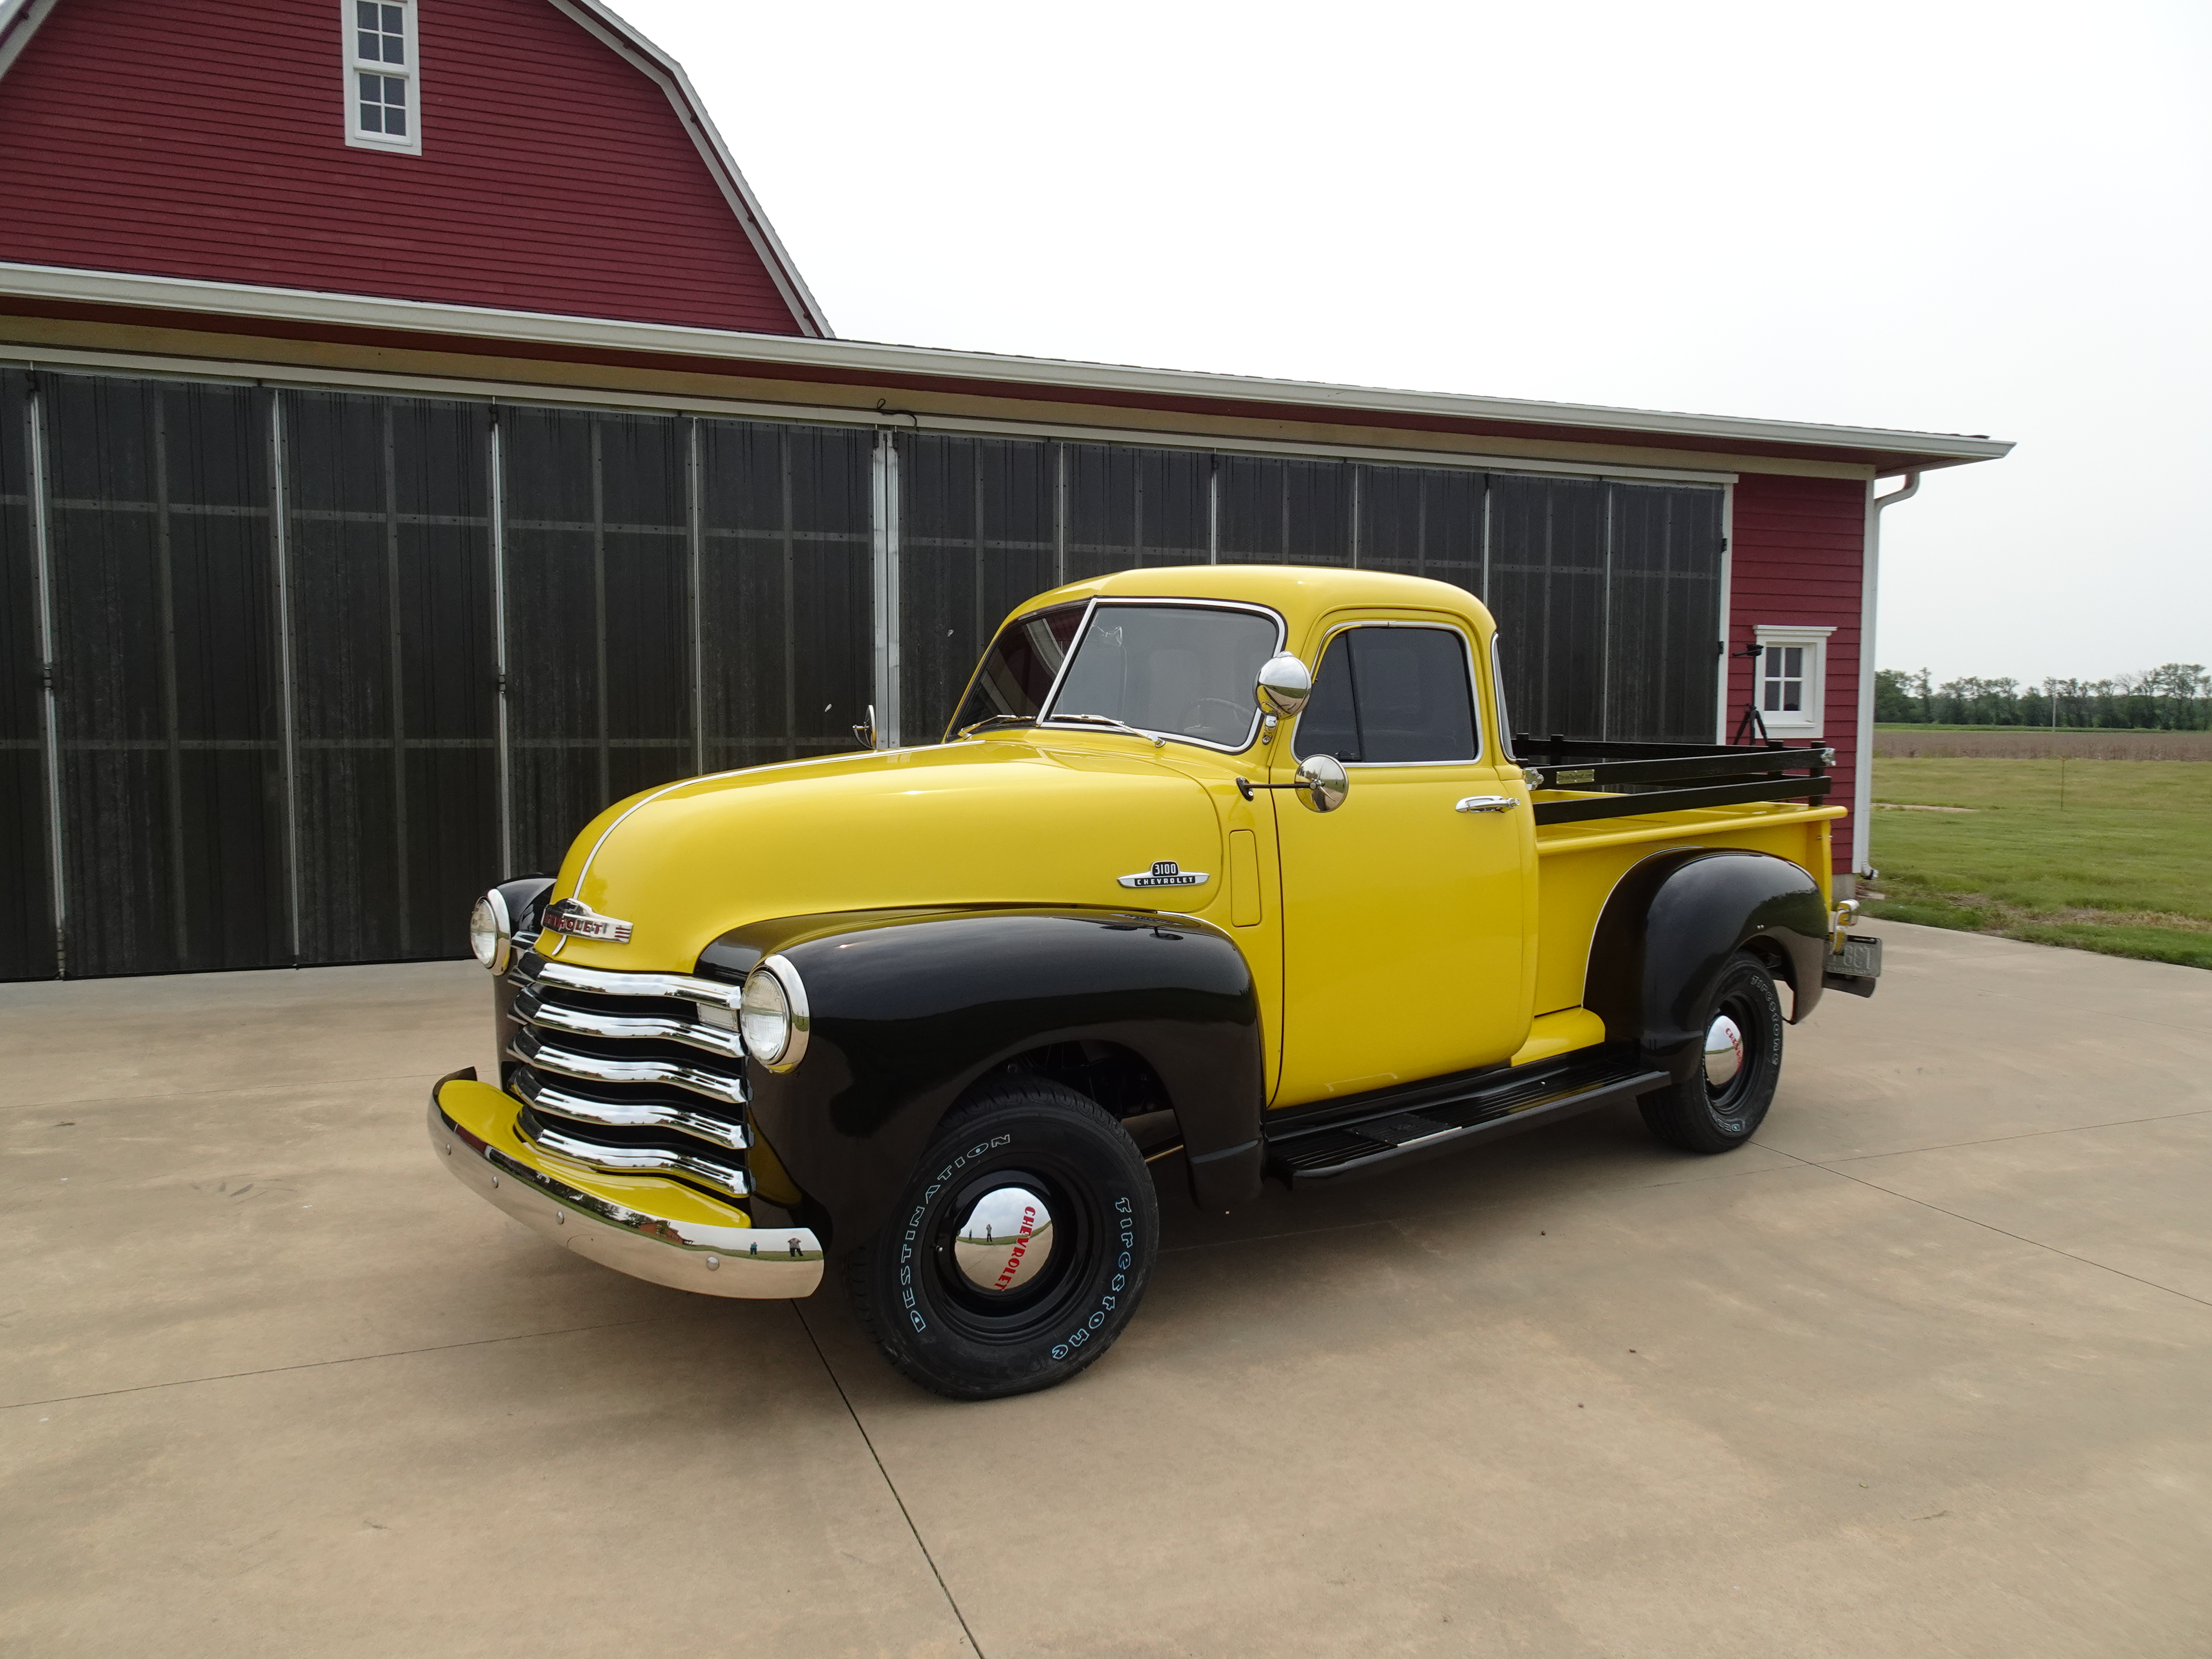
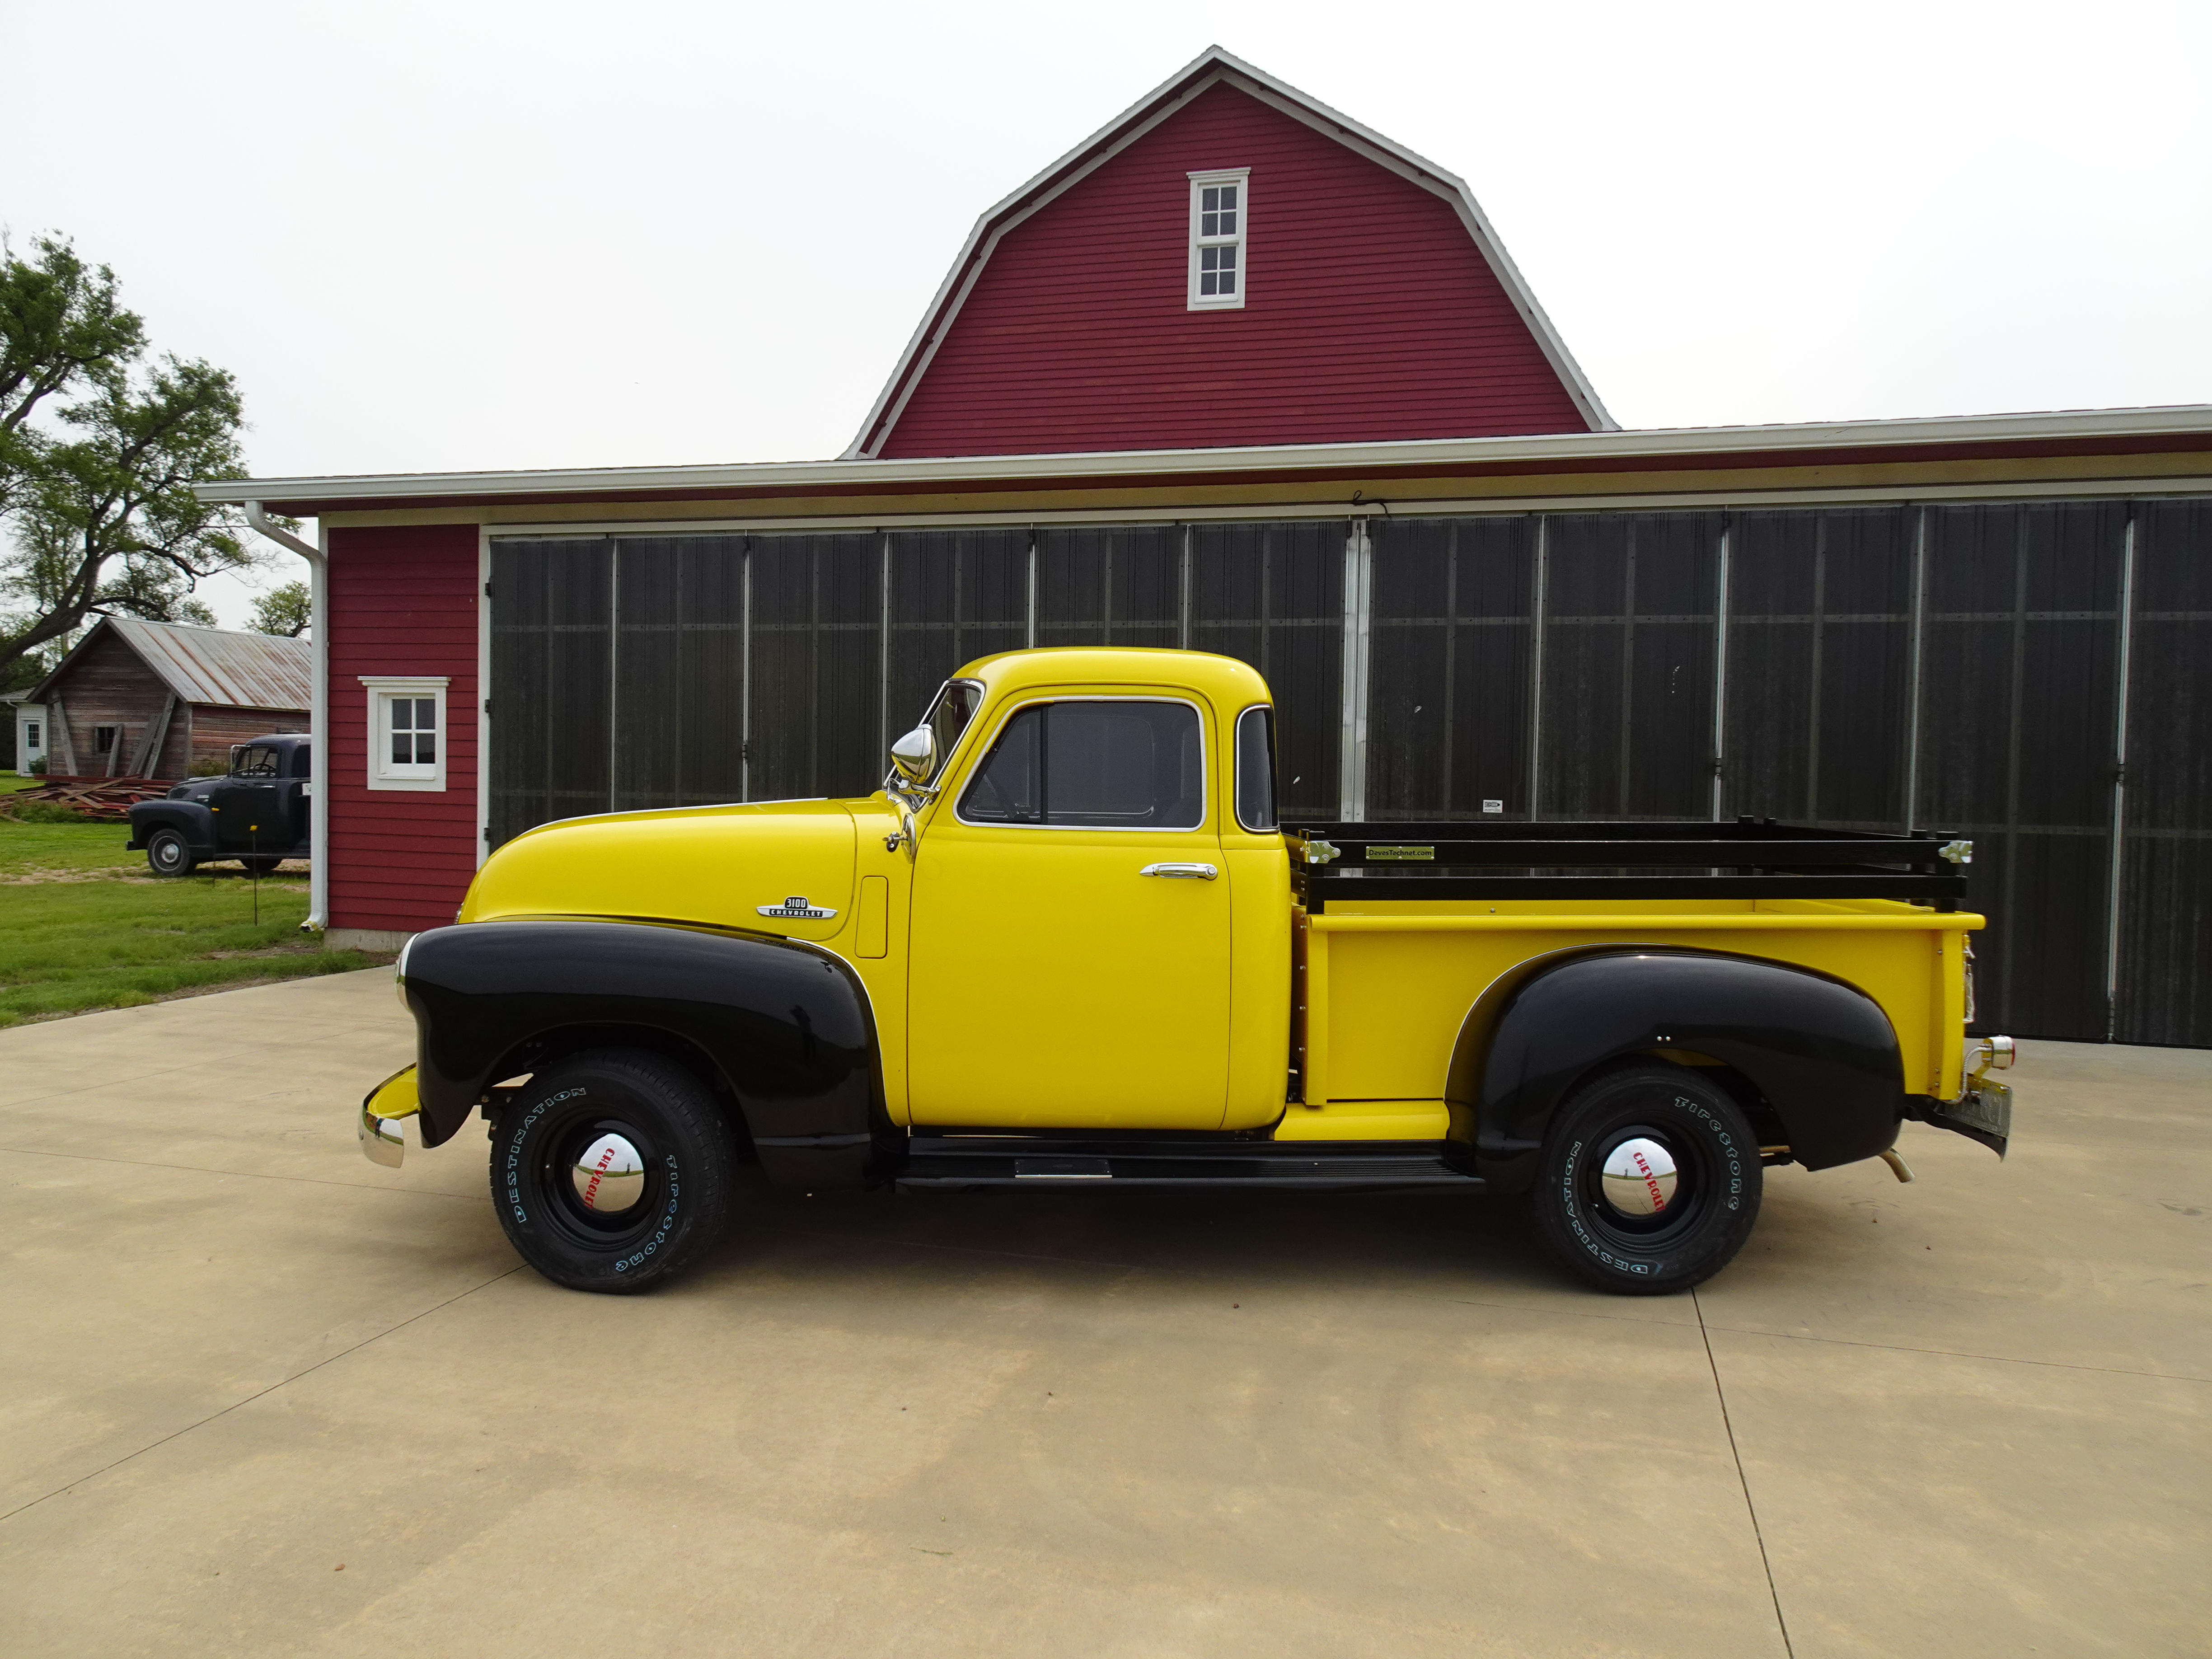
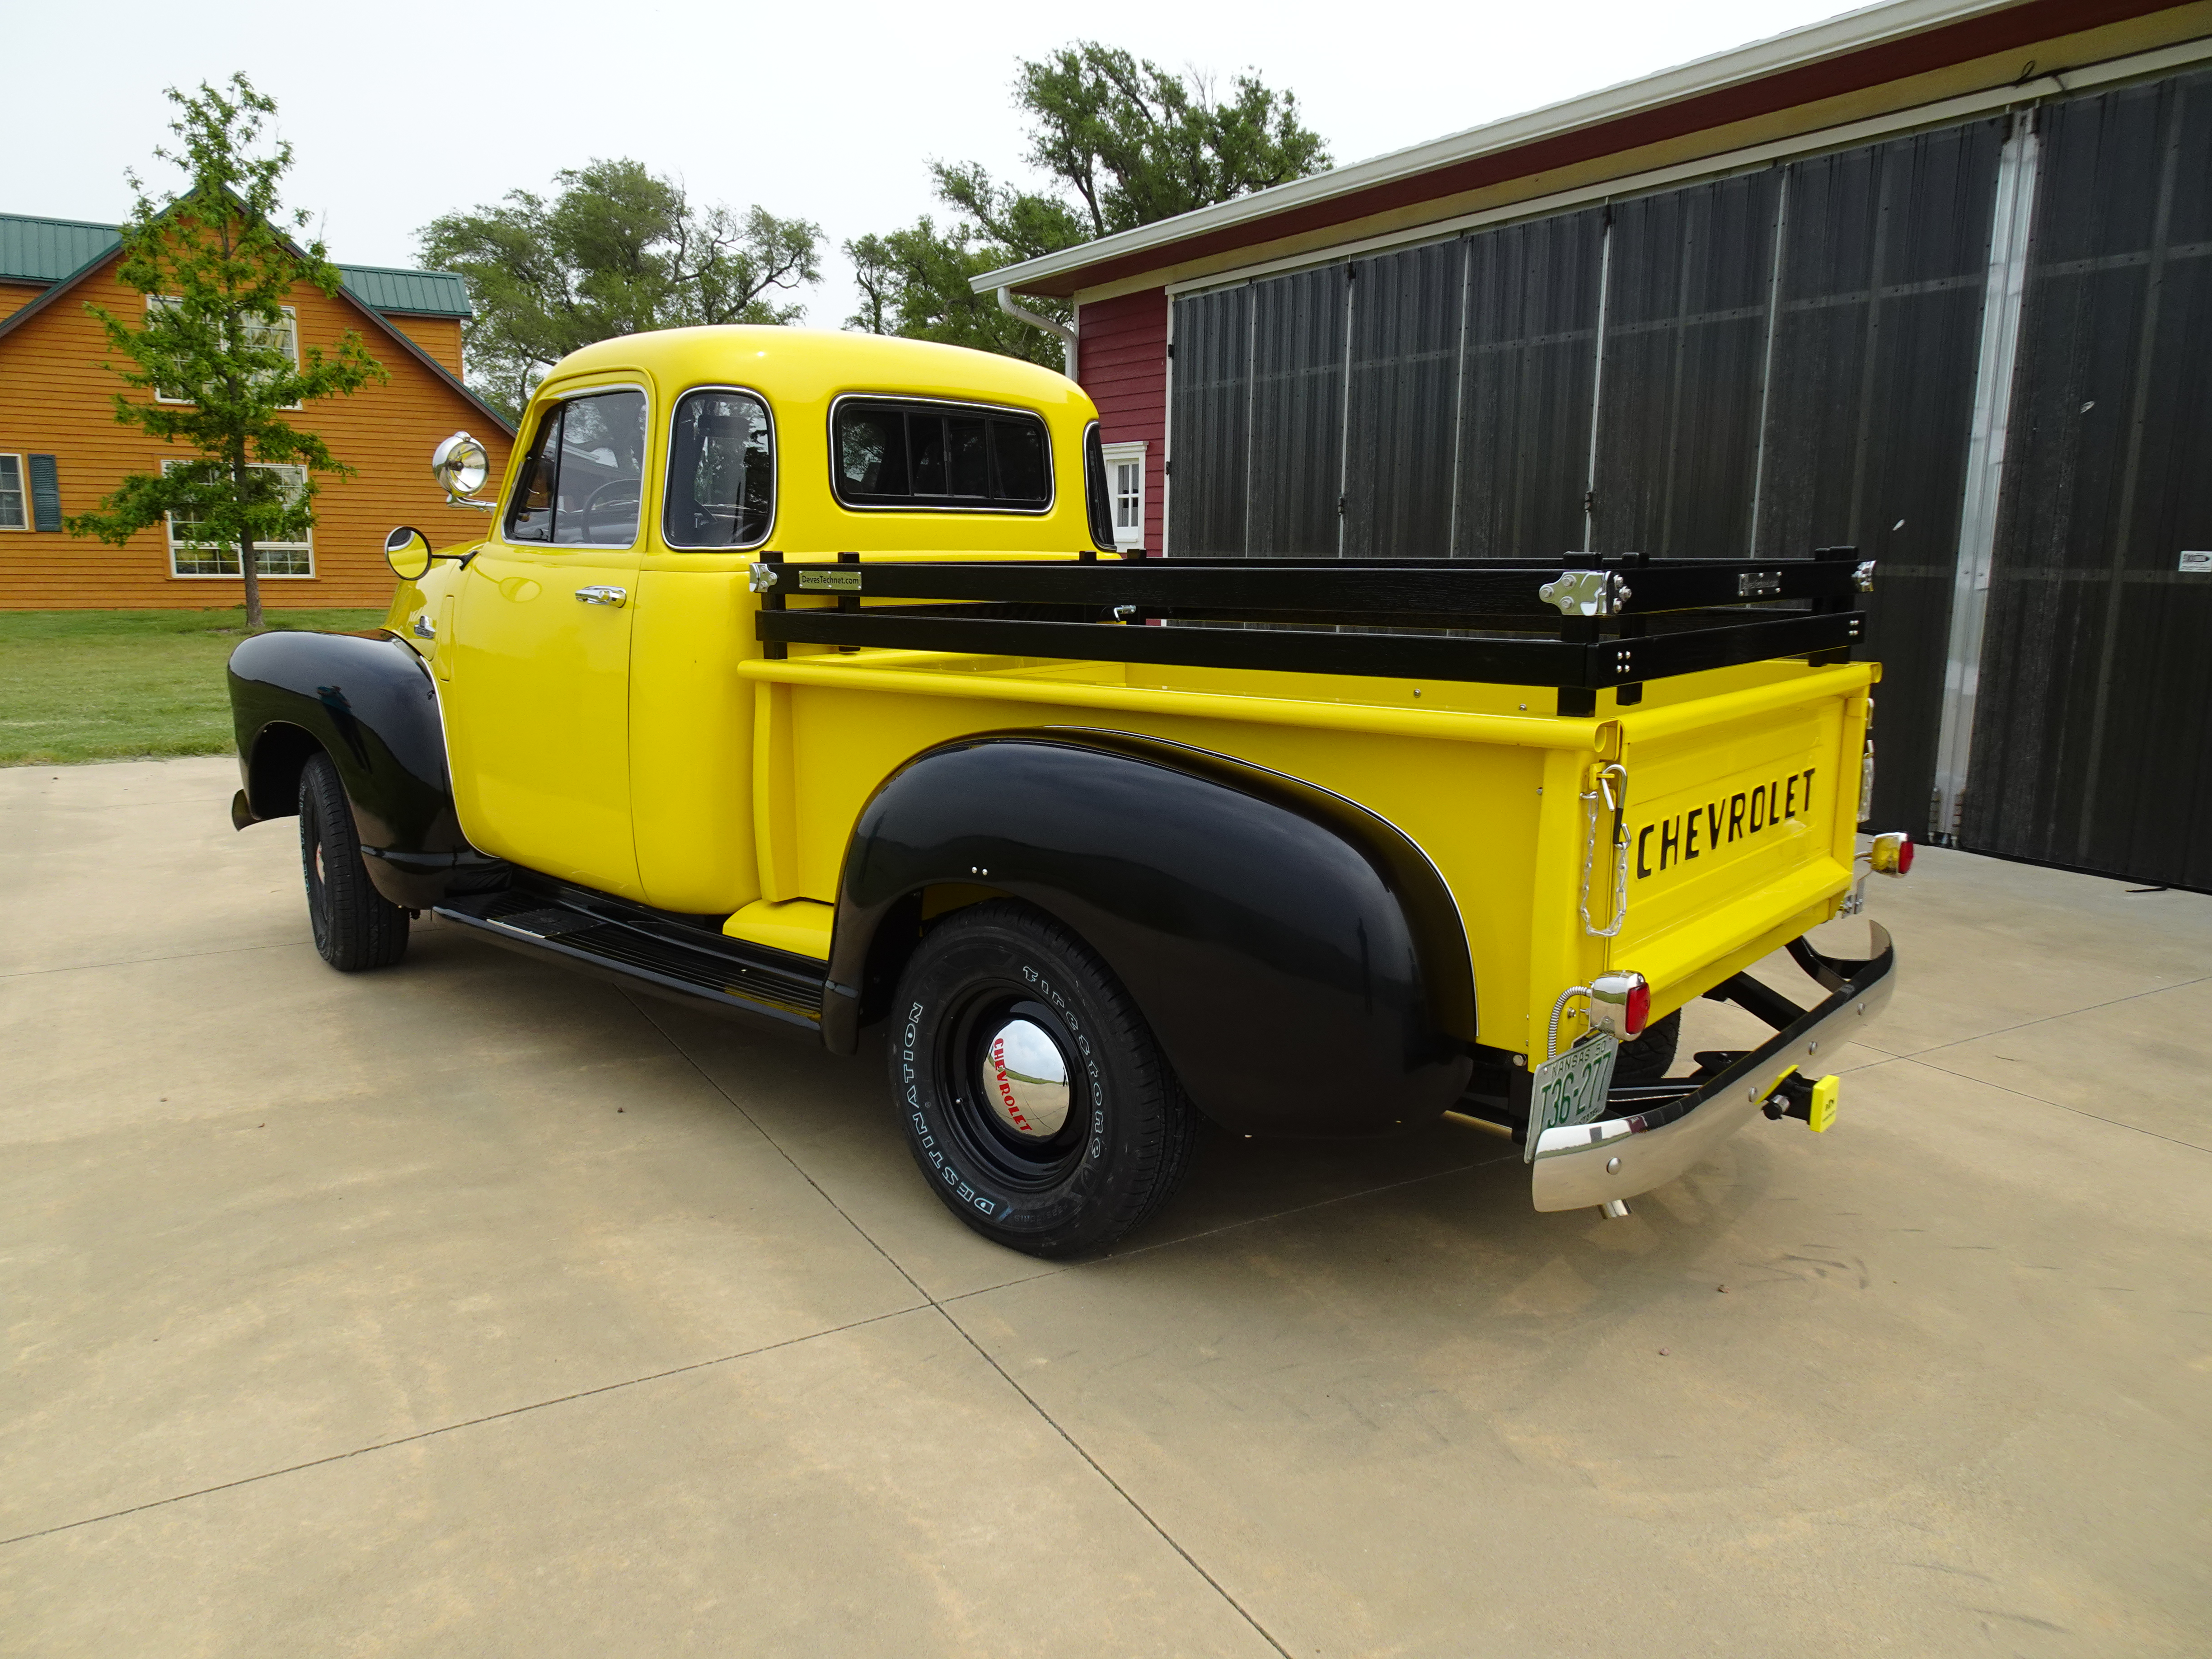
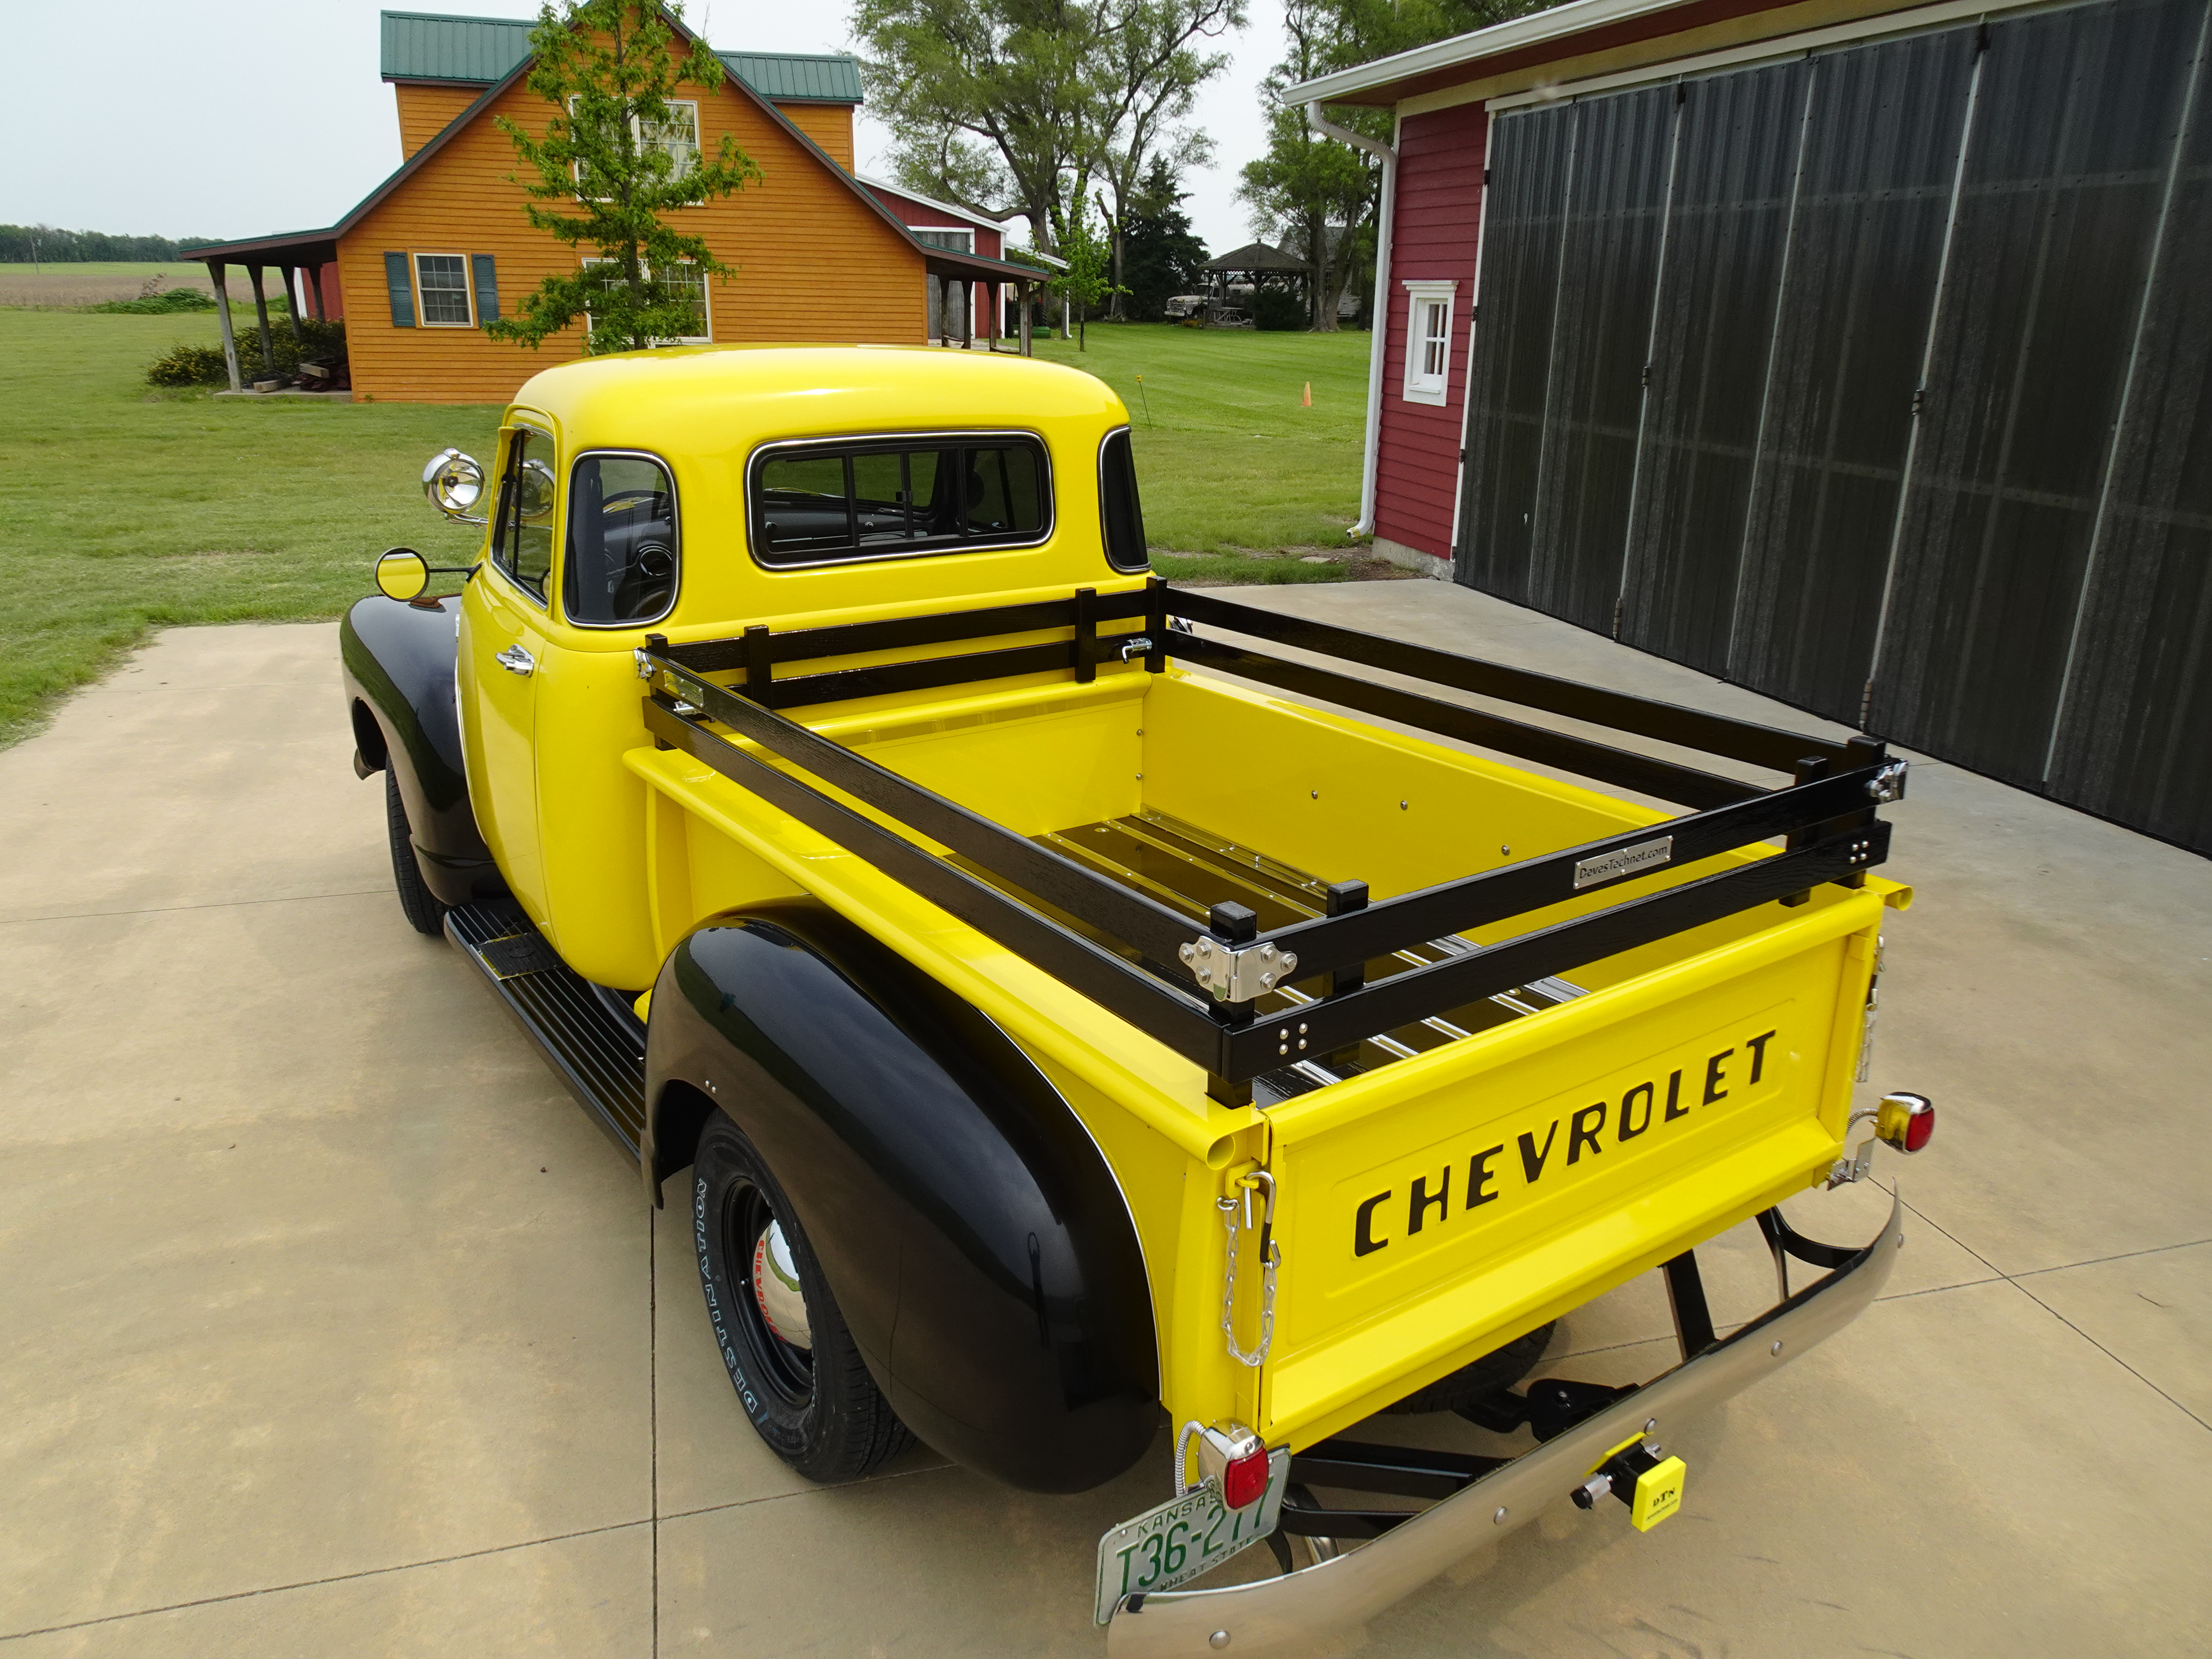
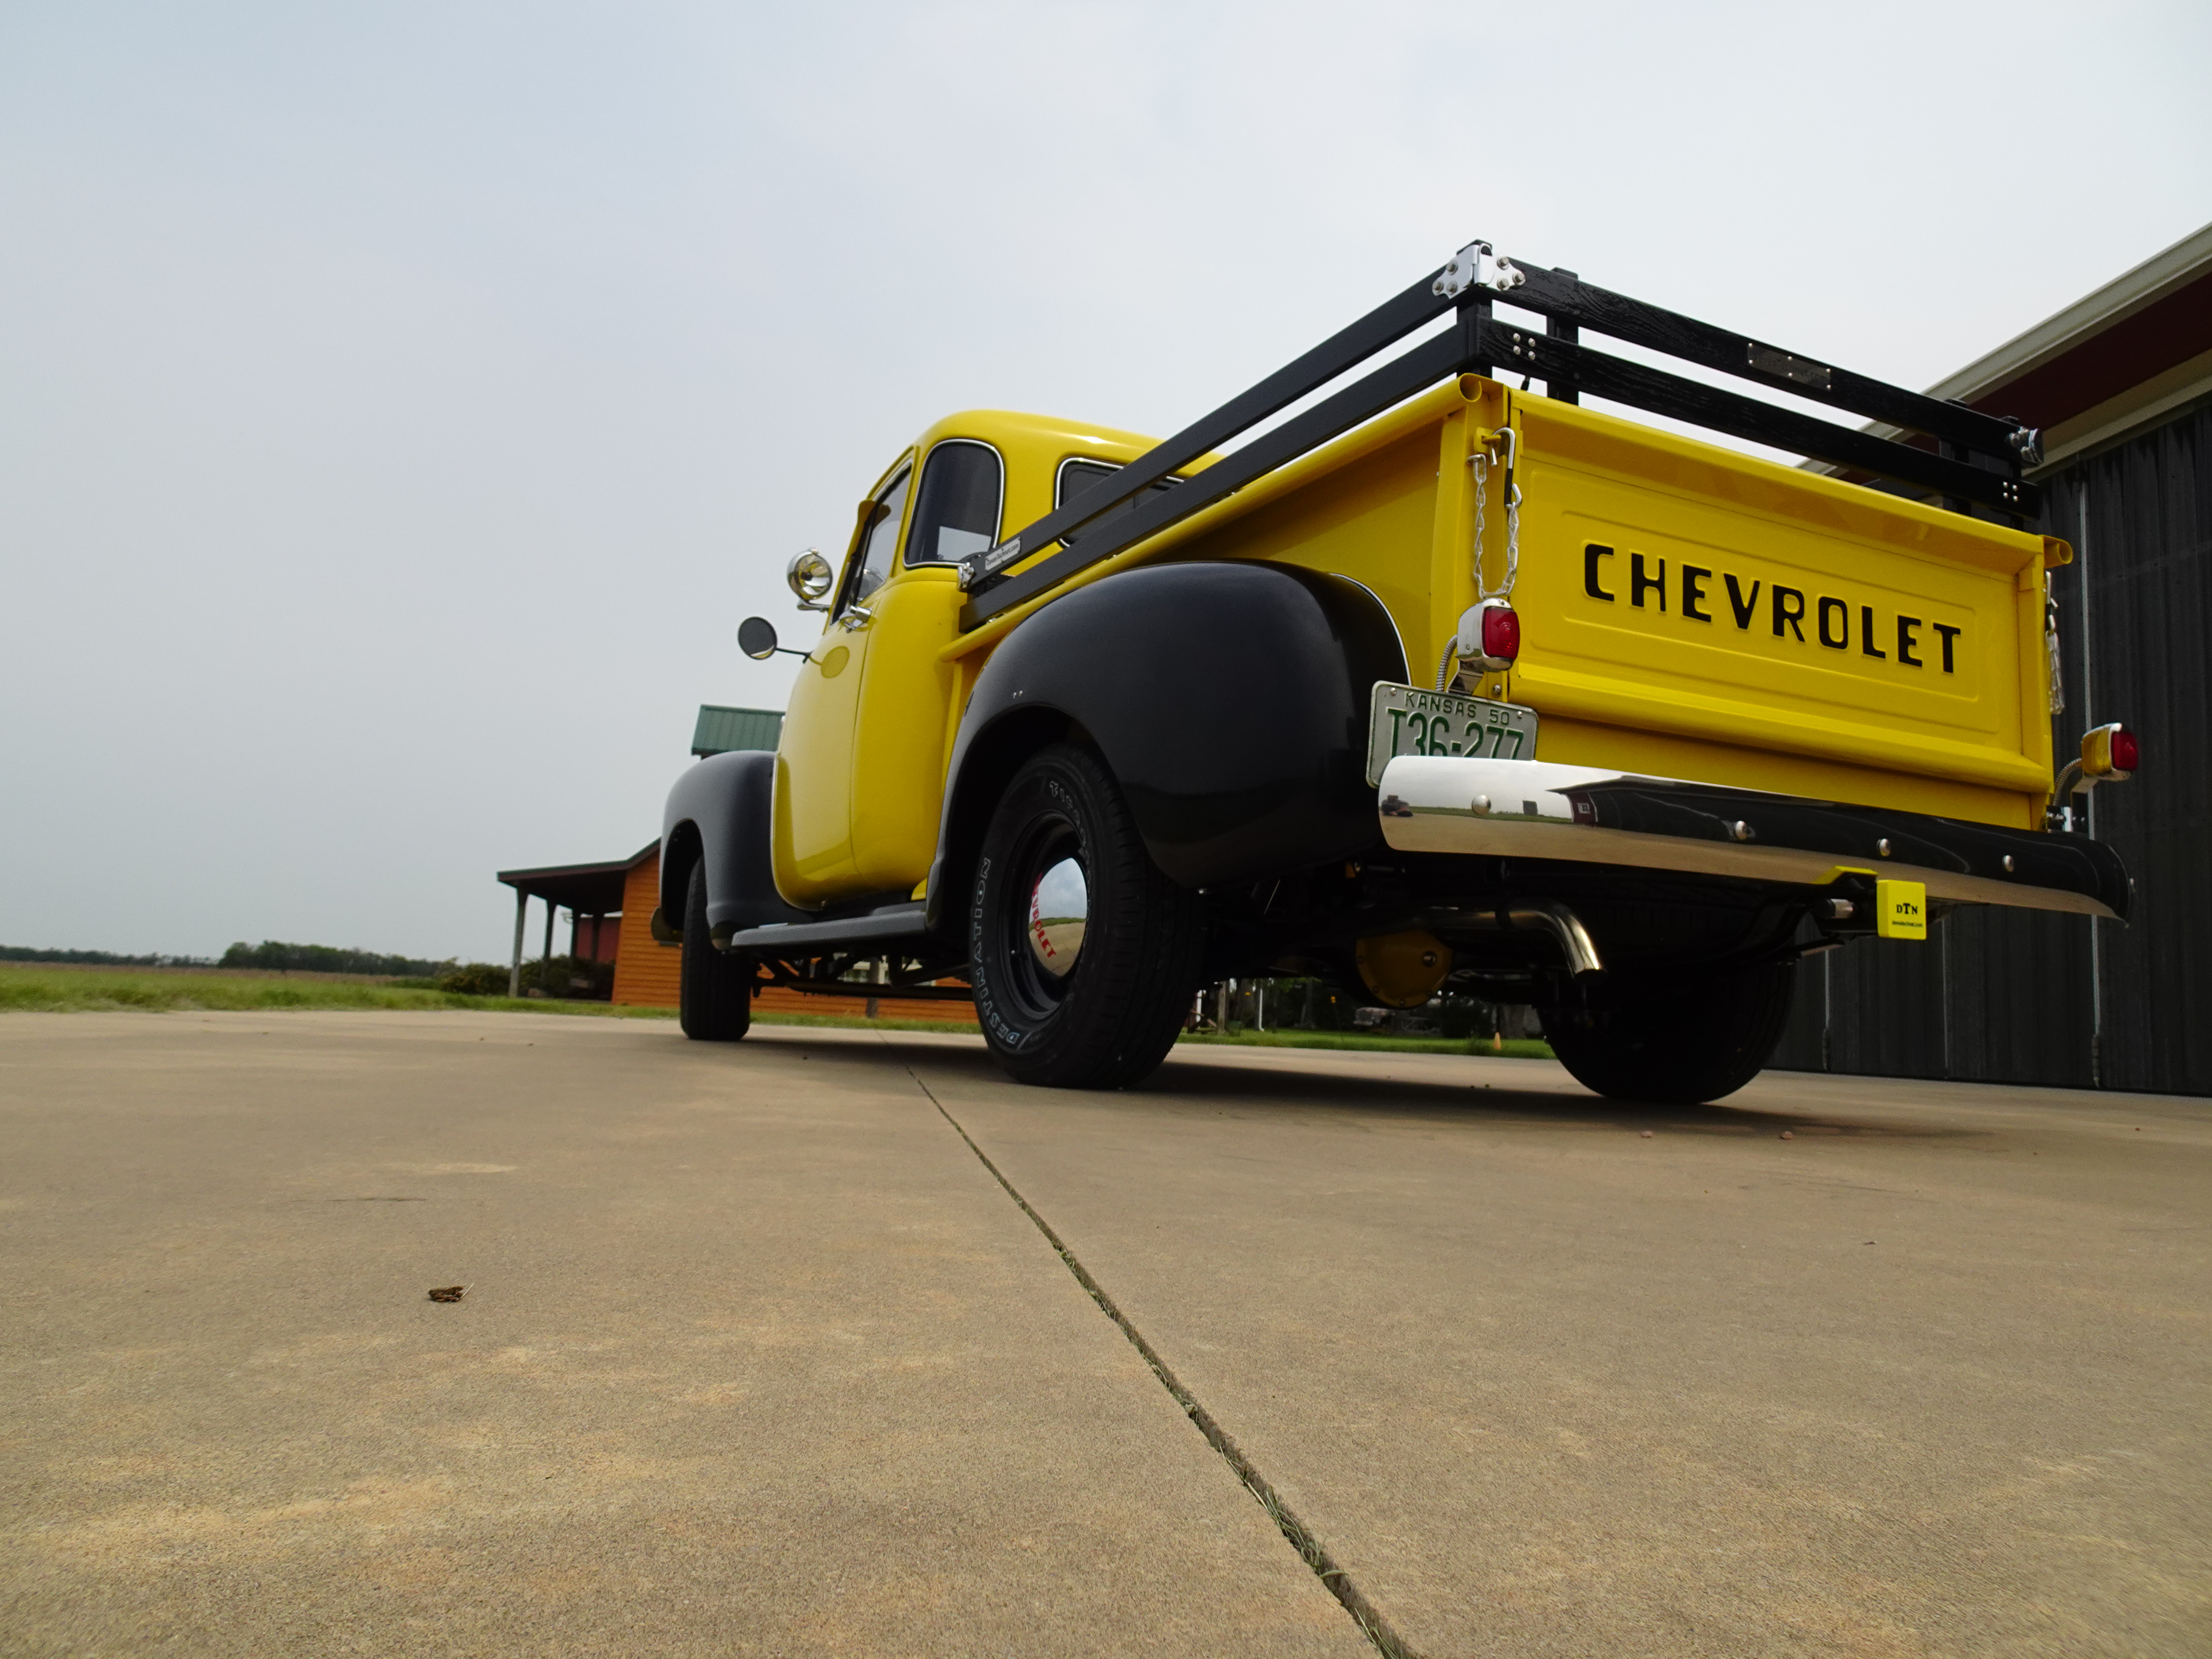
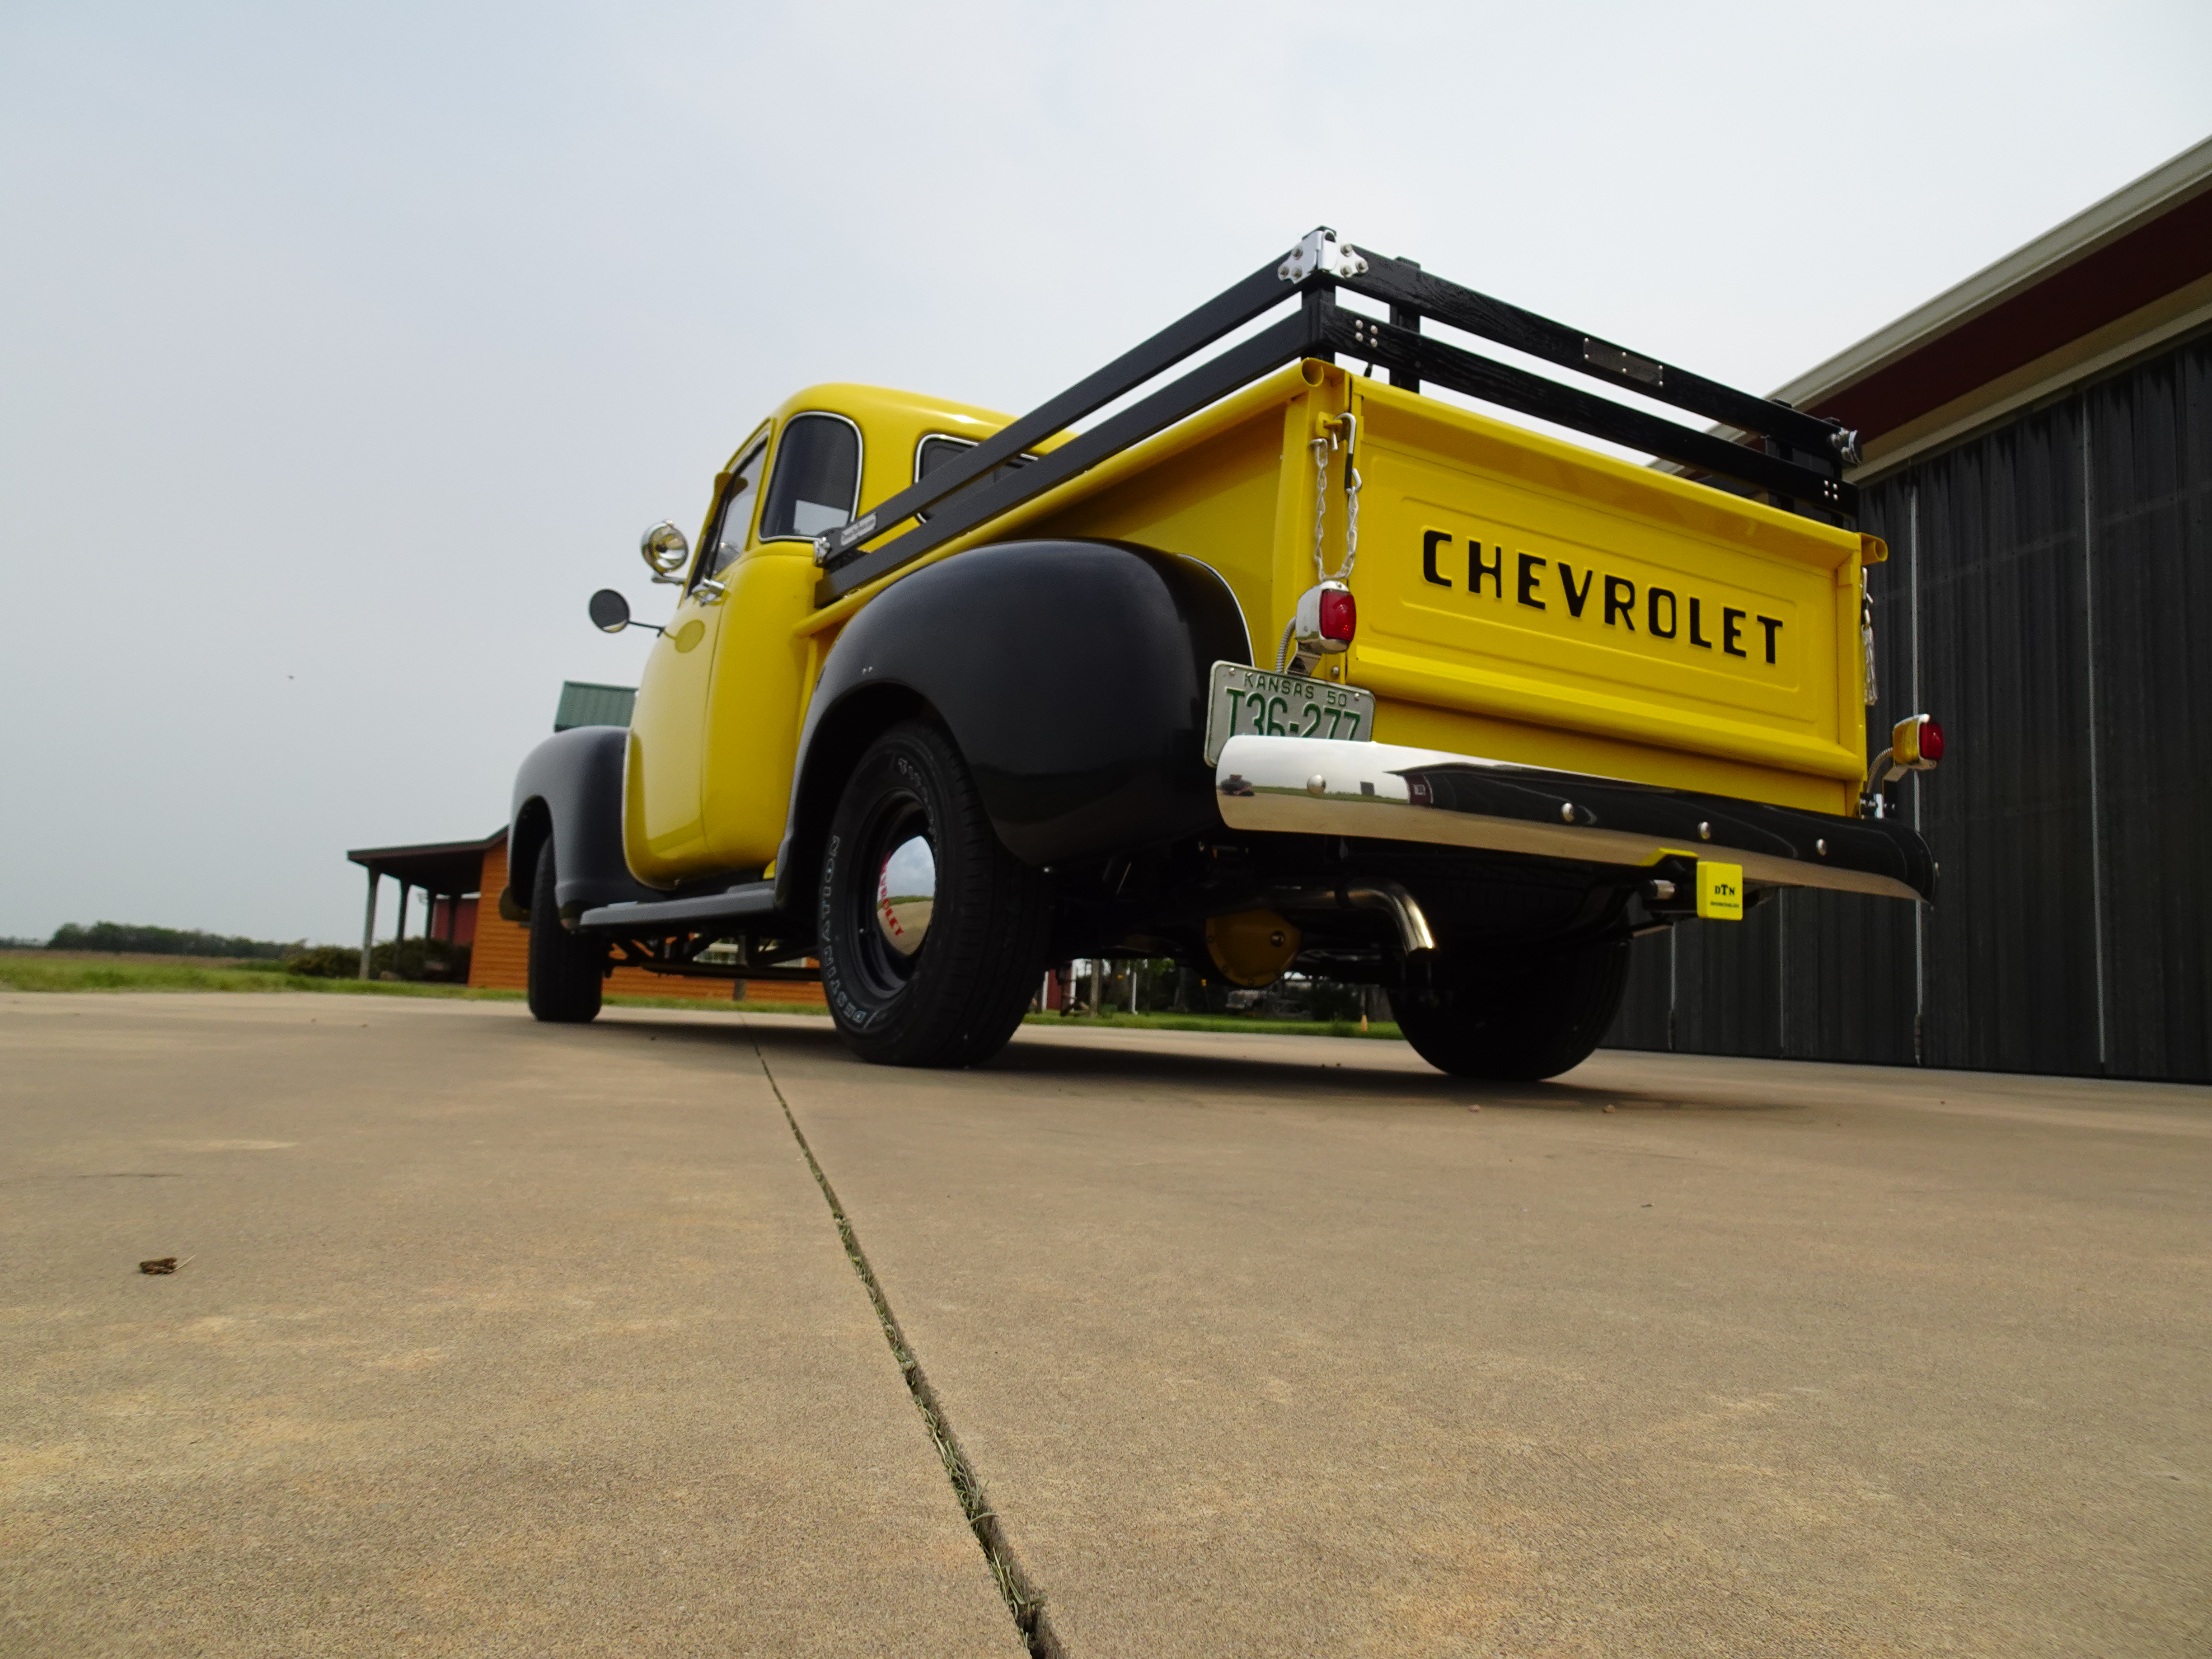
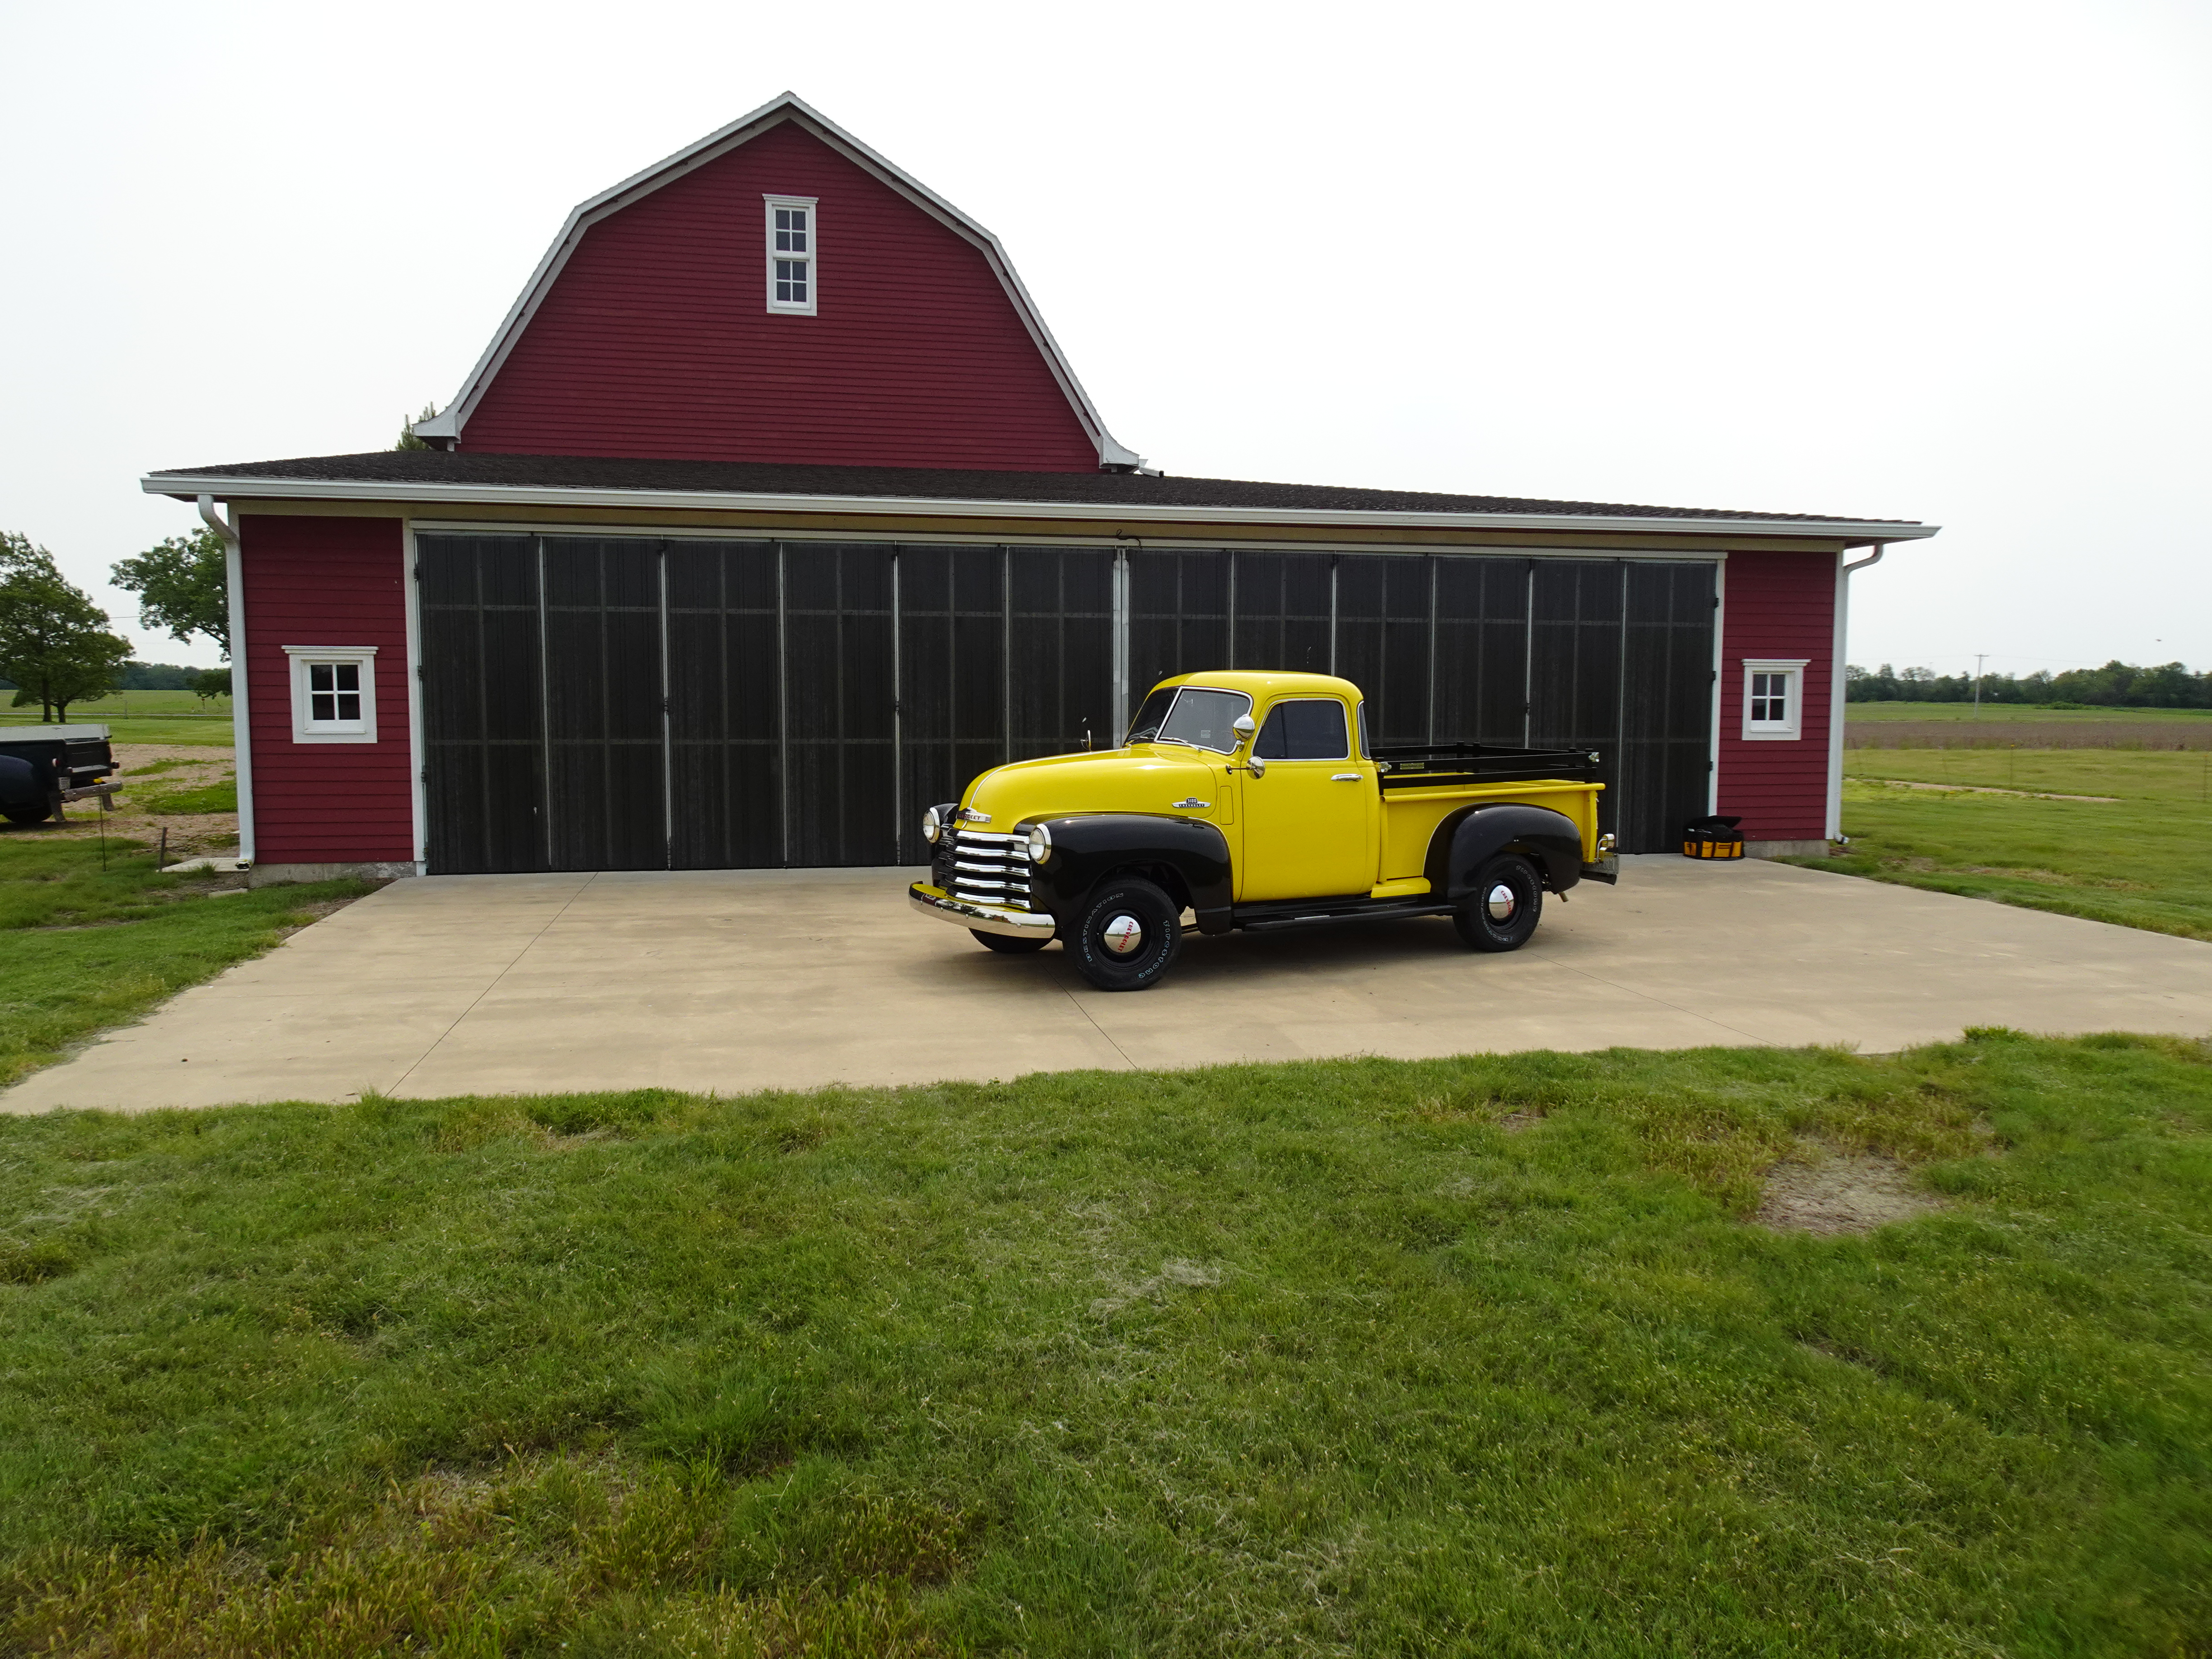
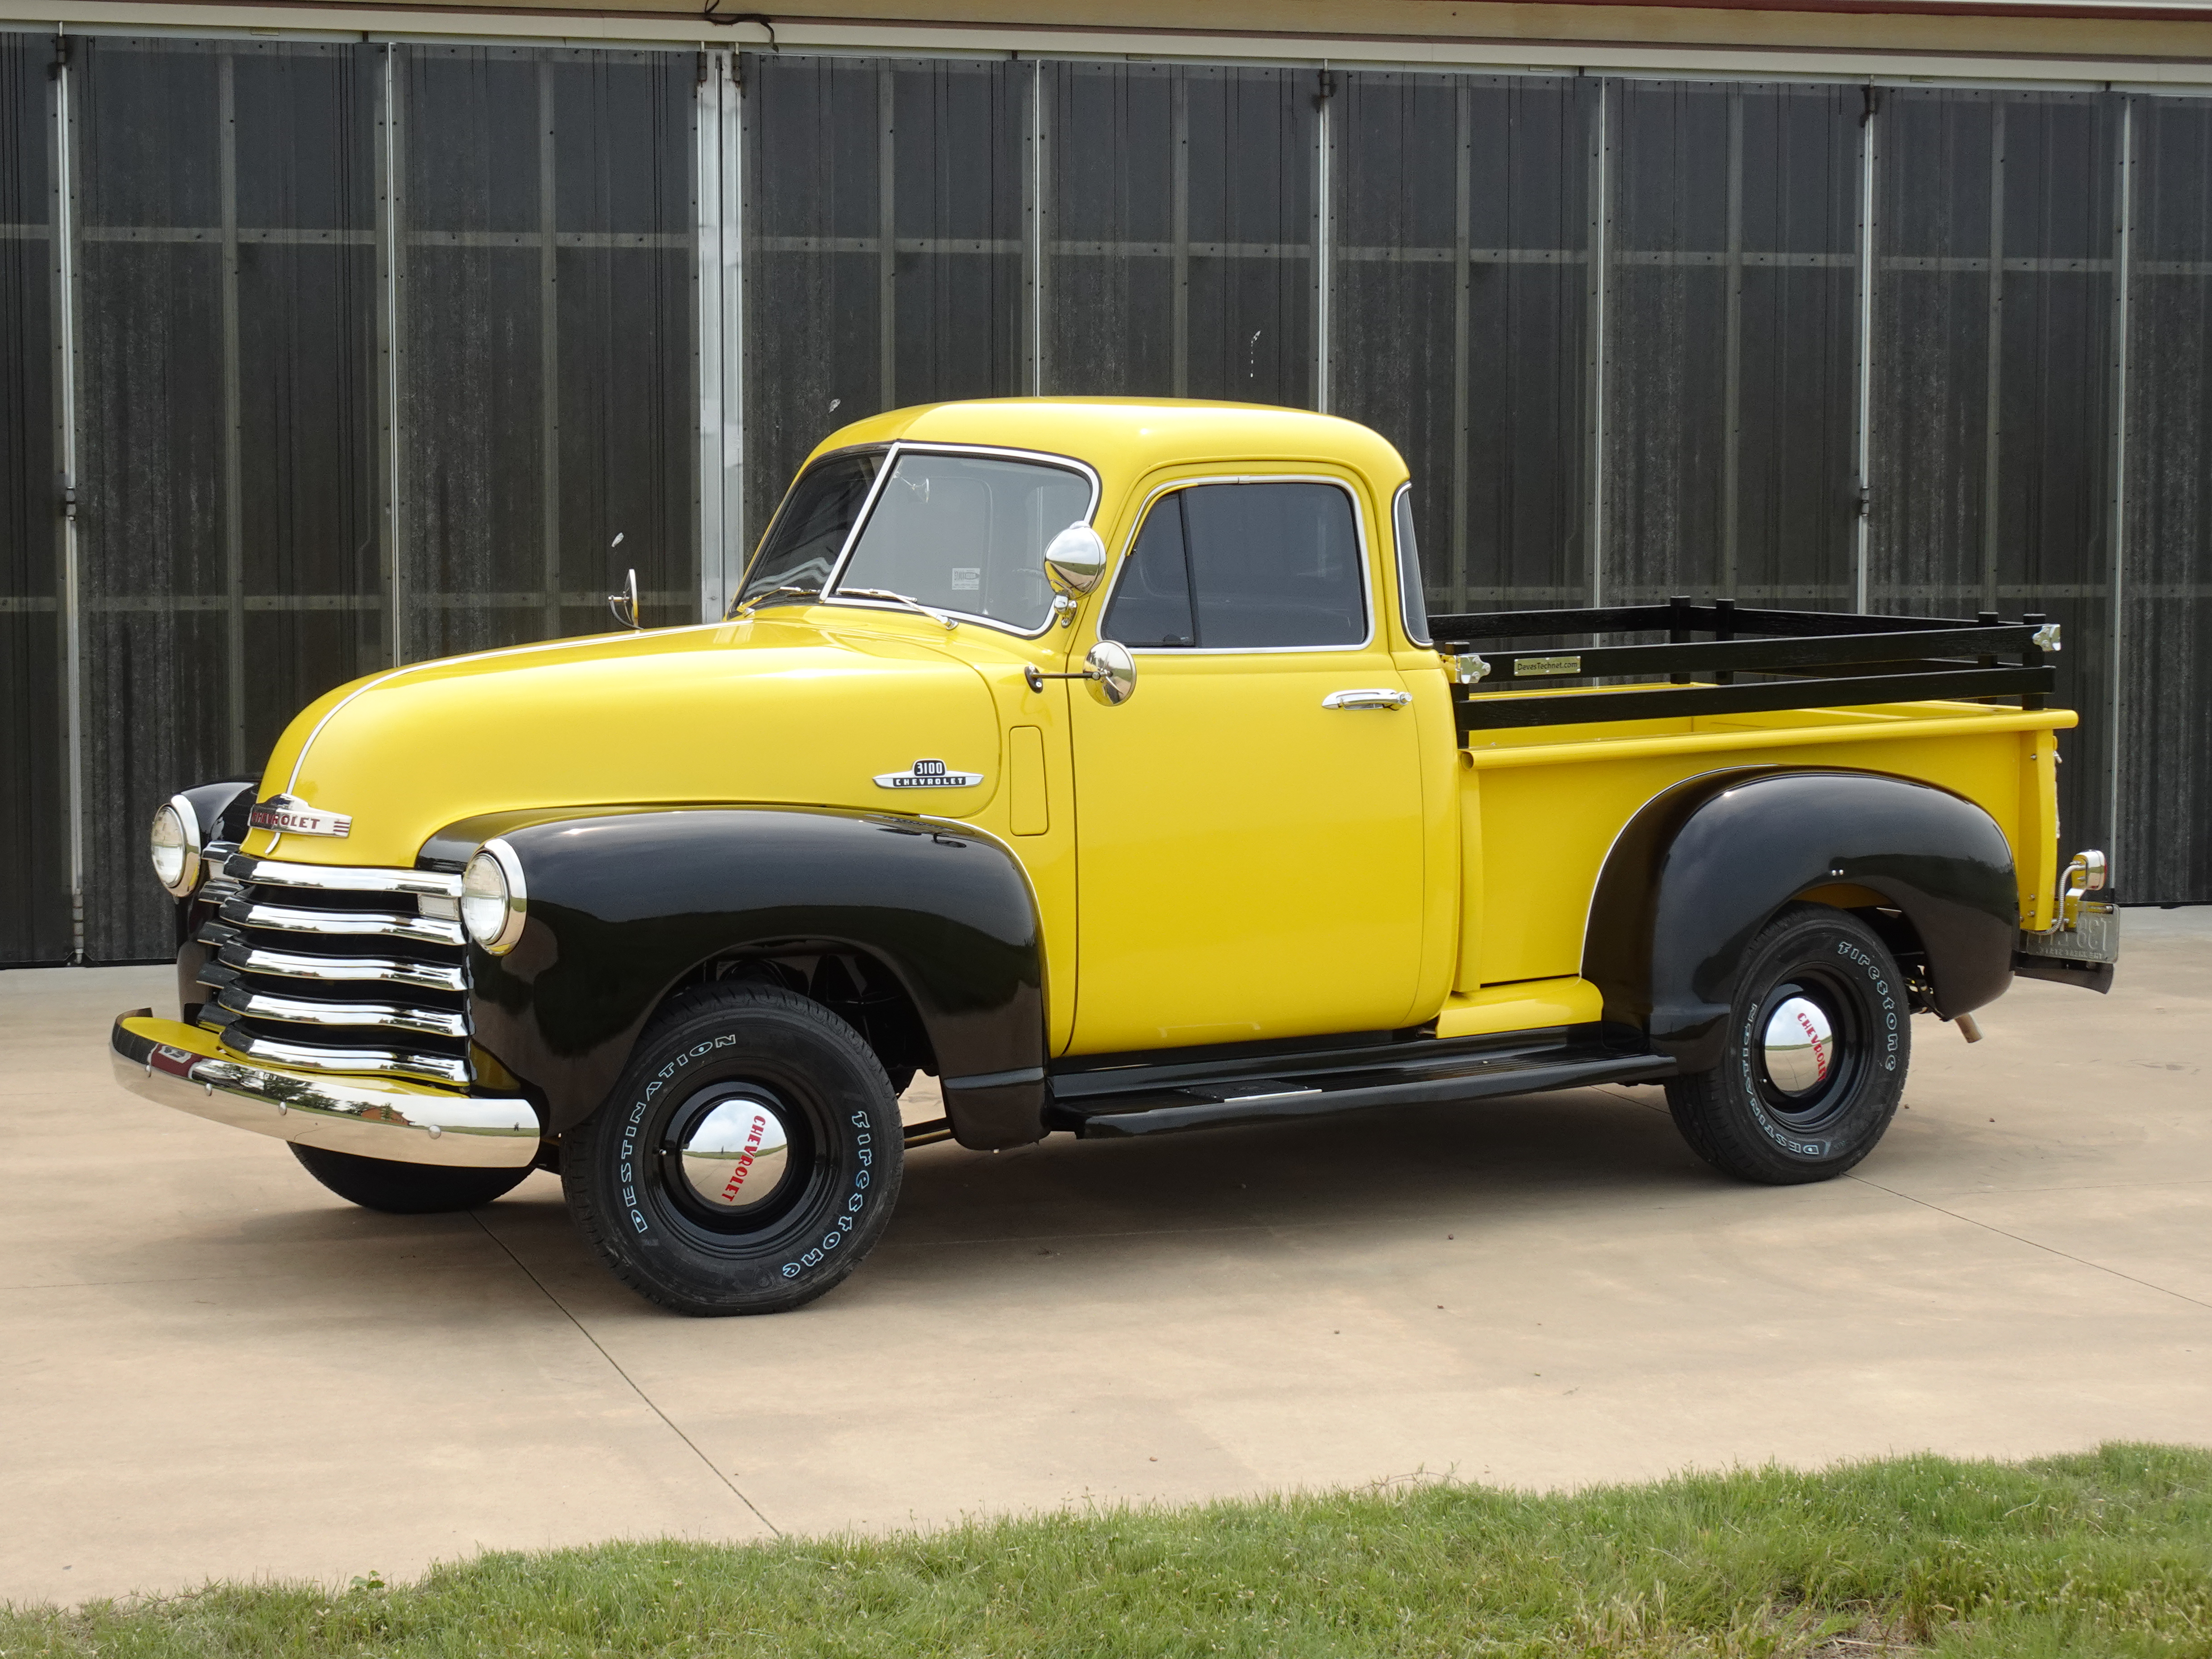
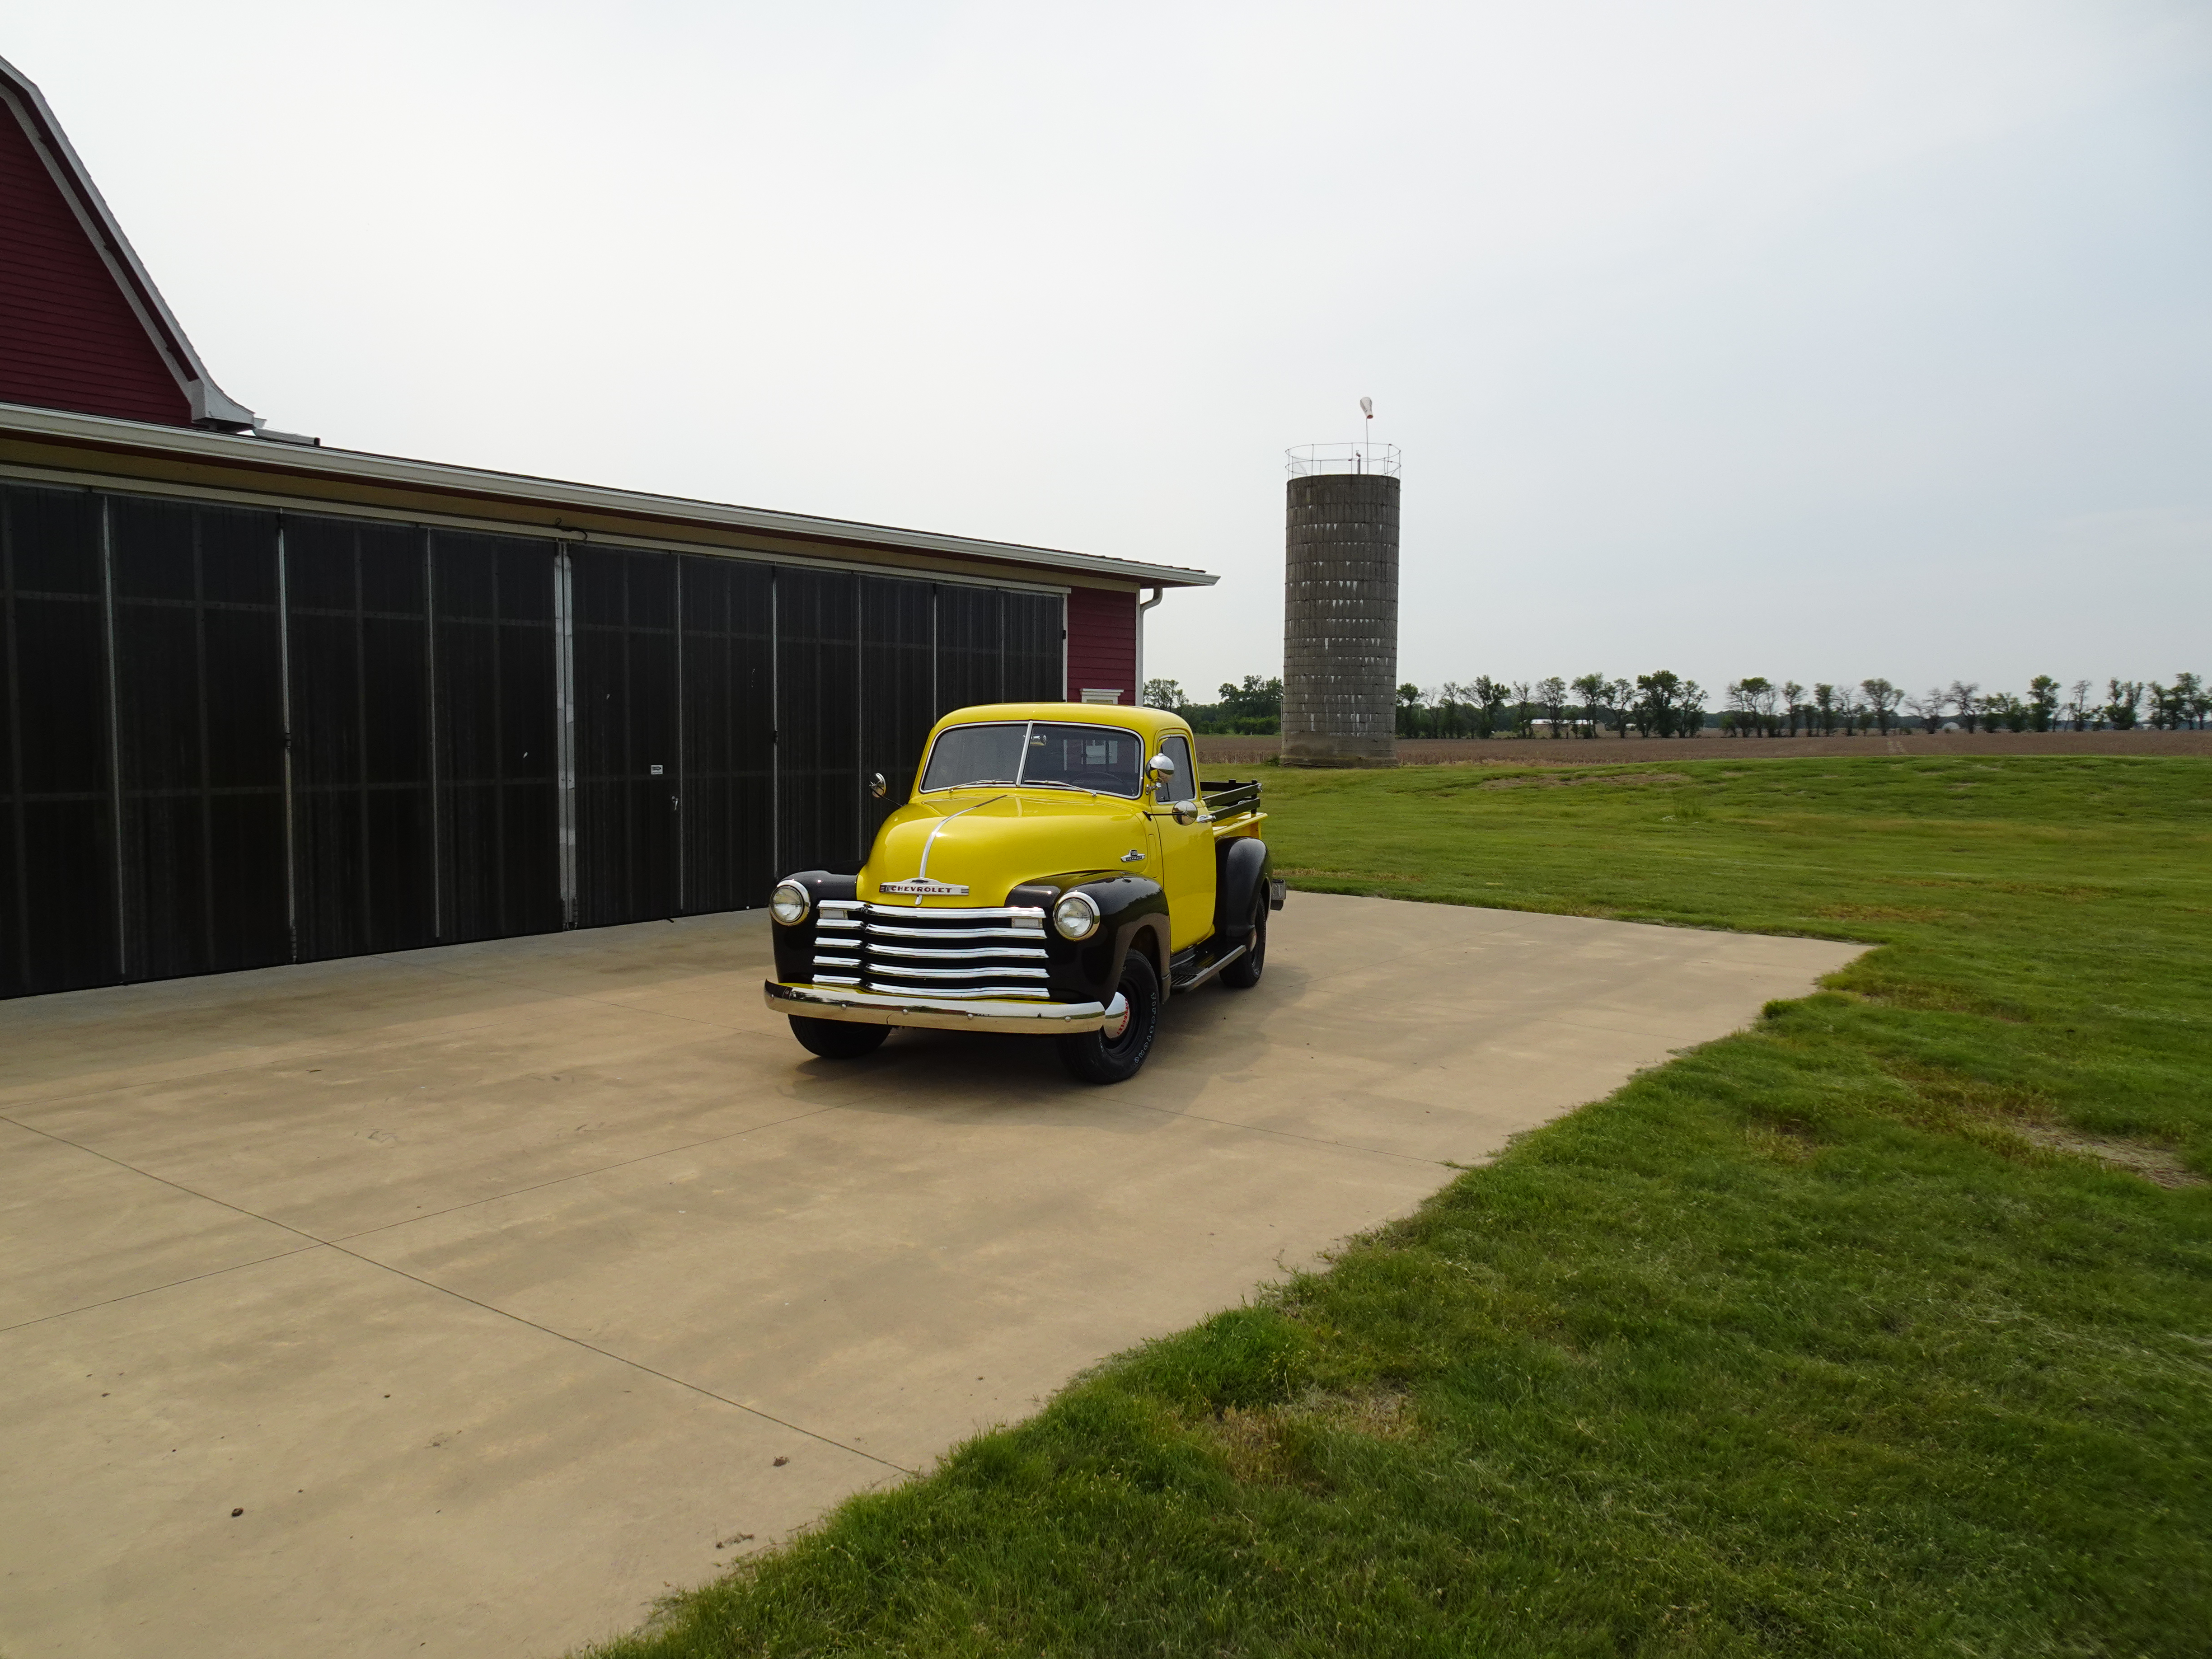
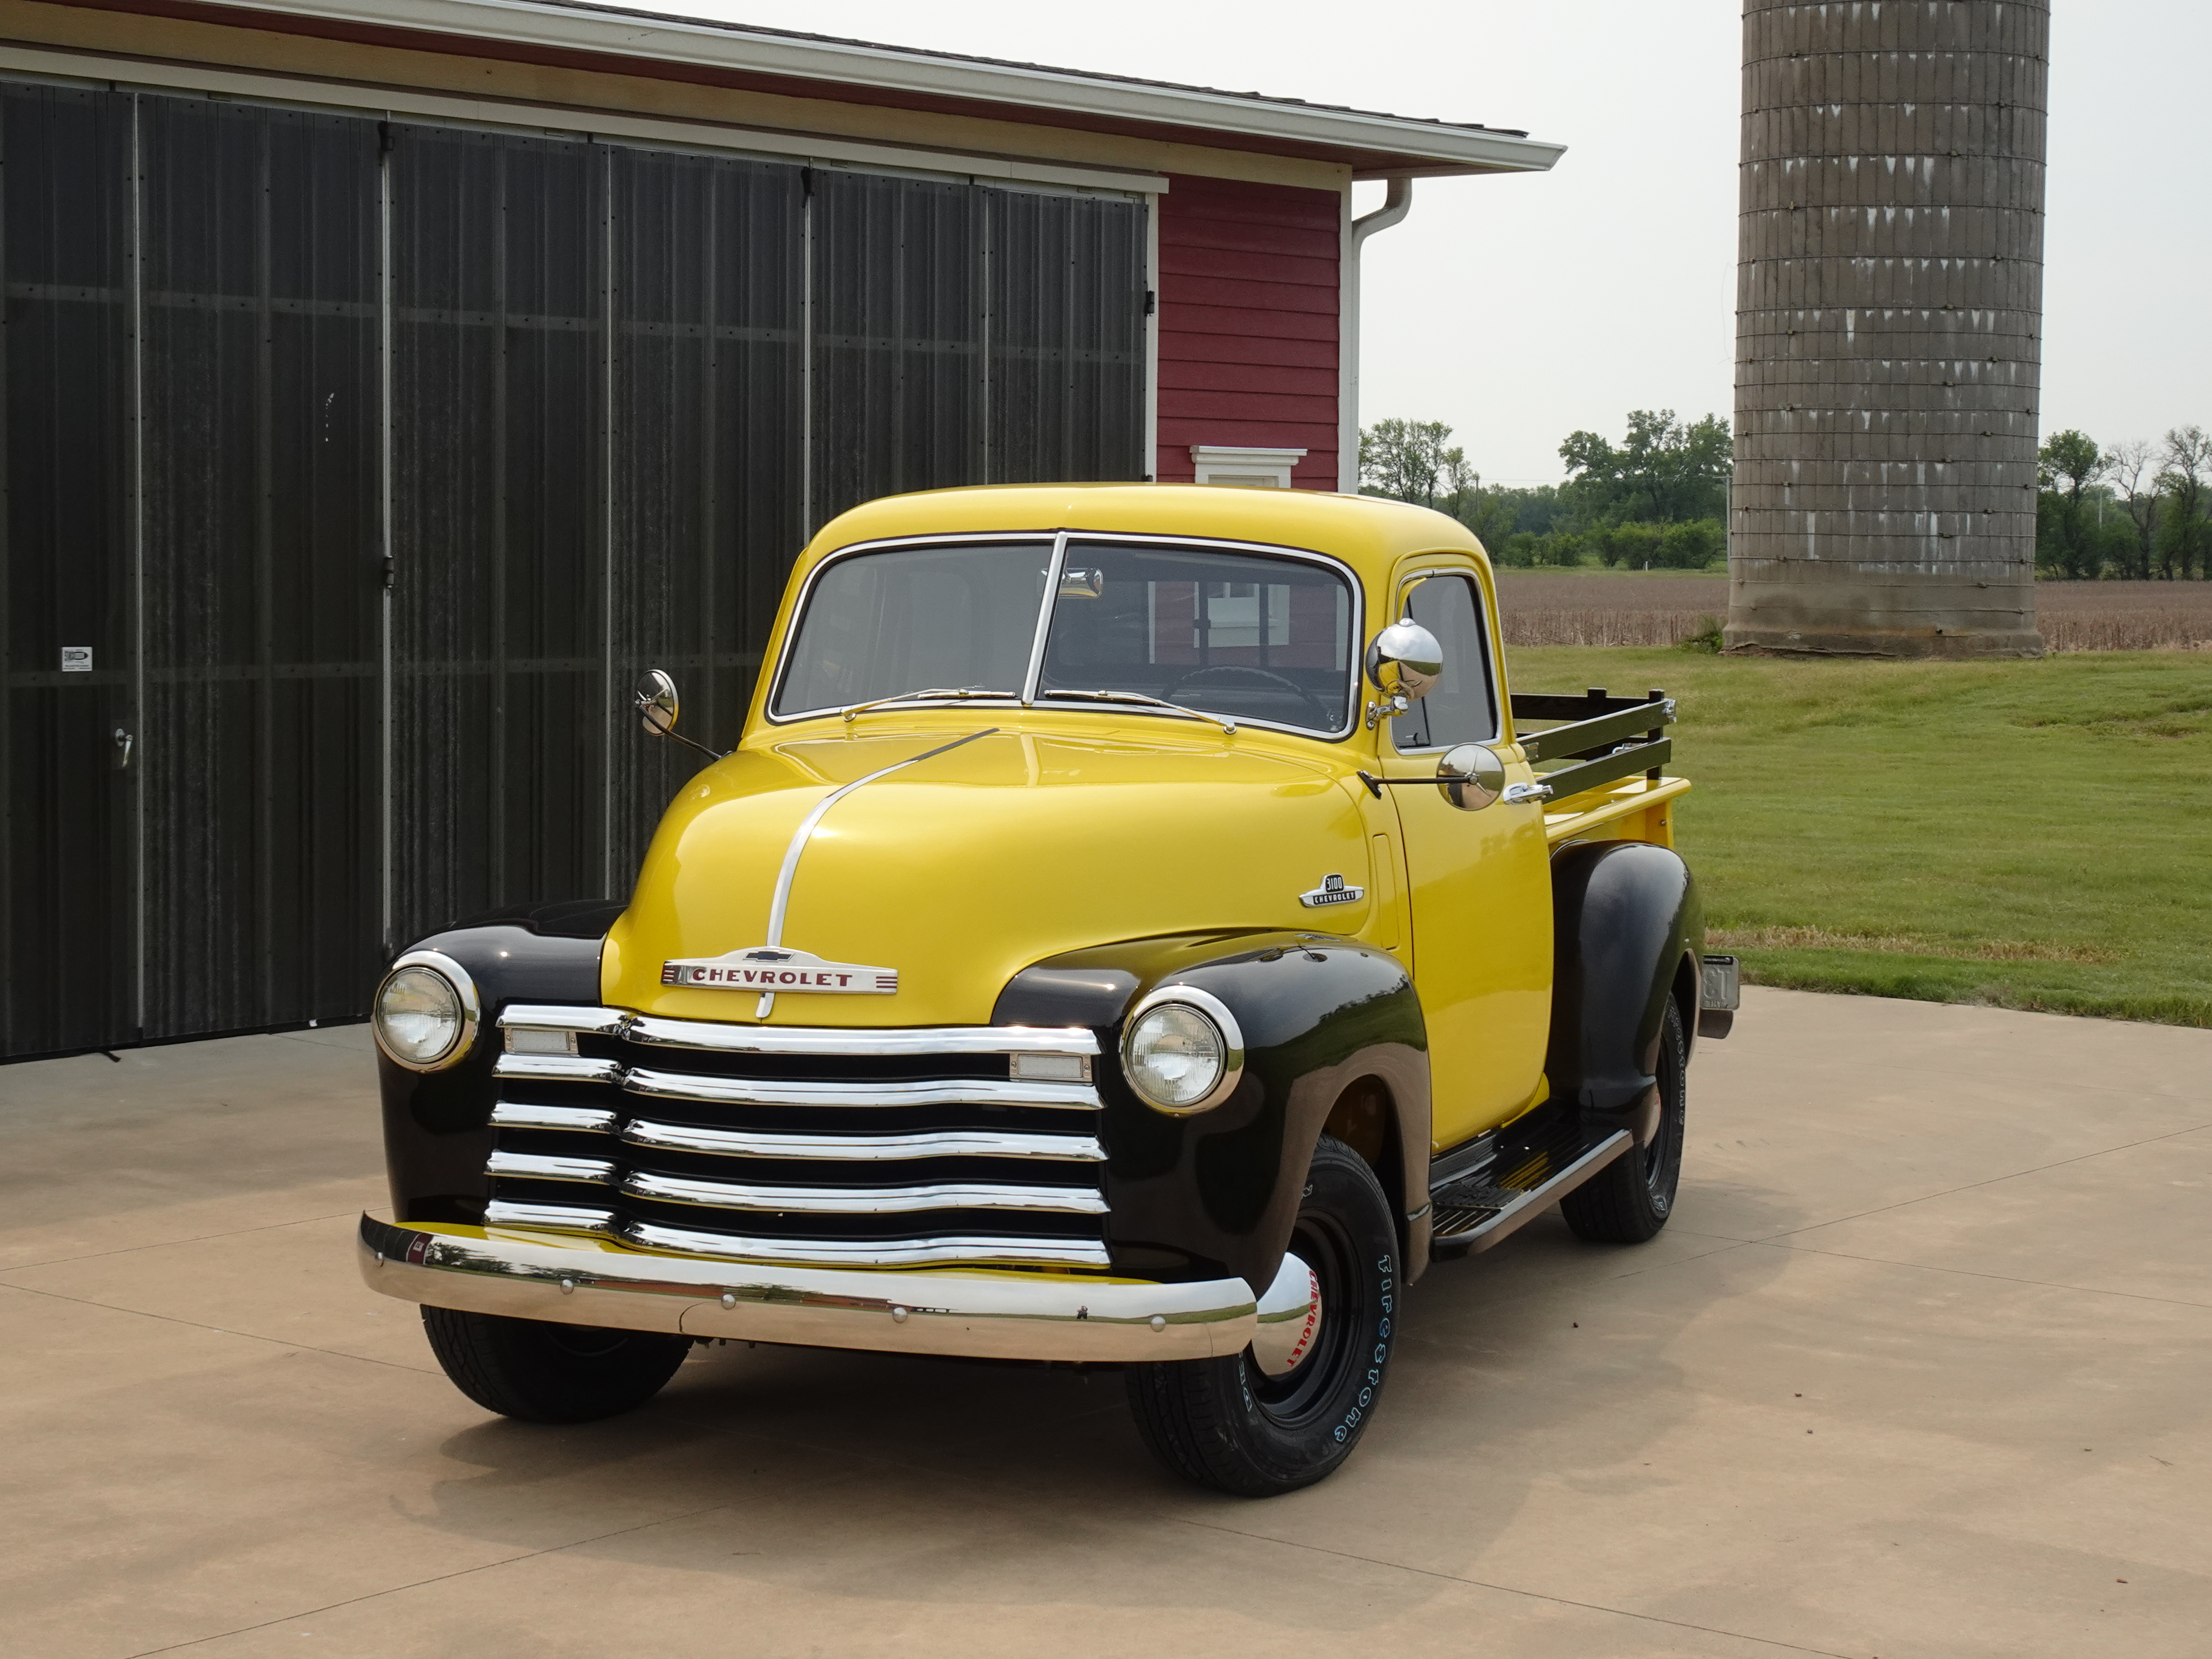
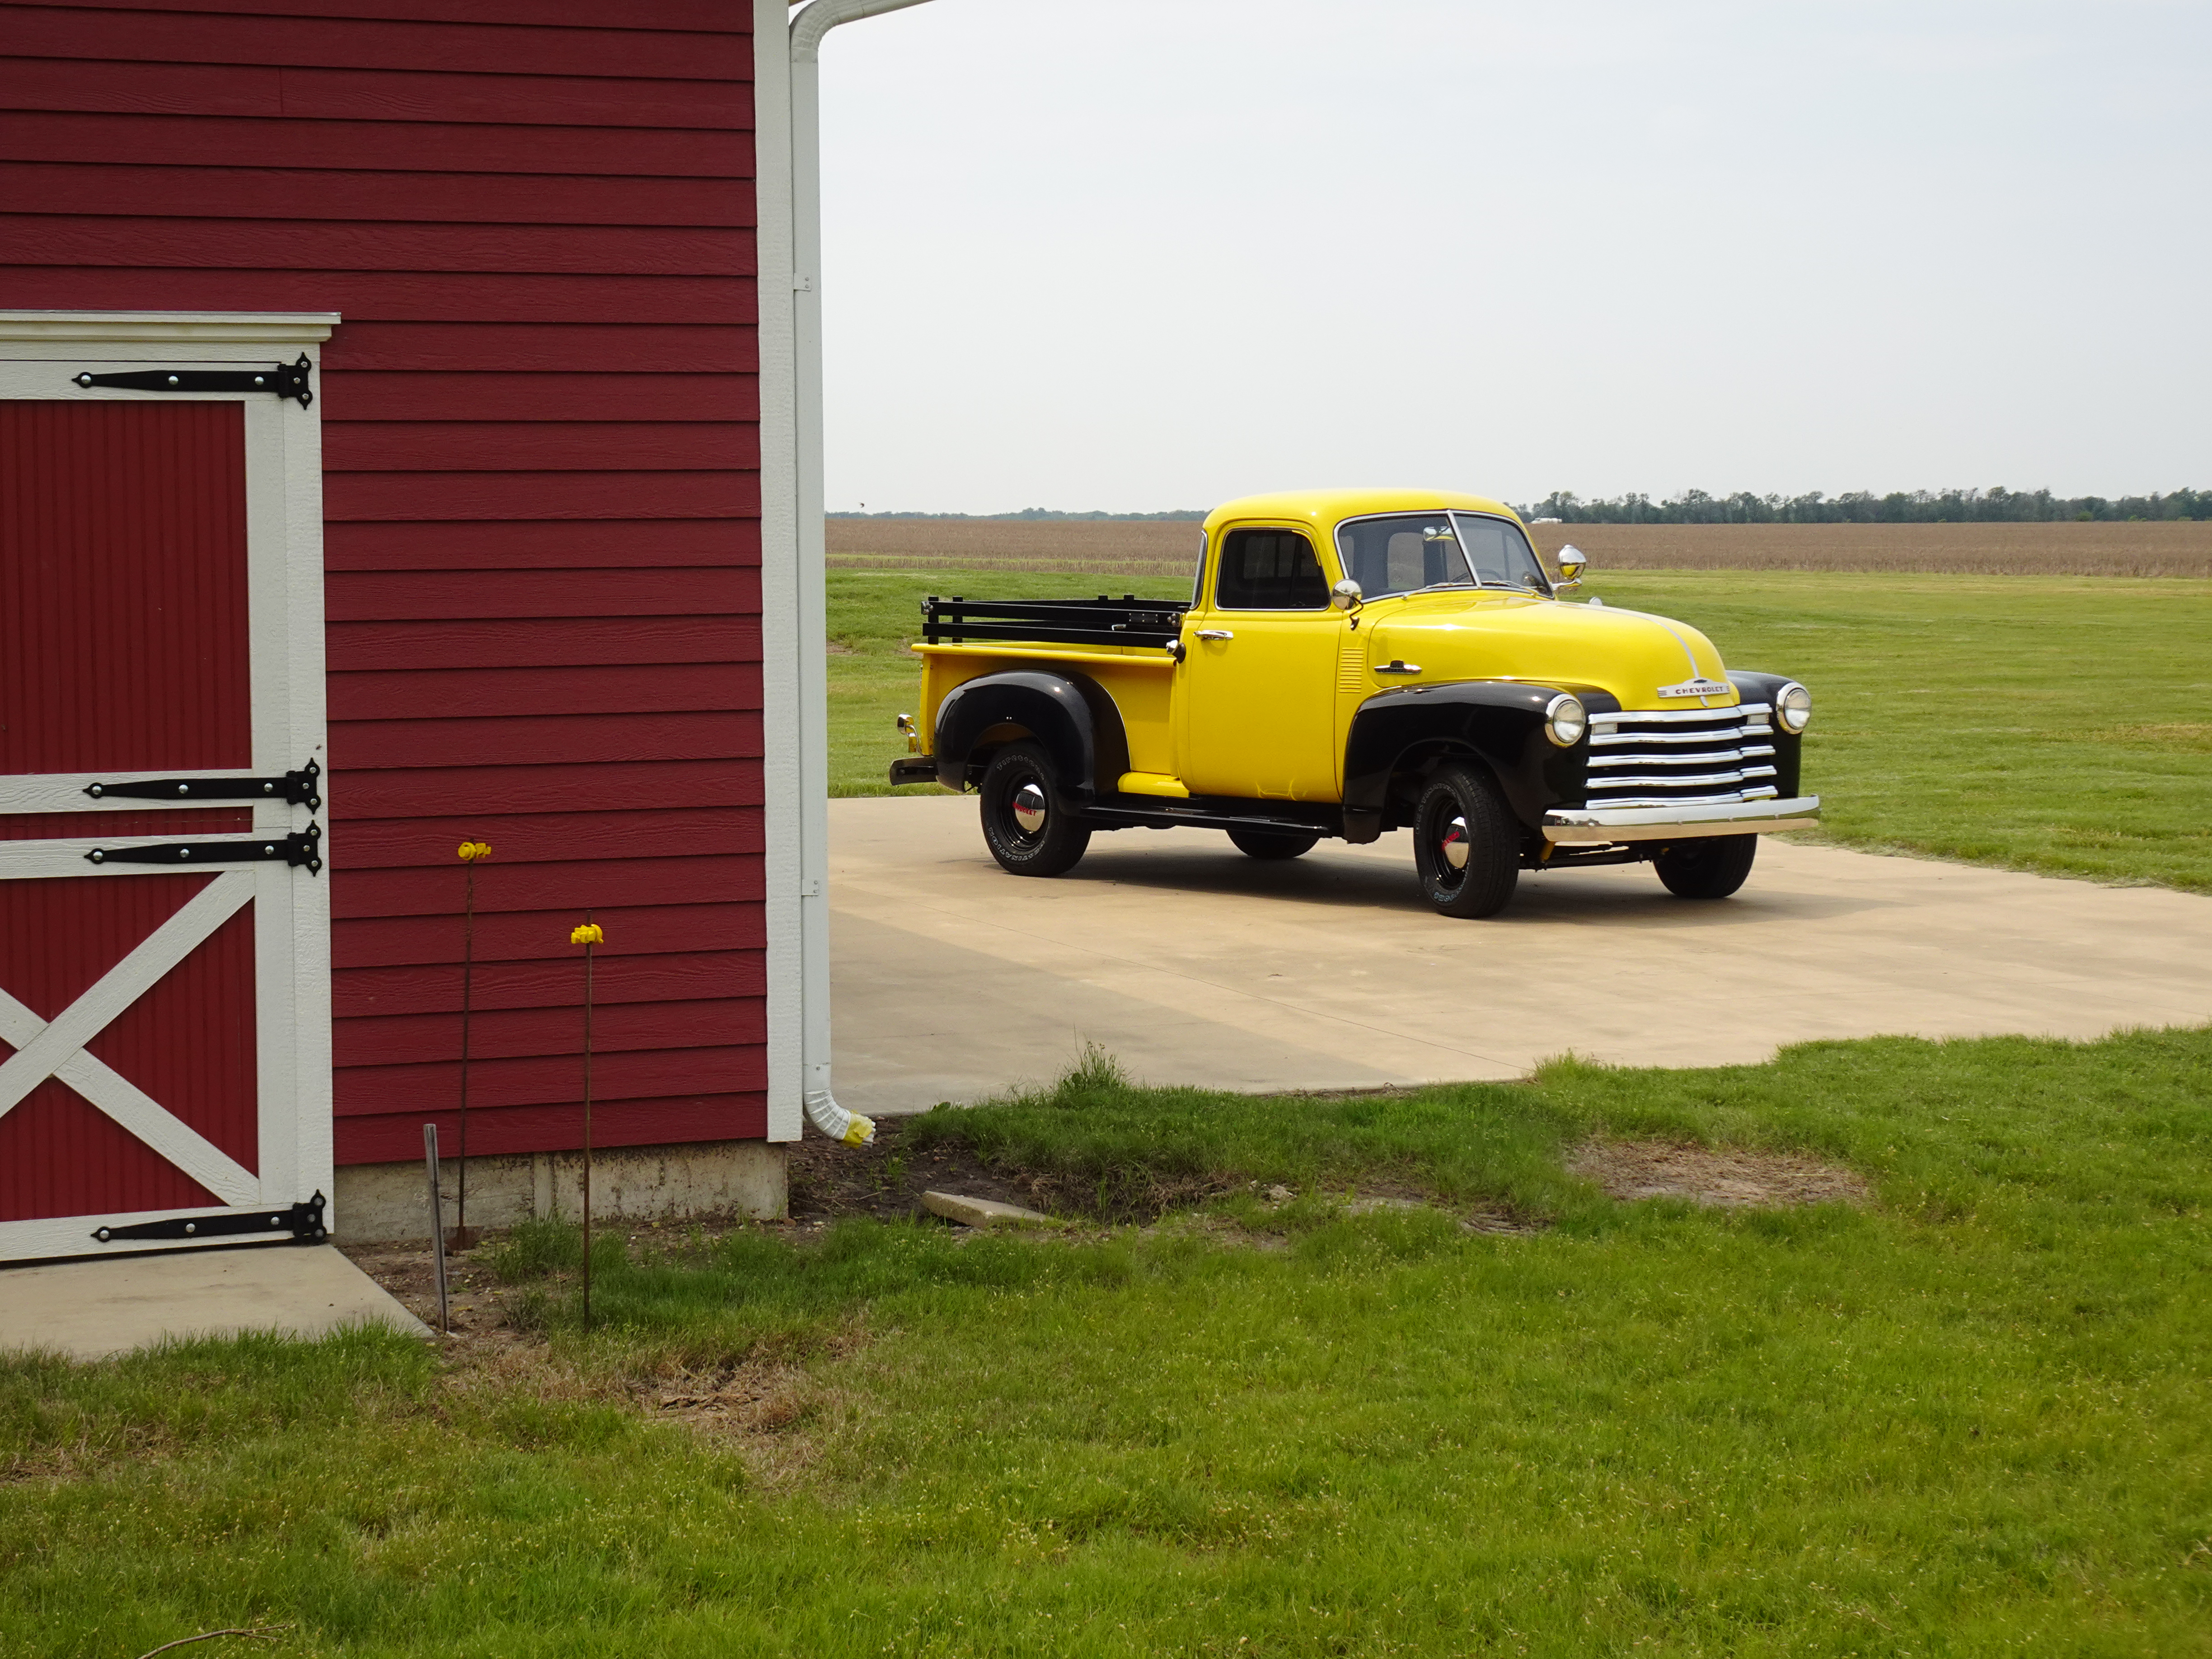
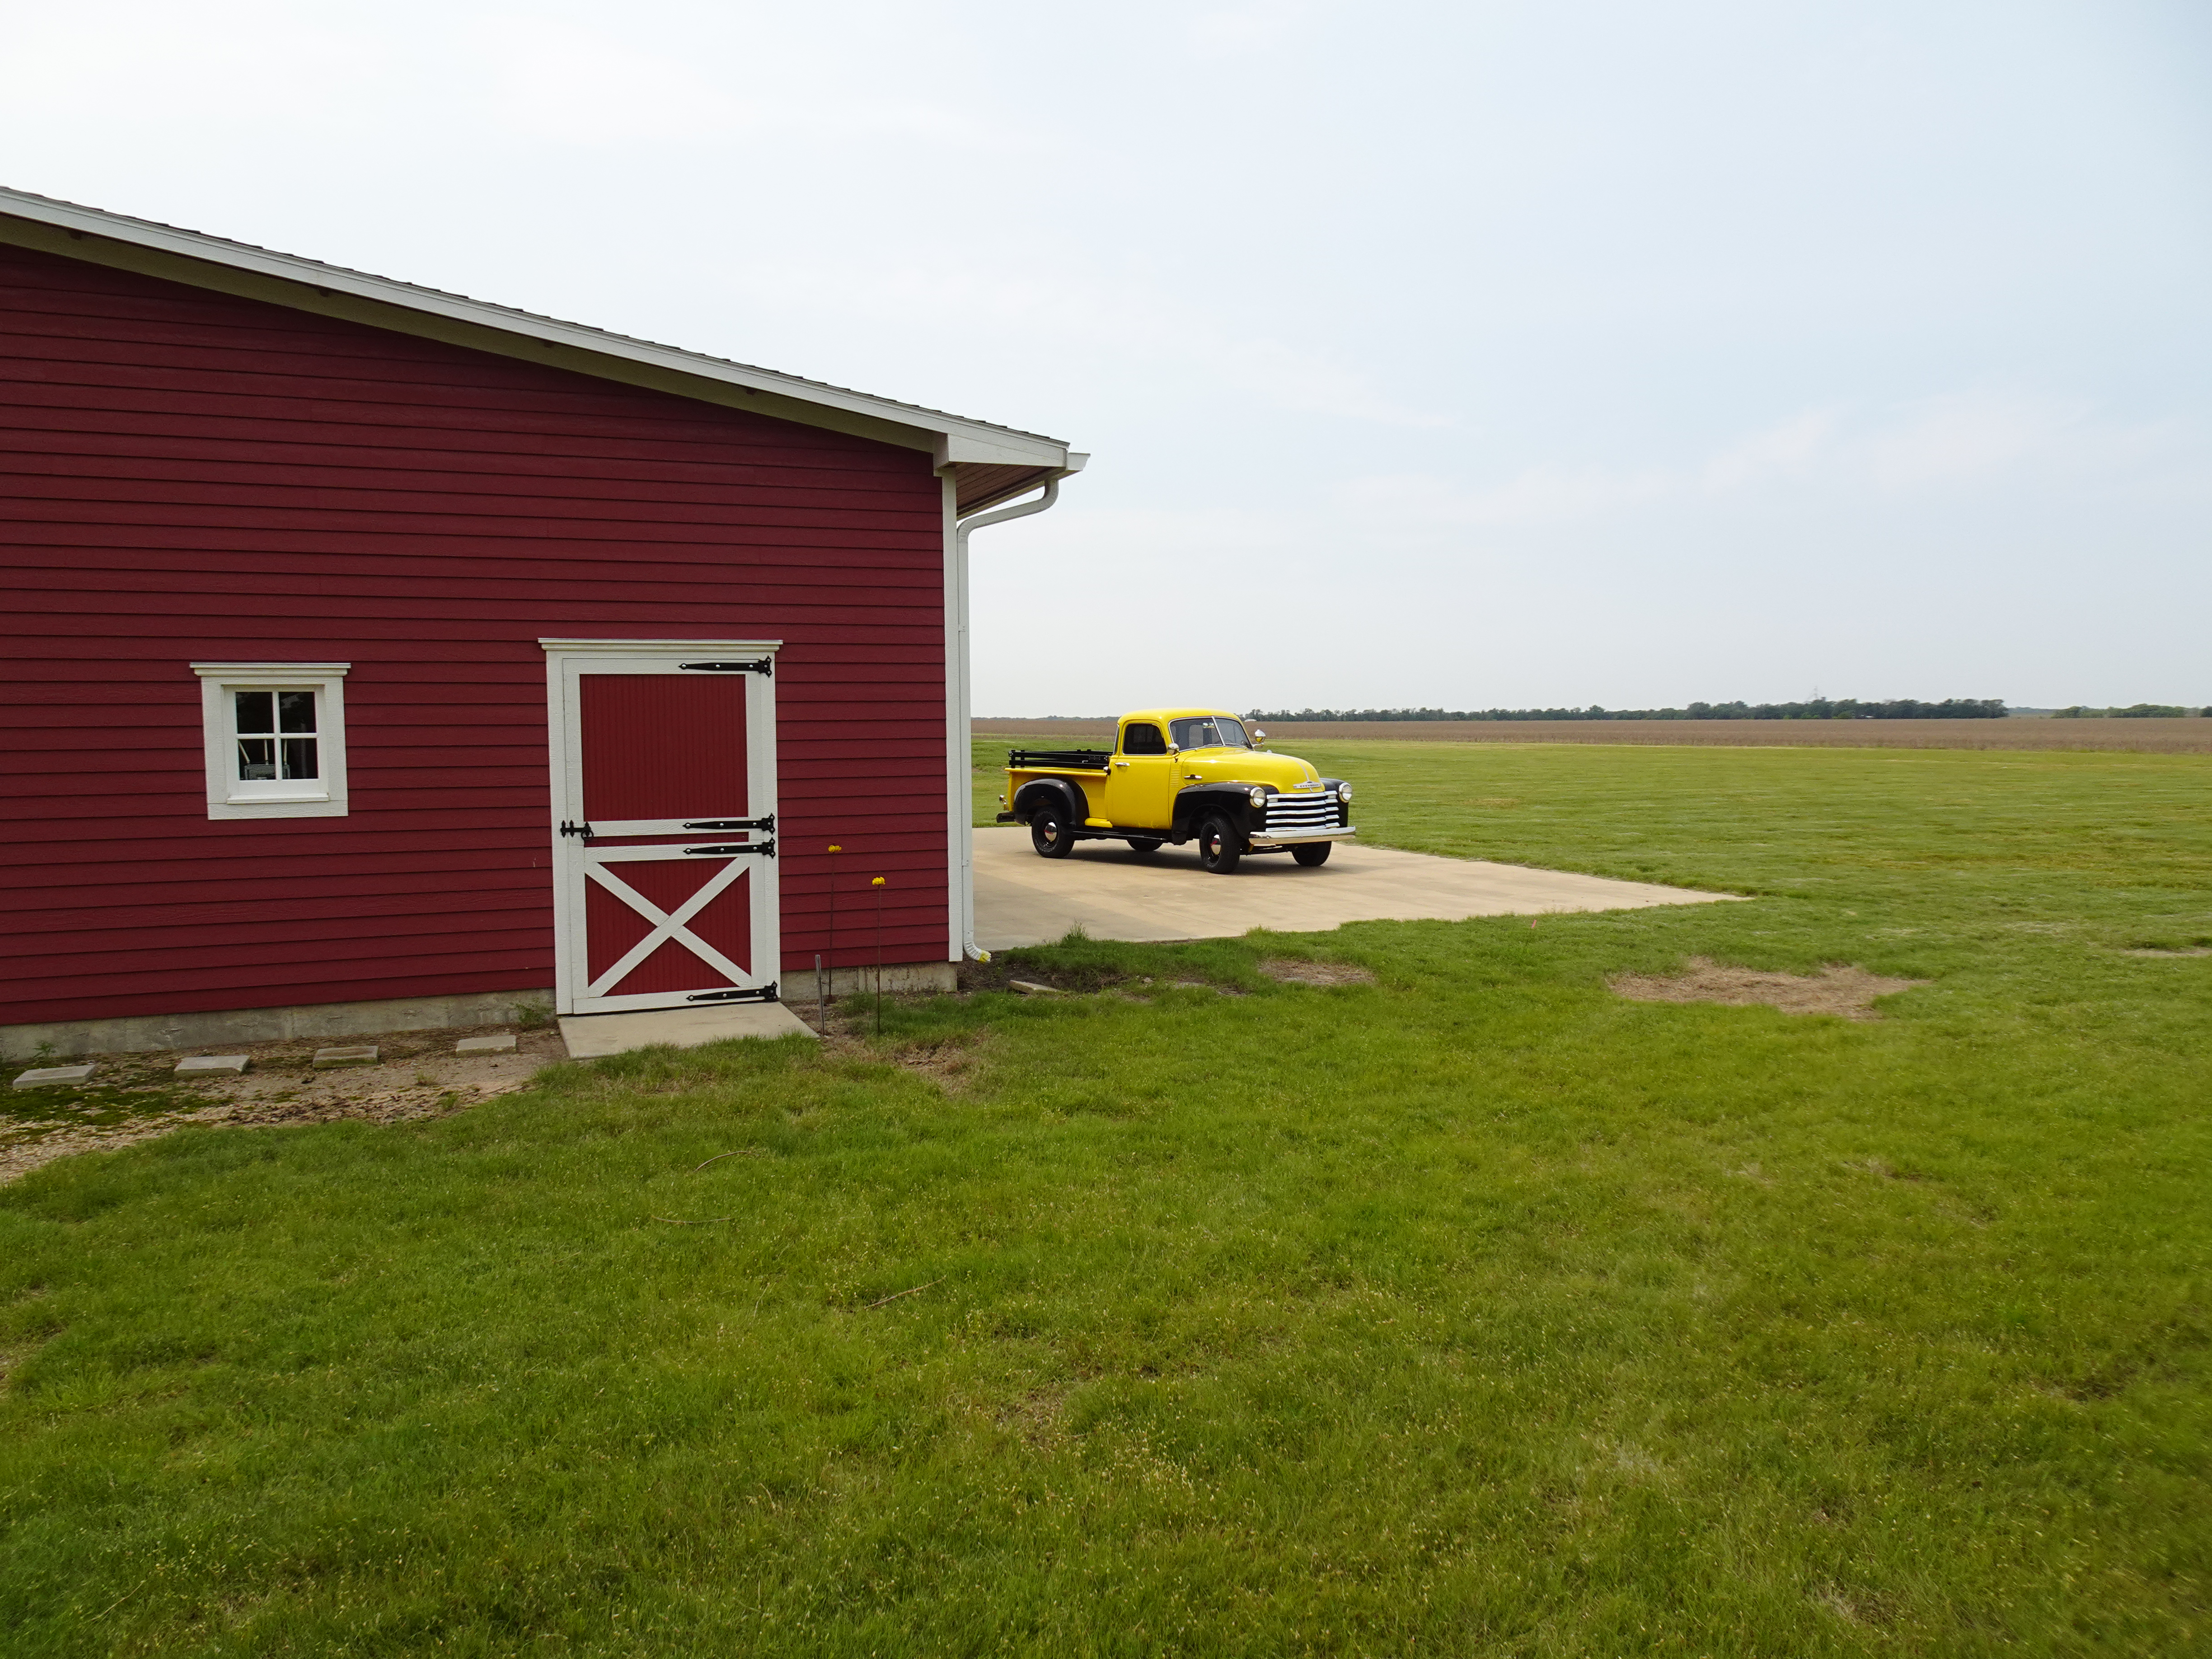
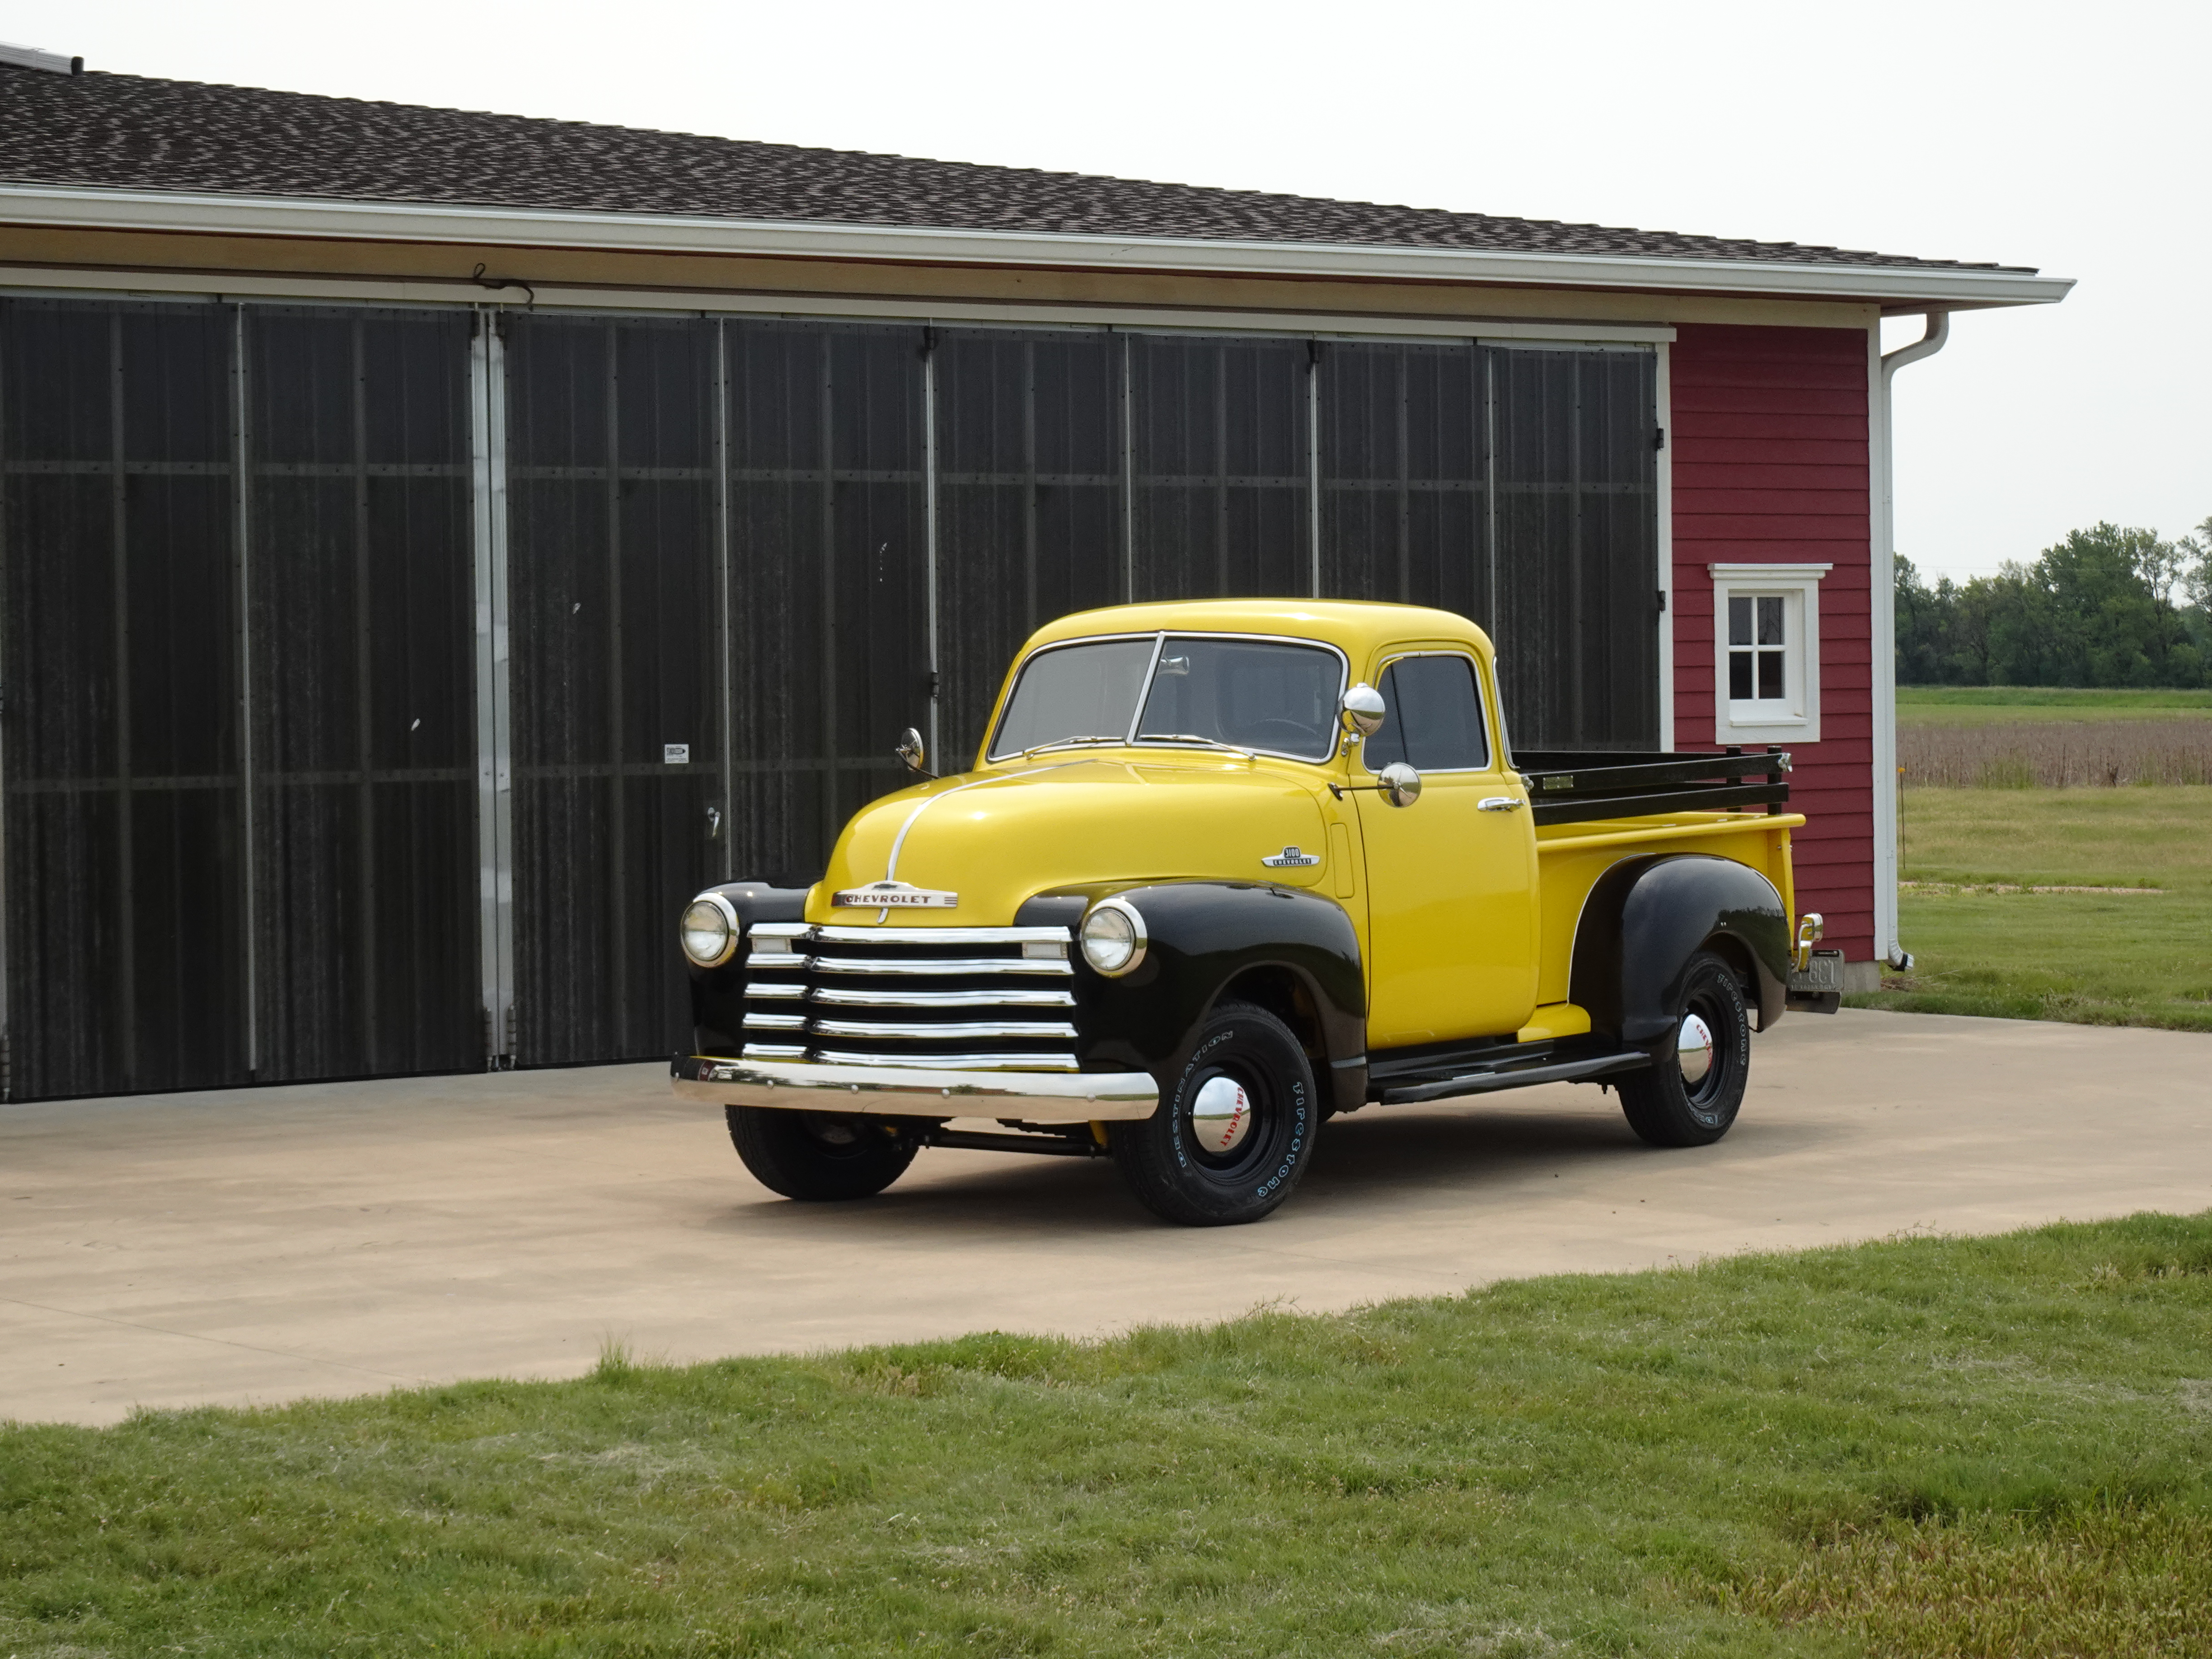
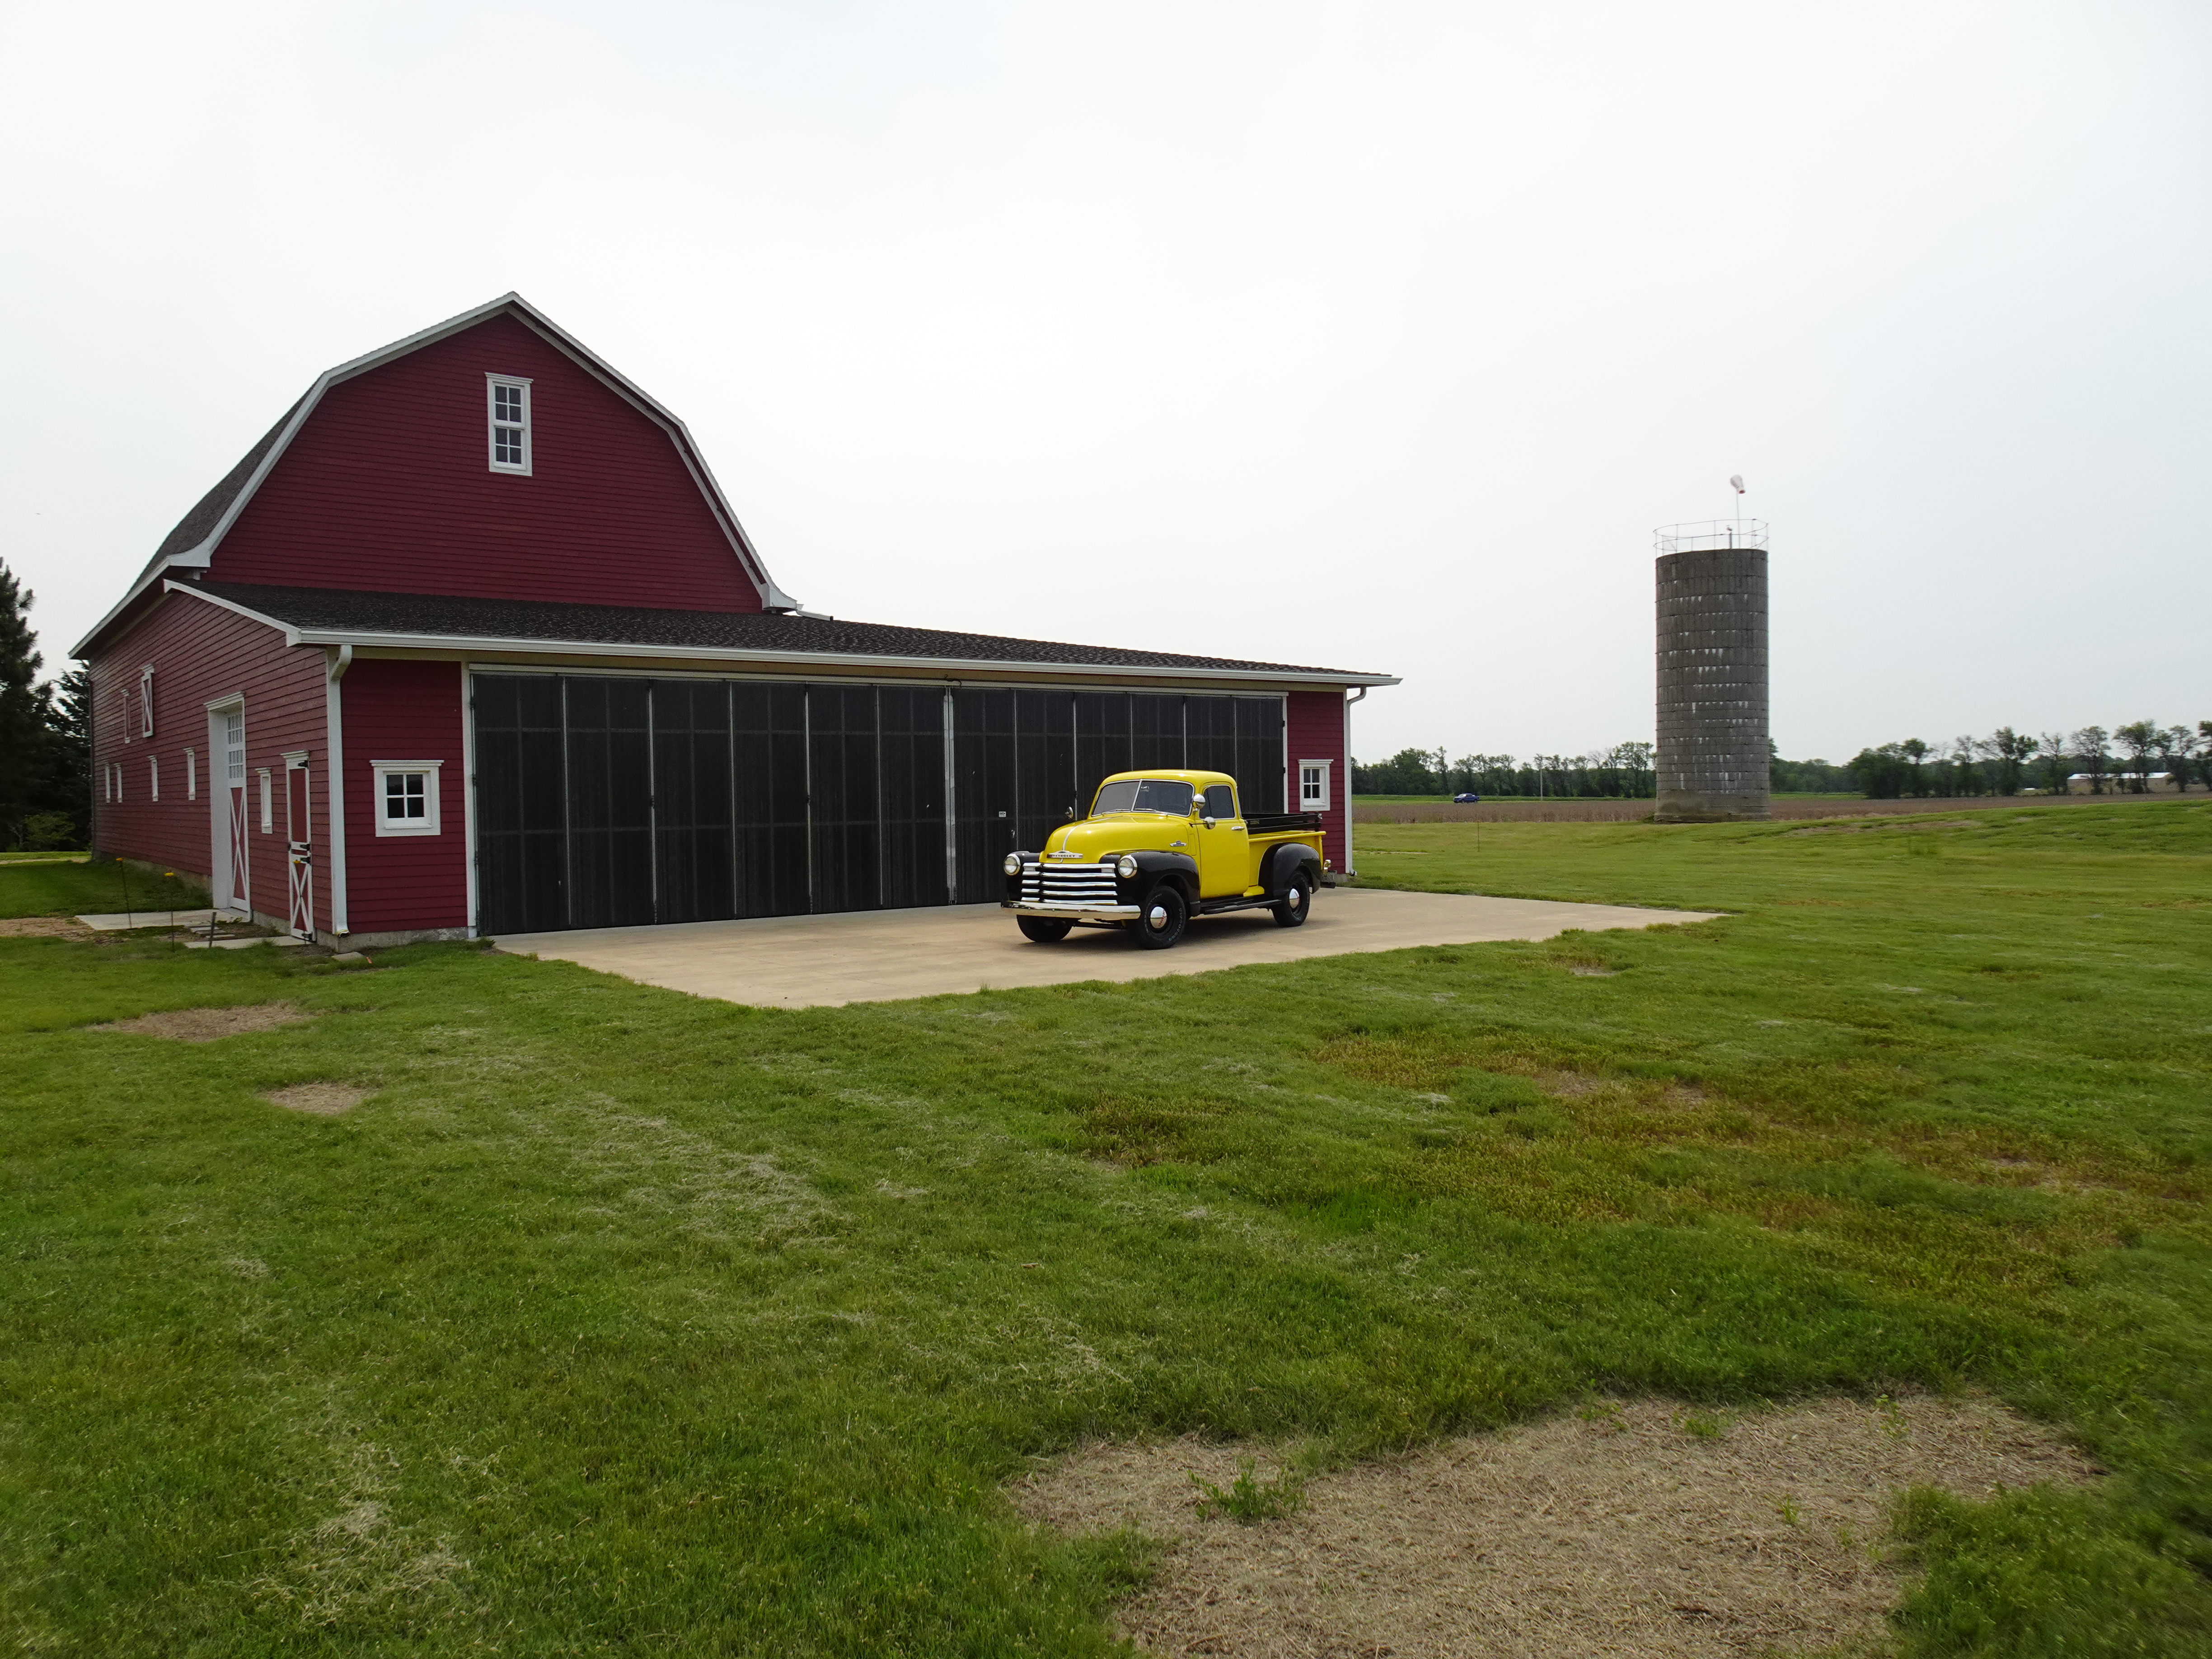
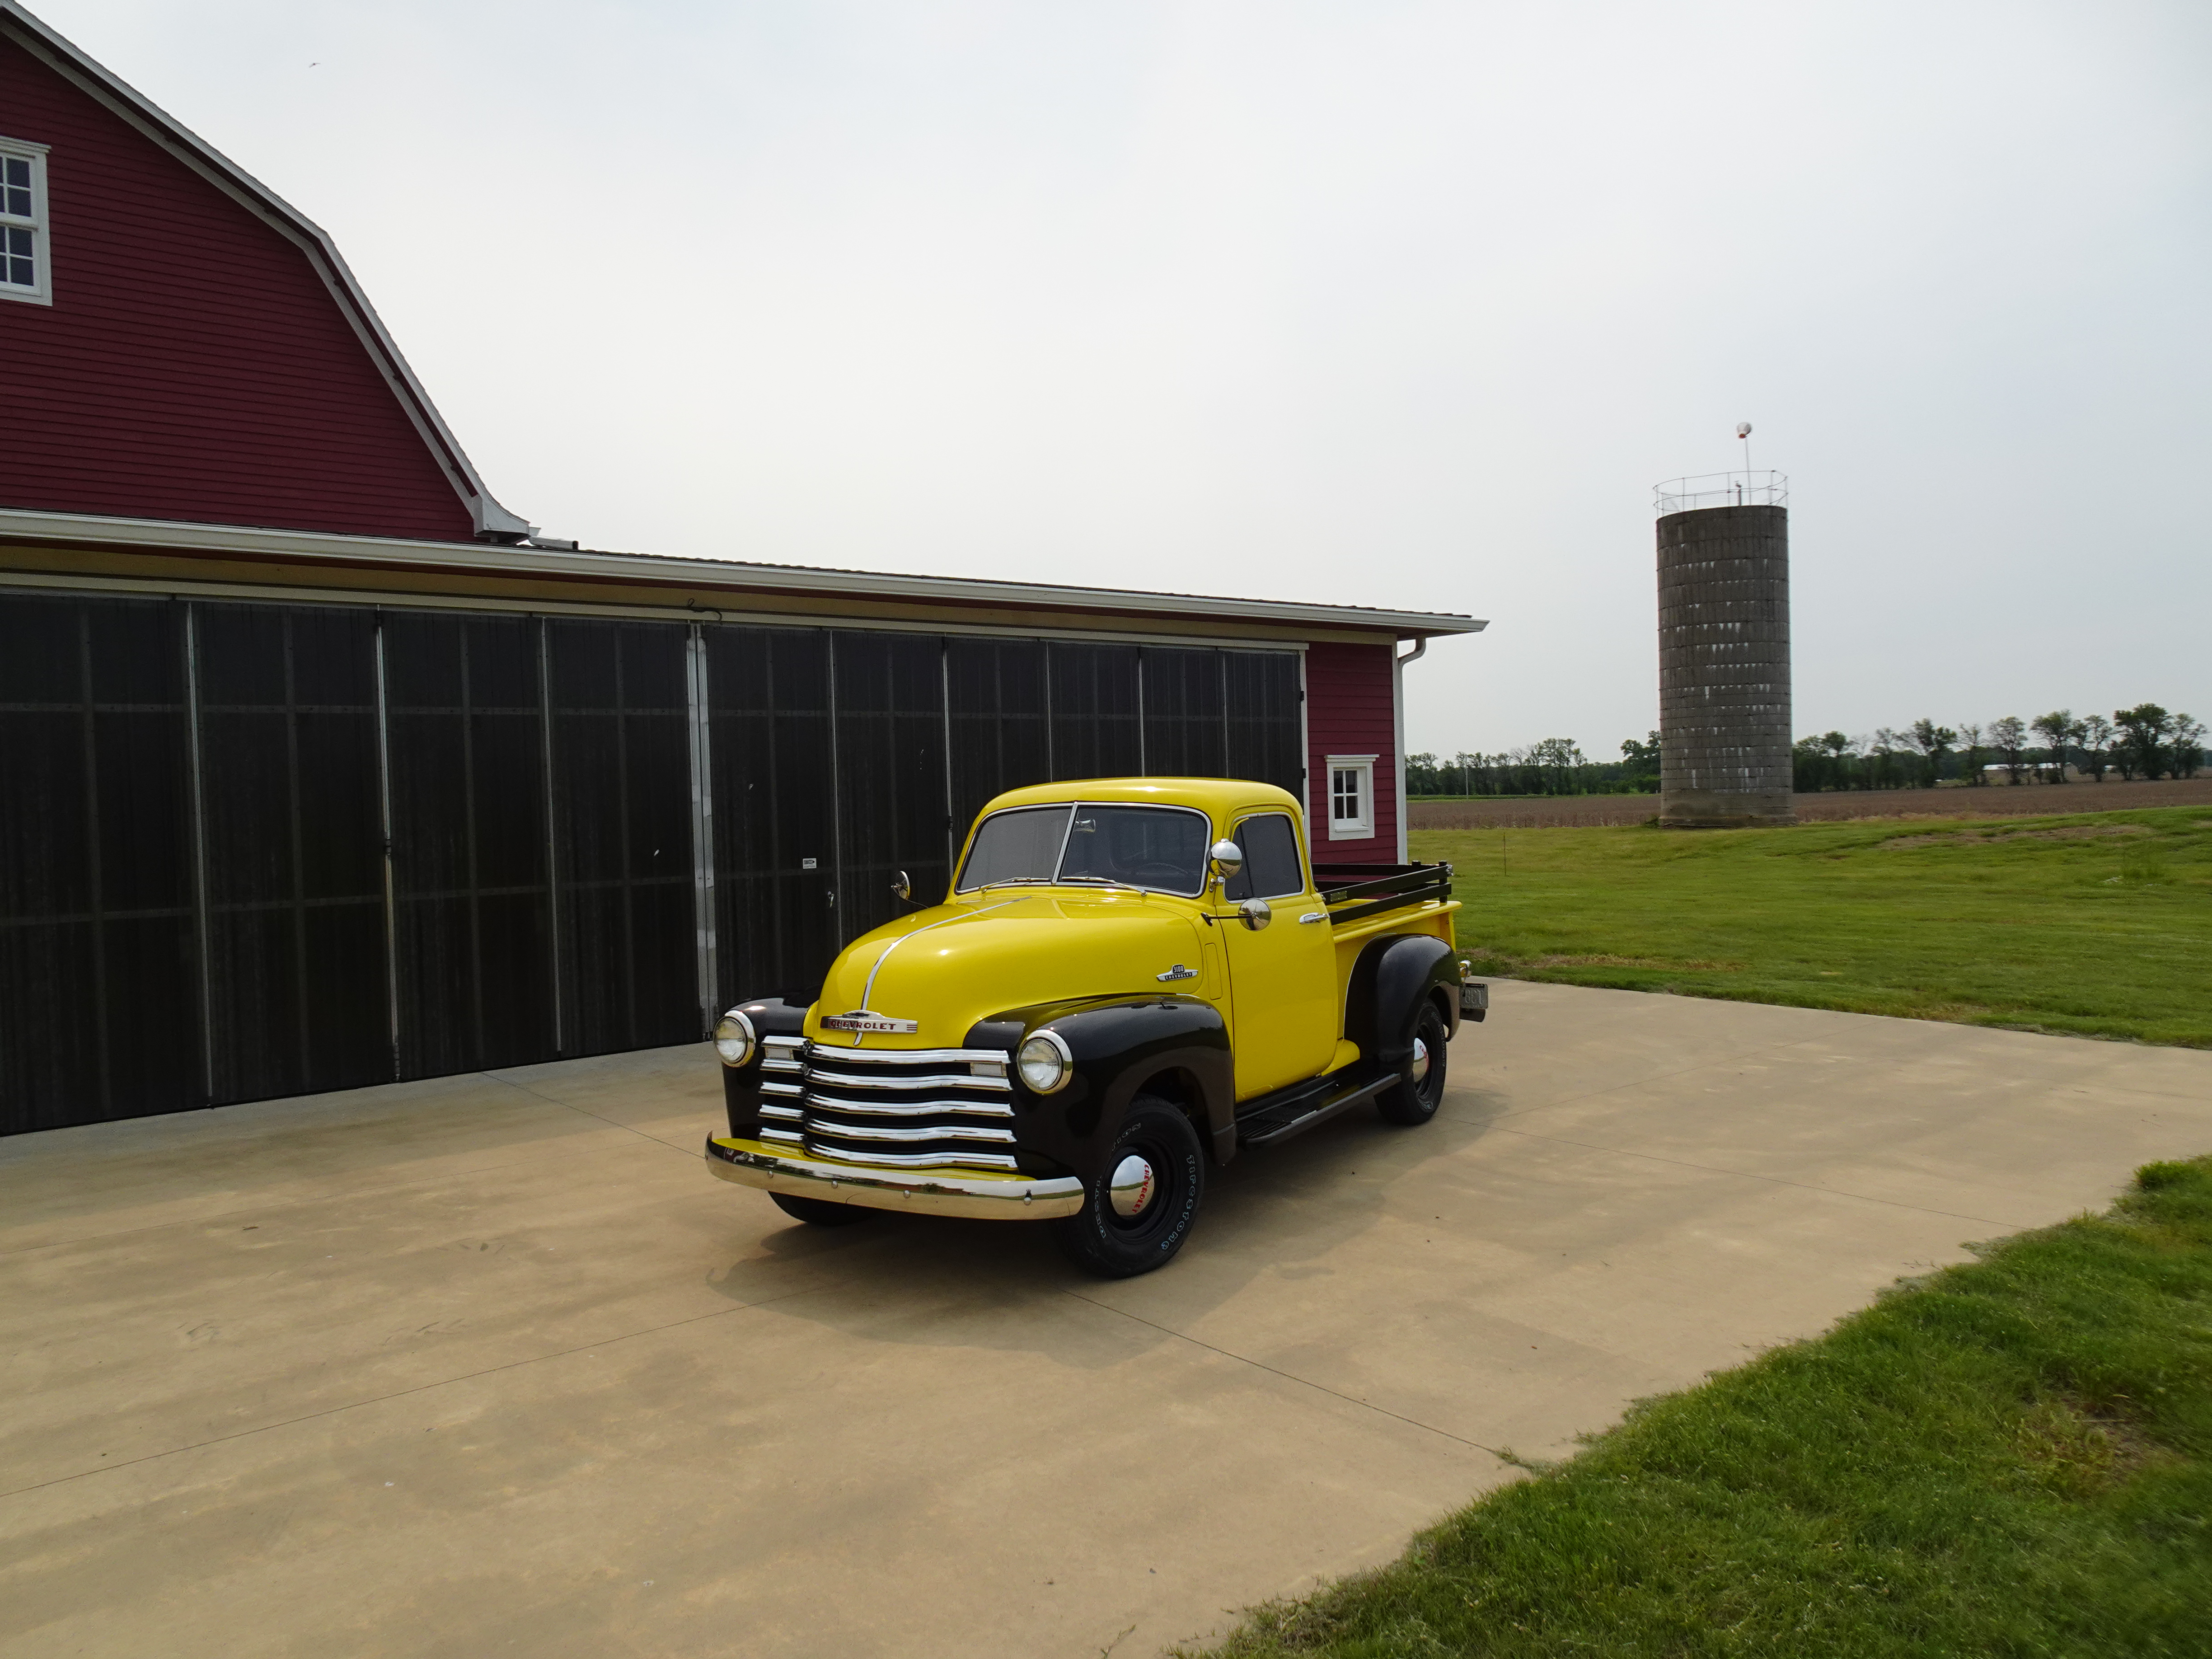
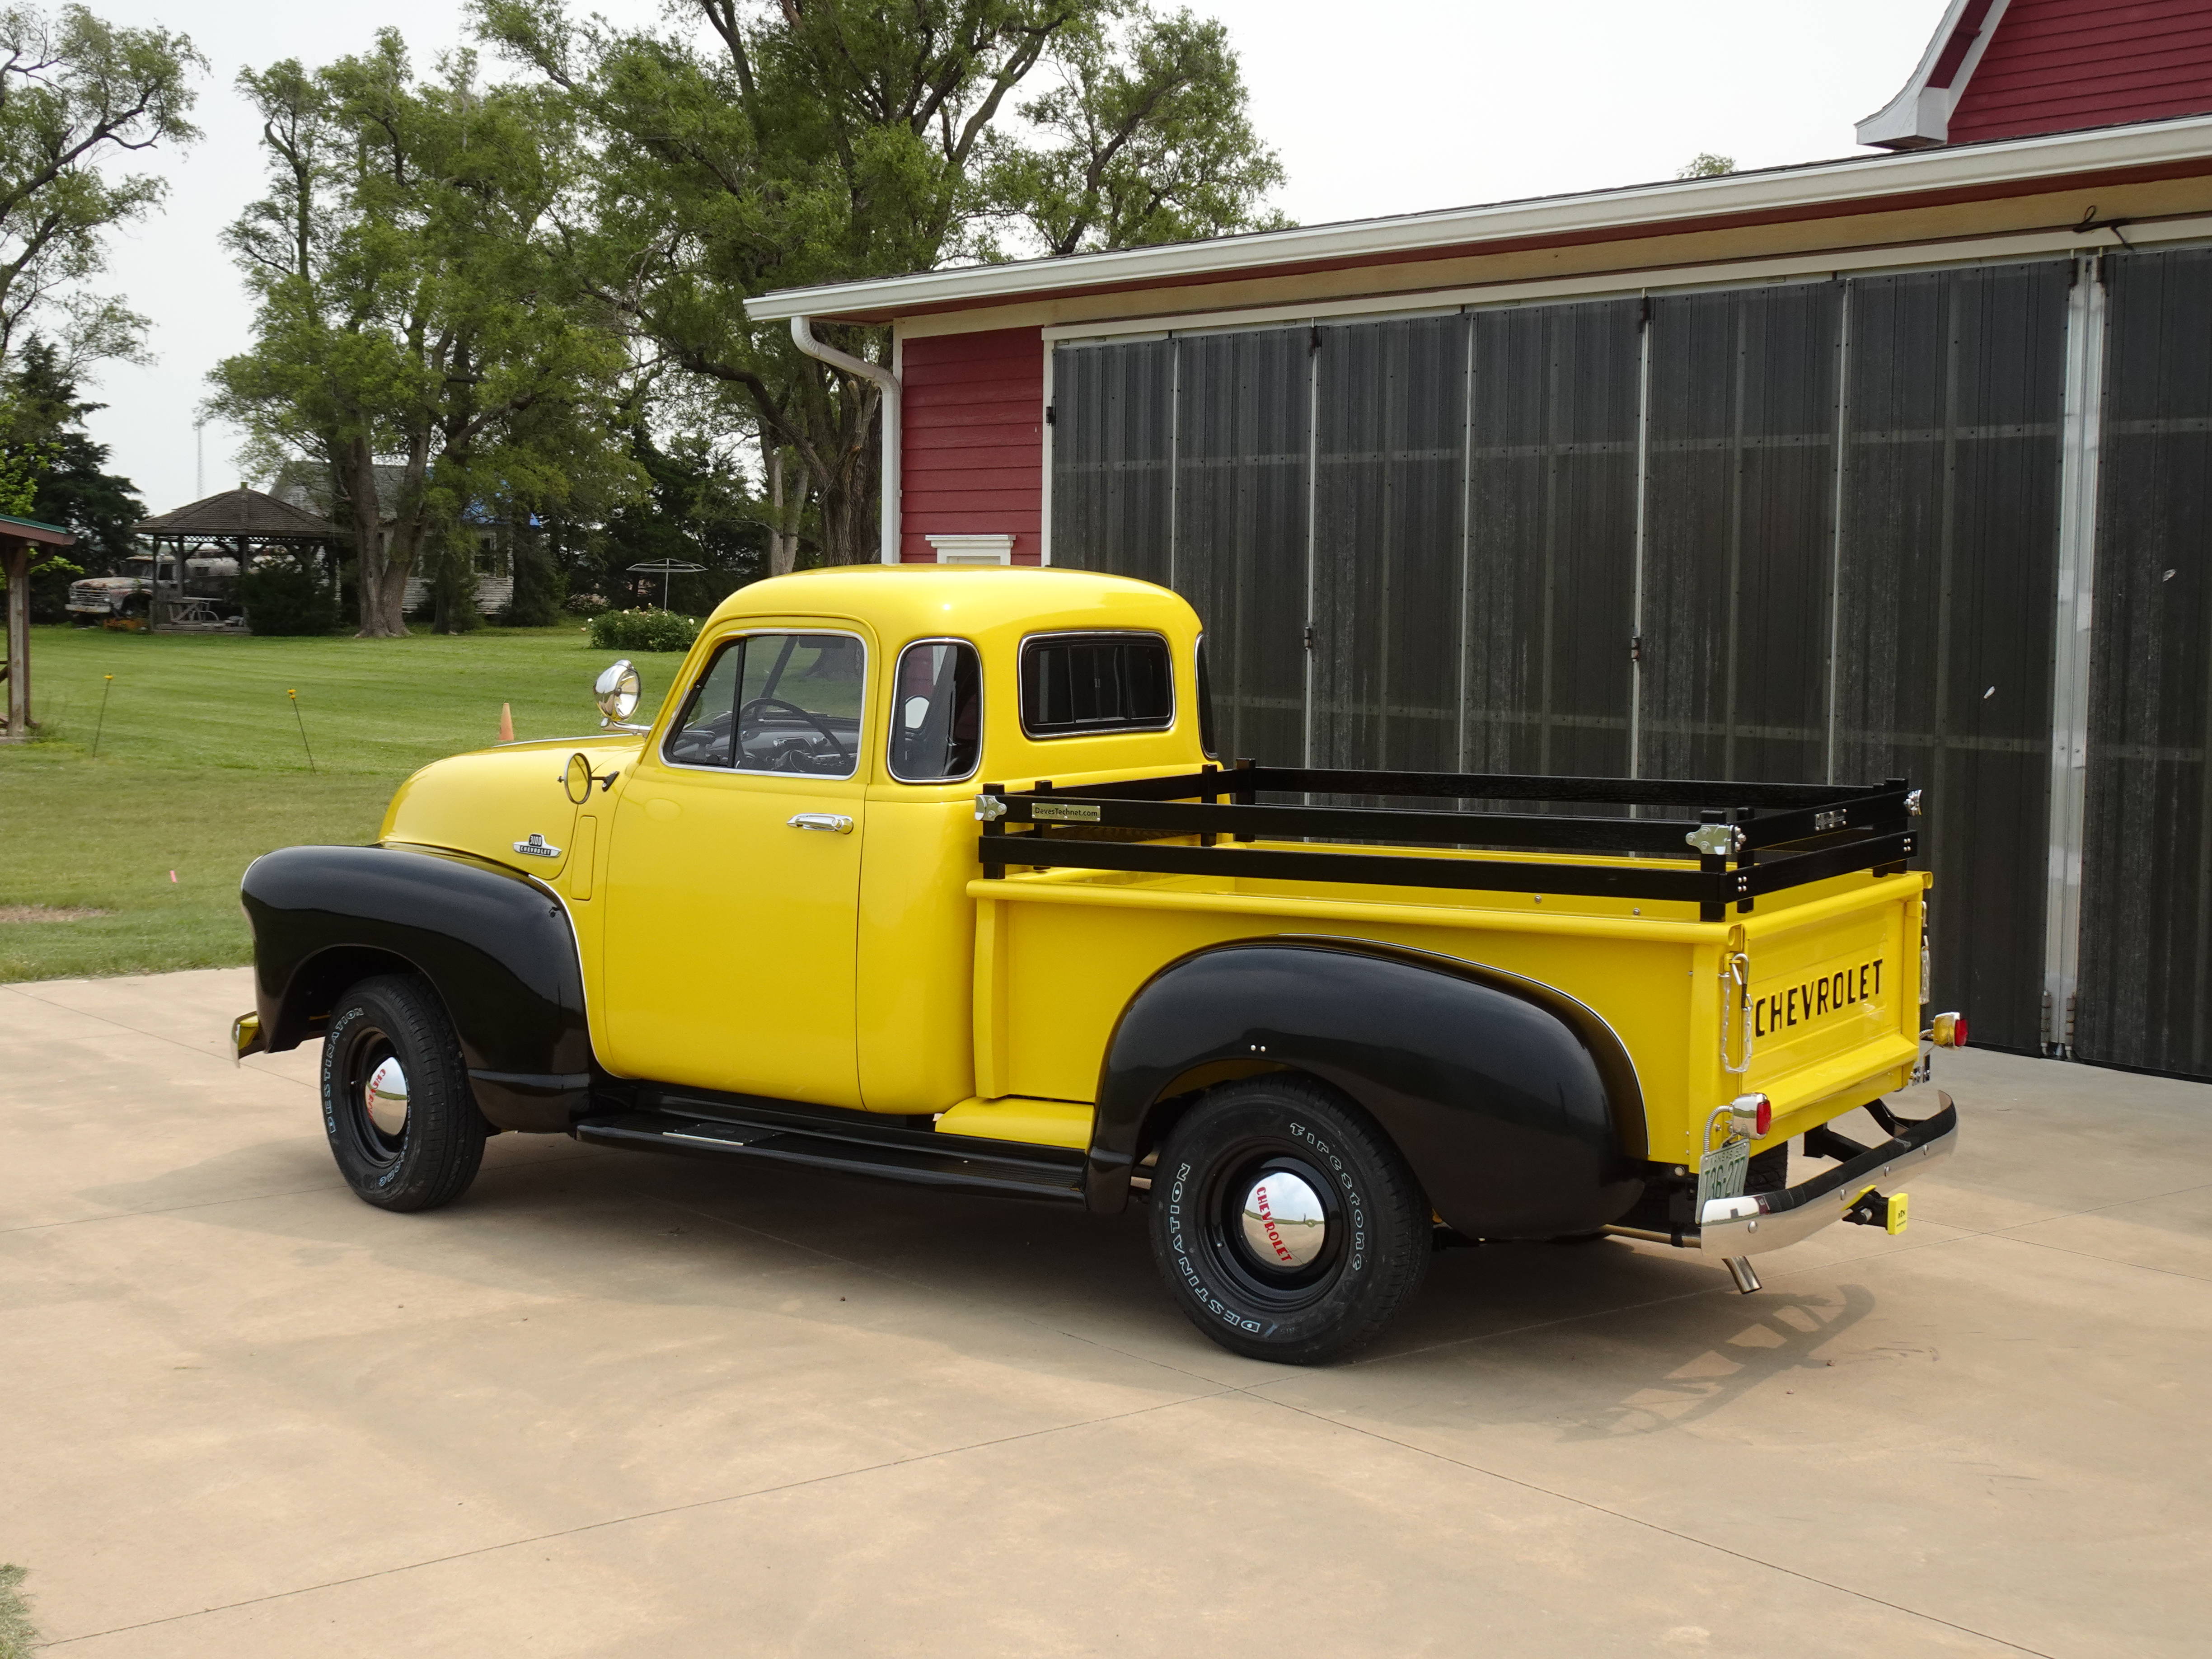
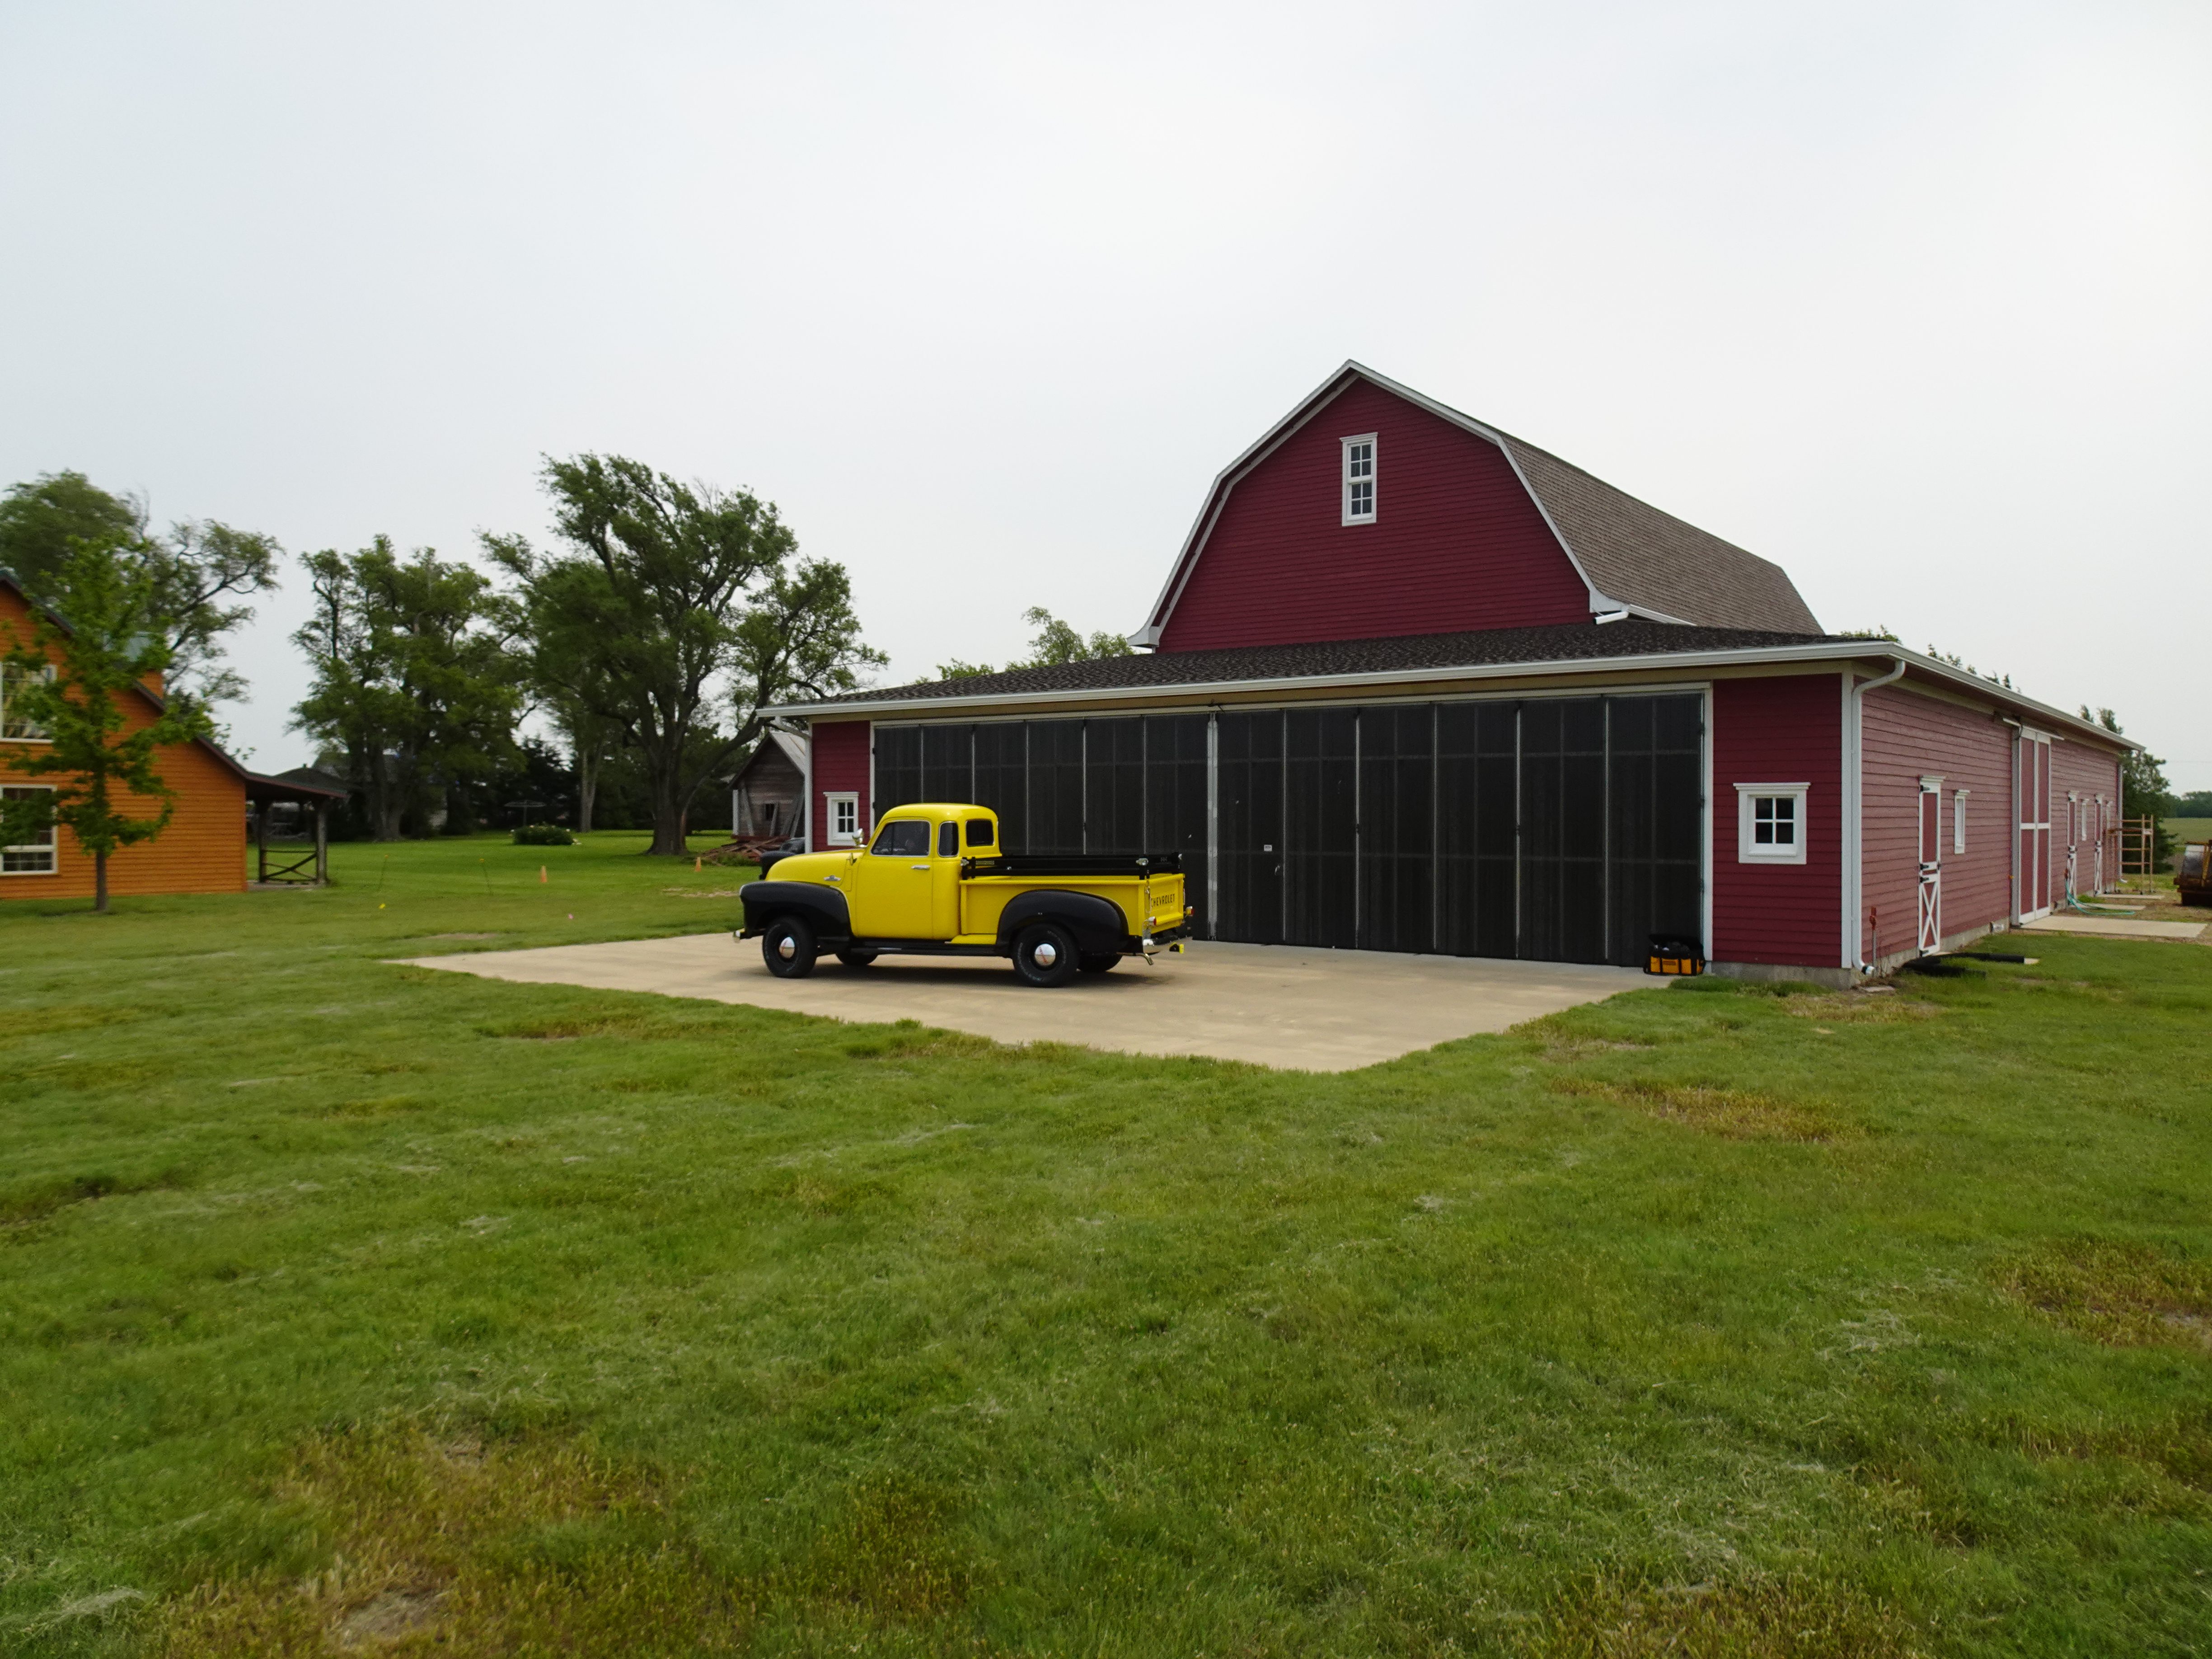
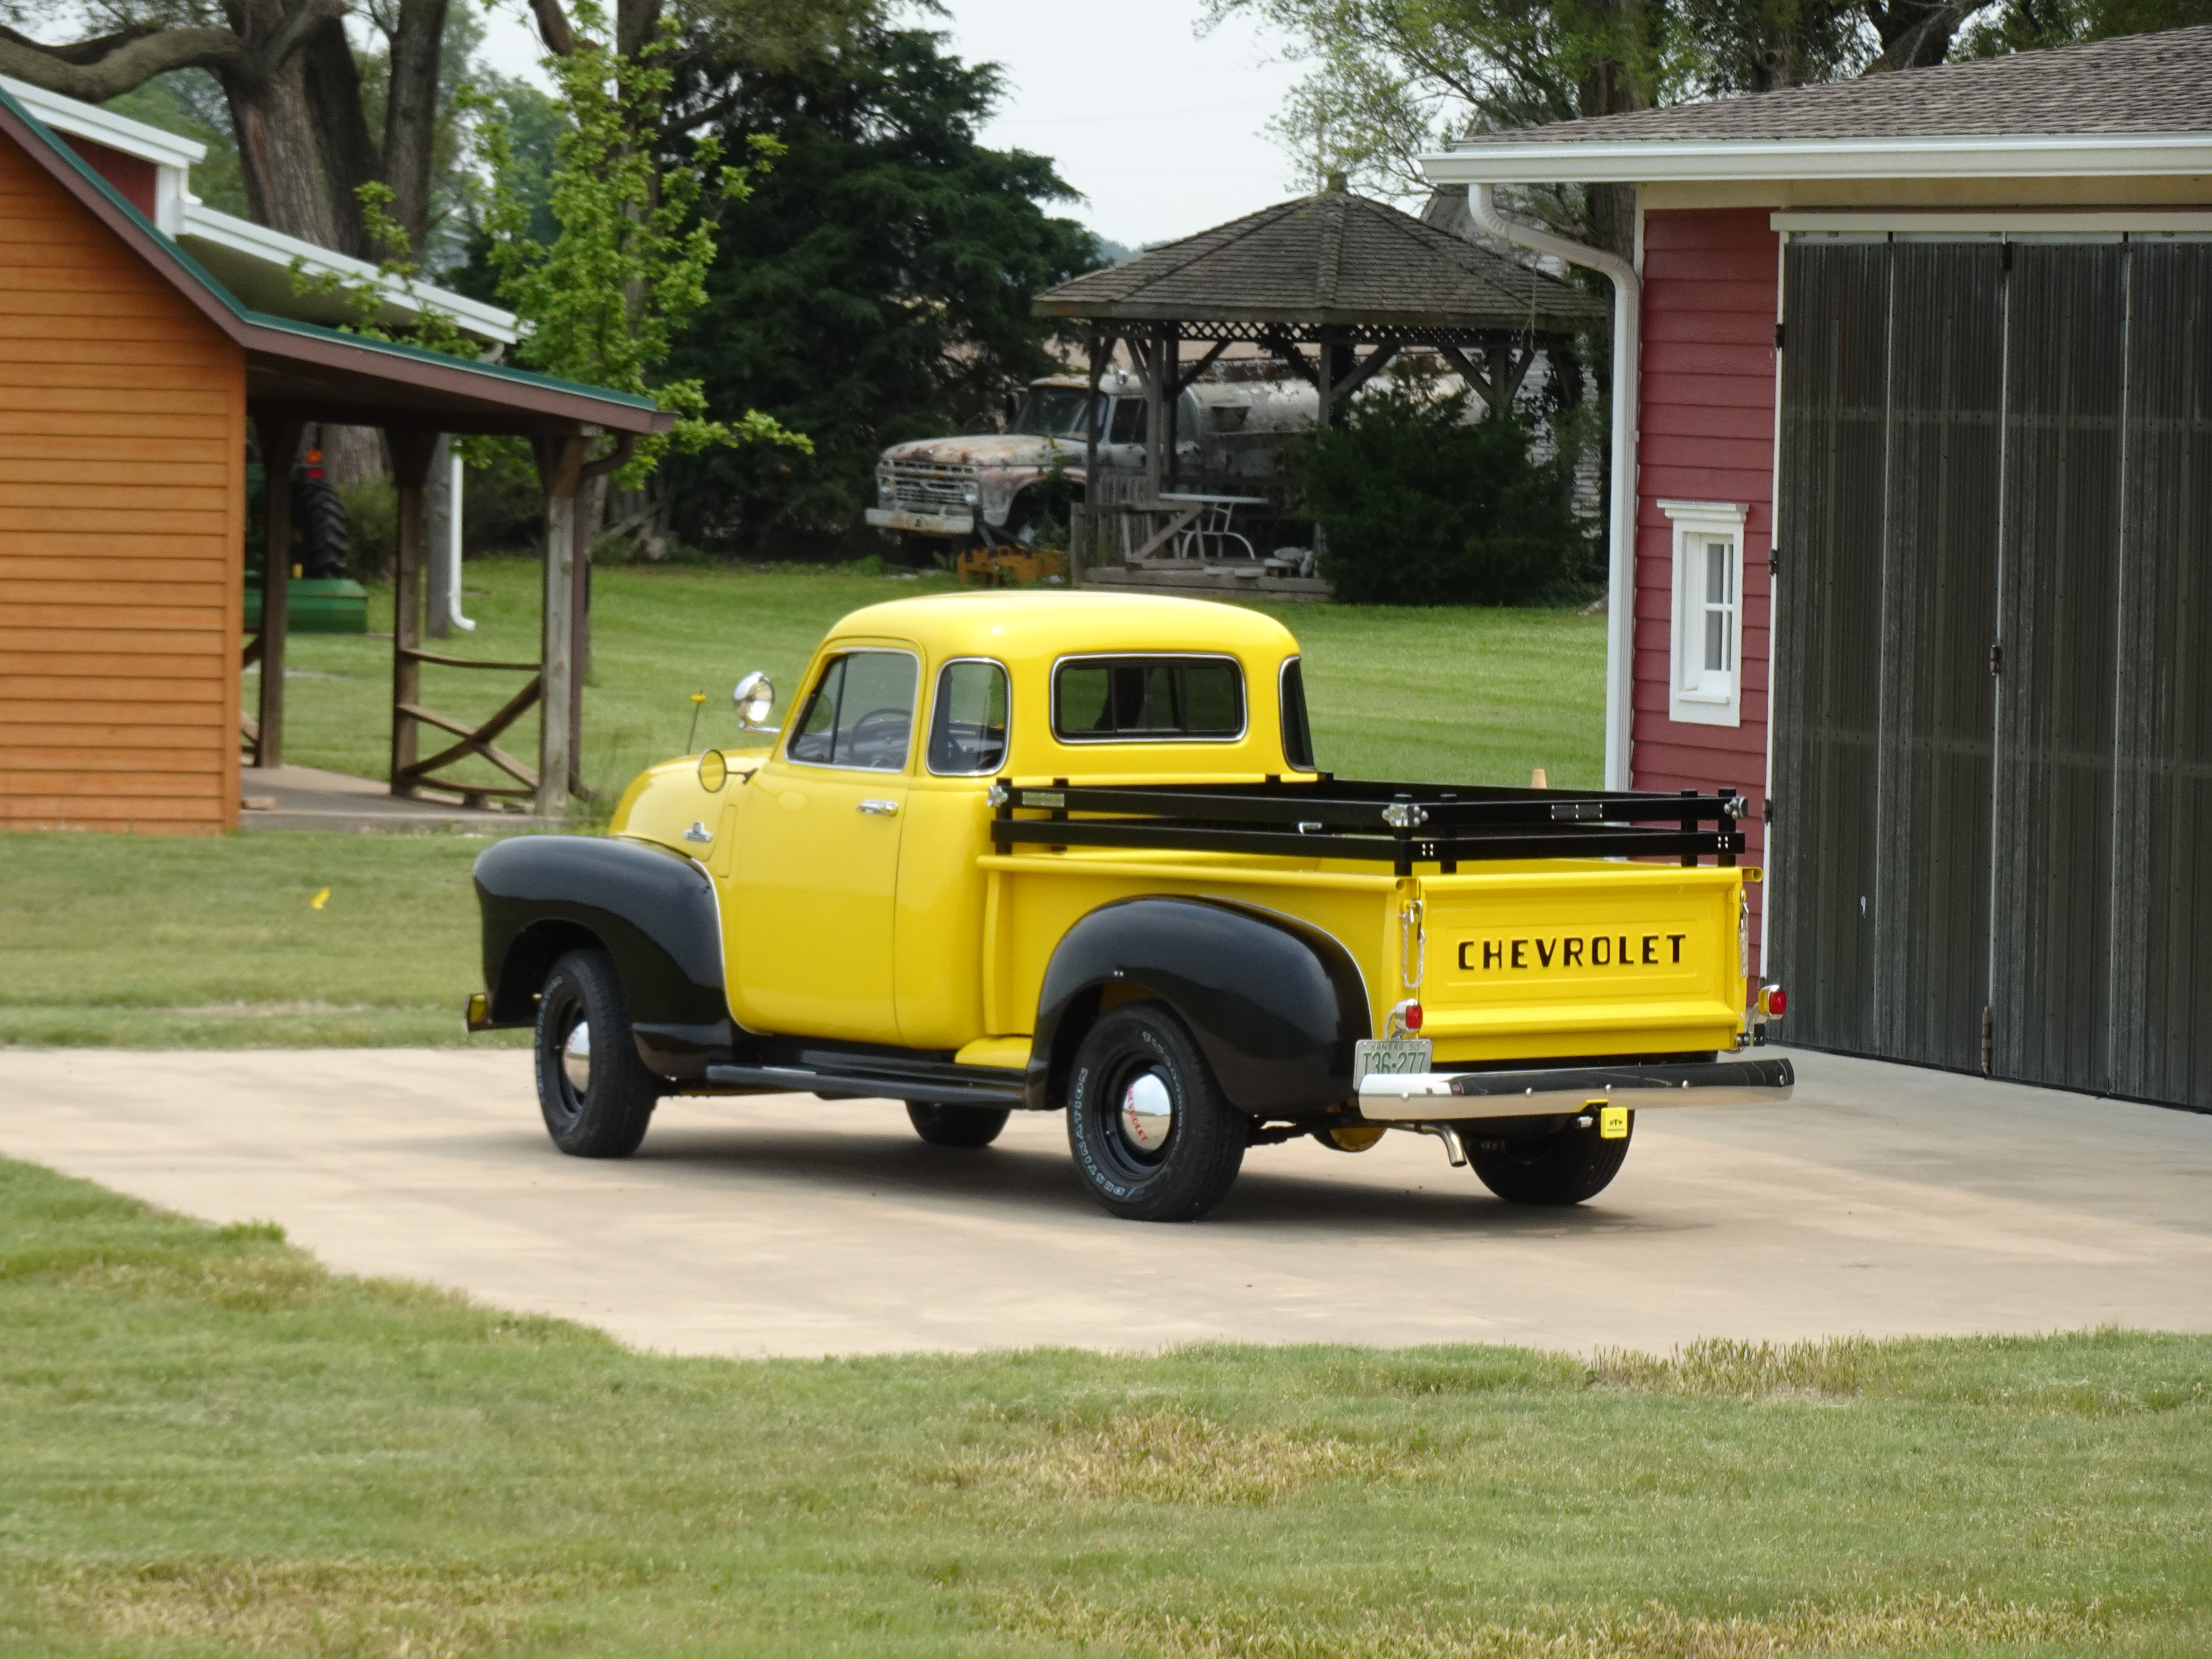
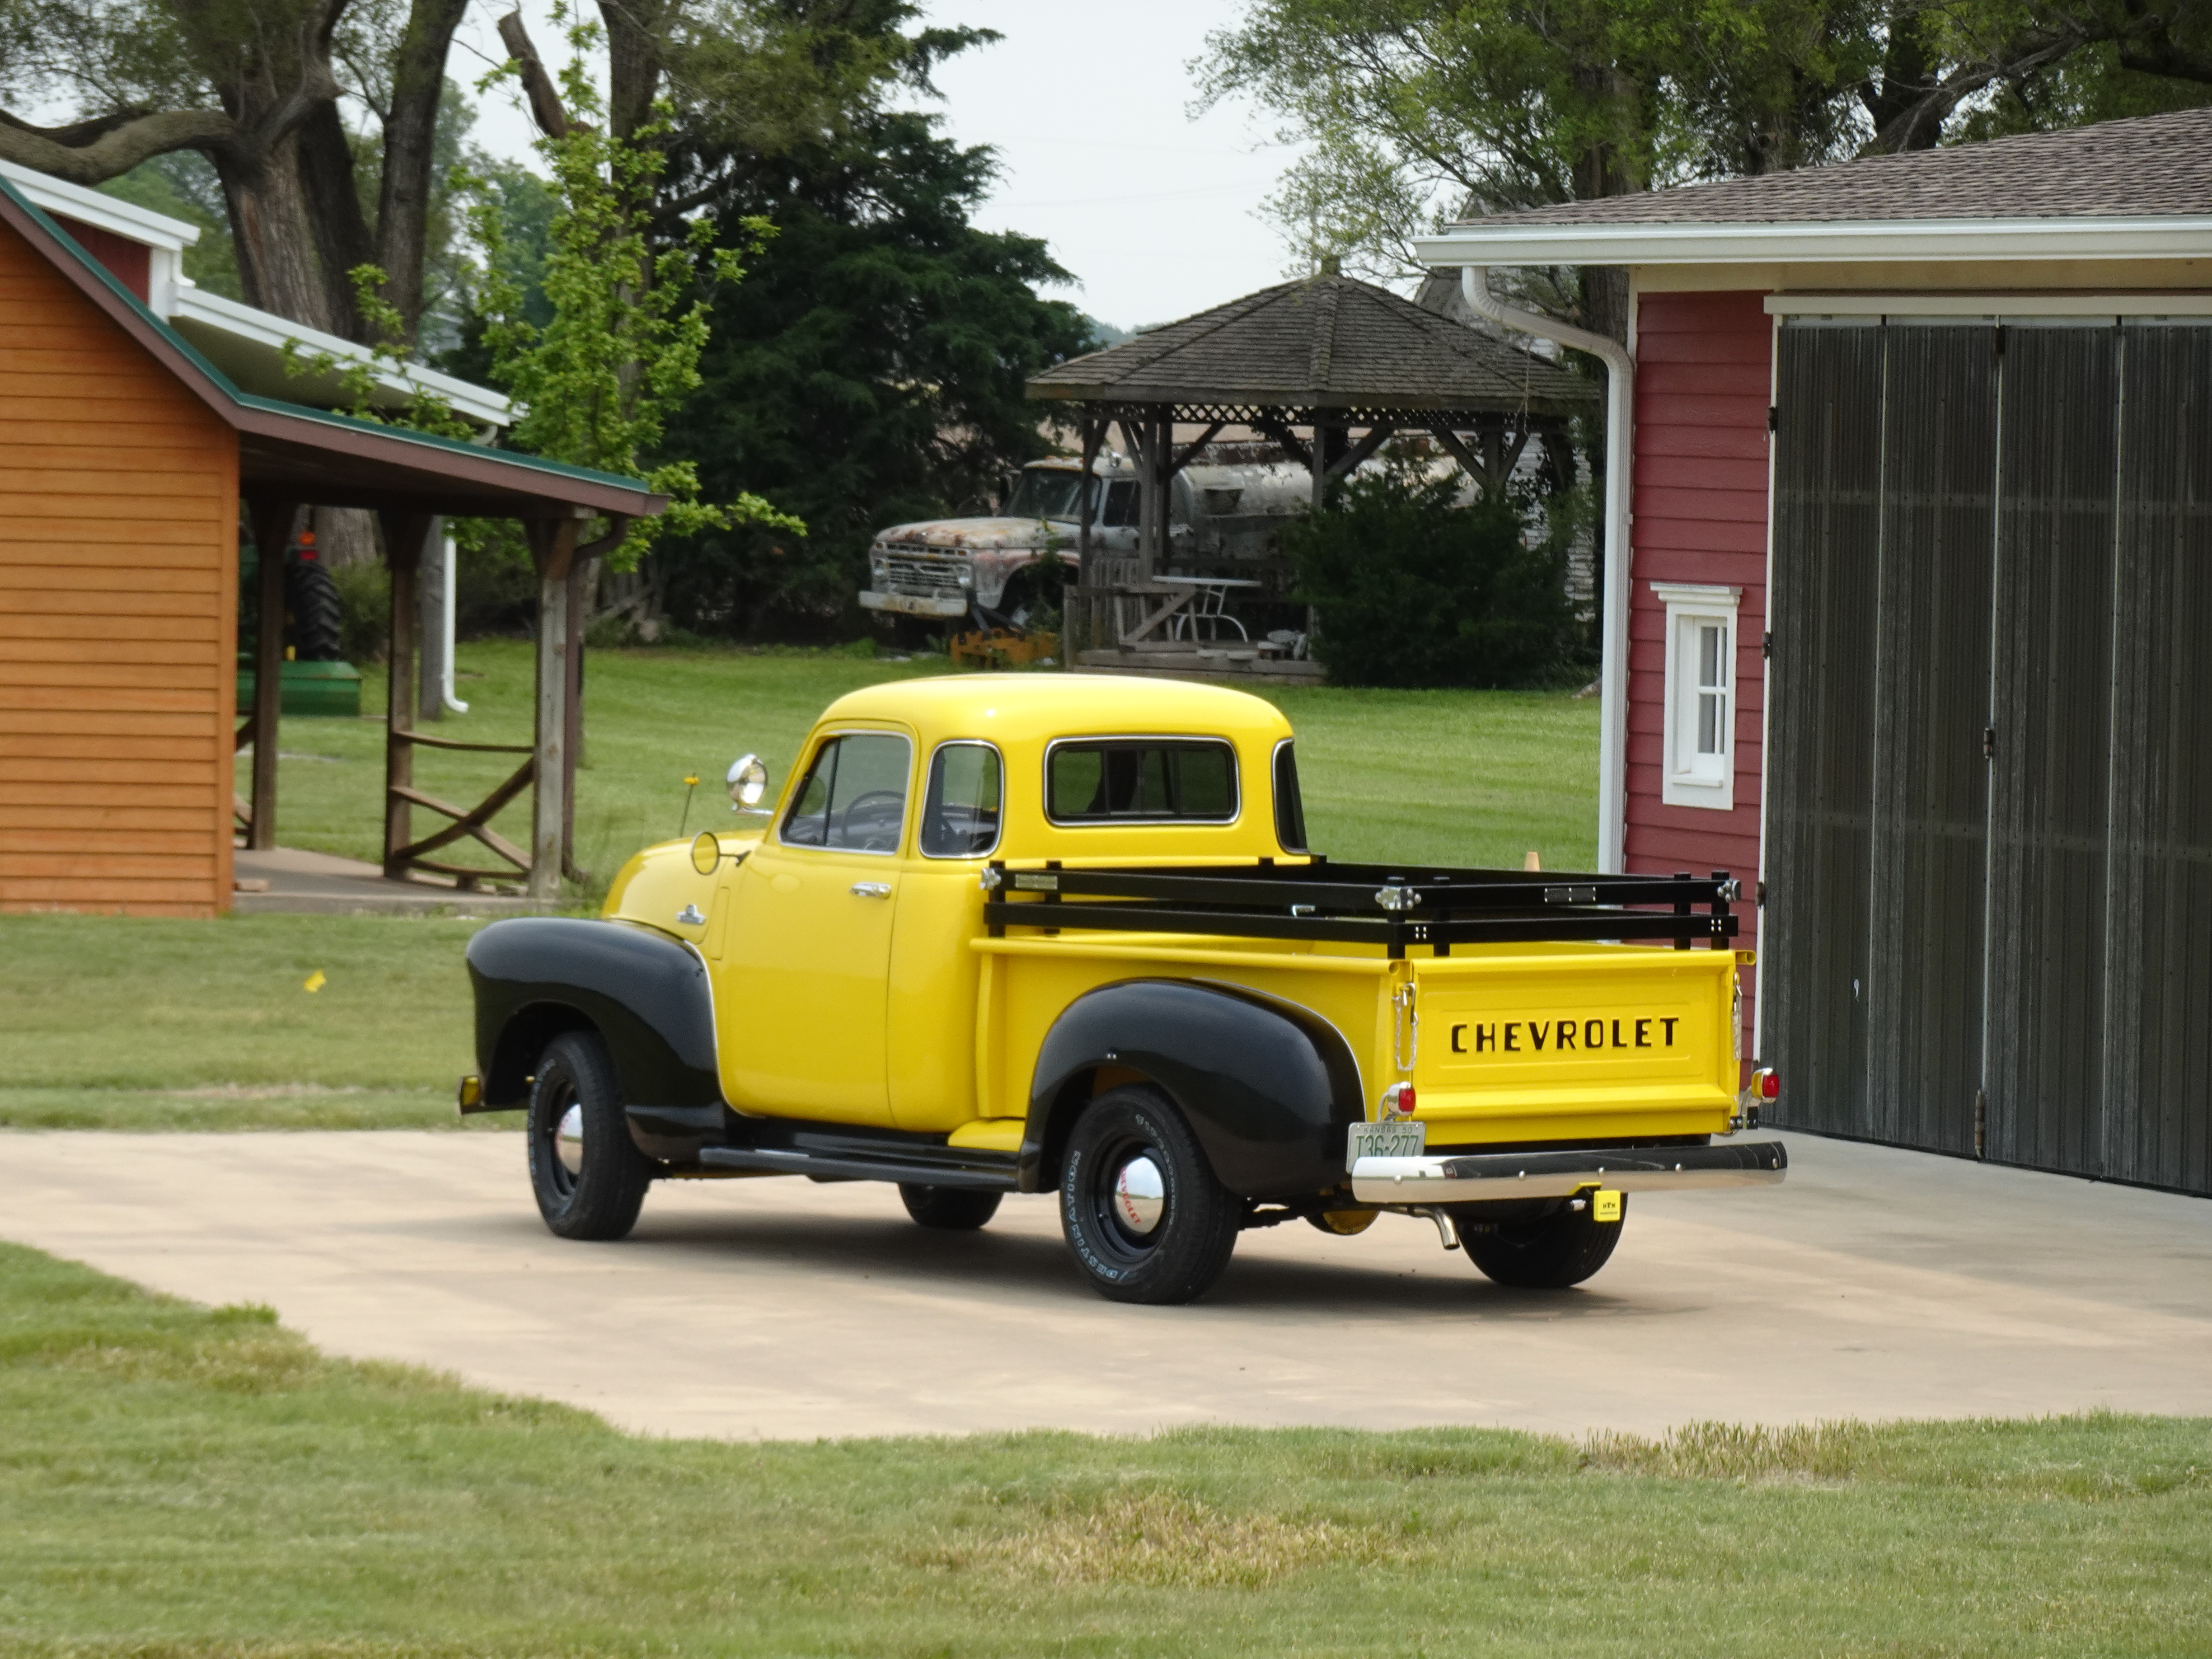
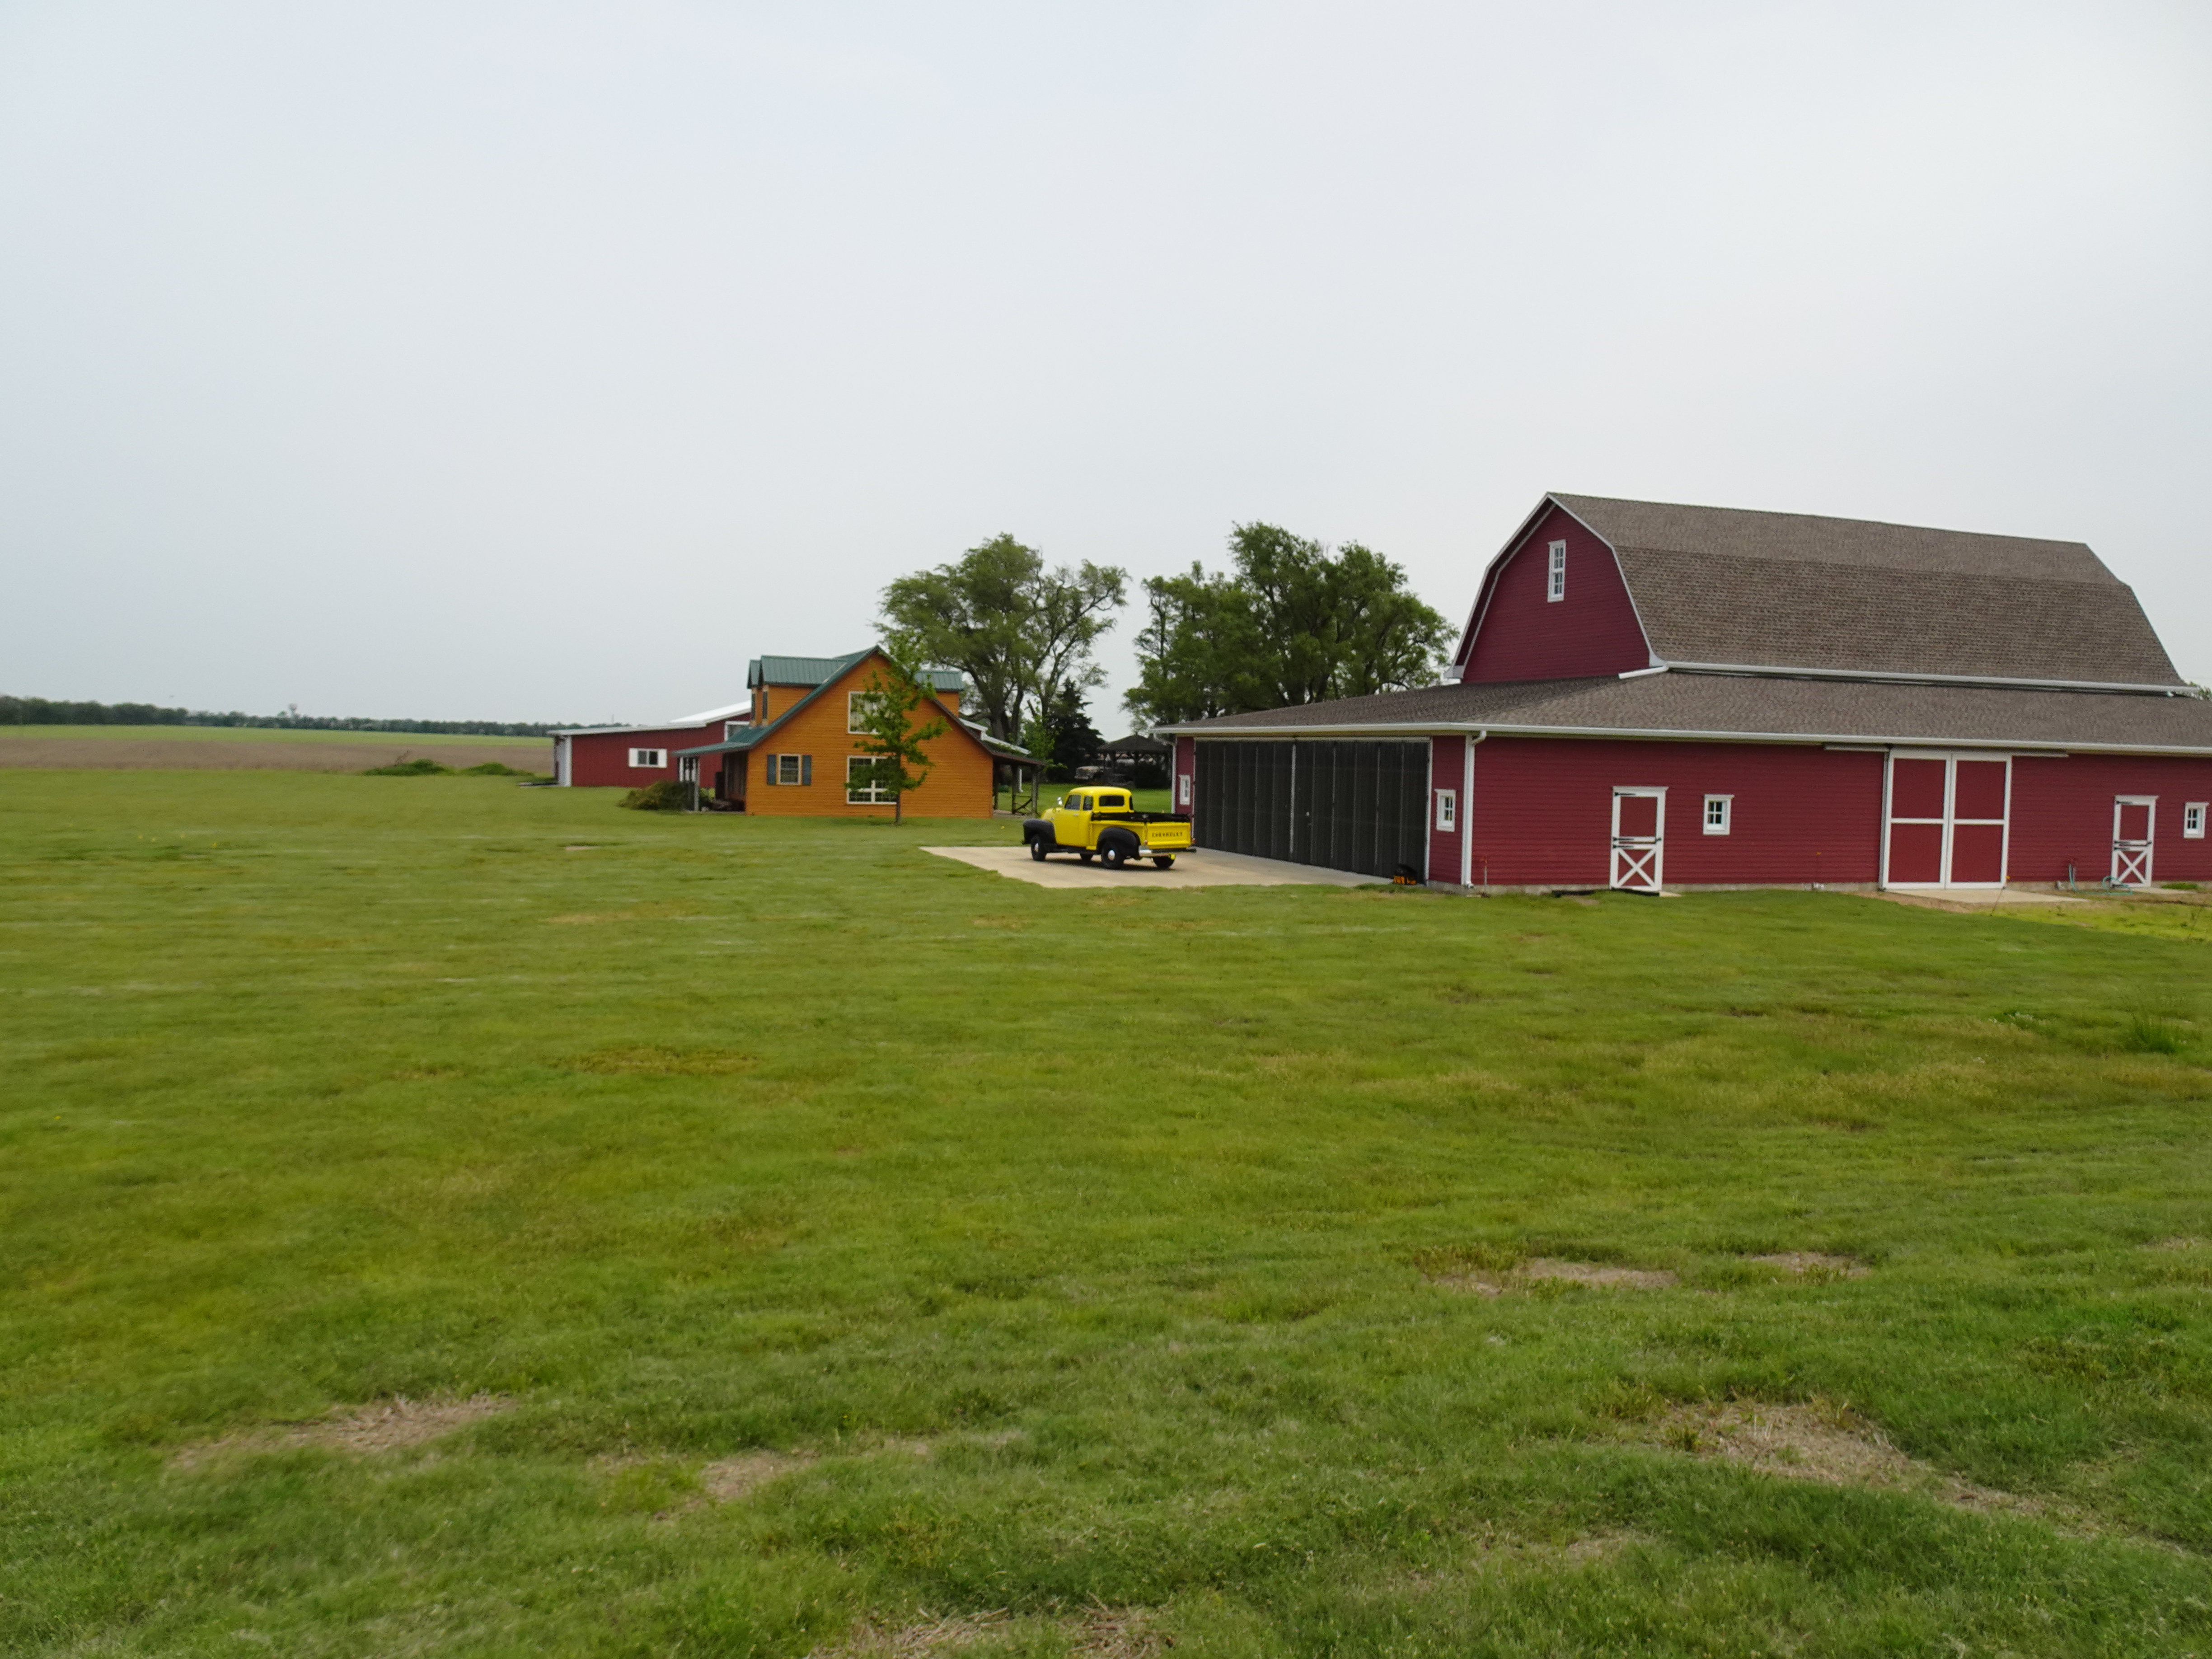
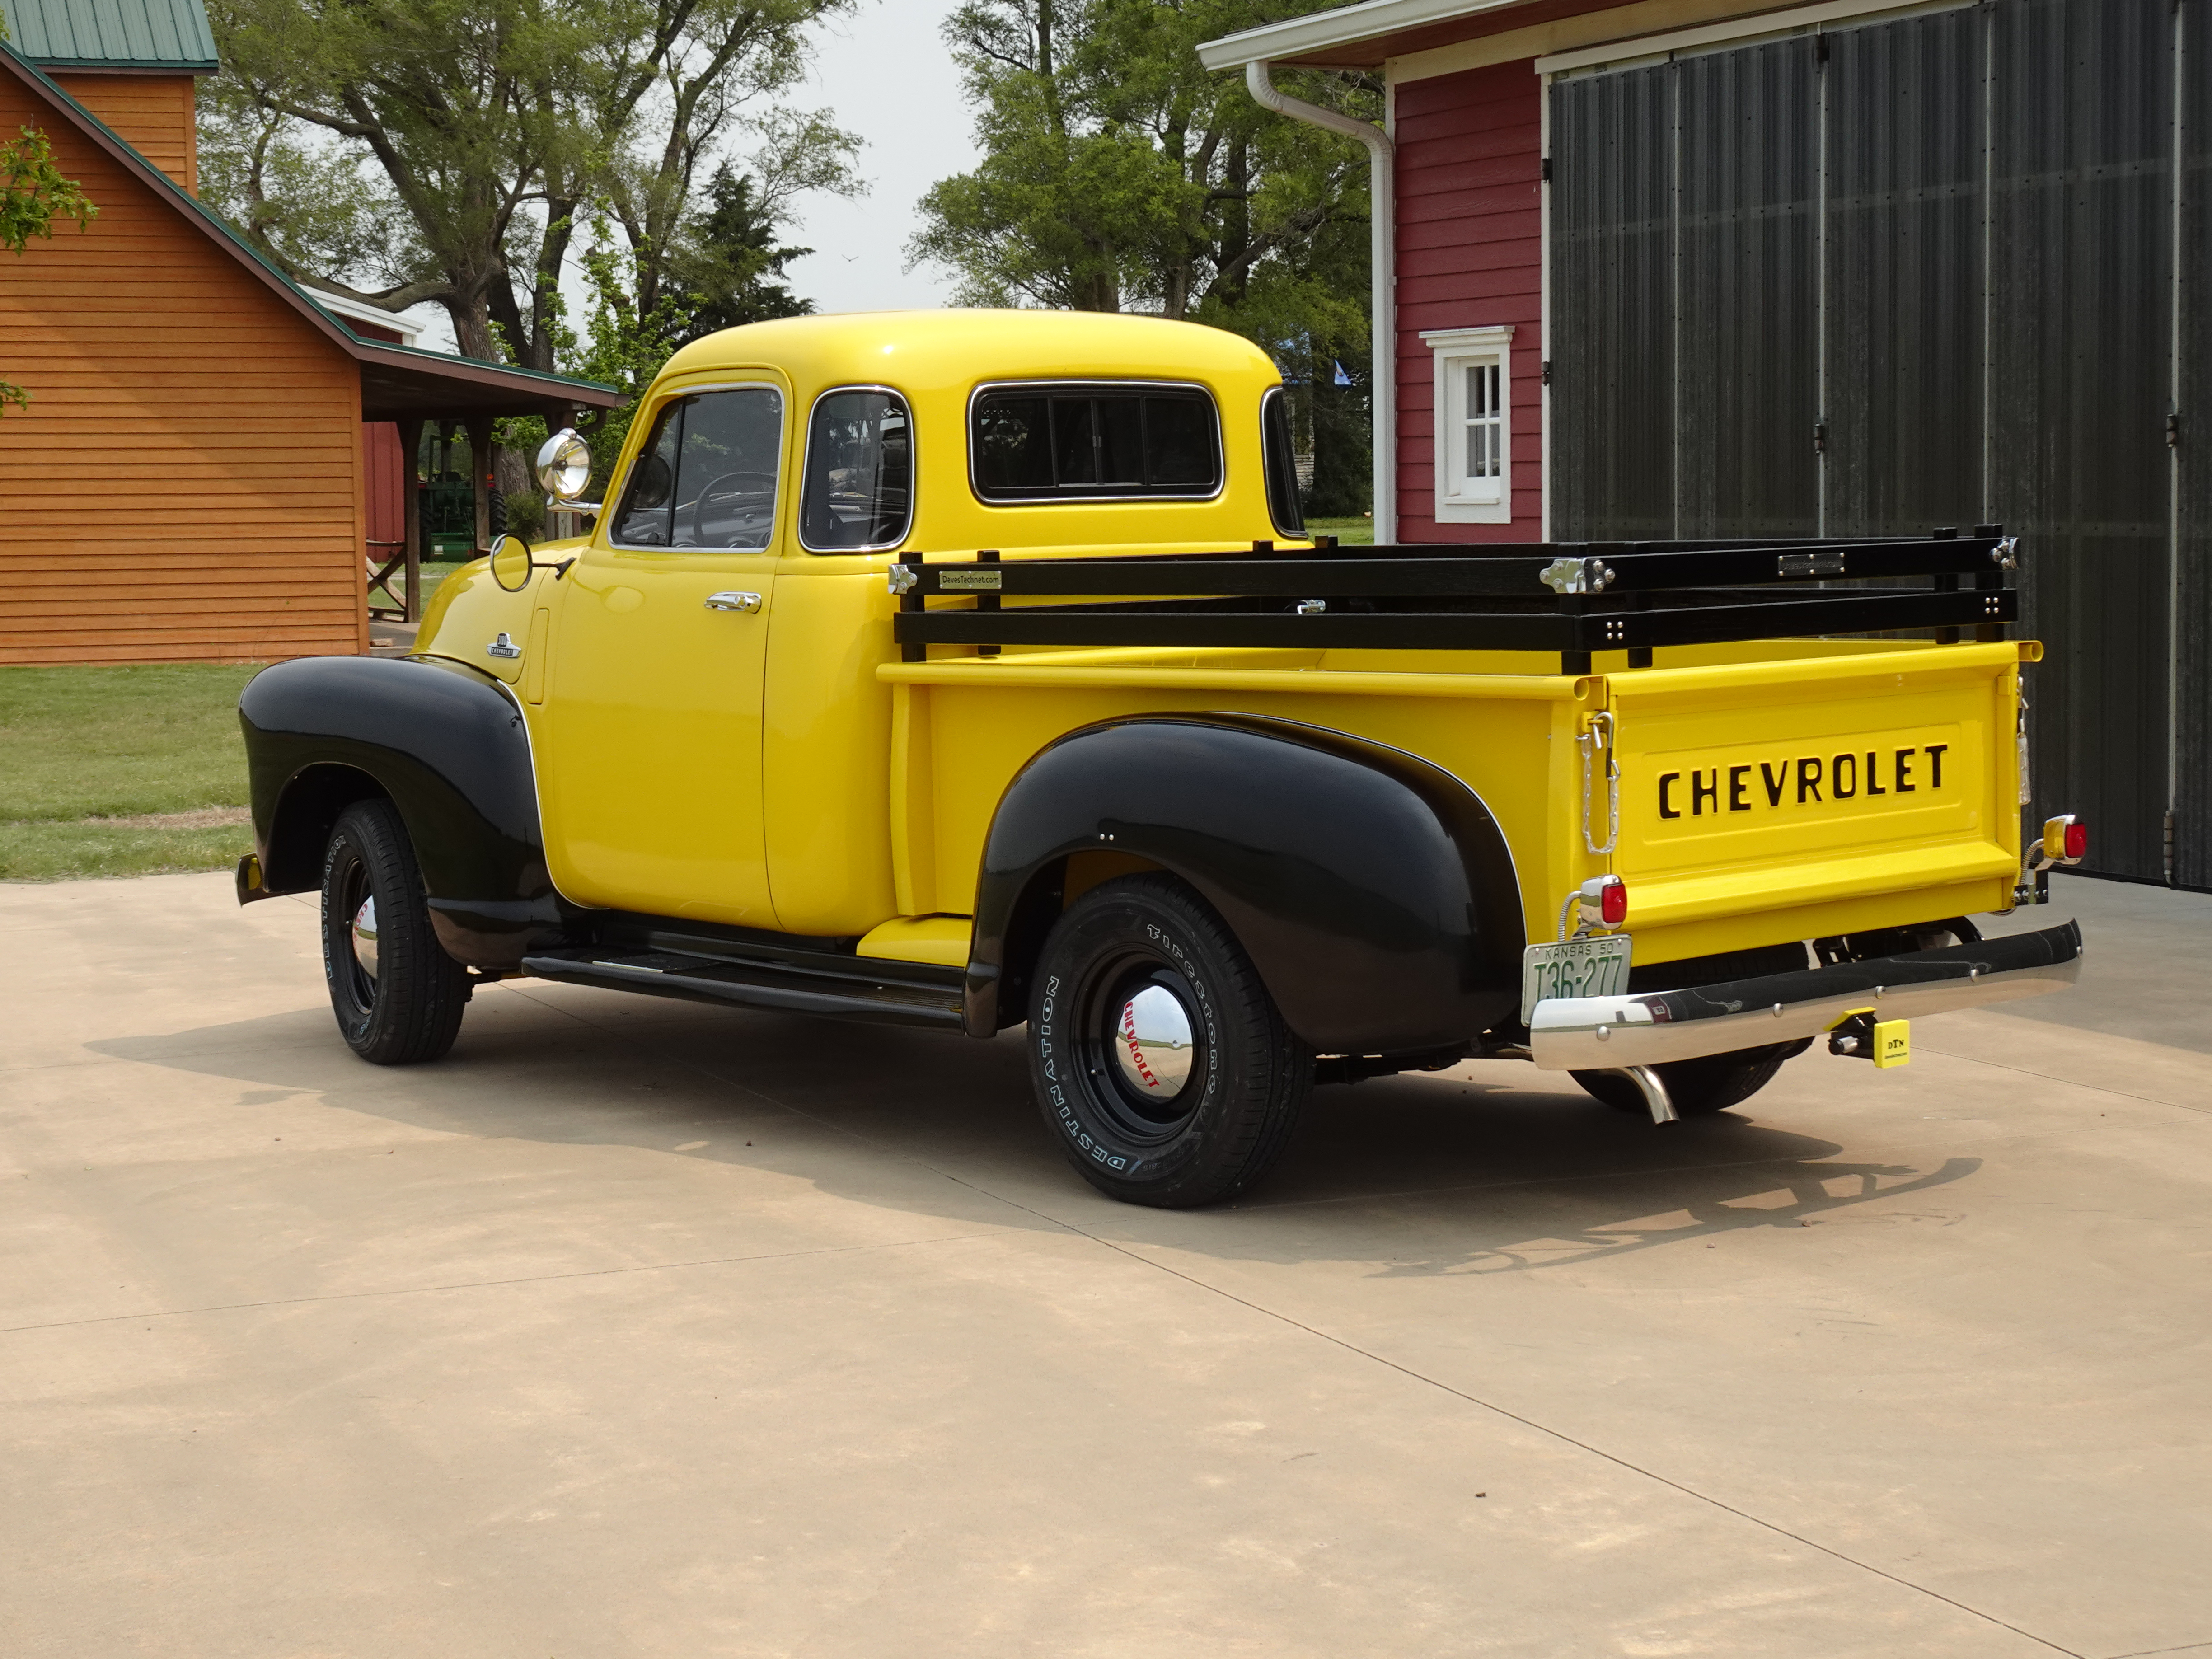
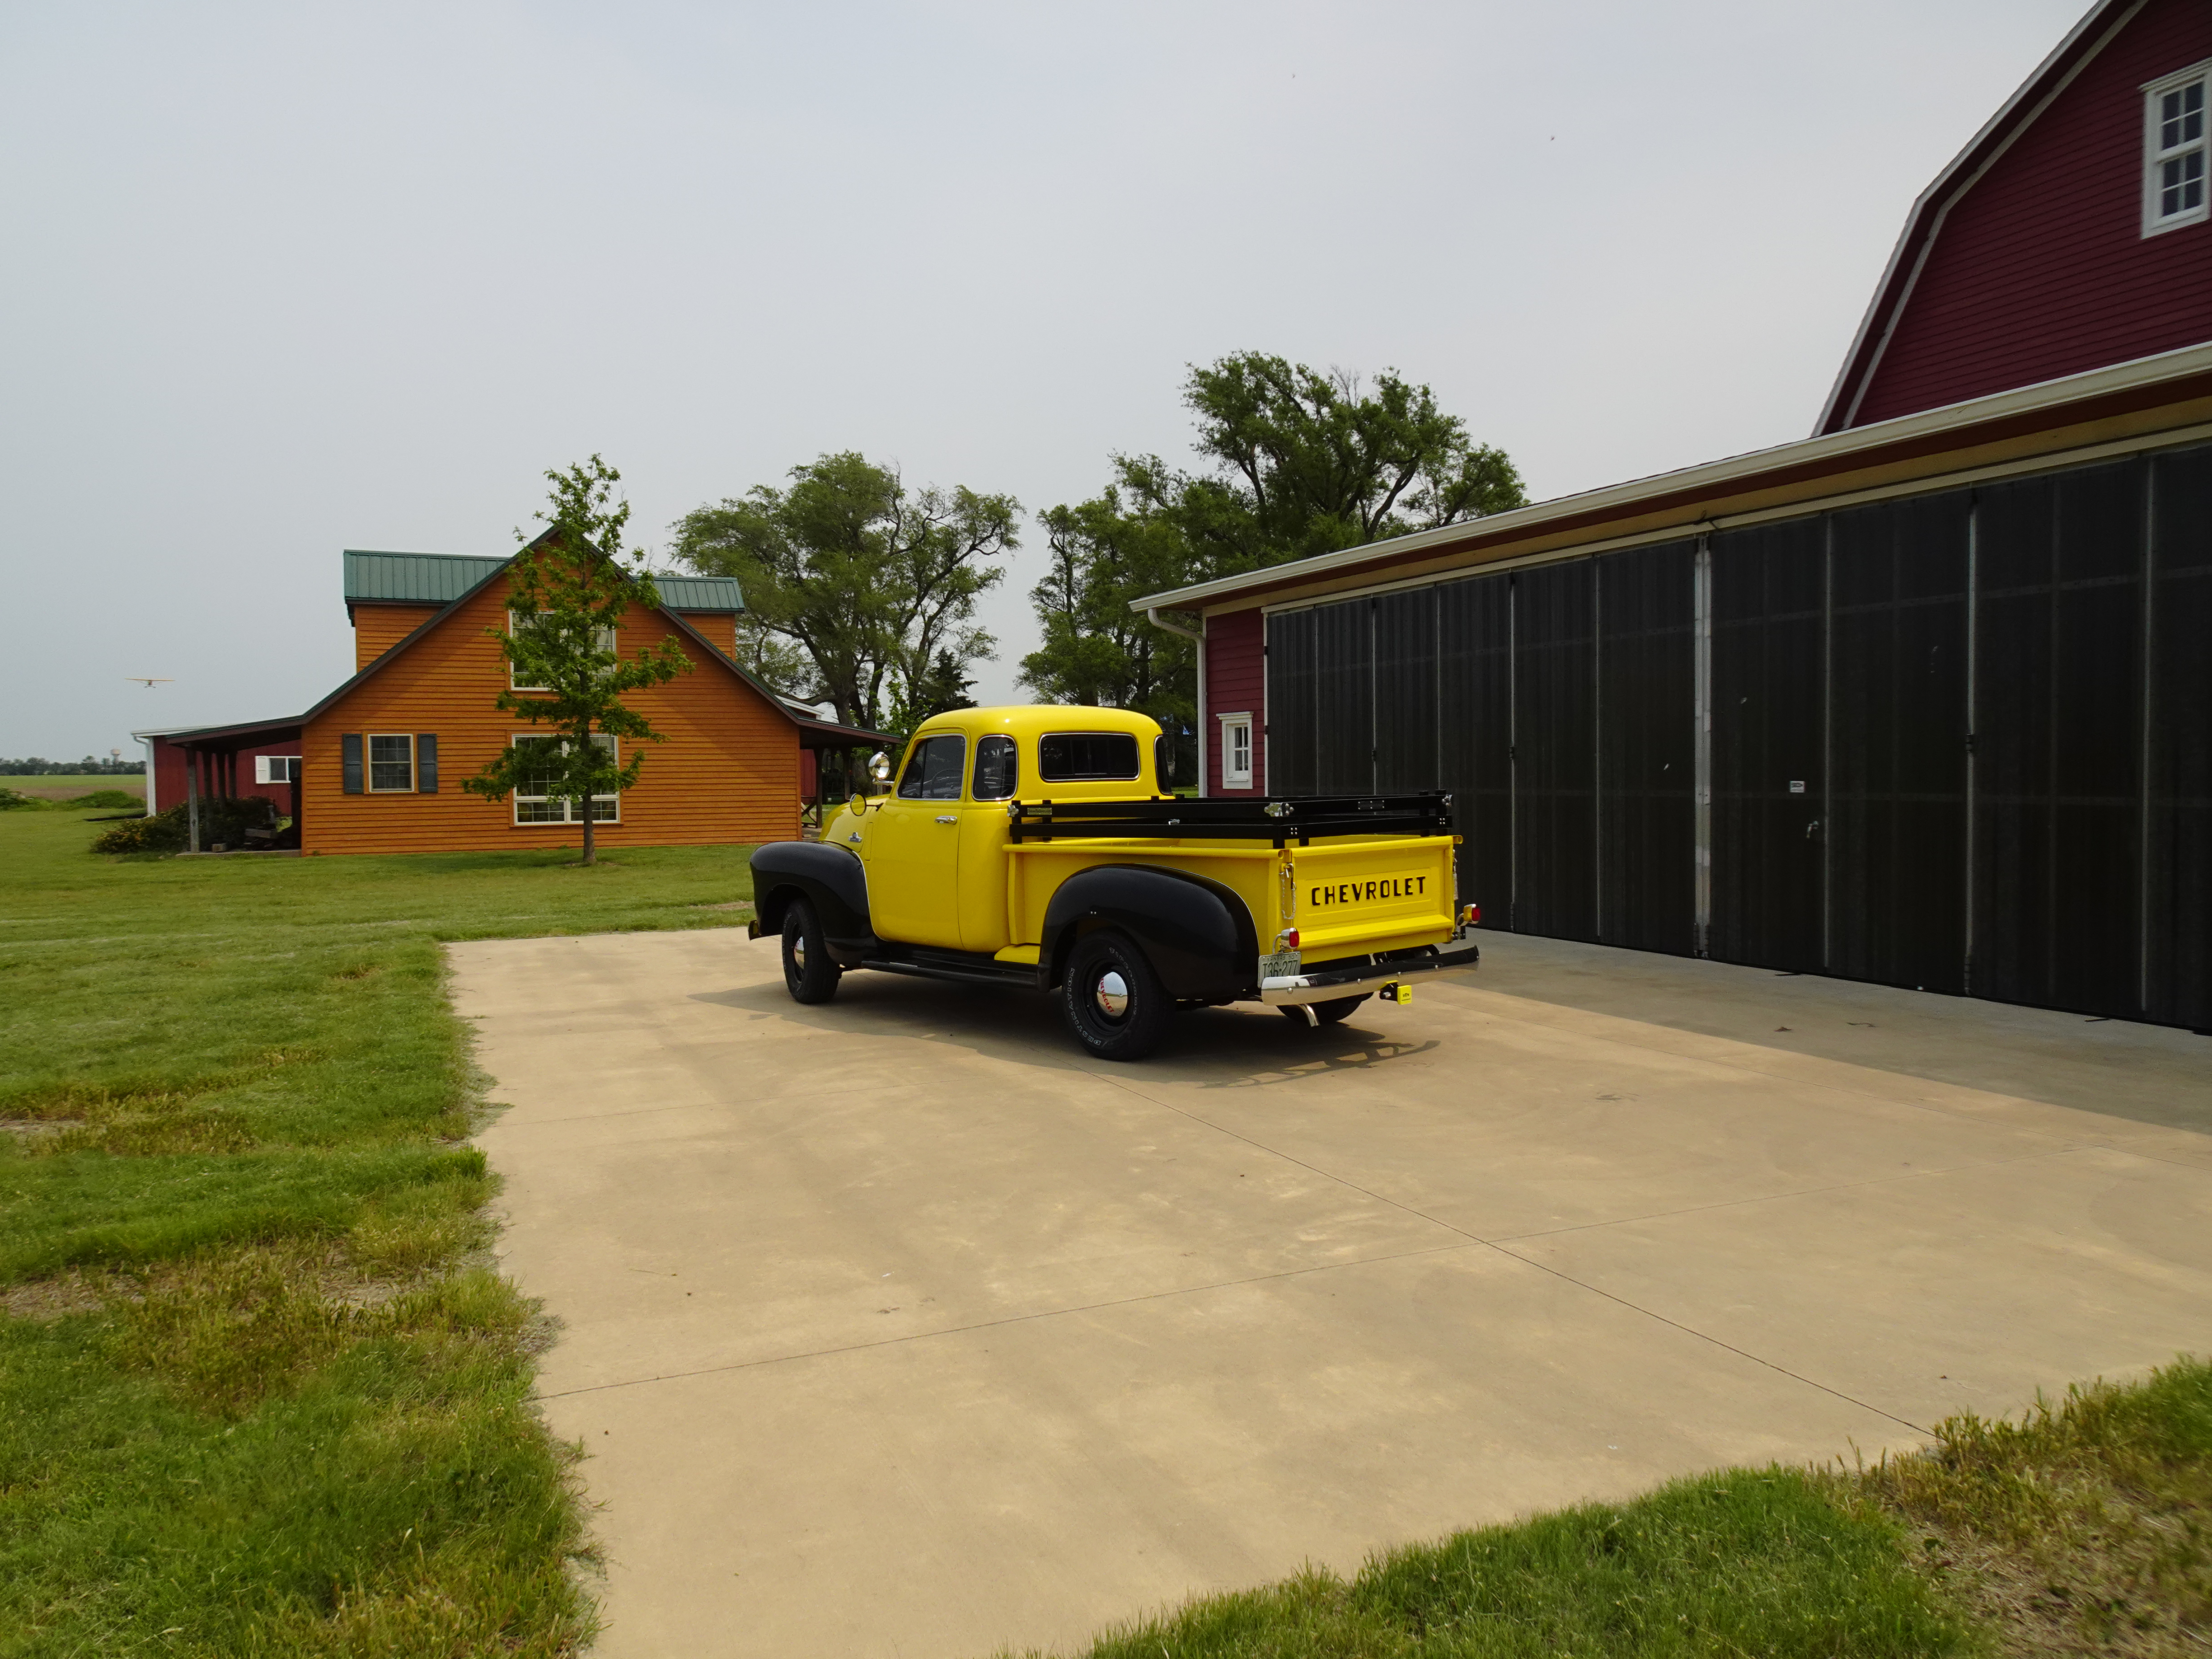
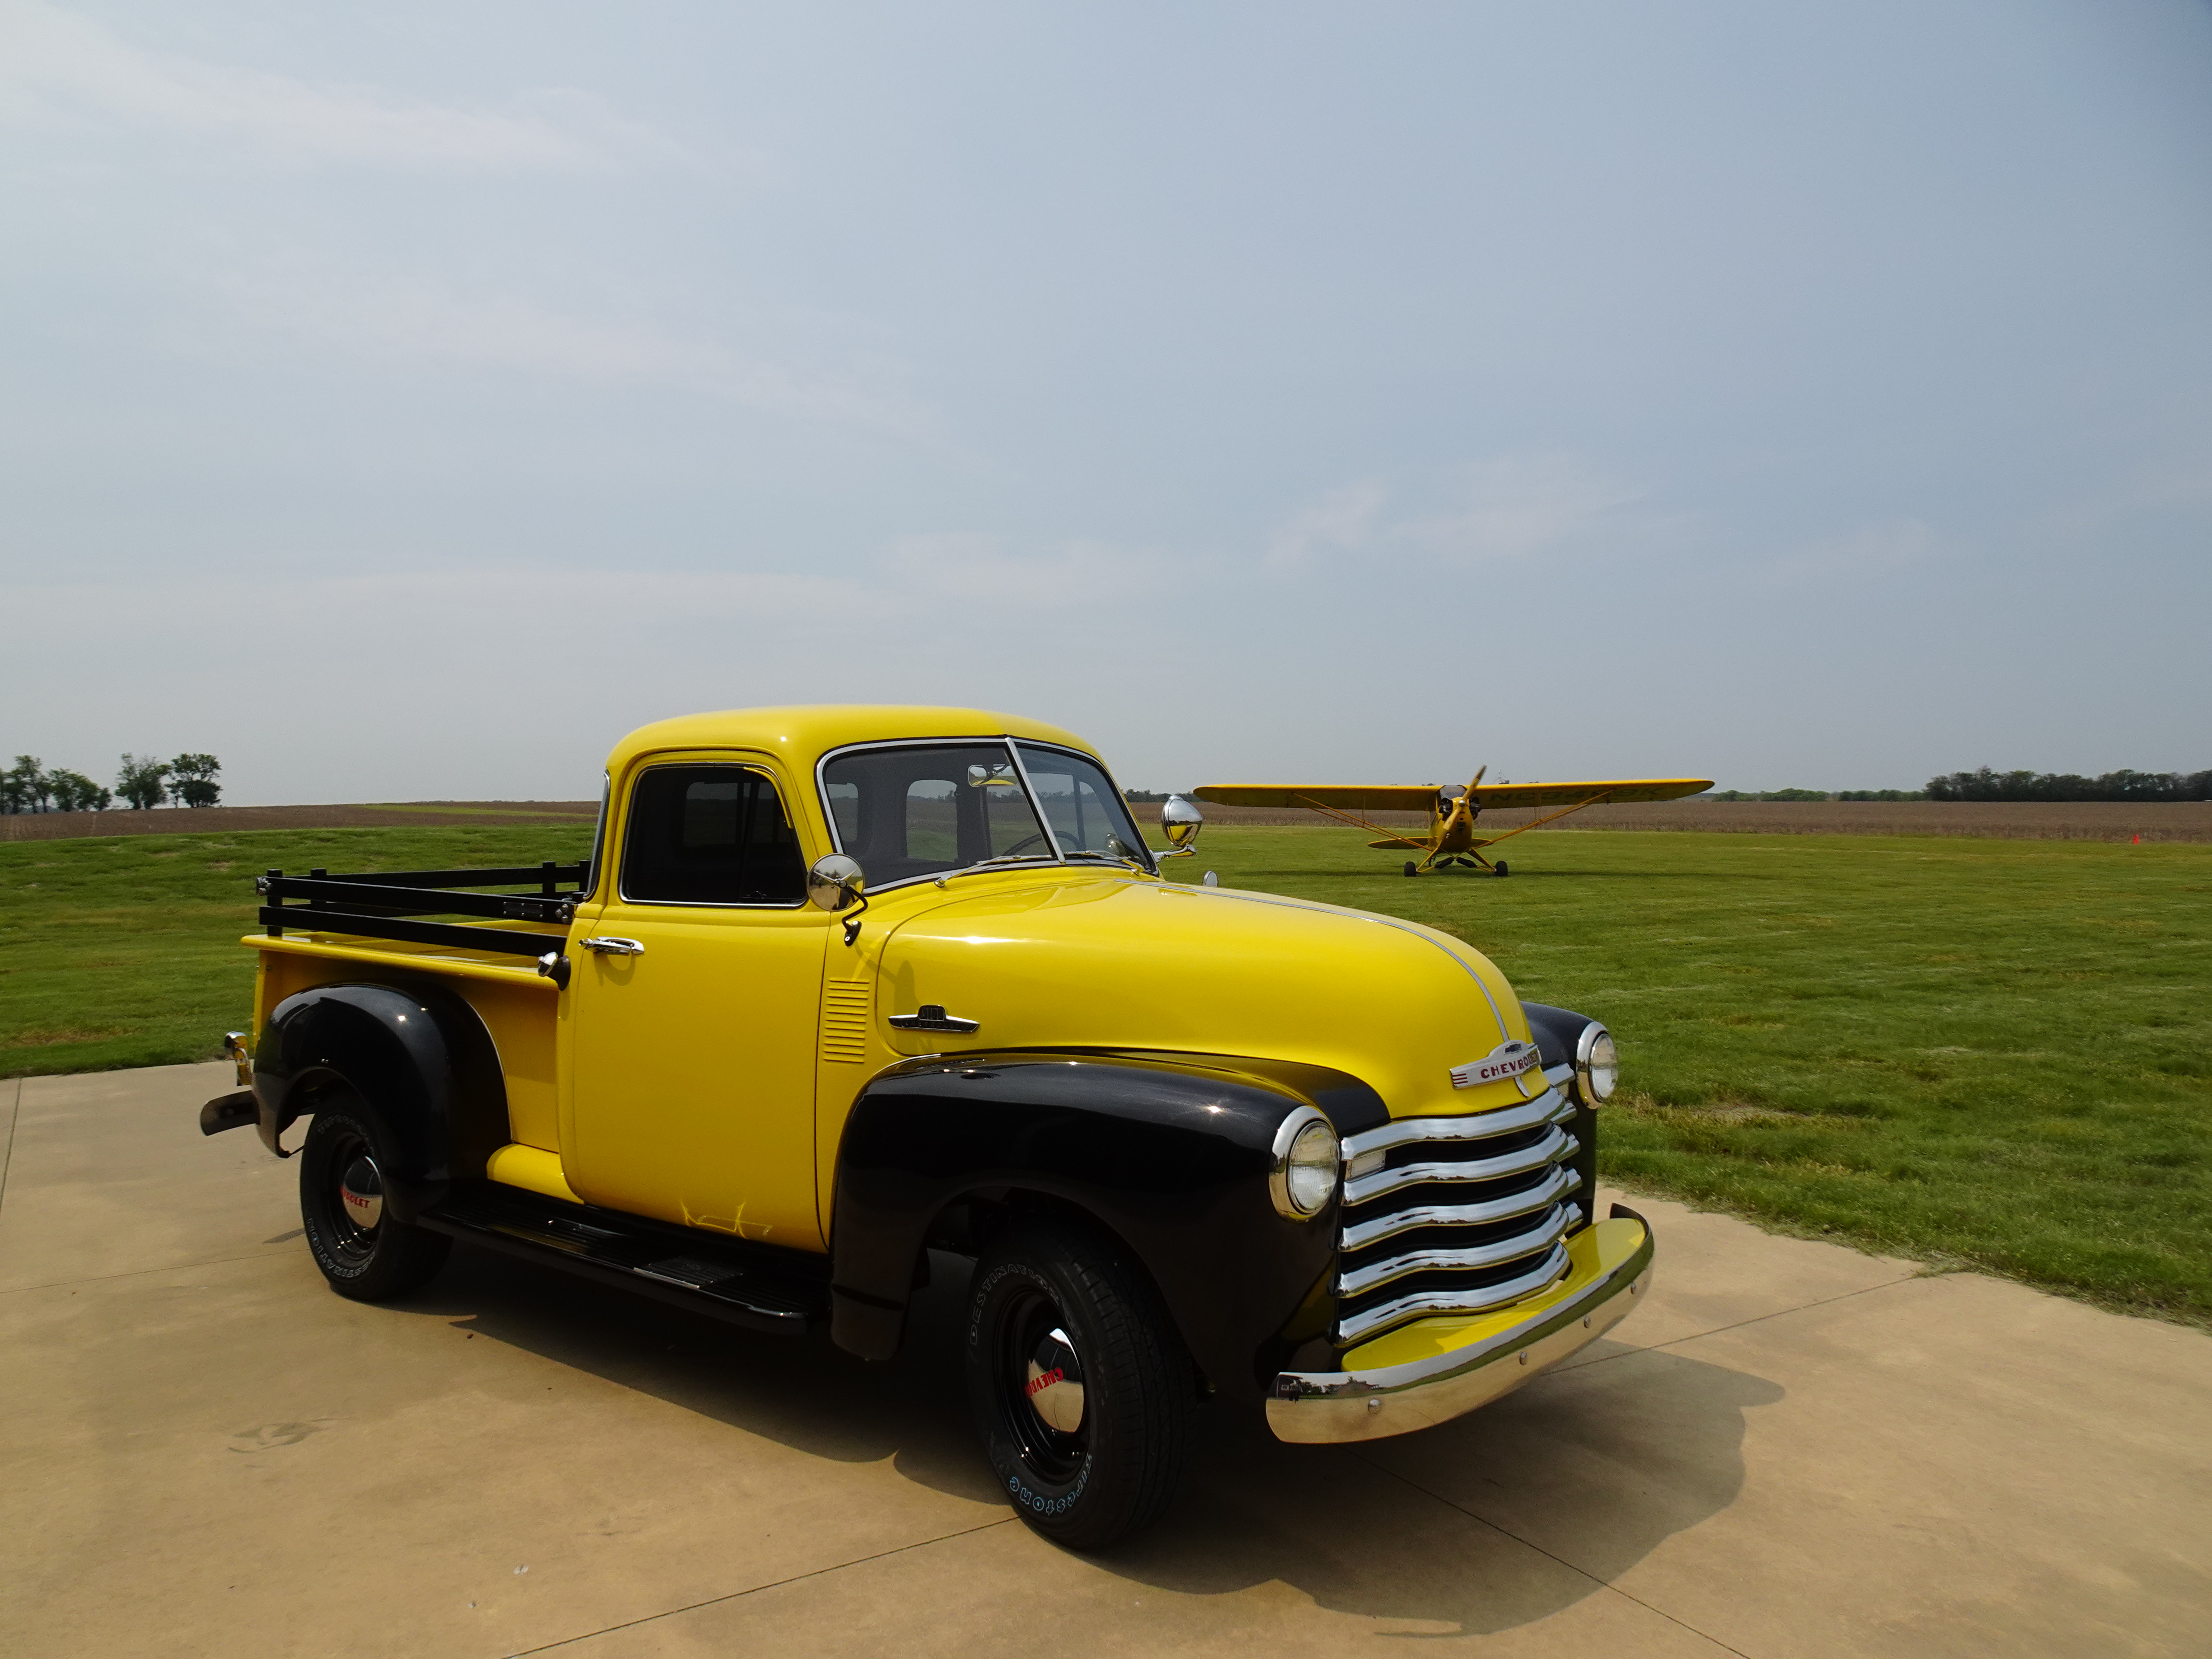
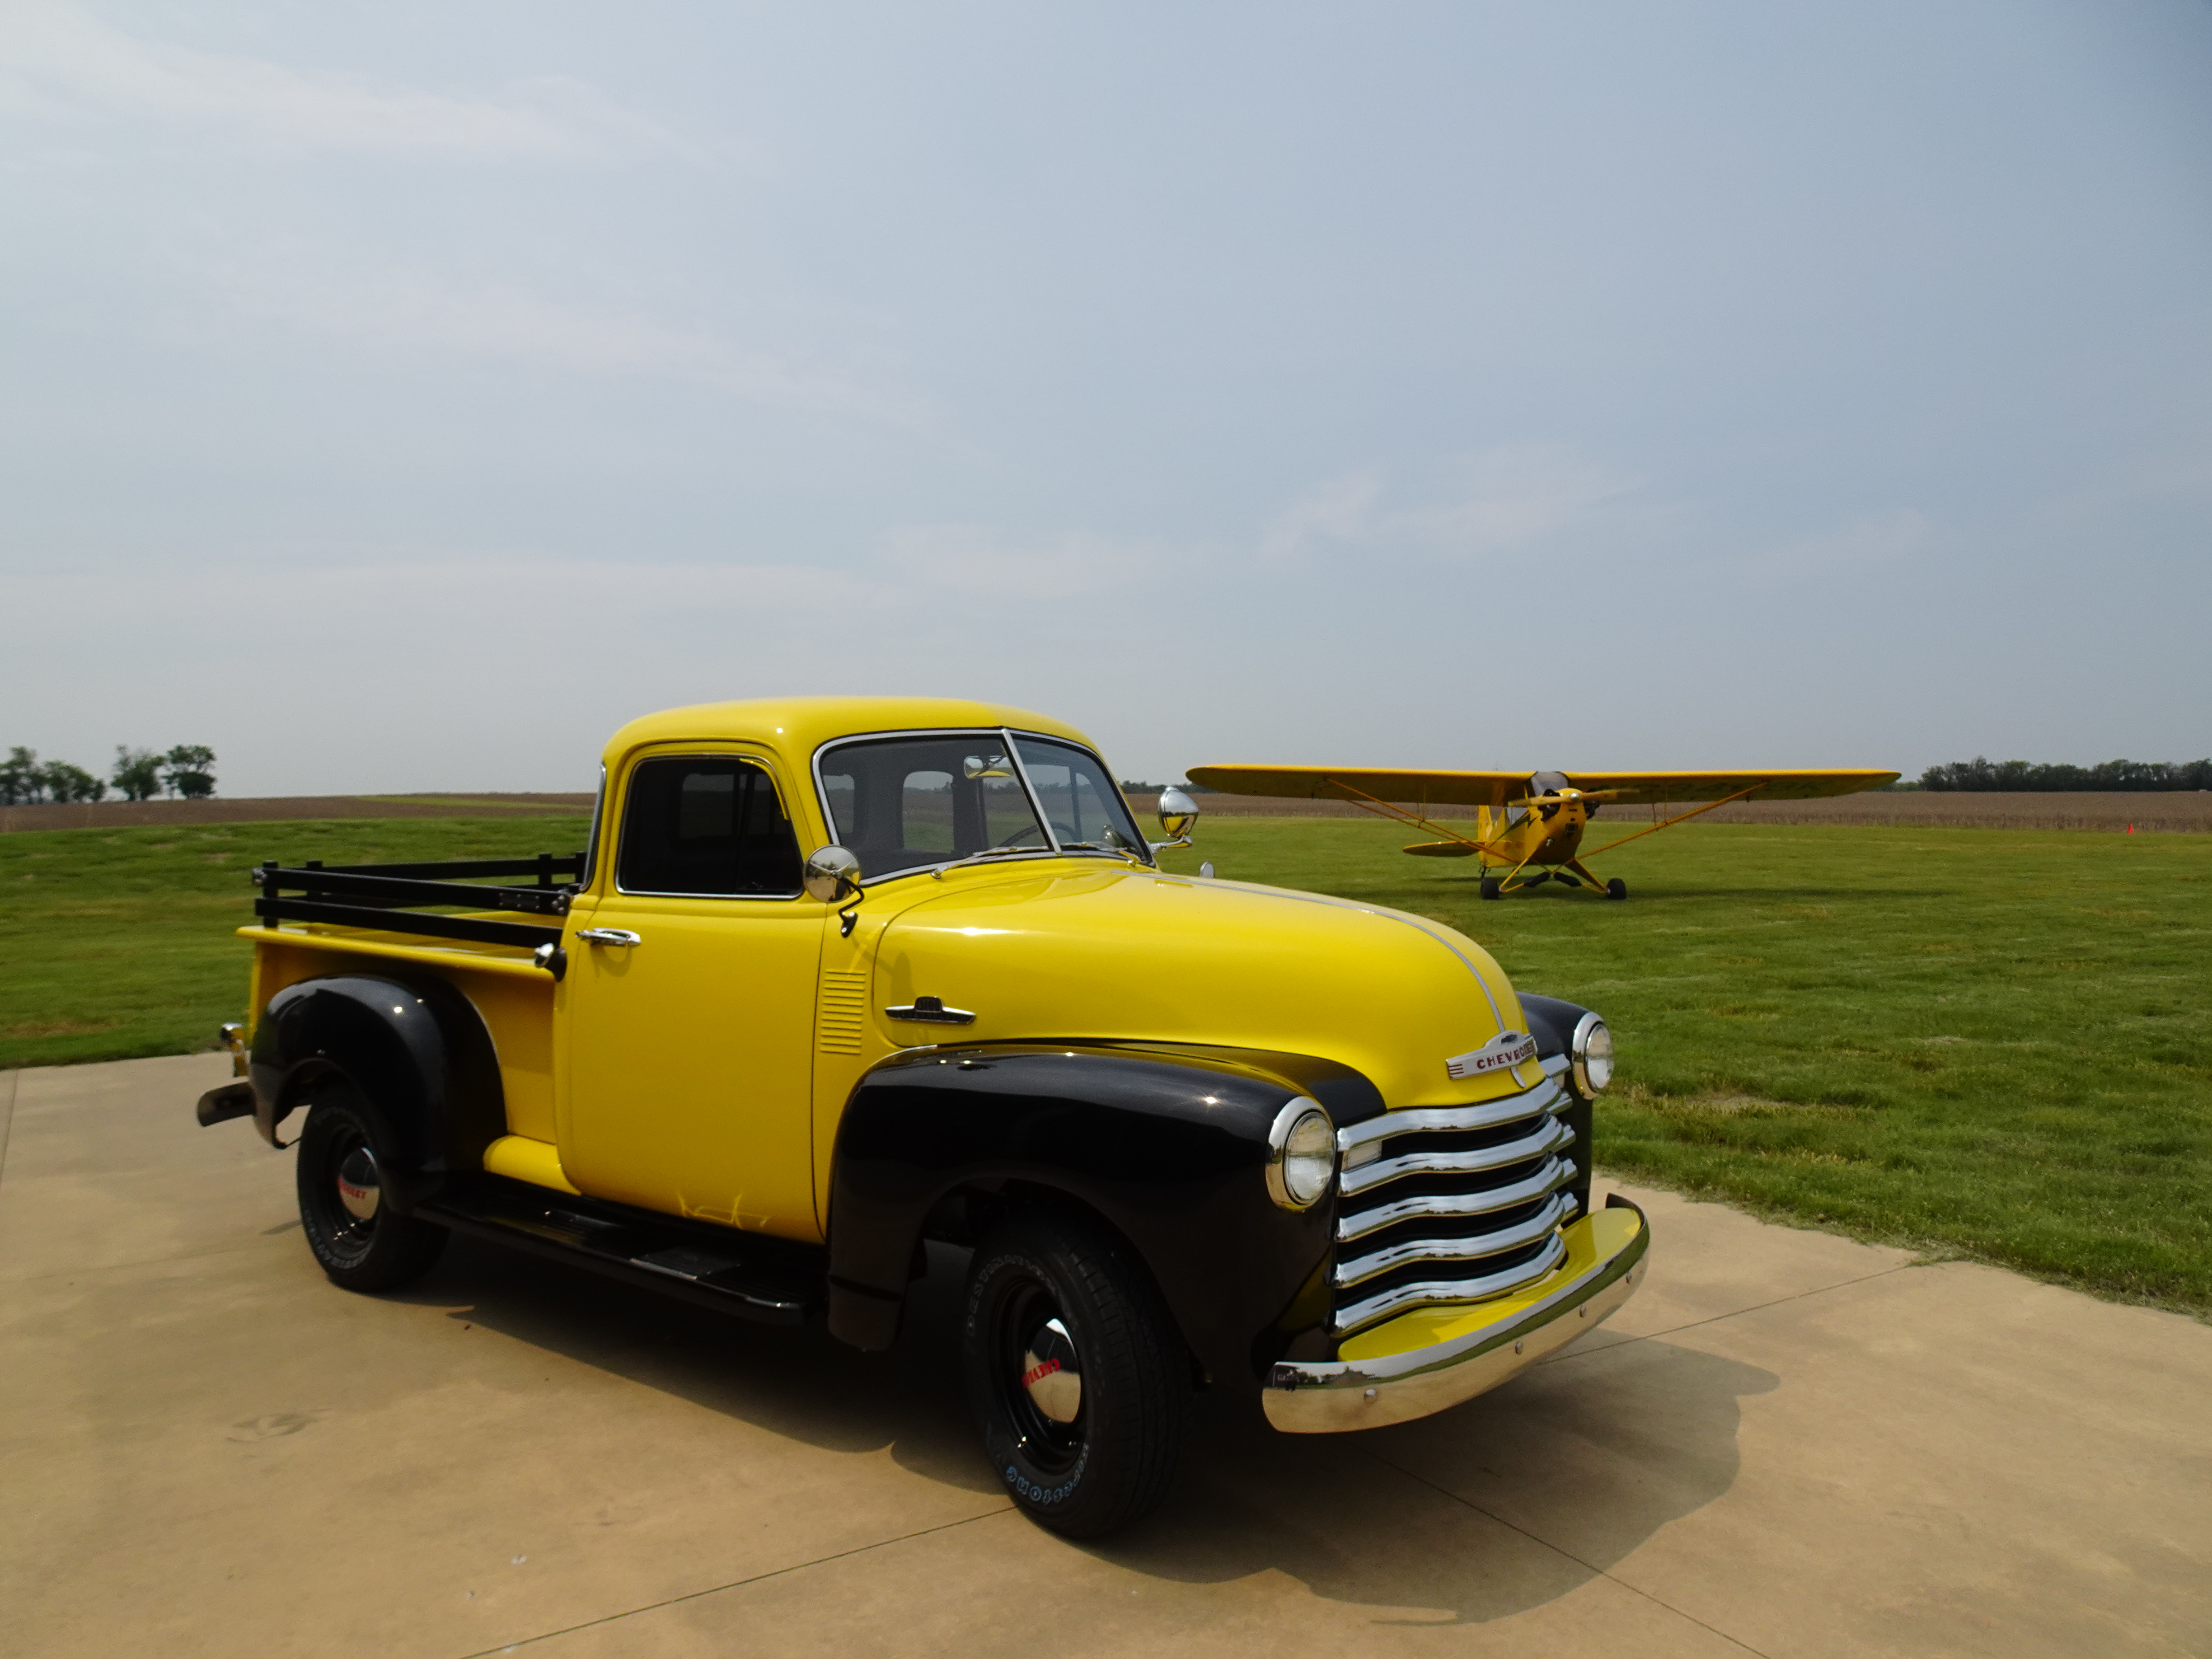
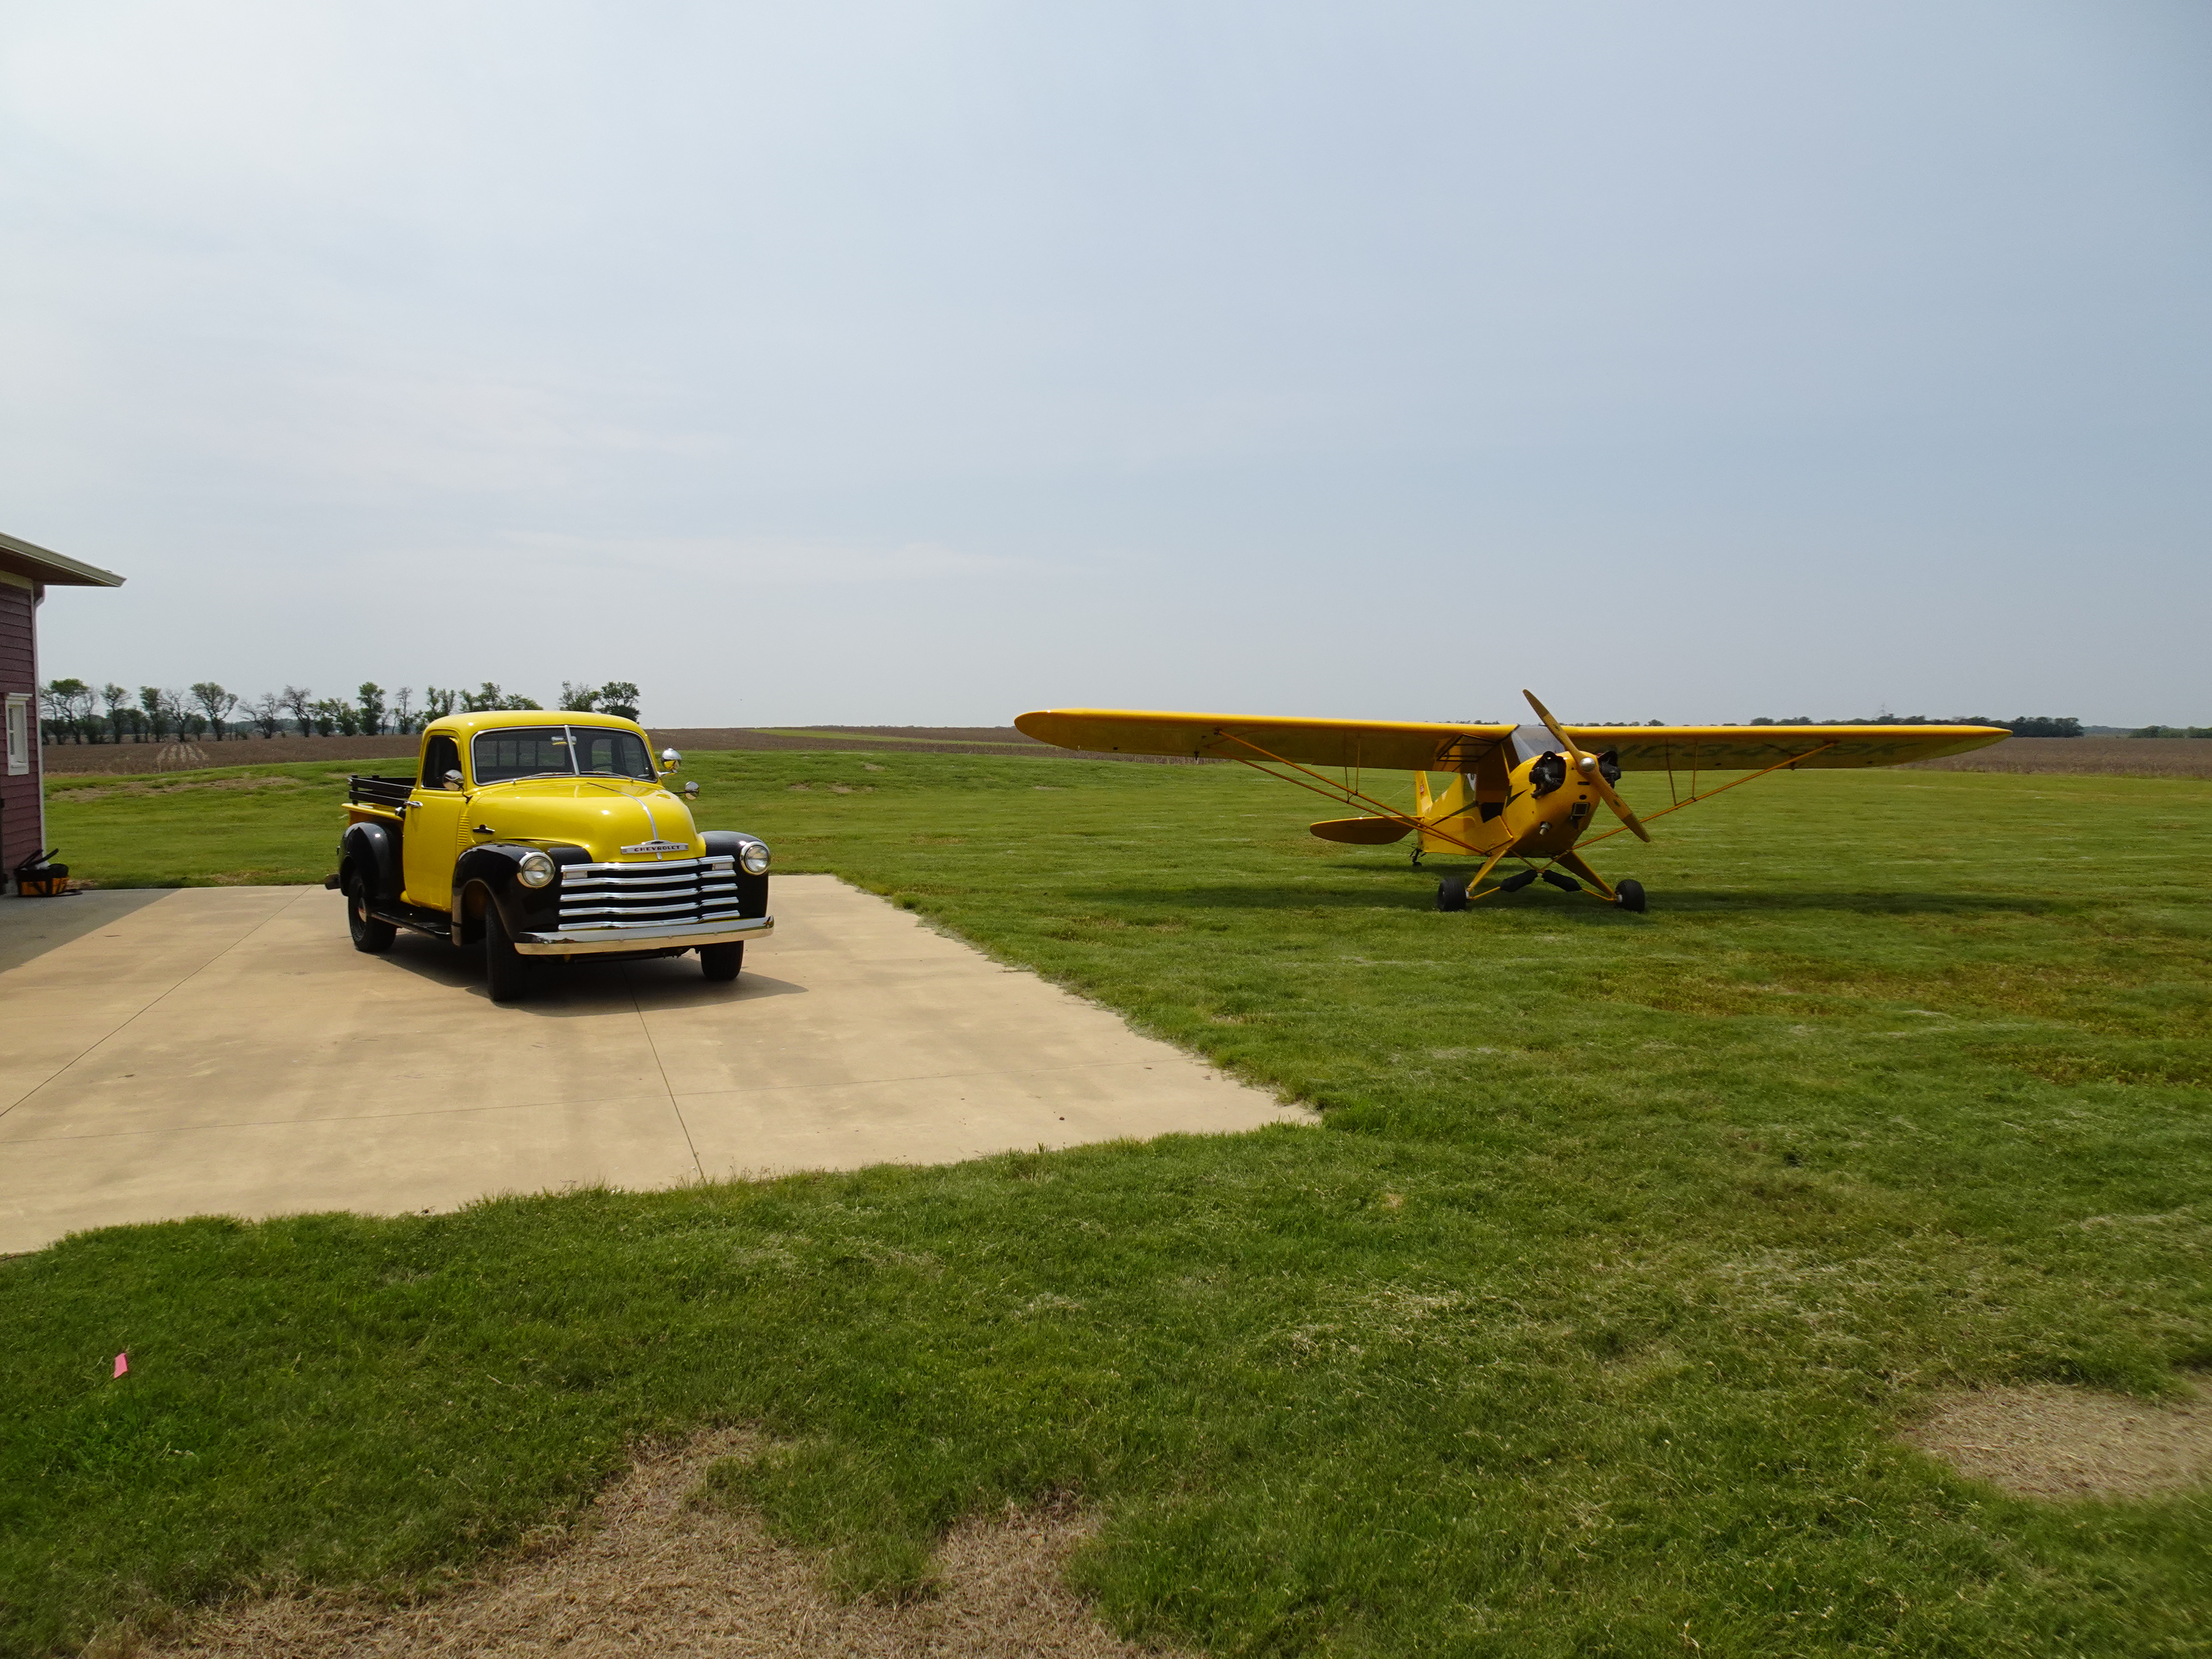
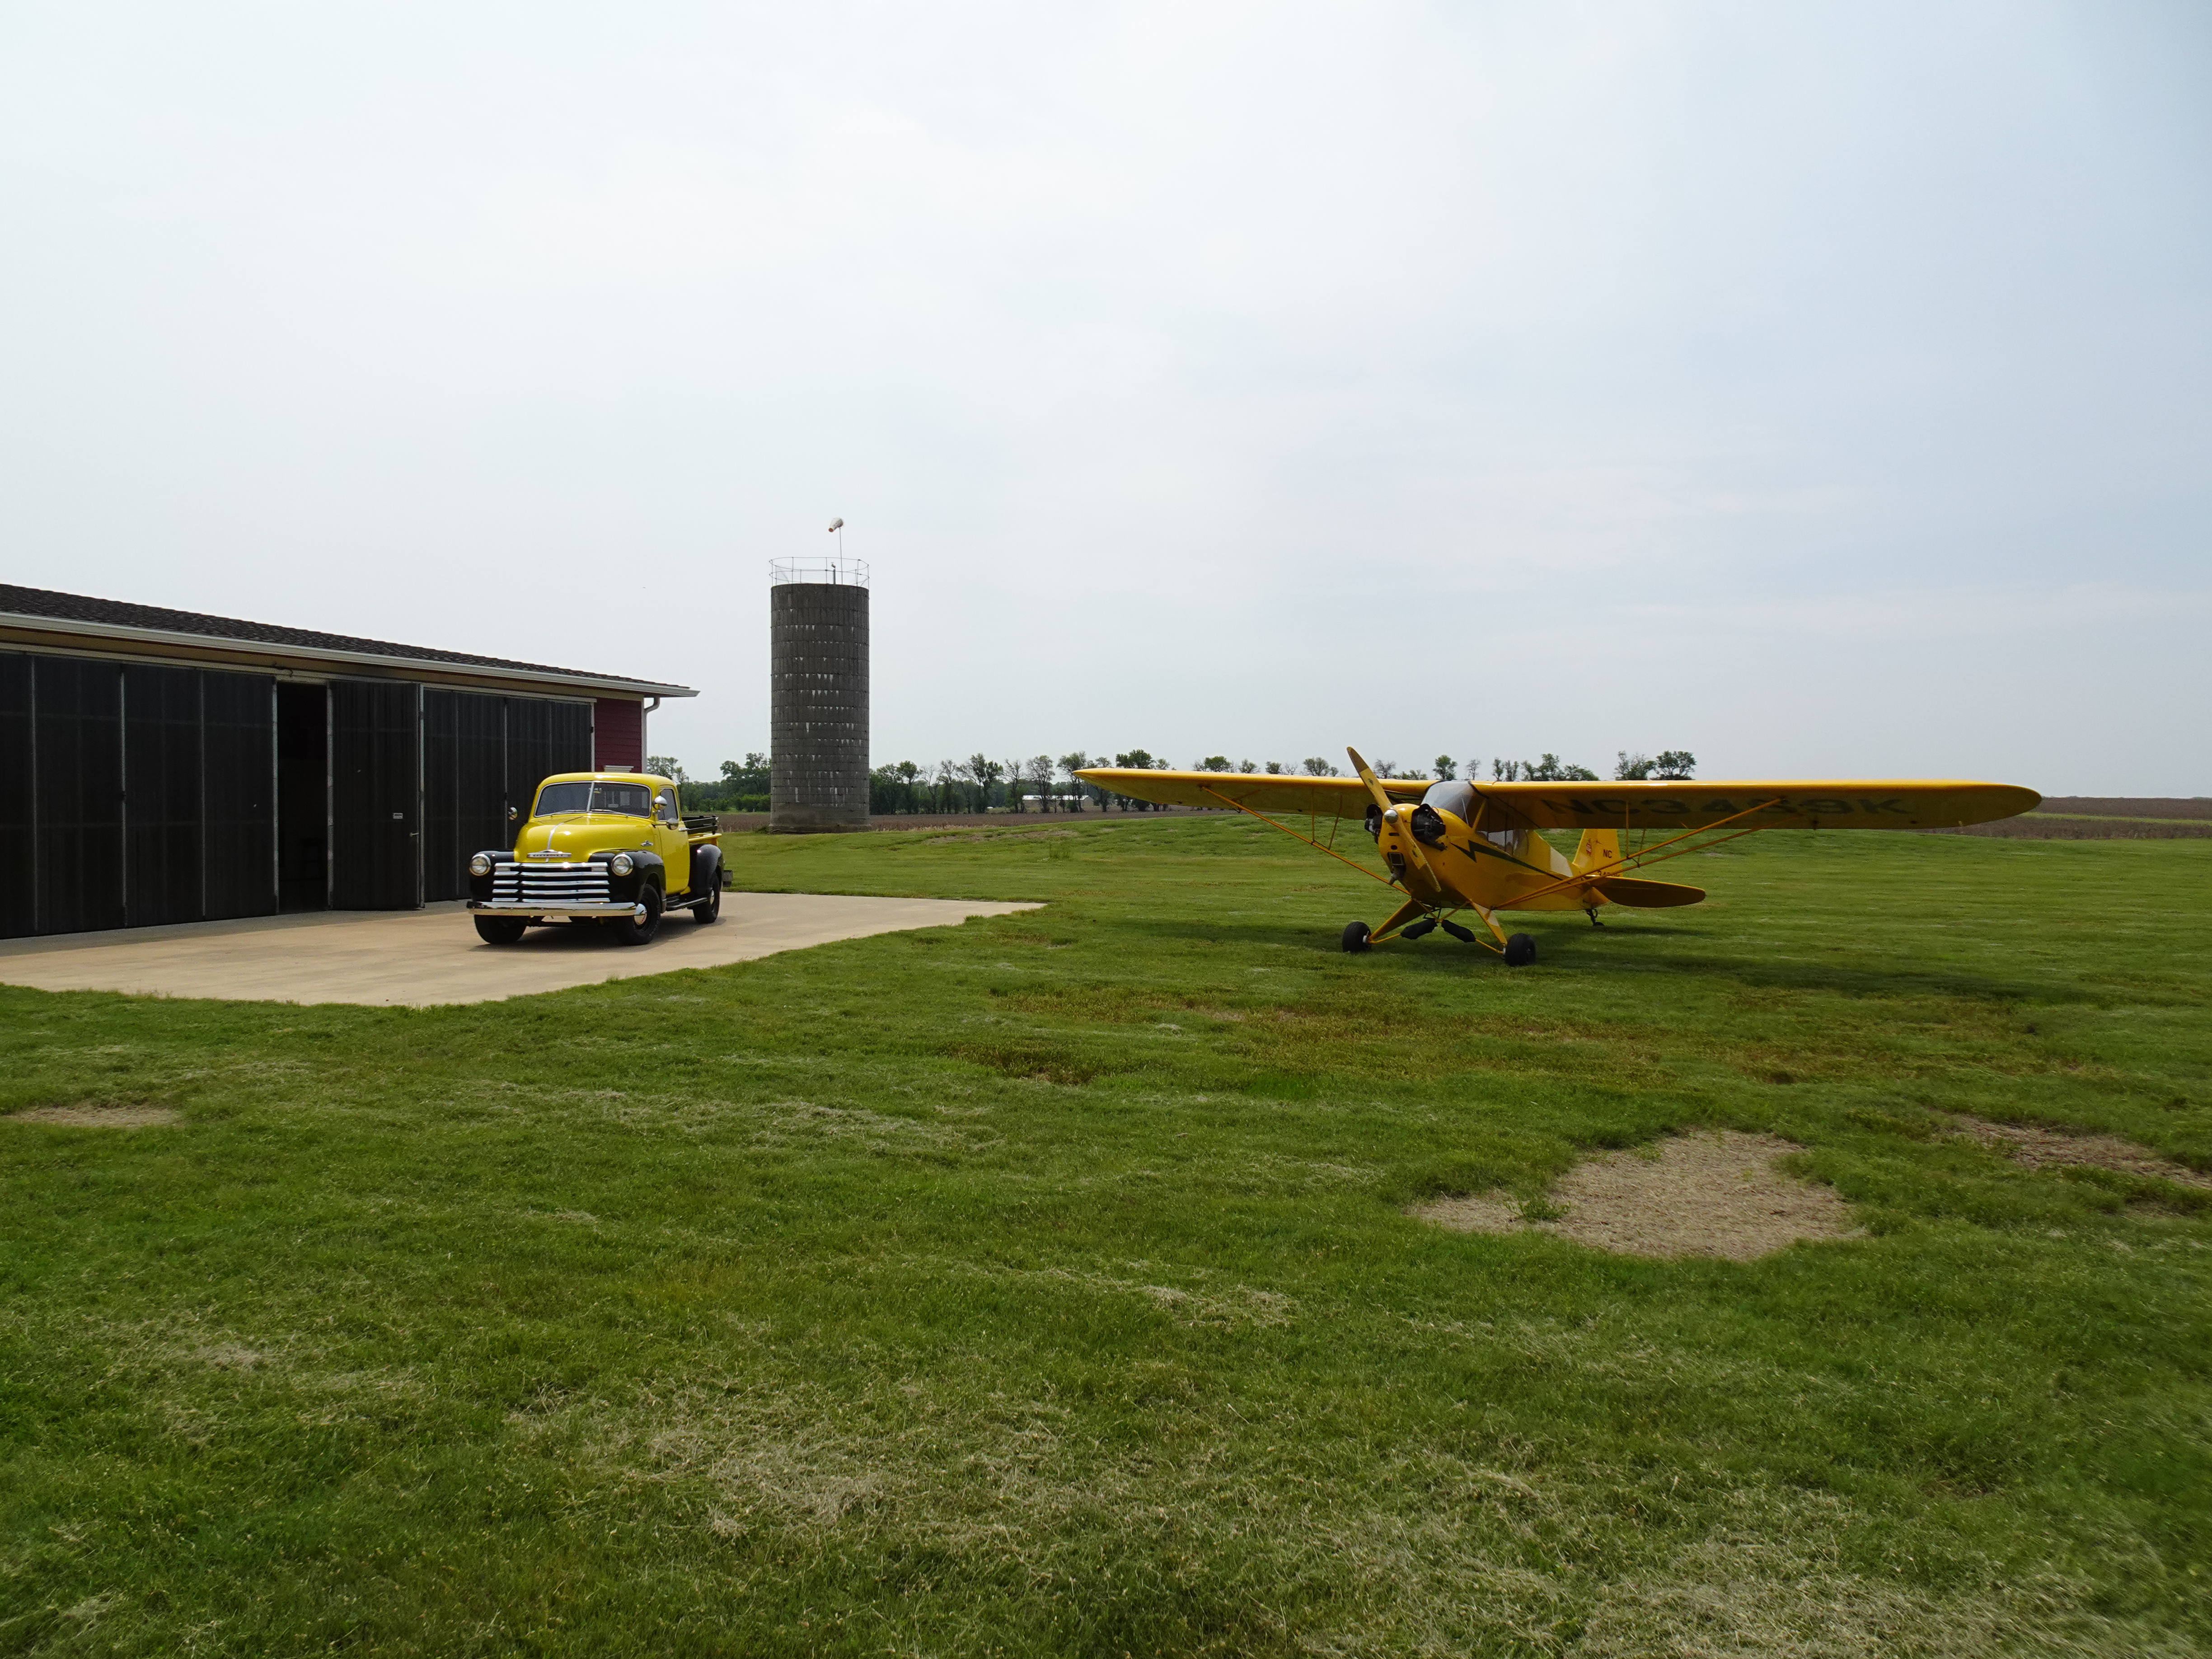
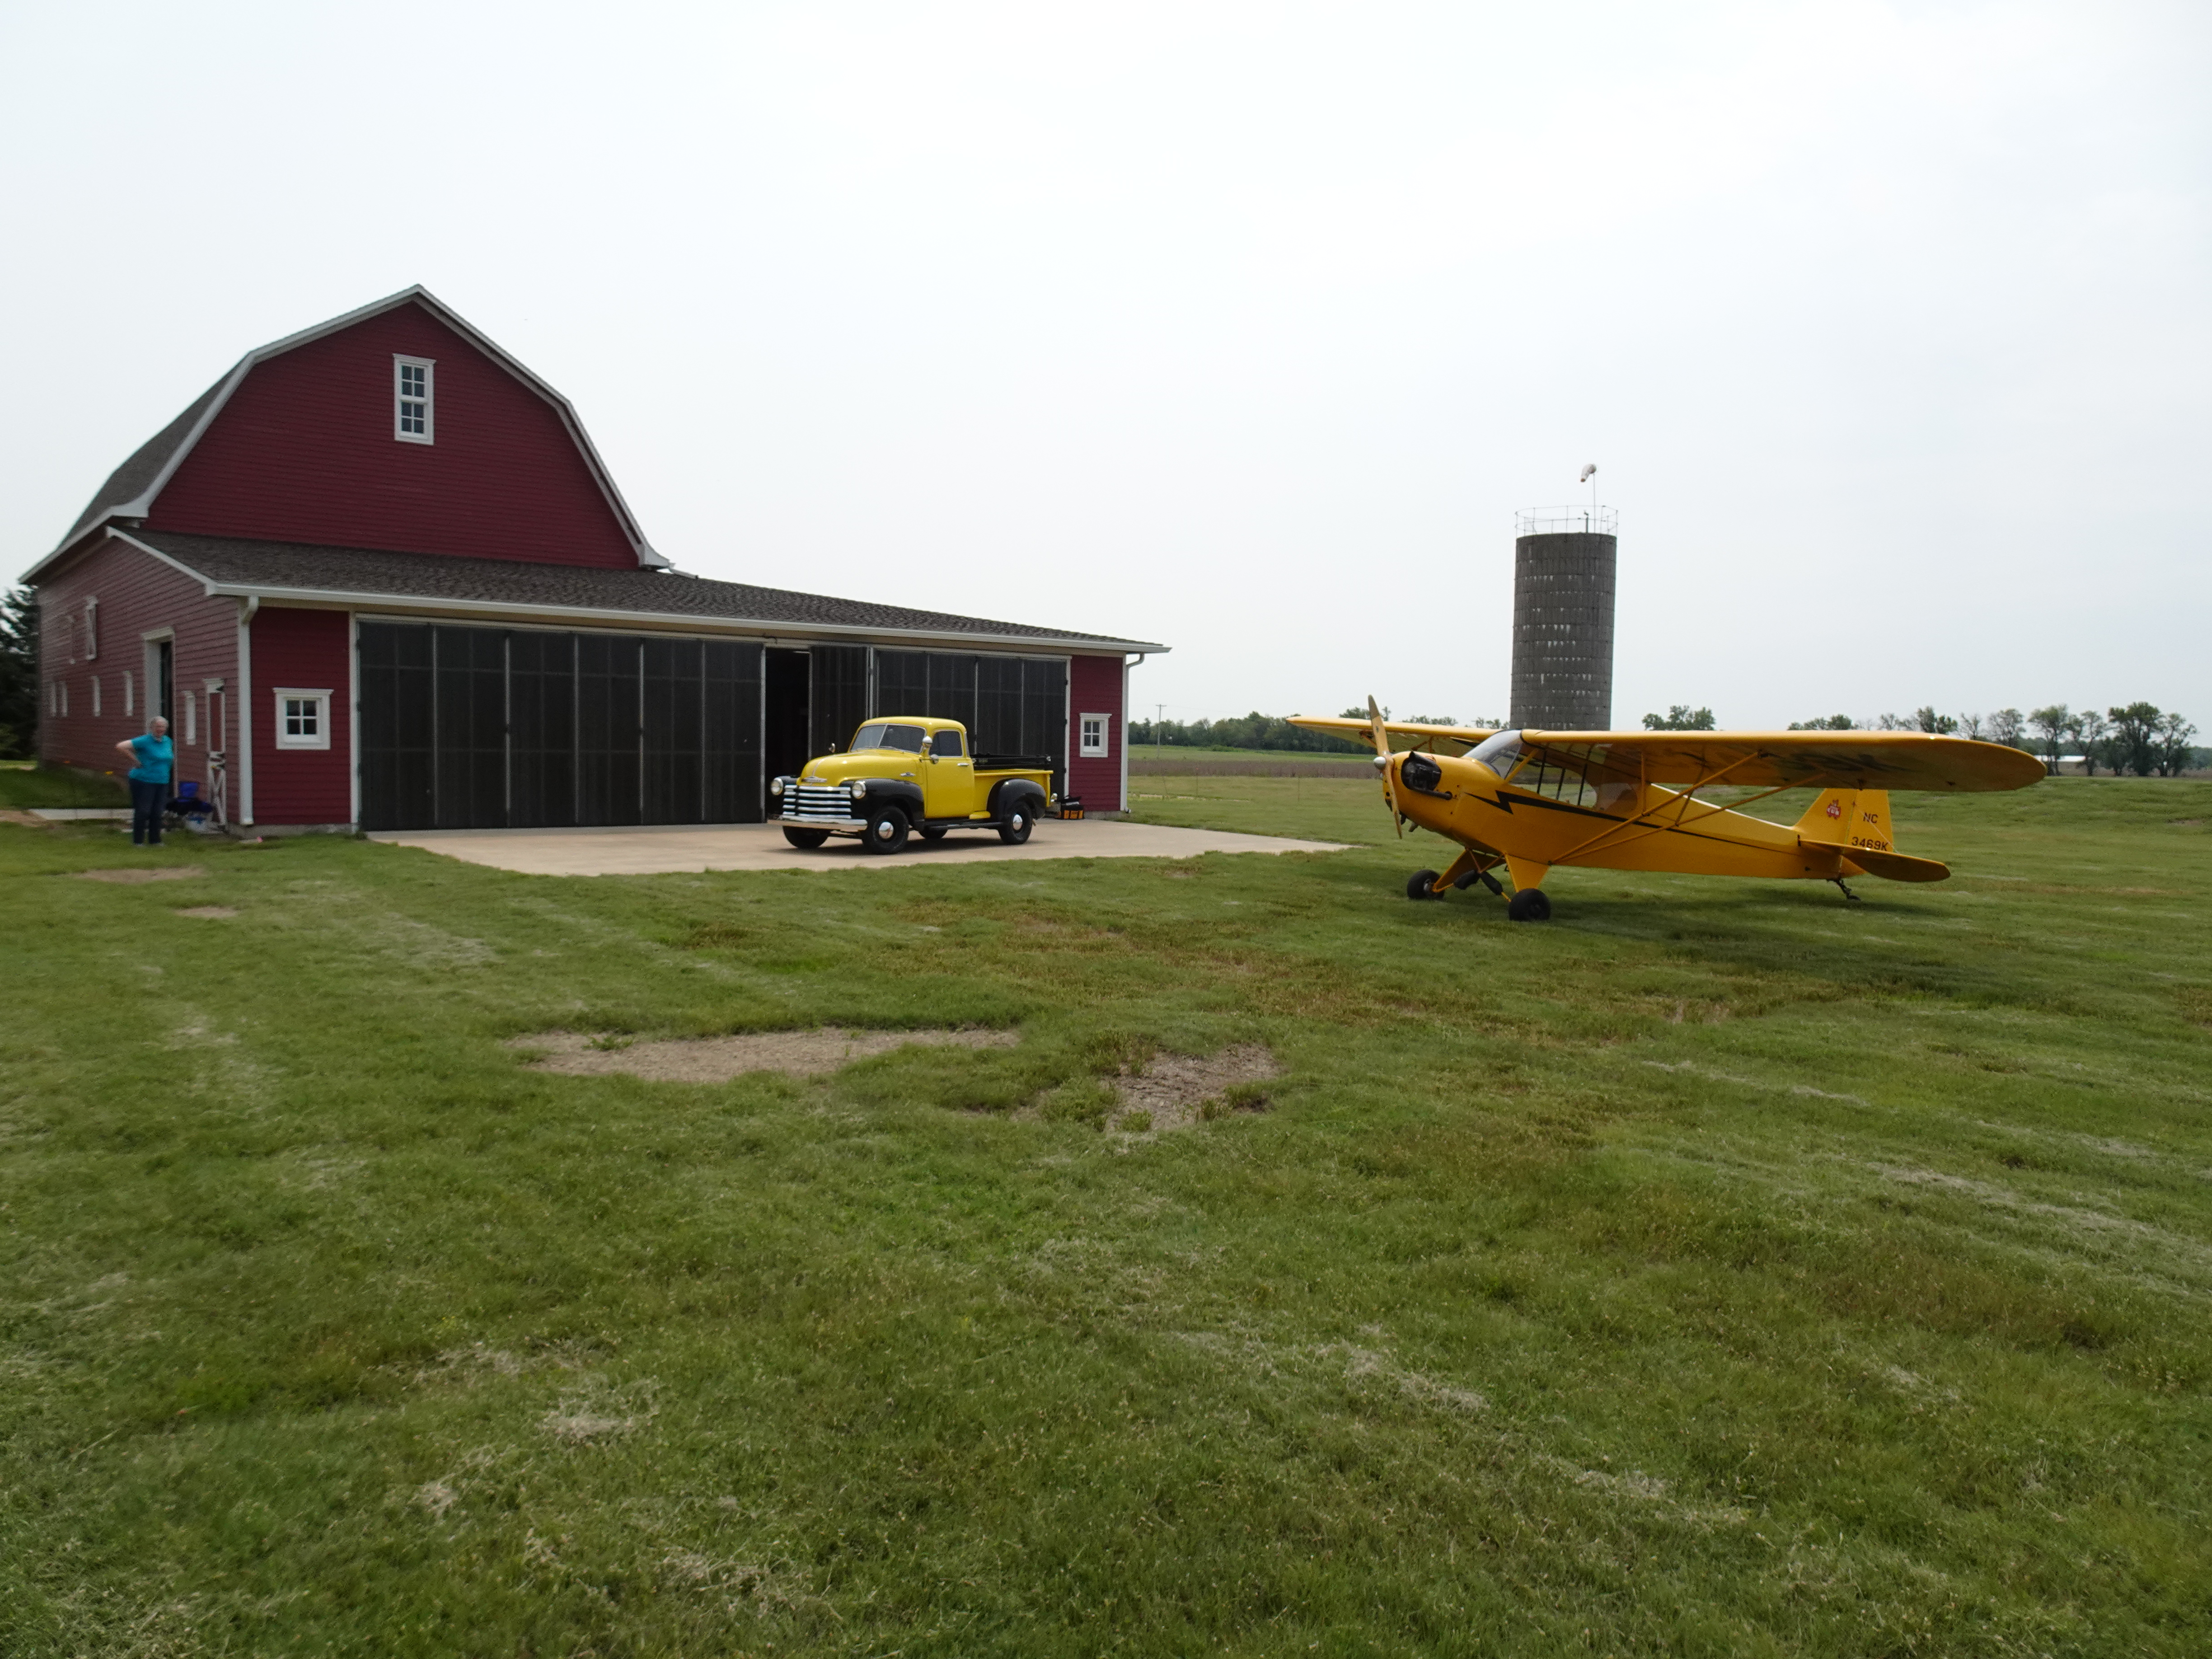
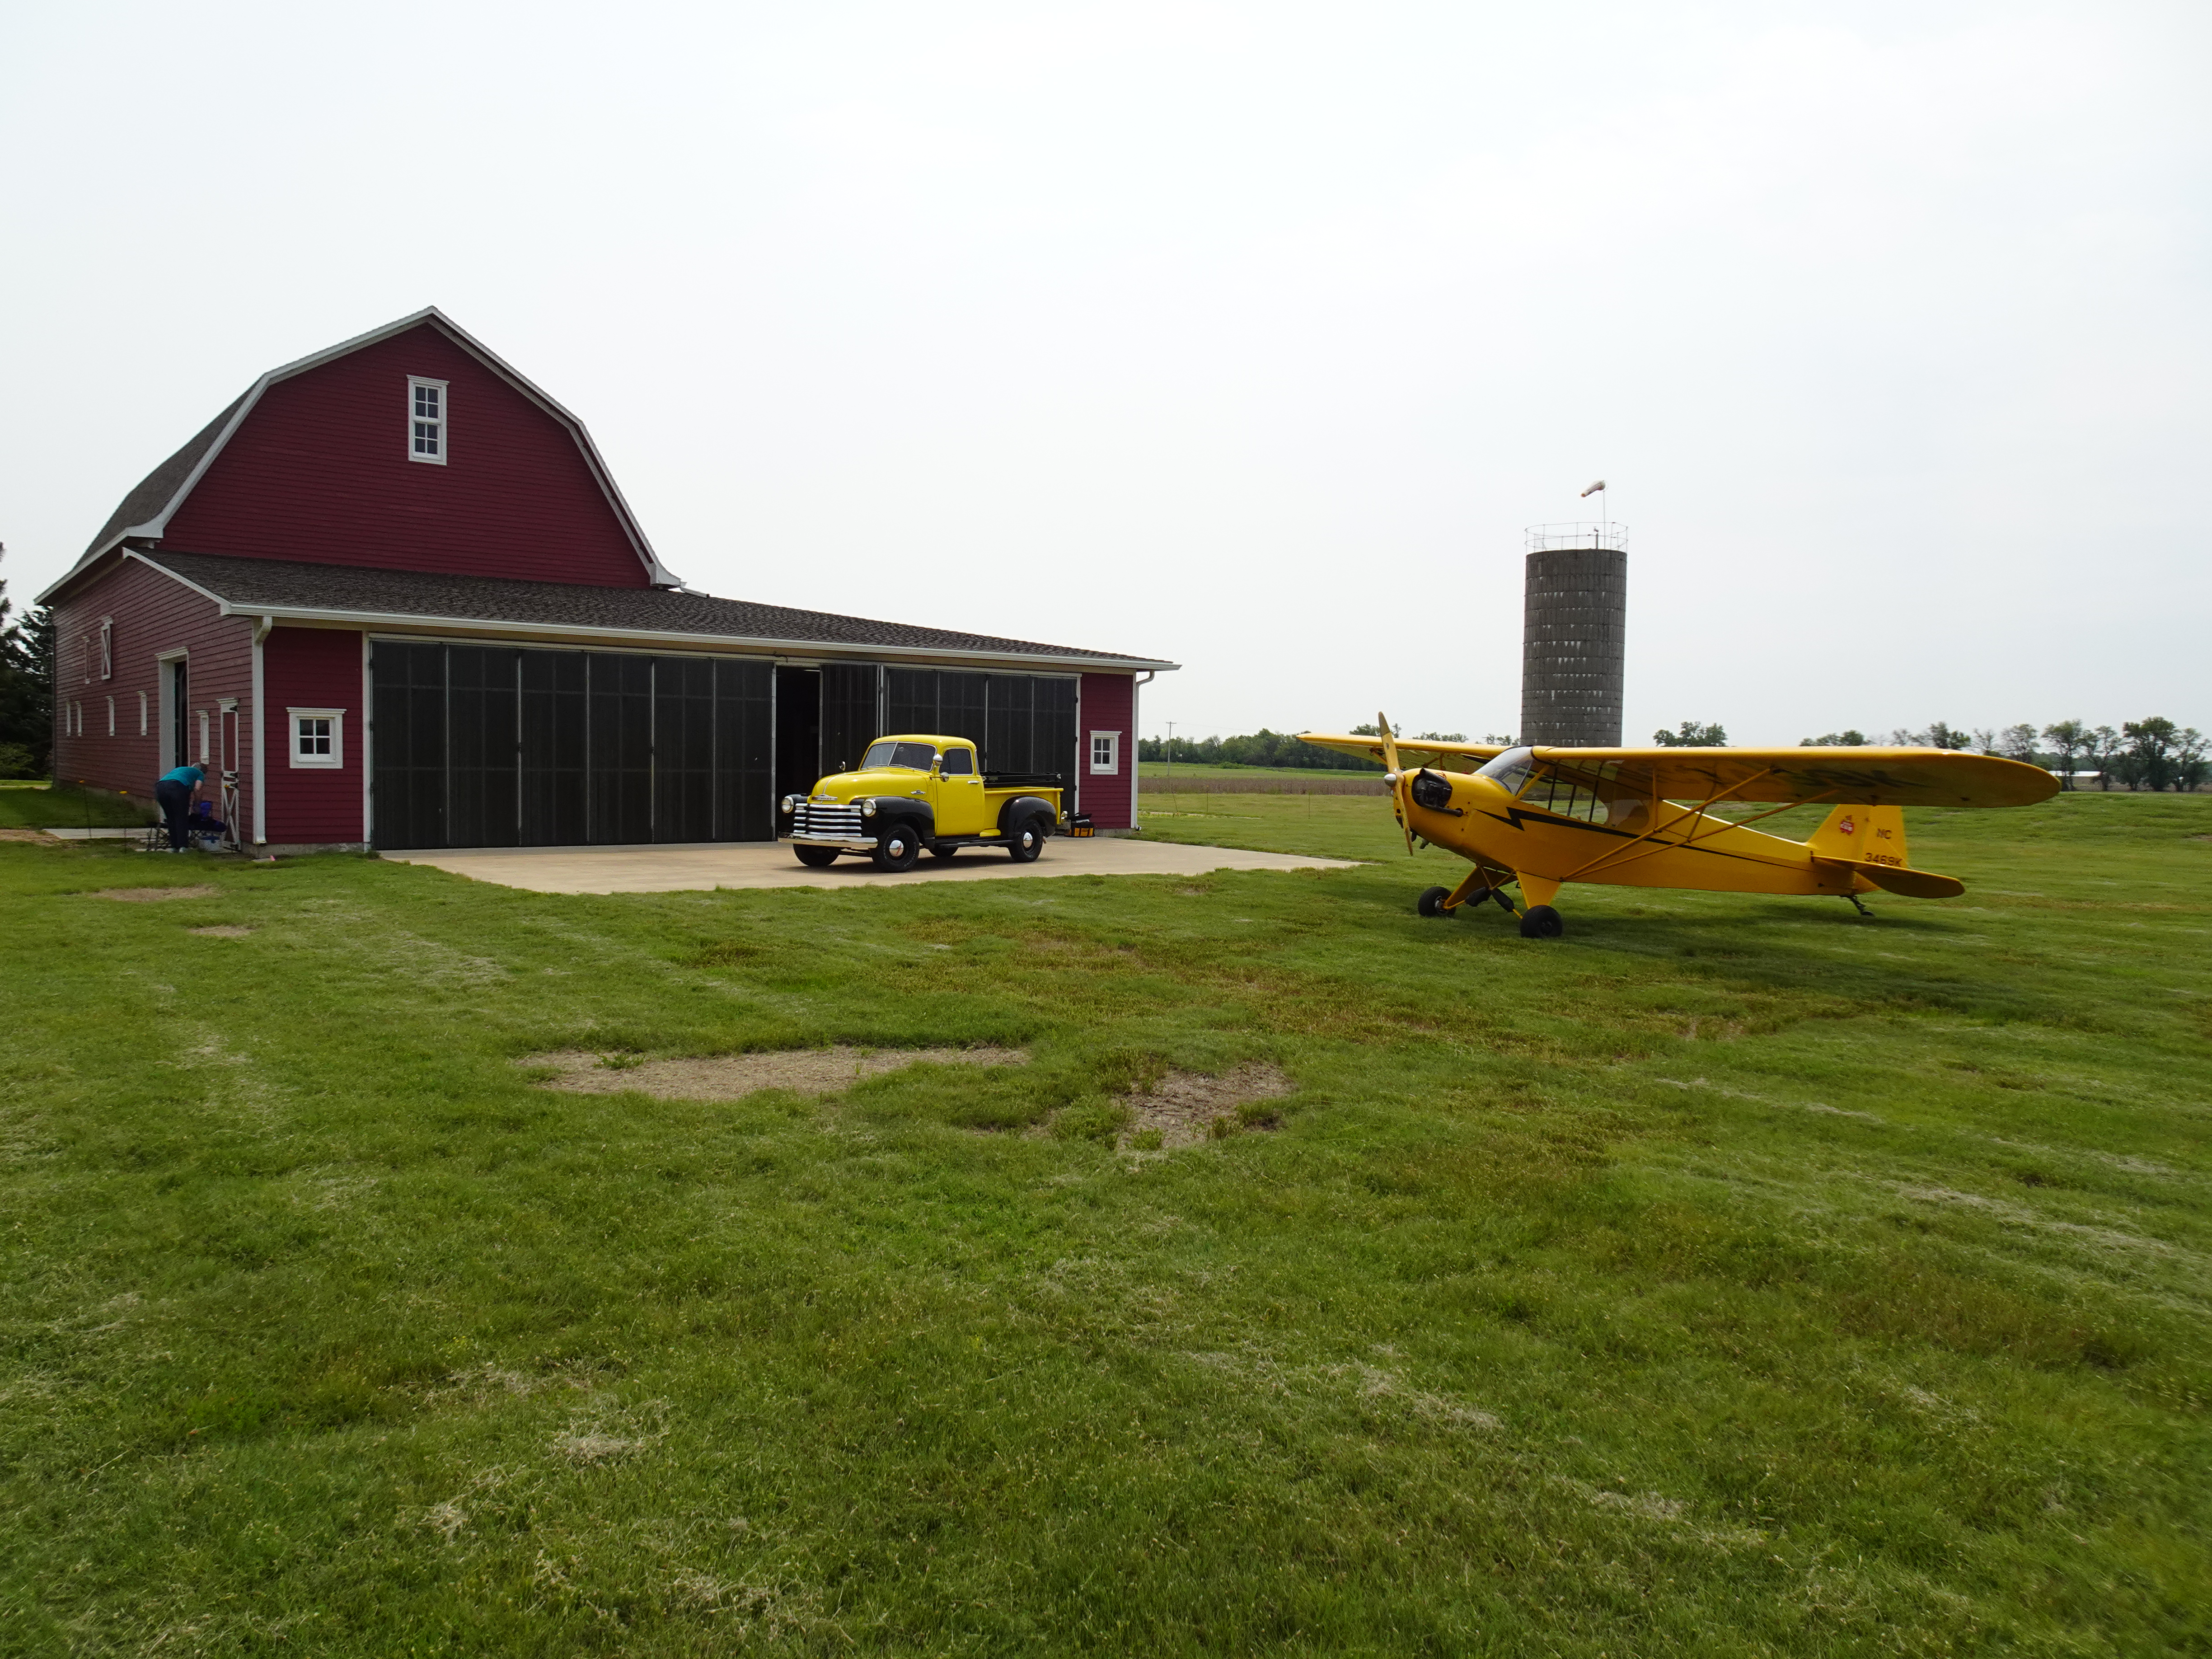
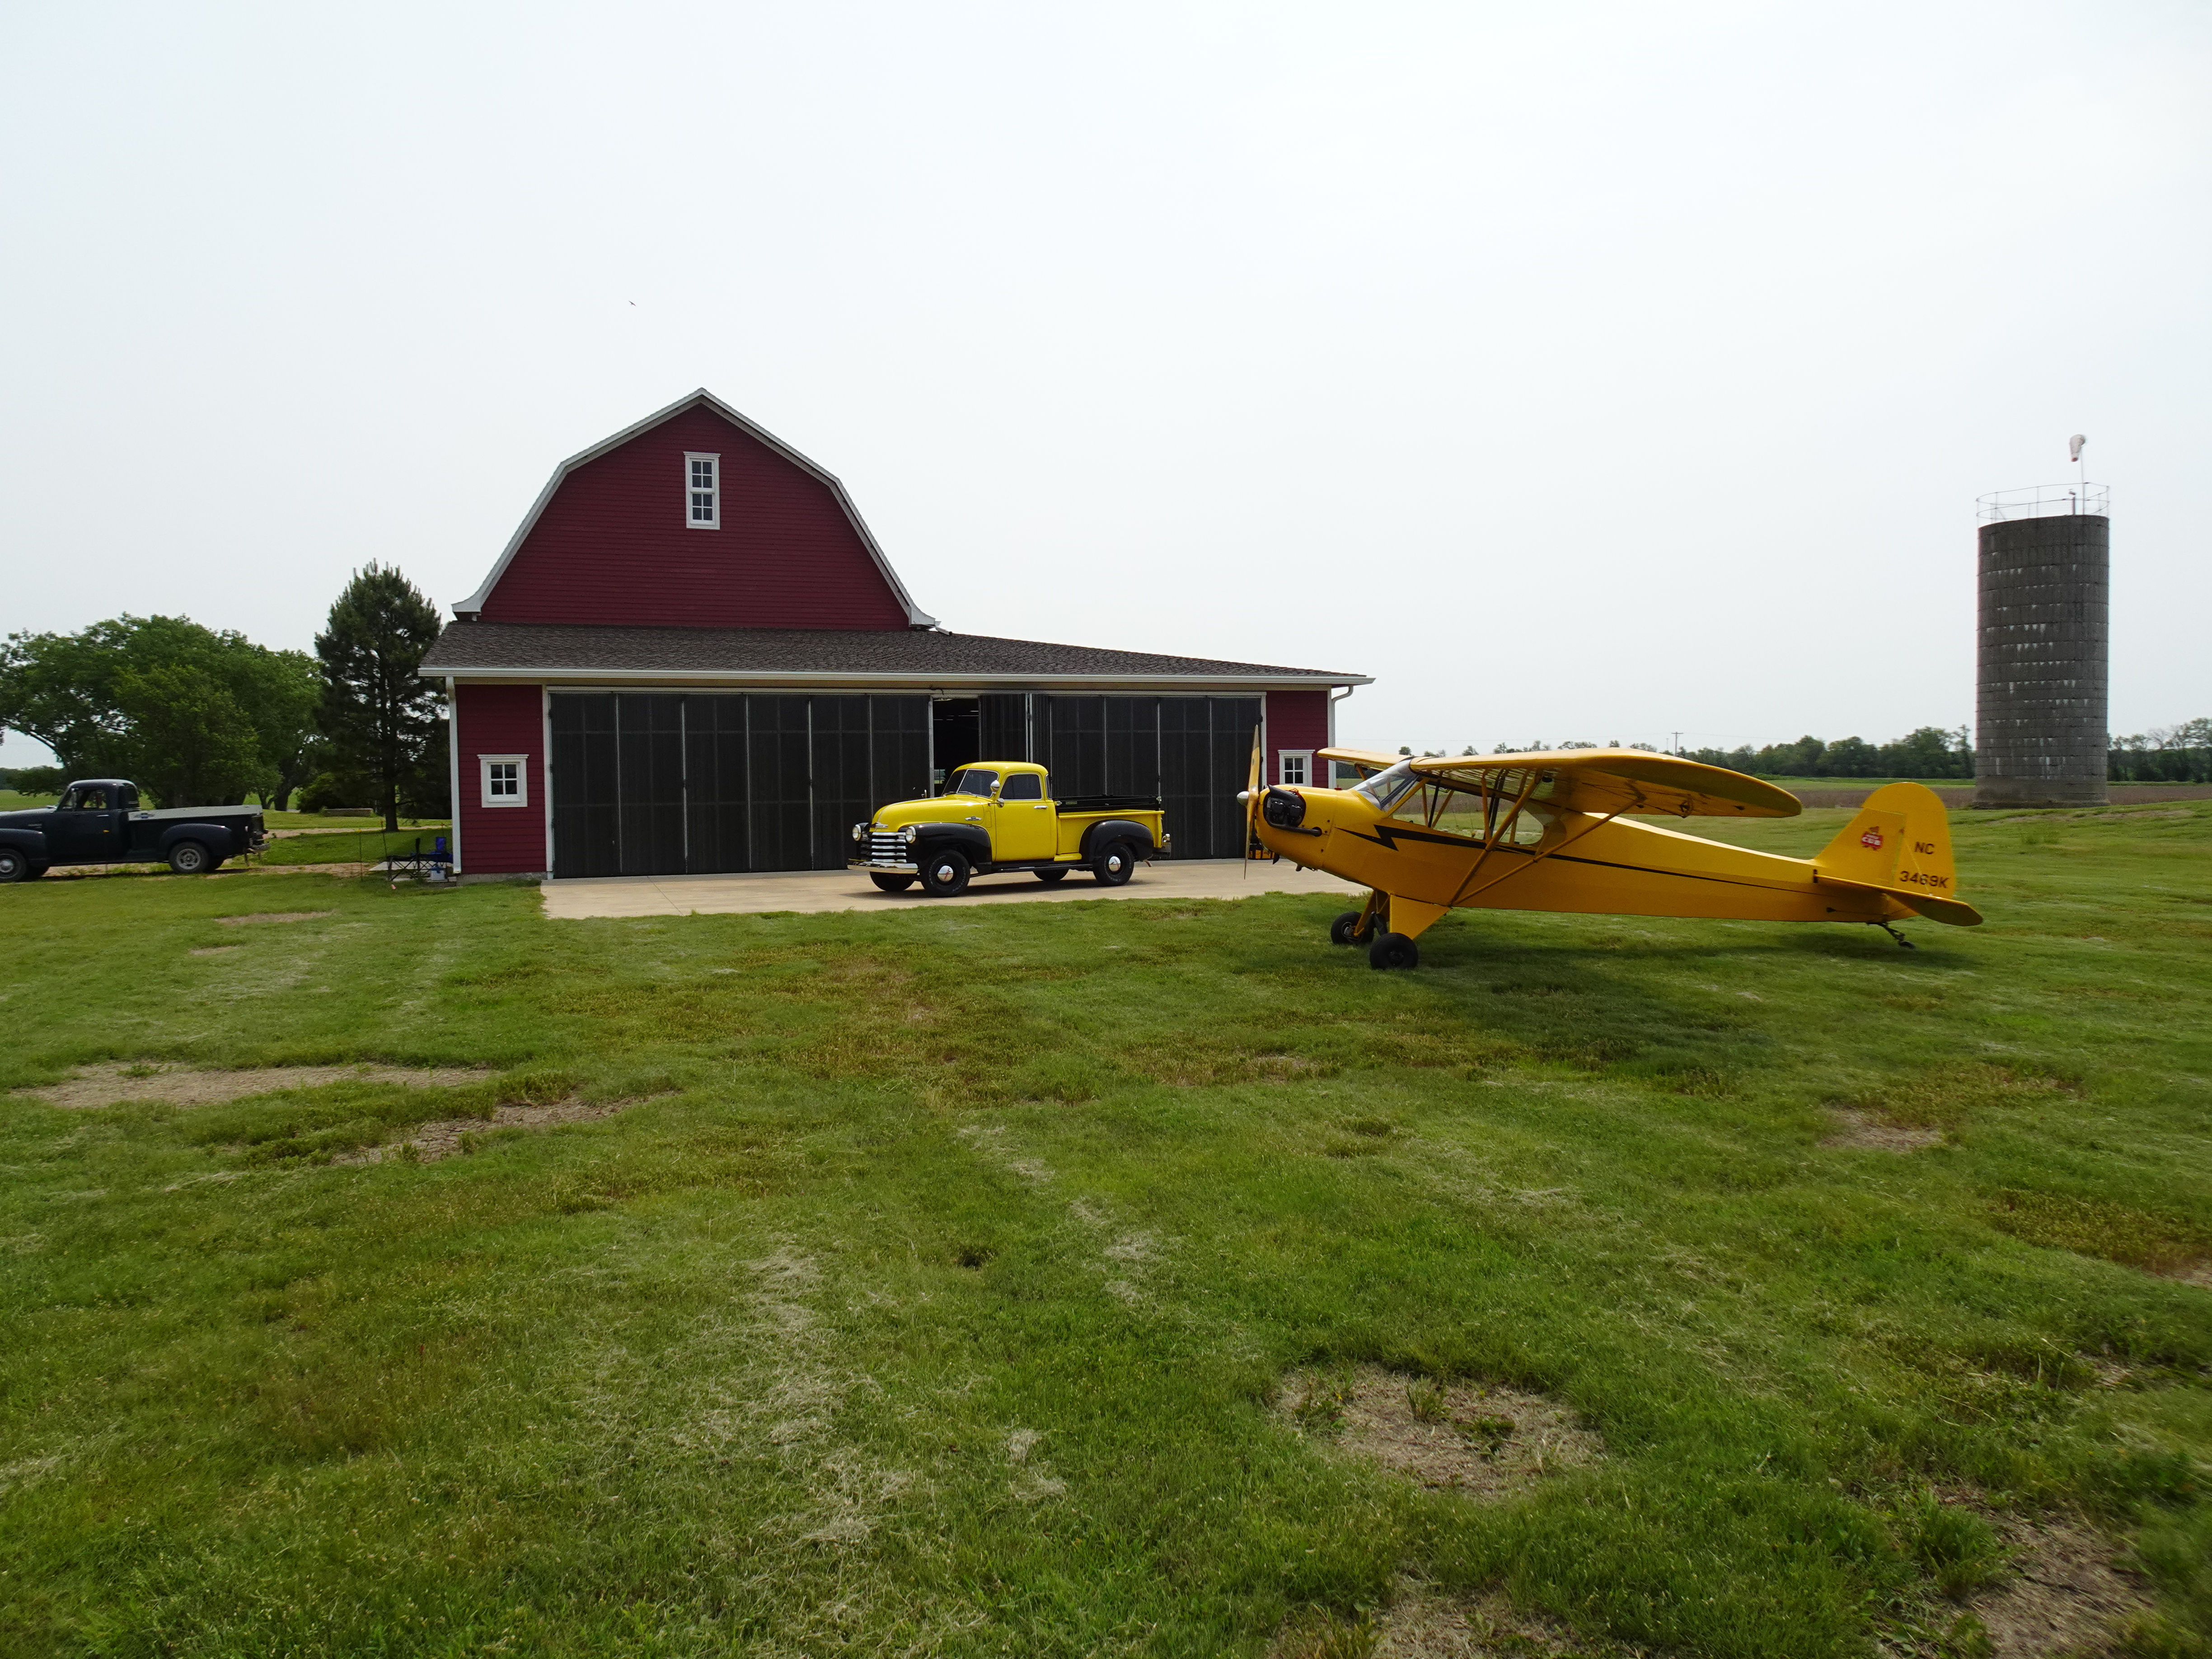
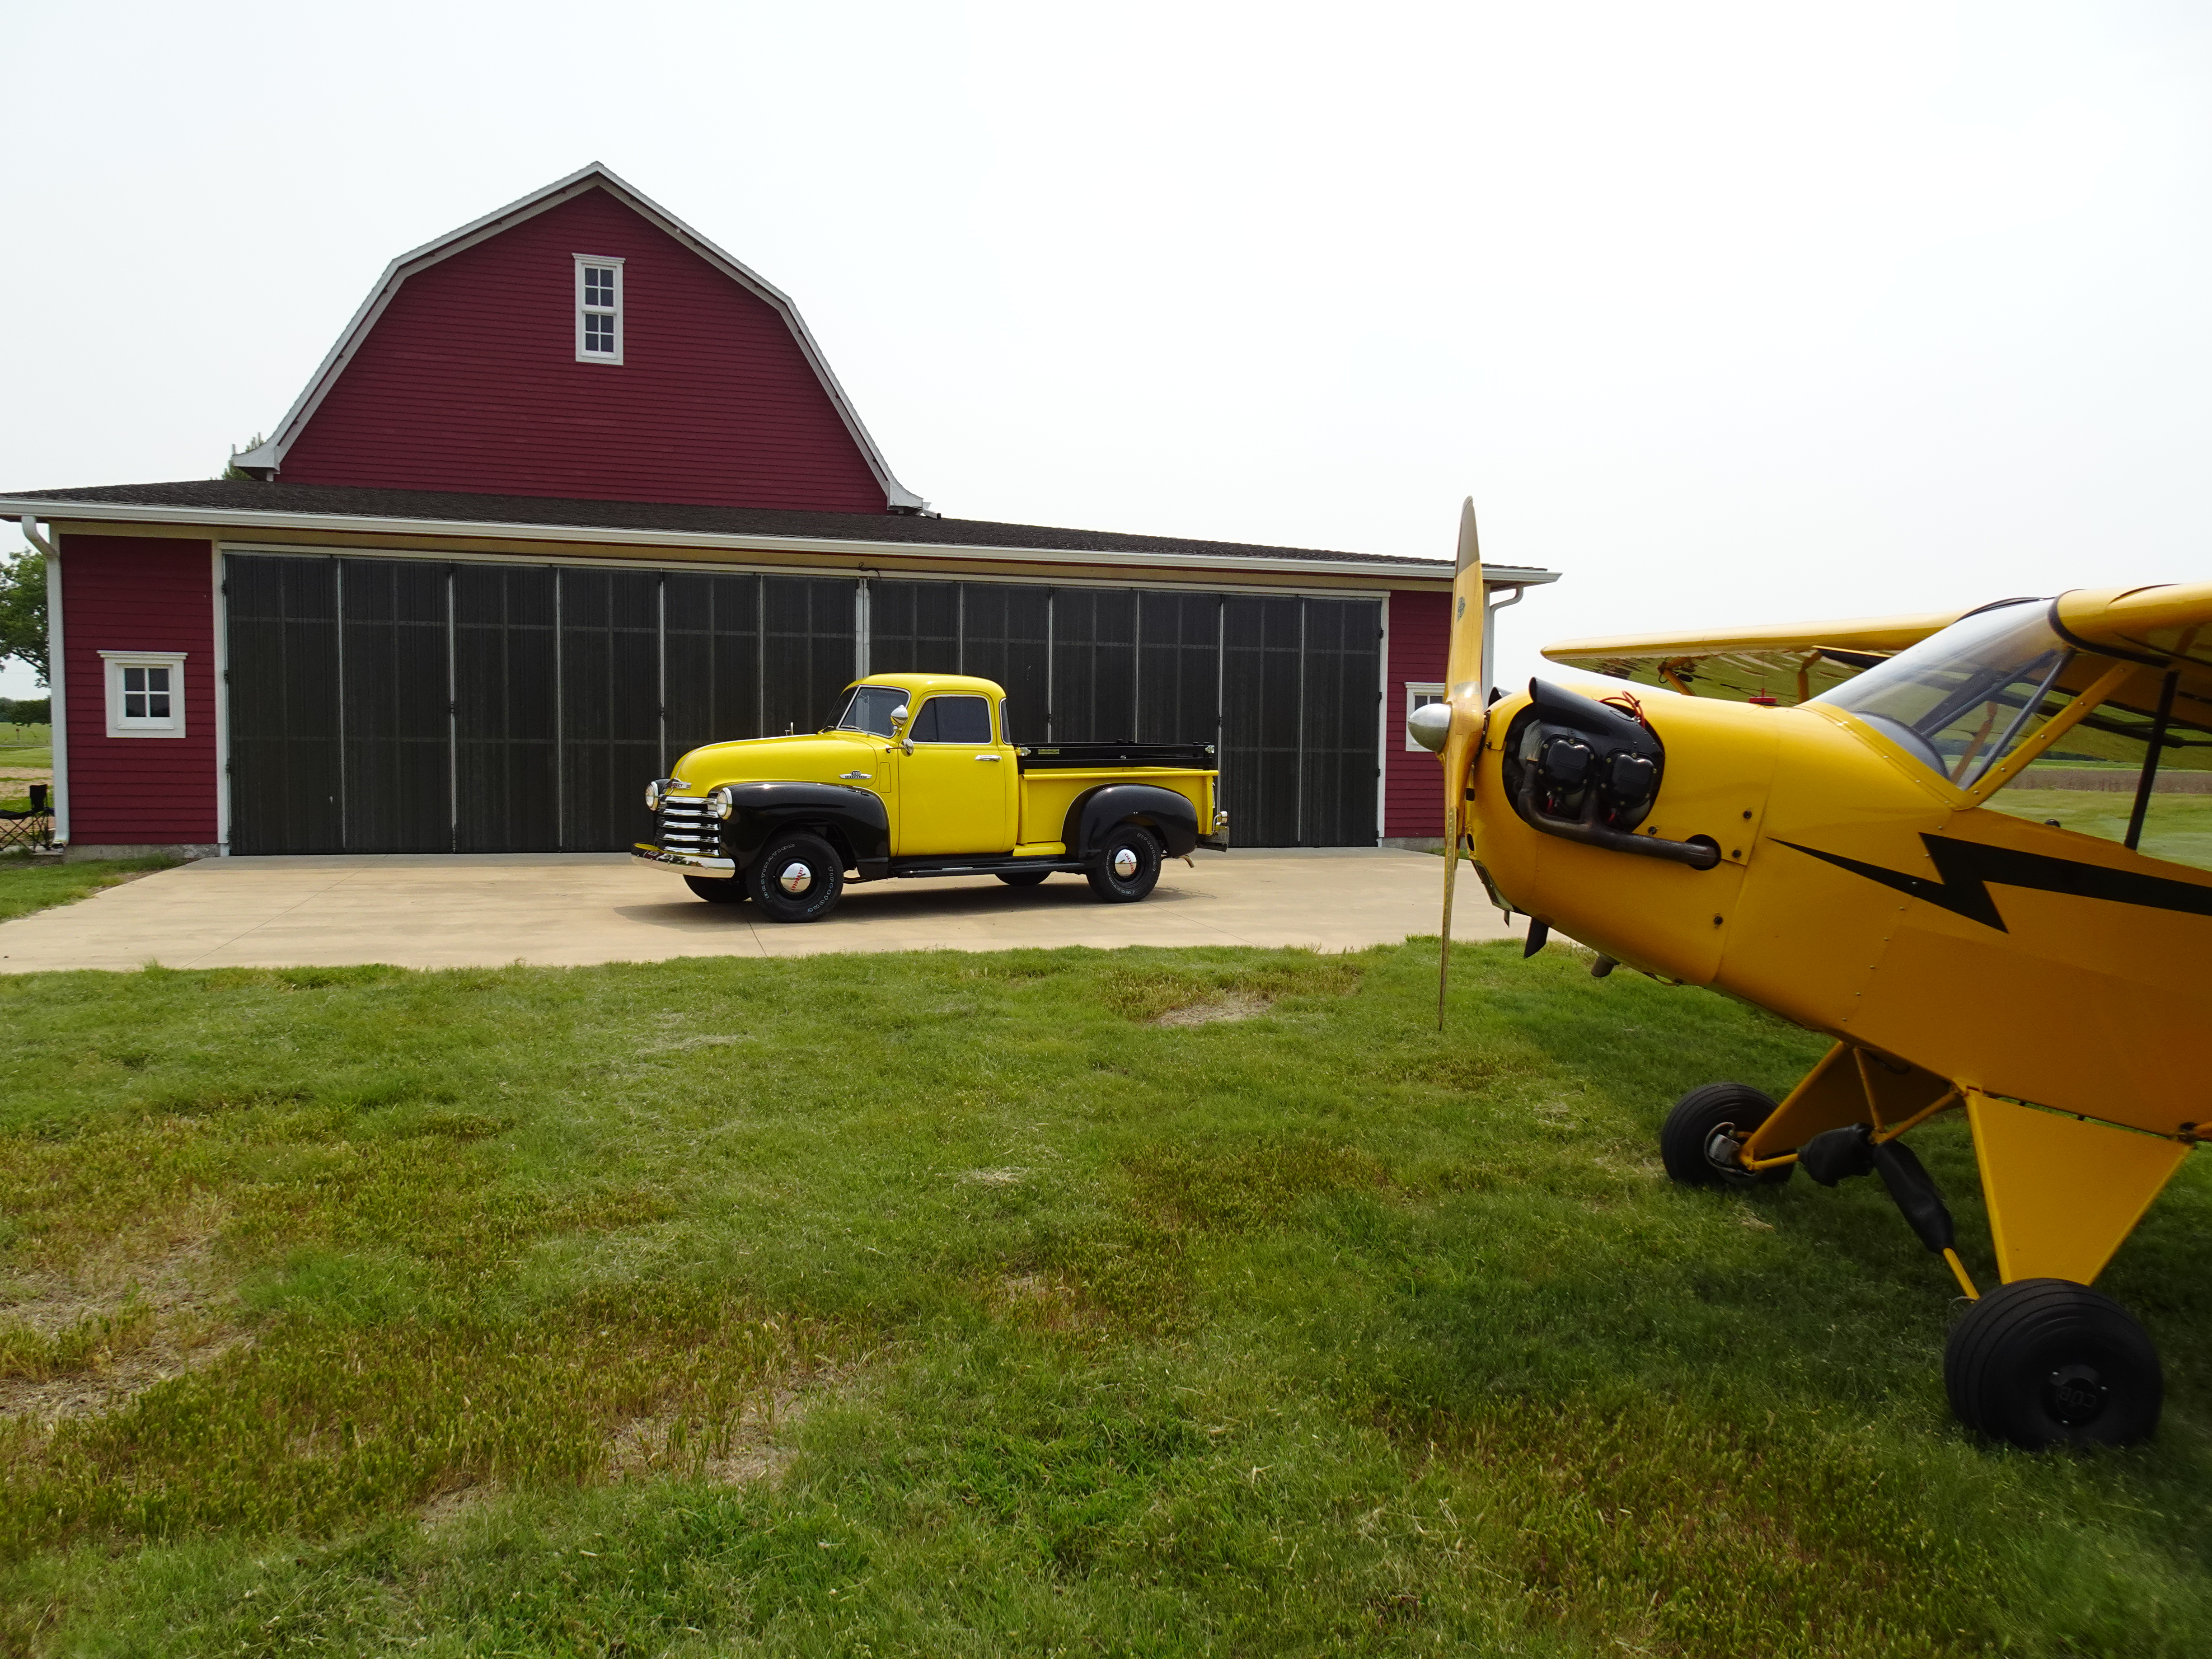
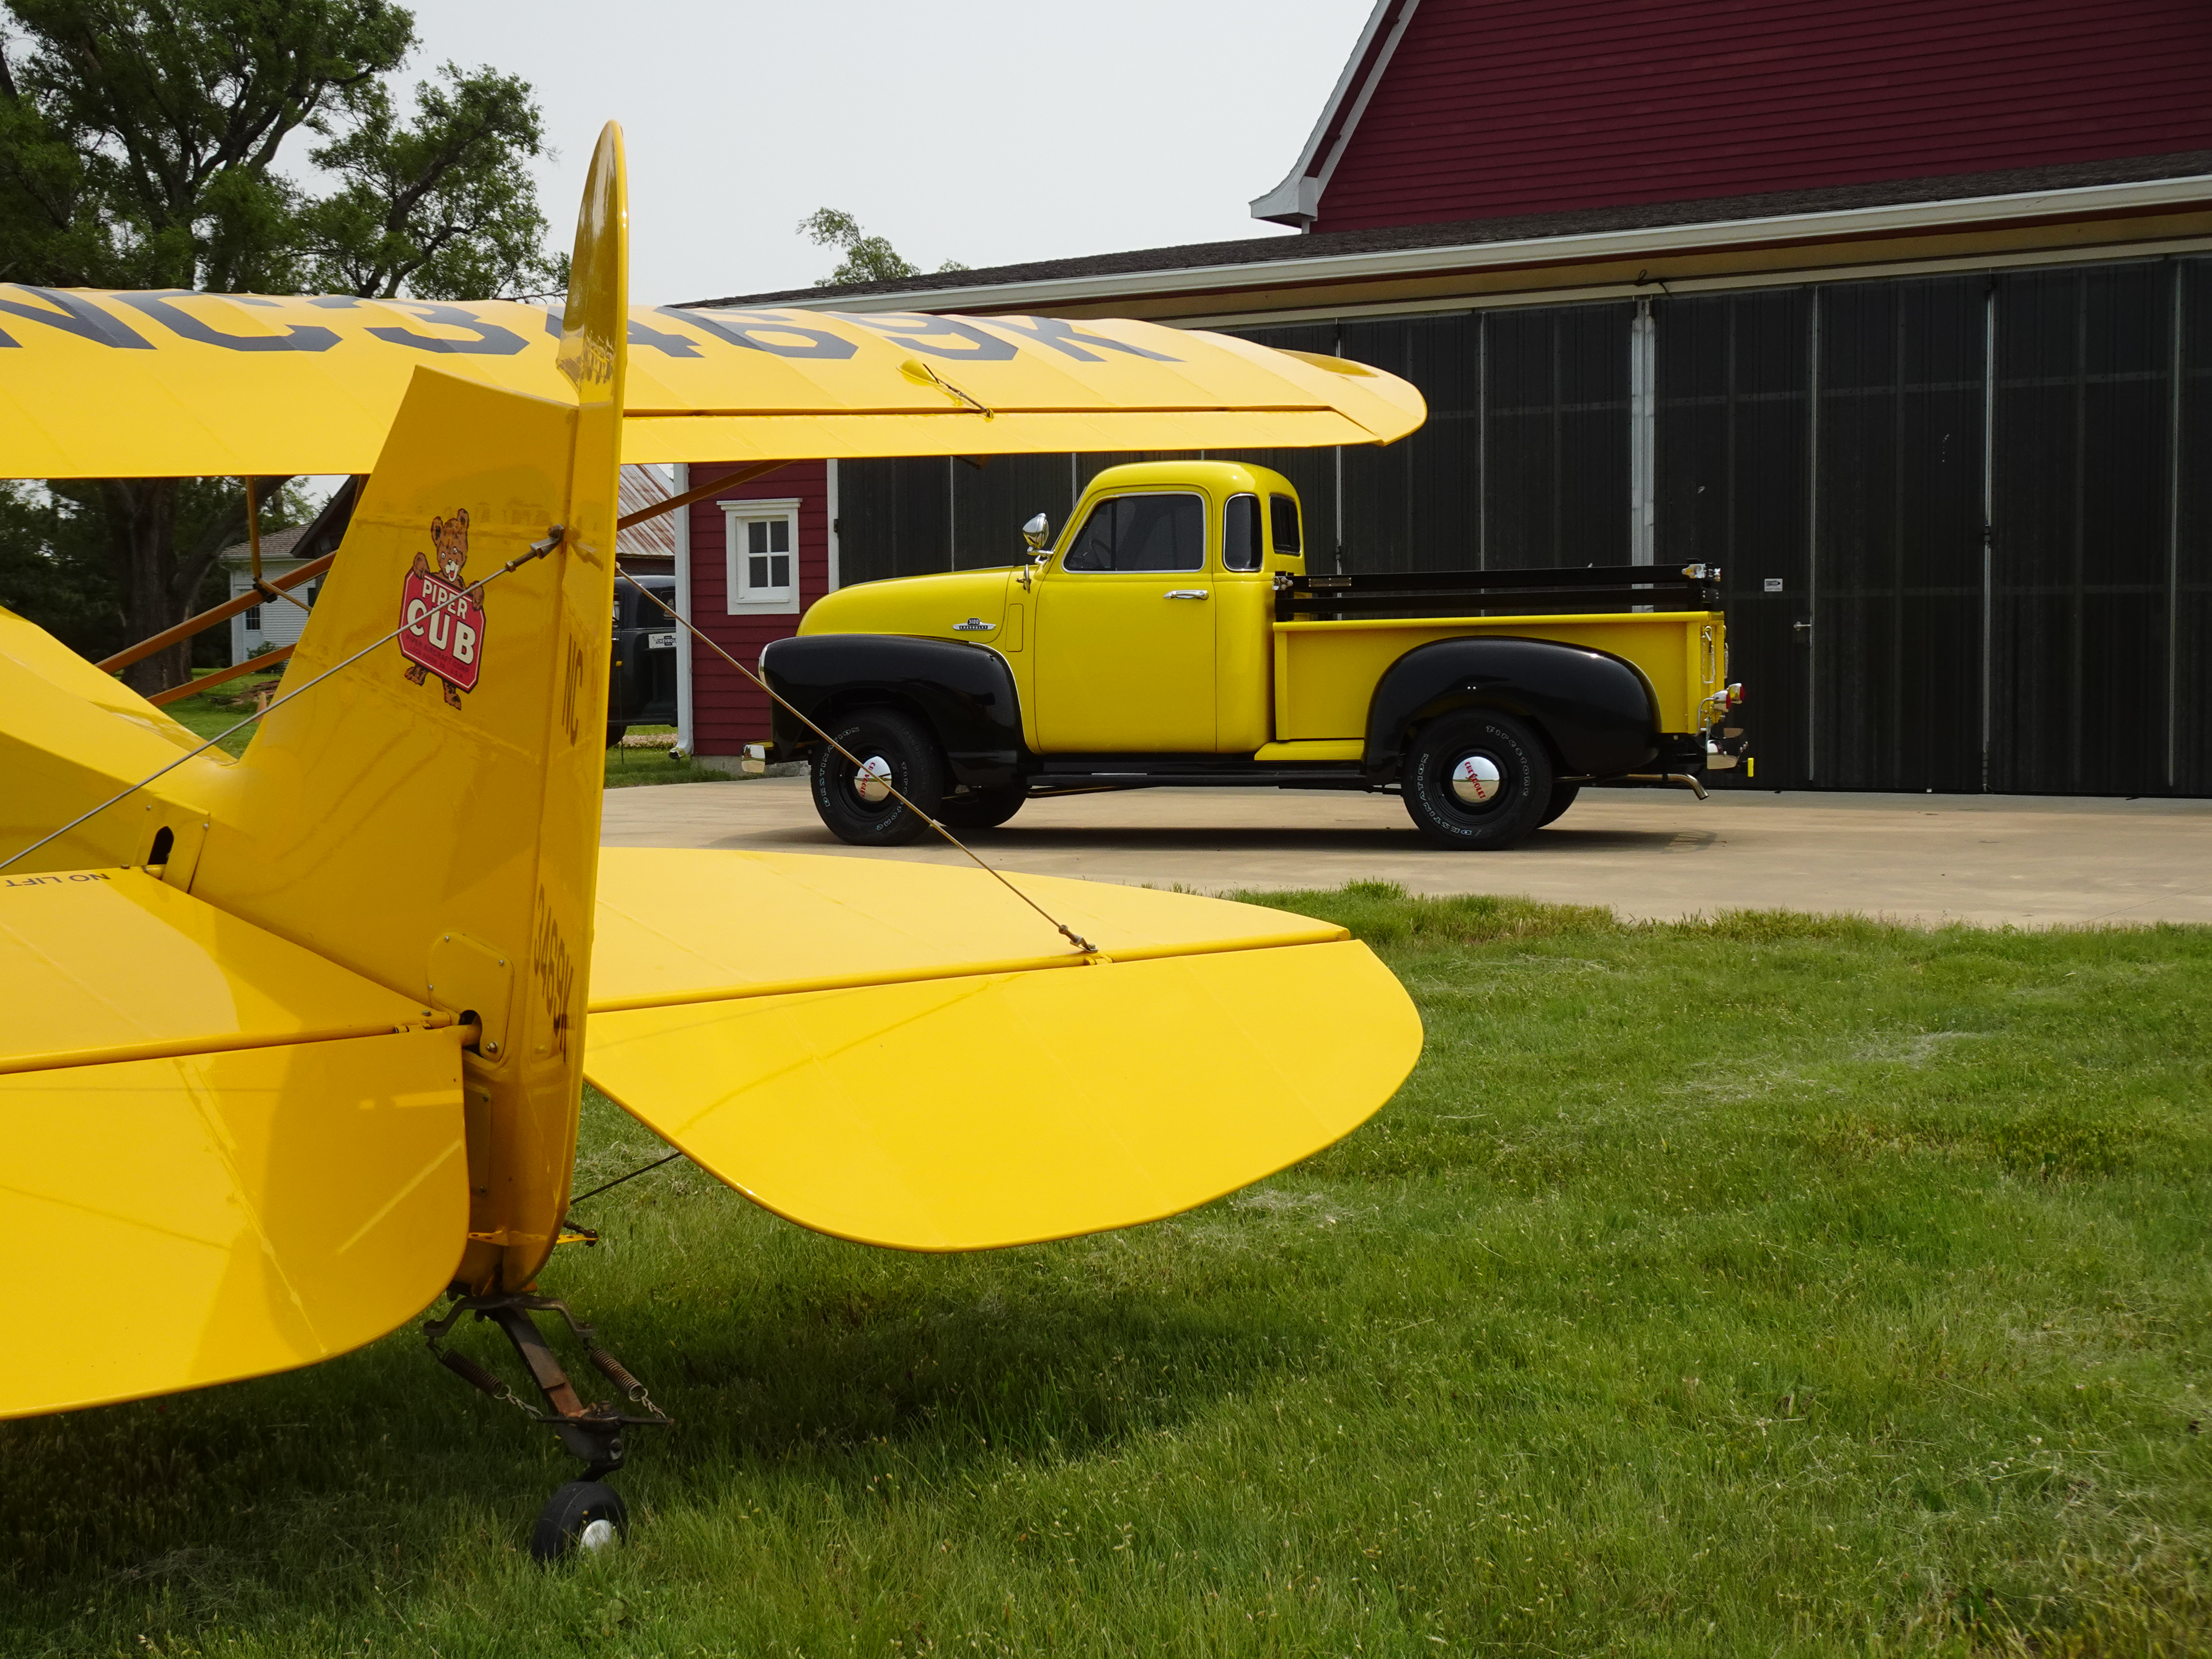
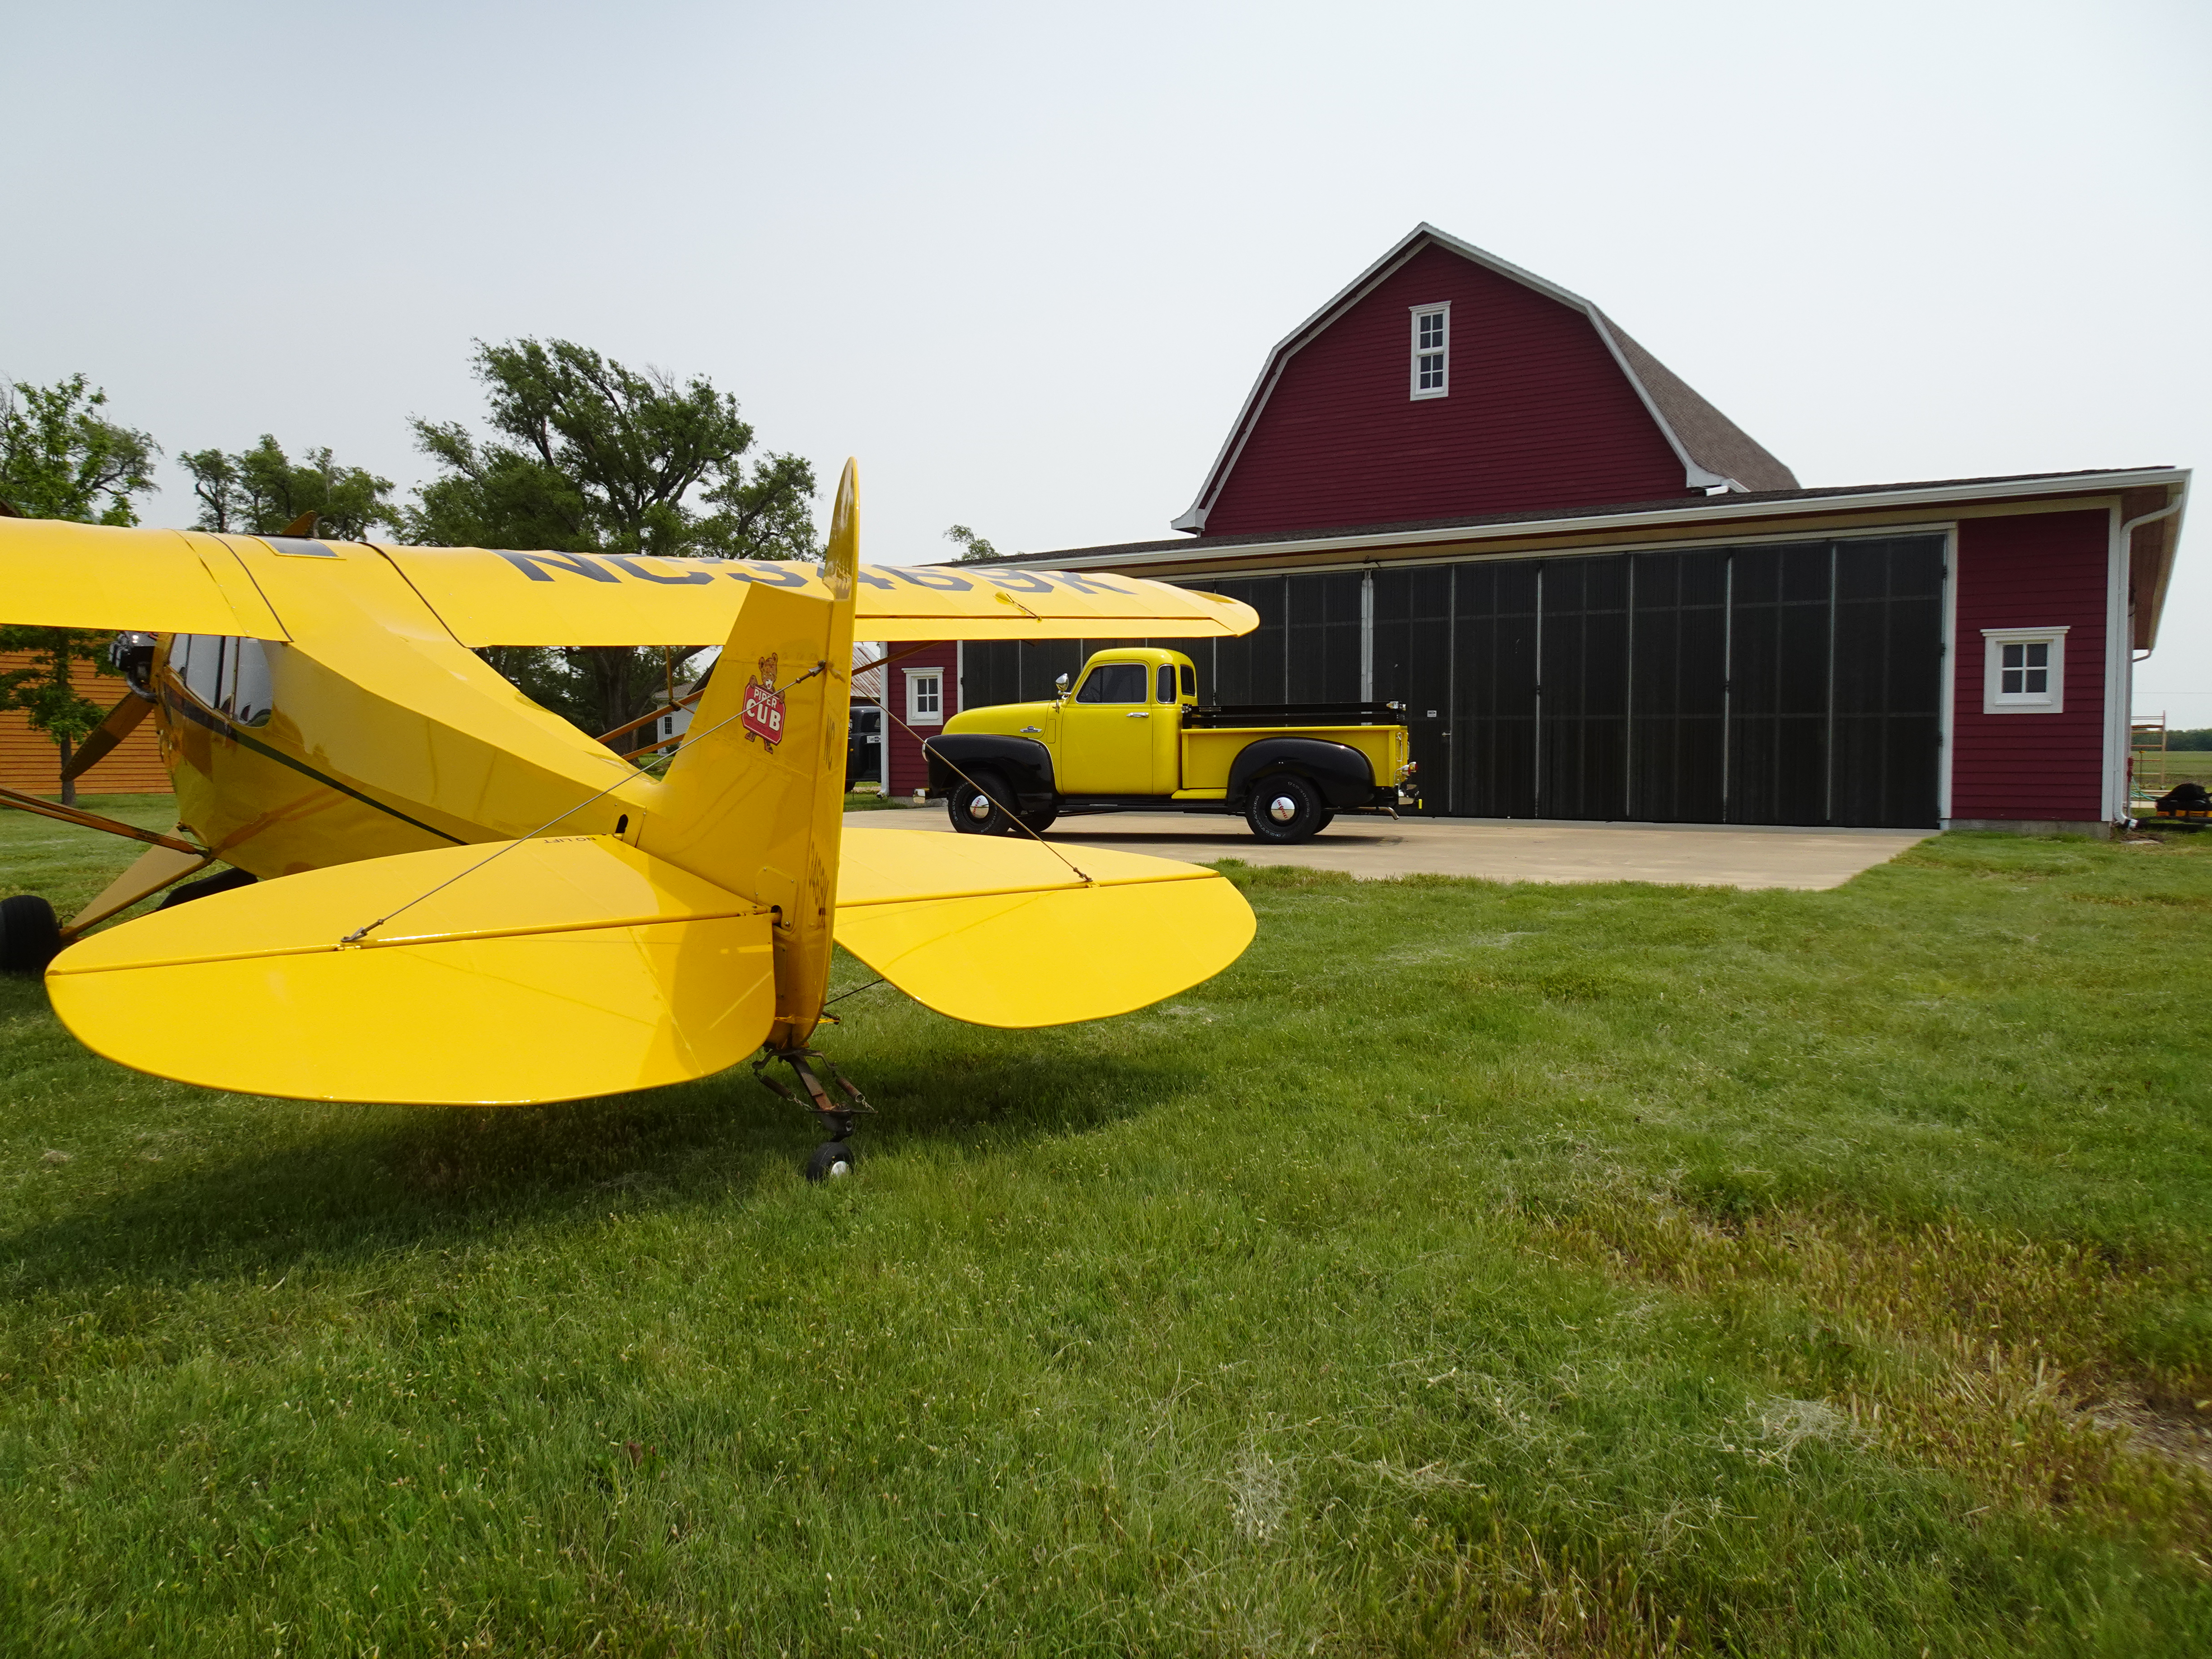
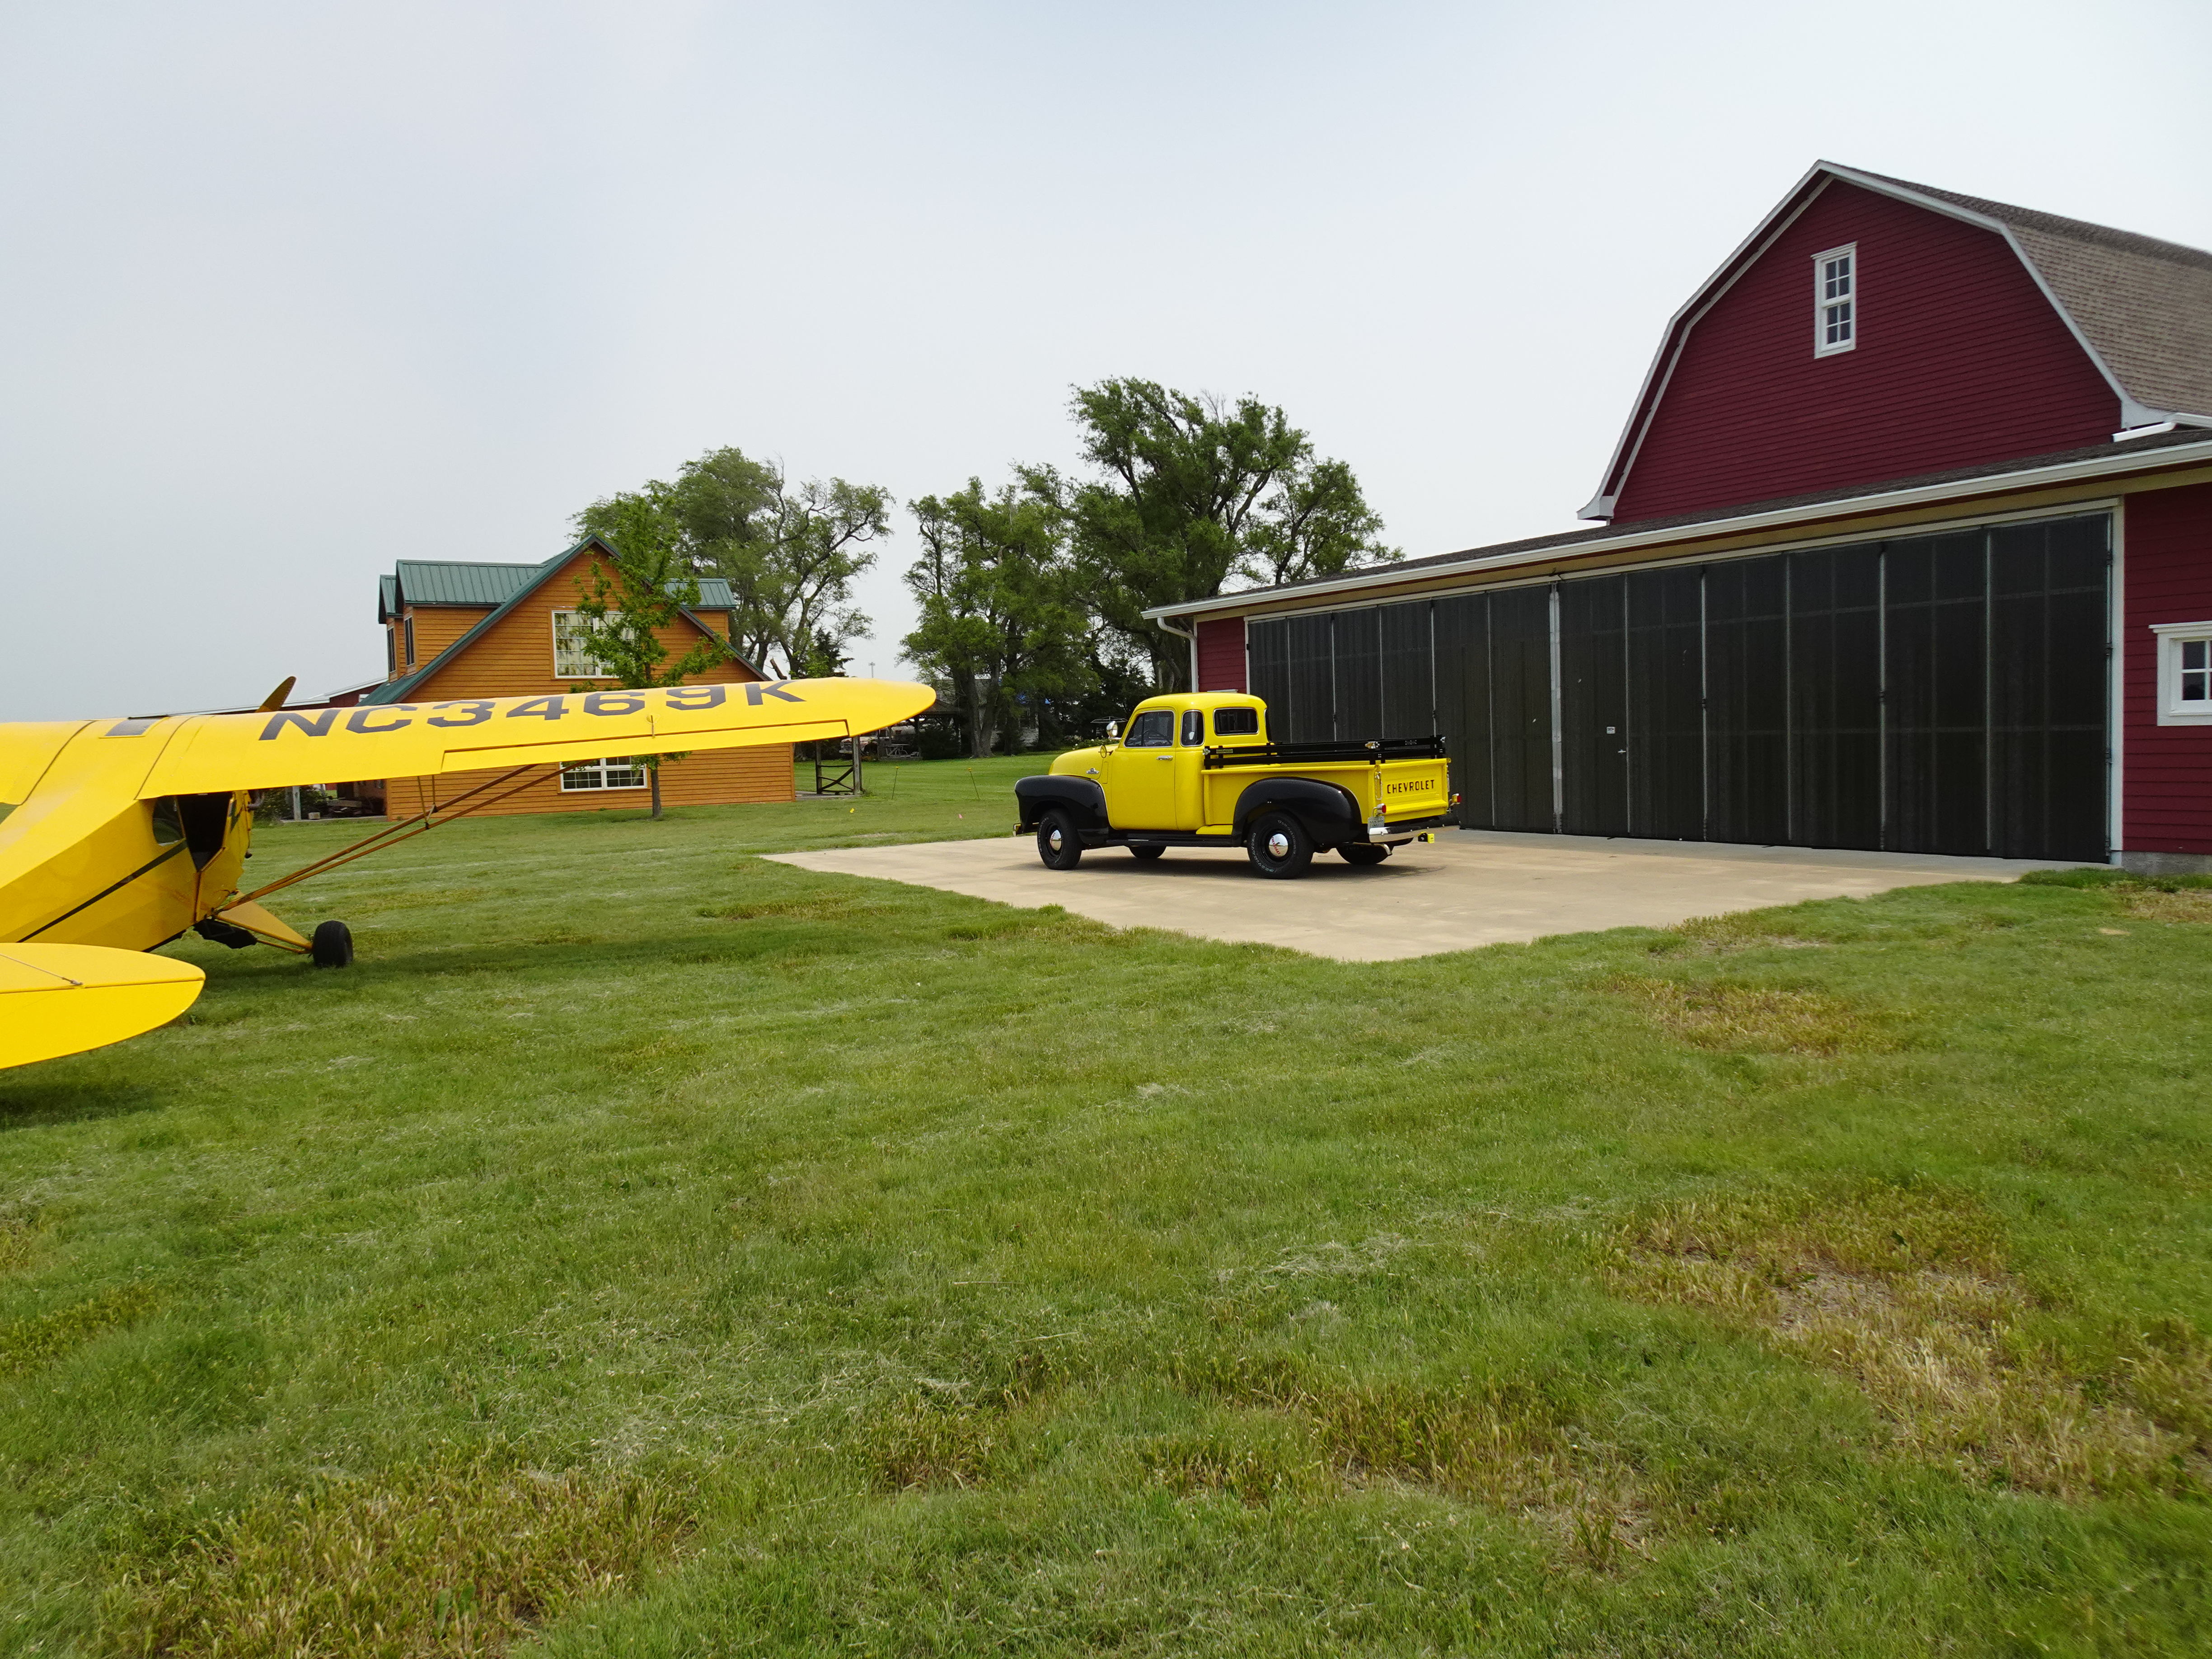
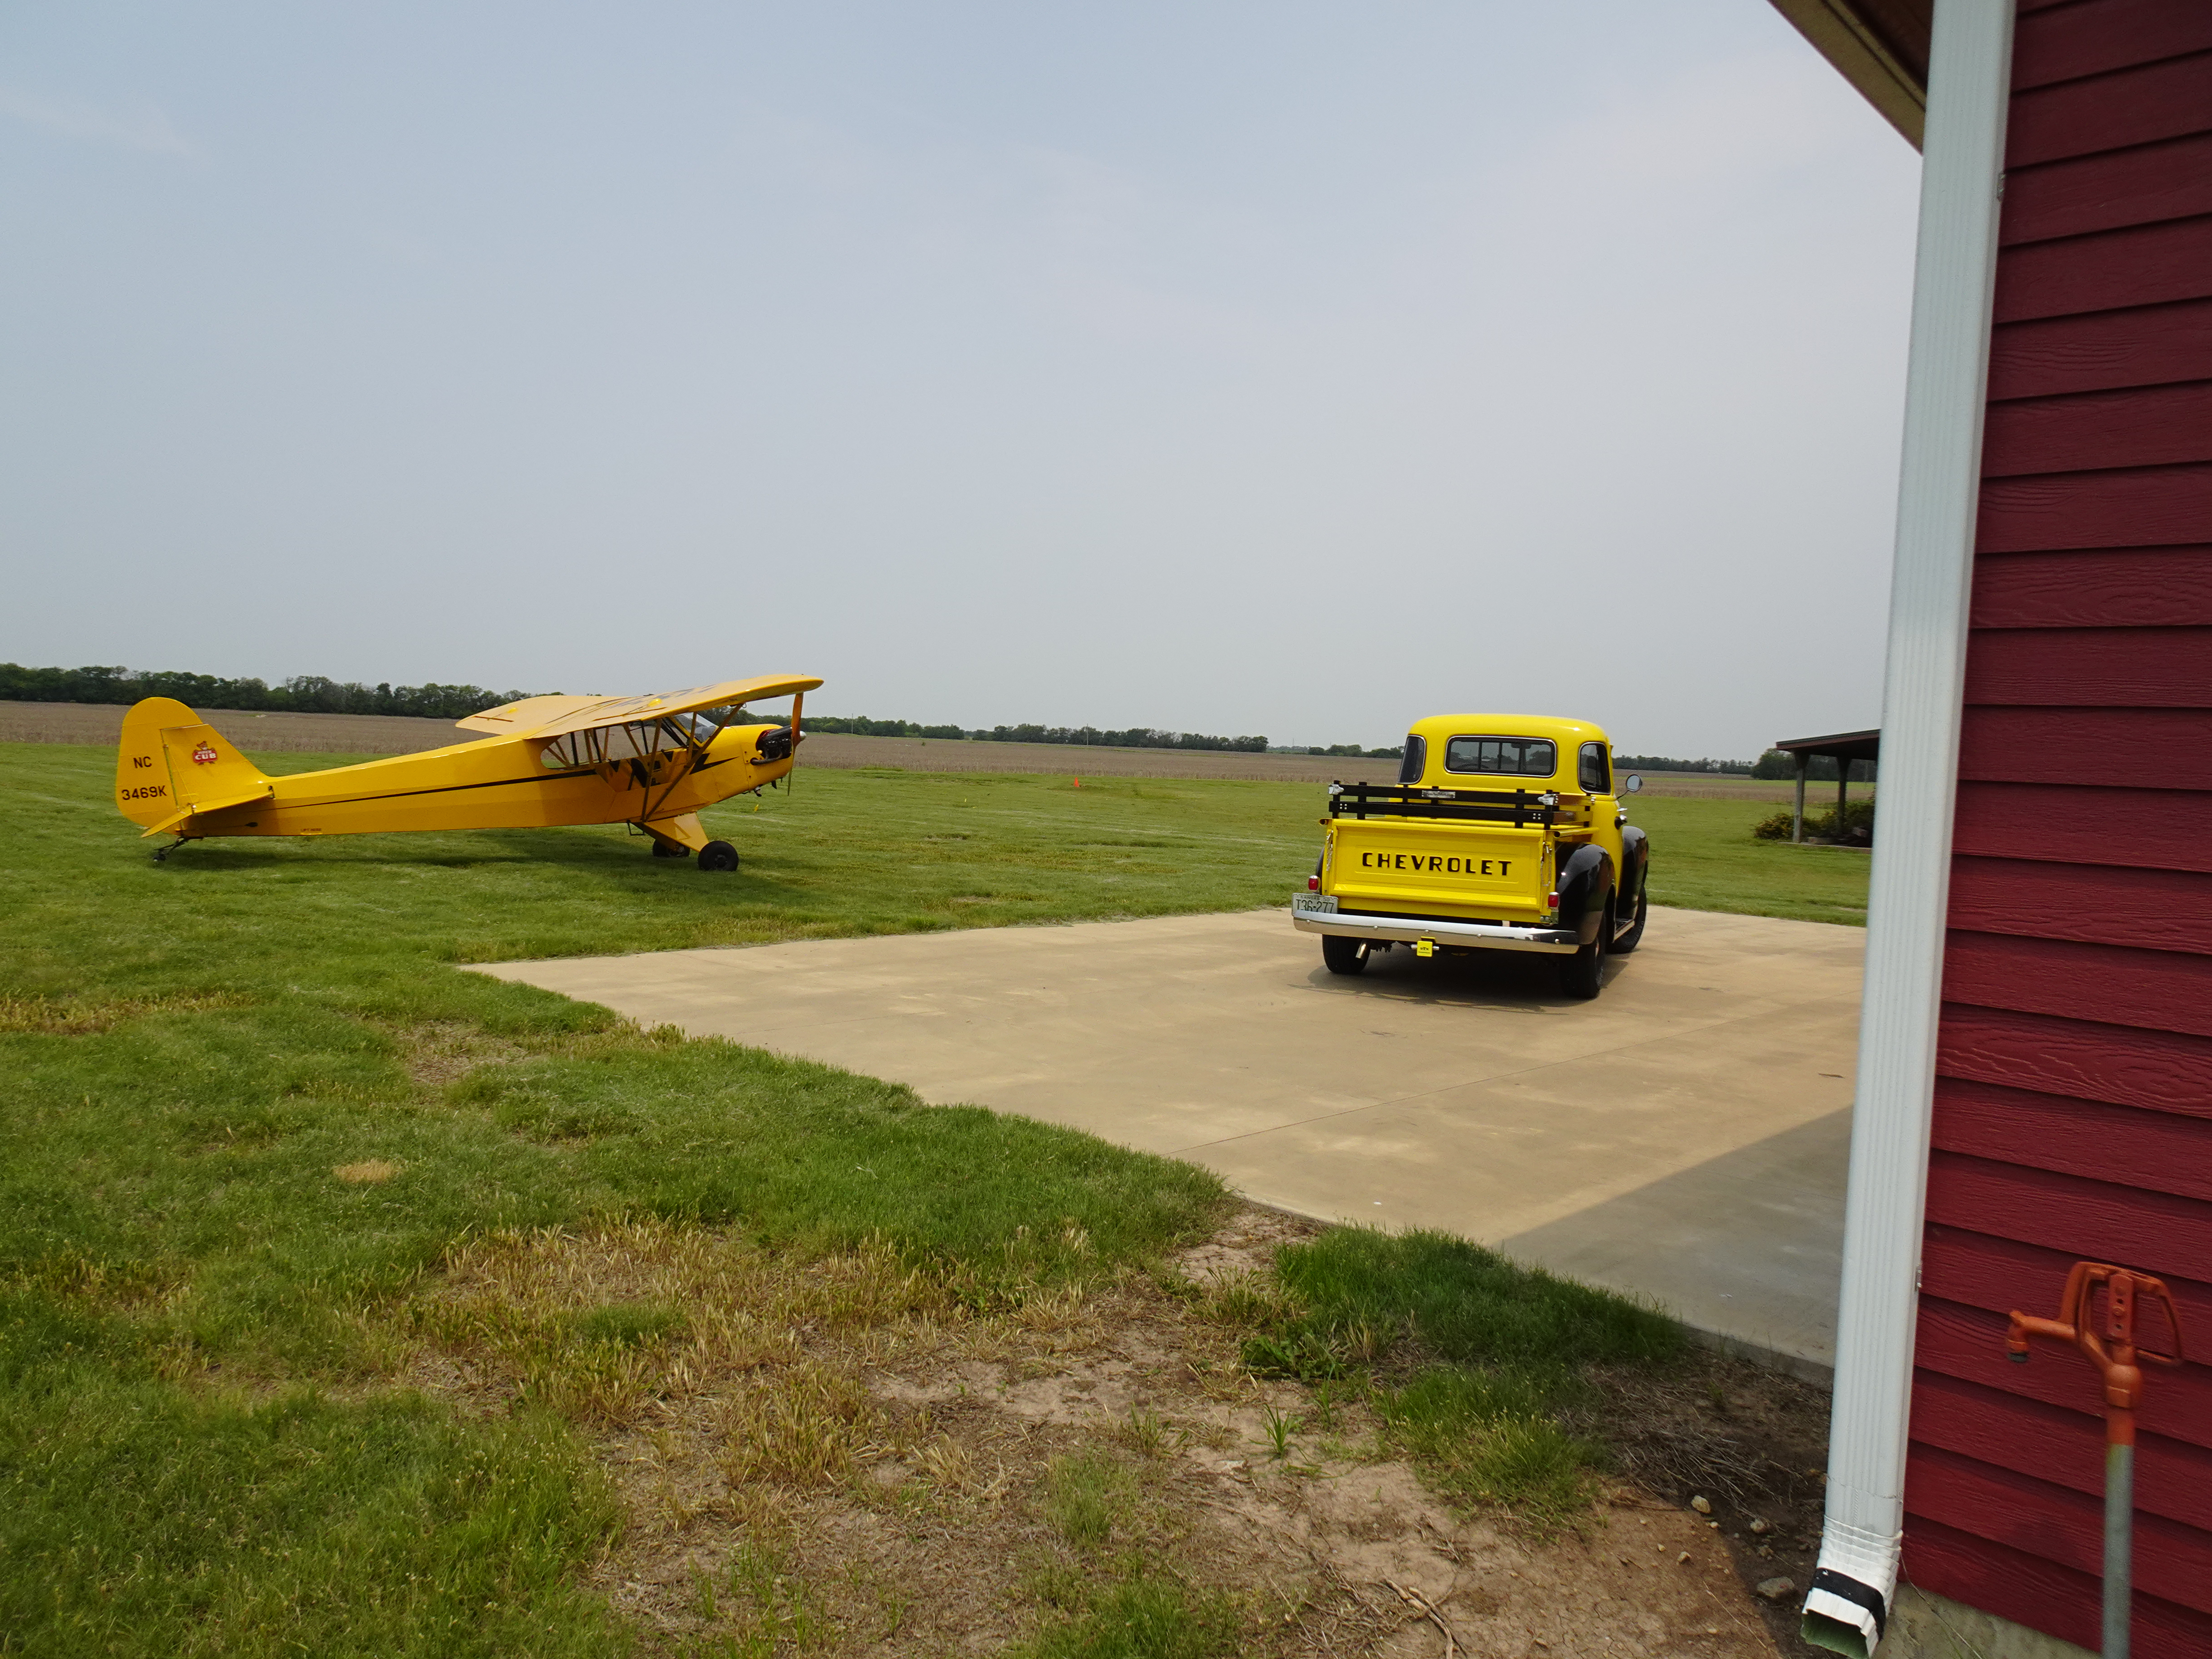
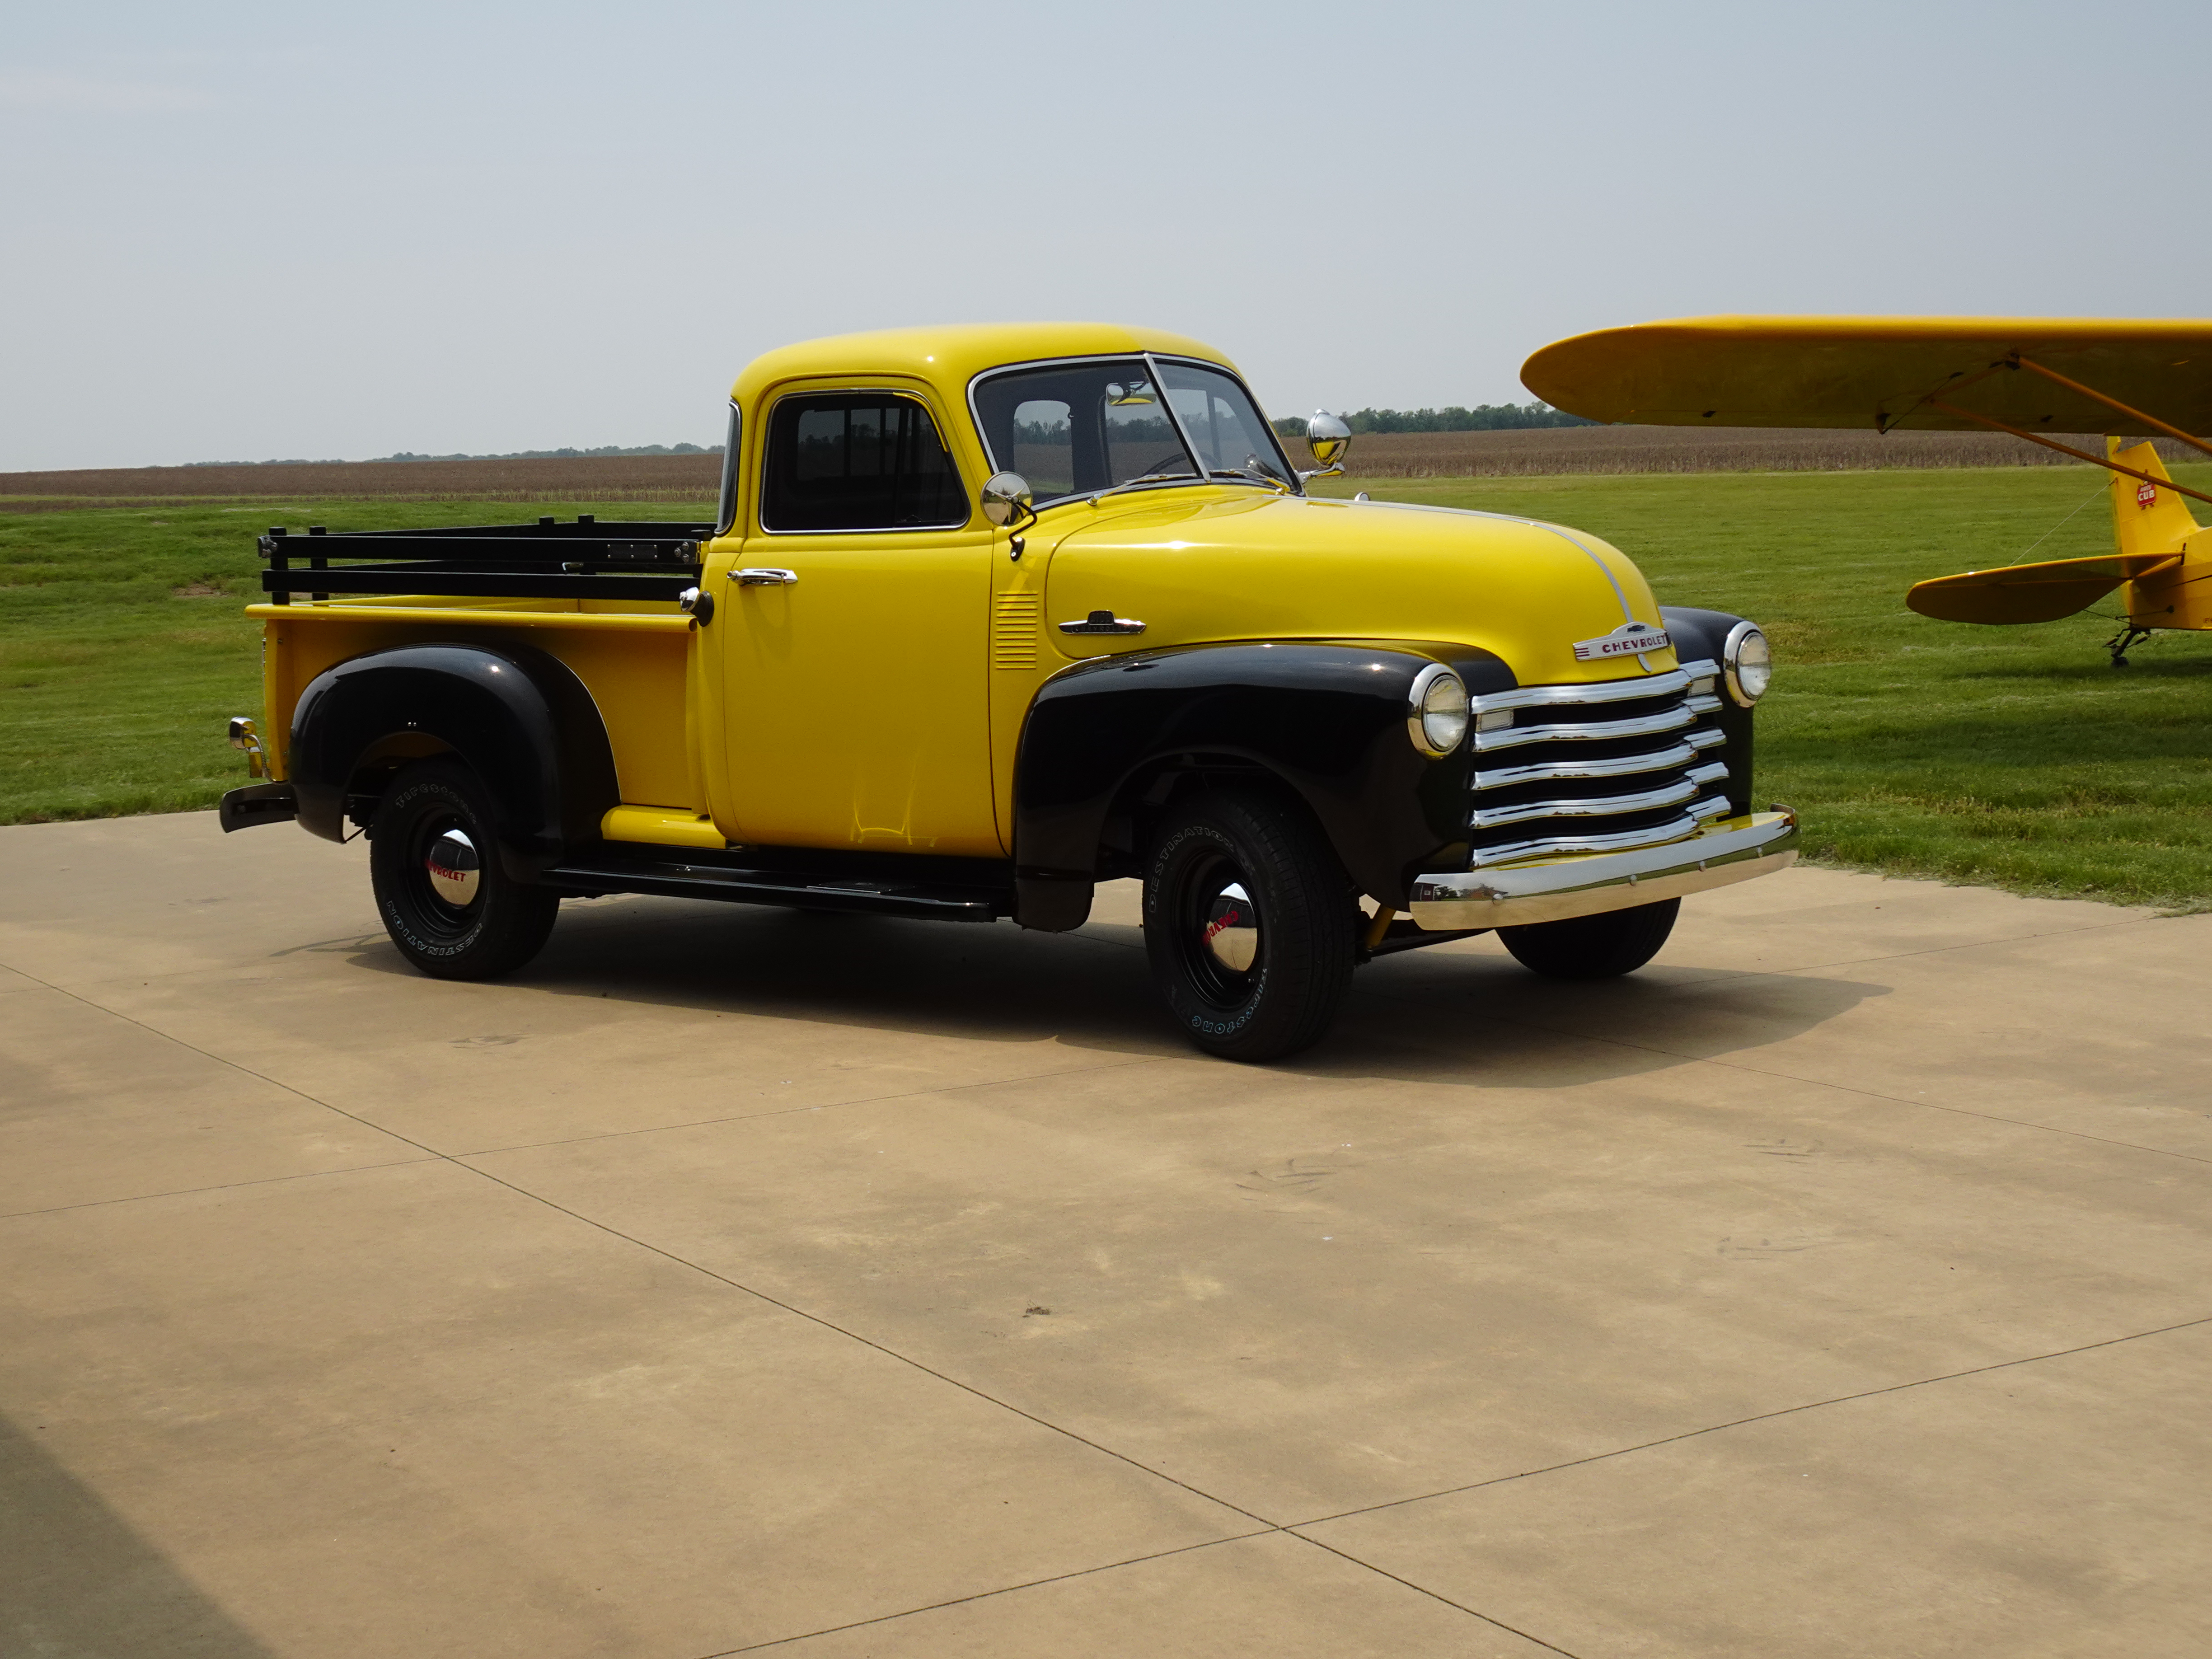
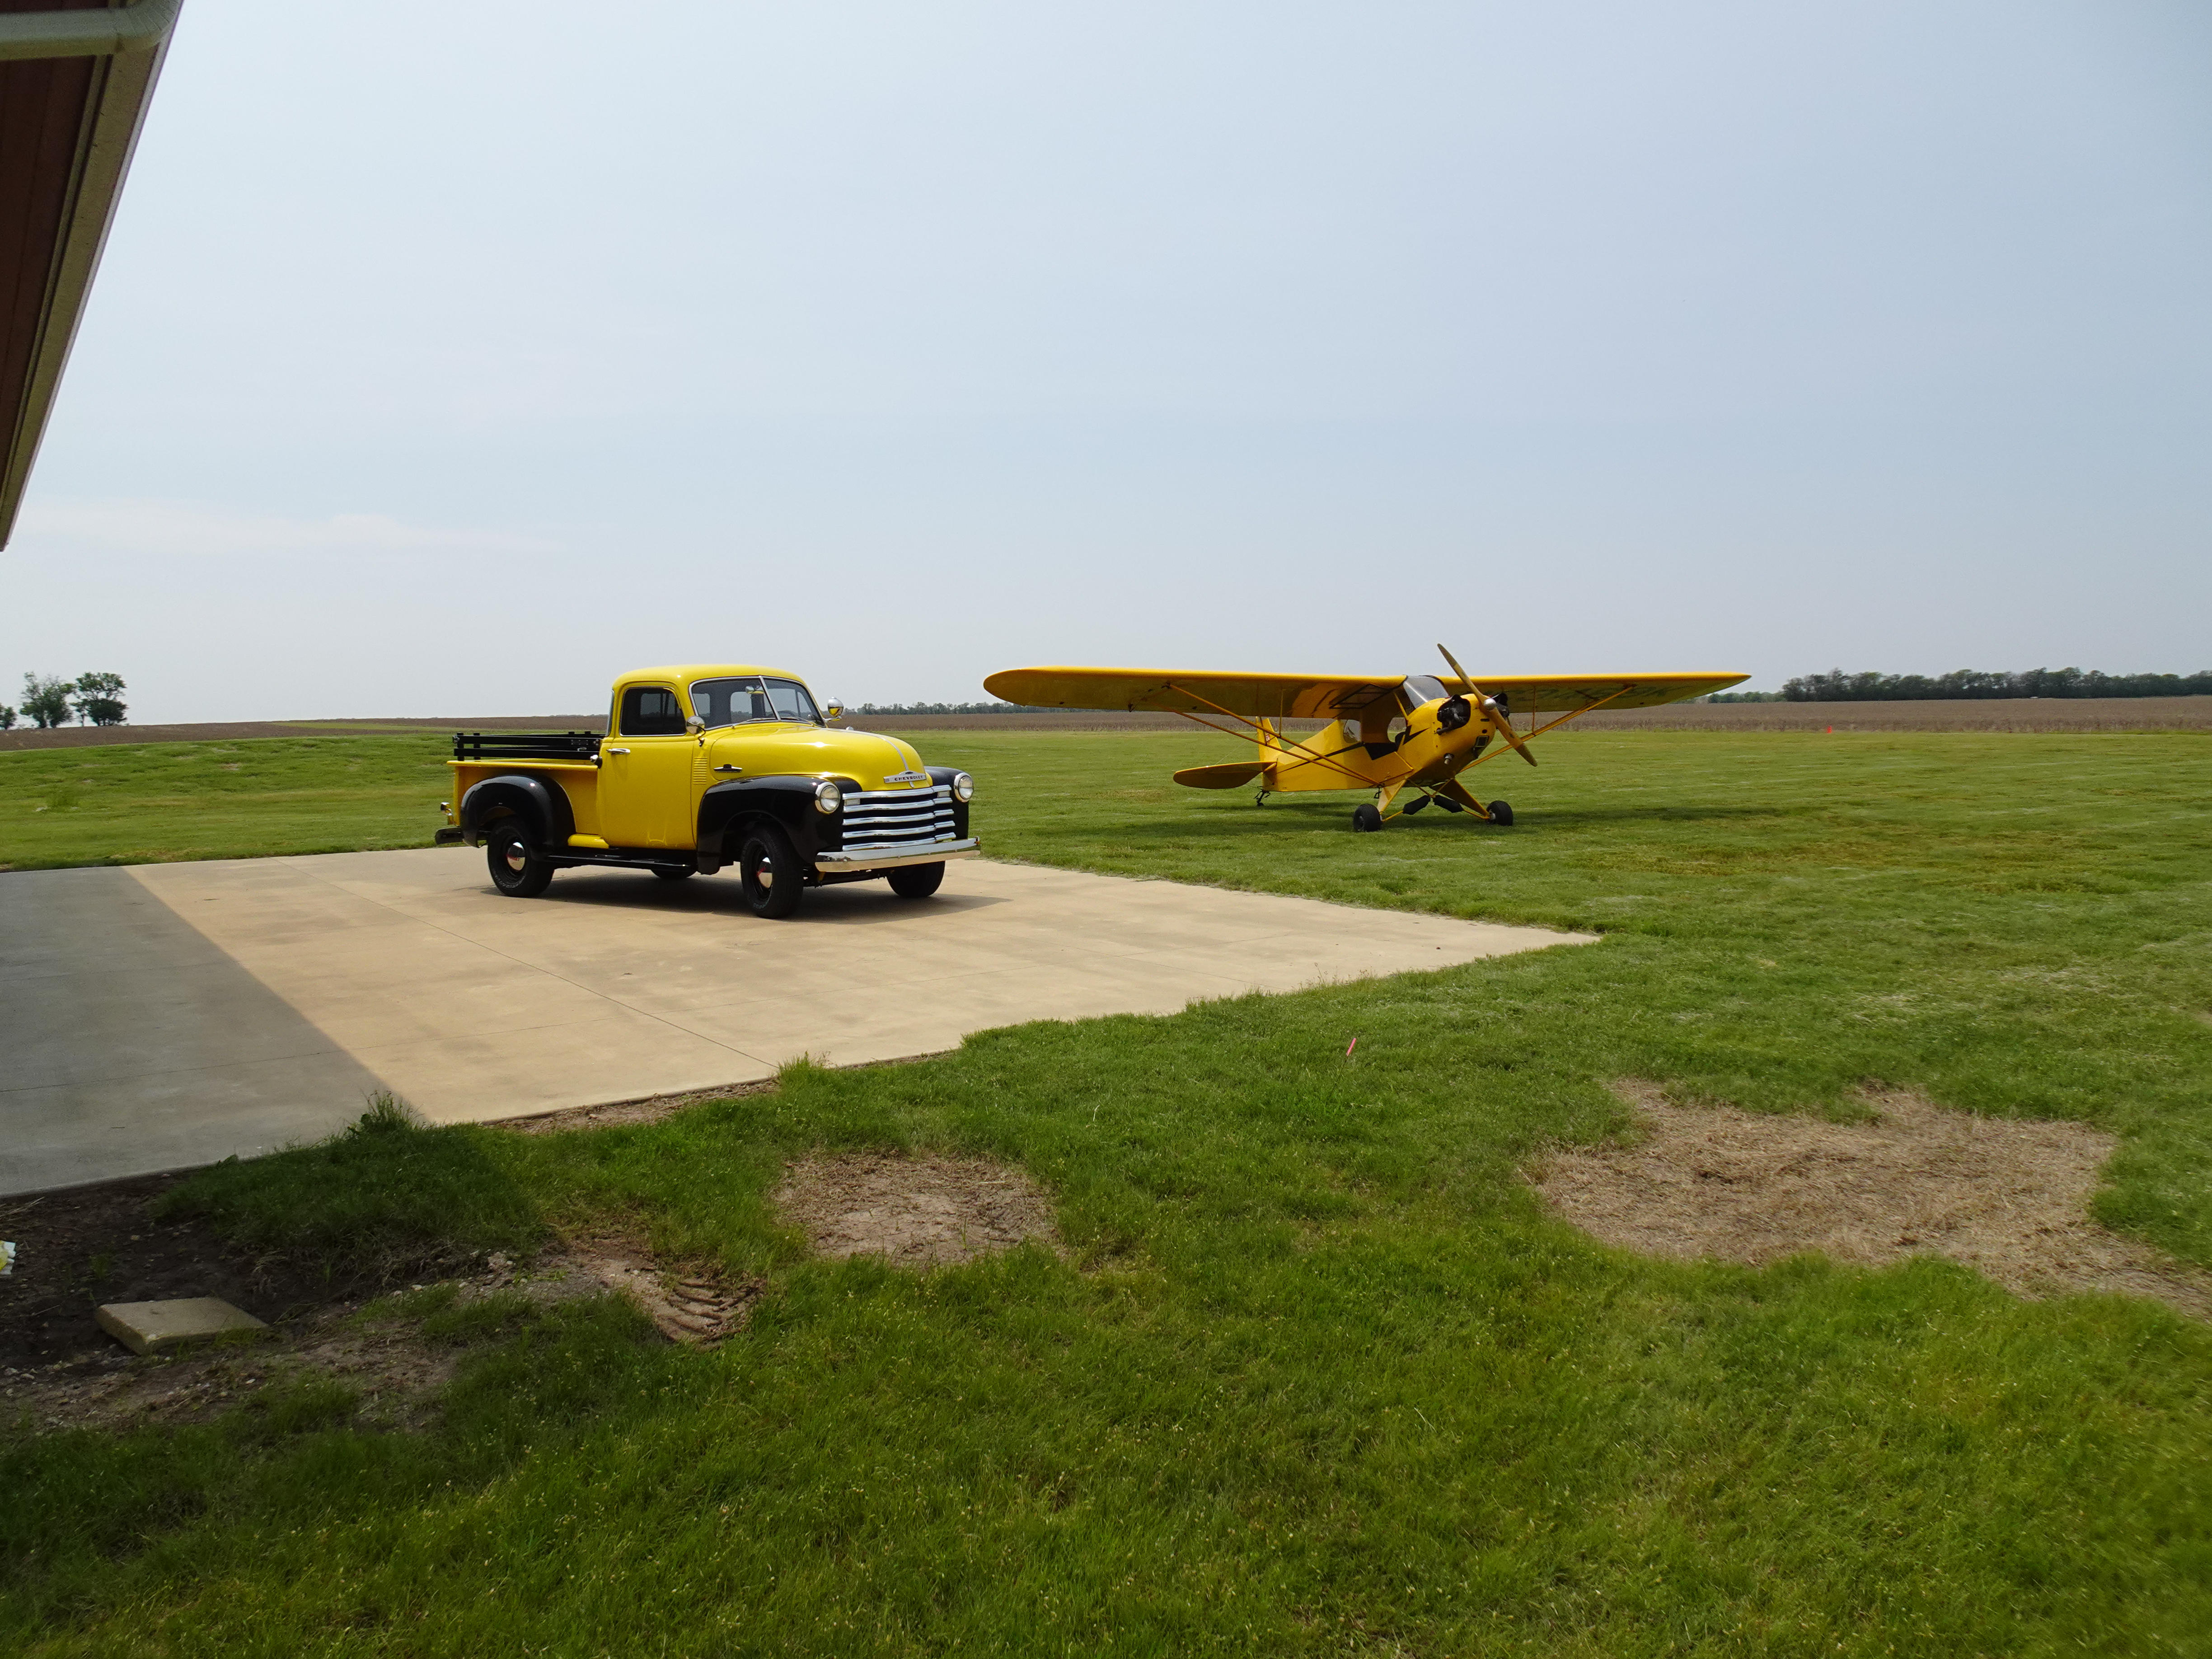
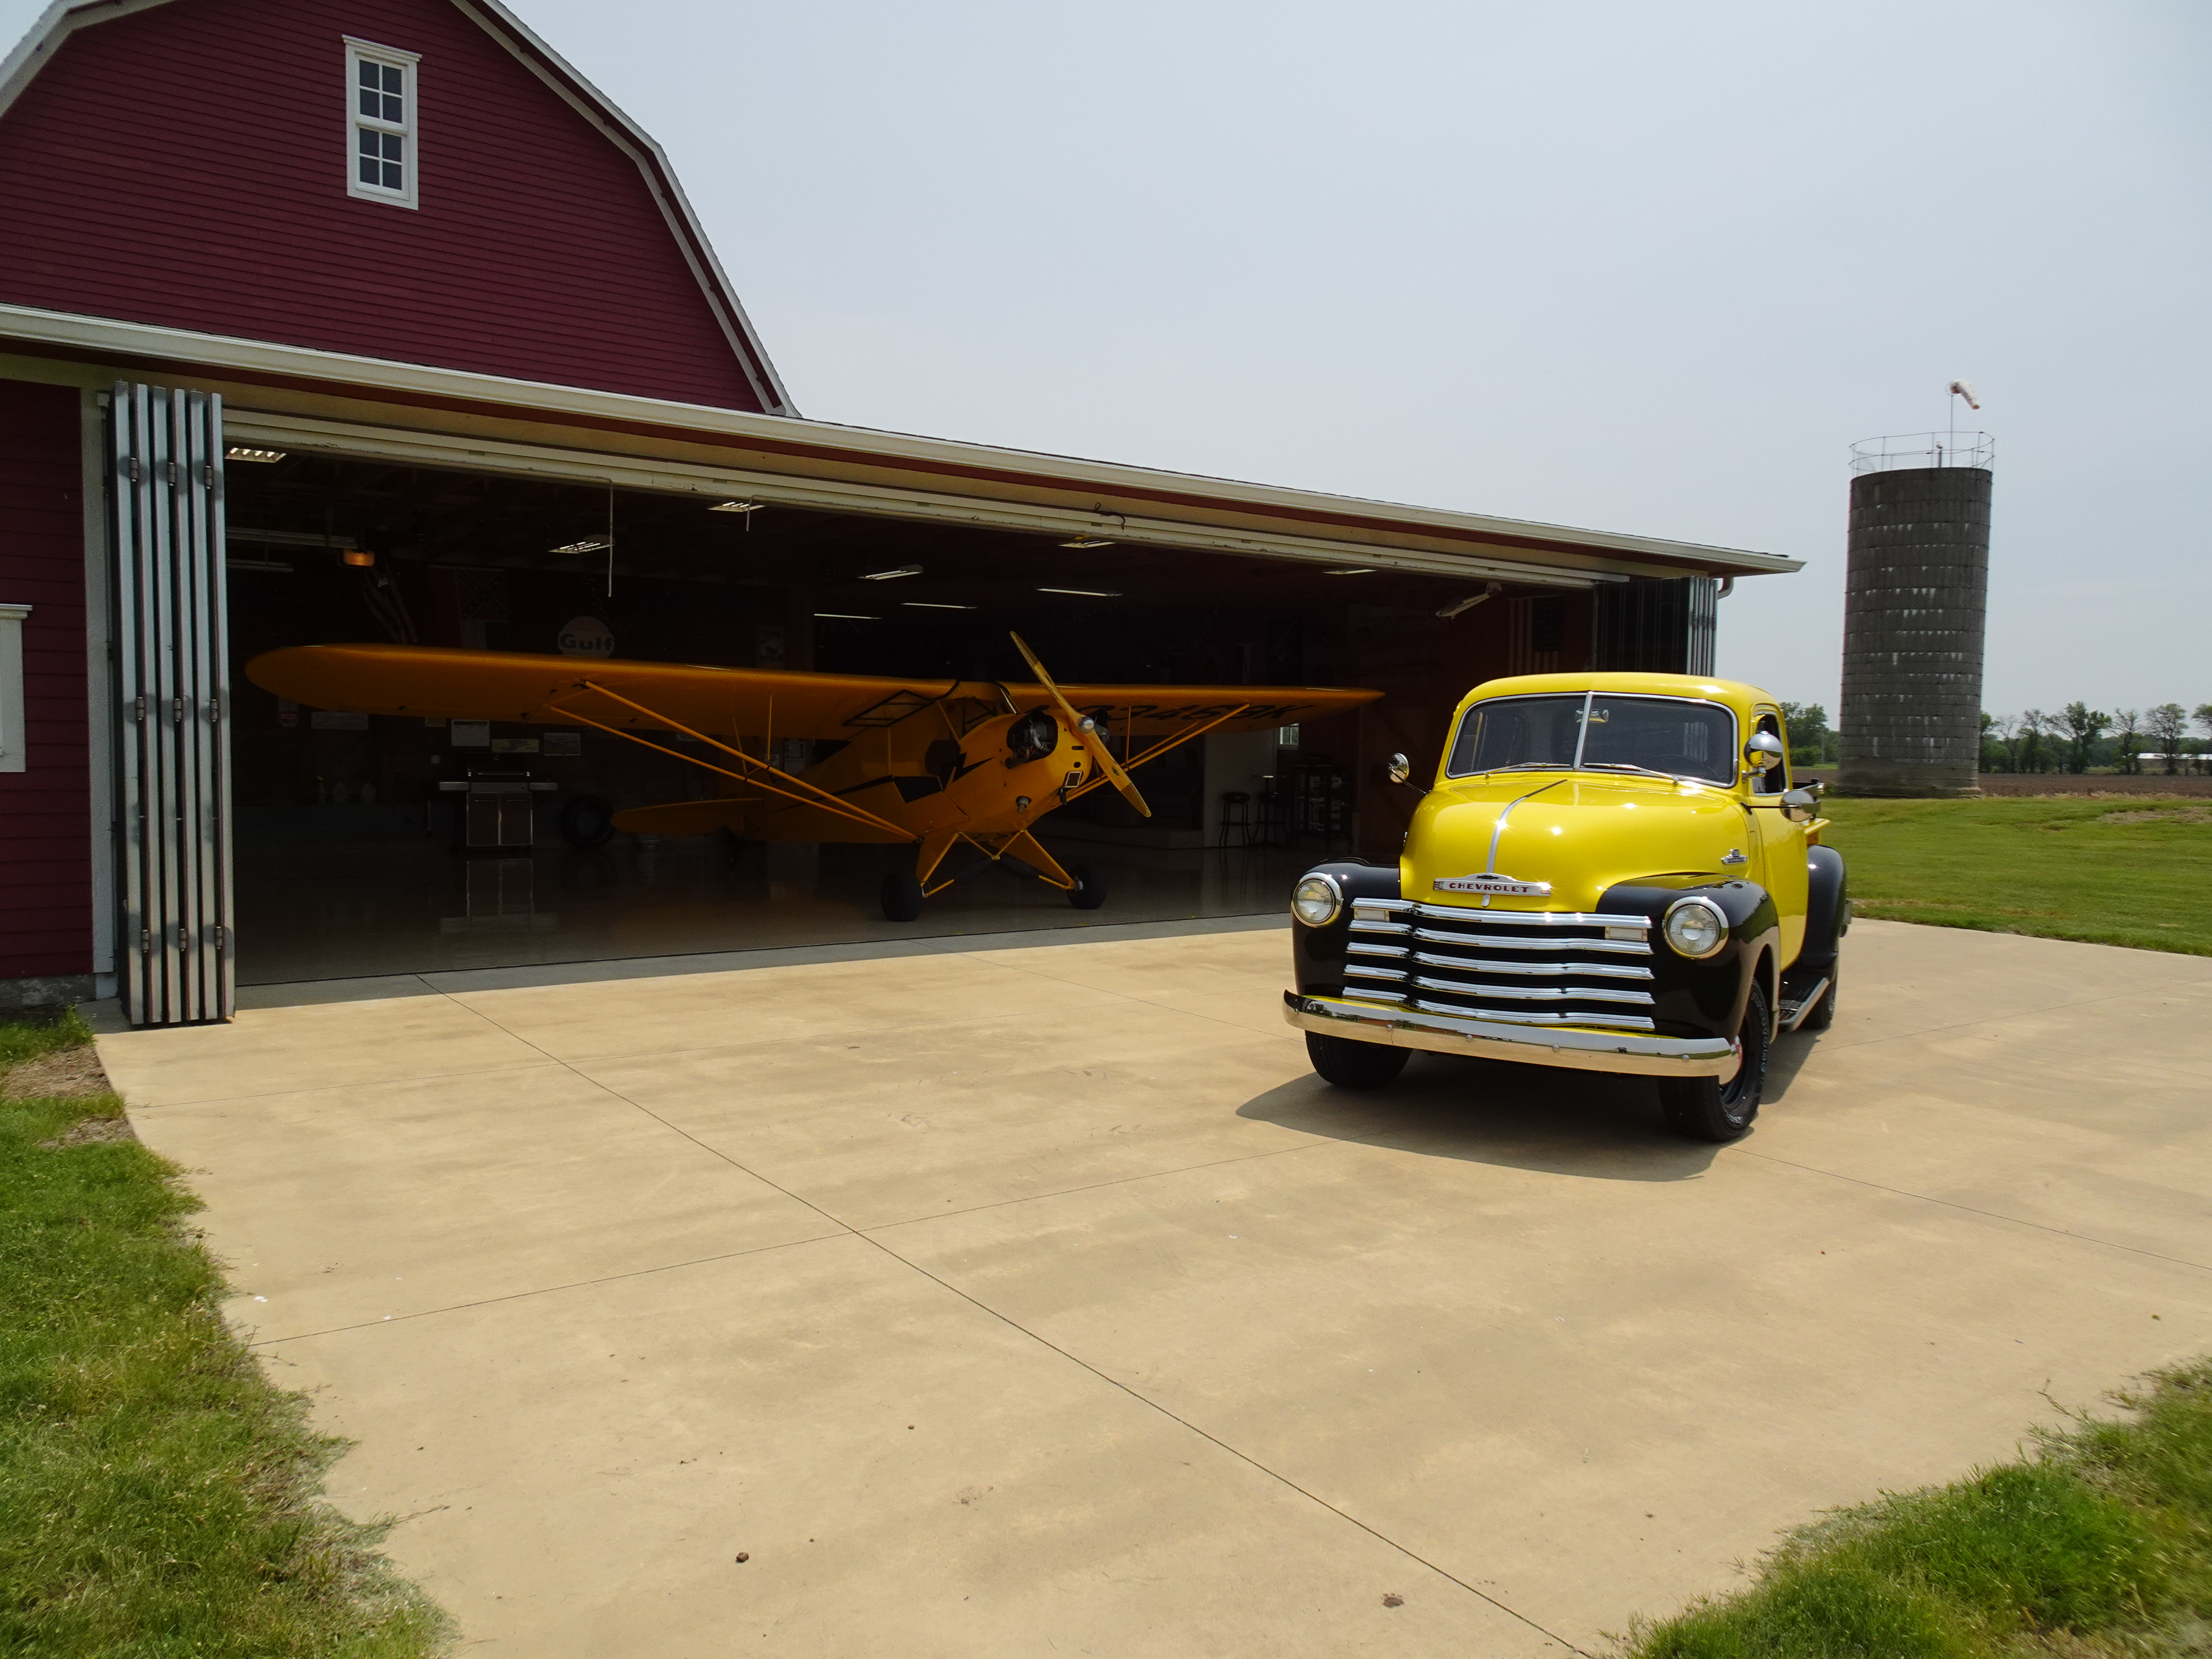
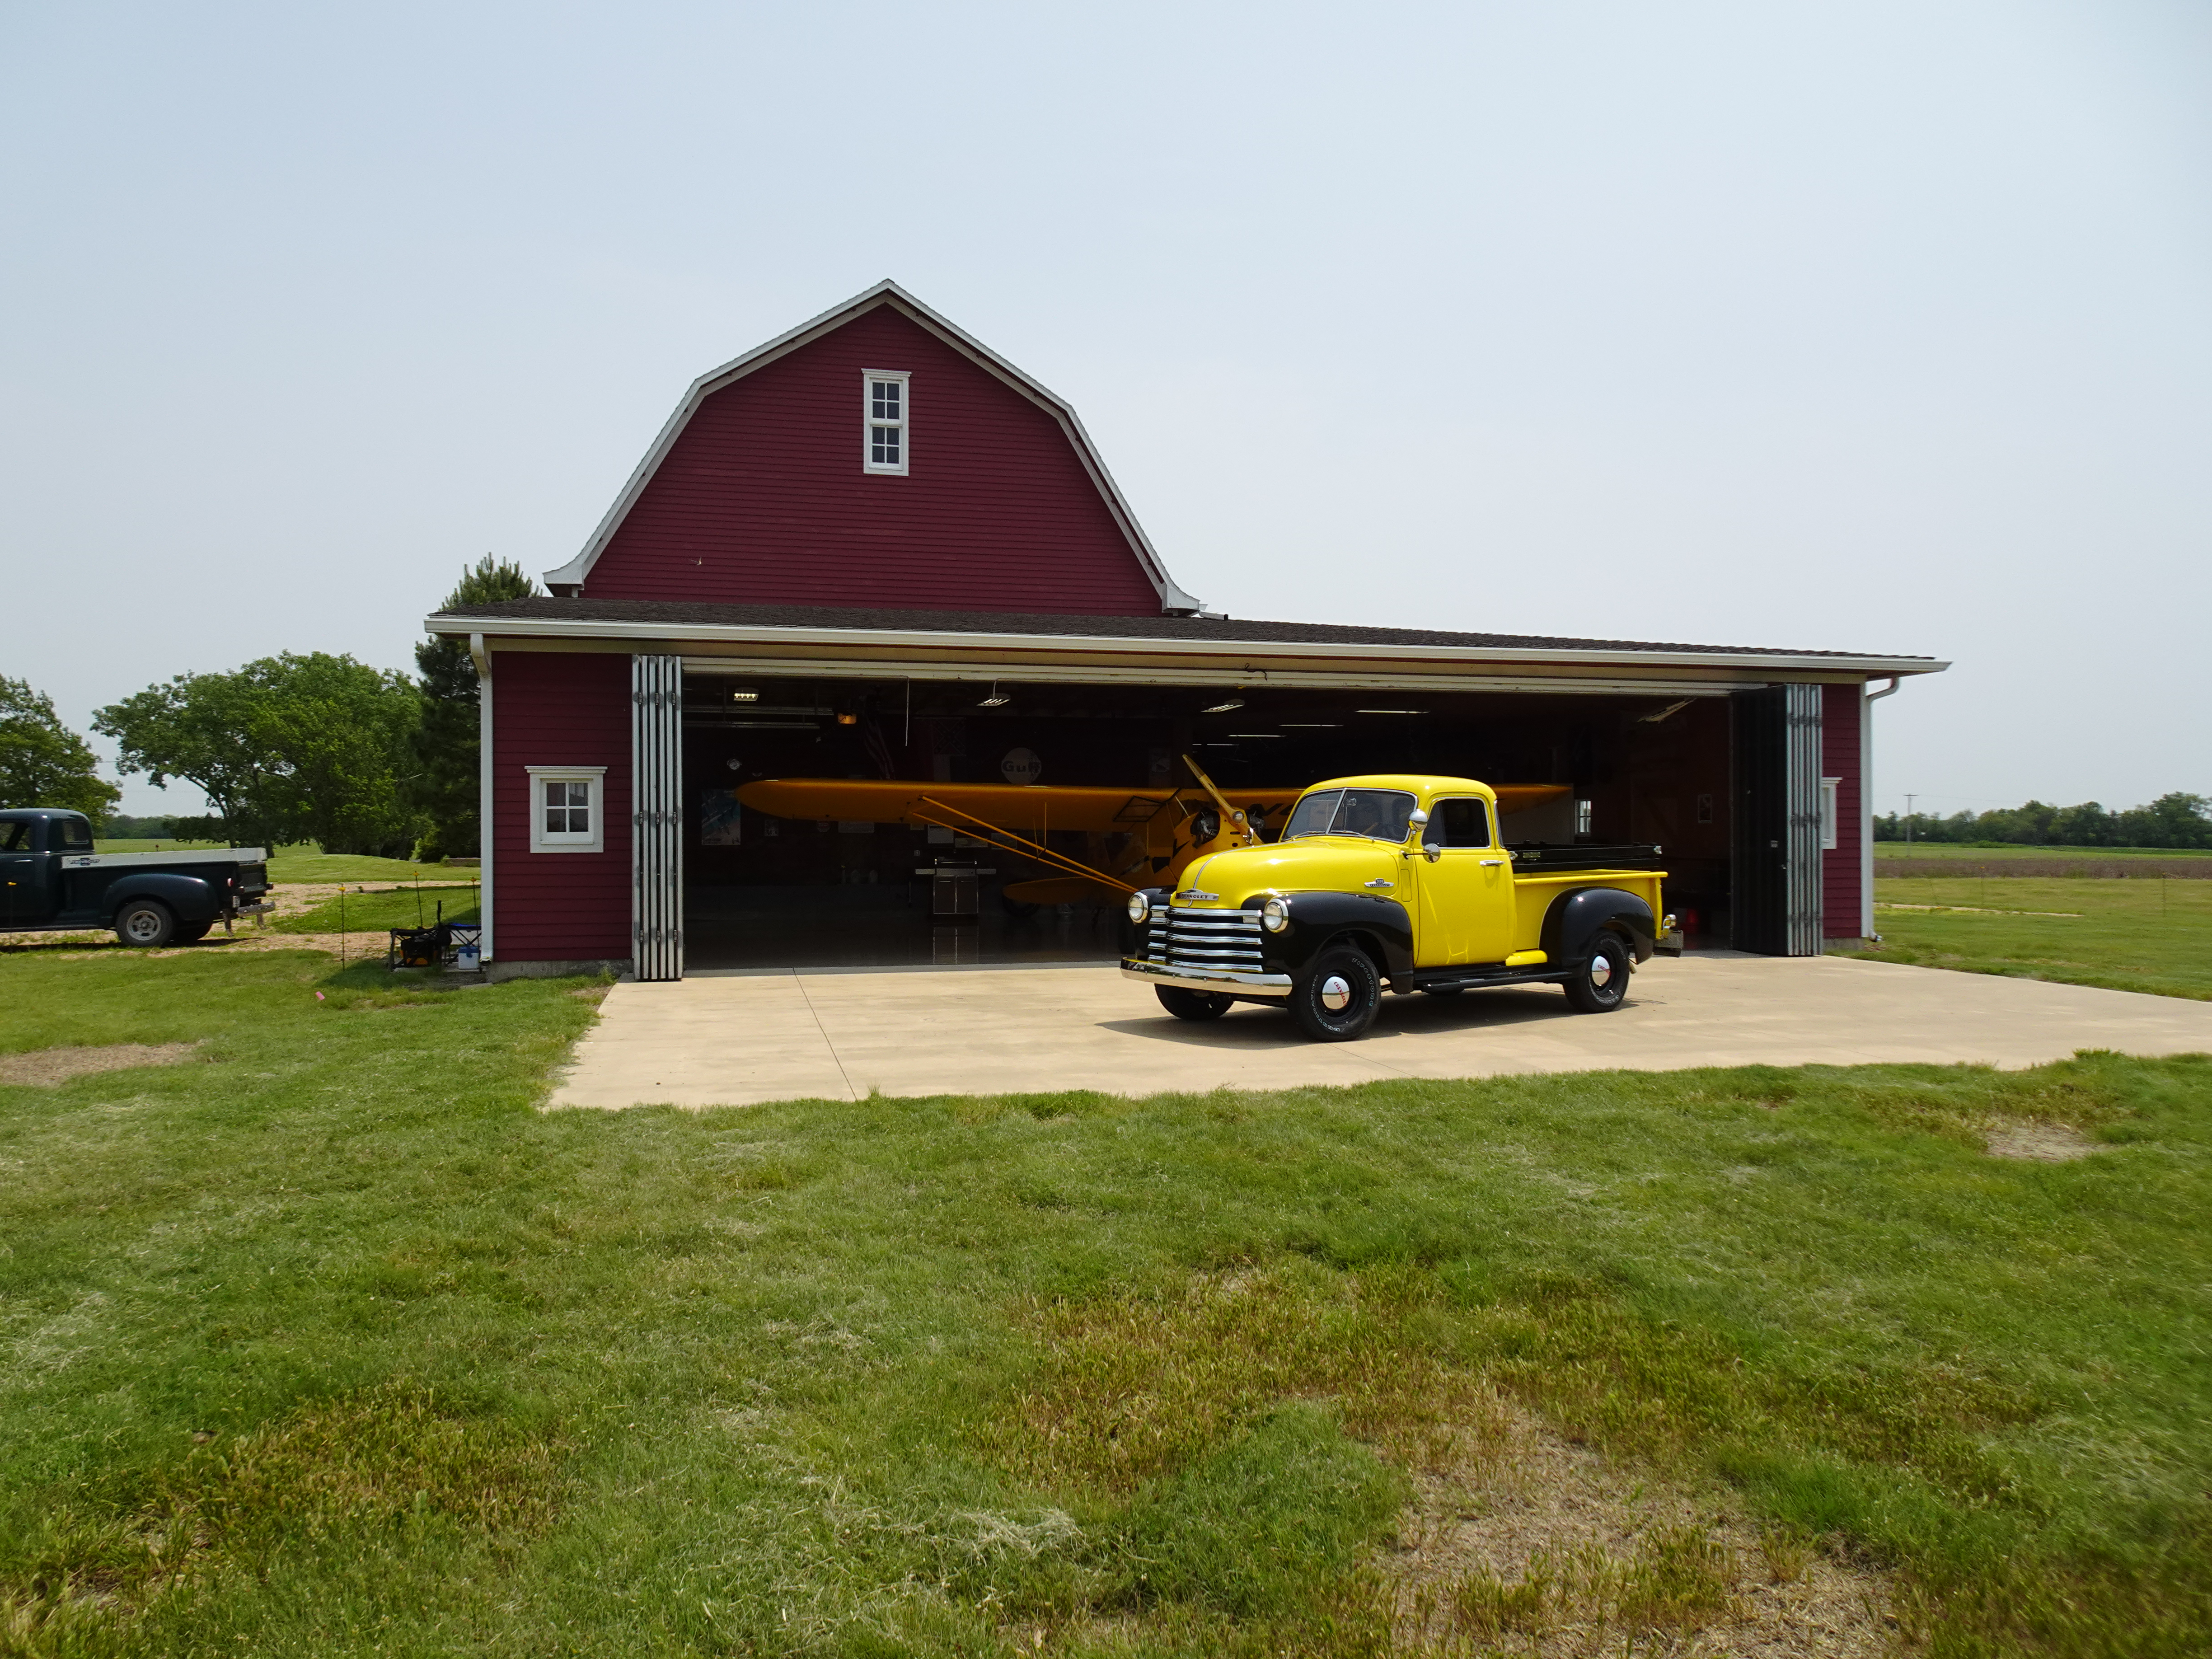
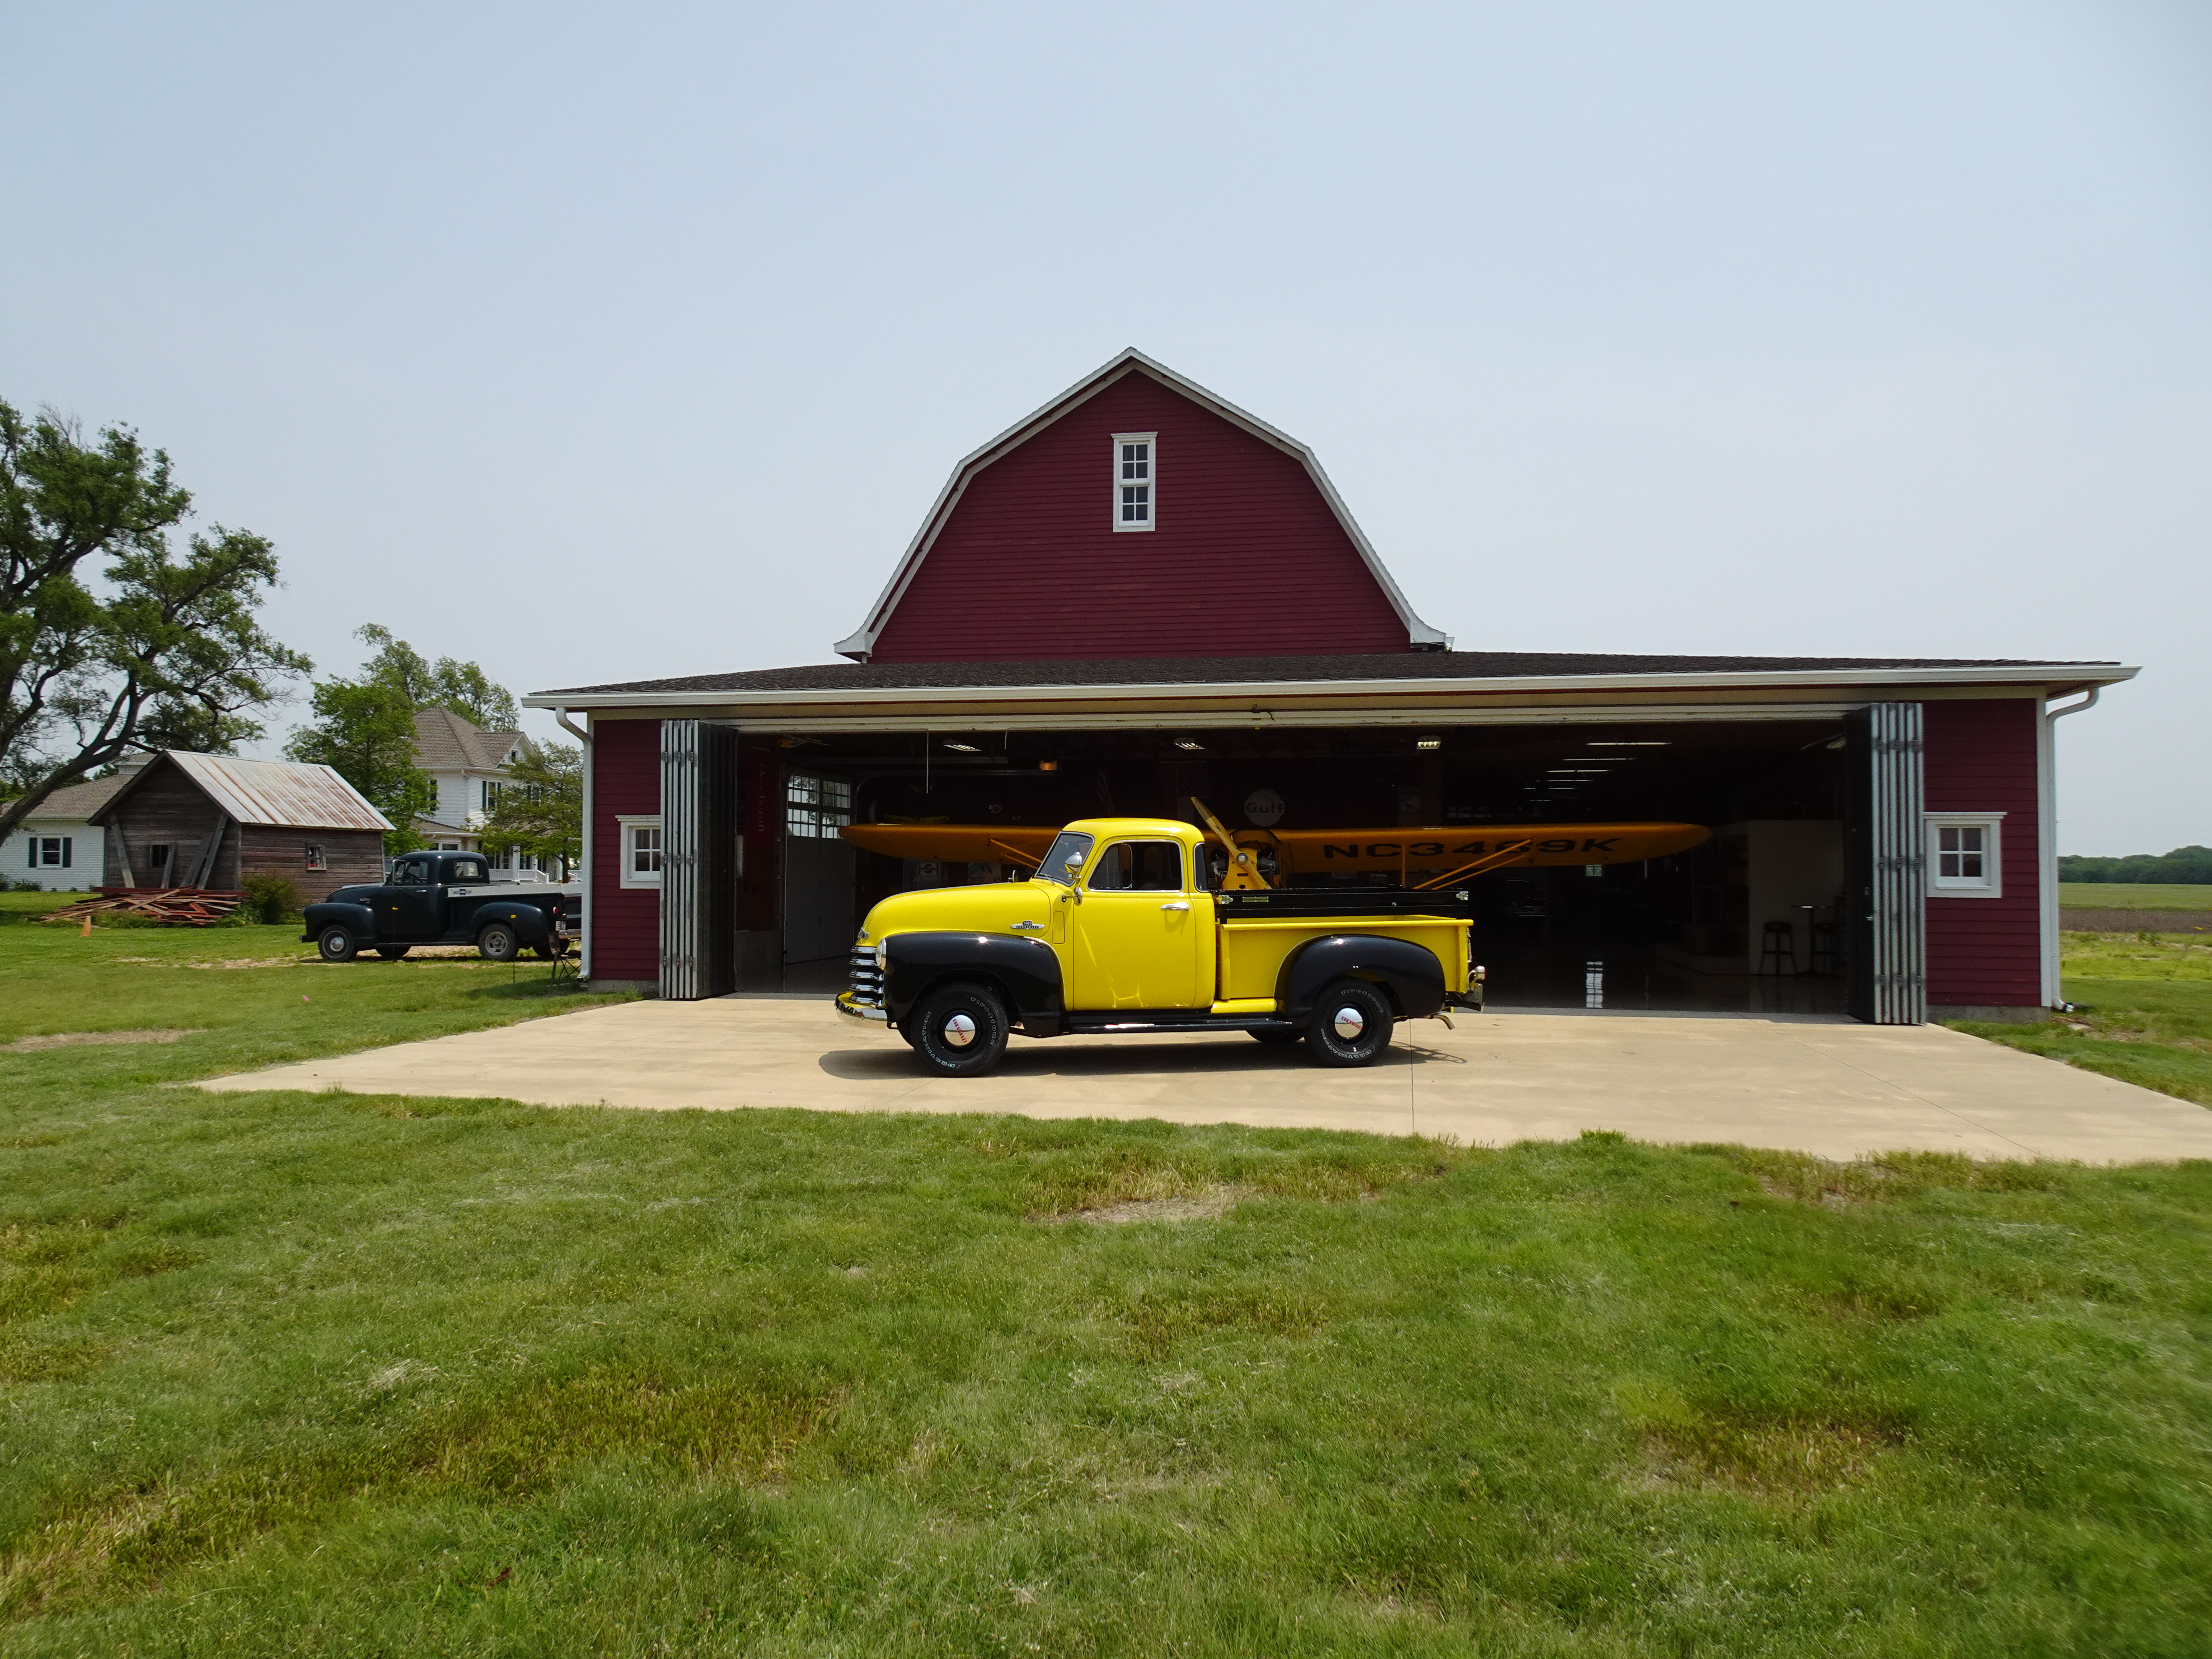
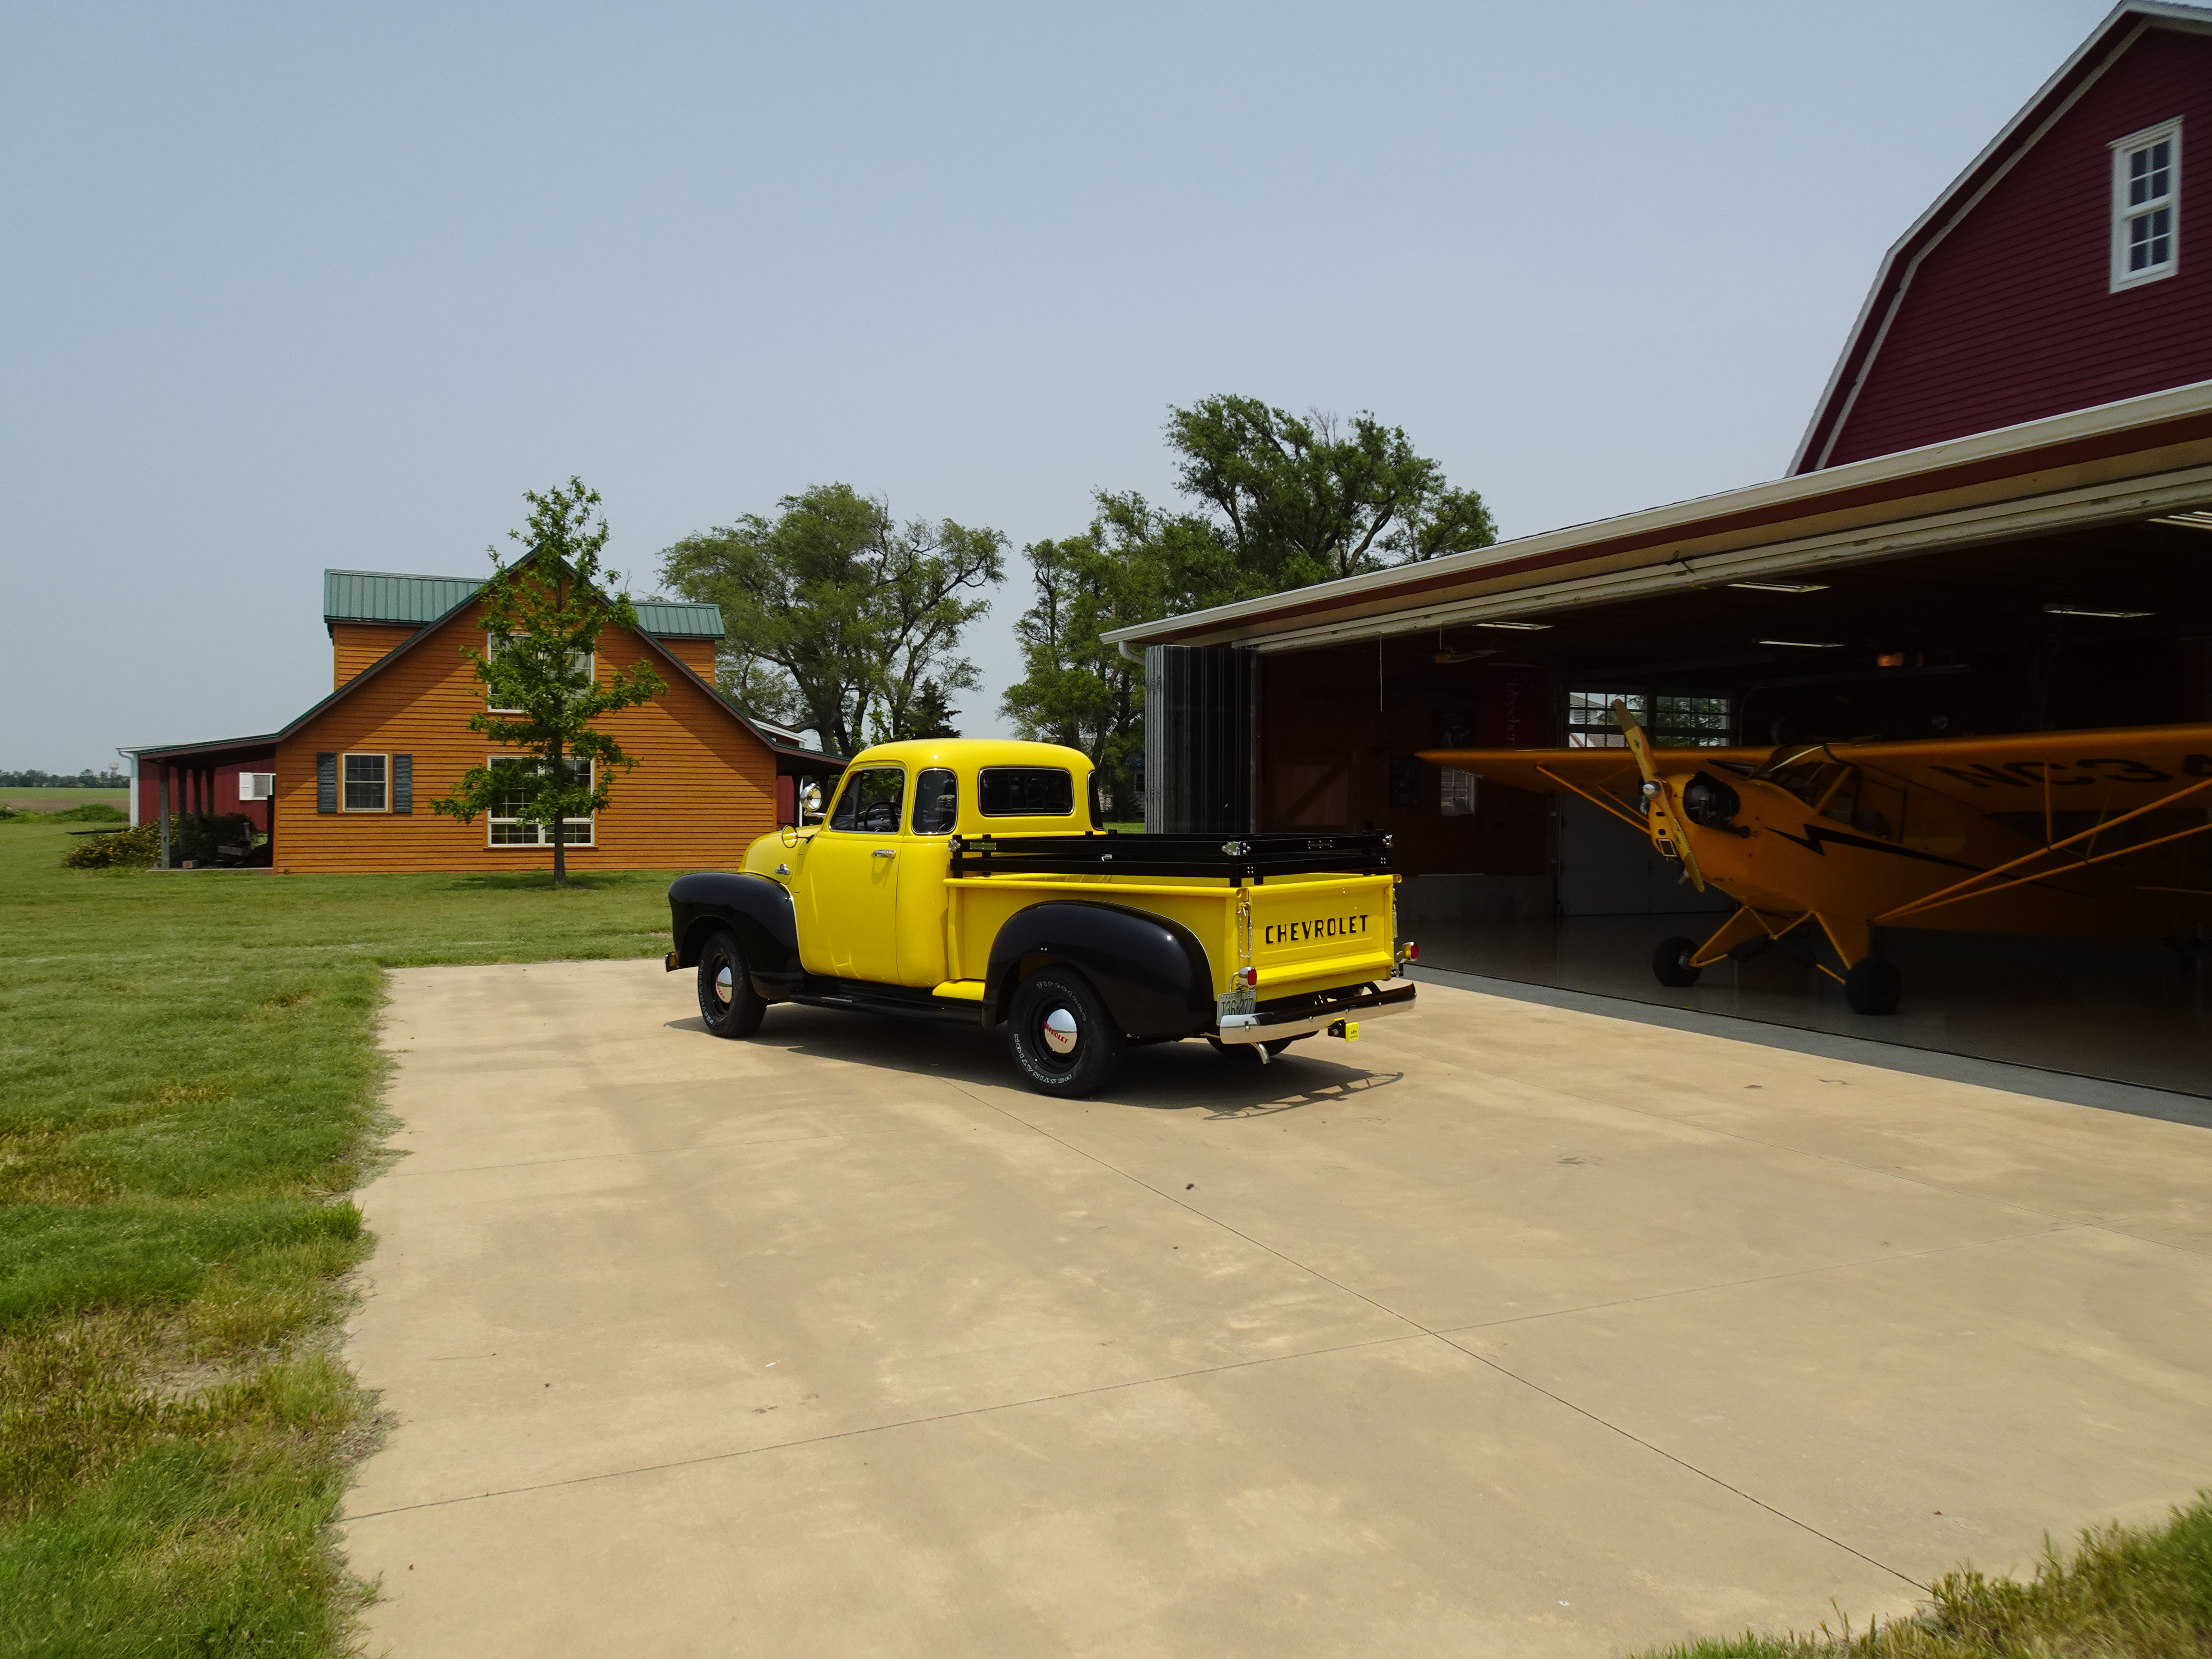
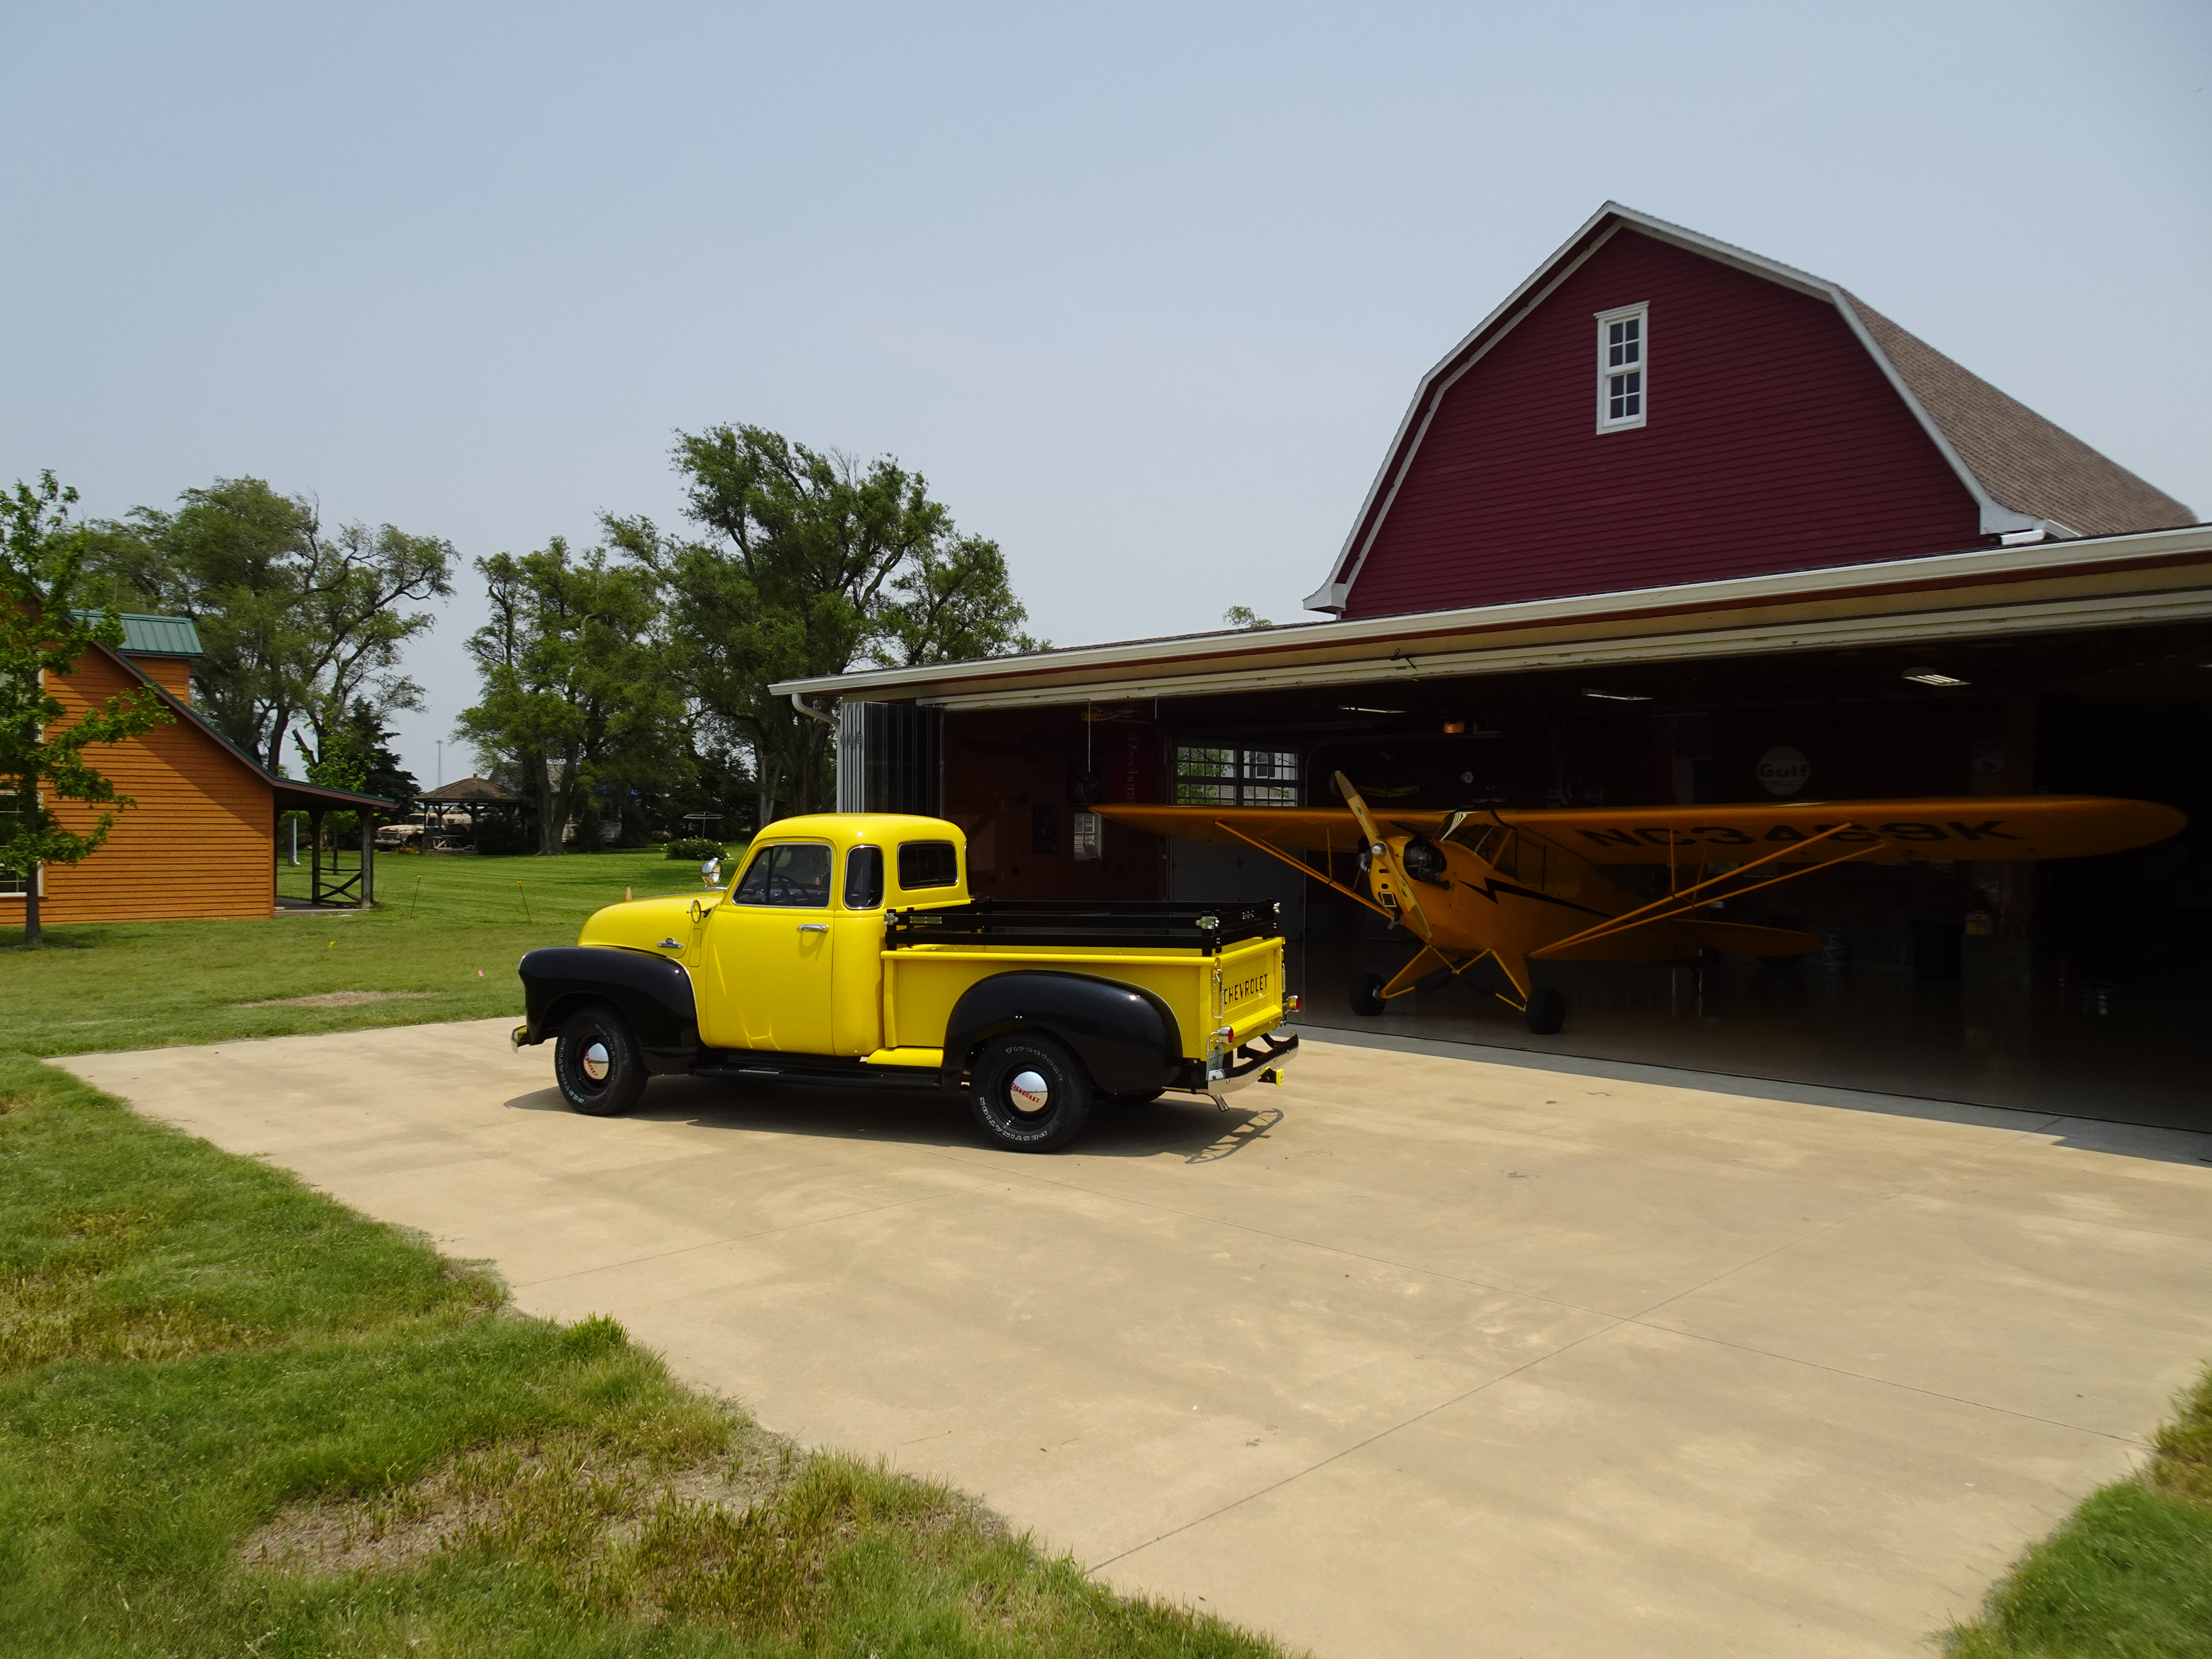
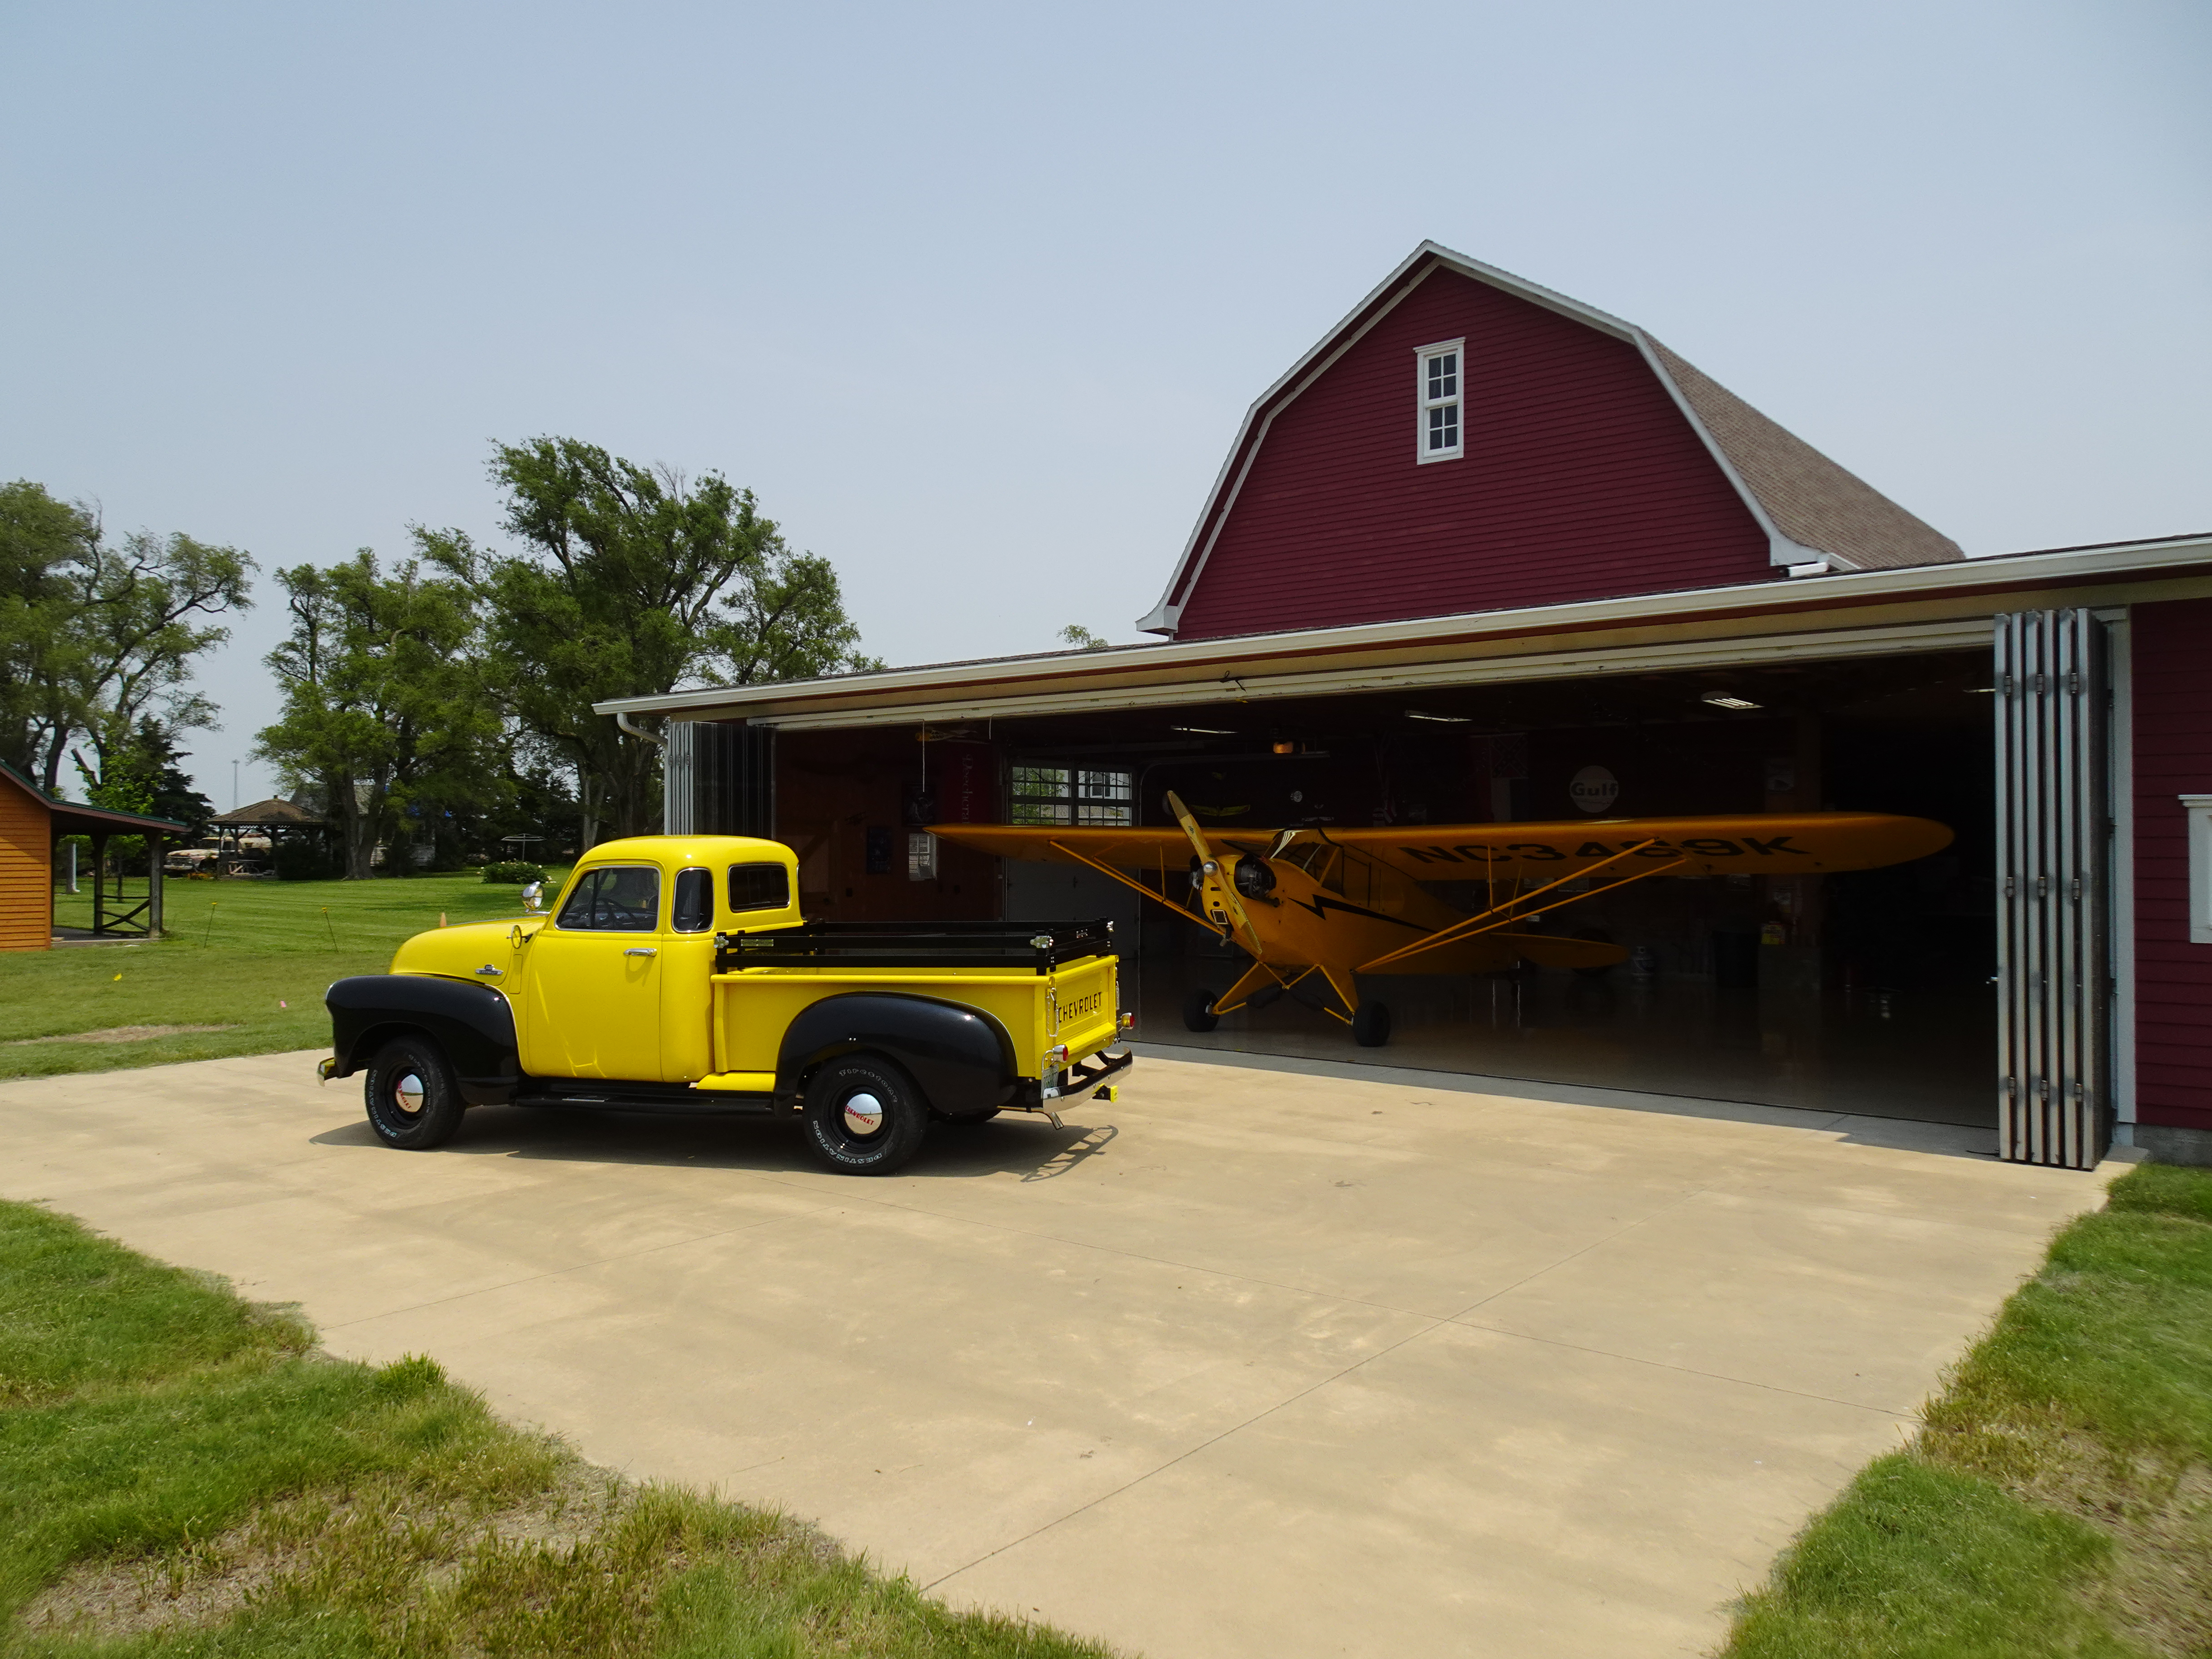
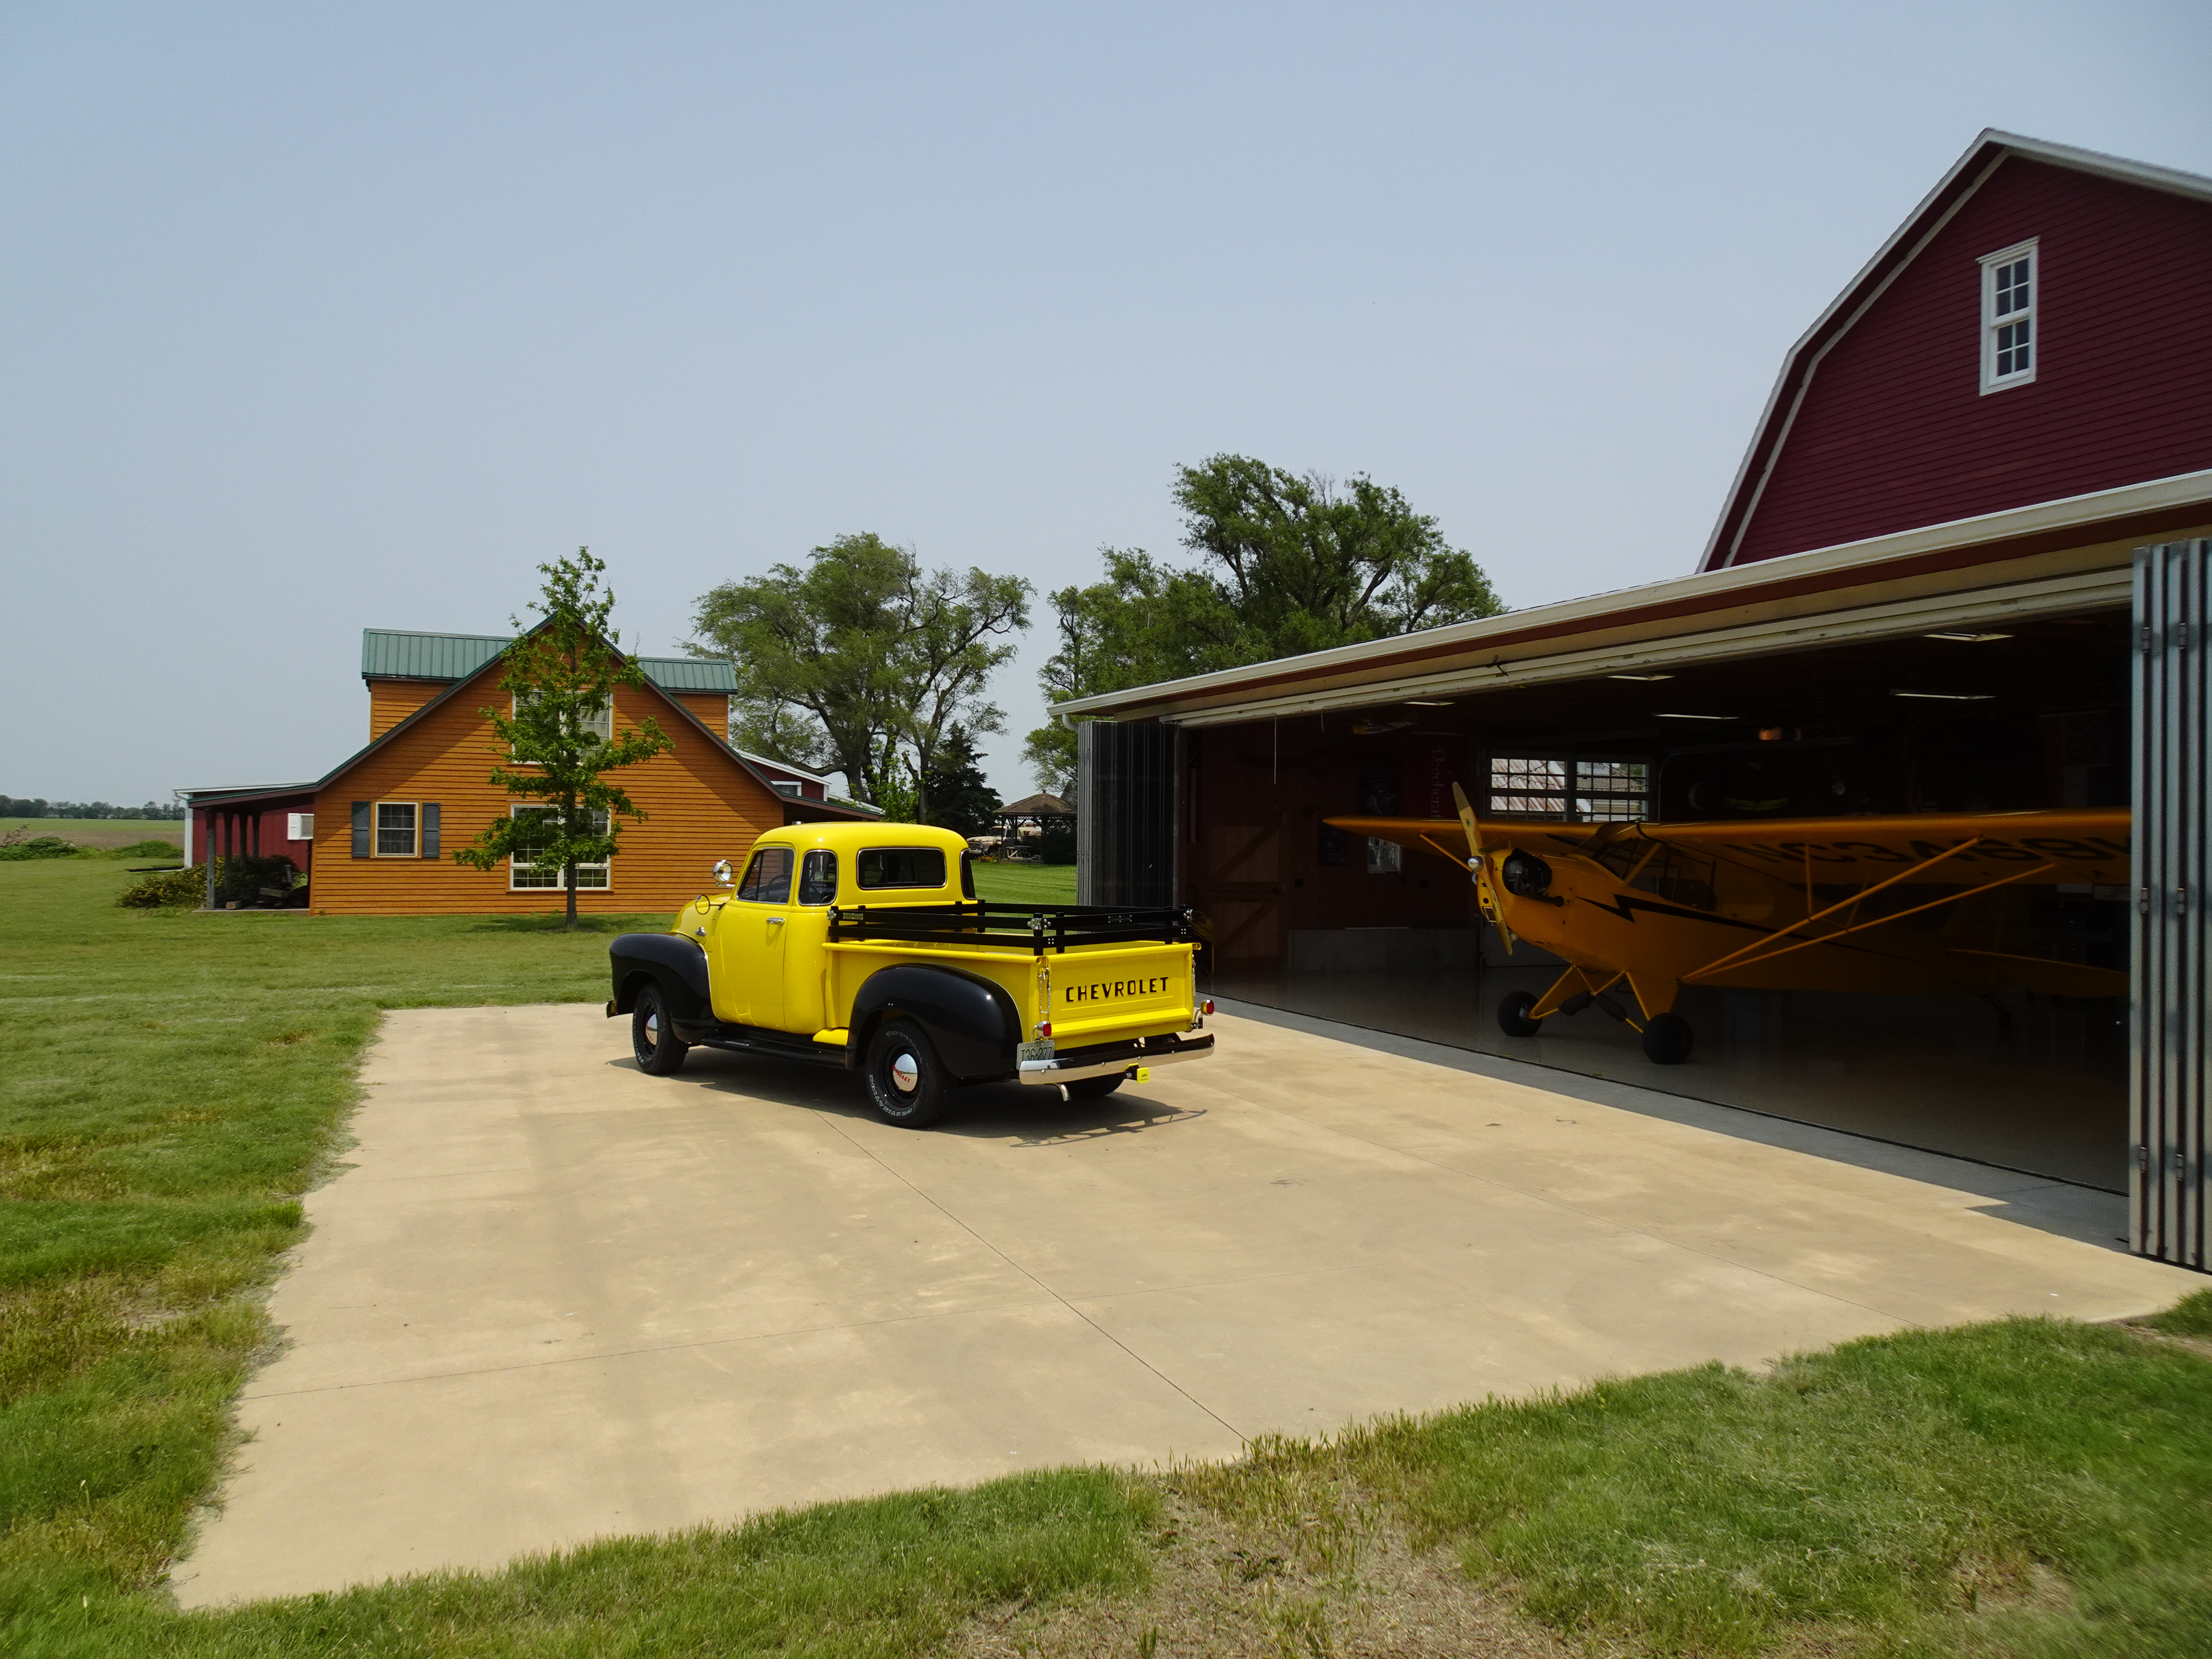
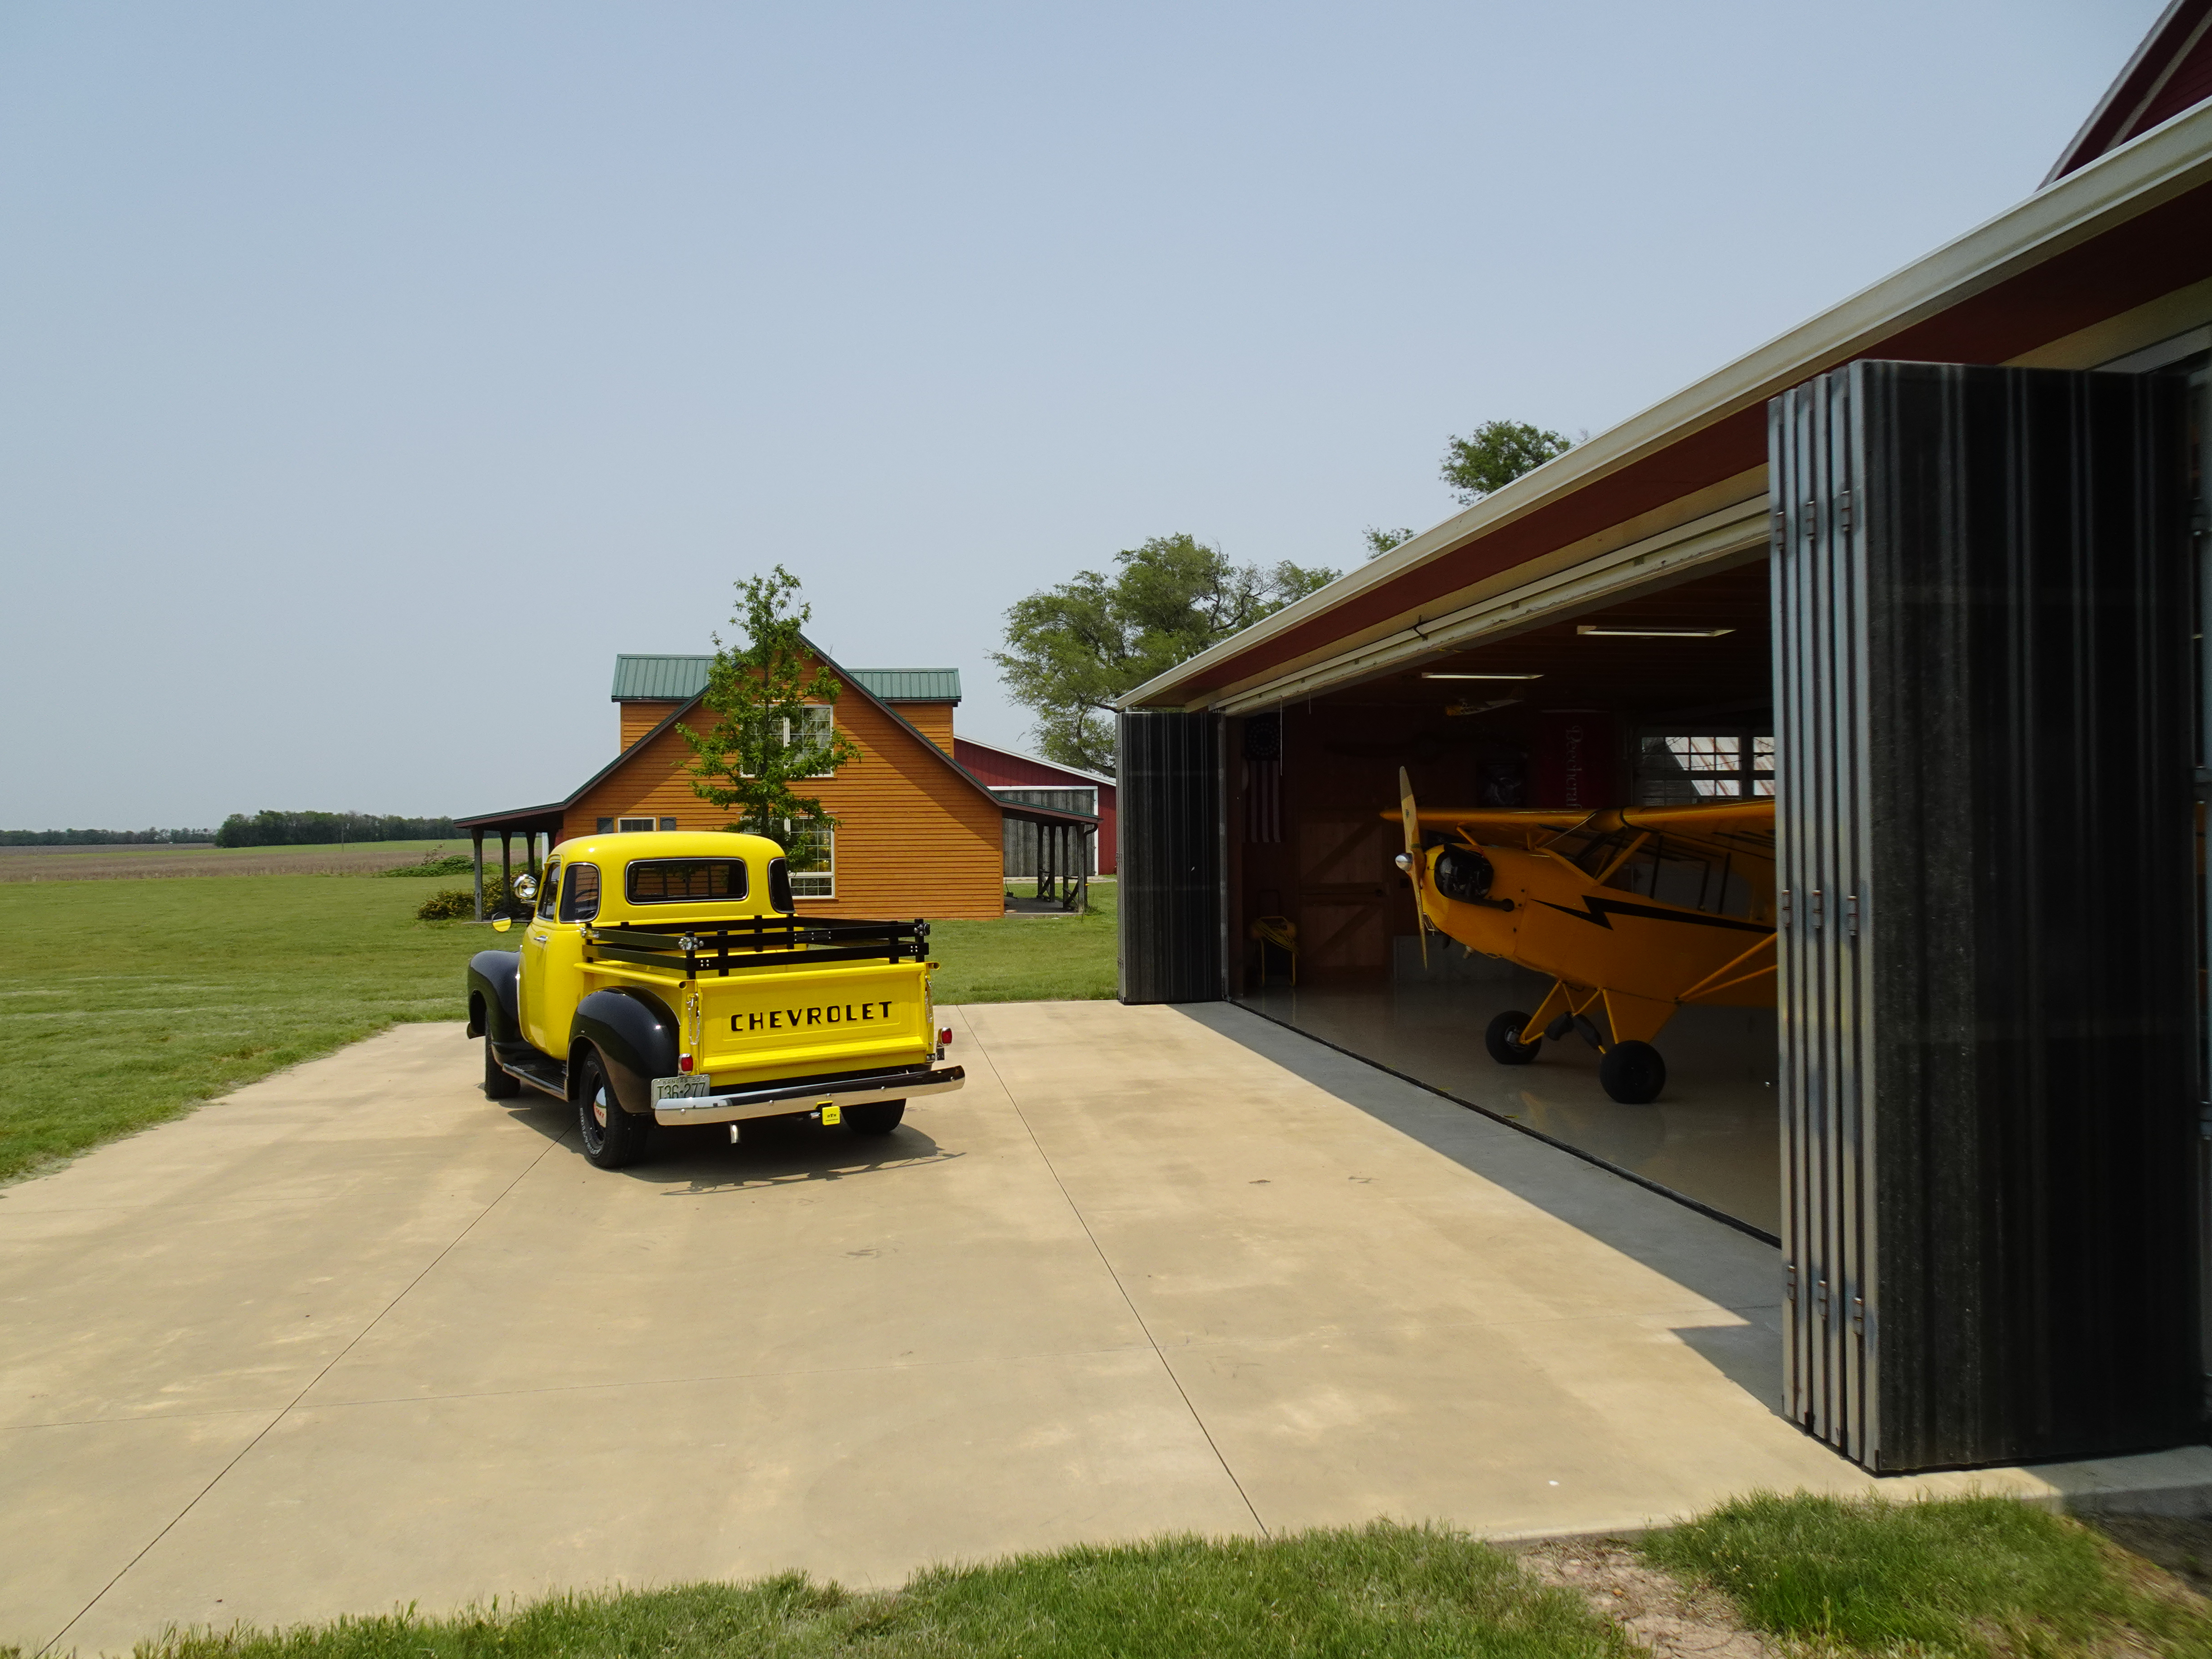
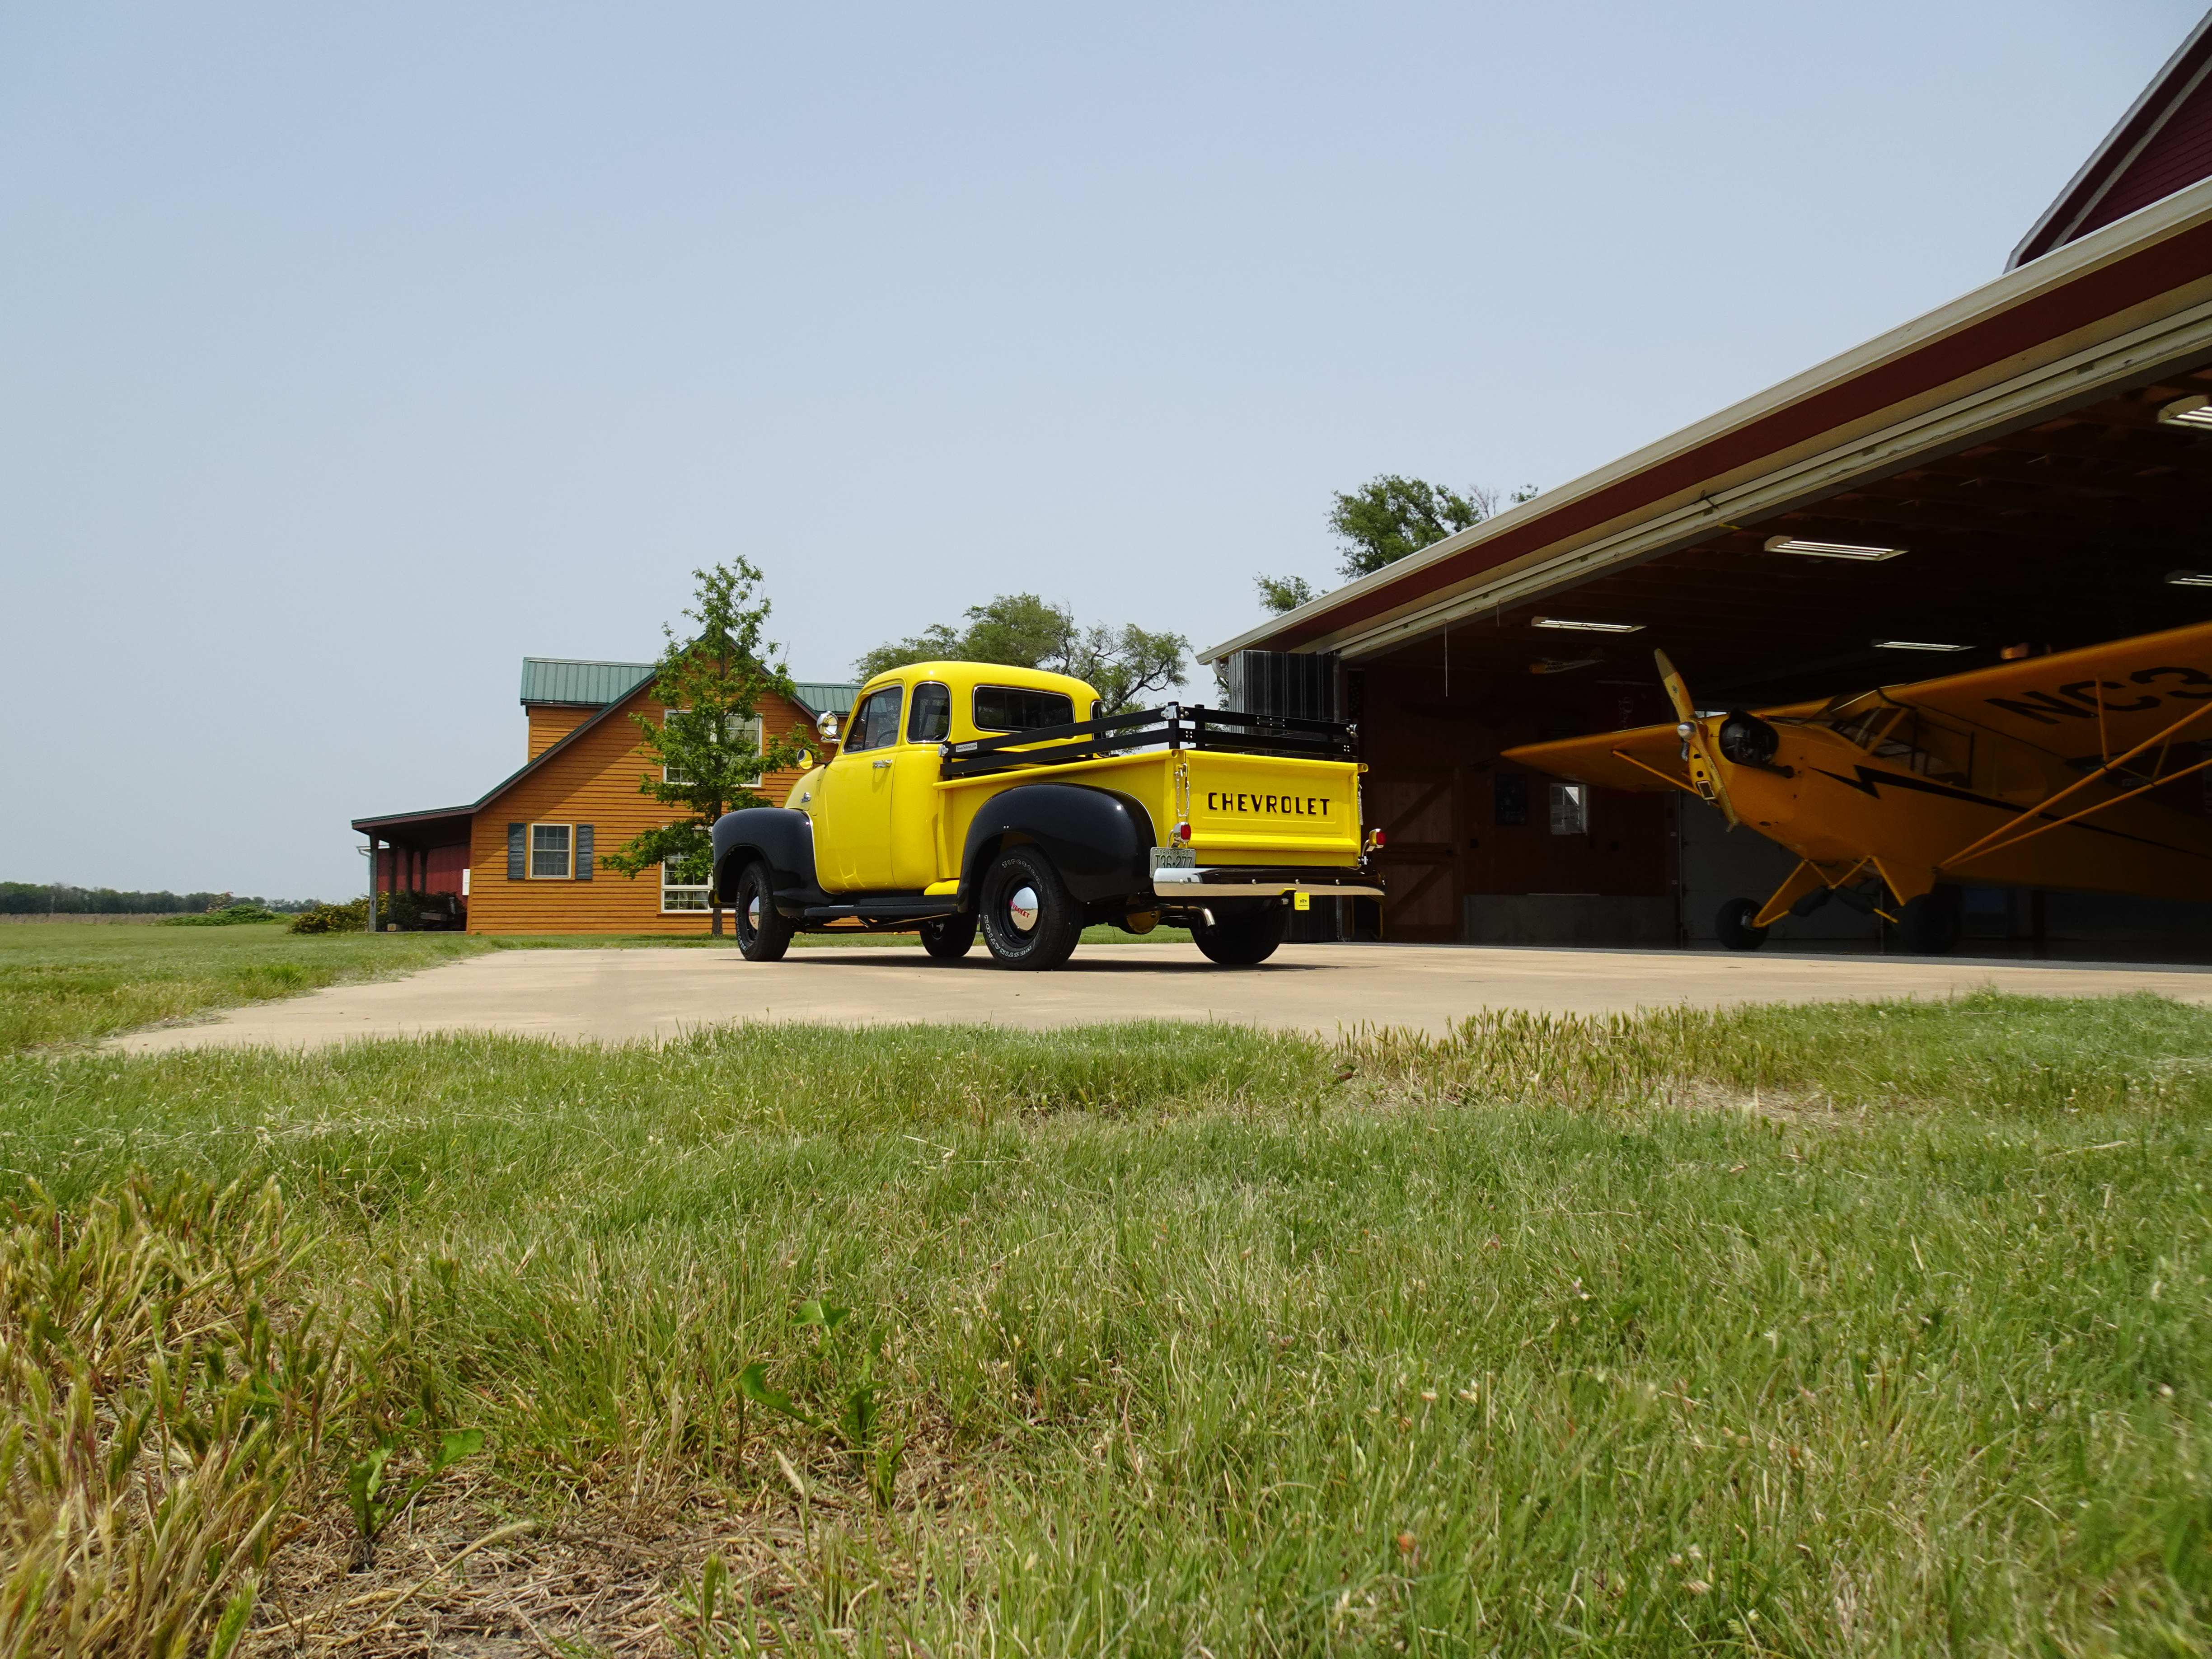
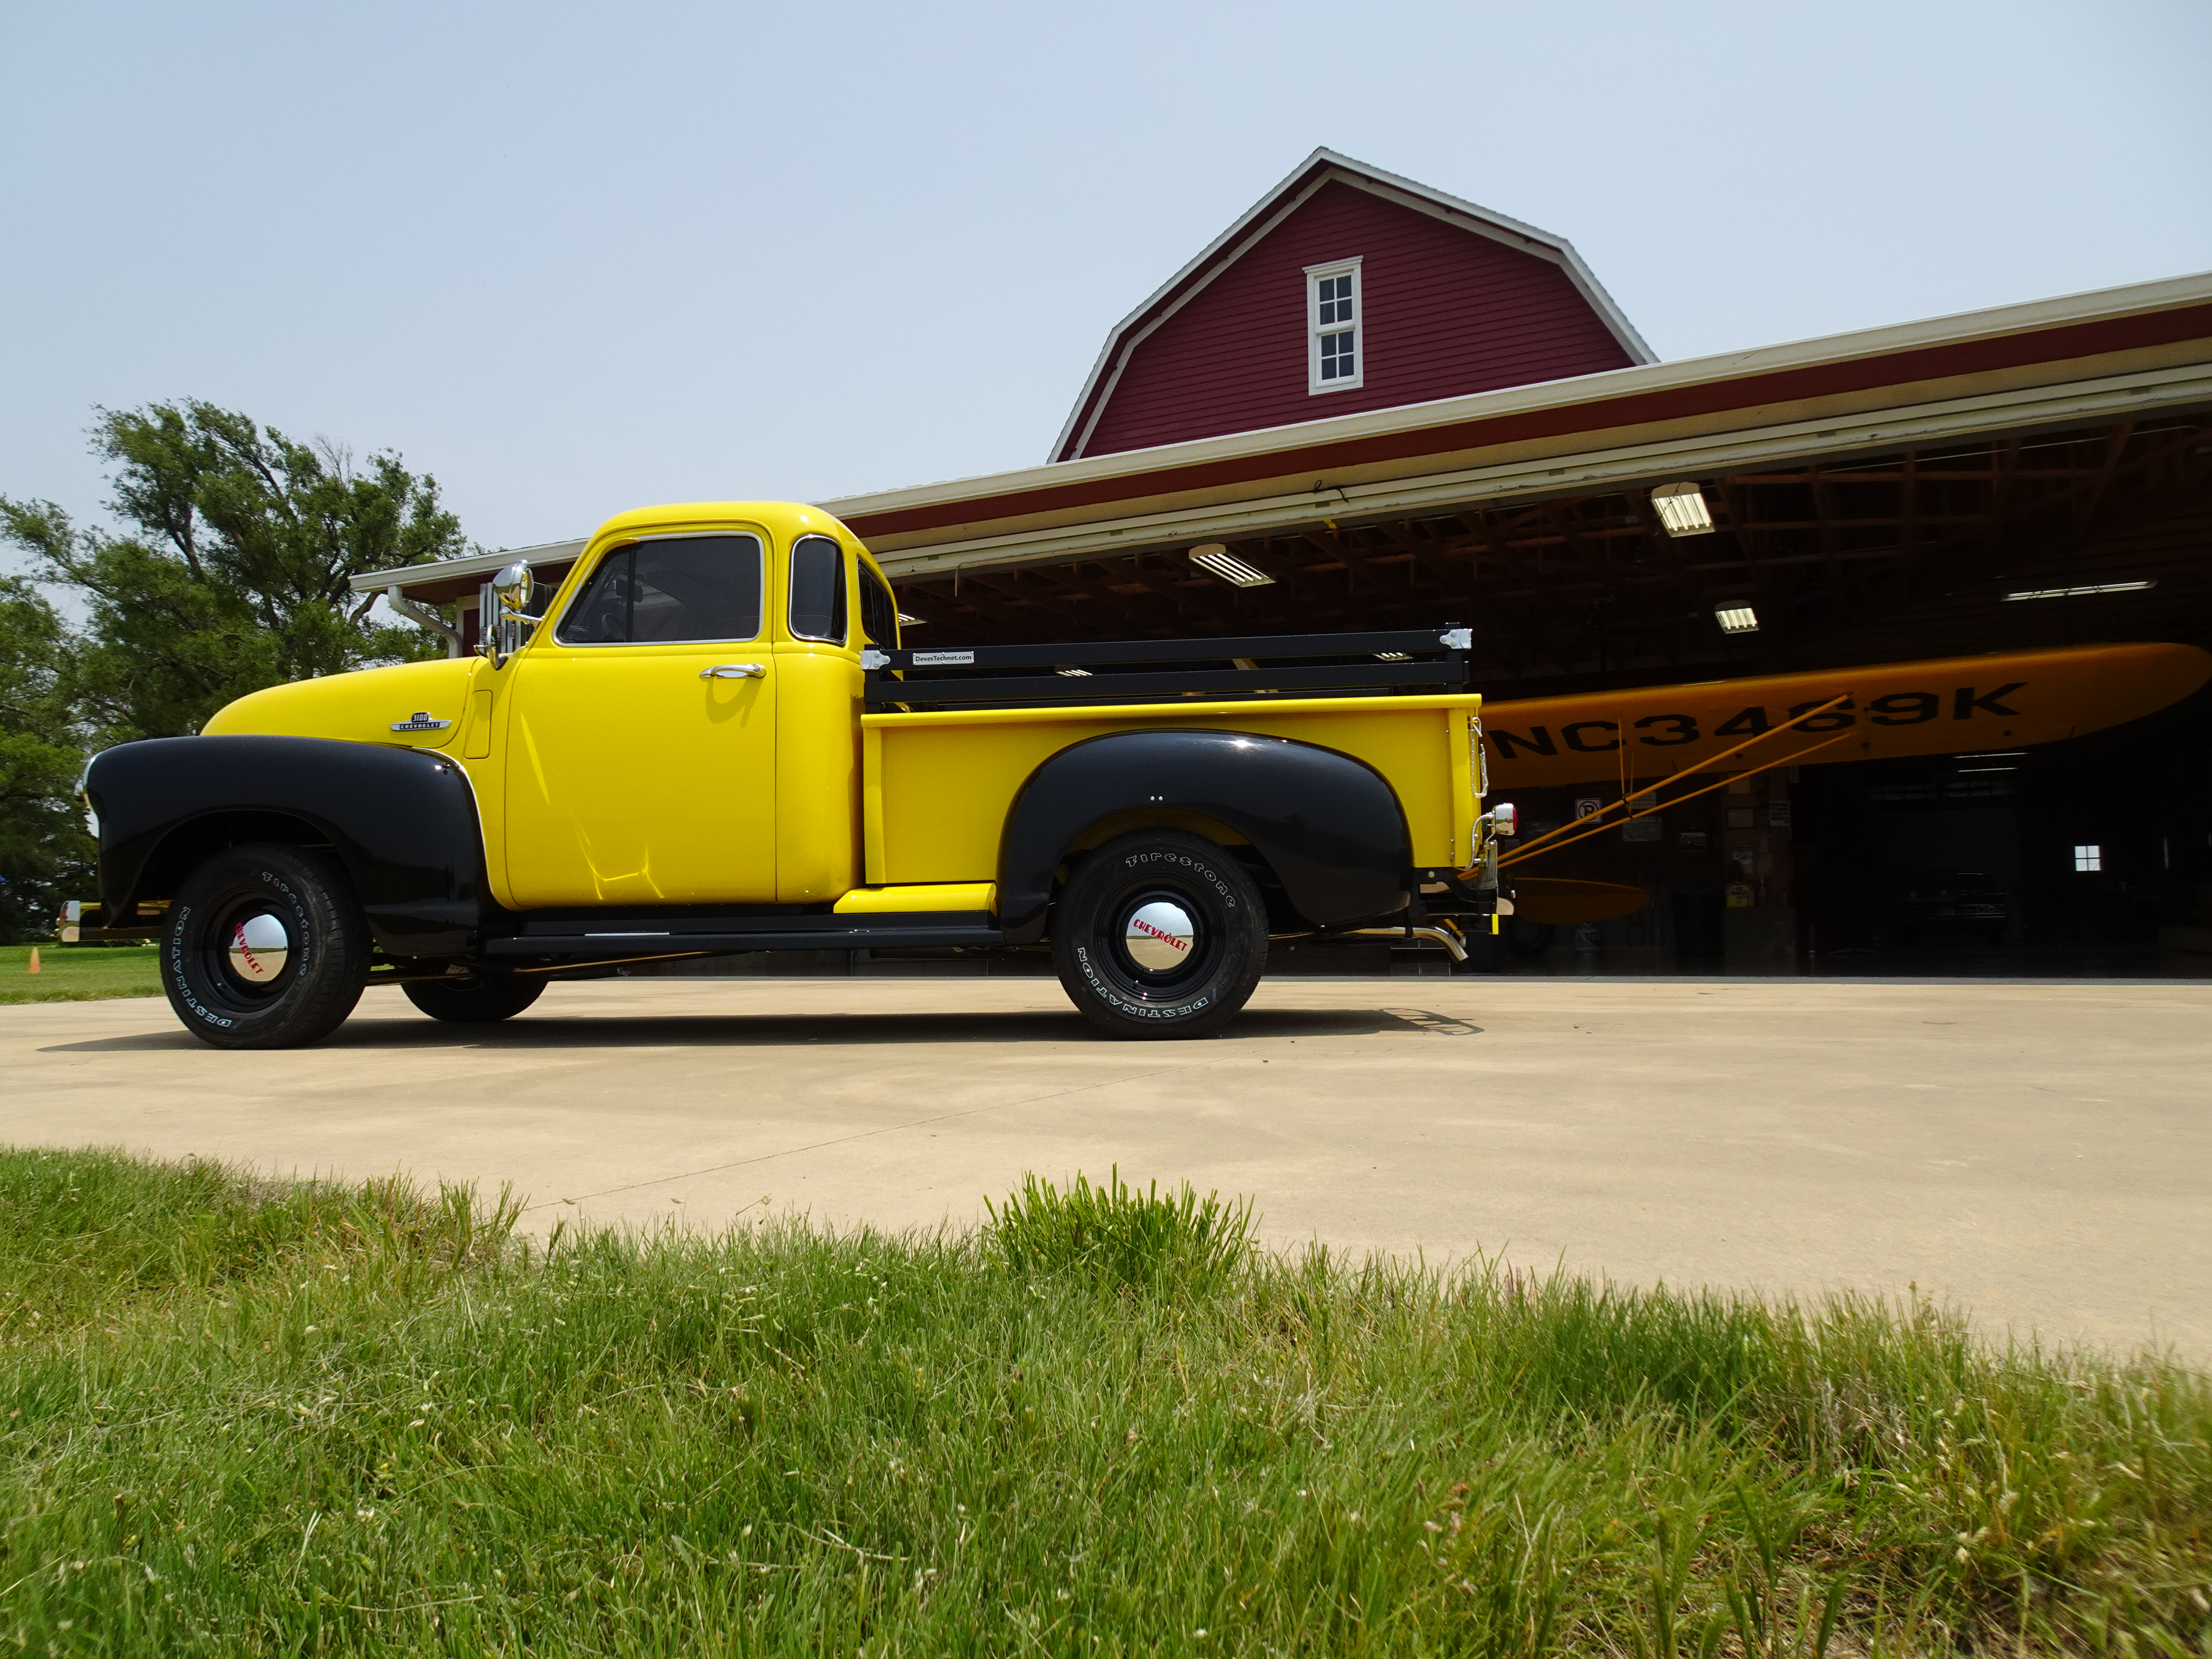
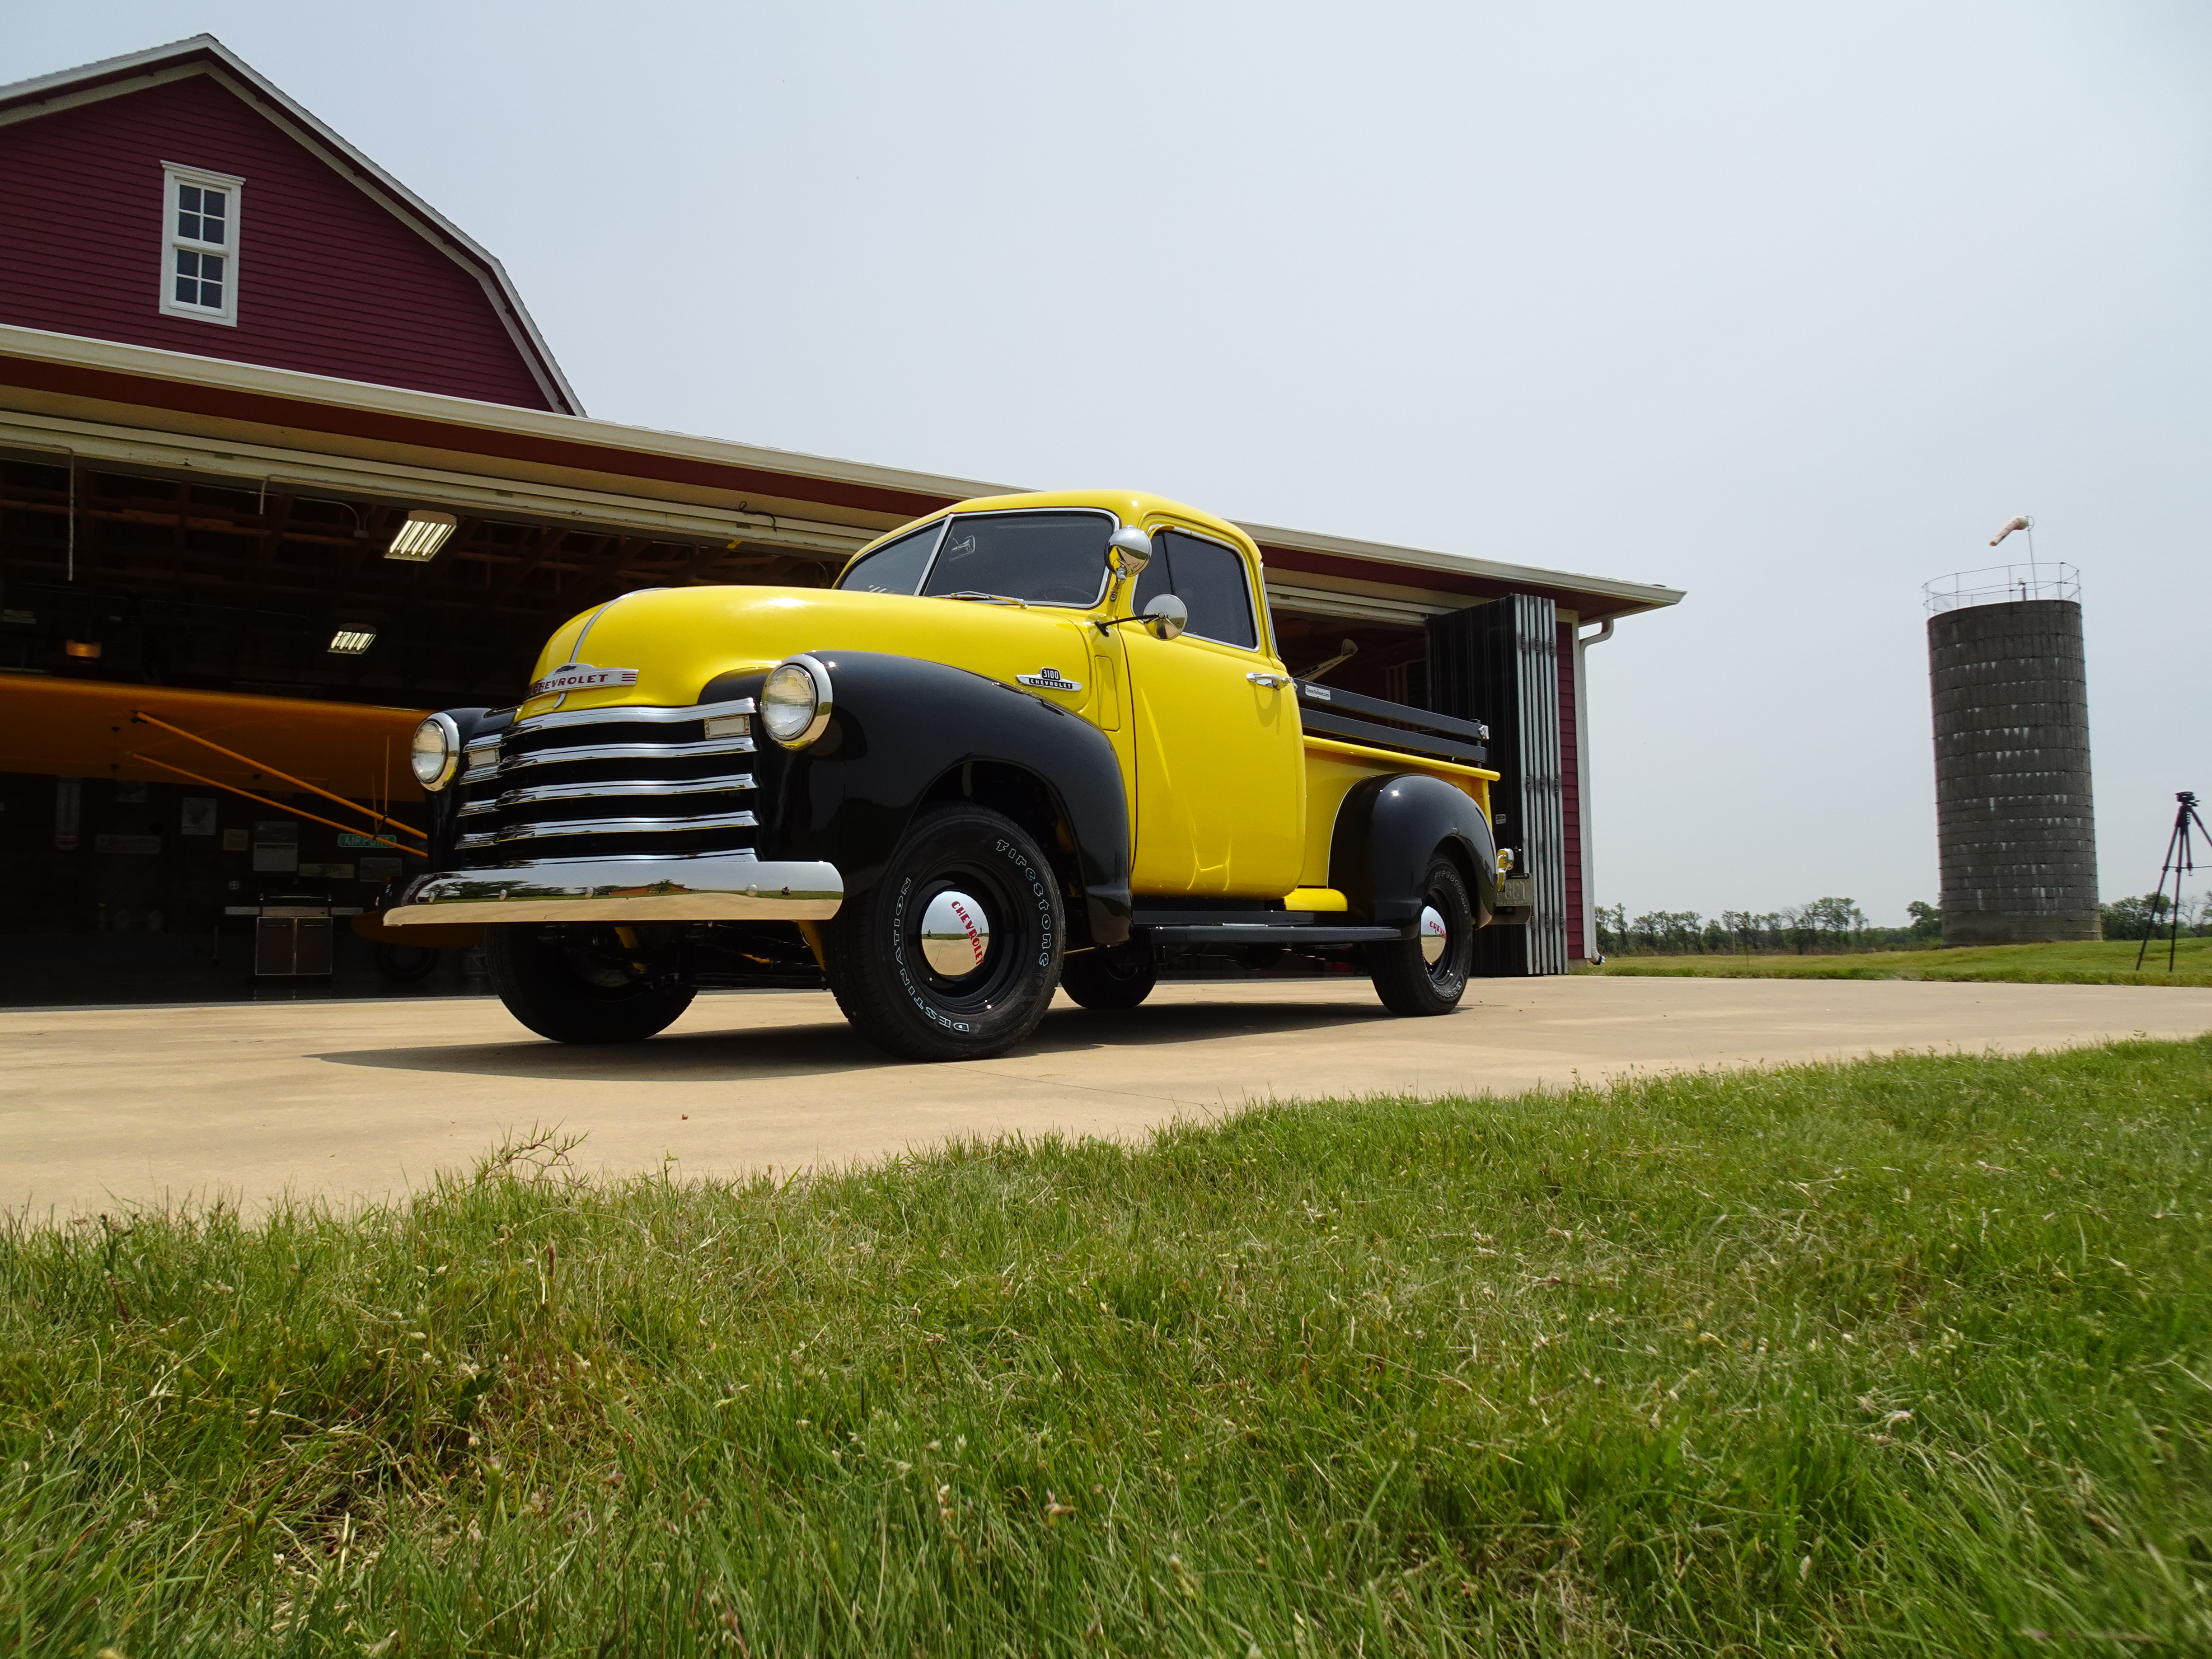
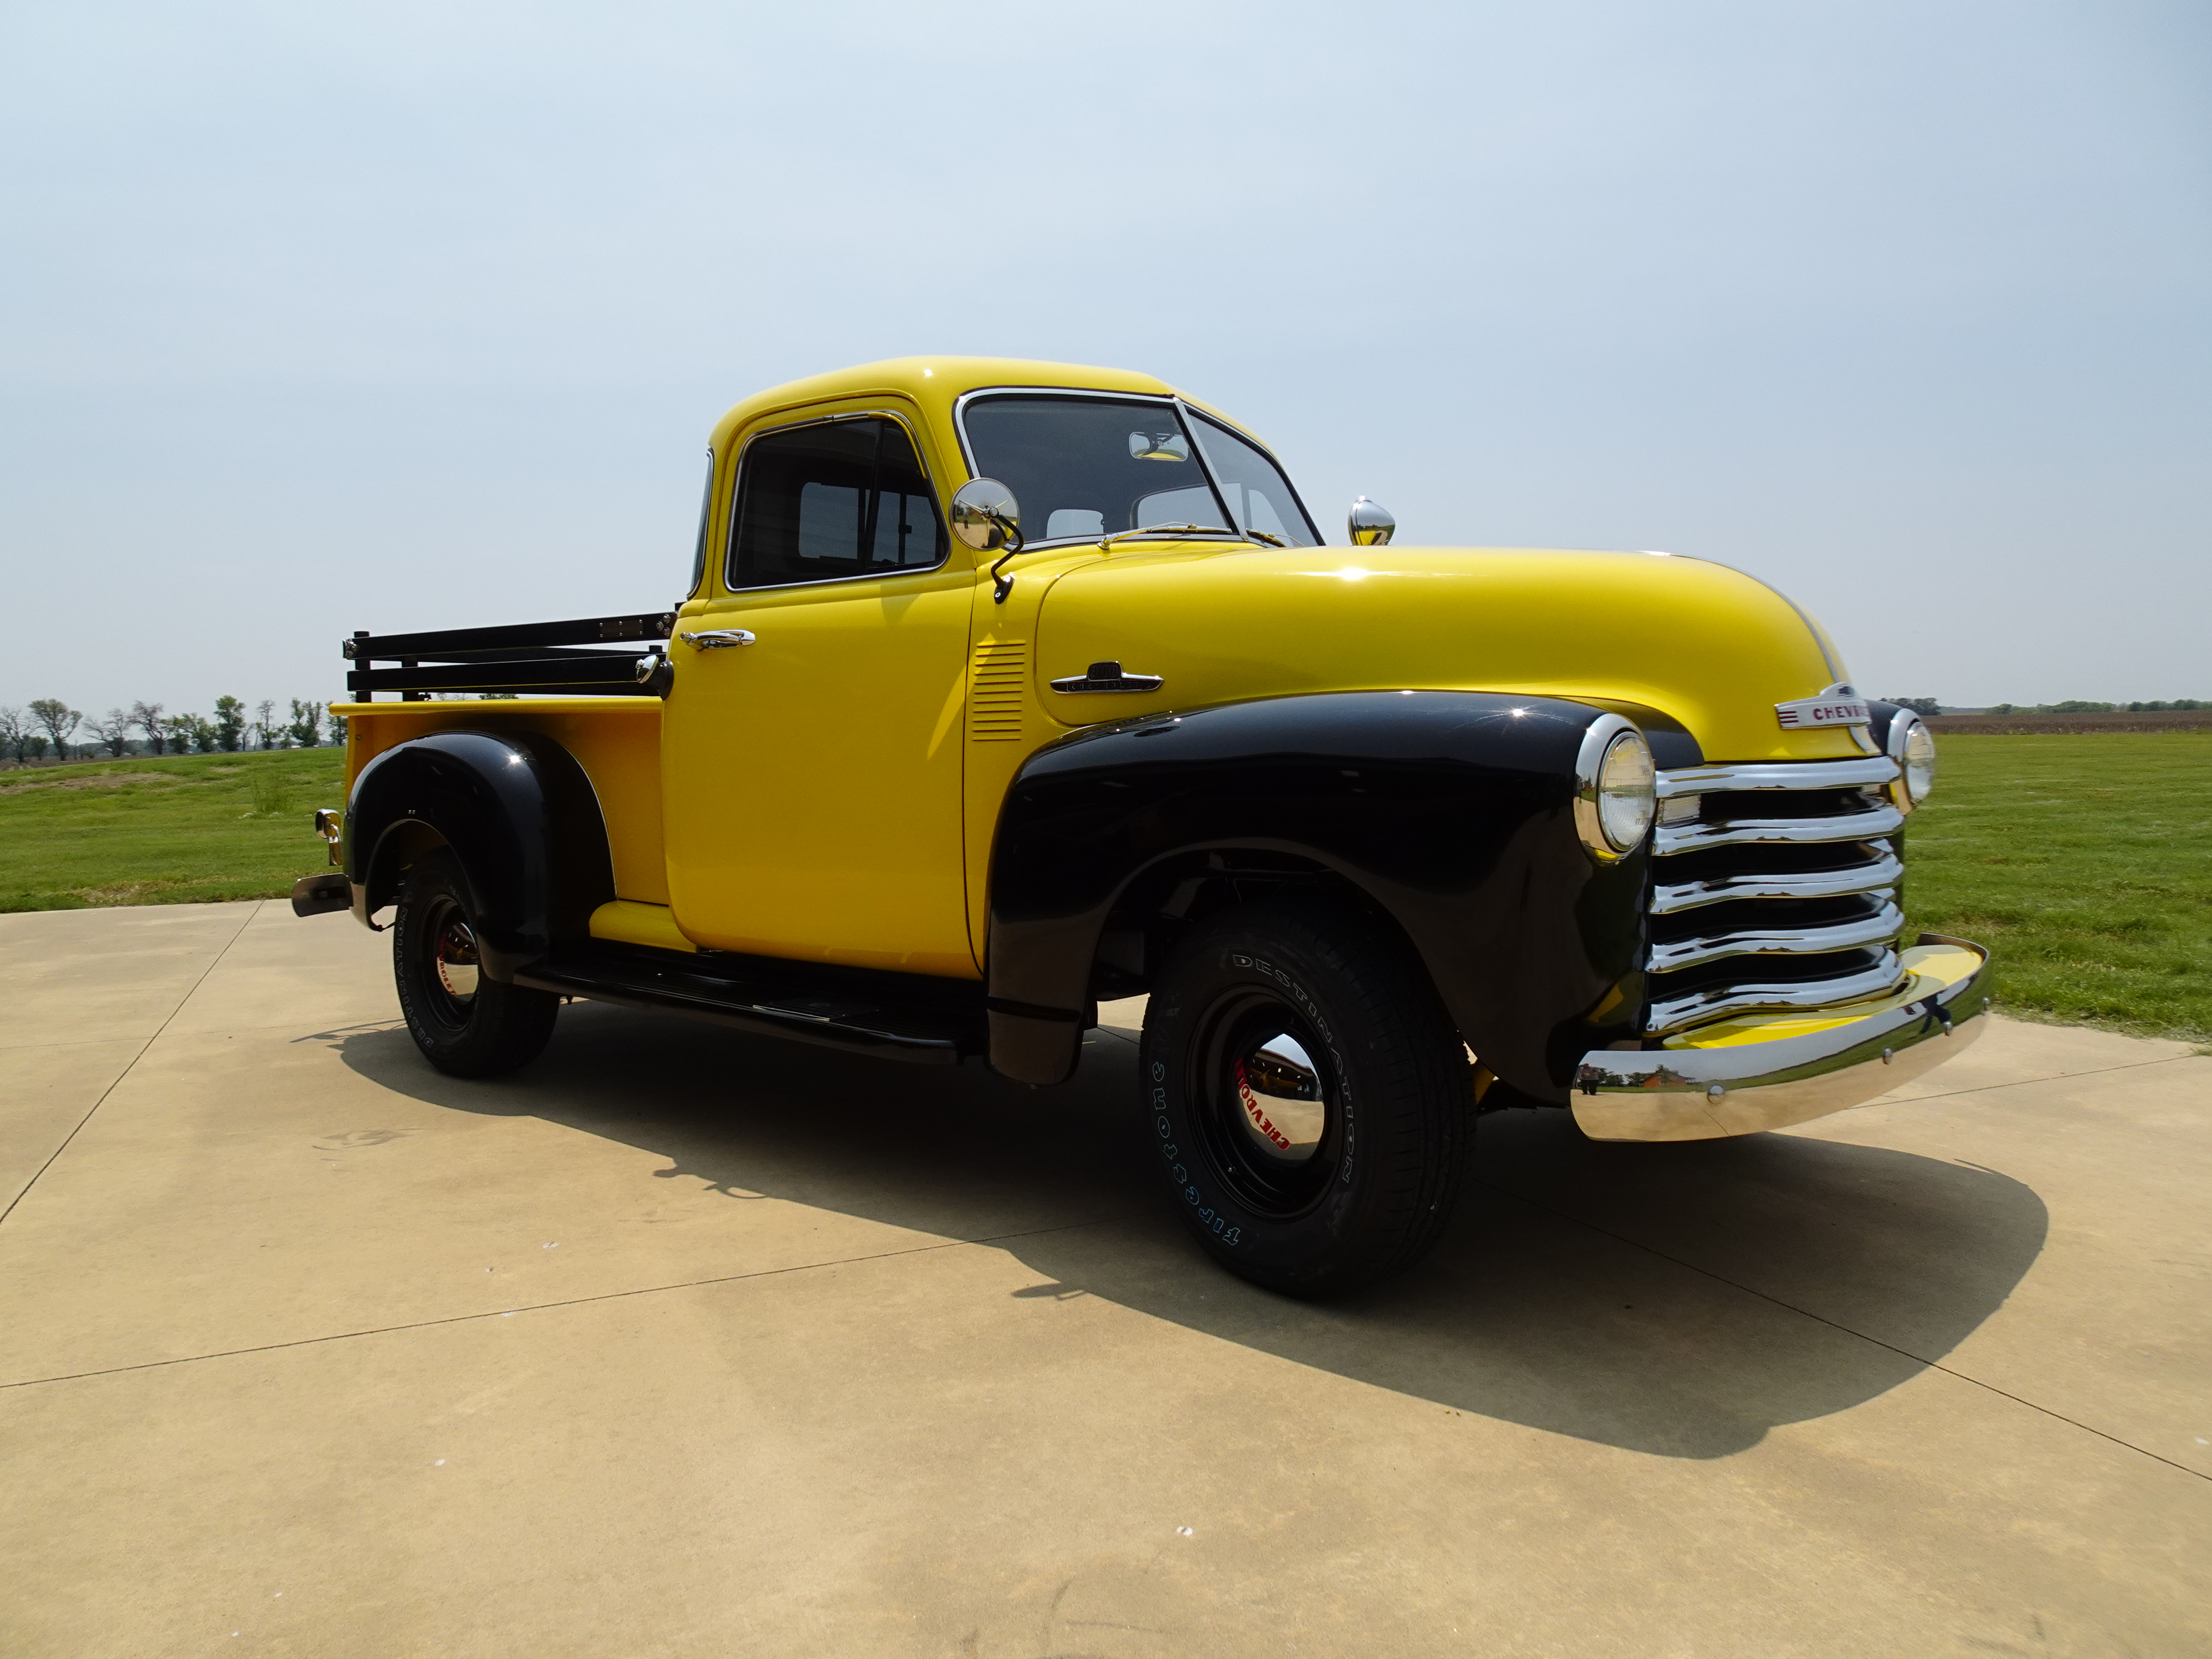
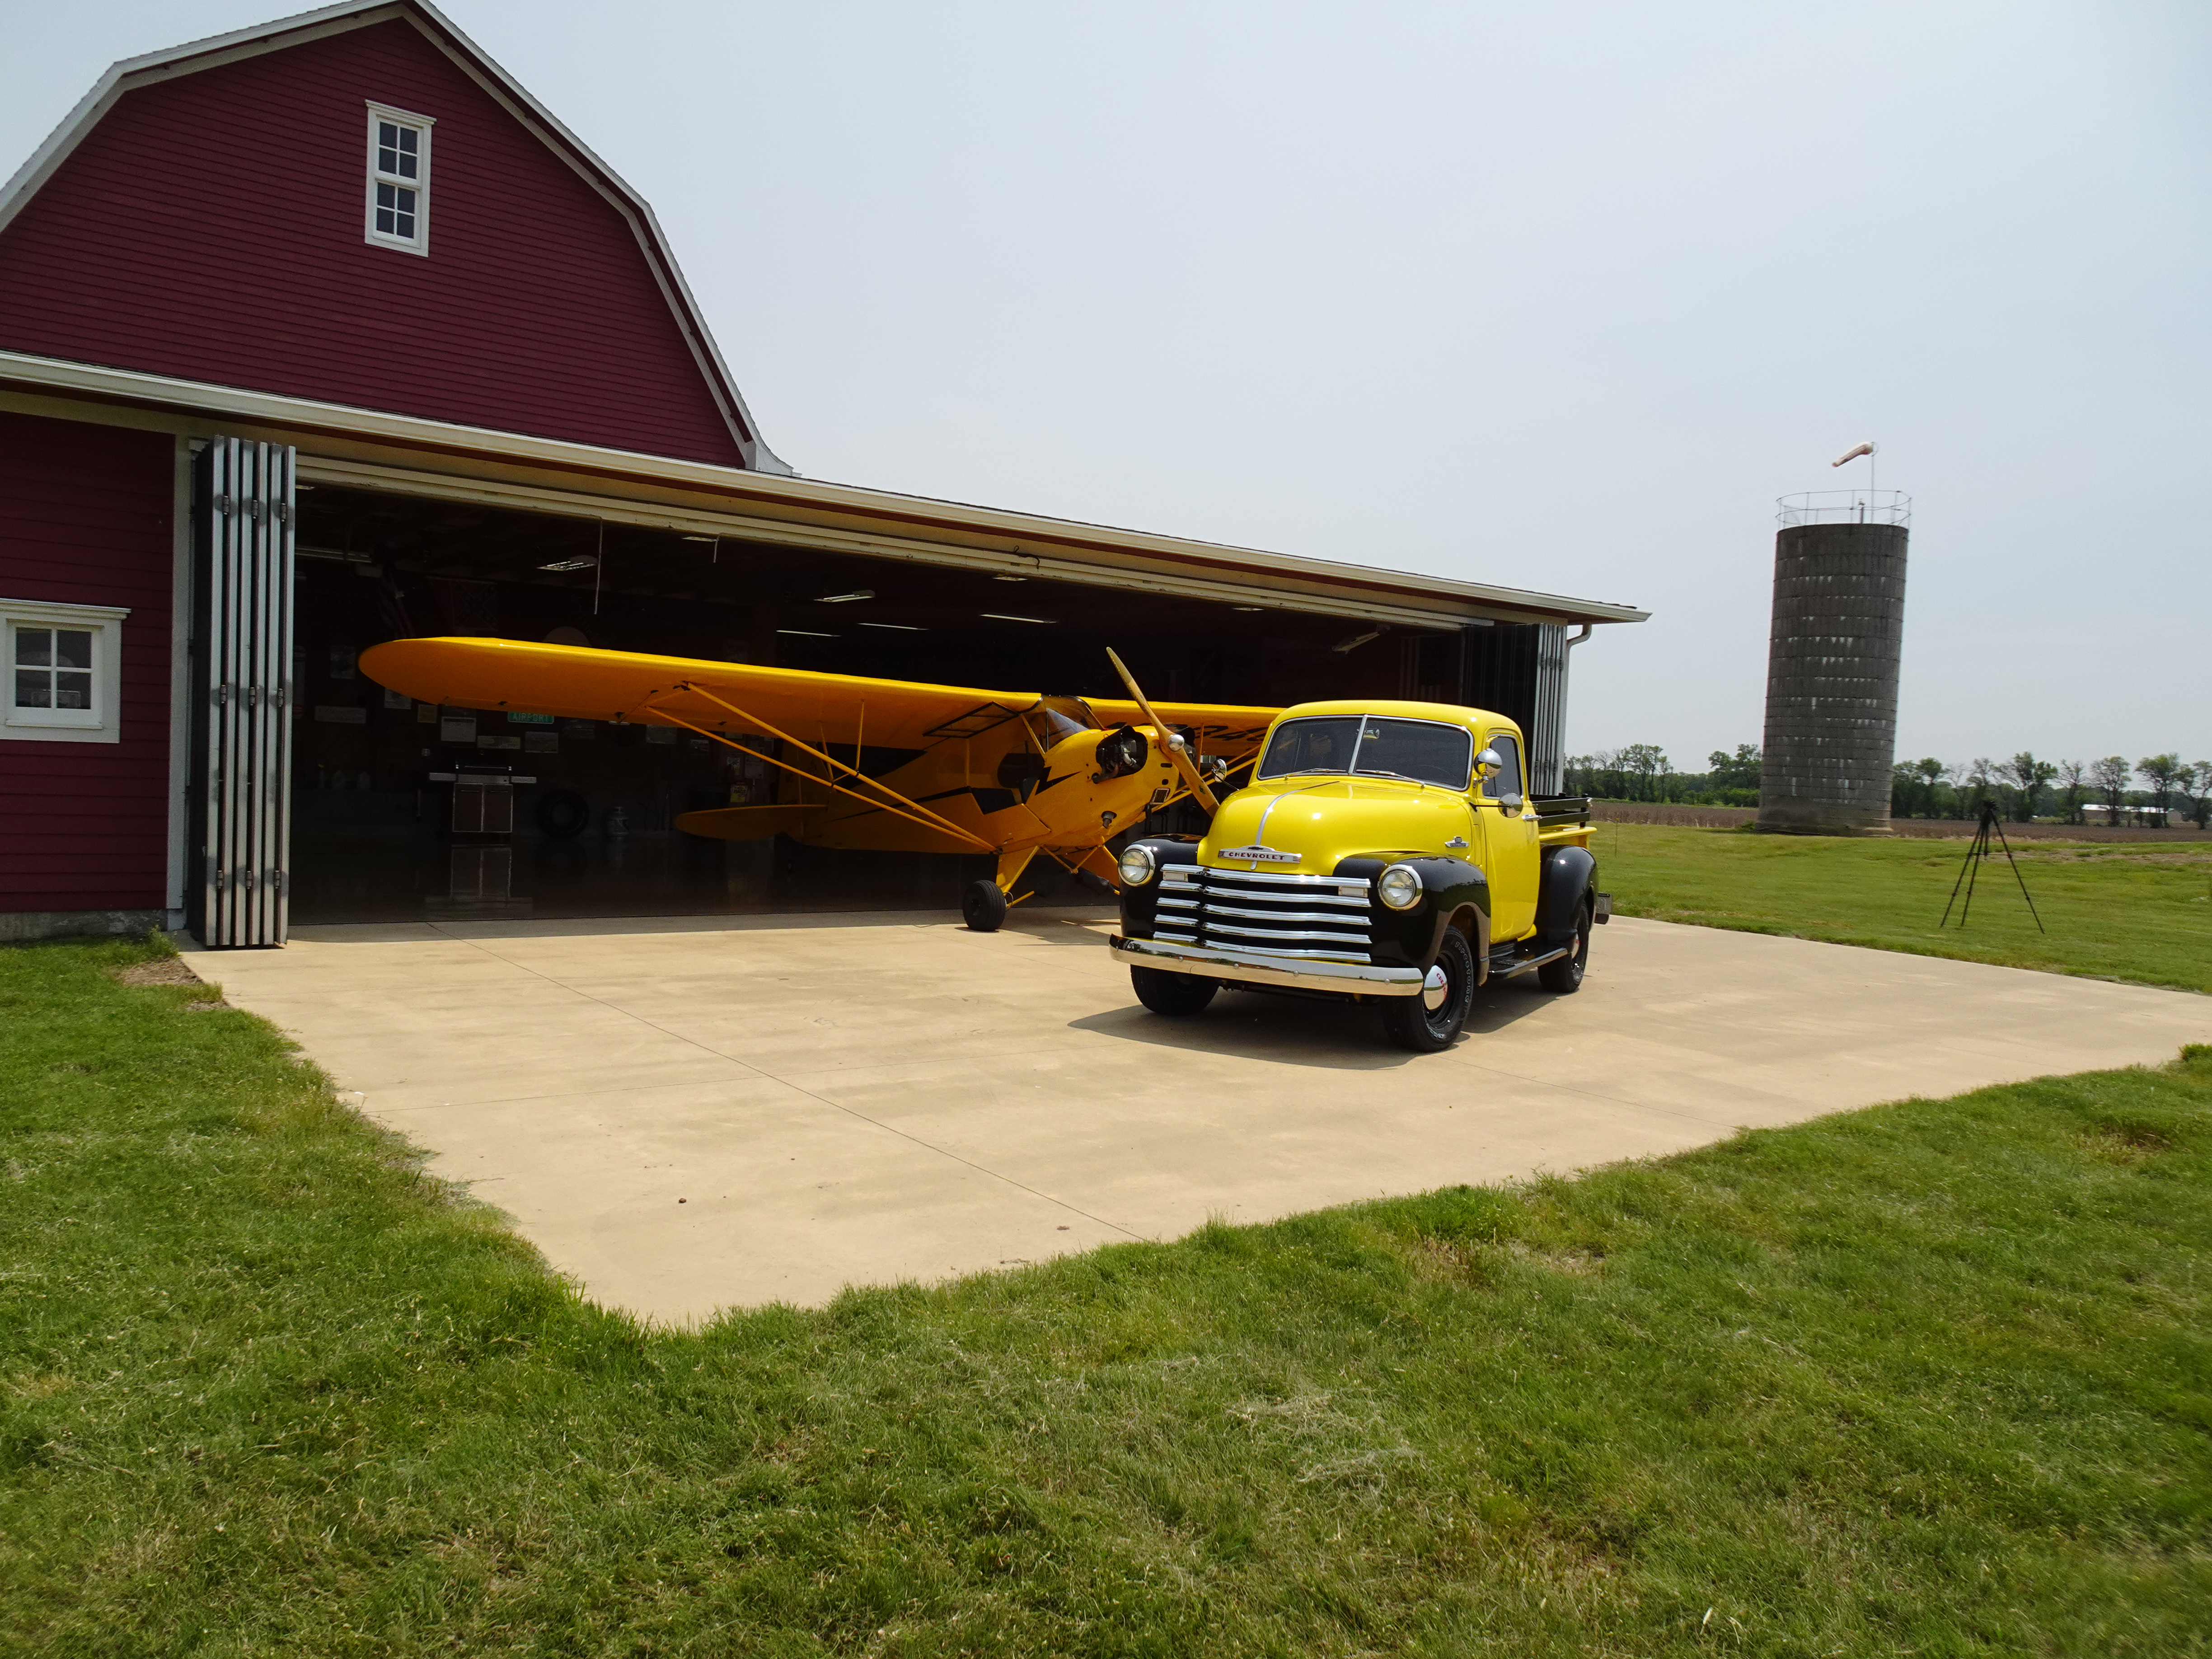
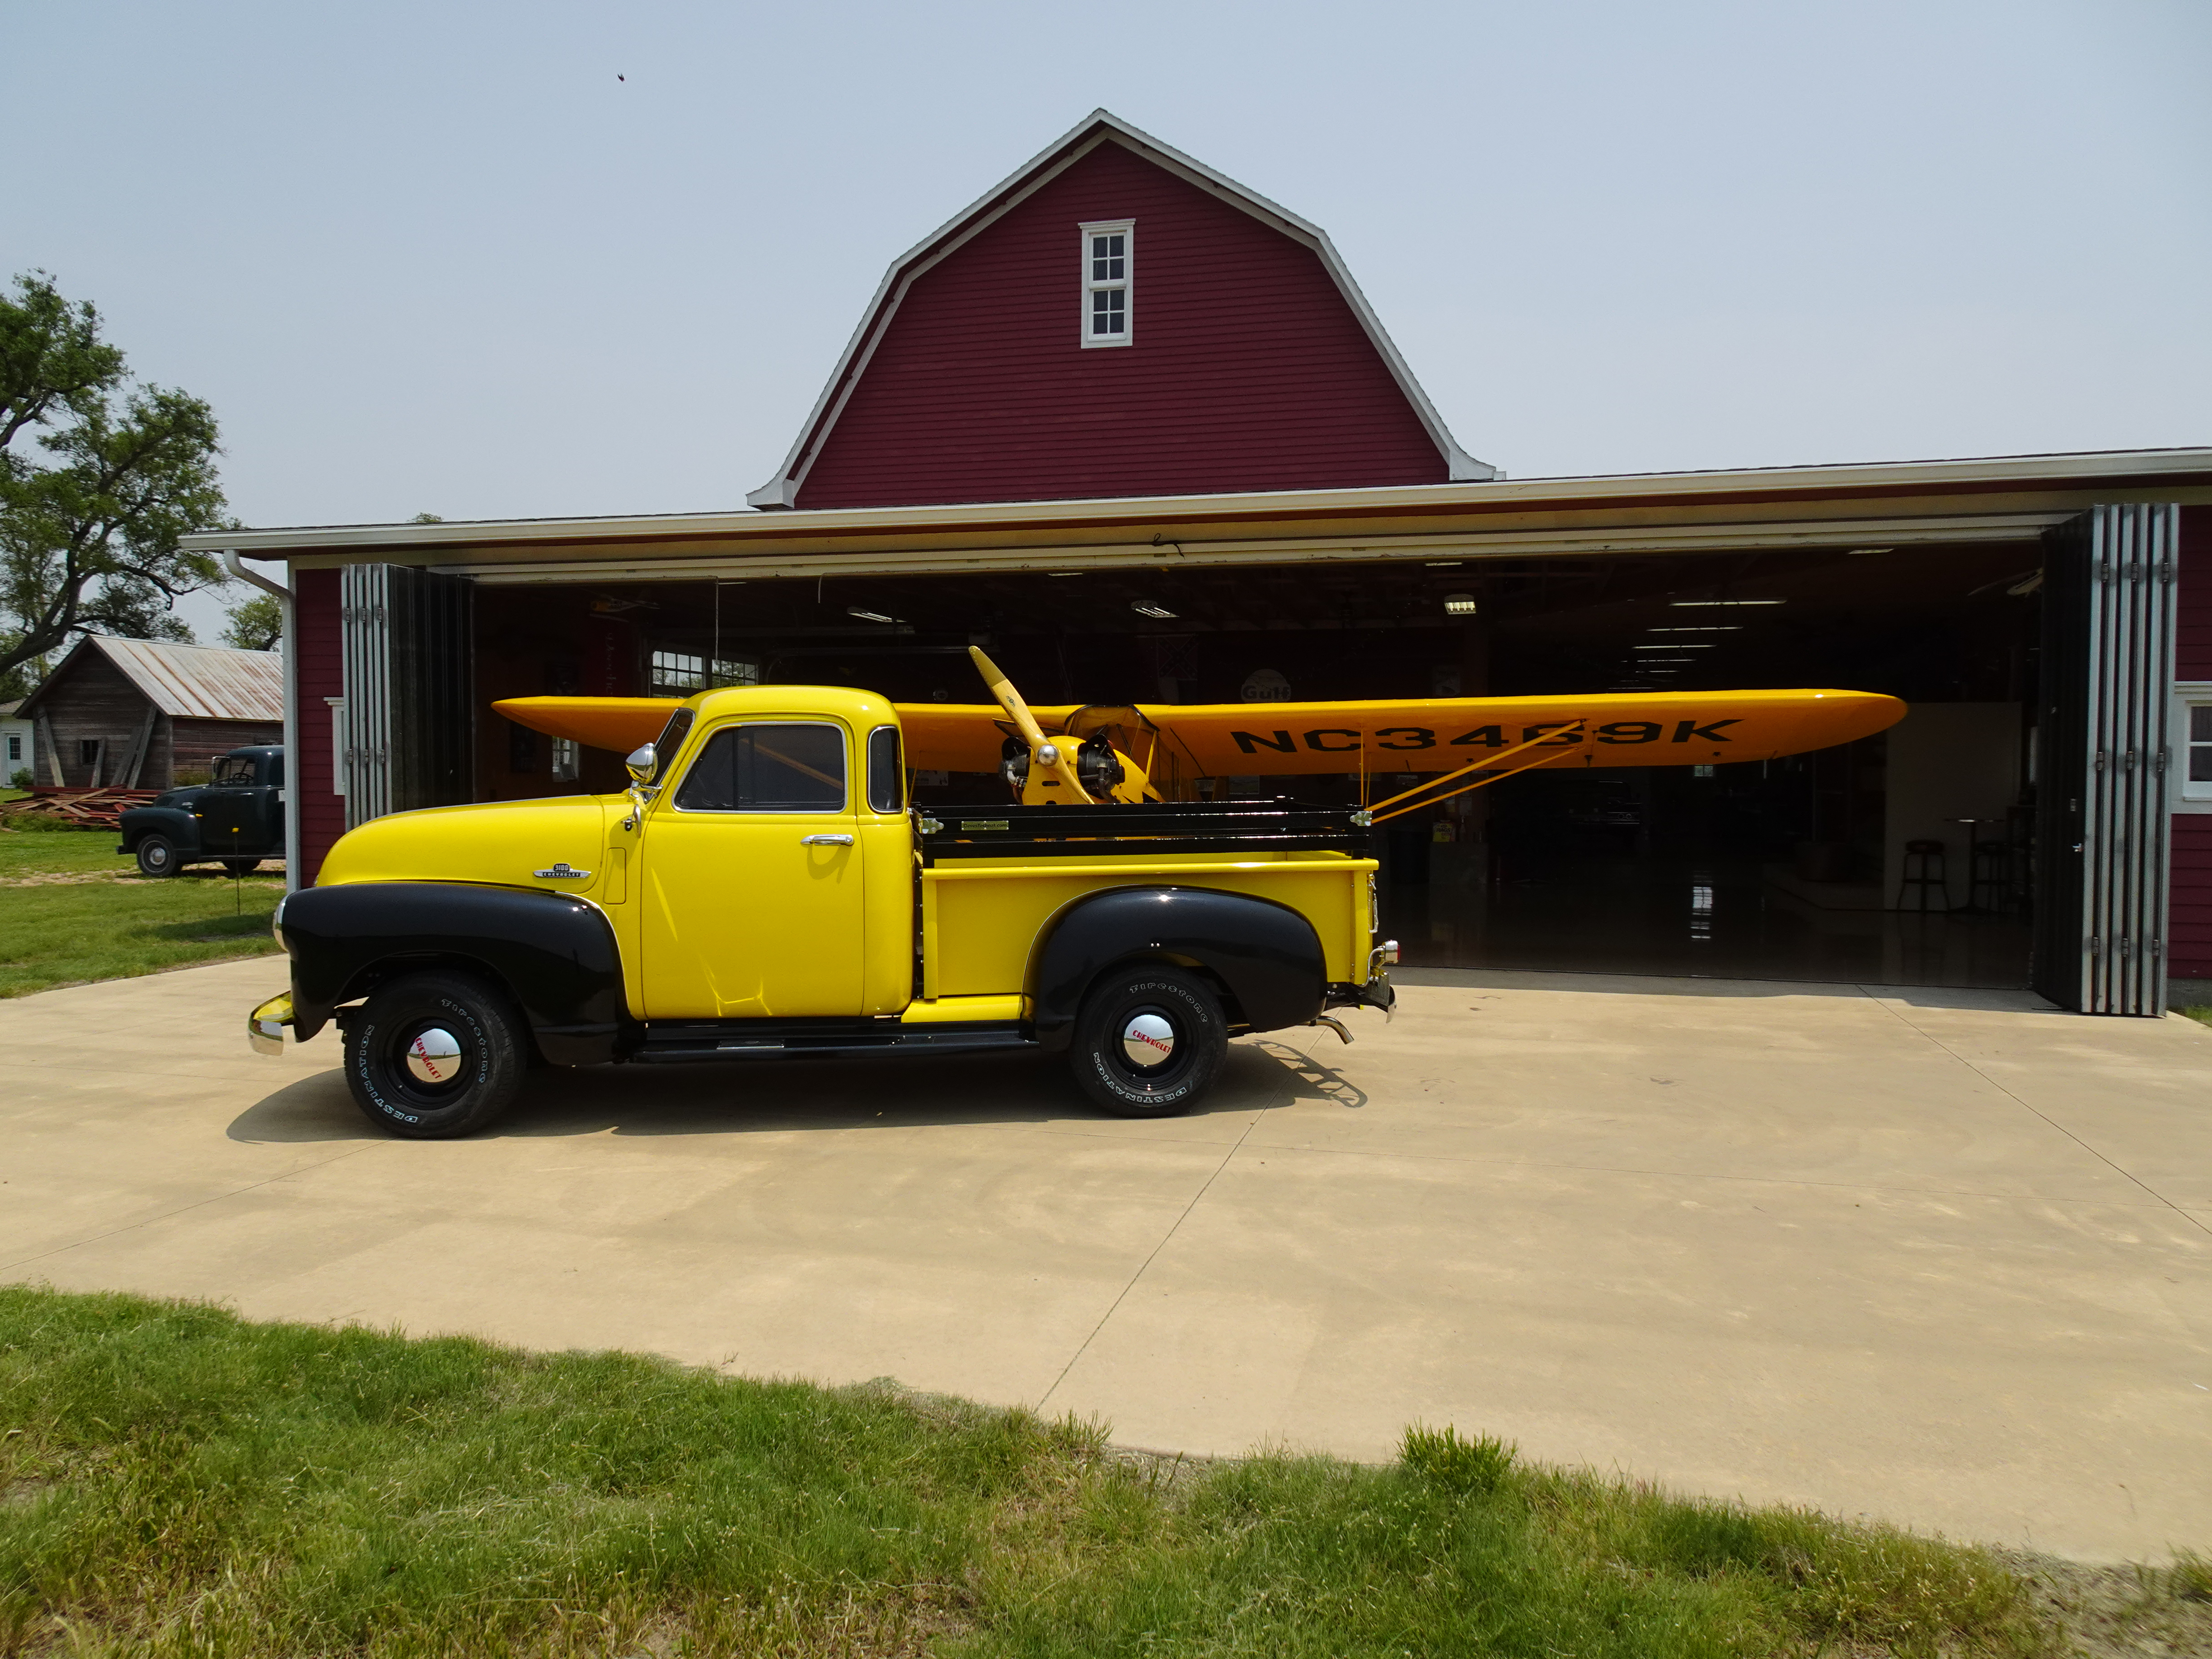
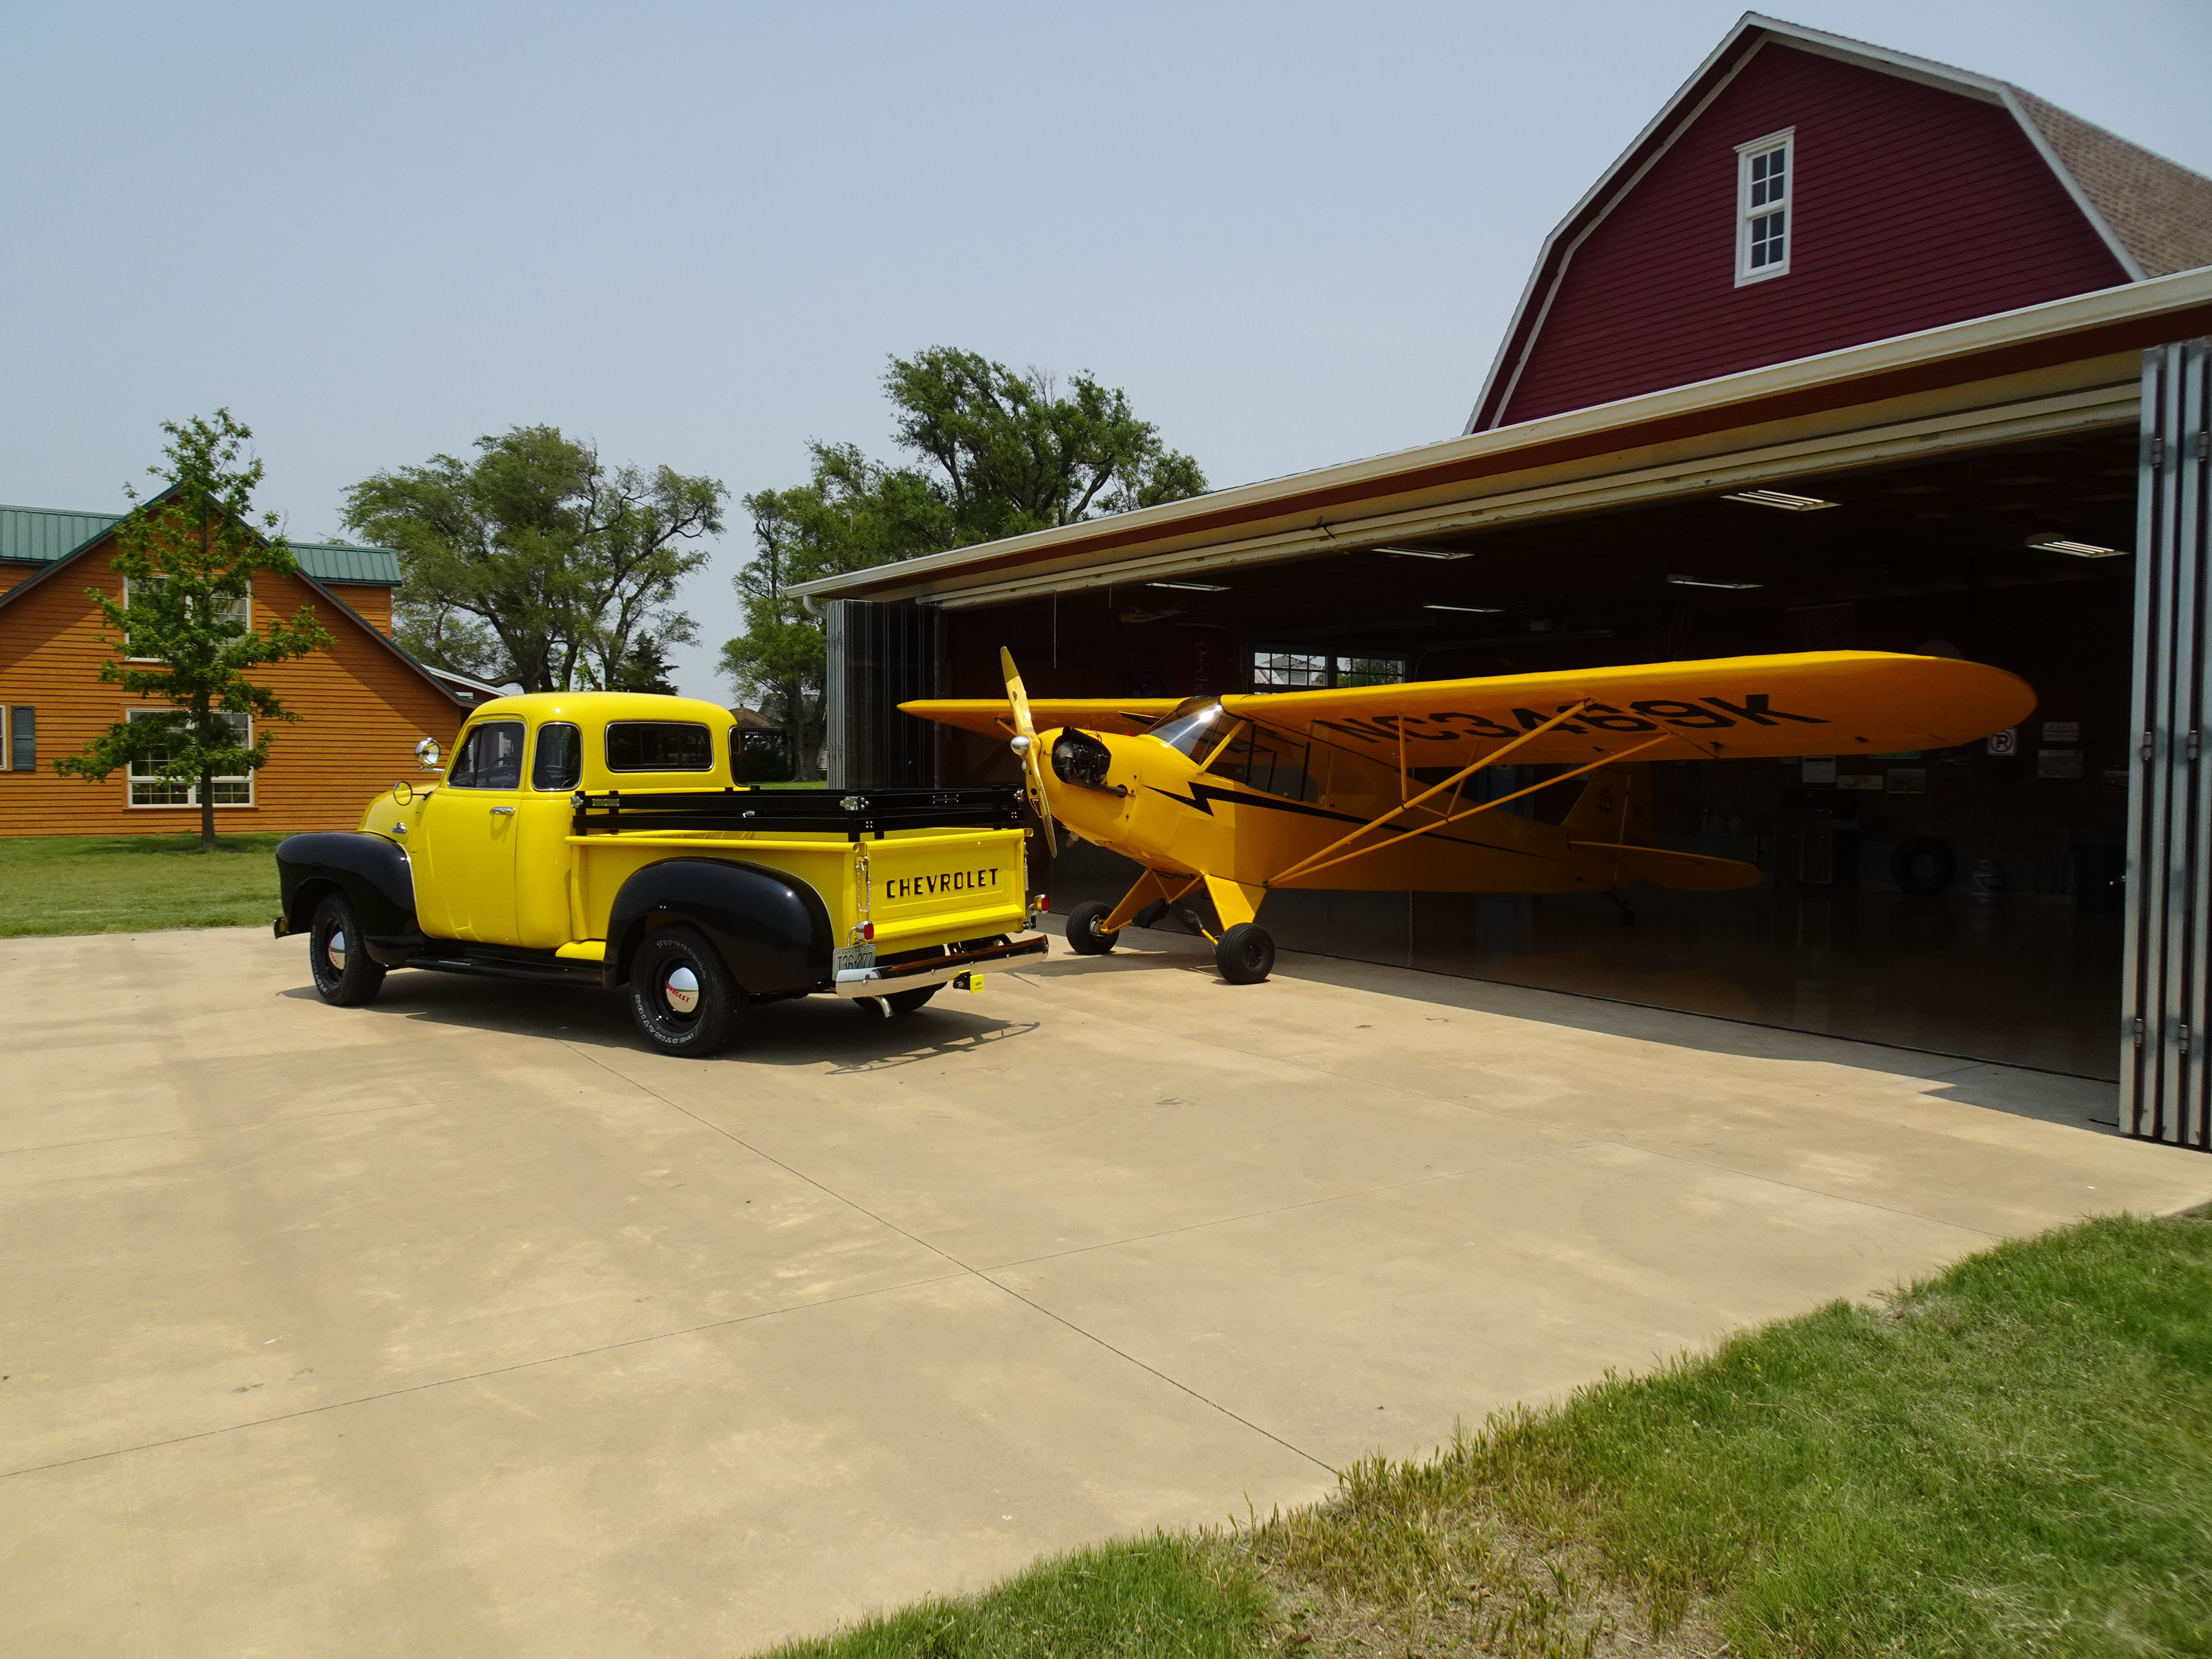
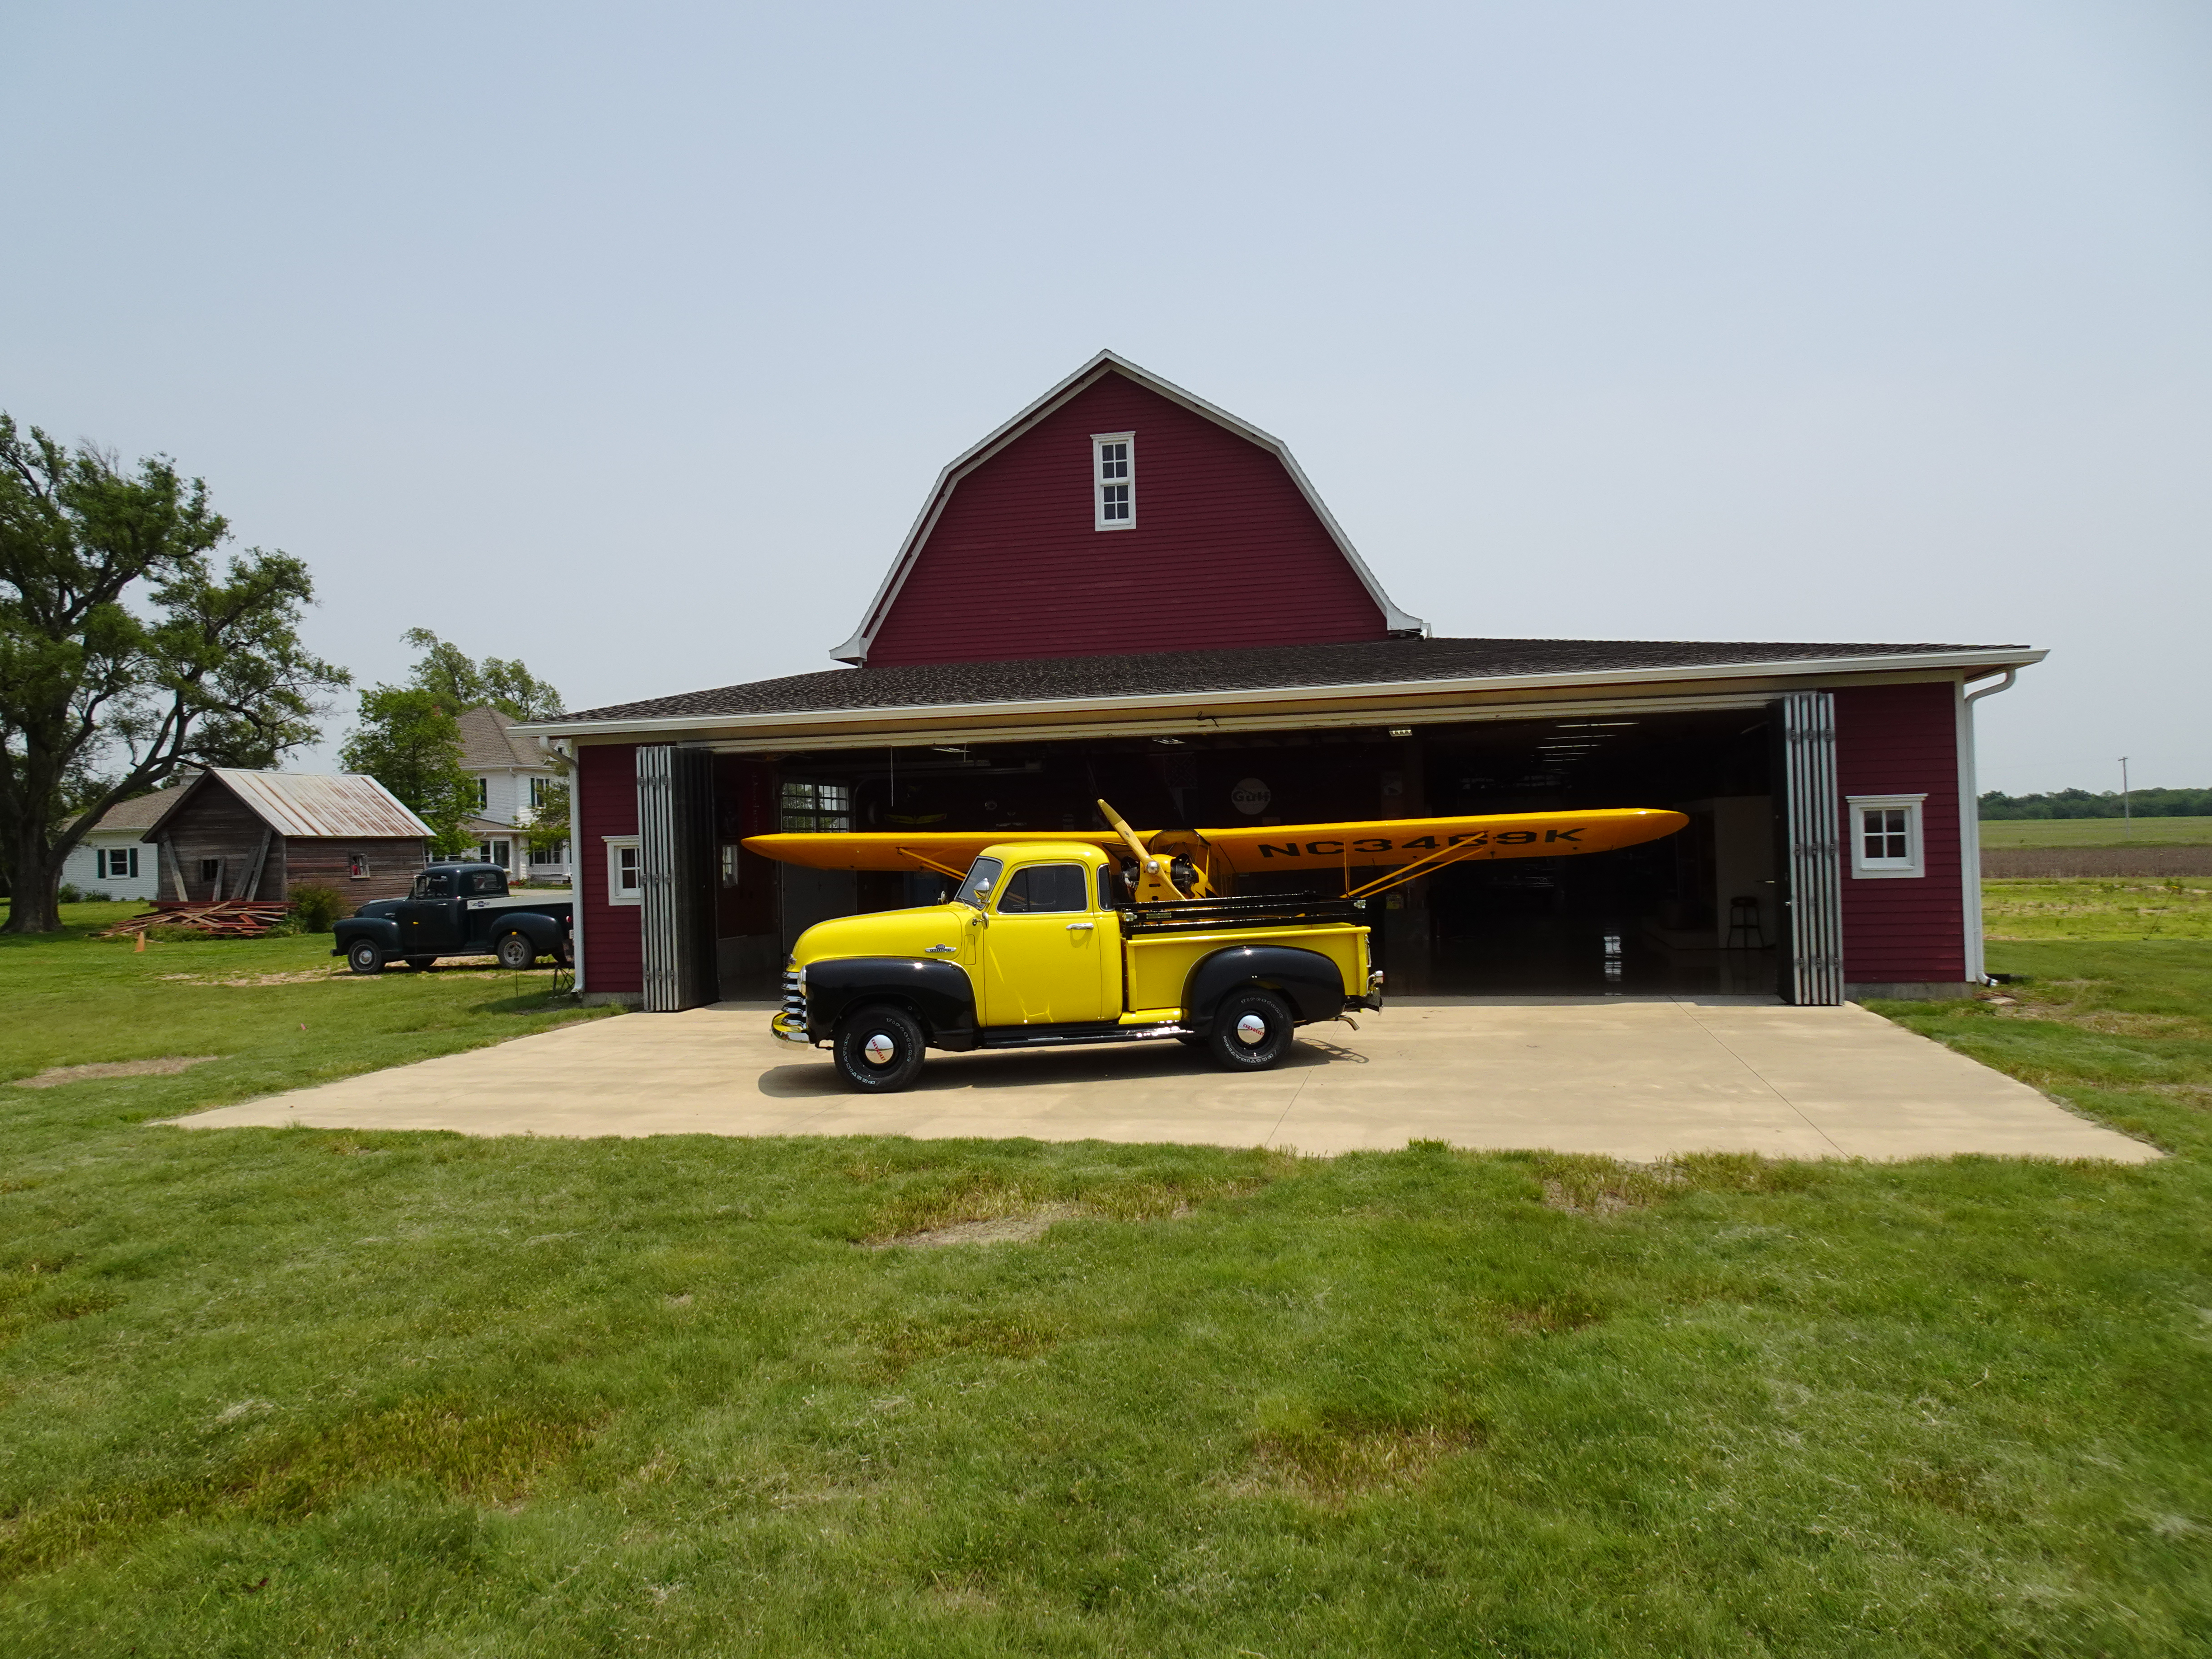
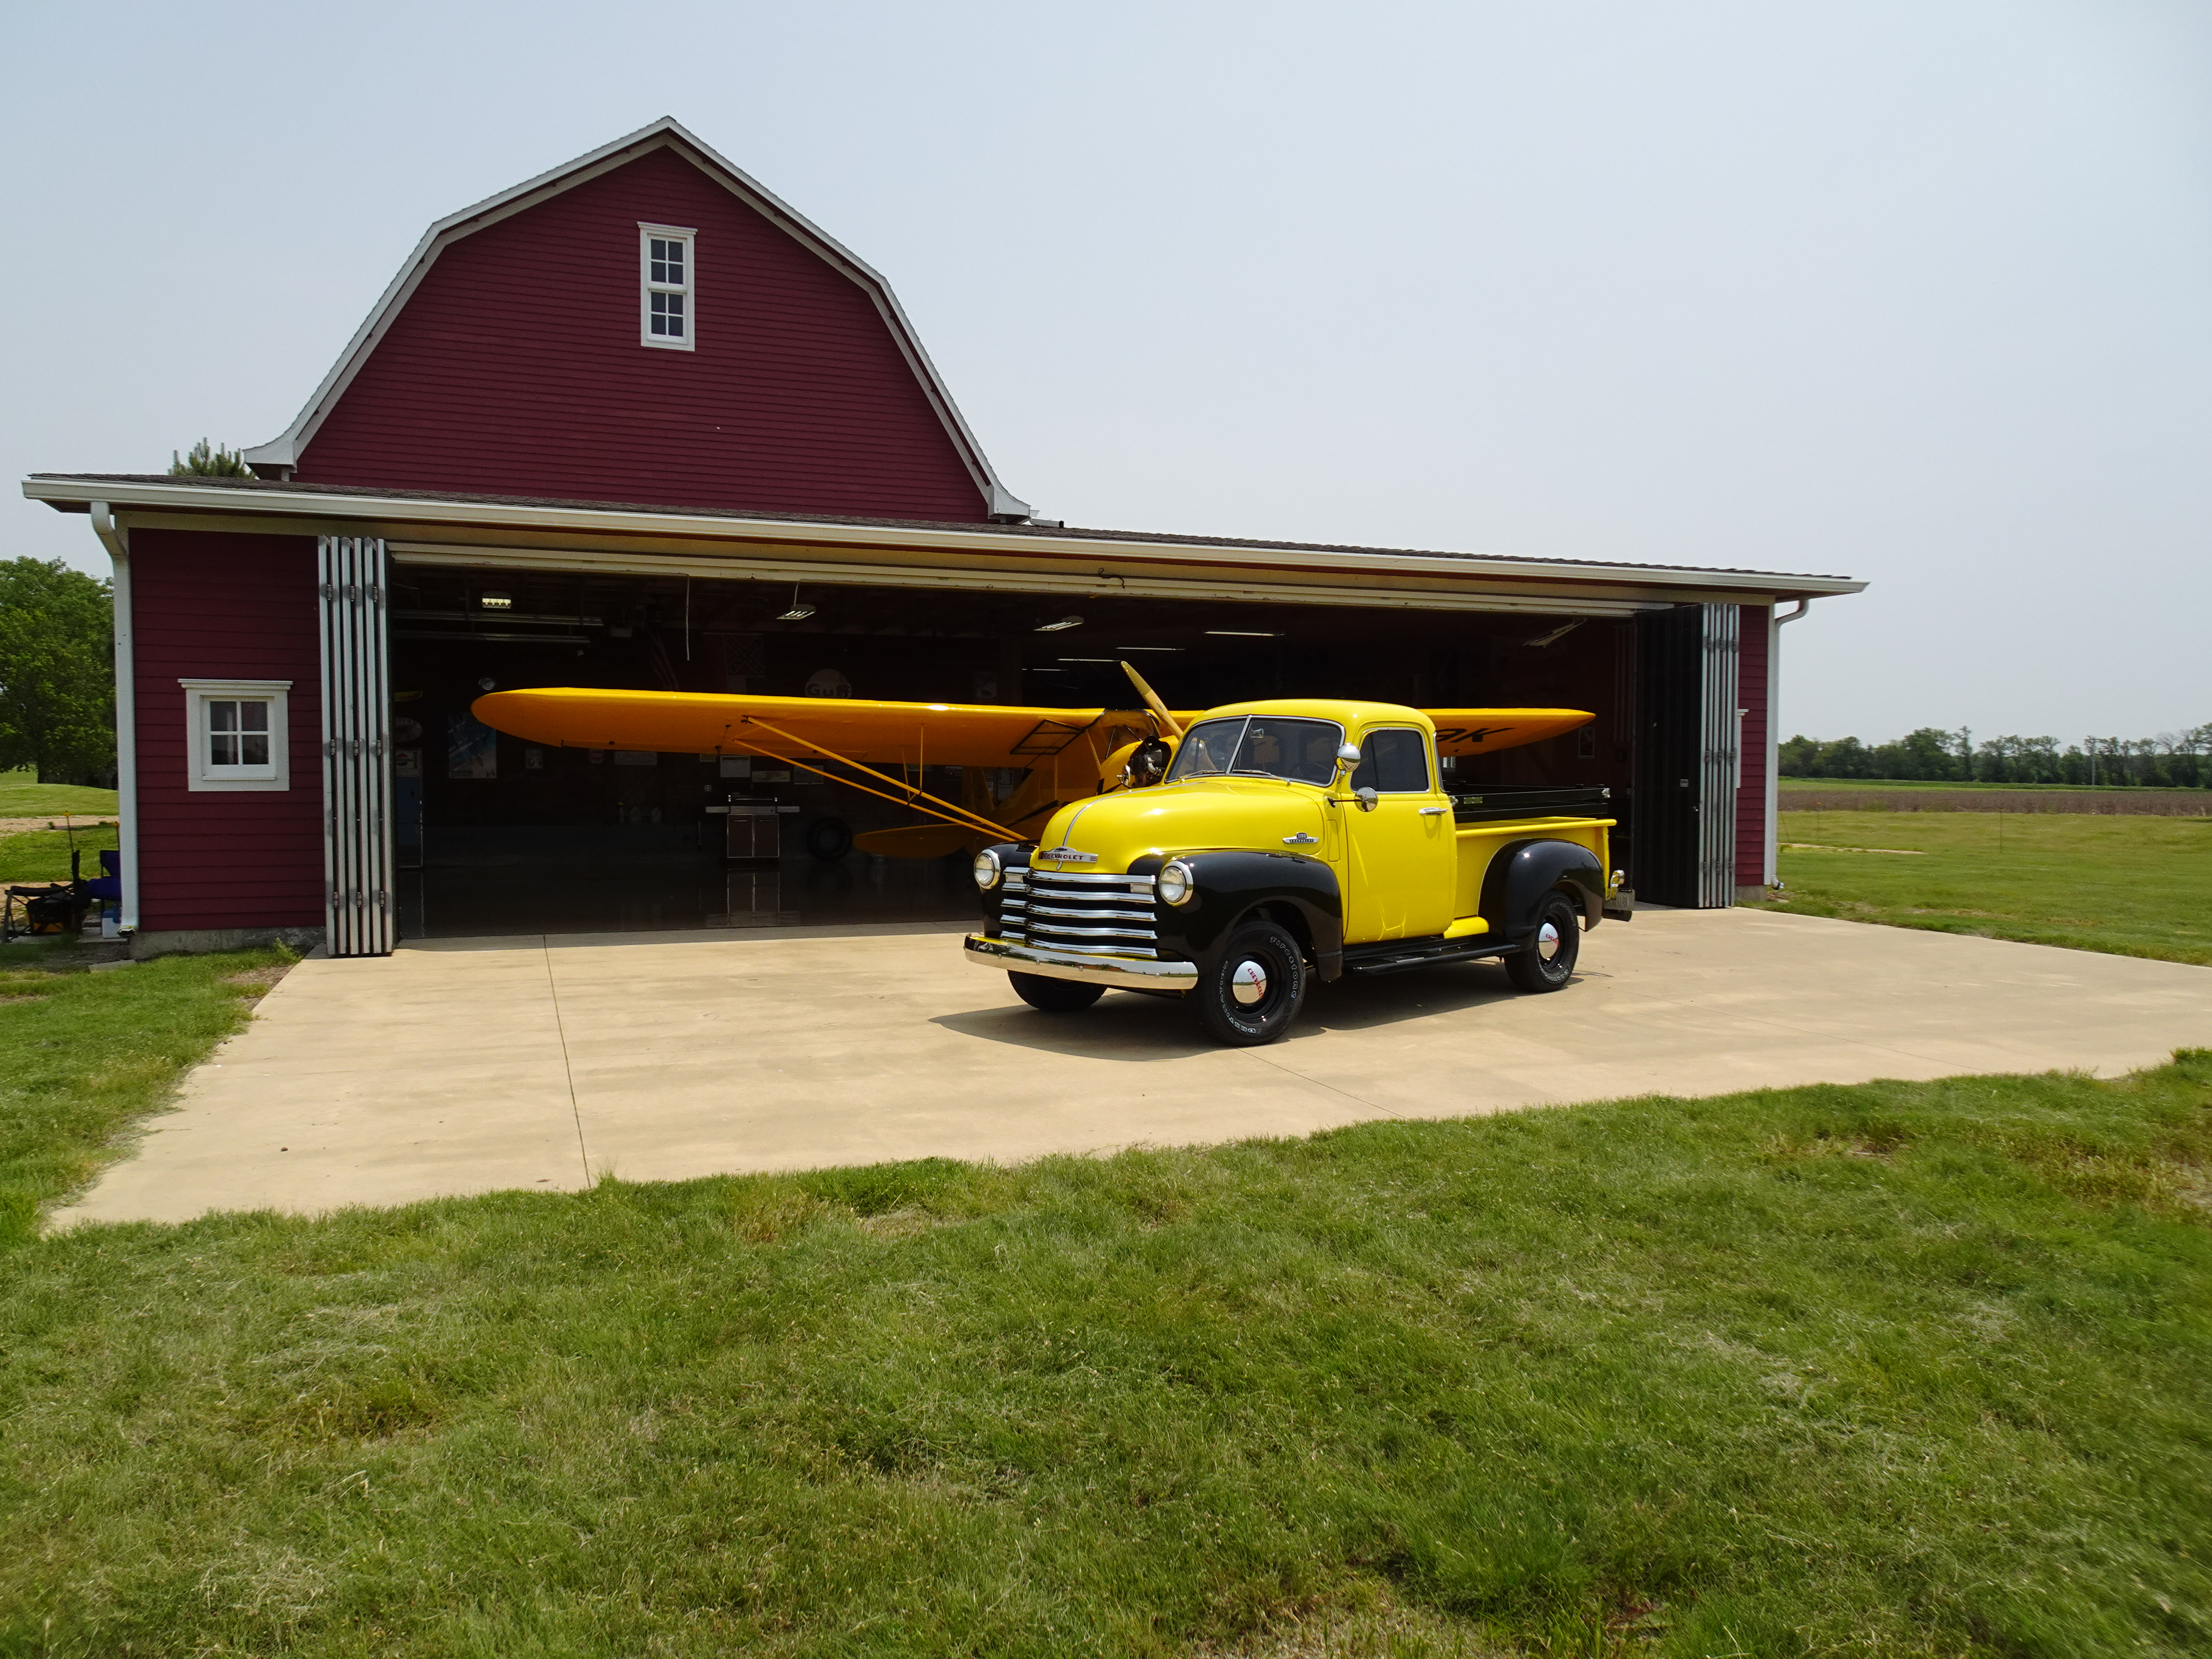
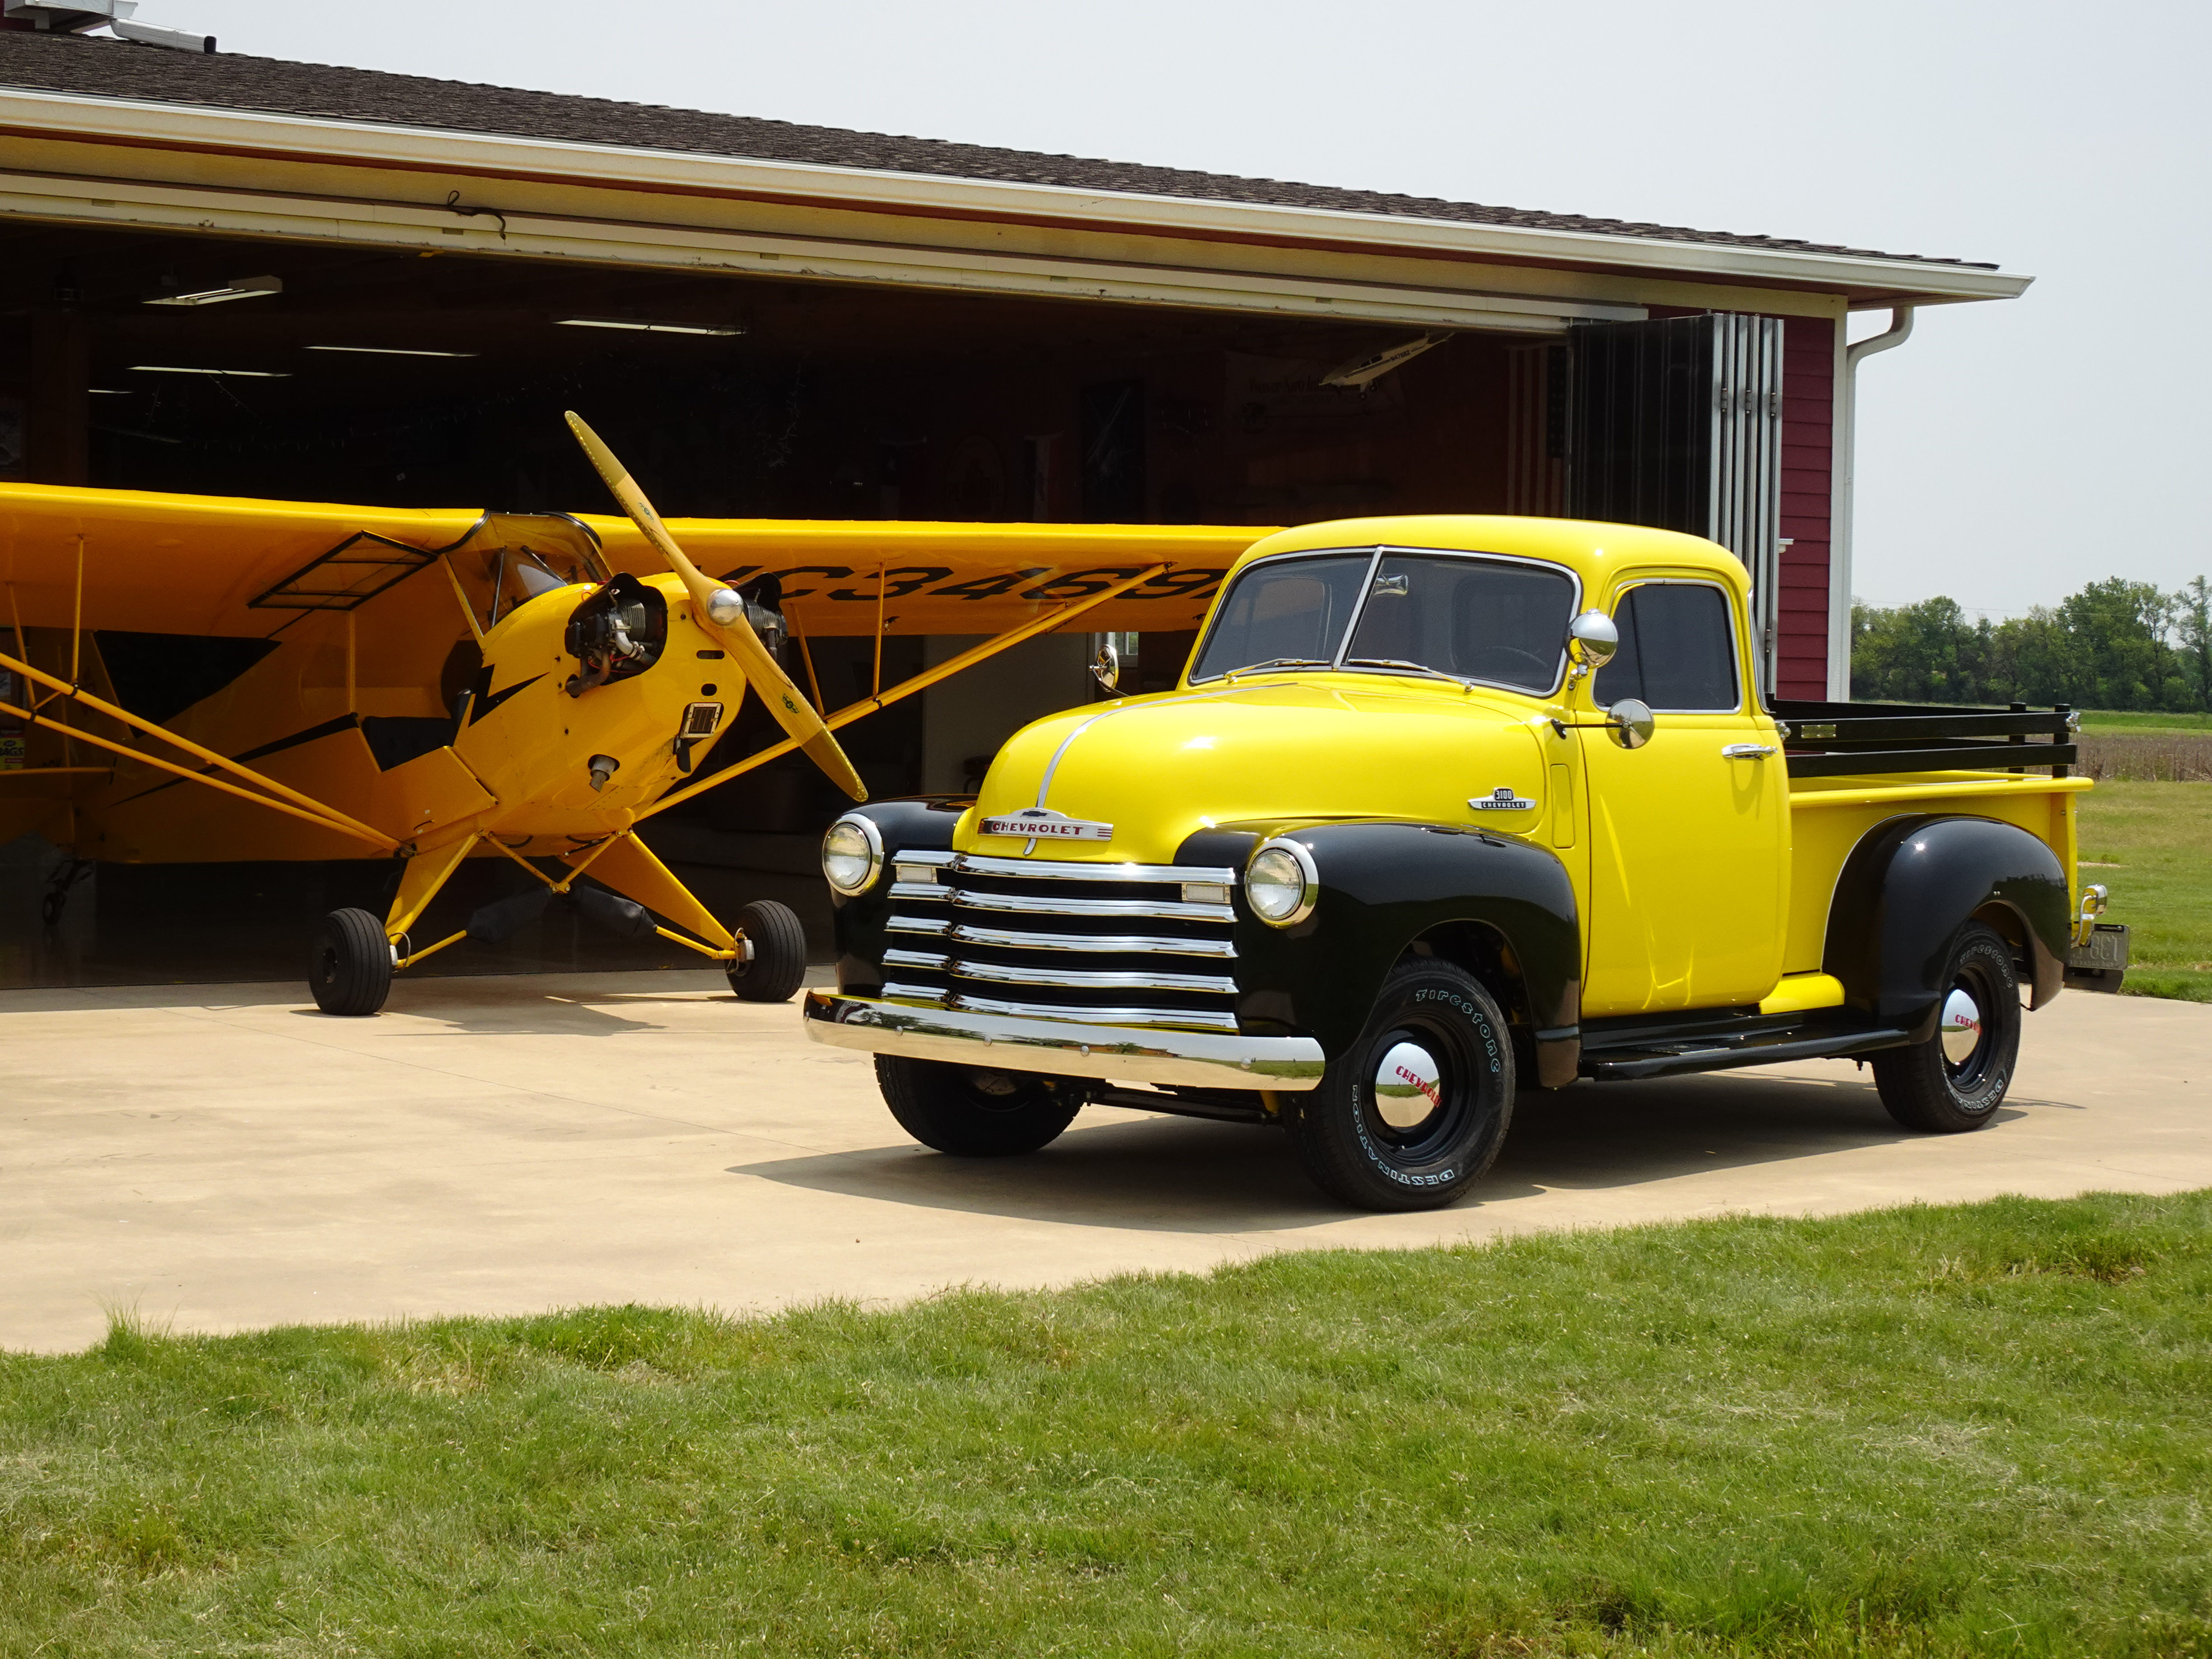
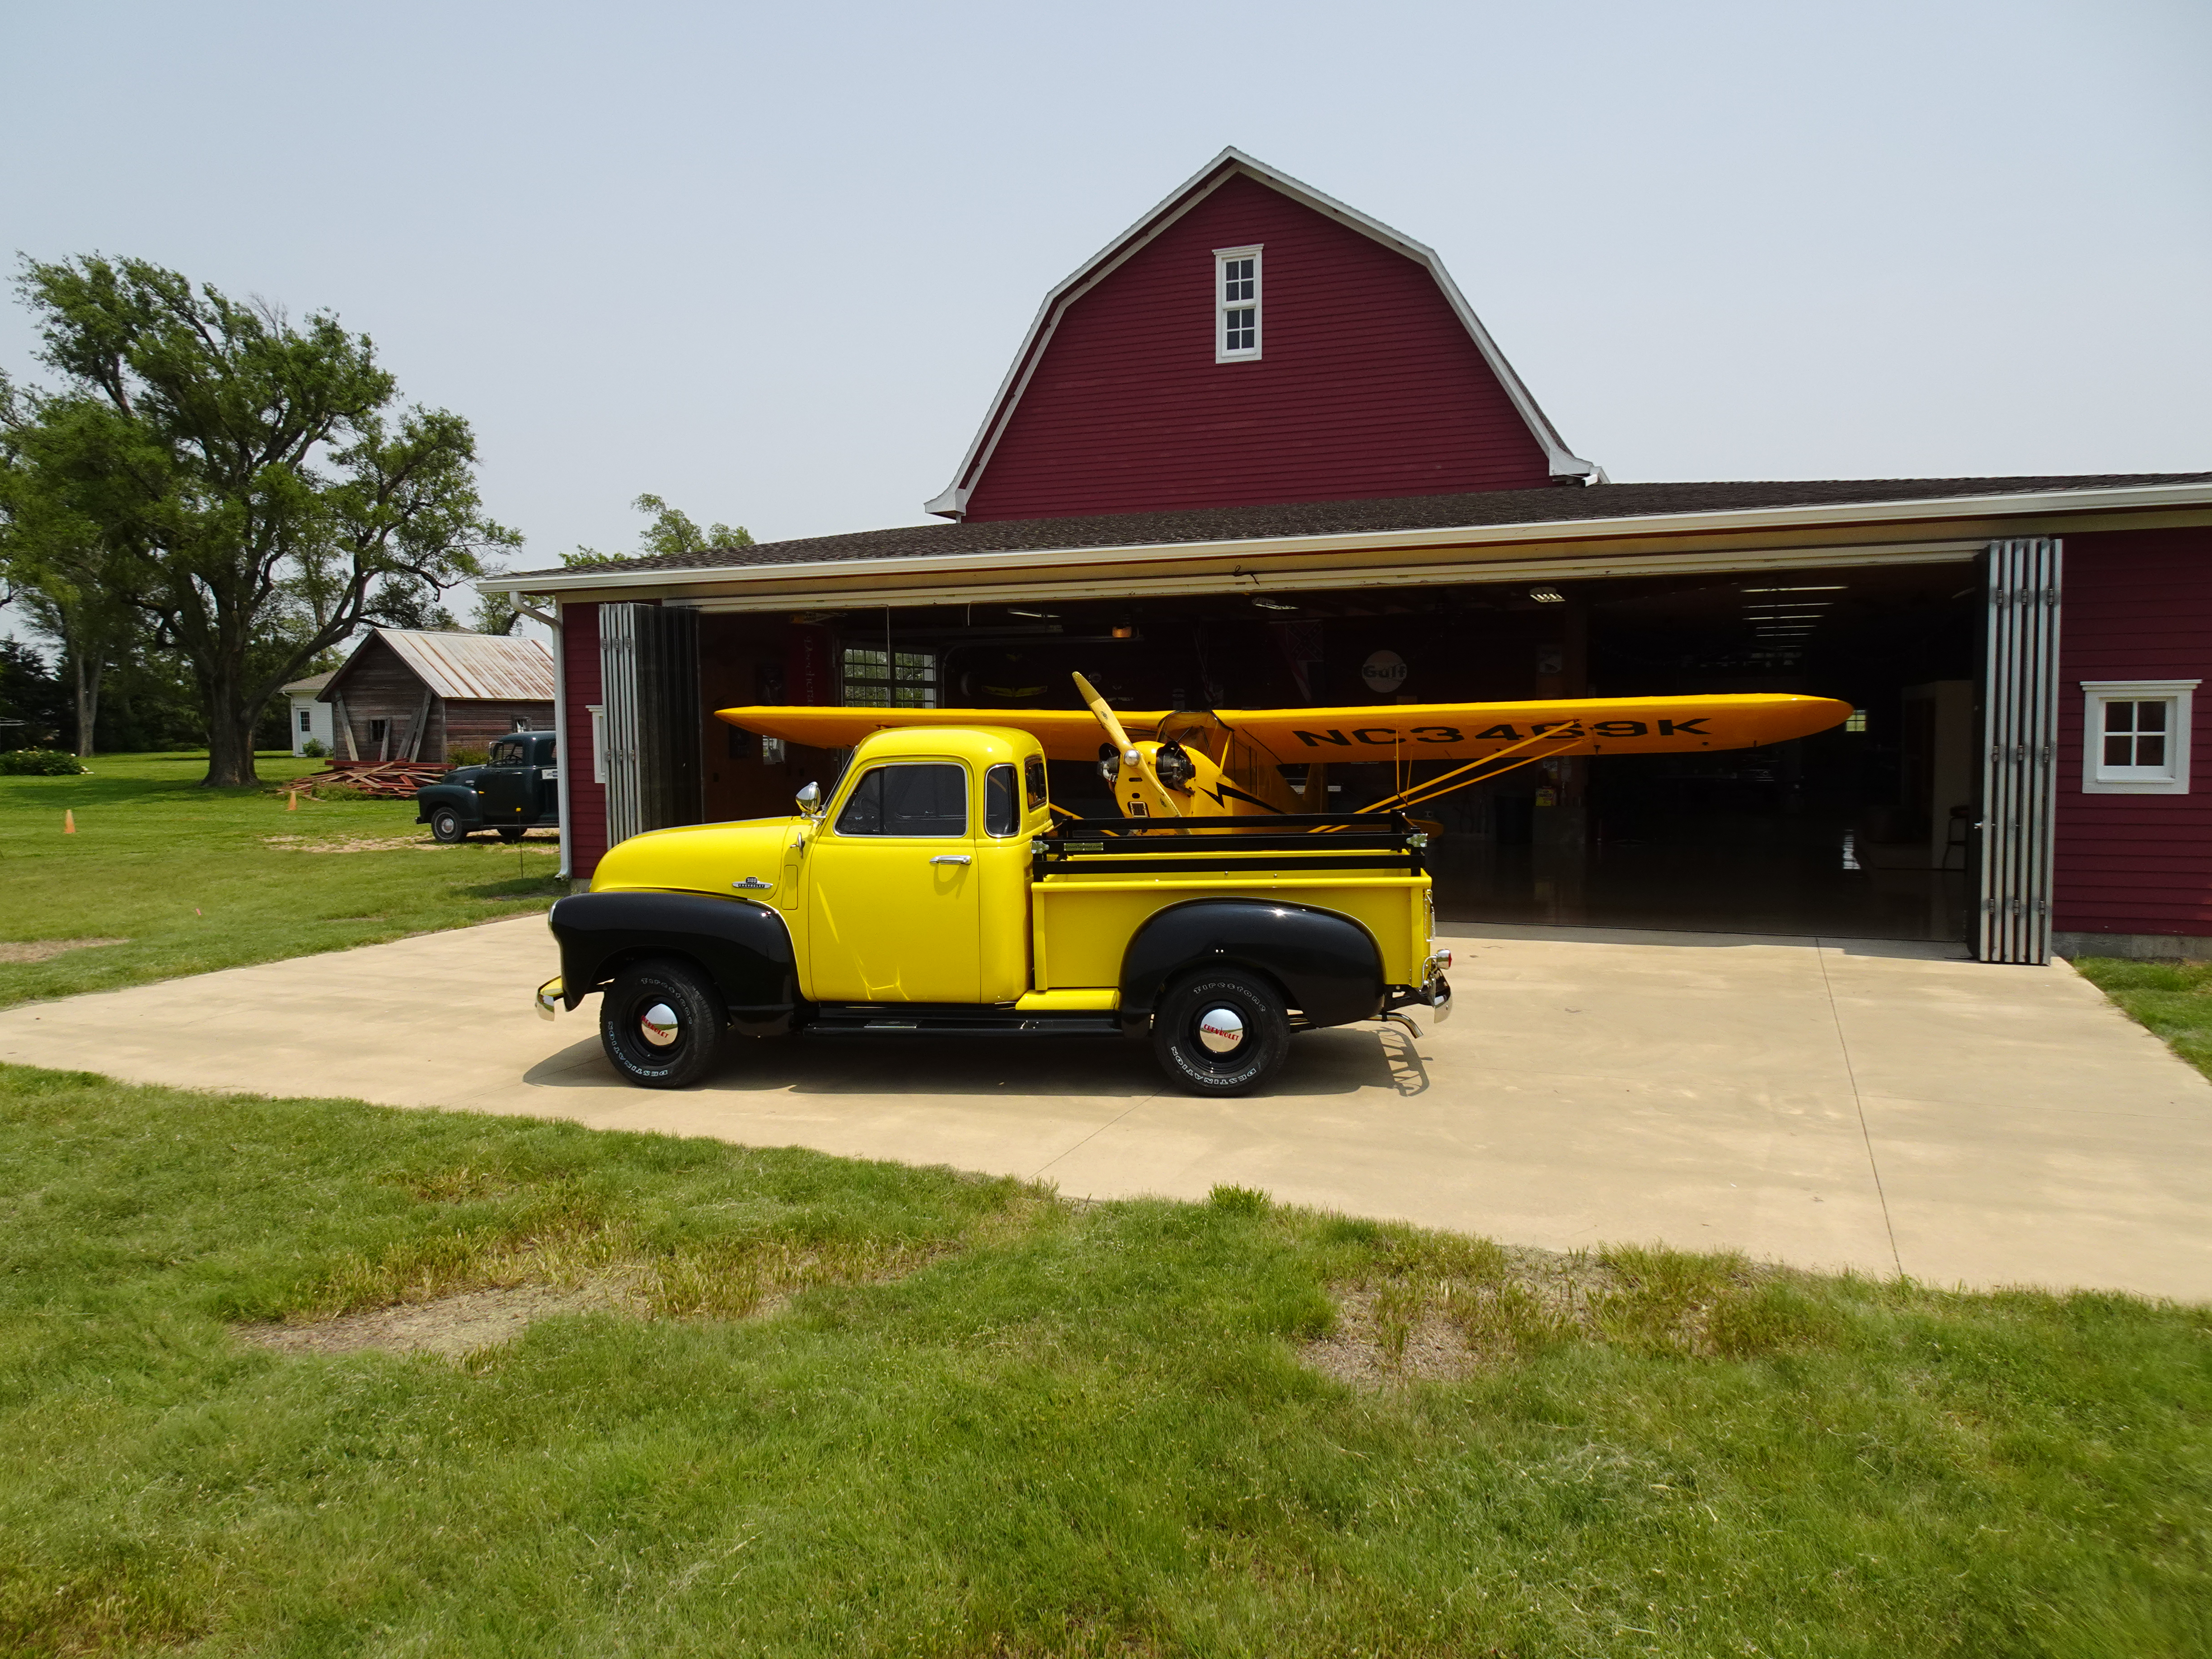
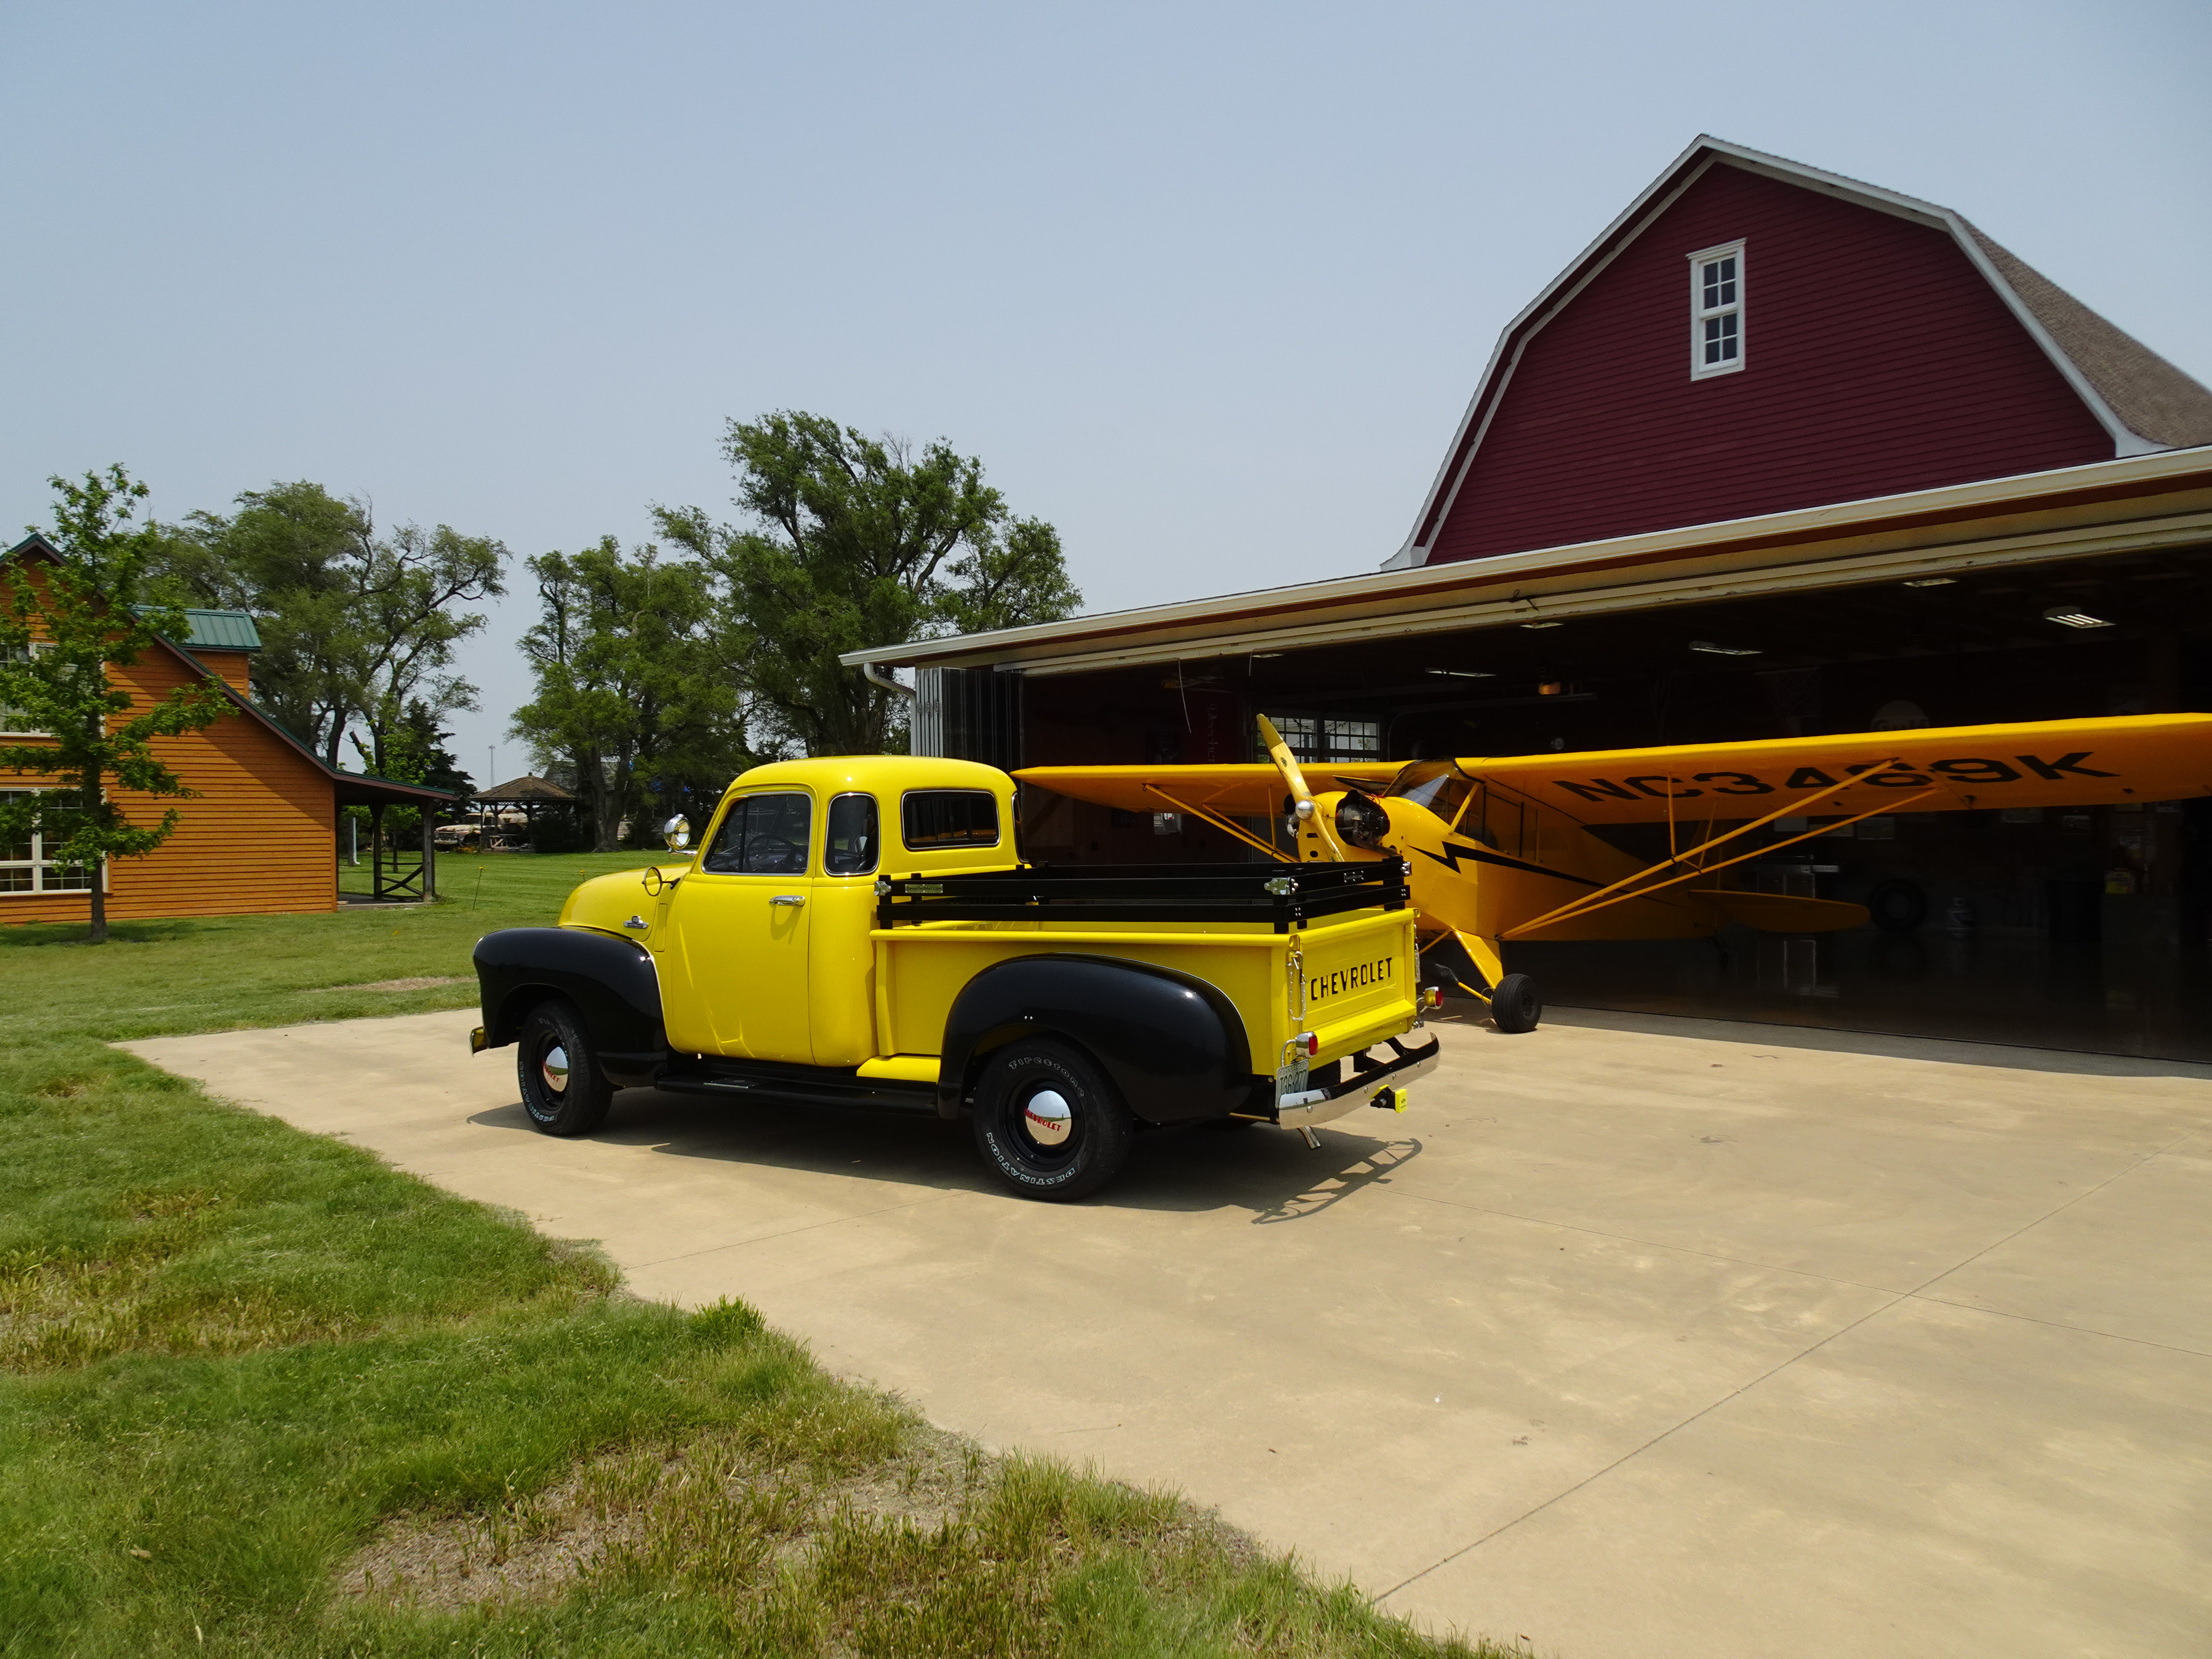
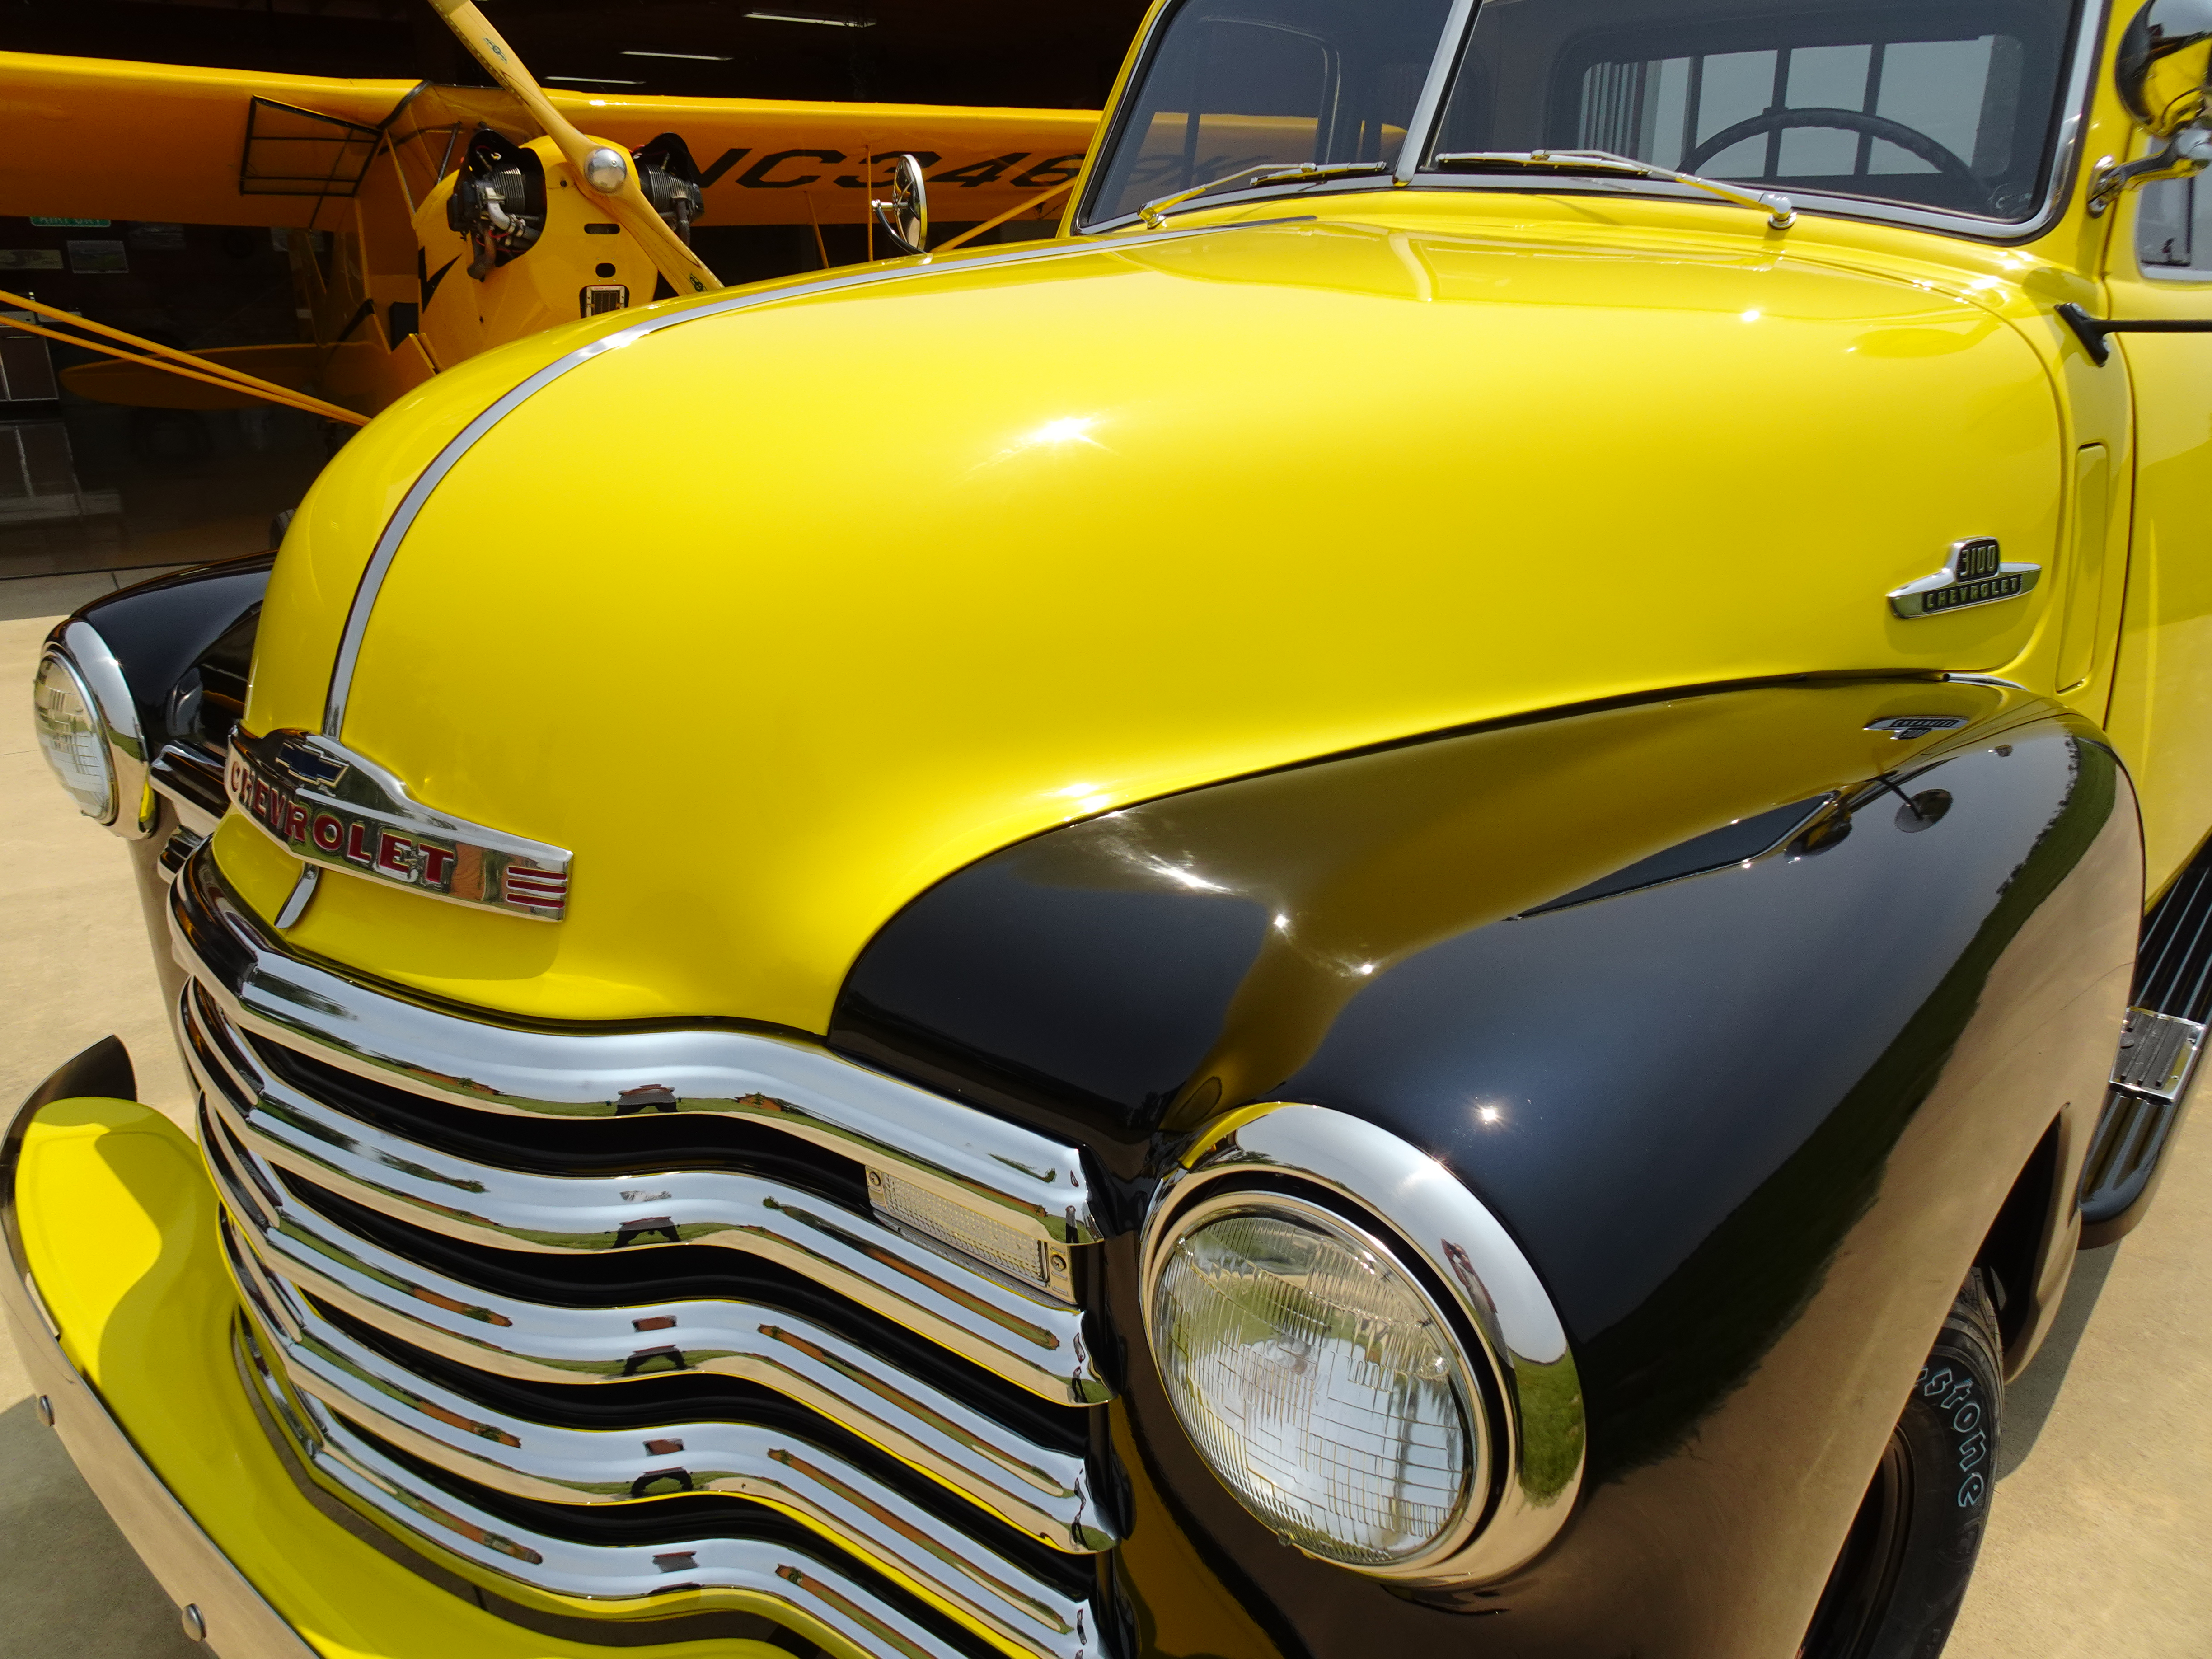
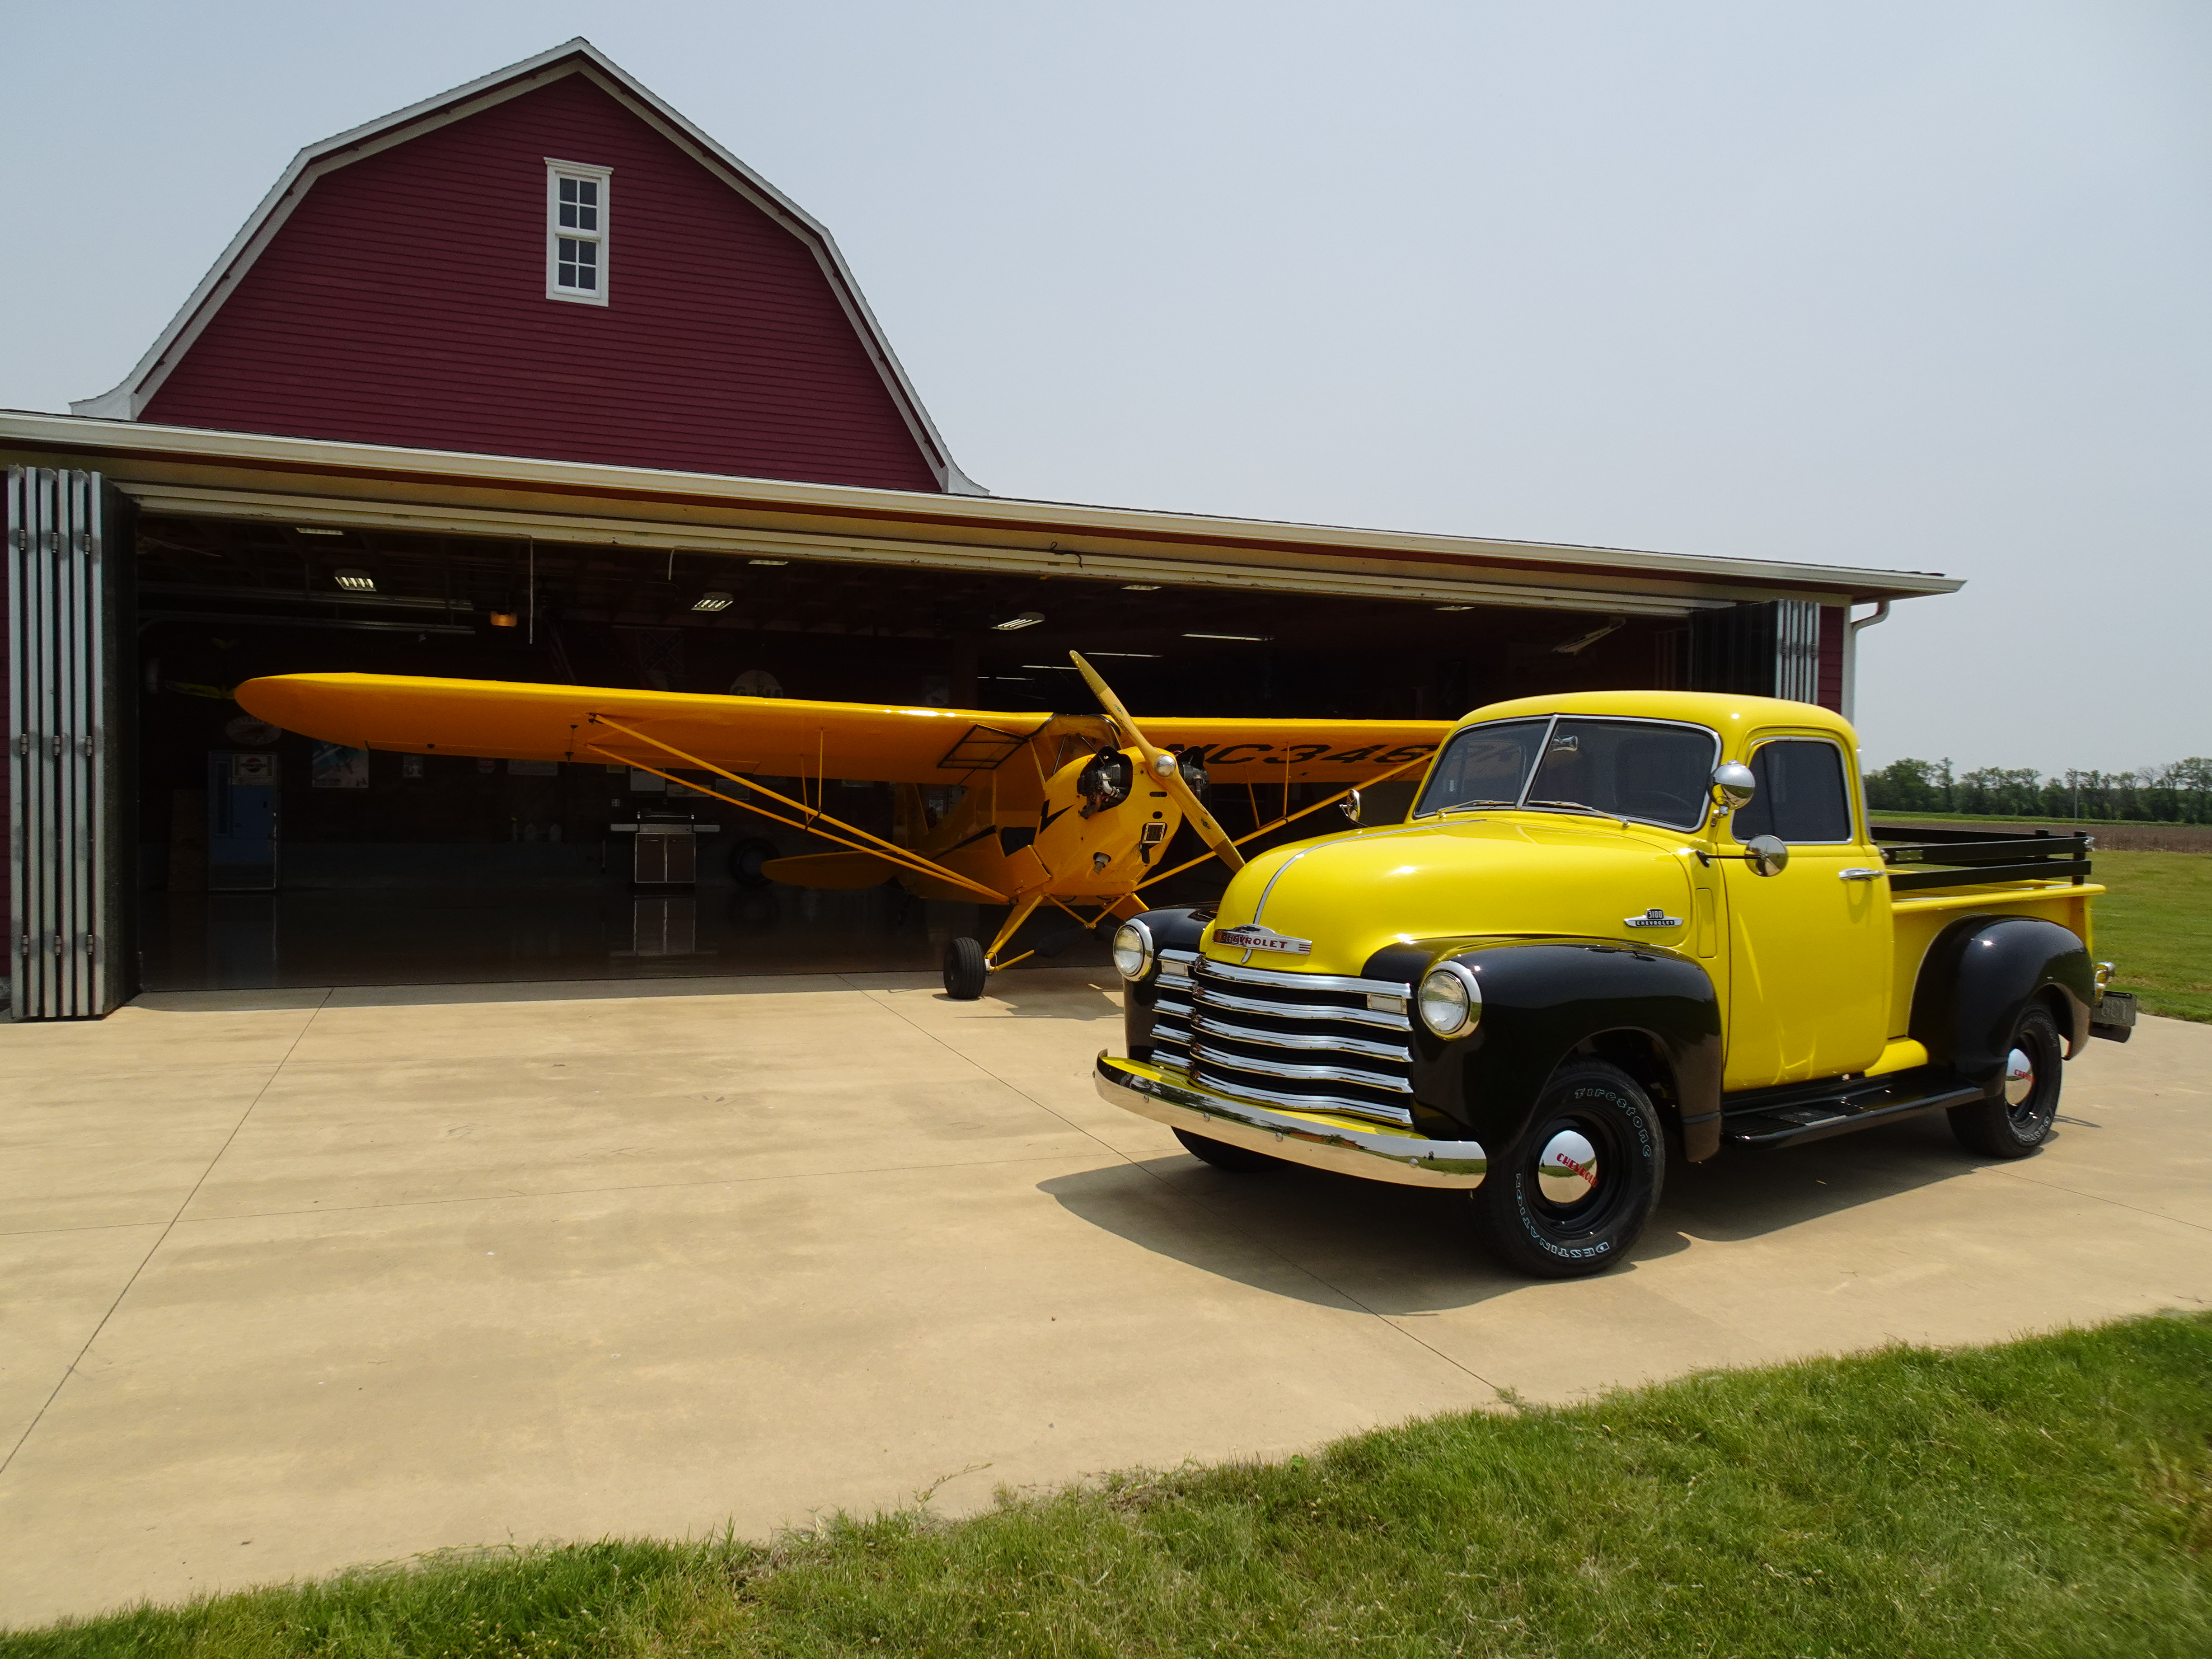
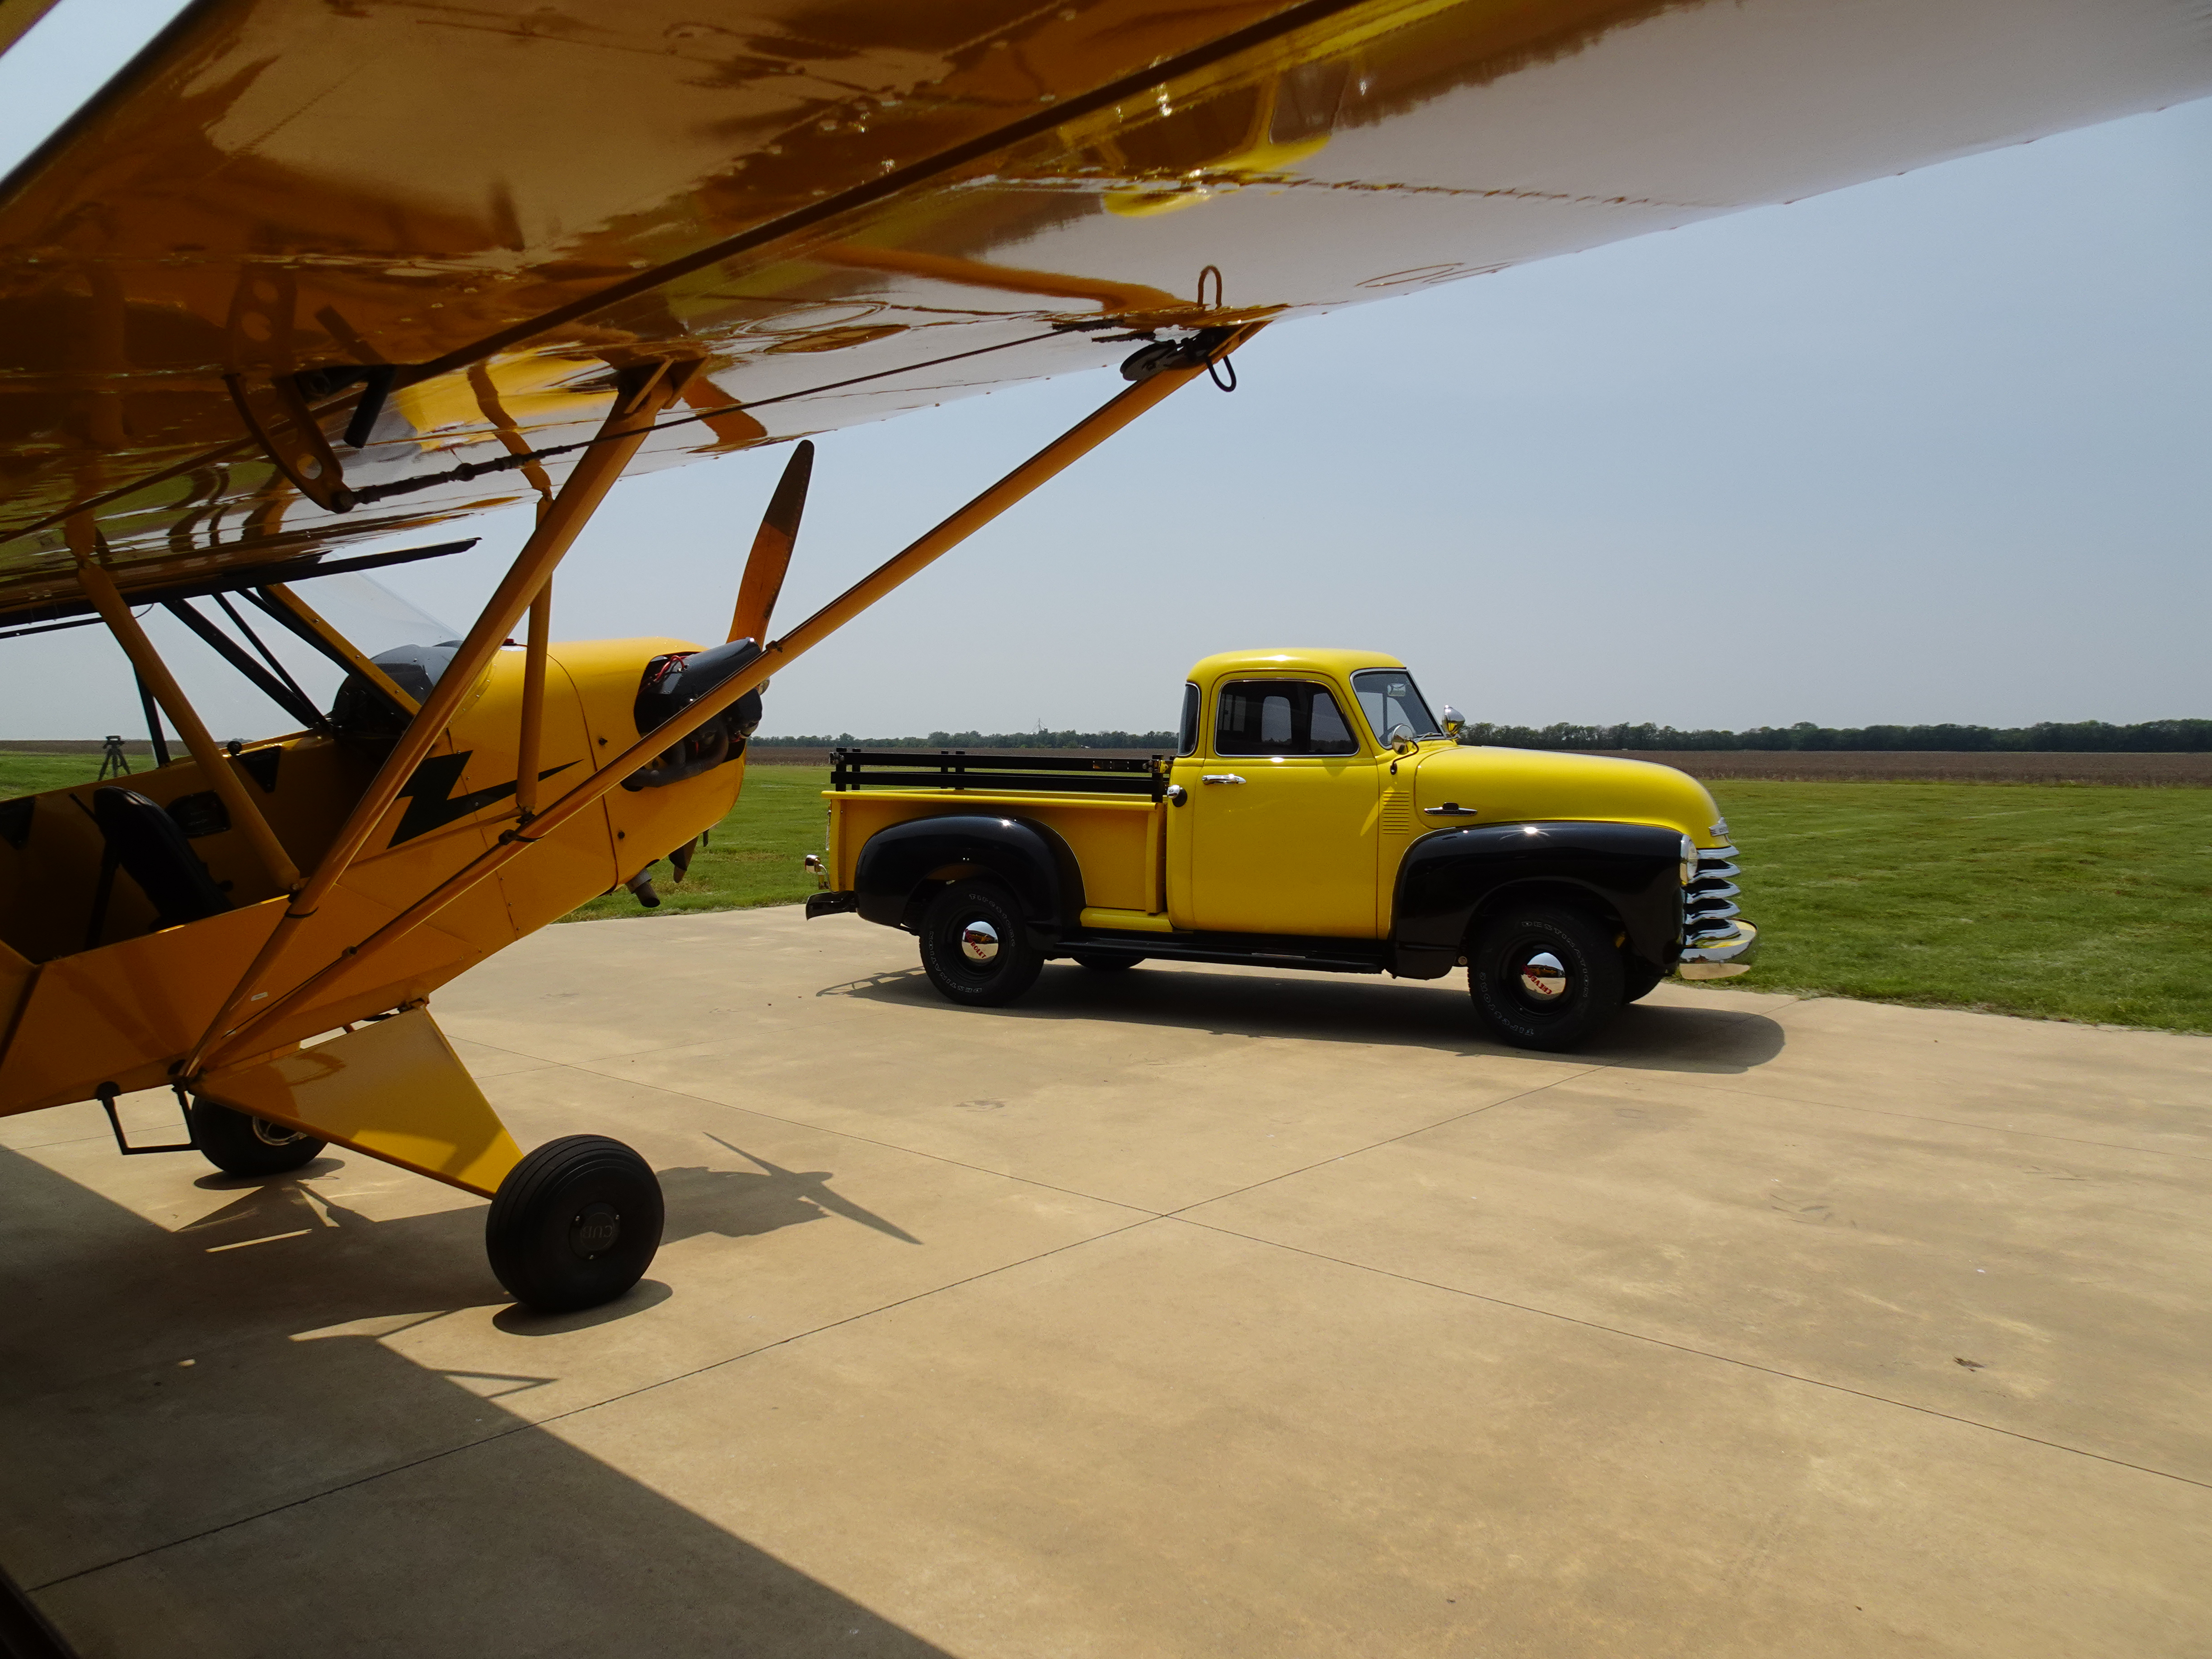
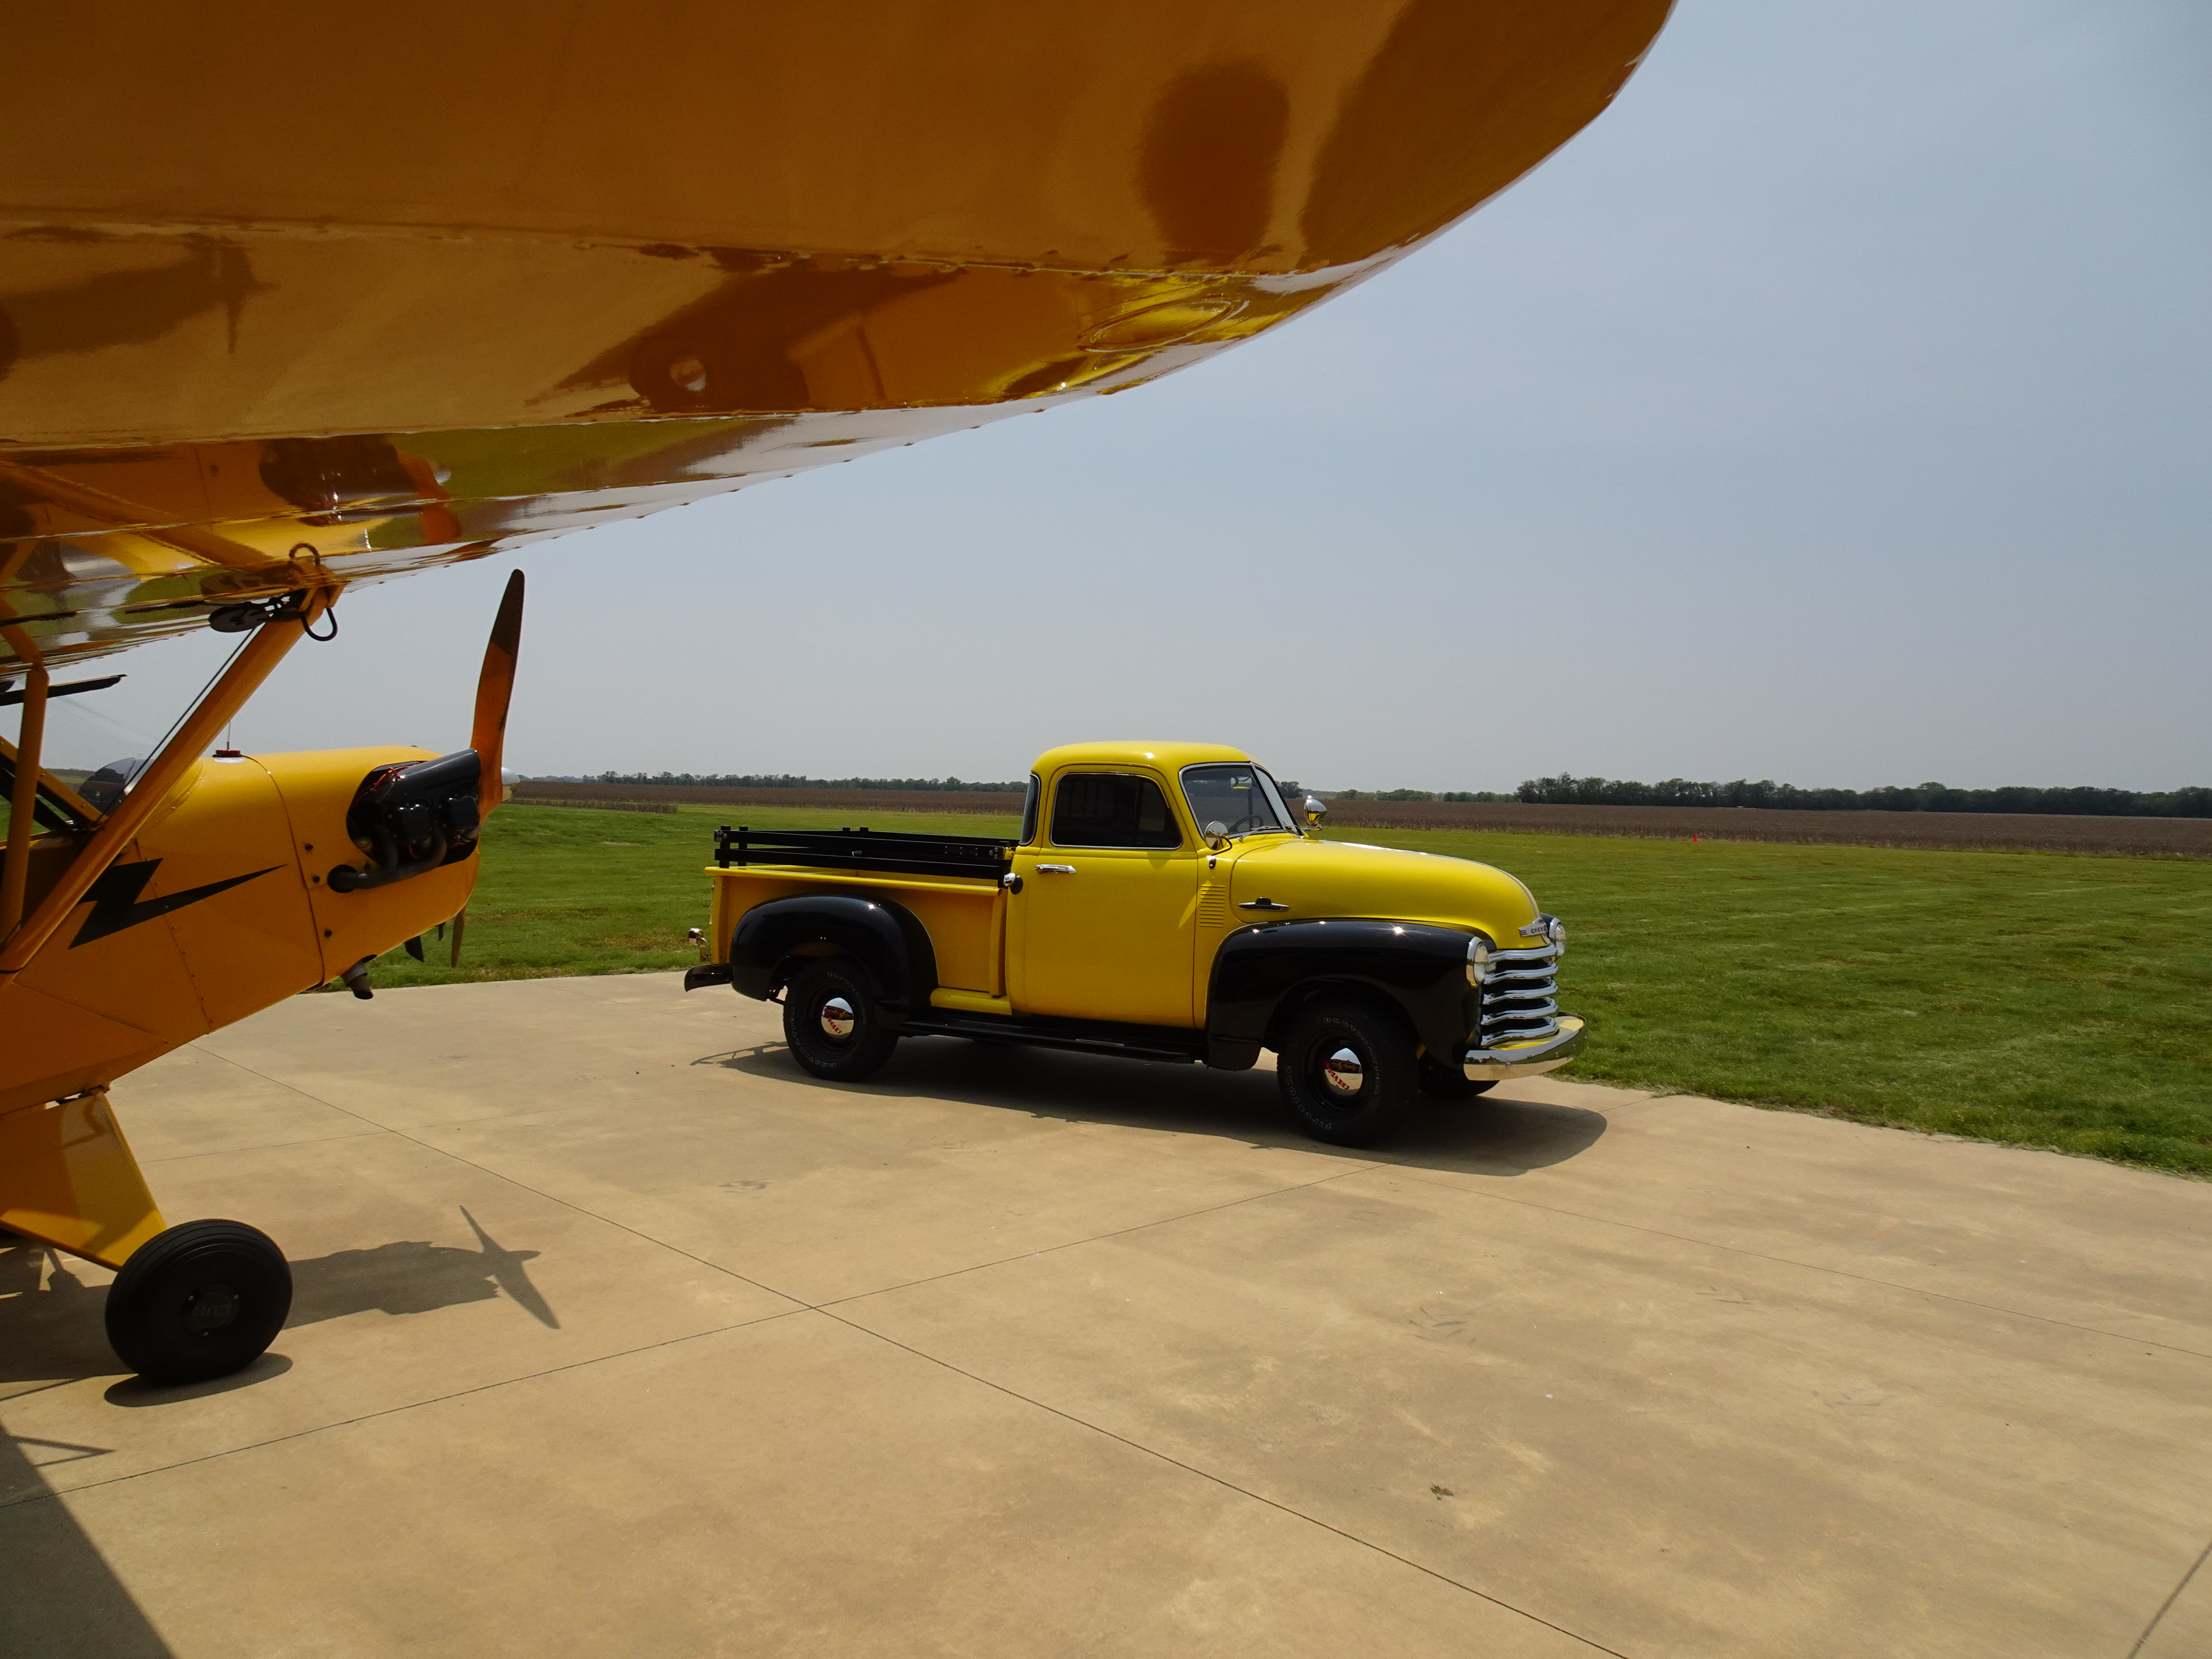
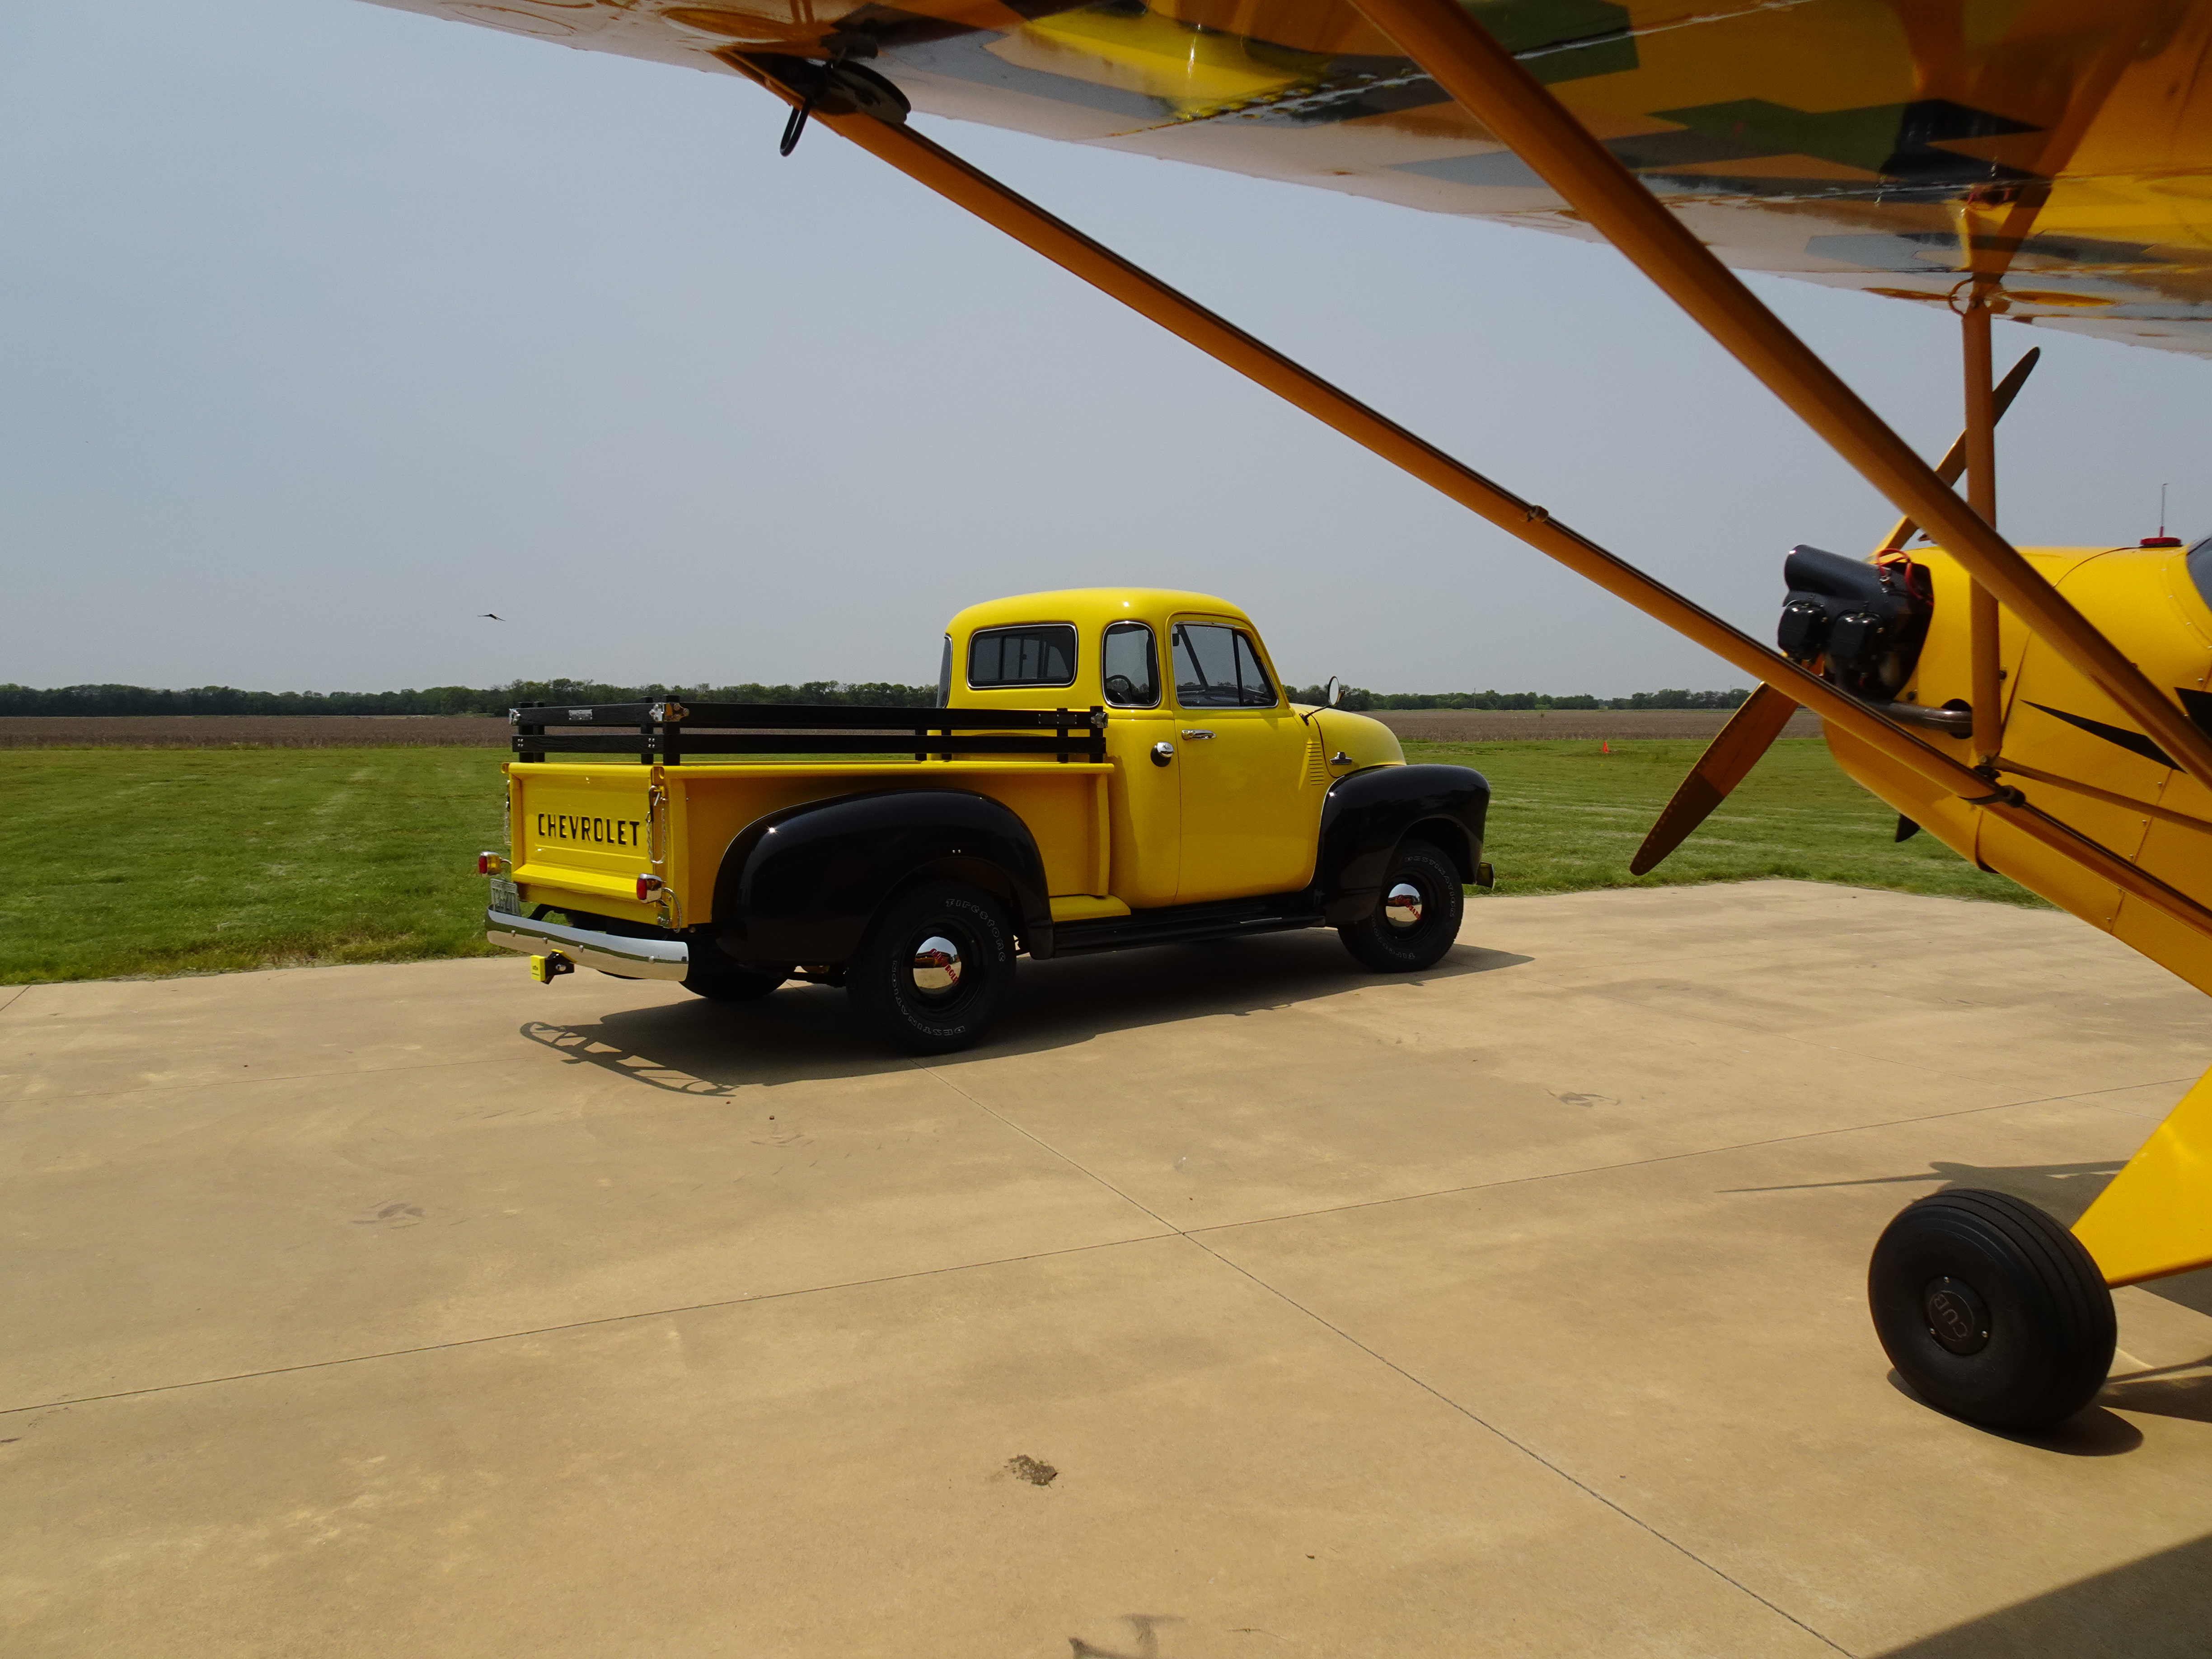
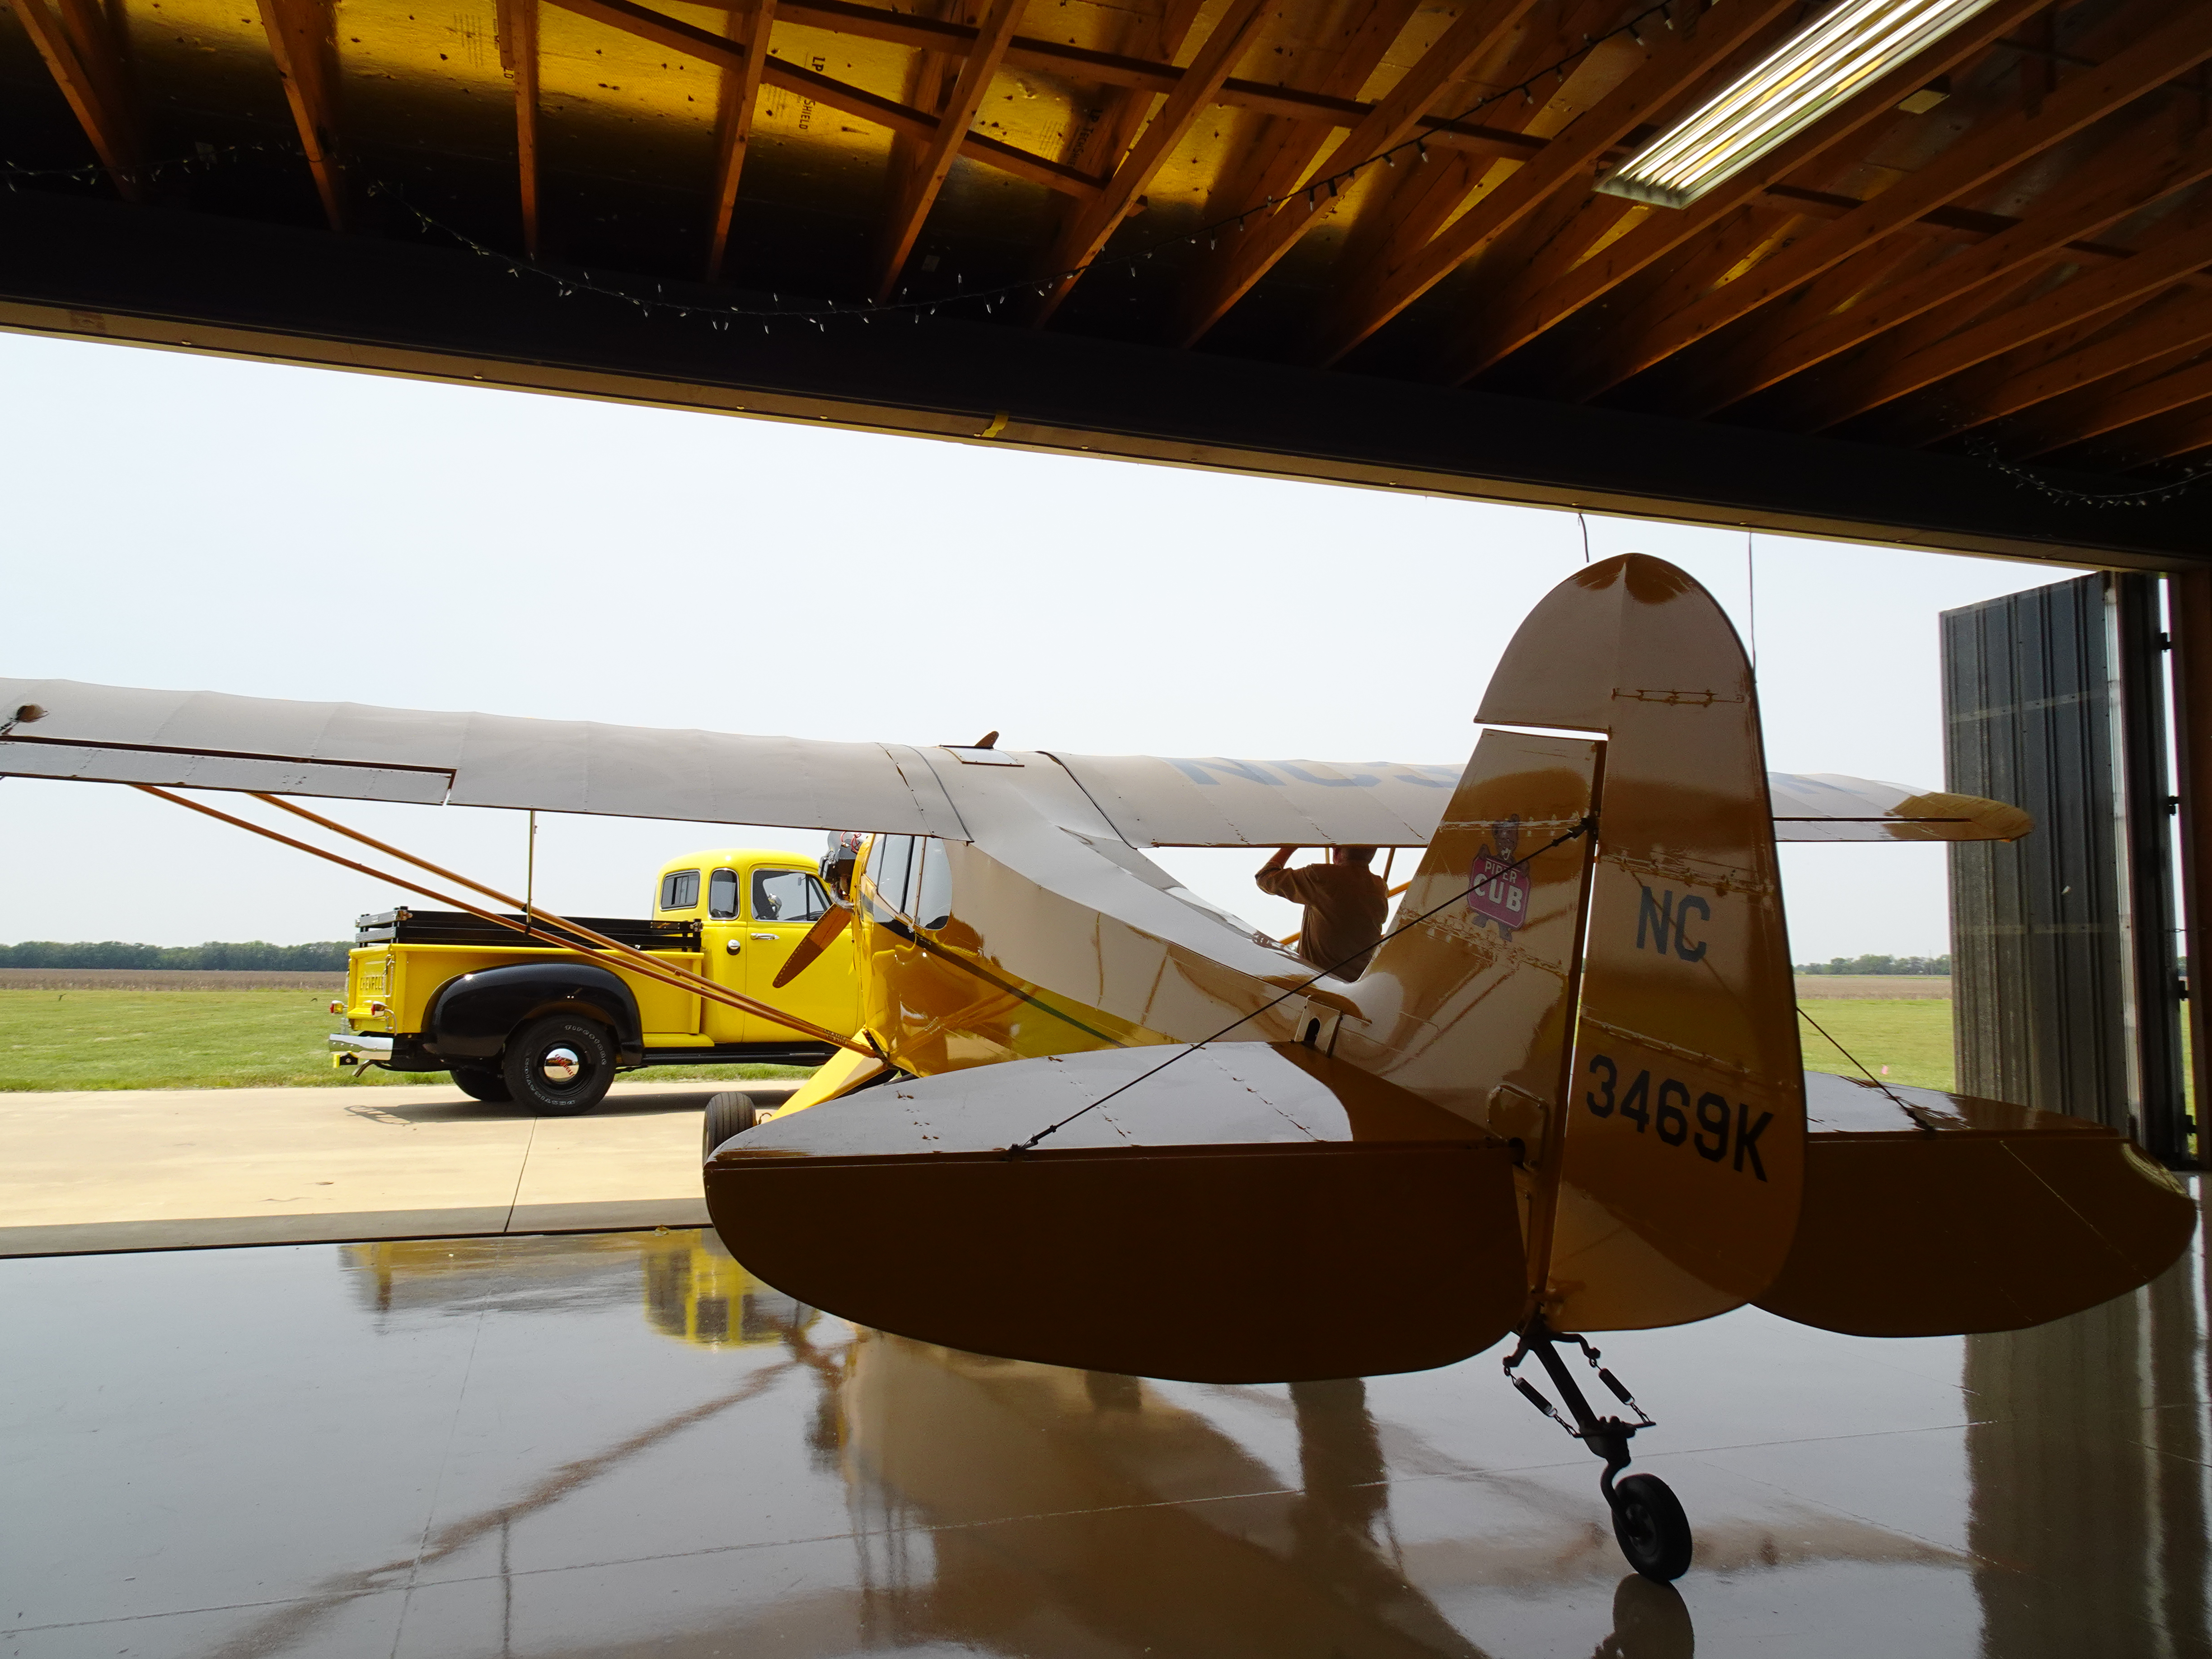
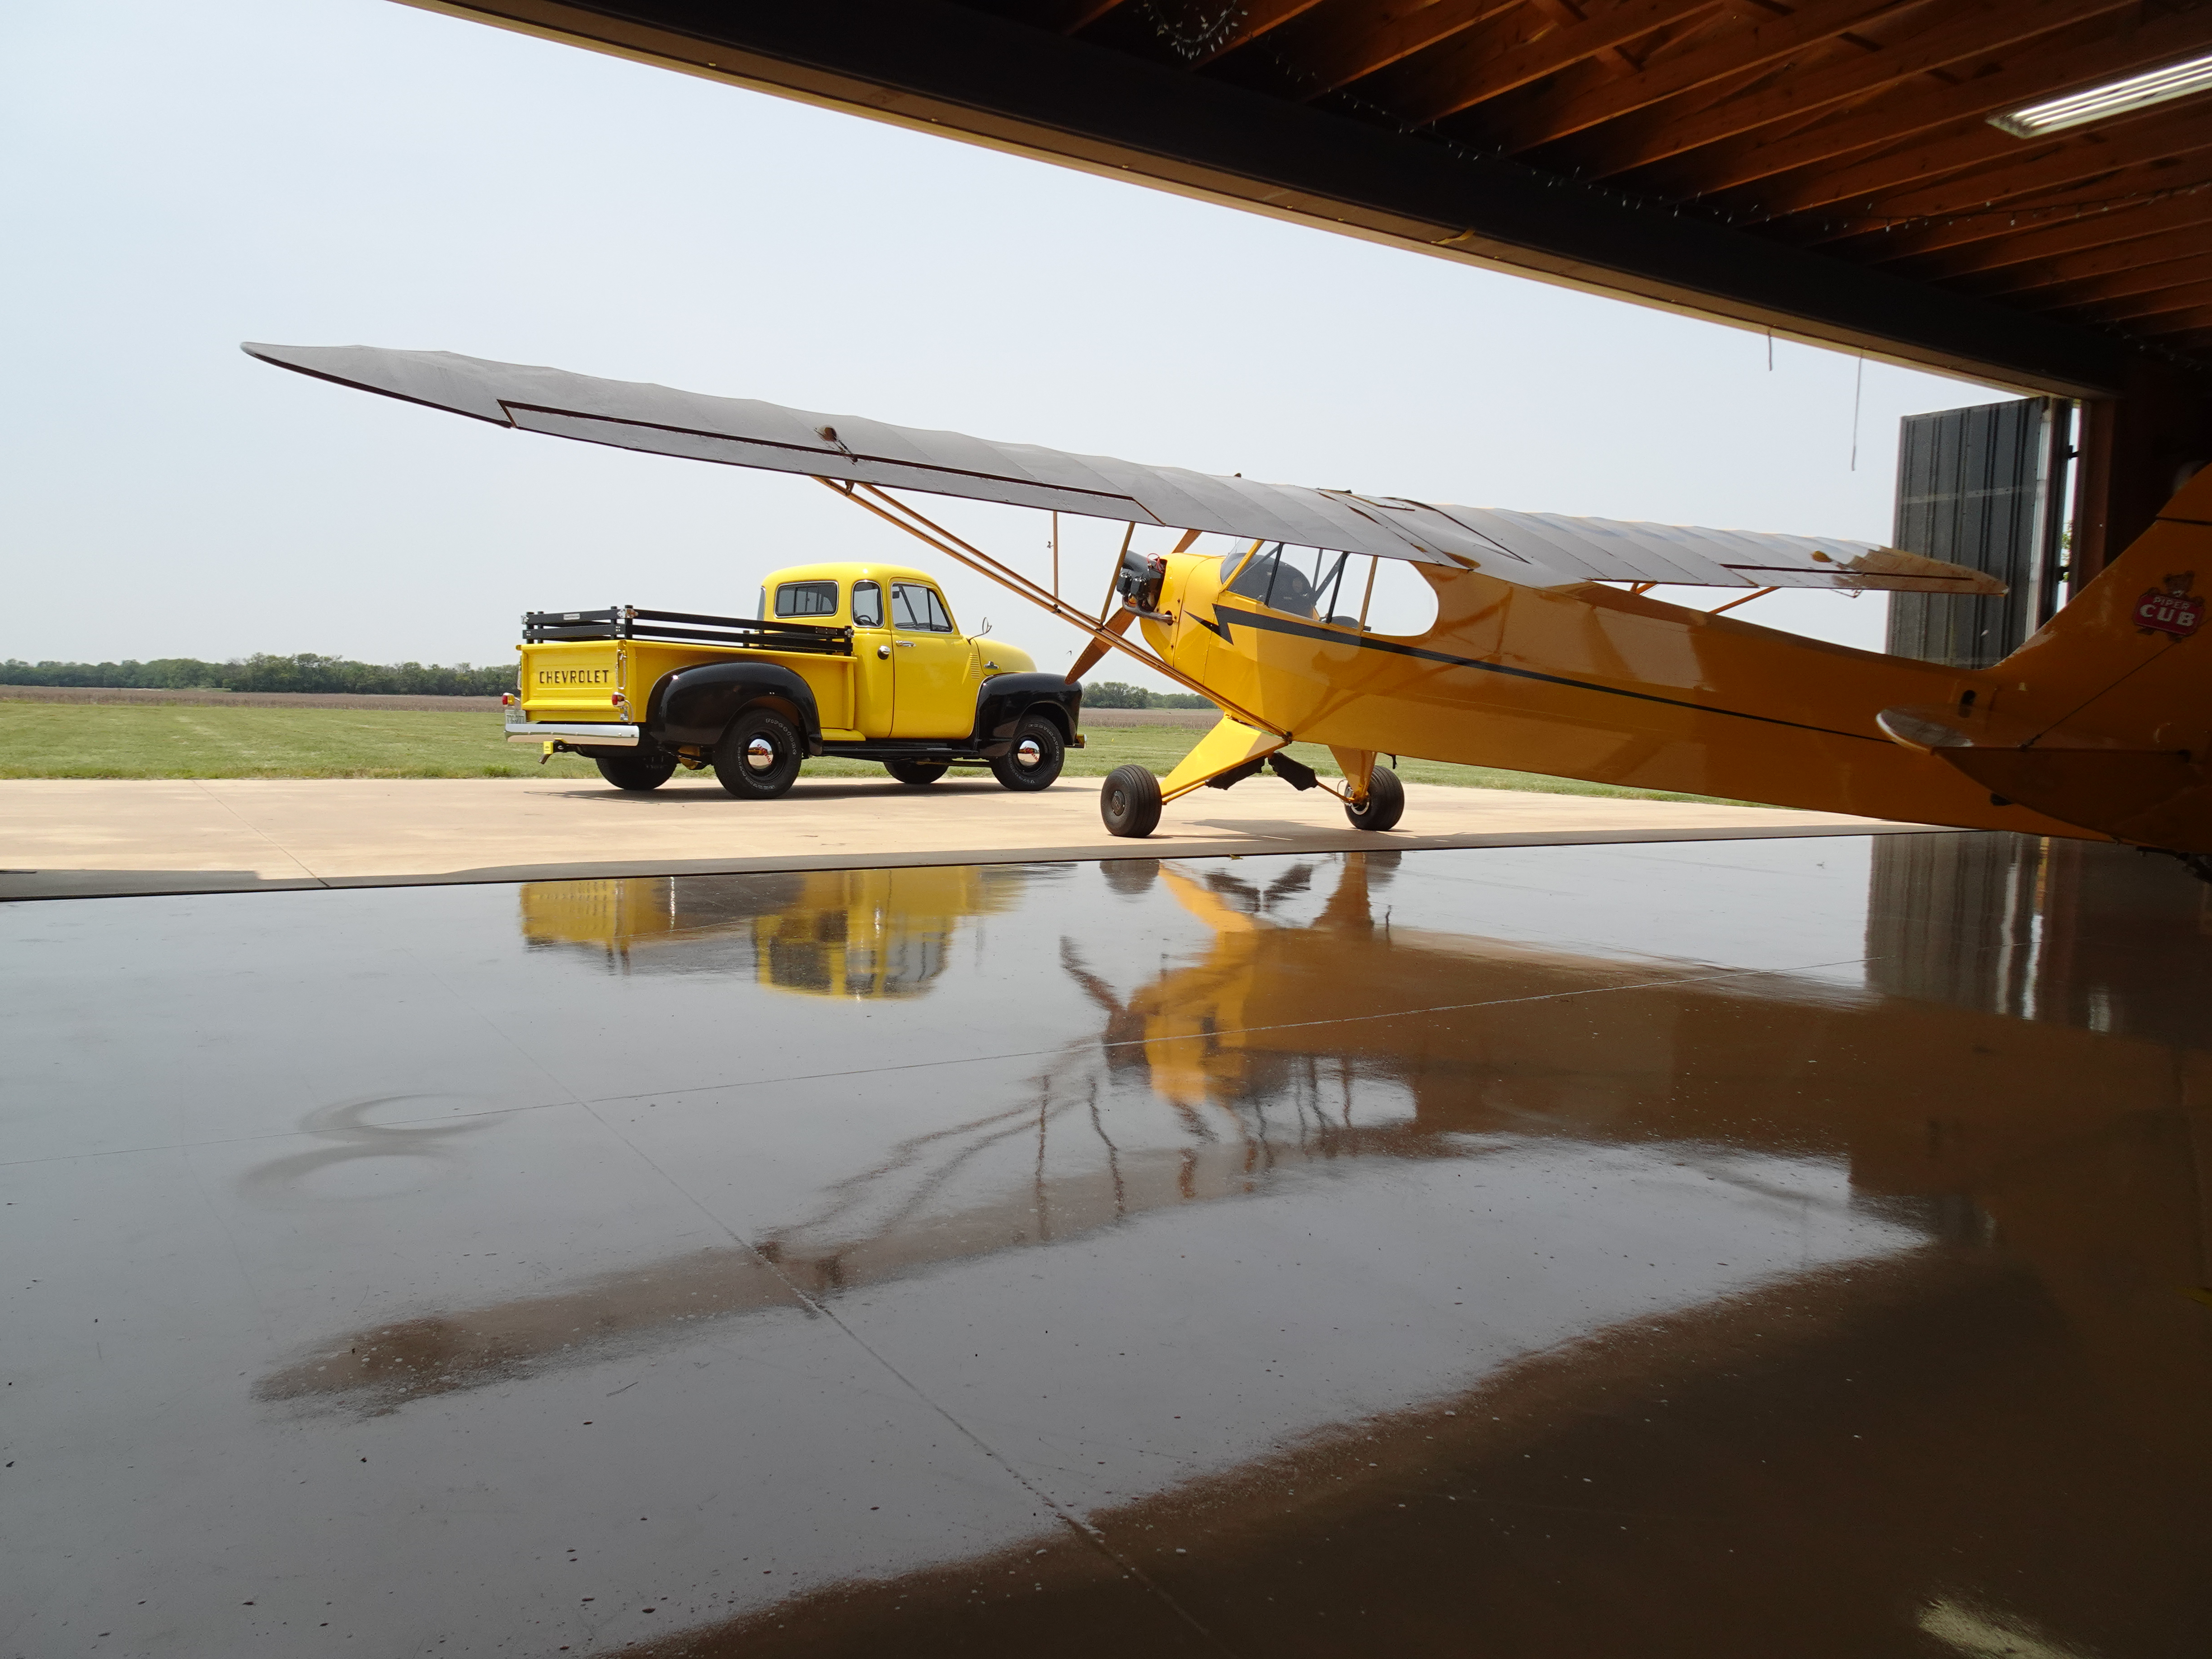
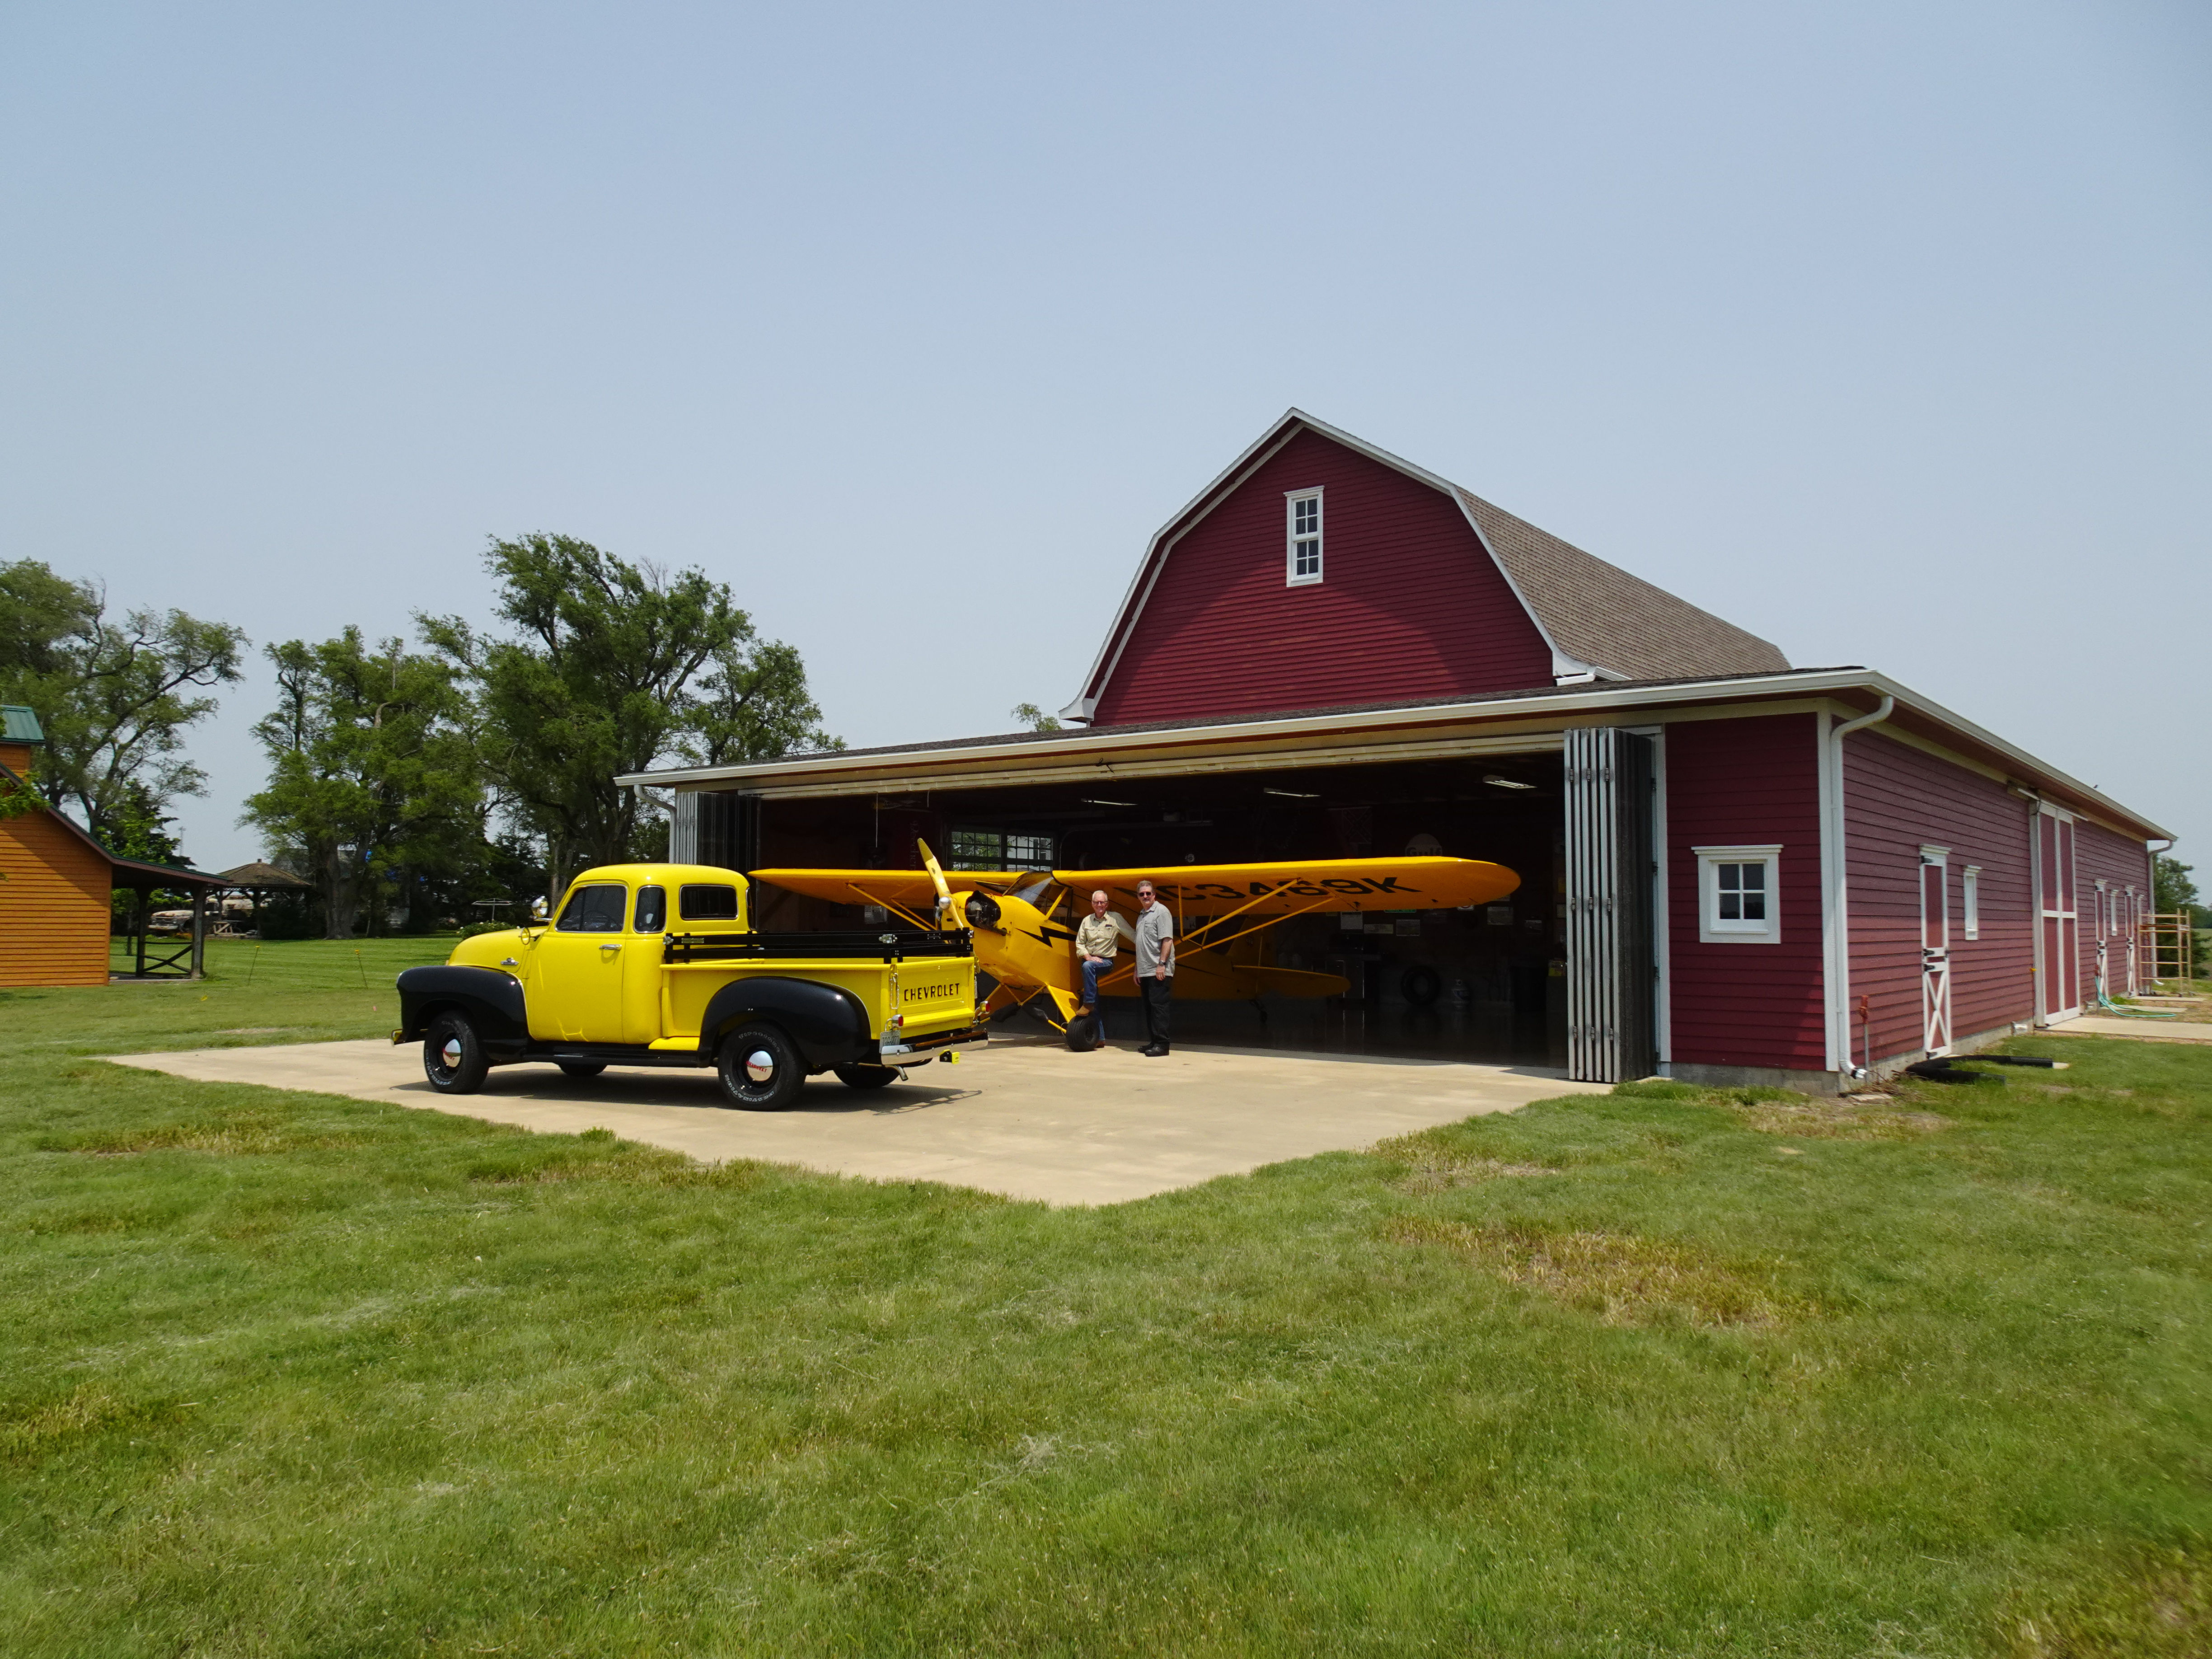
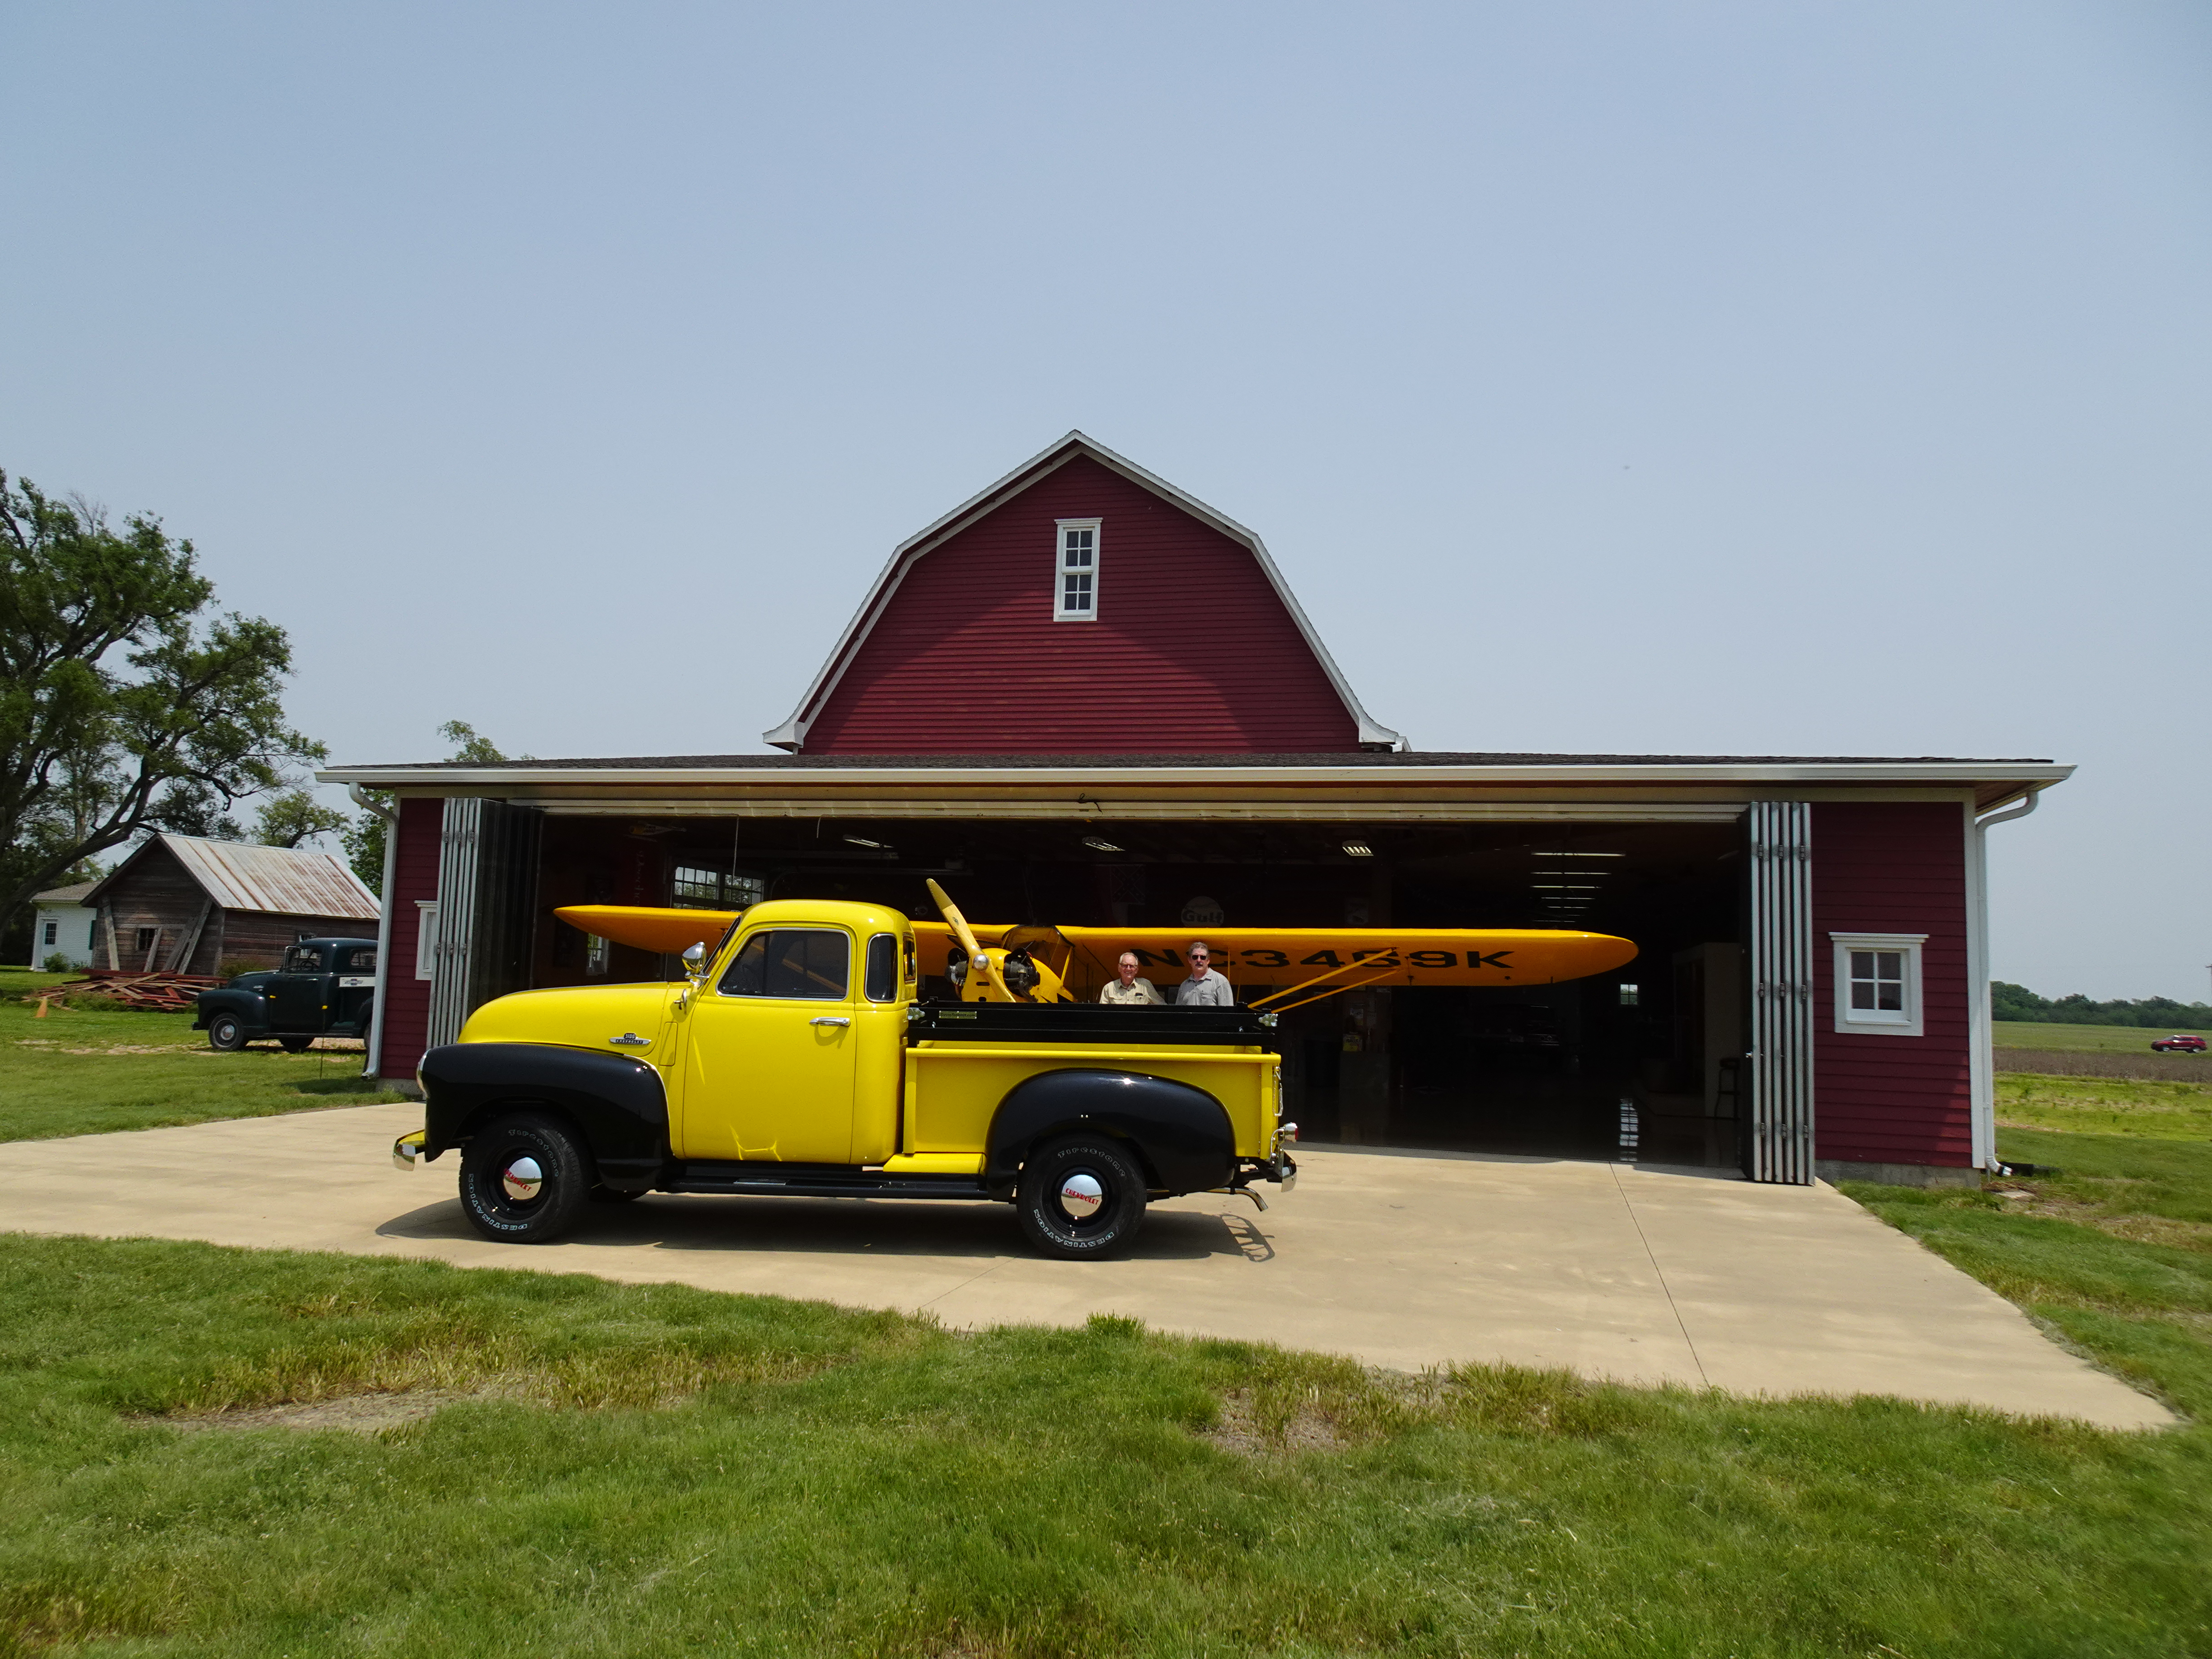
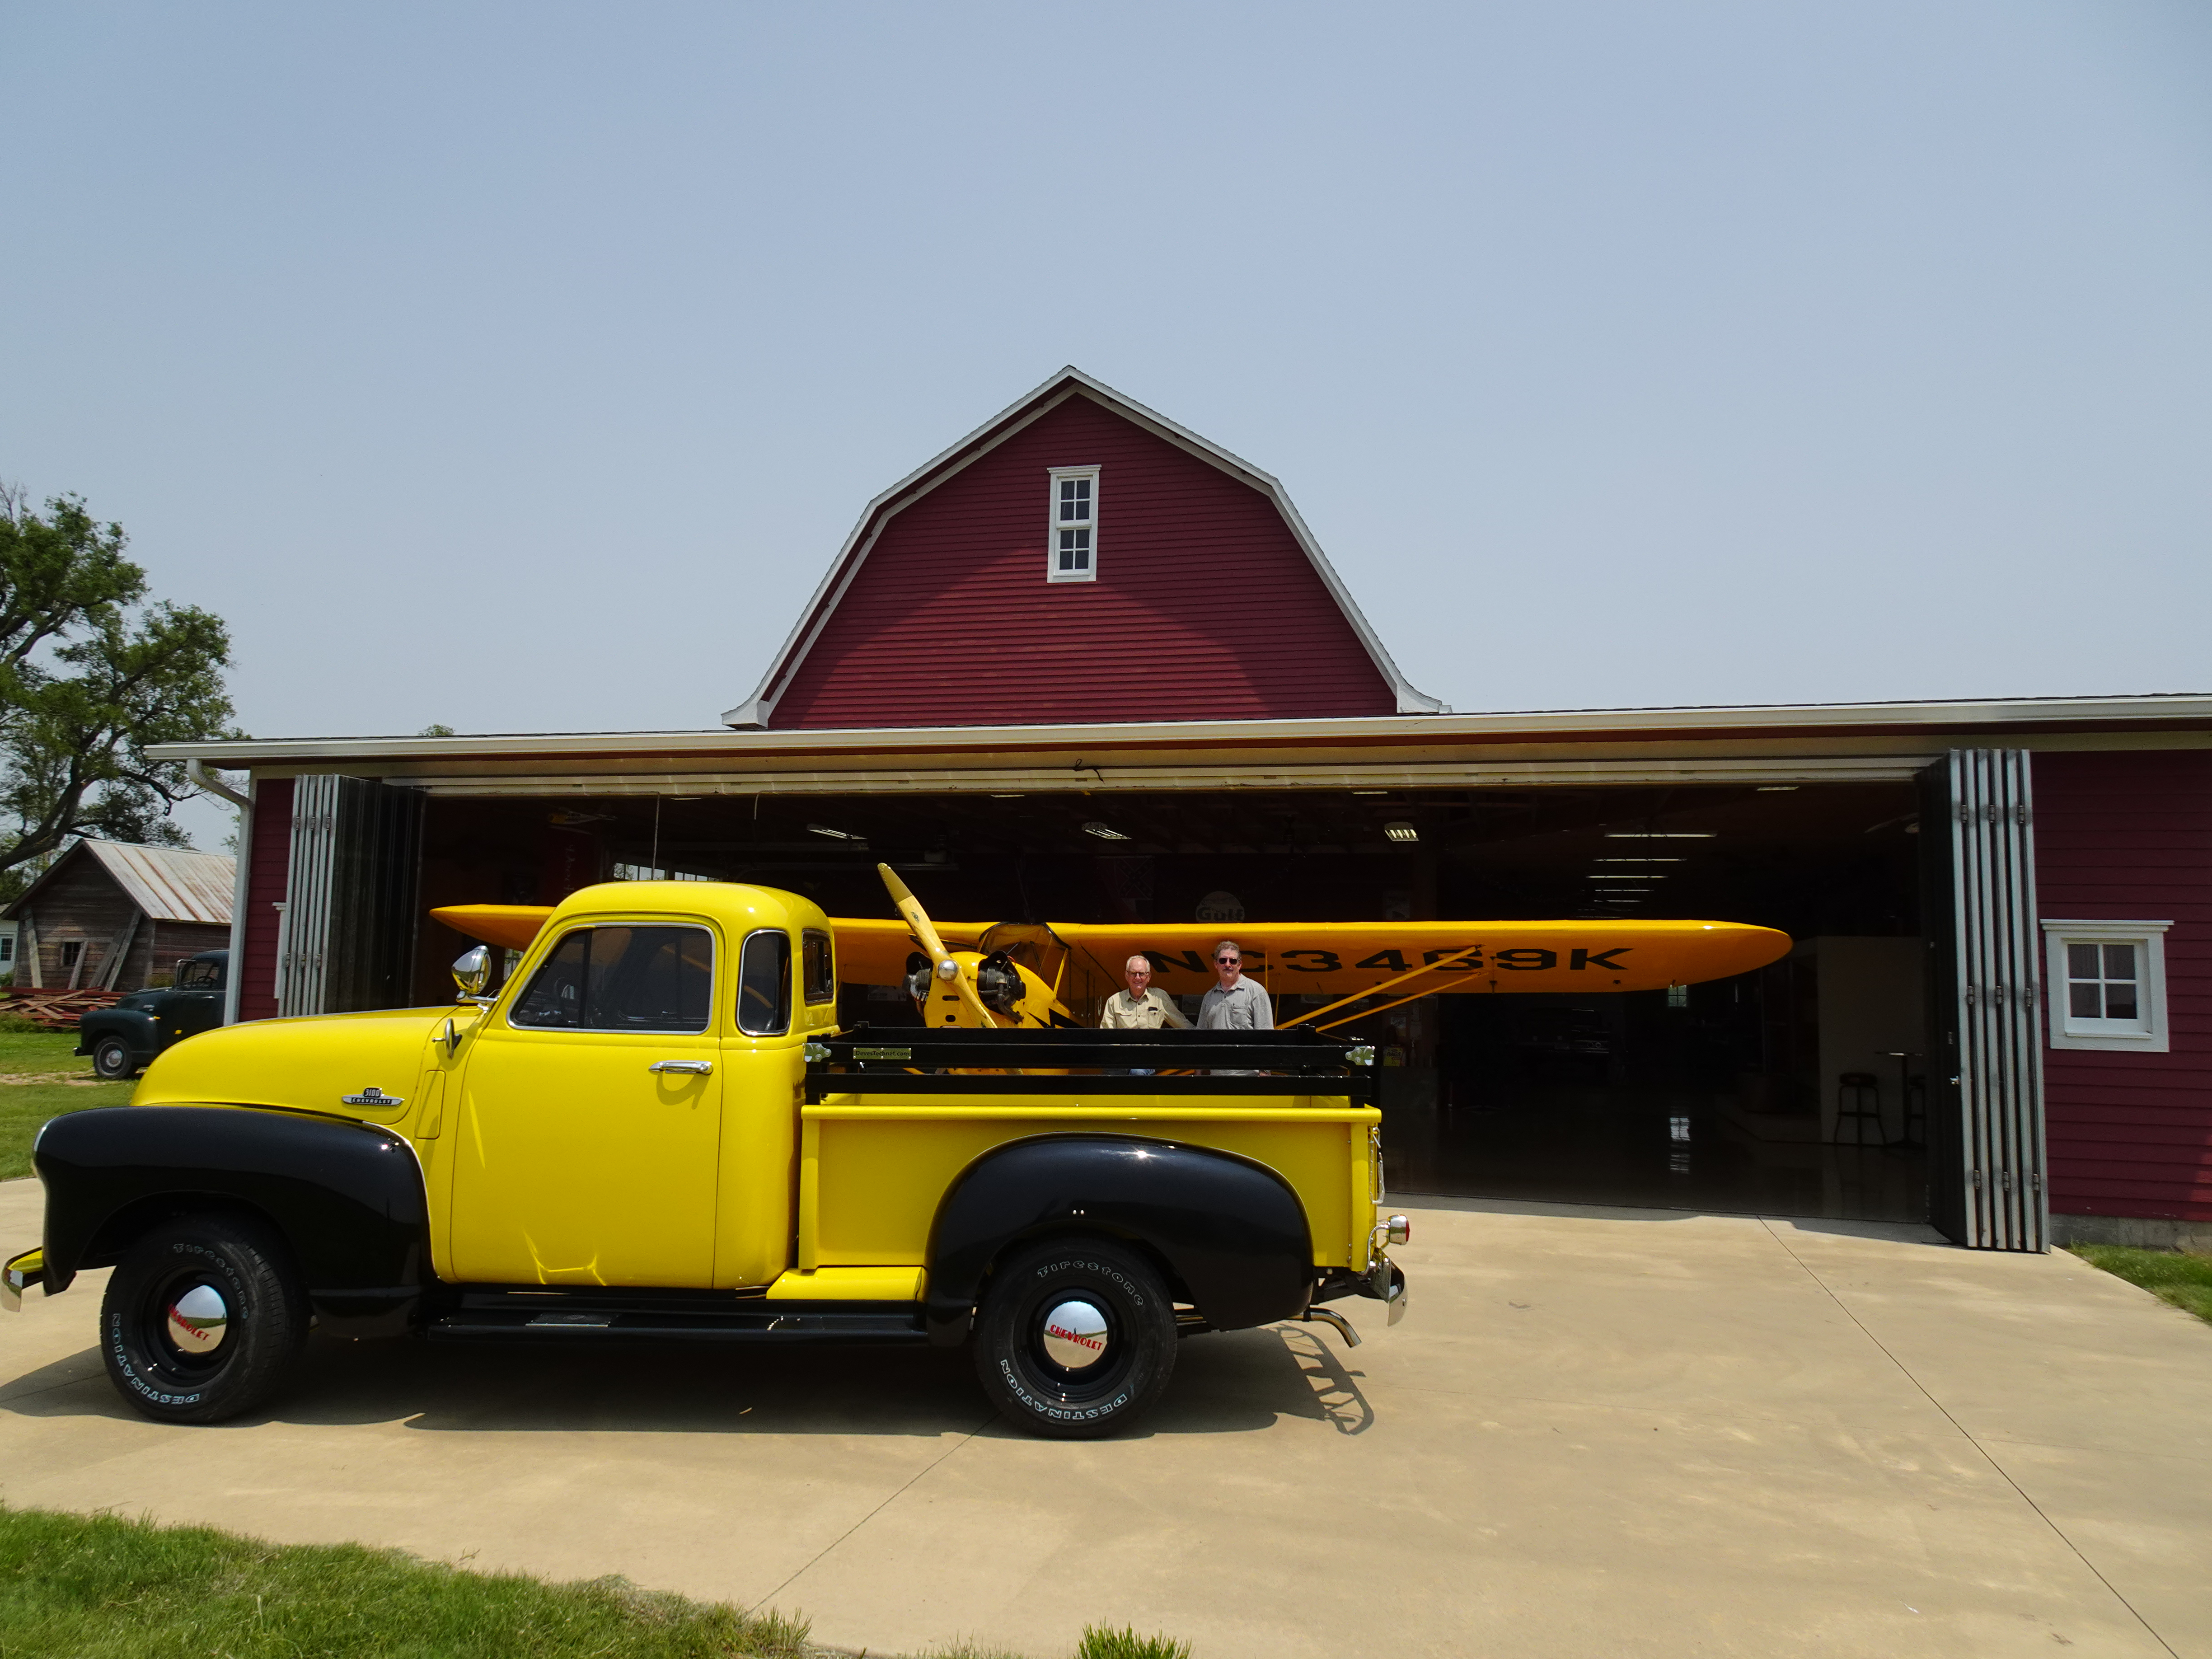
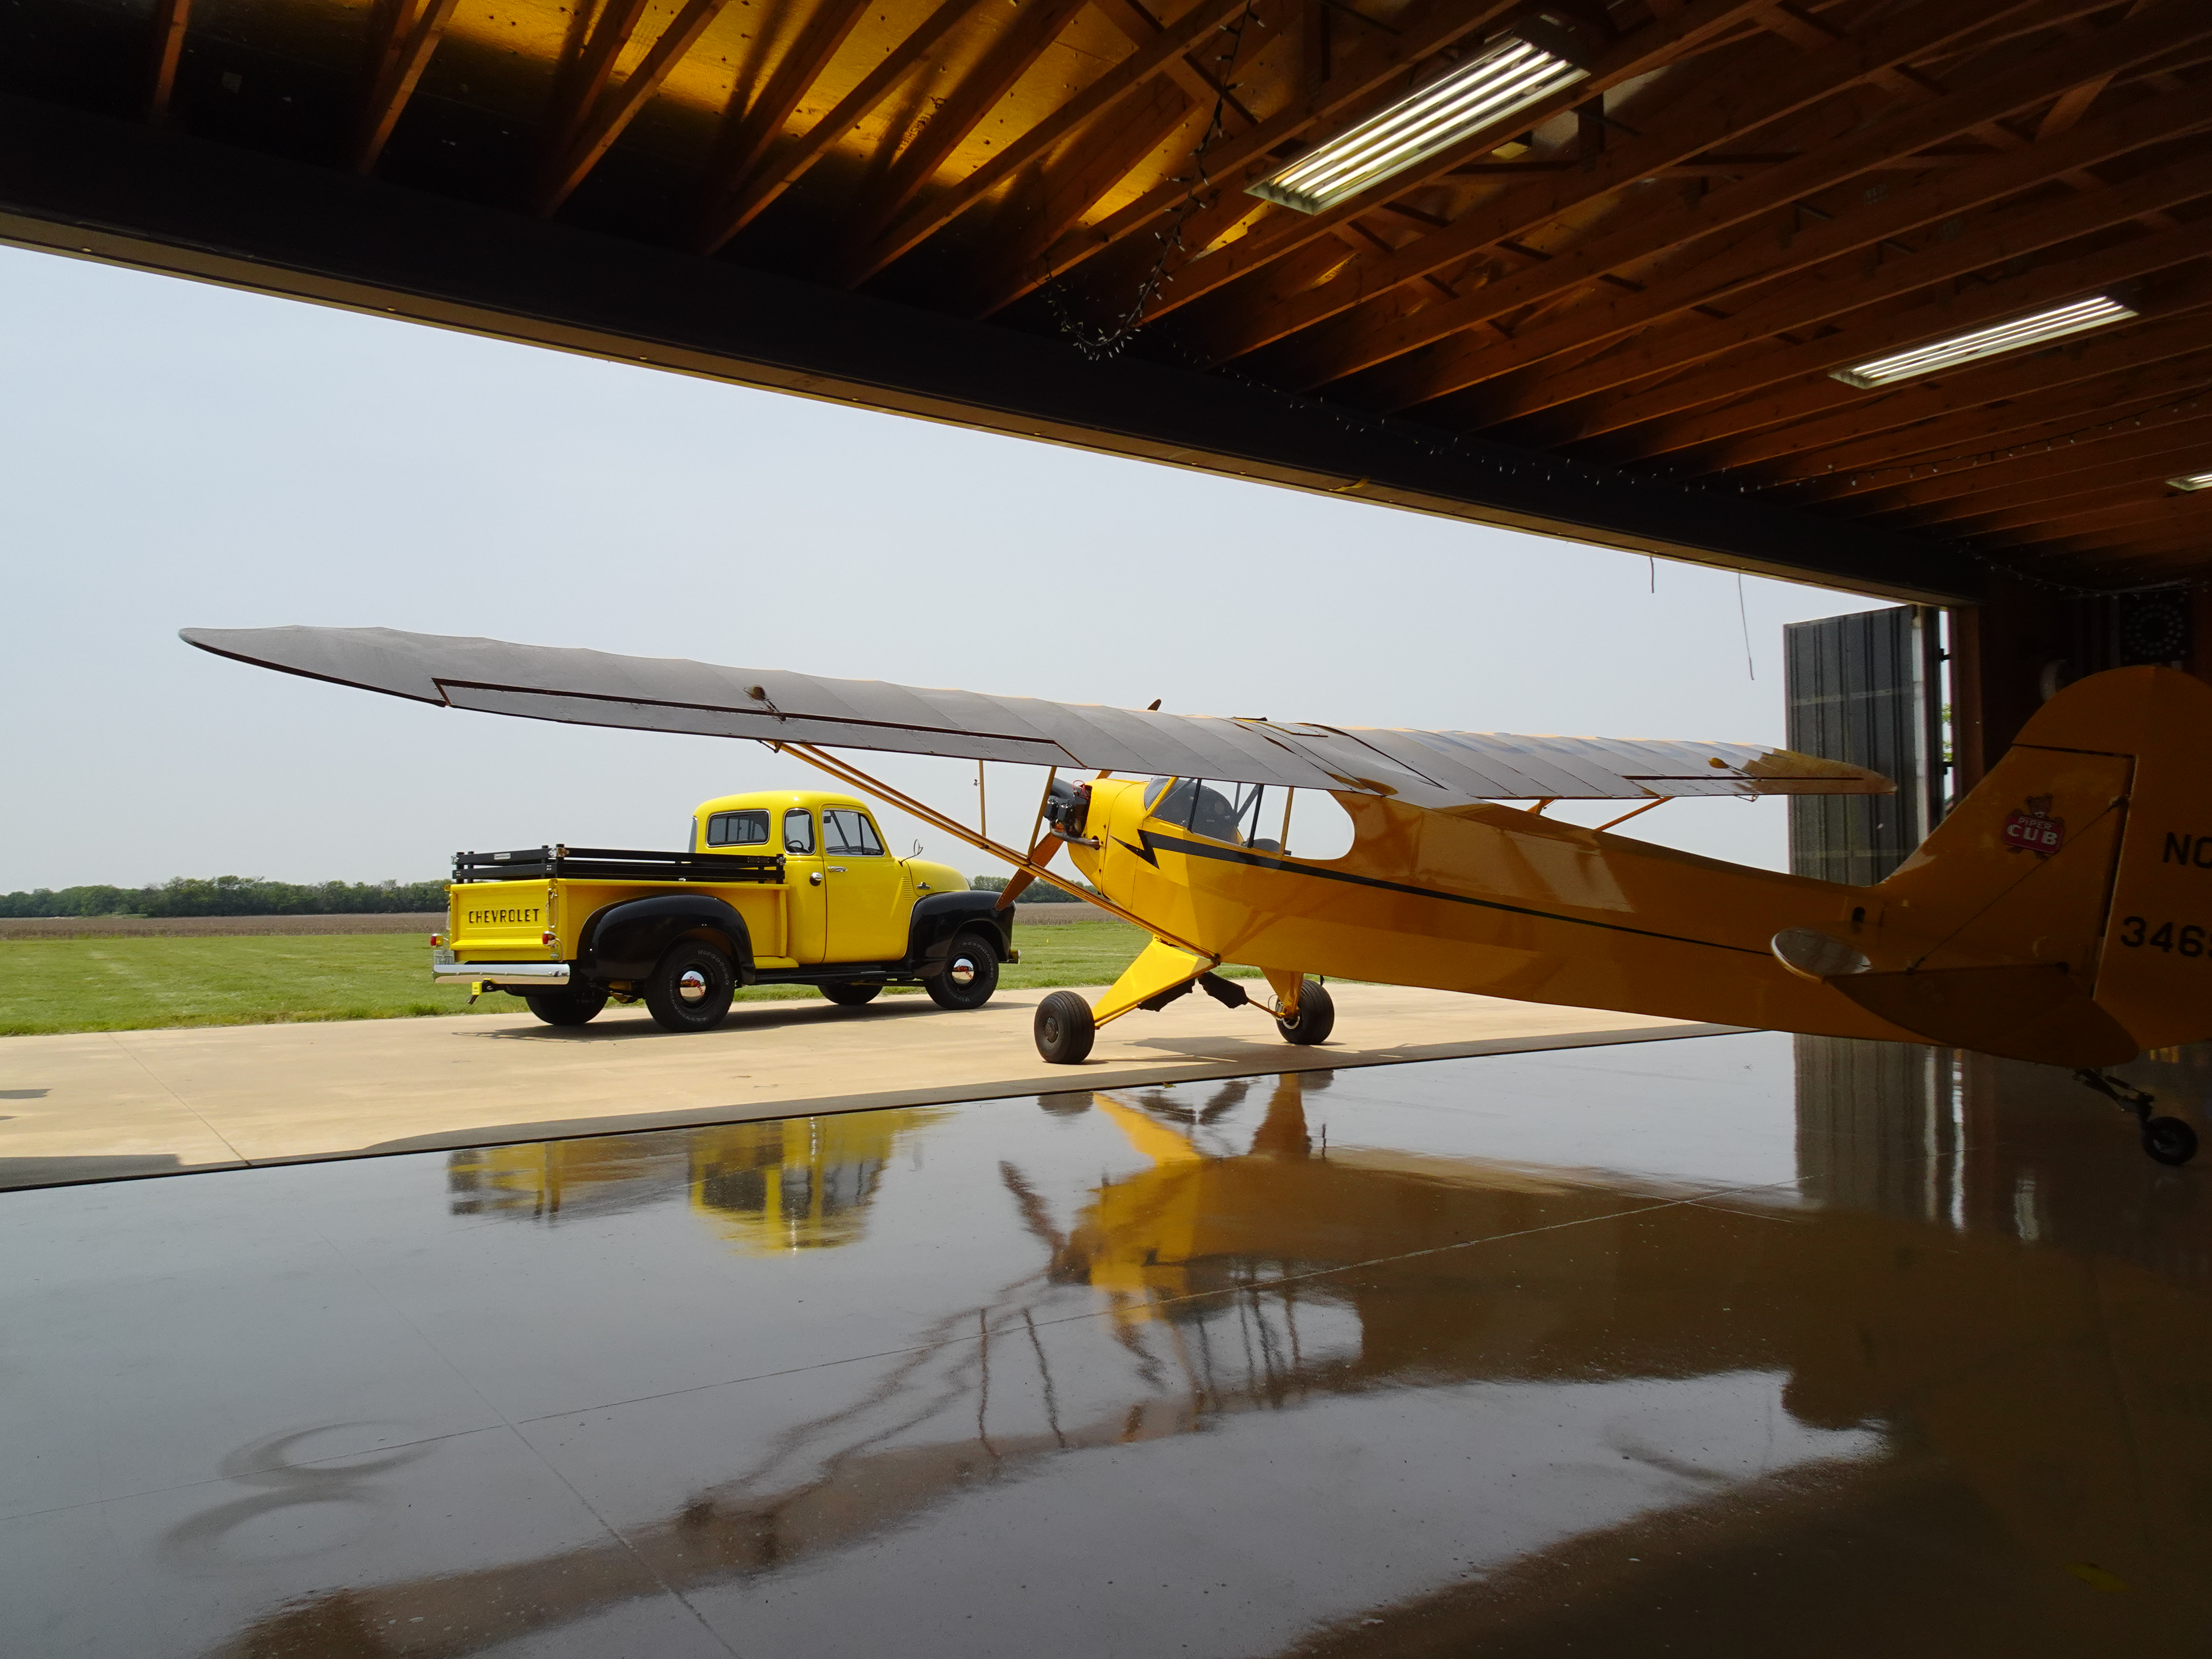
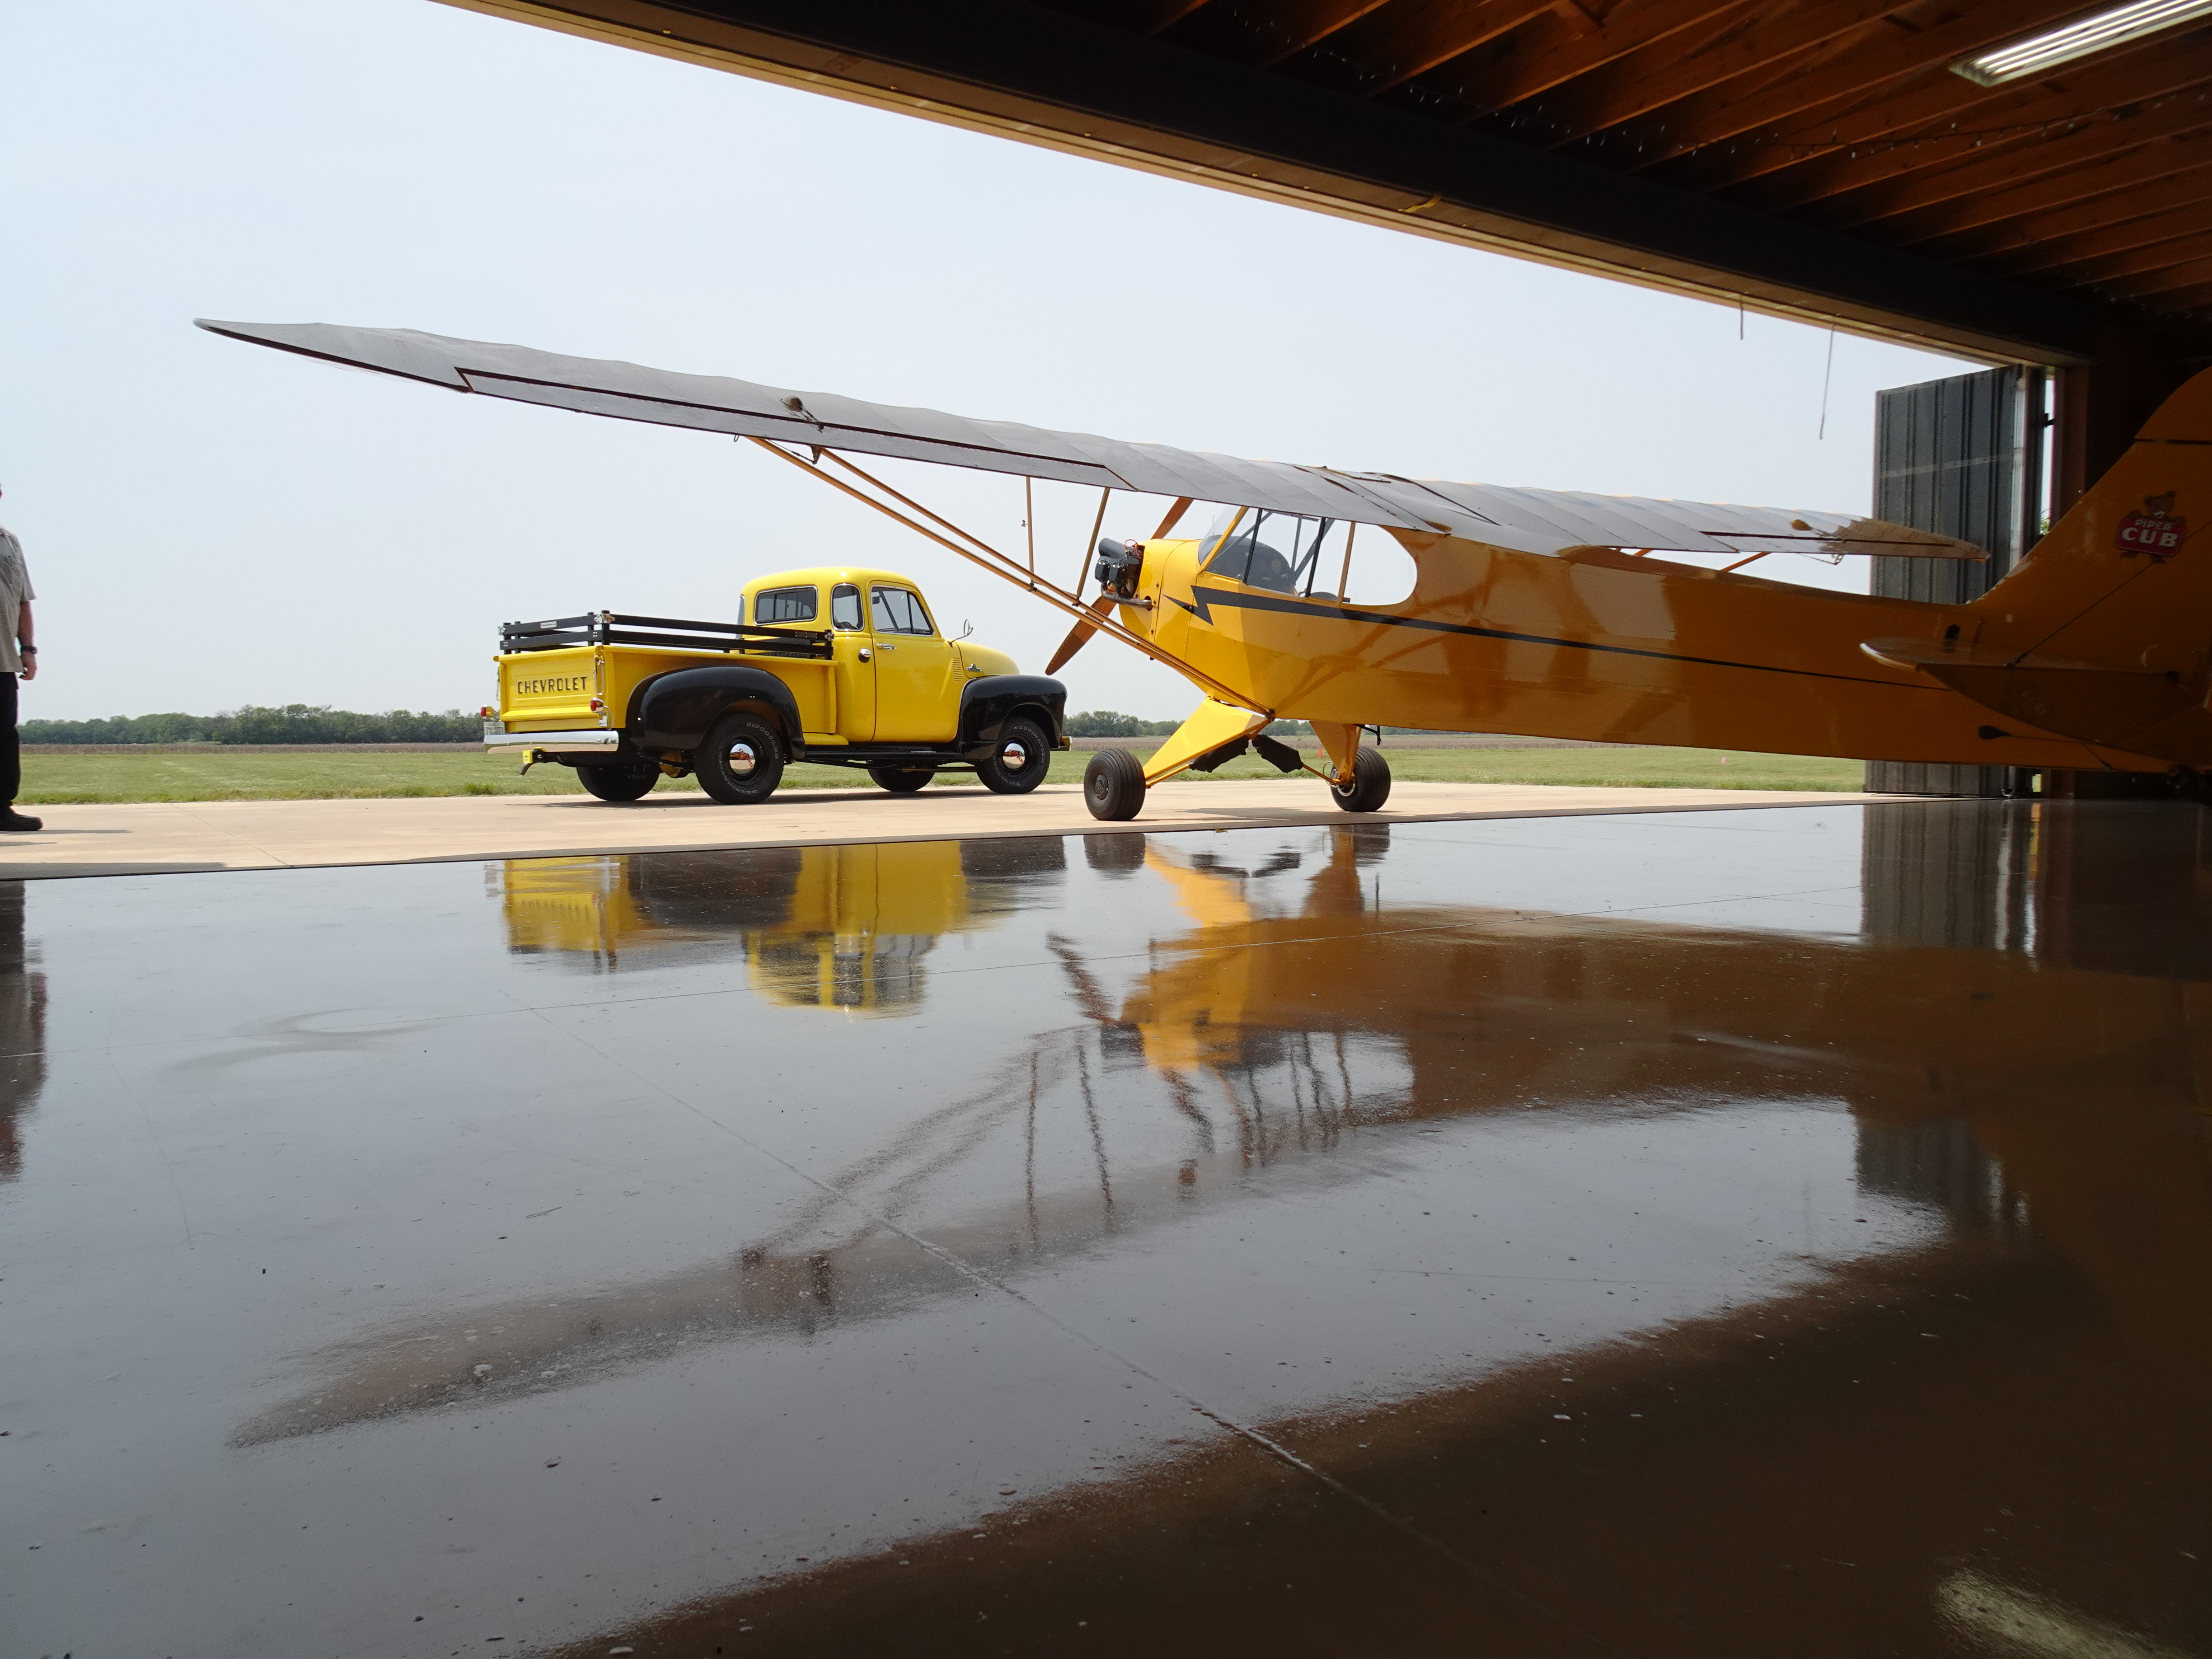
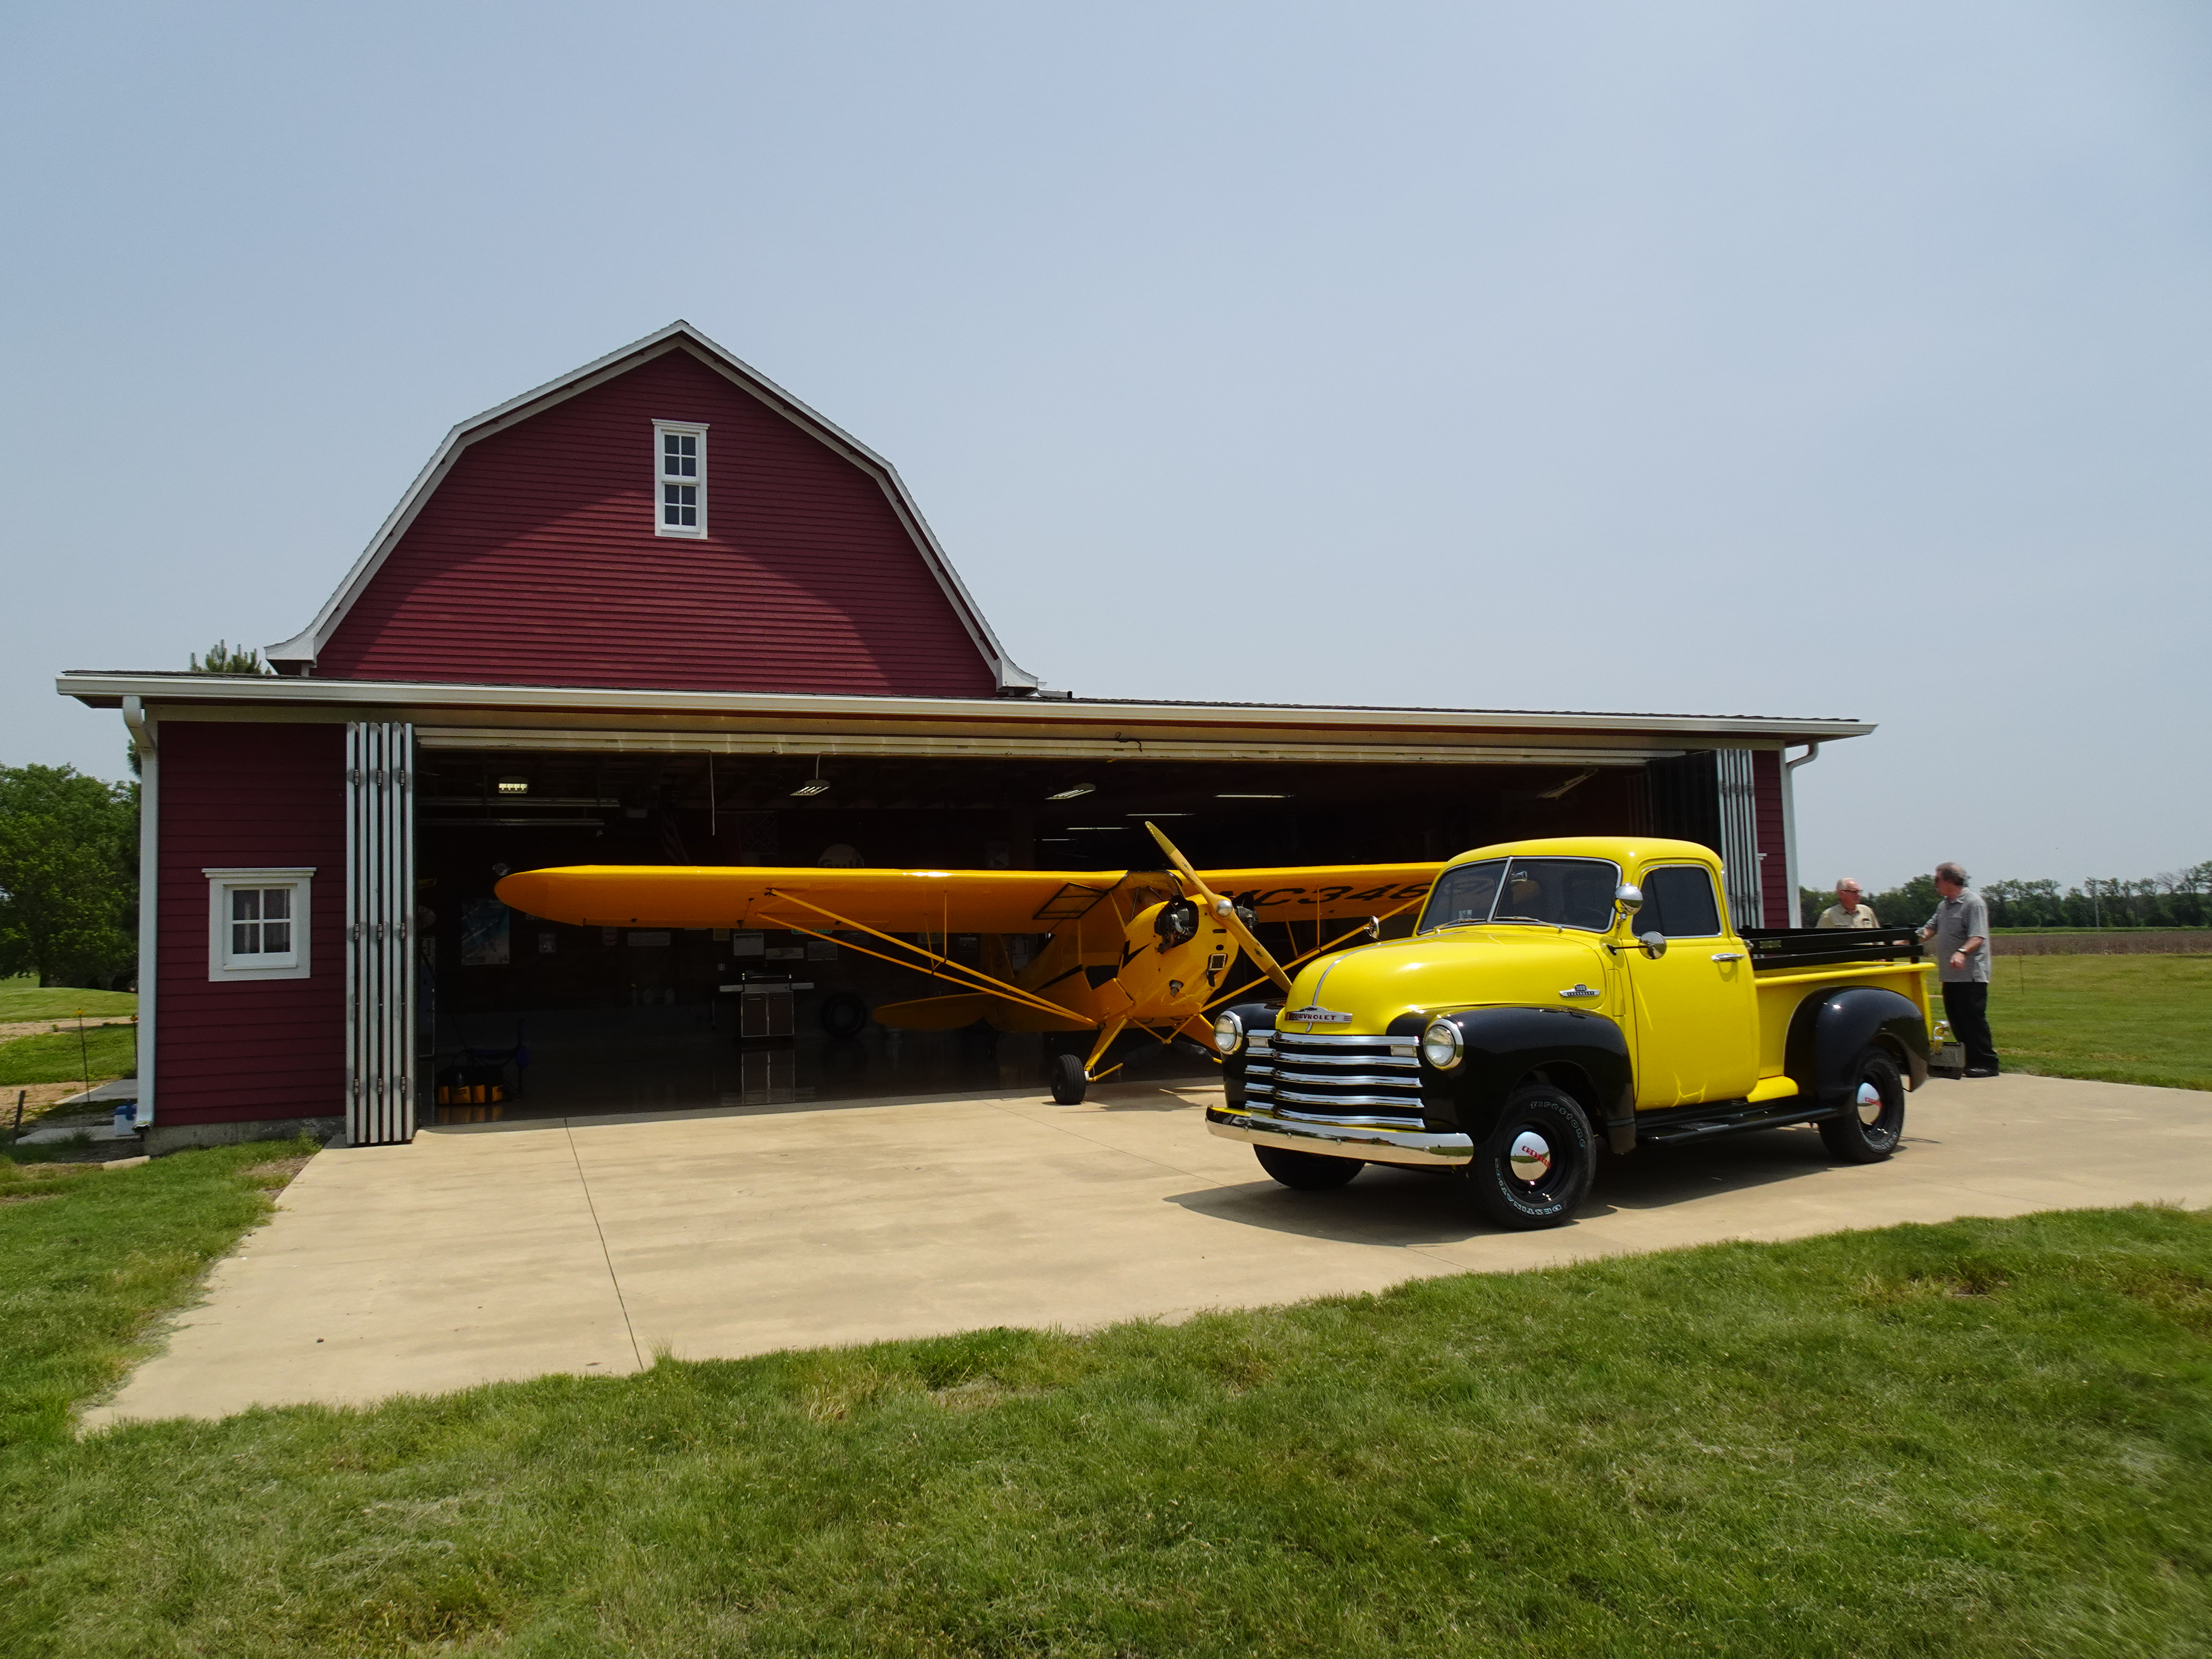
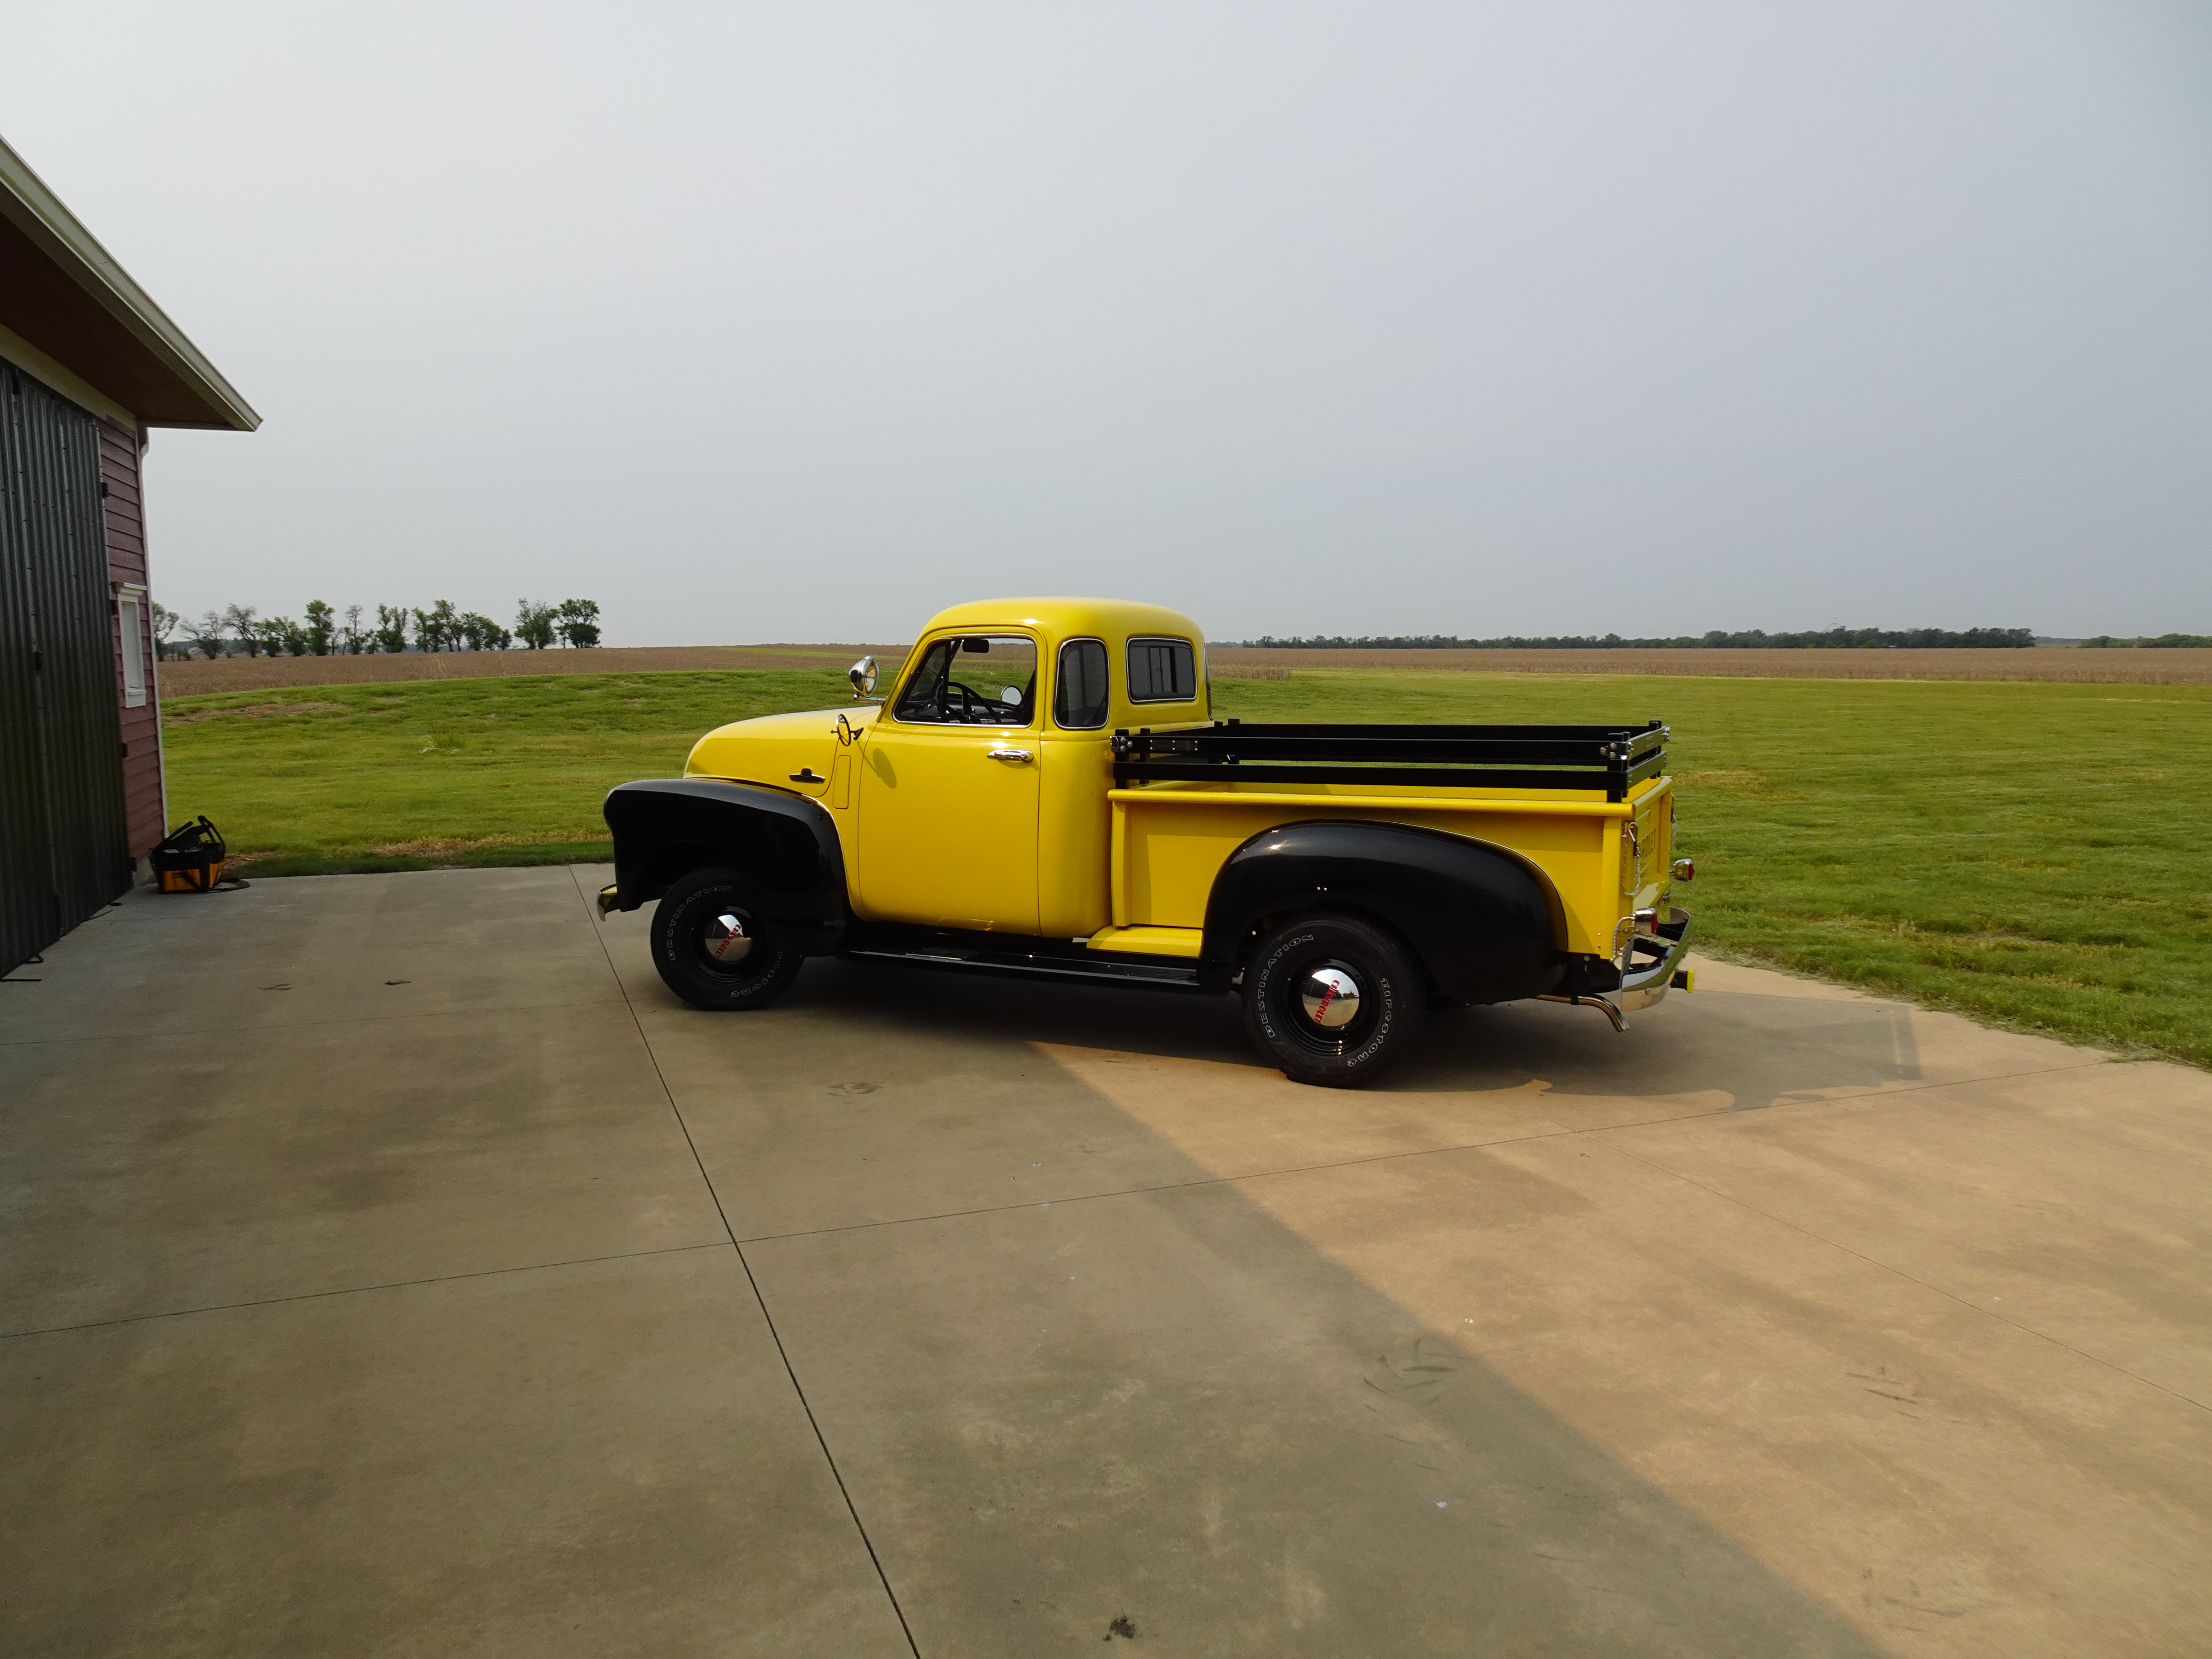
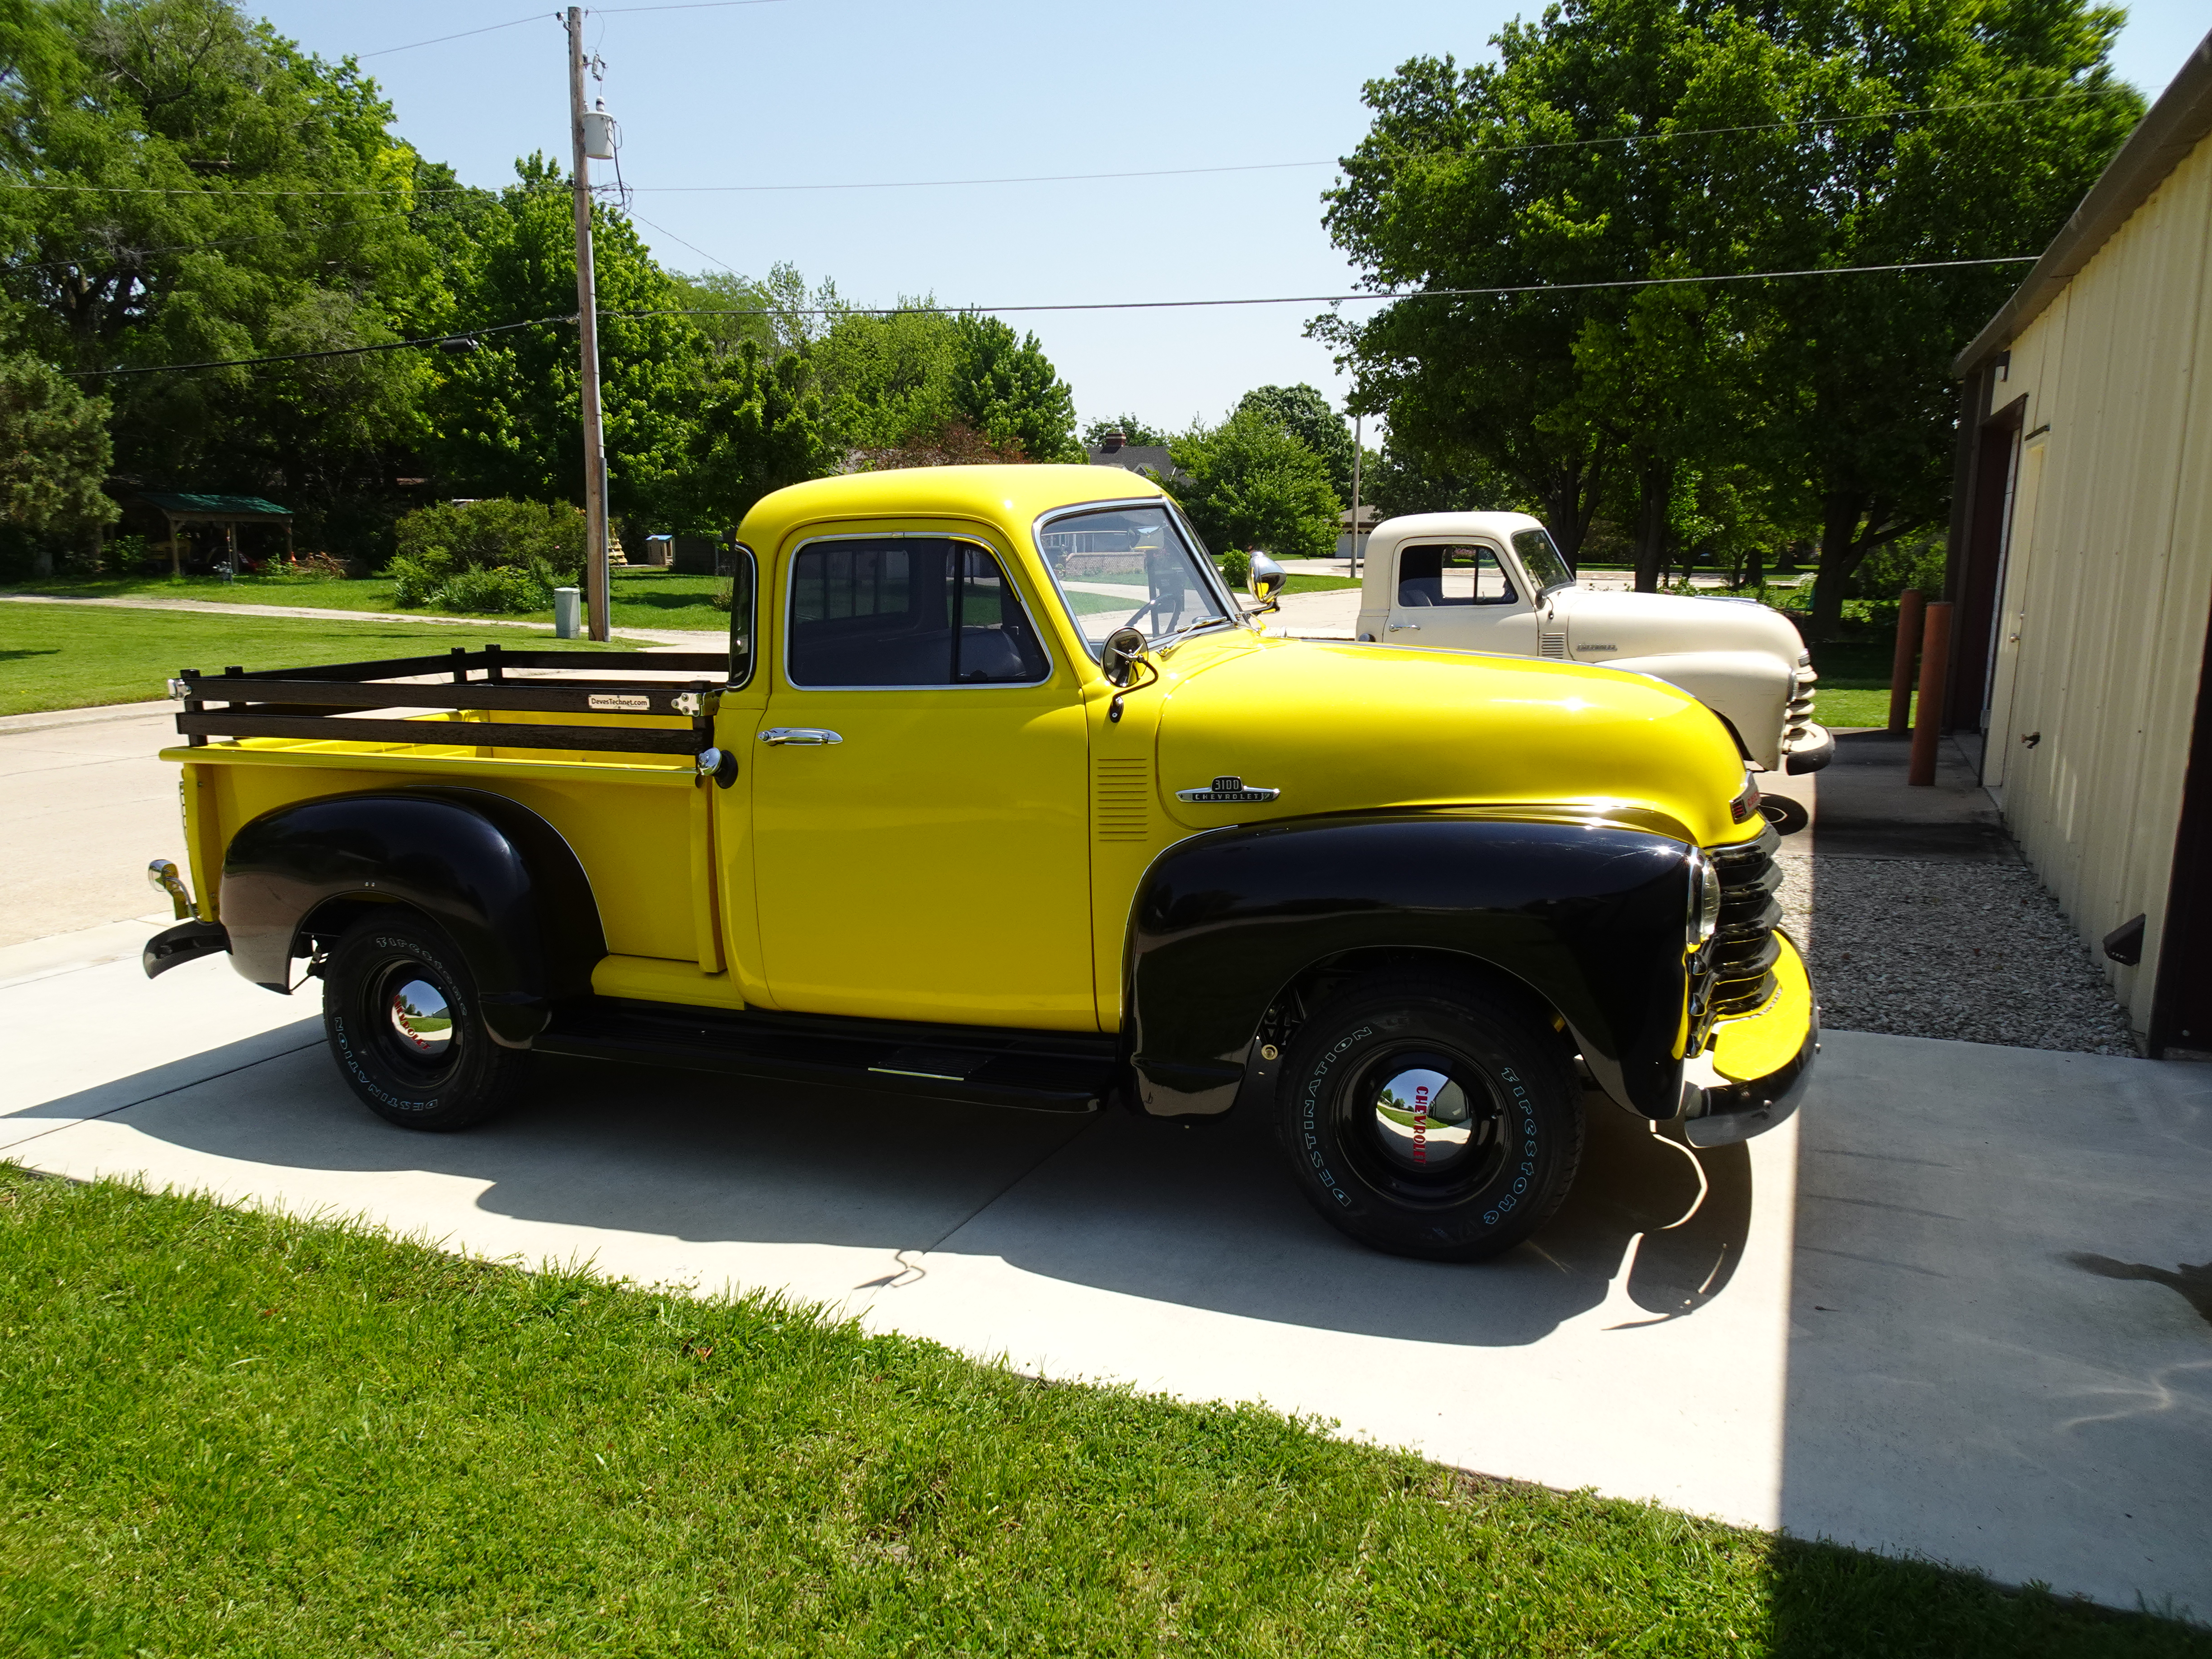
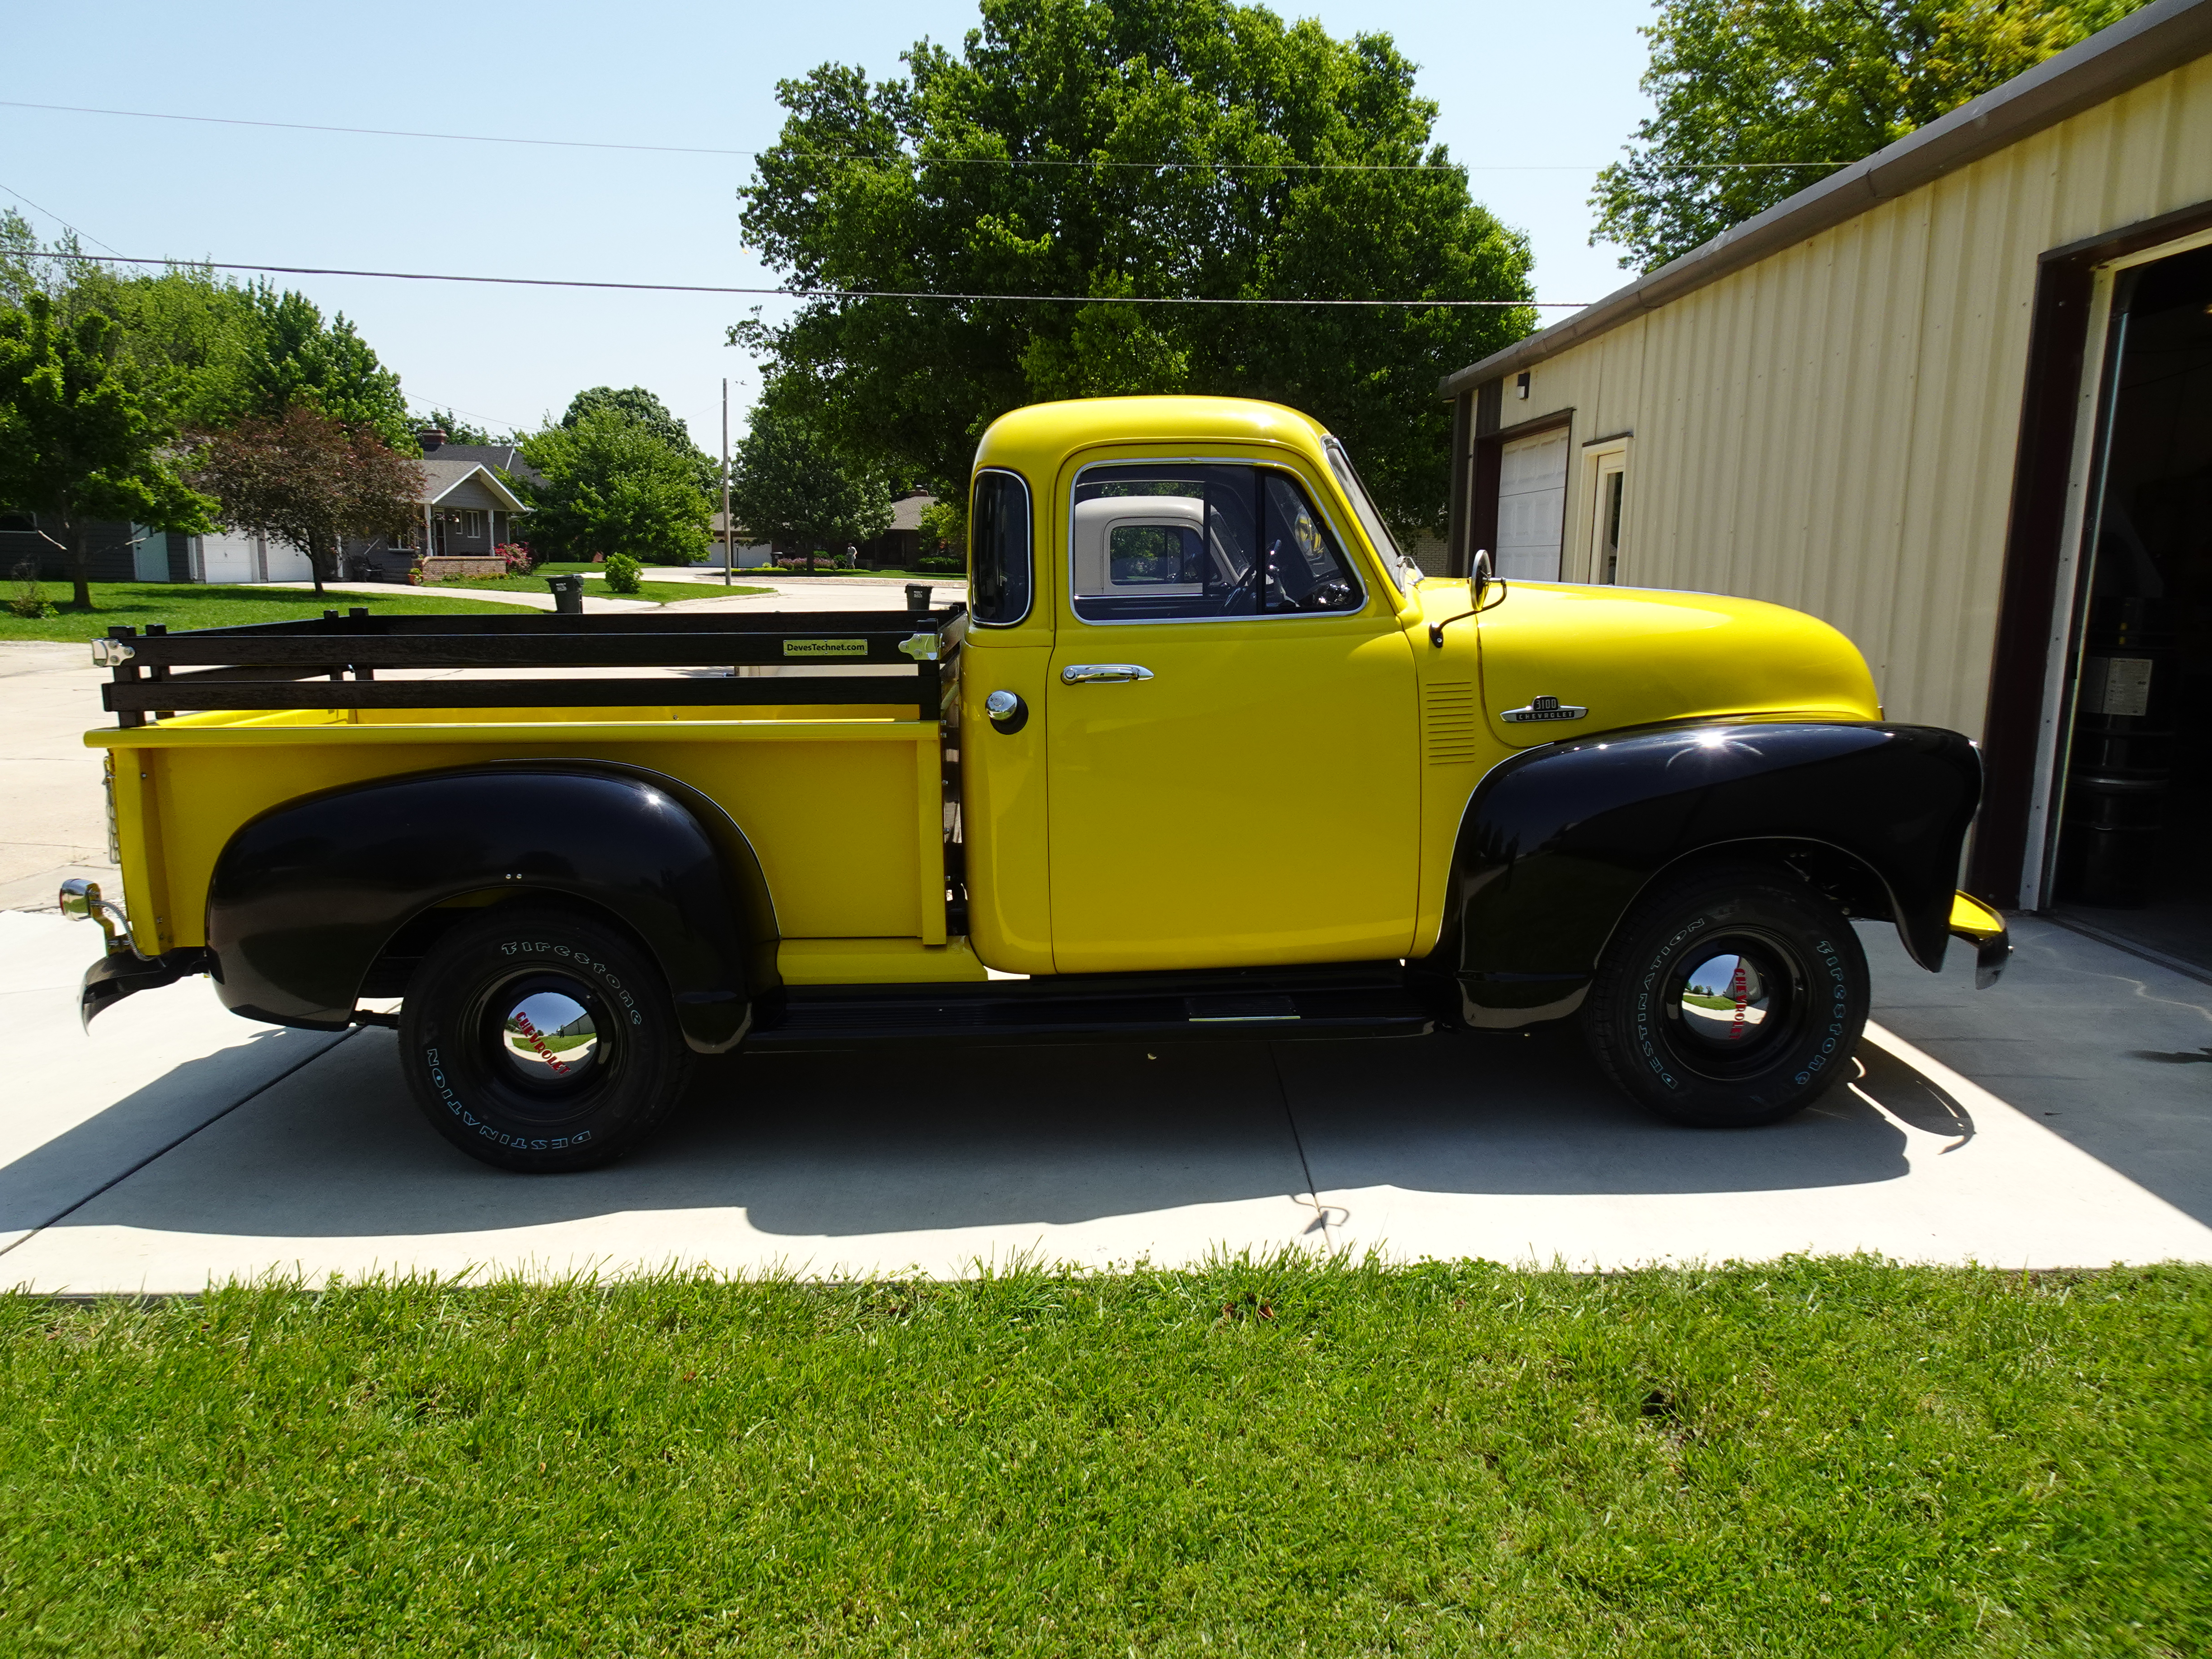
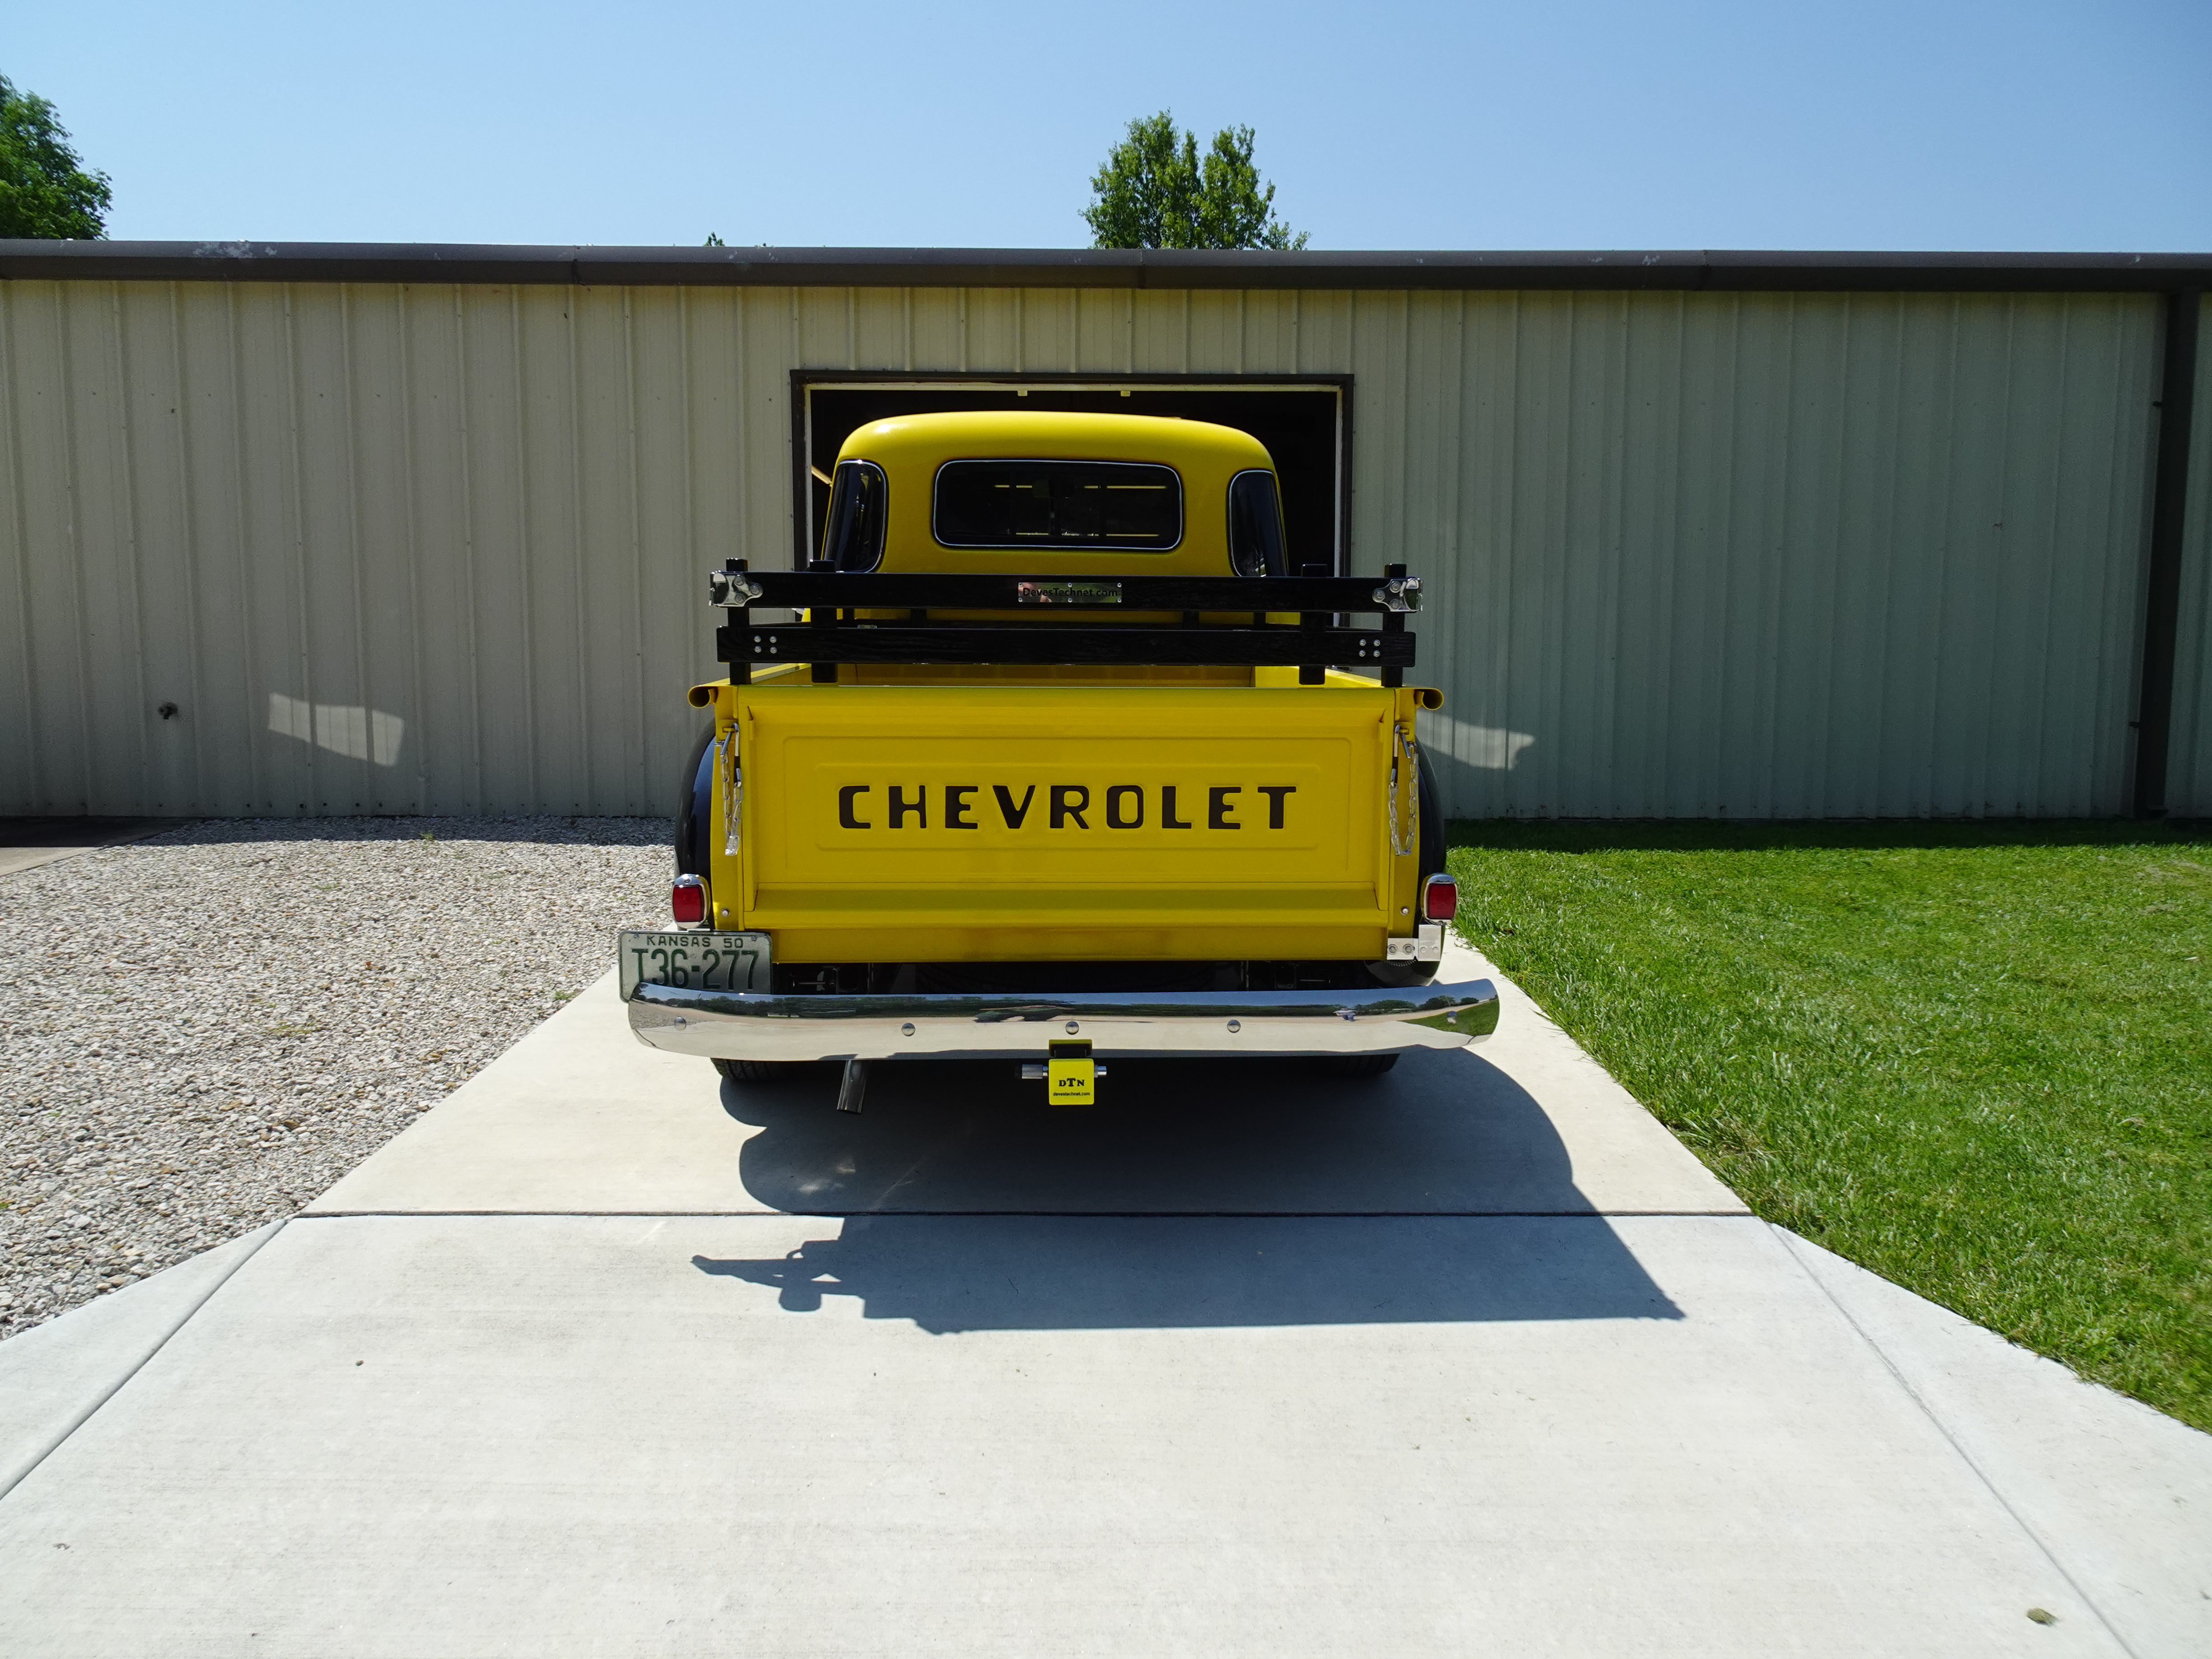
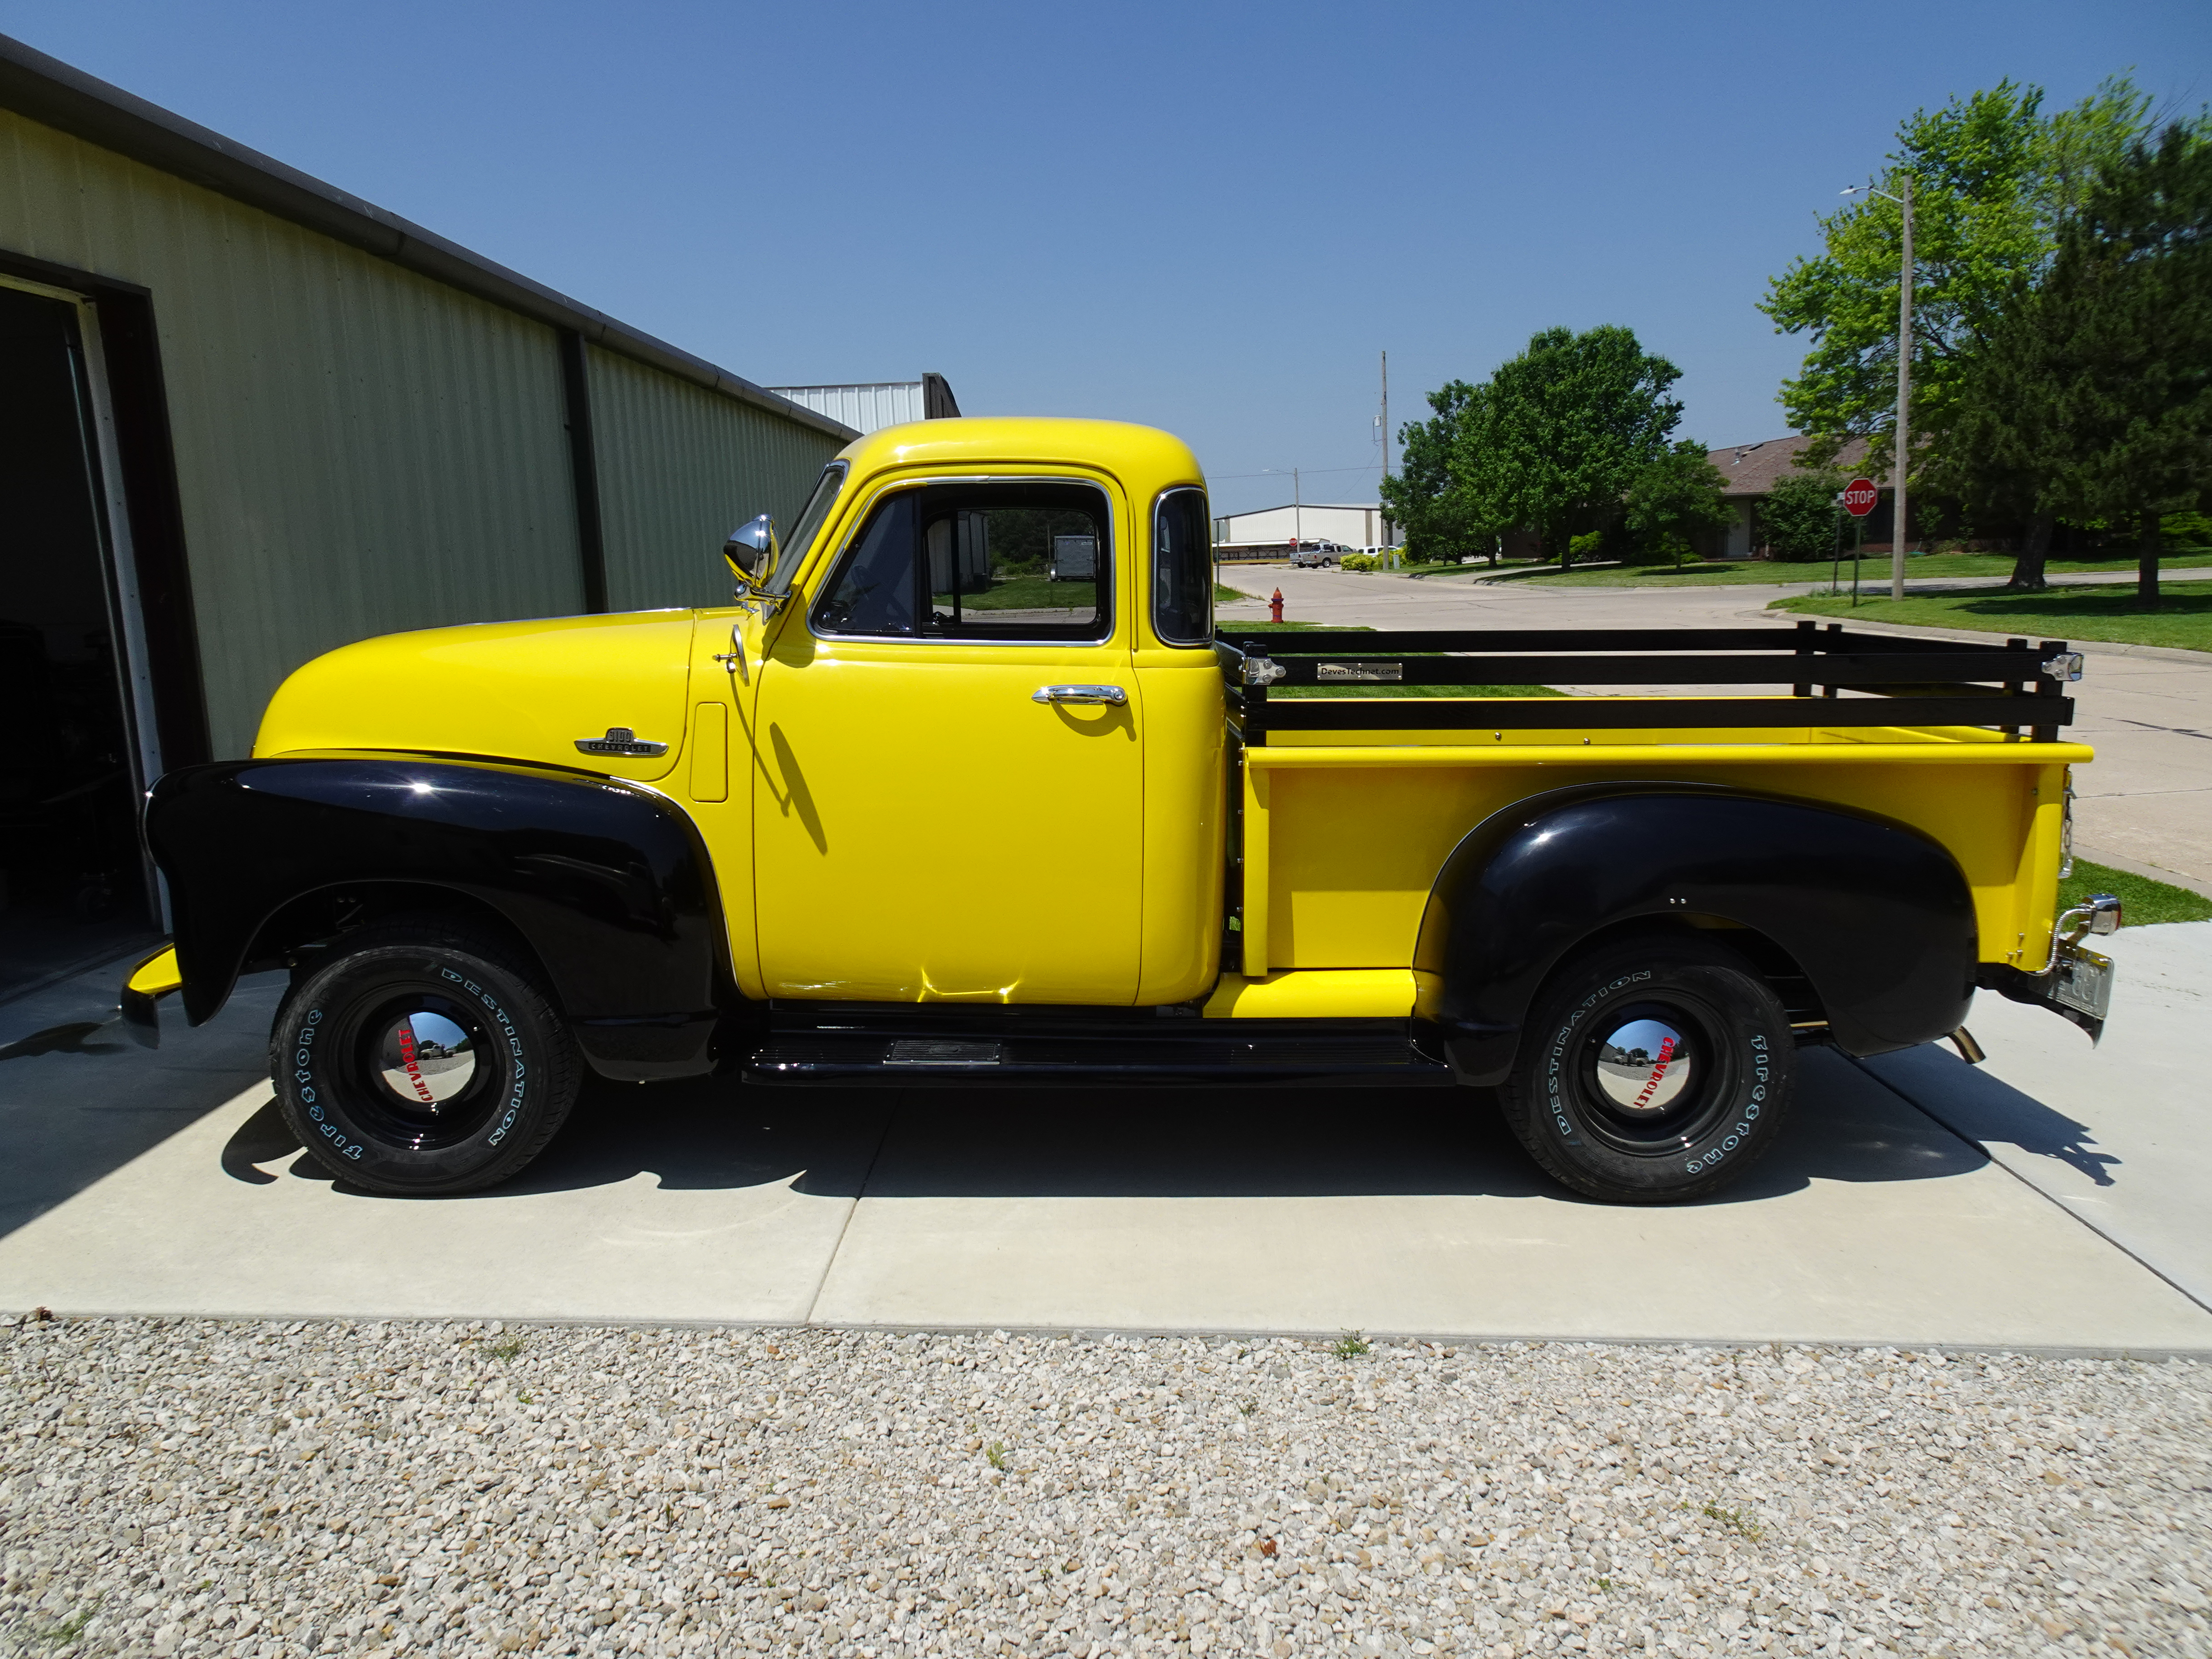
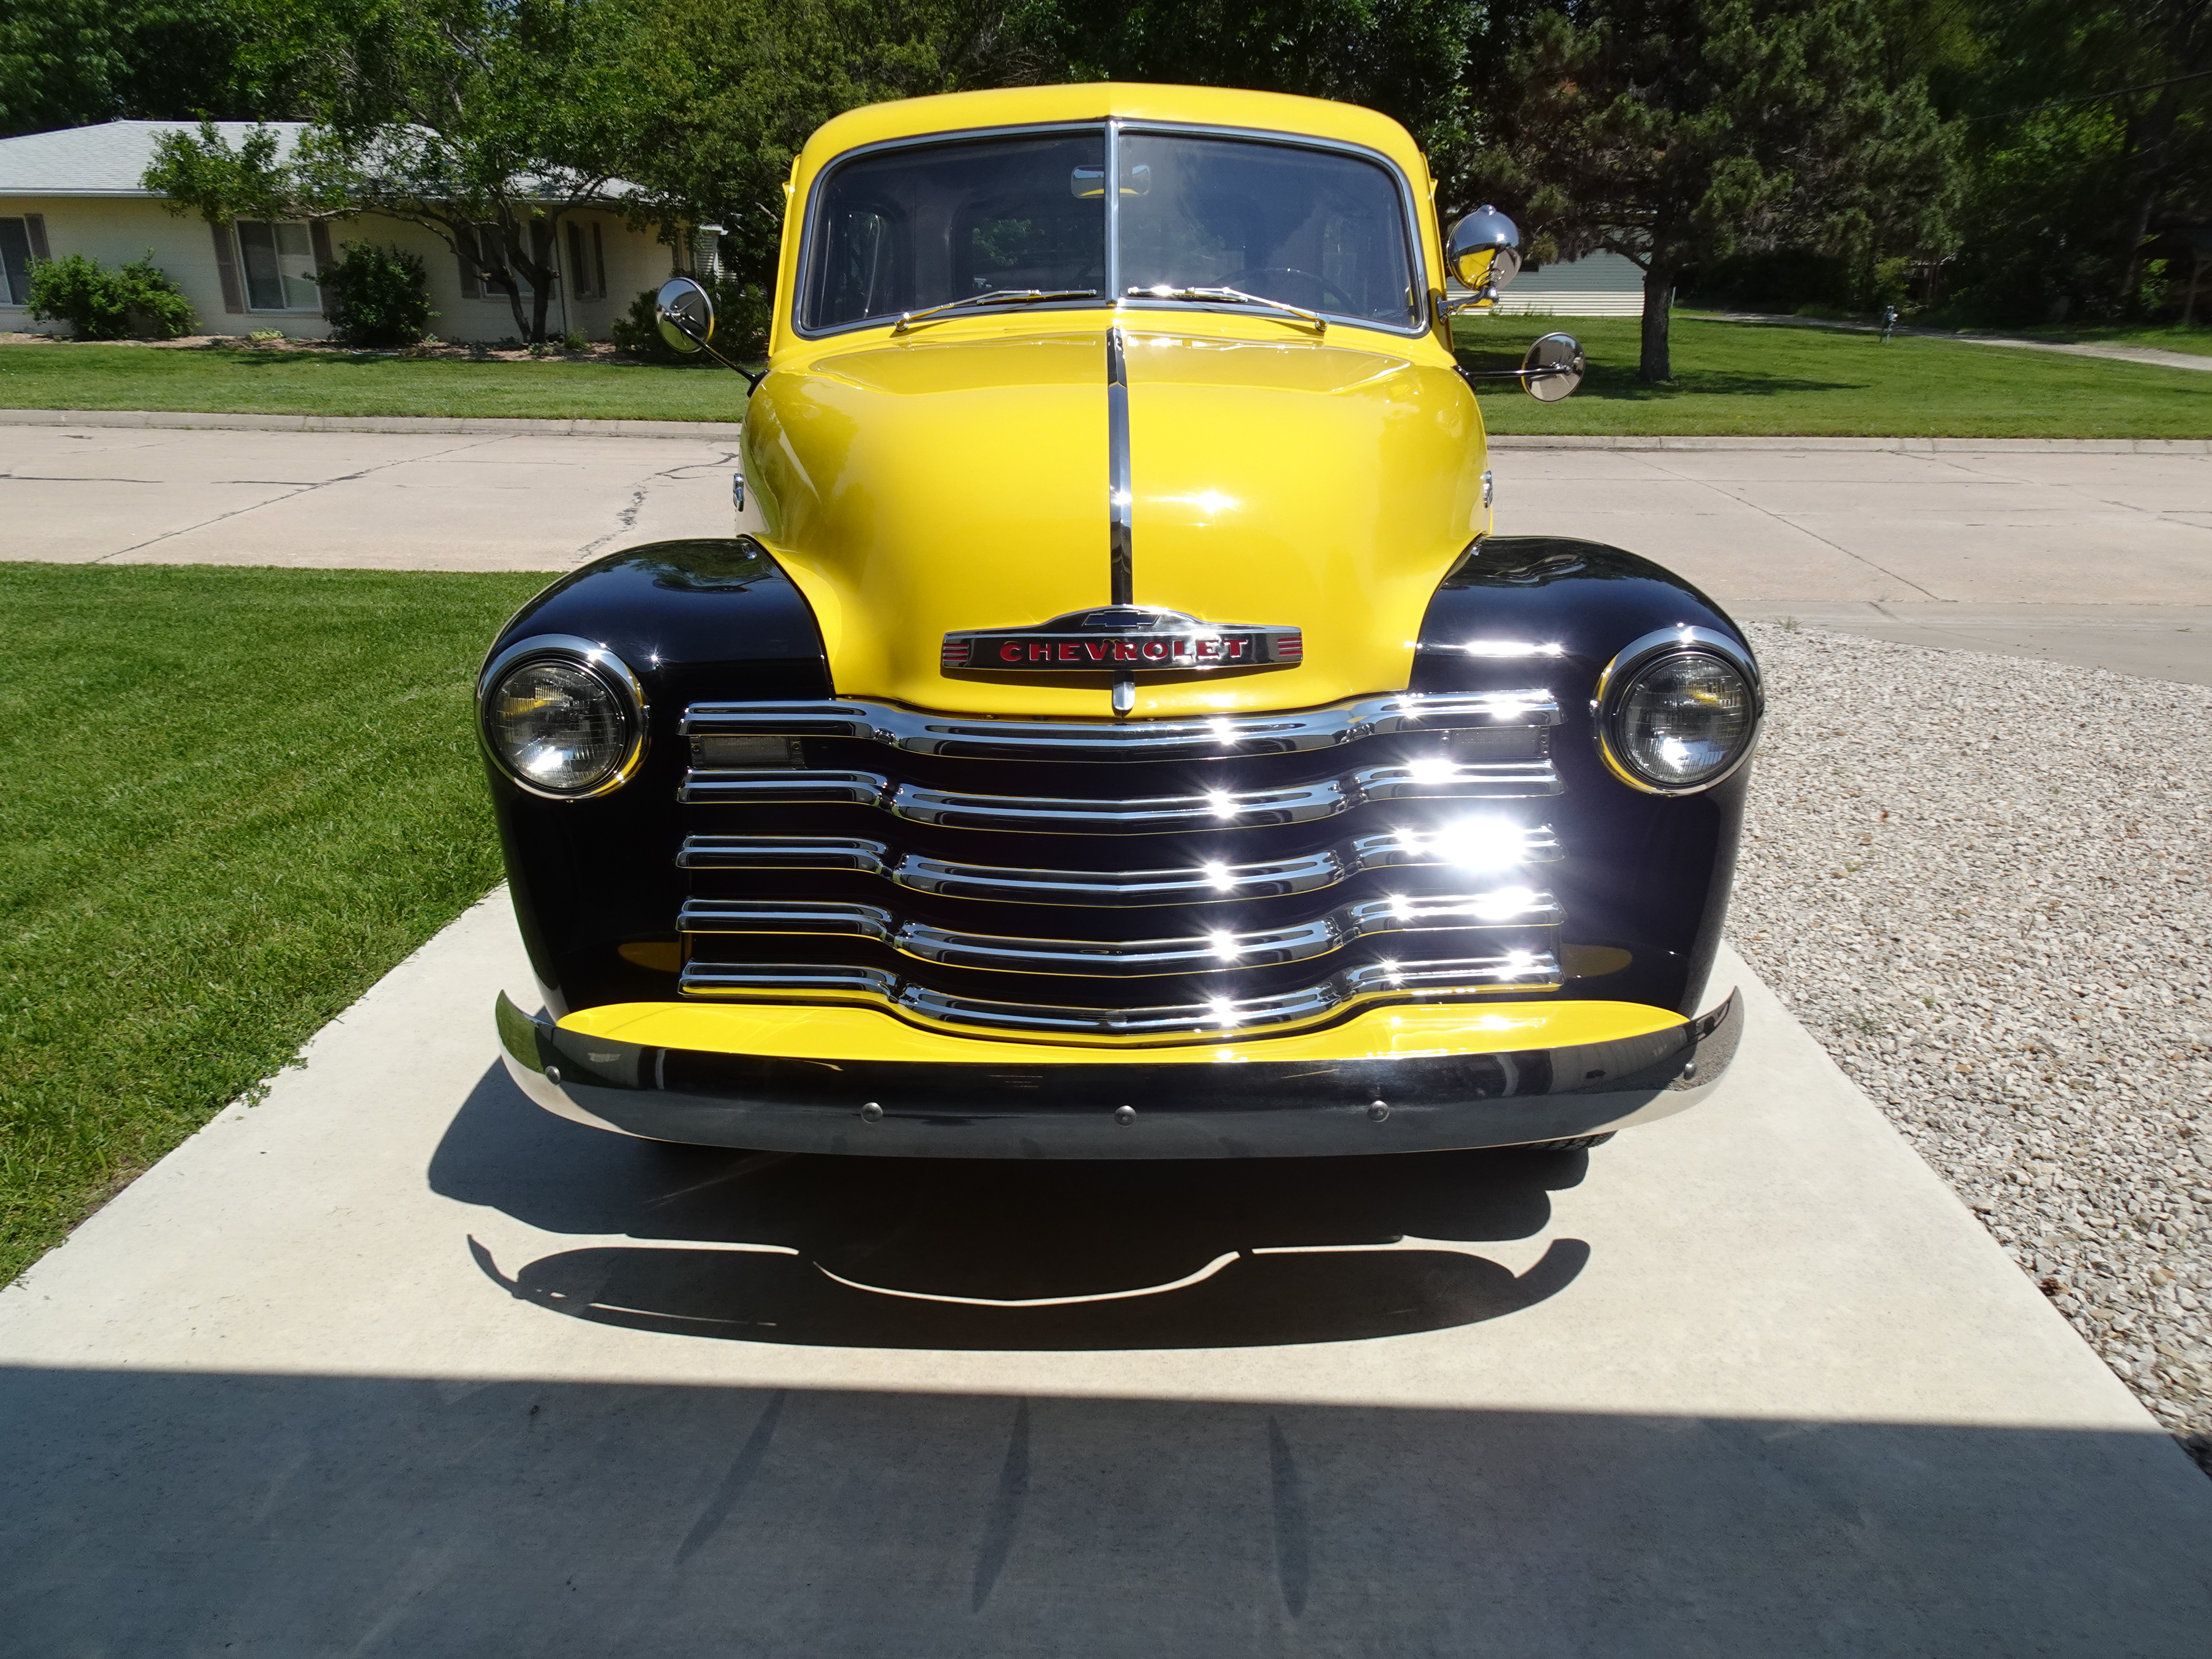
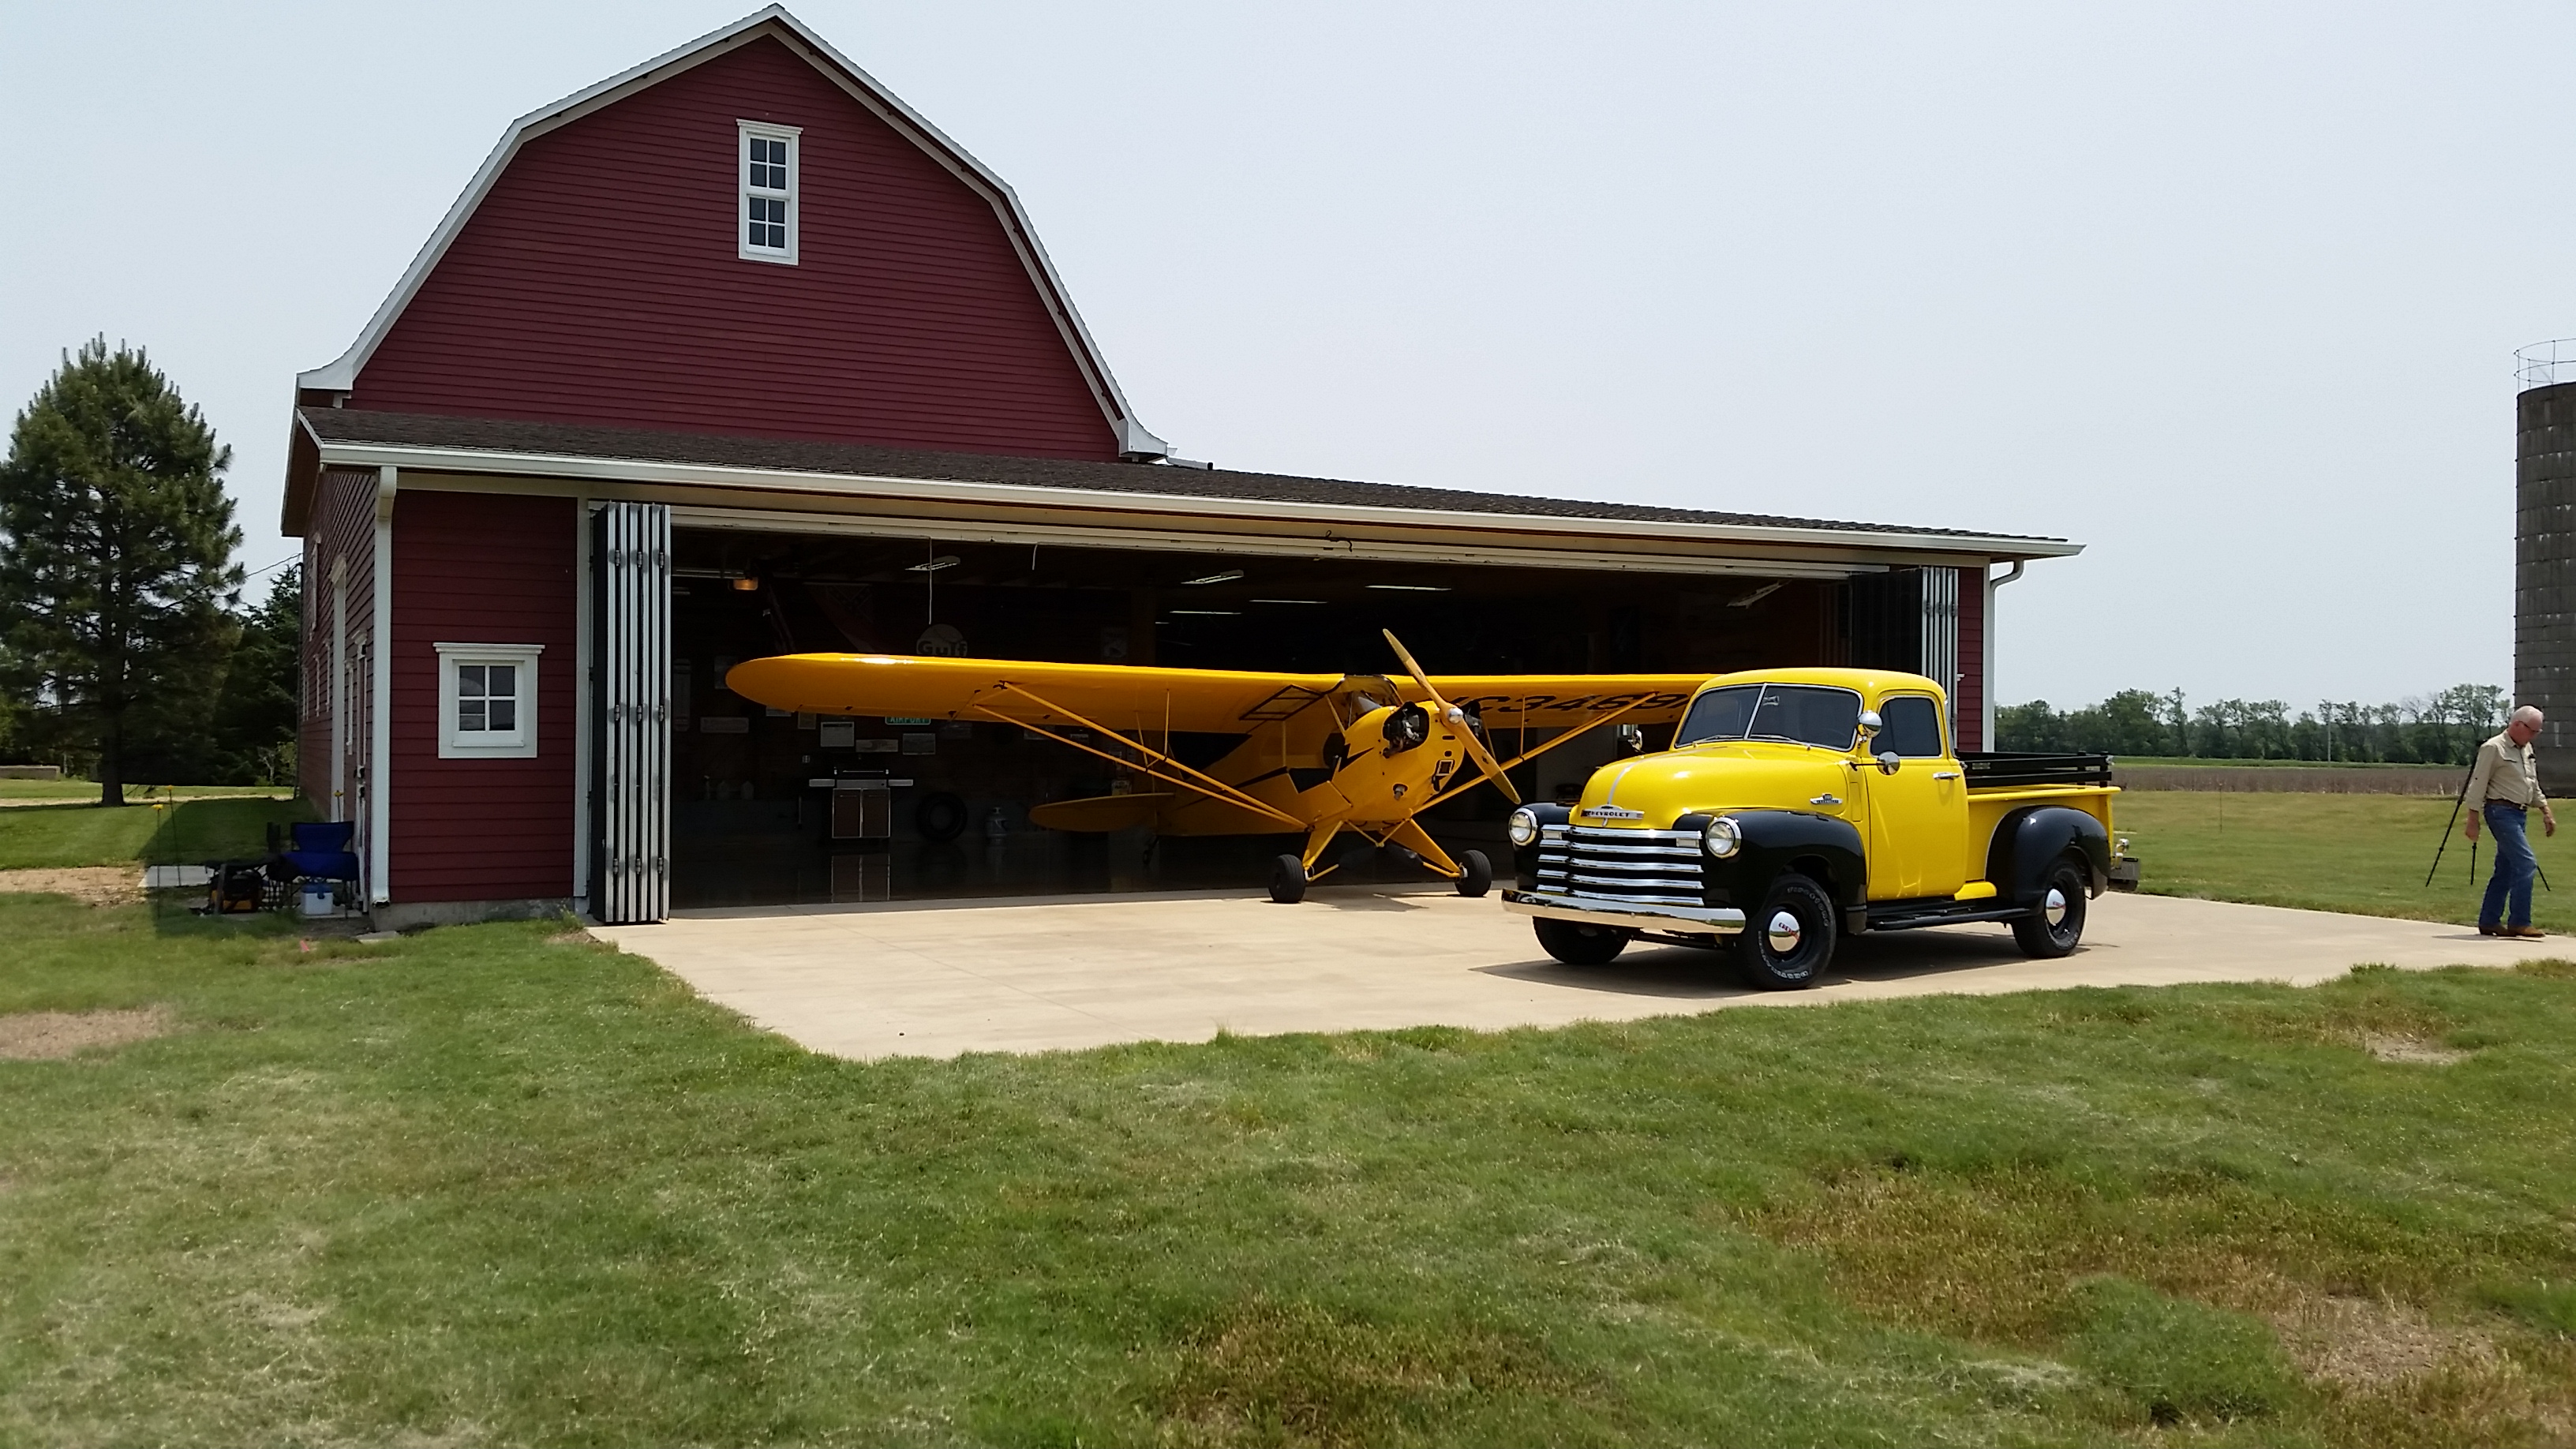
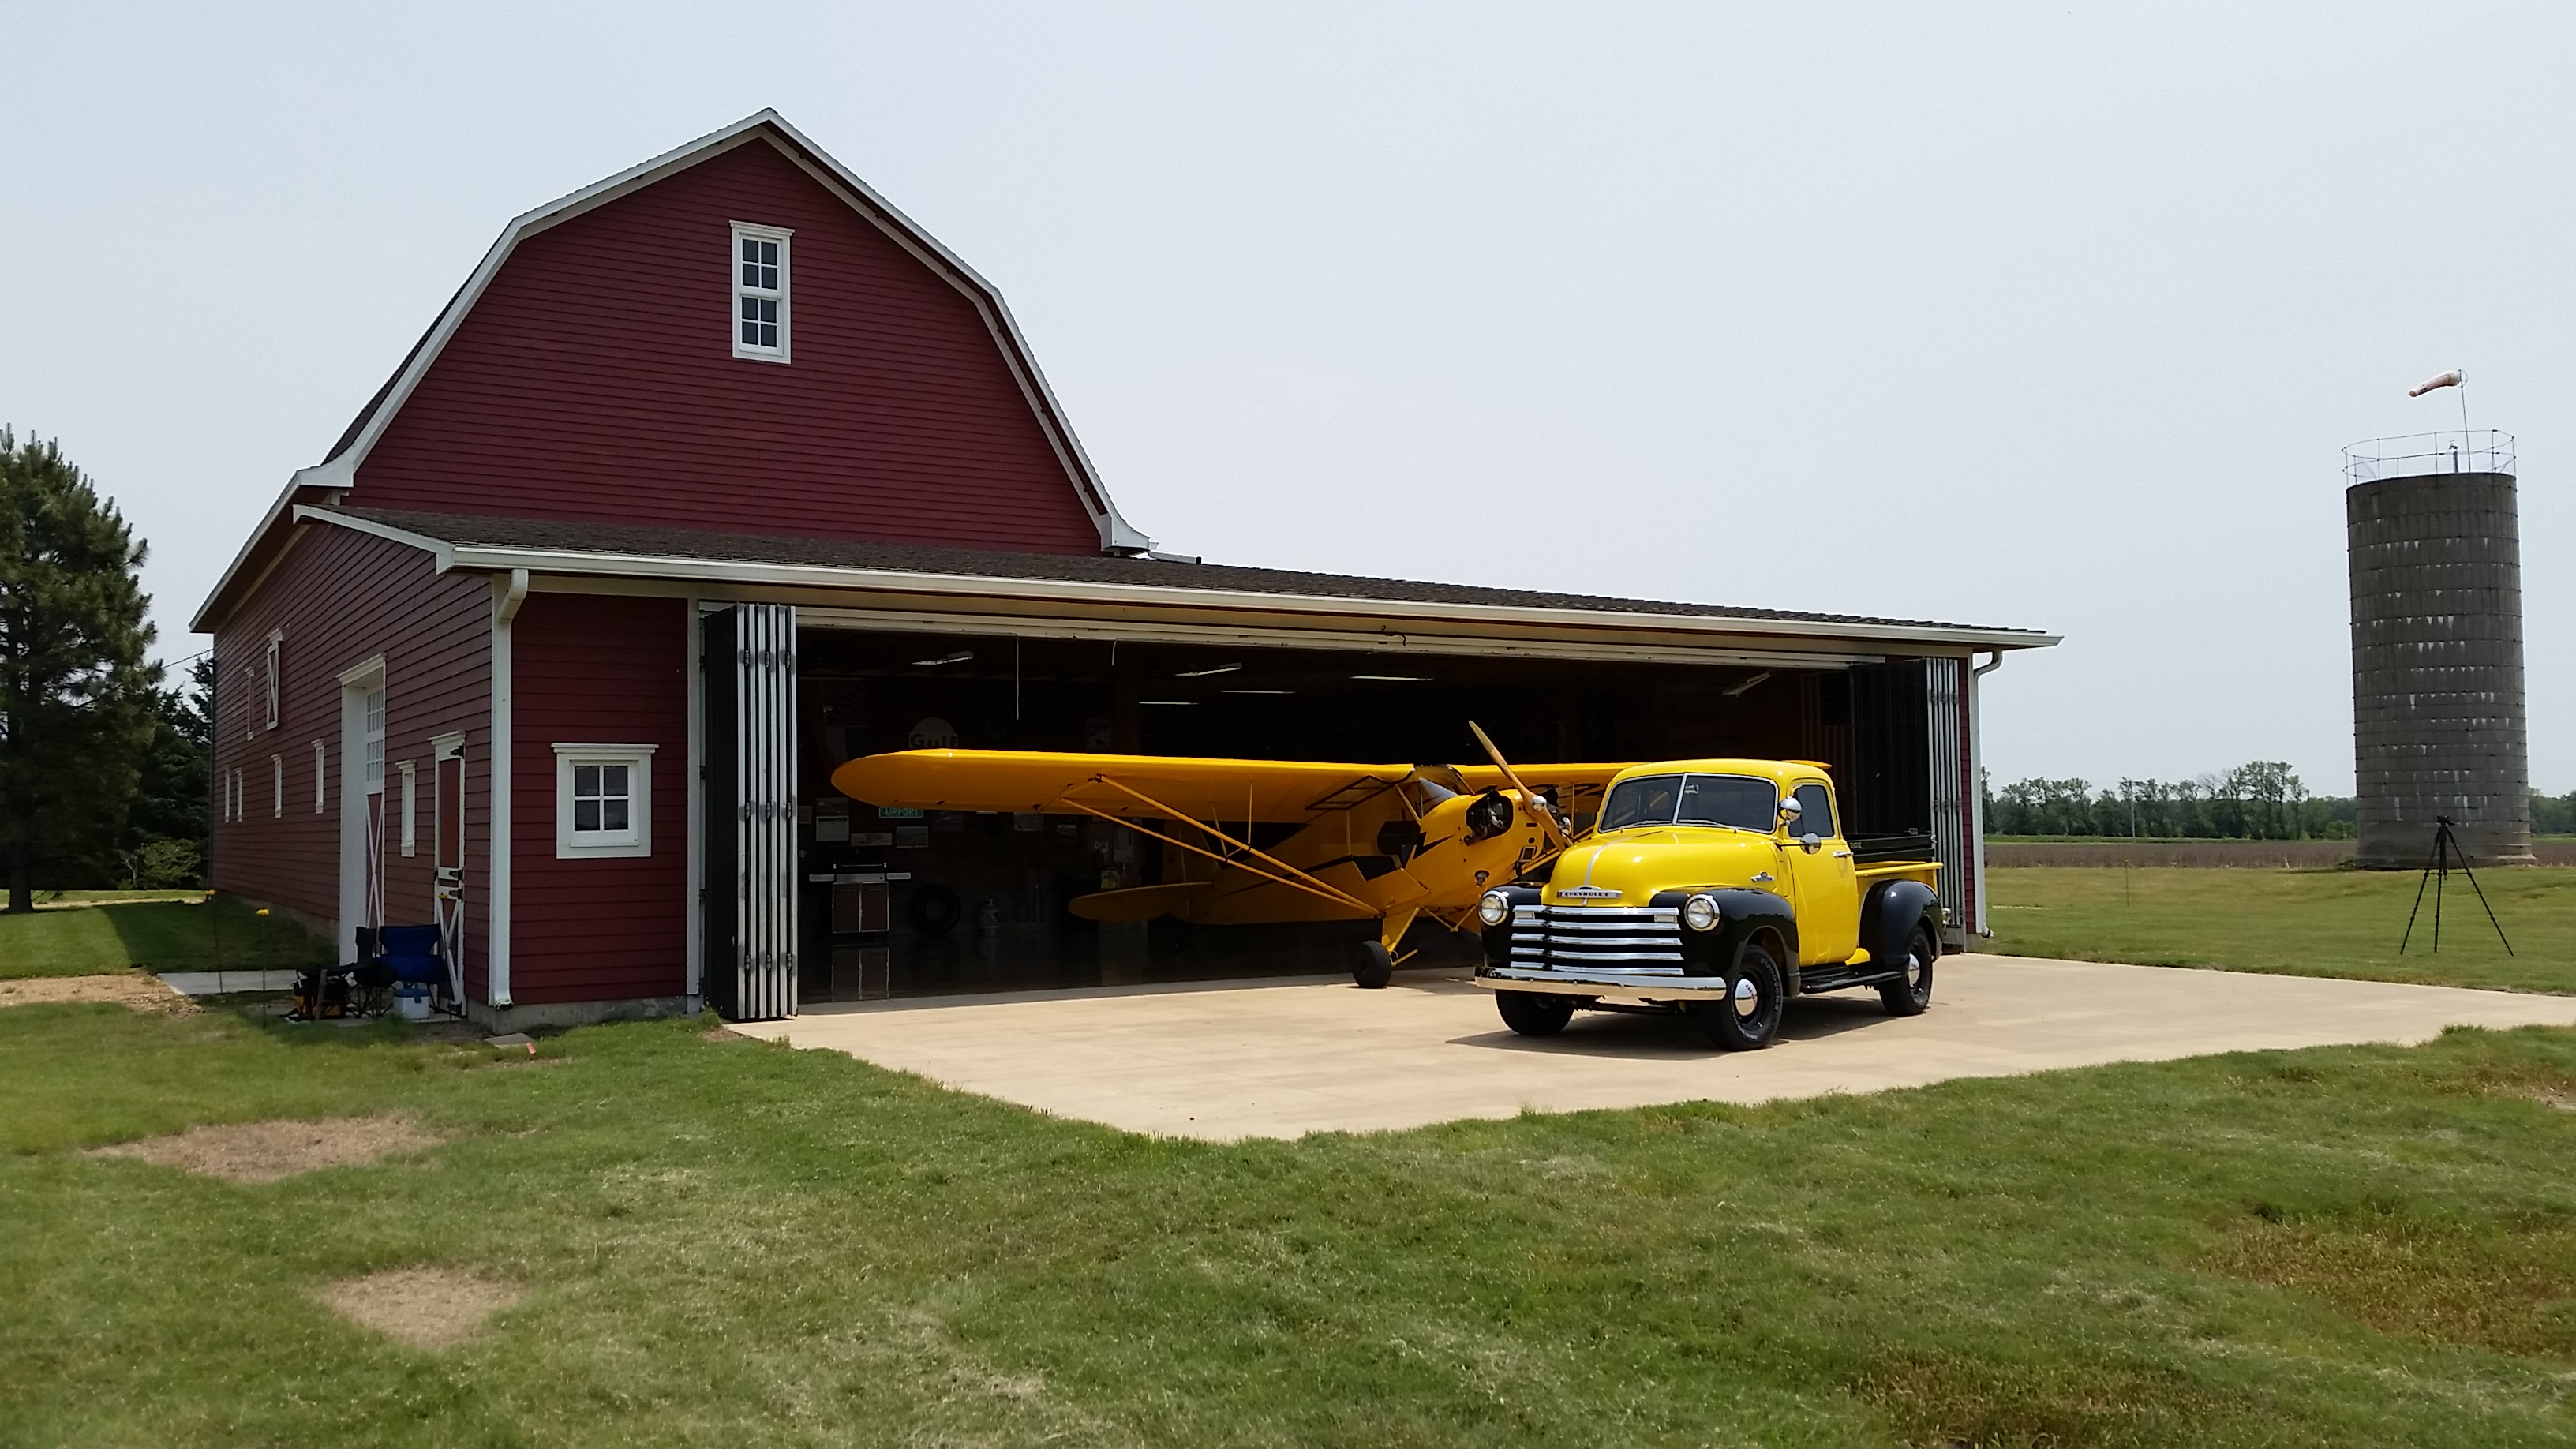
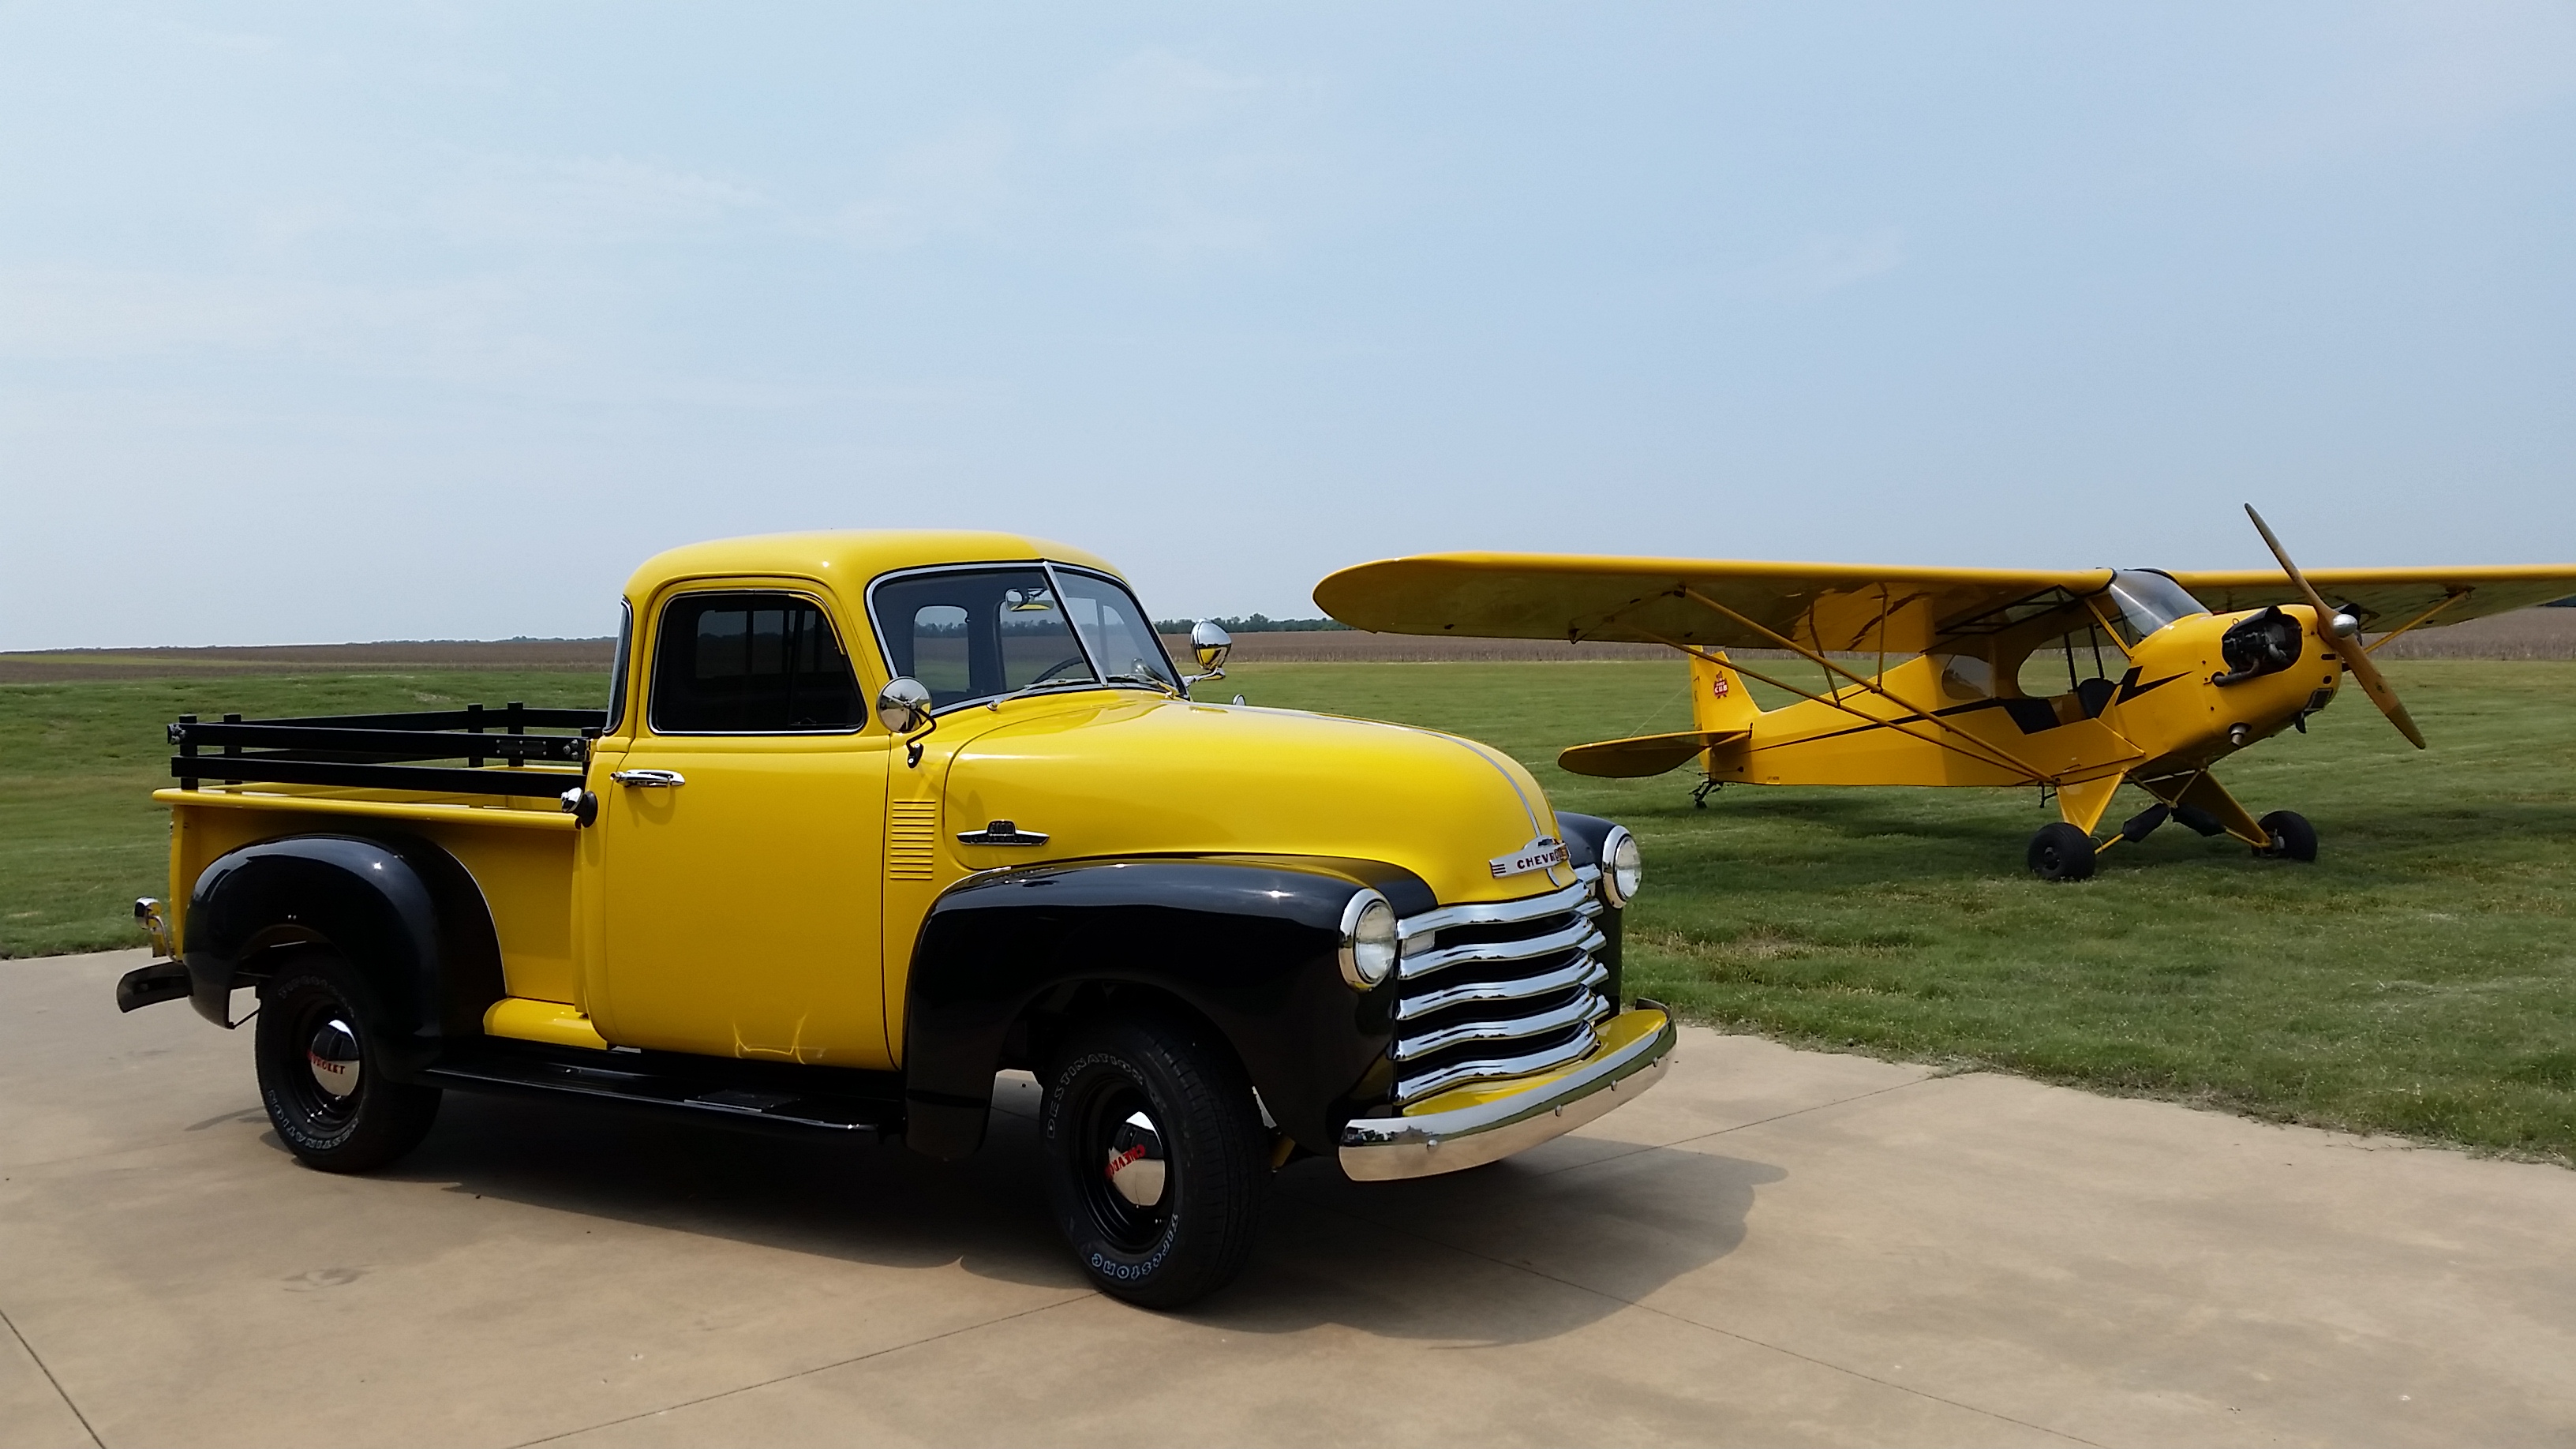
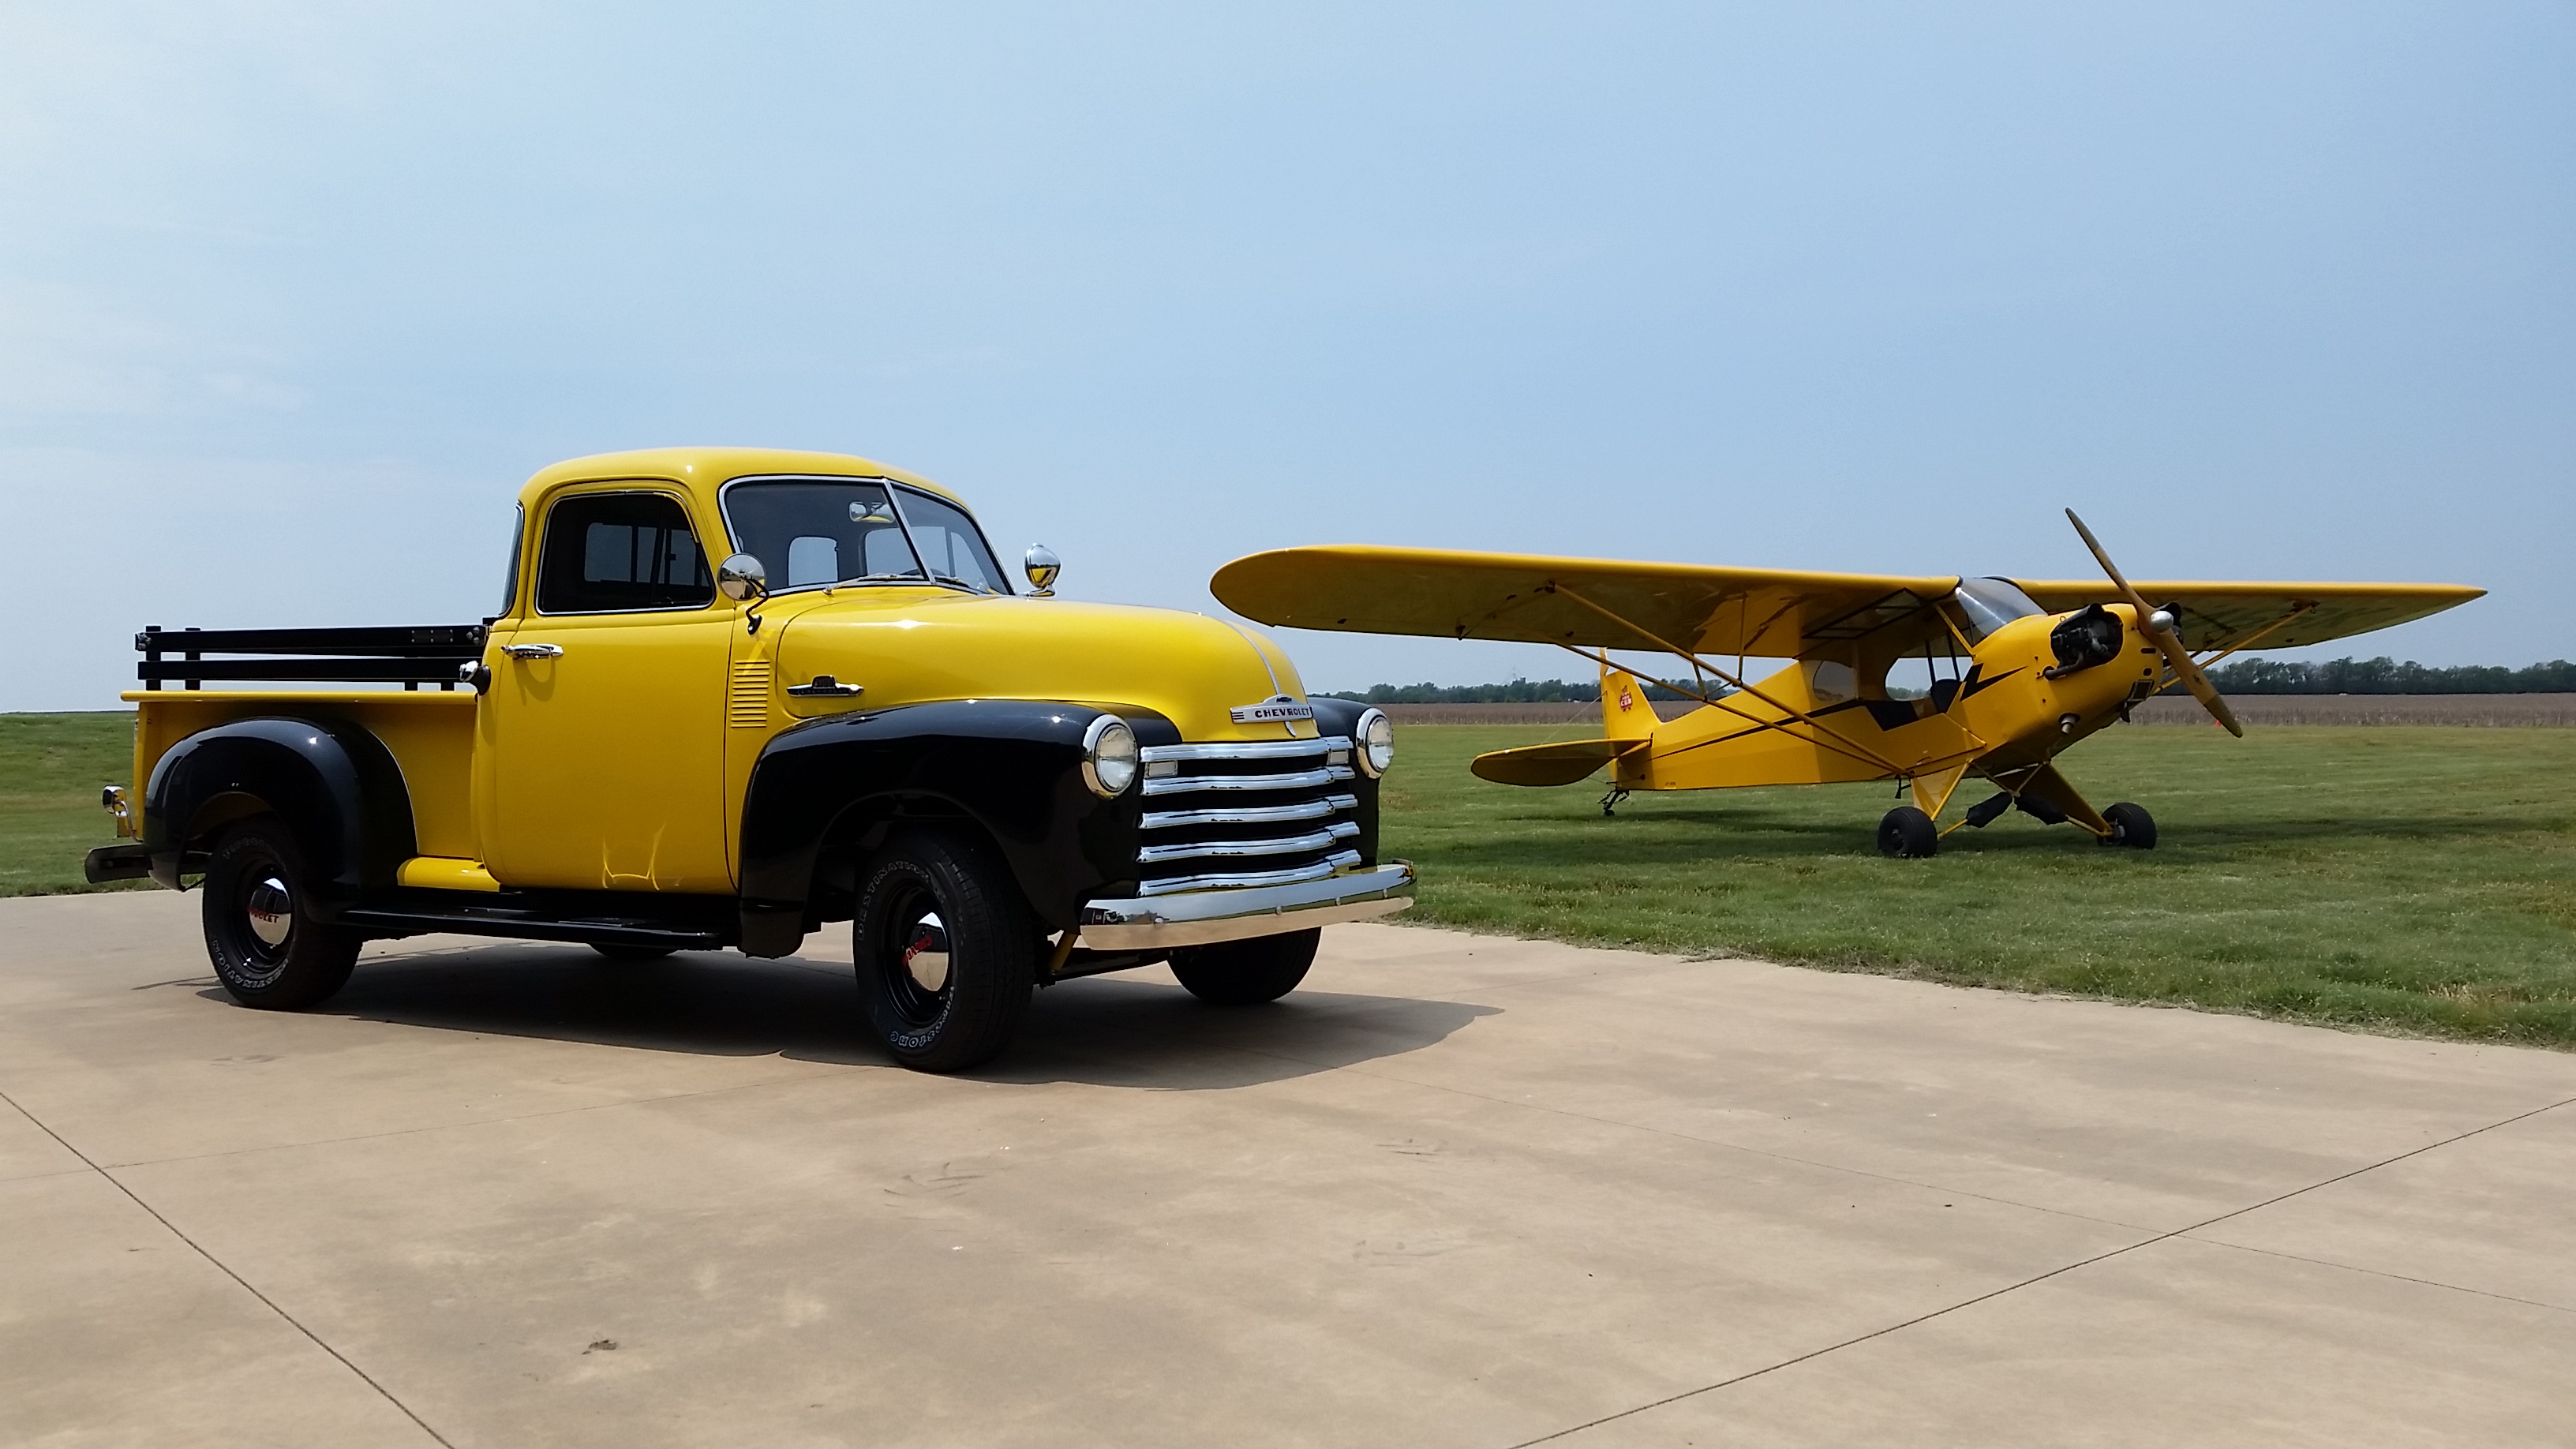
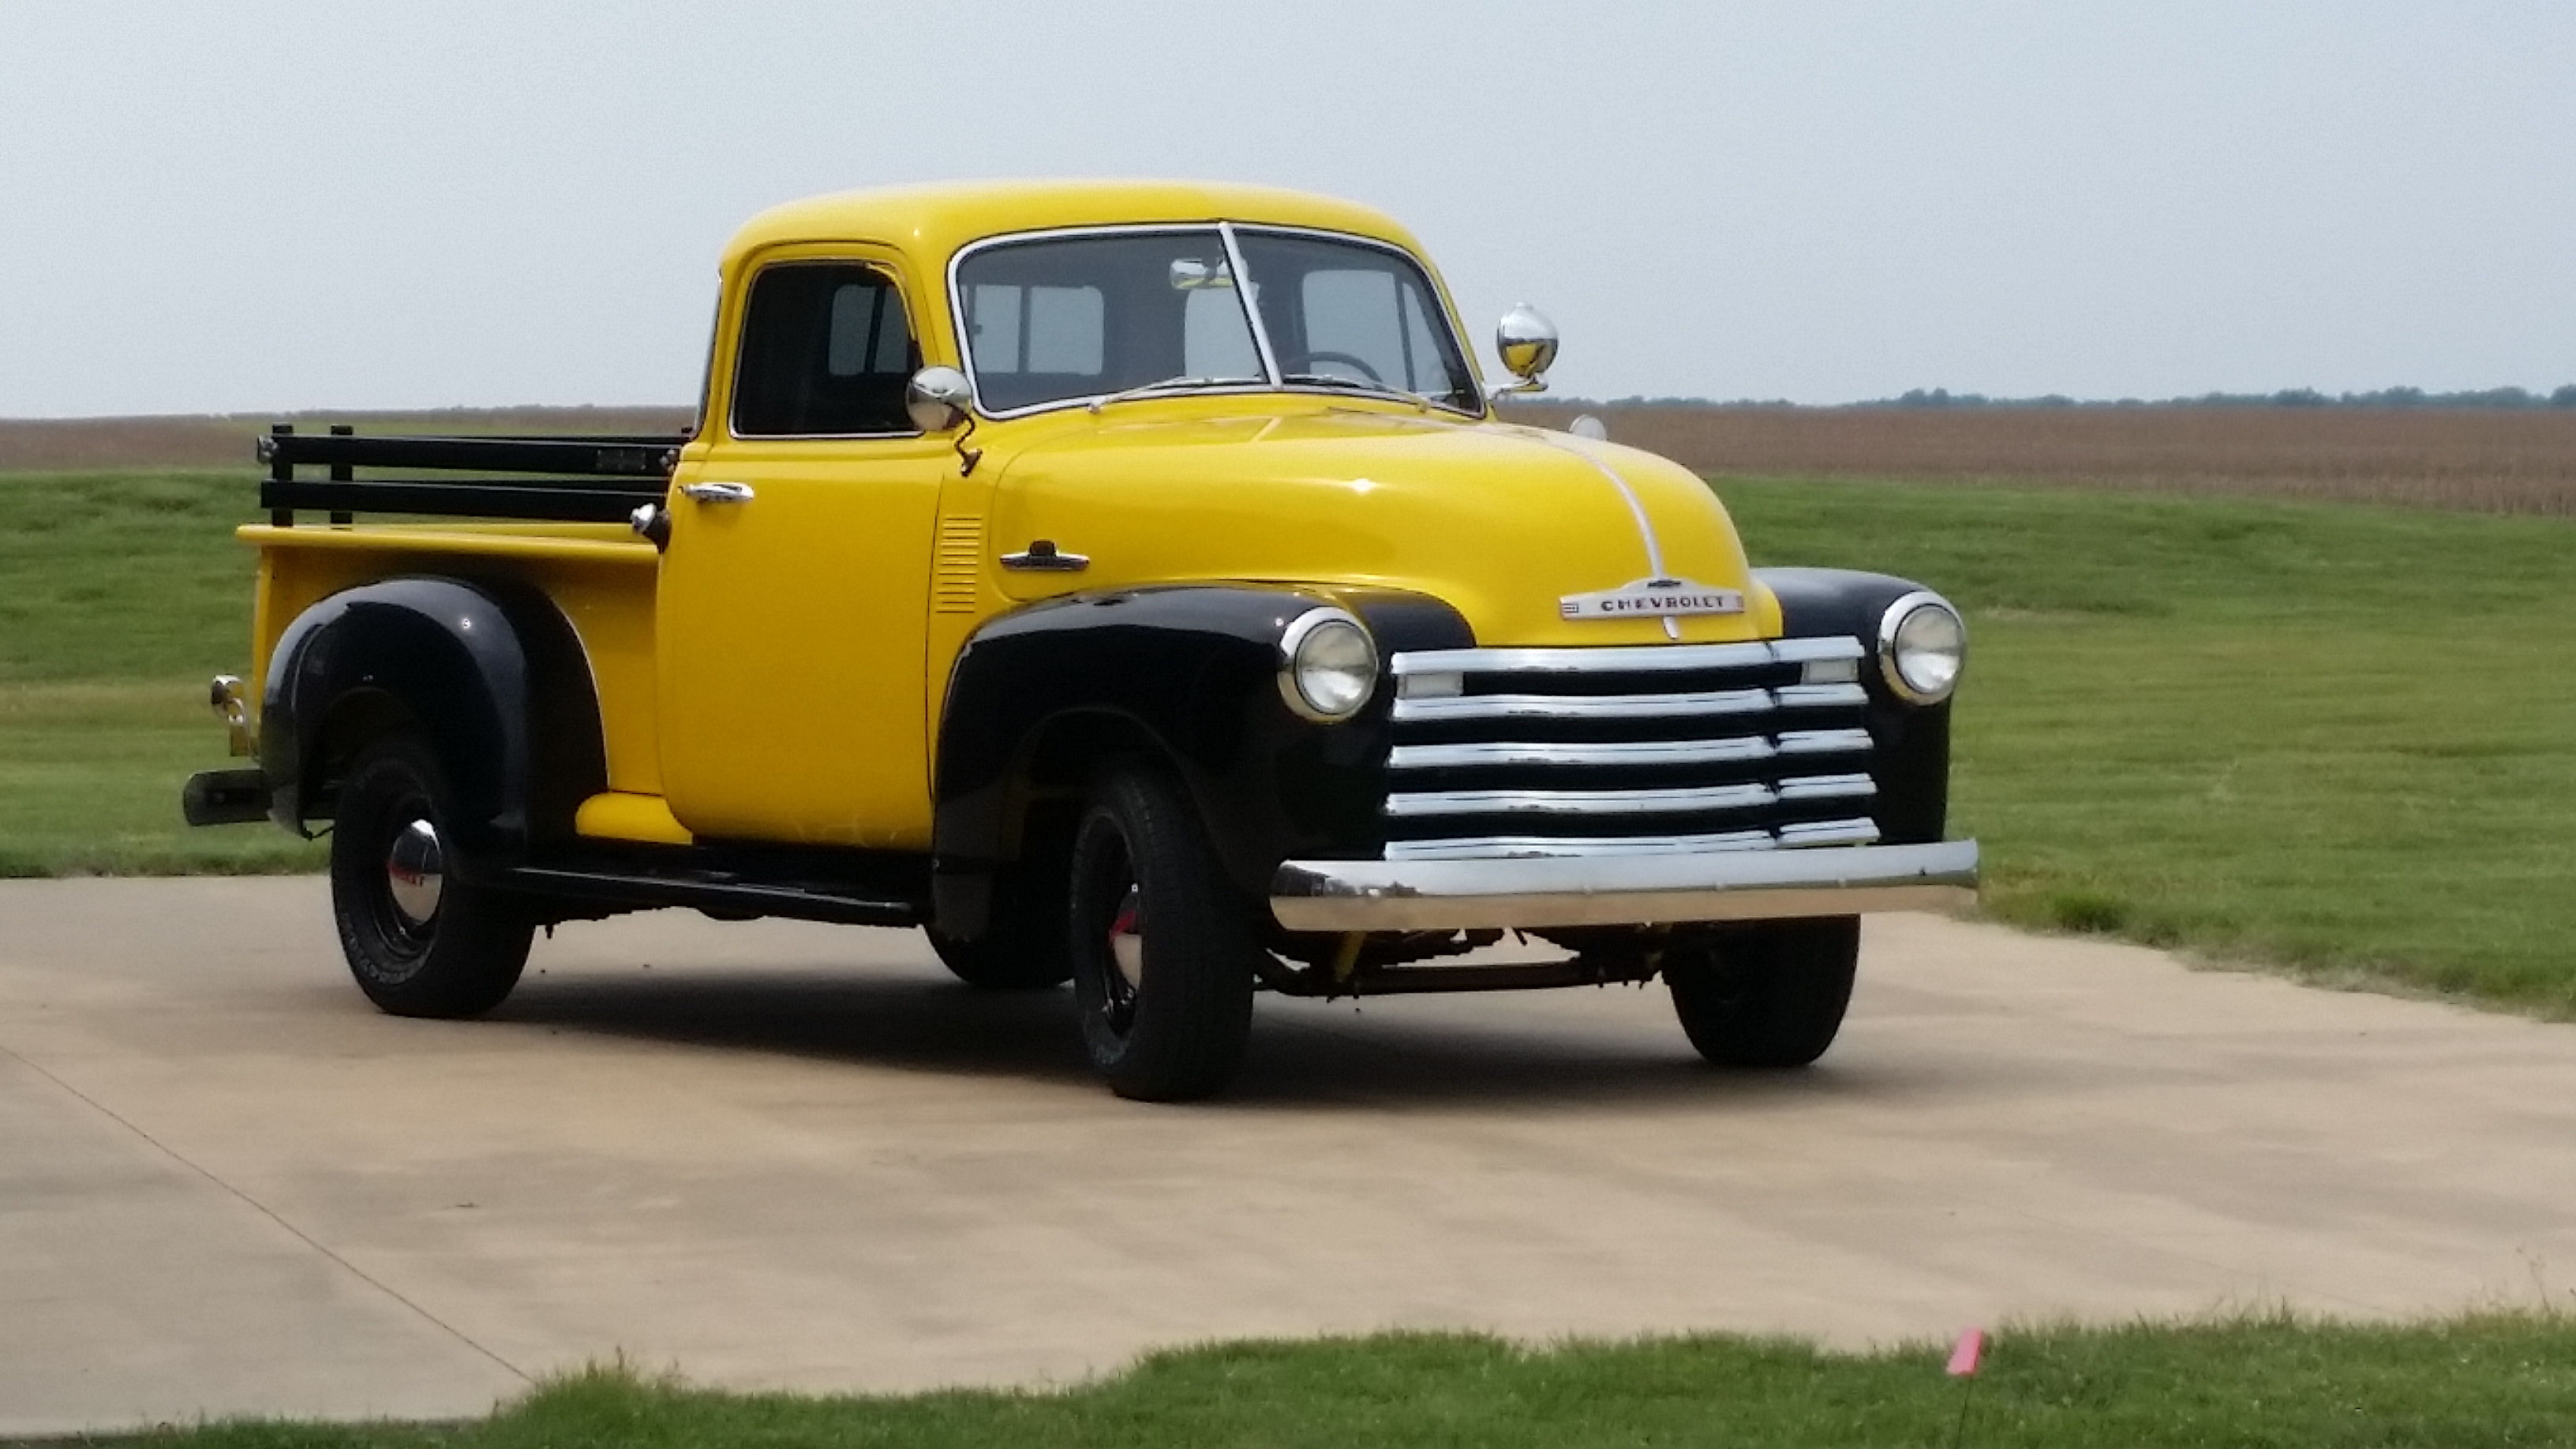
The restoration went really well and I will be updating this page with all the rest of the story in very clear detail. Its June 2019 and with the restoration complete, enjoy the following pictures of the end result in the meantime.