


Deve's Technical Network
1947-1955 1st Chevy Trucks
216/235/261 Engine Solutions & More
This procedure was done in the frame off configuration. It would be very difficult to do this on a complete truck due to the fire hazard. Observe all safety precautions and use common sense. I like to explain everything in detail, so please understand this procedure will be quite long.

First off, the good news. It's not all that hard! The hardest part of this entire thing was getting good information to figure out where to begin. Different procedures, different opinions abound. So after a very large amount of research, asking seemingly stupid questions on various forums, this is what actually works!
Where the opinions vary is alot of the old timers used the boiler rivet method where you heat the whole rivet red hot, insert it in the hole and with a bucker (person) on one end holding a very heavy bucking bar, the other one hammers the rivet home. They insist this is the only way to get the proper heat throughout the rivet. I contend, after researching this, that by the time you have put the tongs on the hot rivet, pushed it in the hole, put the bar against it solidly you have cooled the head down sufficiently to the point where you might as well have just heated the rivet in the hole.
The problem of heat shunting out due to the surrounding metal and bucking bar being cold IS a real problem. Maybe that's why our friends at Chevy used hydraulic riveters and set them completely cold. I feel you can do it better because the rivet will tighten more as it cools.

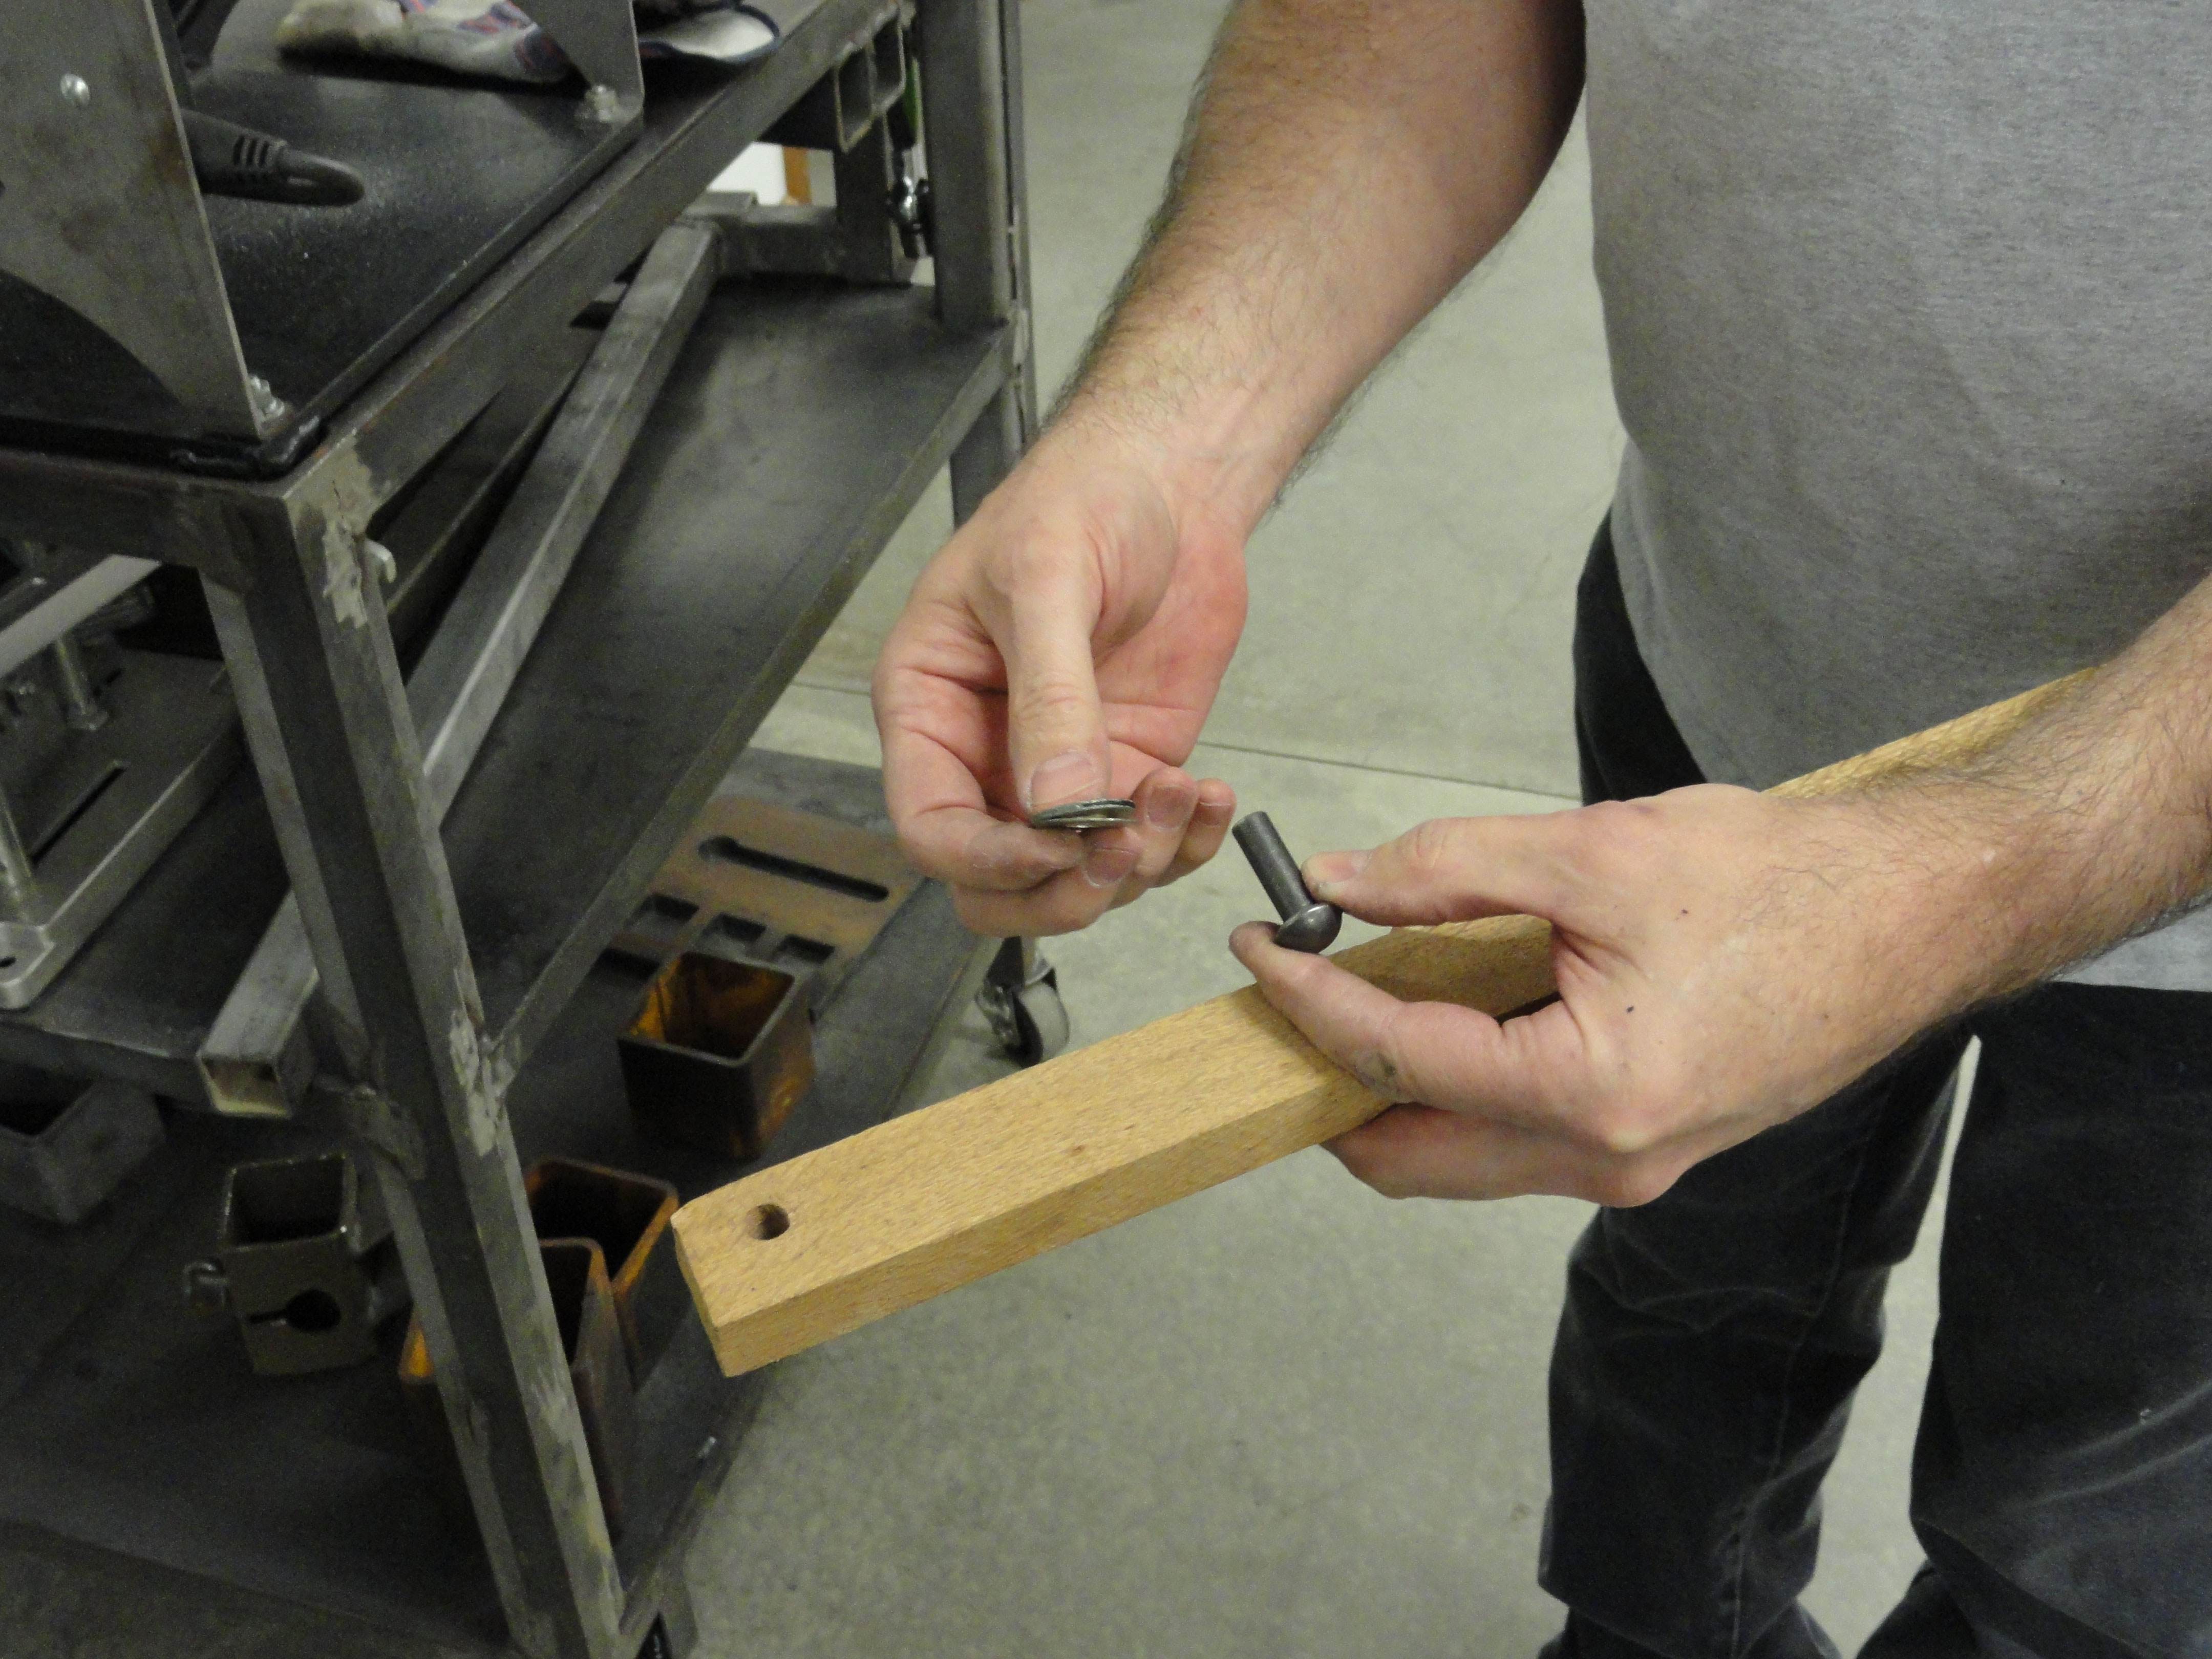
Make sure you have a pretty nice fit by placing the rivet in the hole just to check that it's not binding, or too loose. A 1/32" or so looseness is fine, but in my case, someone torched the old rivets out and ruined the holes, so I had to go in and weld them shut and re-drill them. Don't expect the rivets to be very tight in the hole. The procedure will squash them very nicely to the proper size. For these vintage frames, the 3/8" rivet is the most popular.
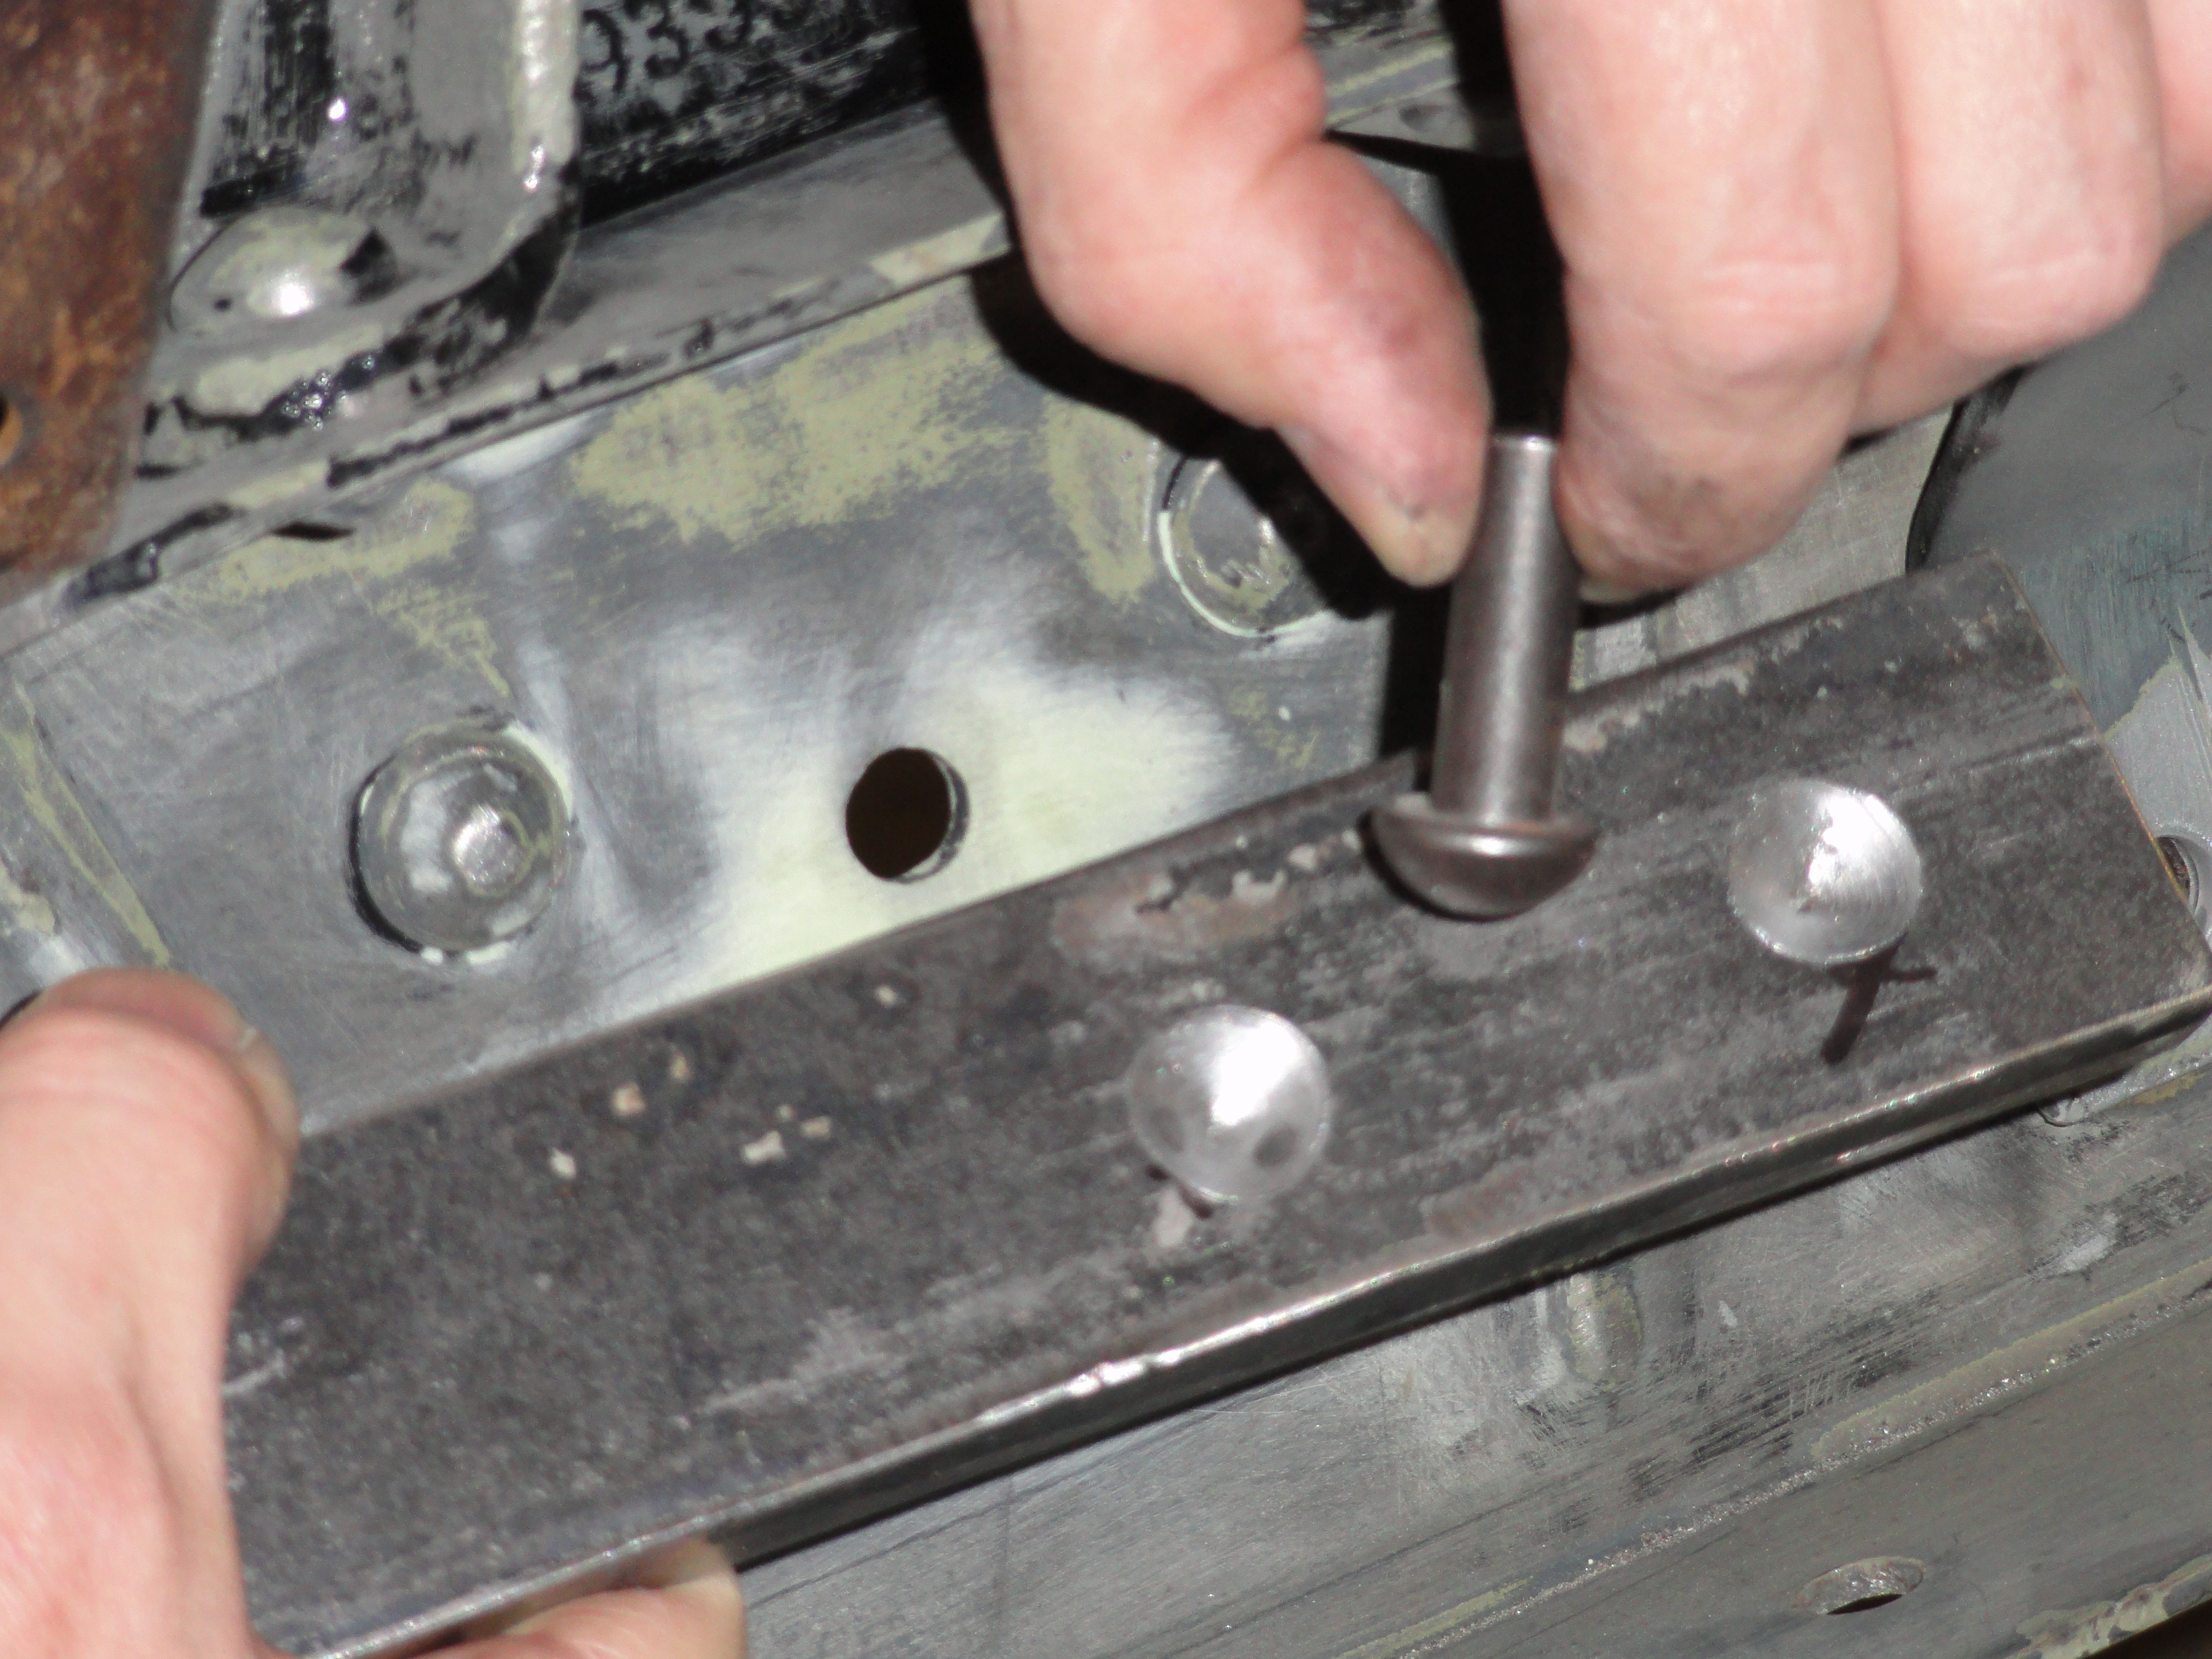
Place the rivet, cut to the appropriate length as previously mentioned, into the hole. You can grab it with a pair of vise grips so it will stay there. You are placing the head in the most inaccessible place pointing outwards where you can get the hammer its best chance at a straight shot. You can't come at this at an angle at all!
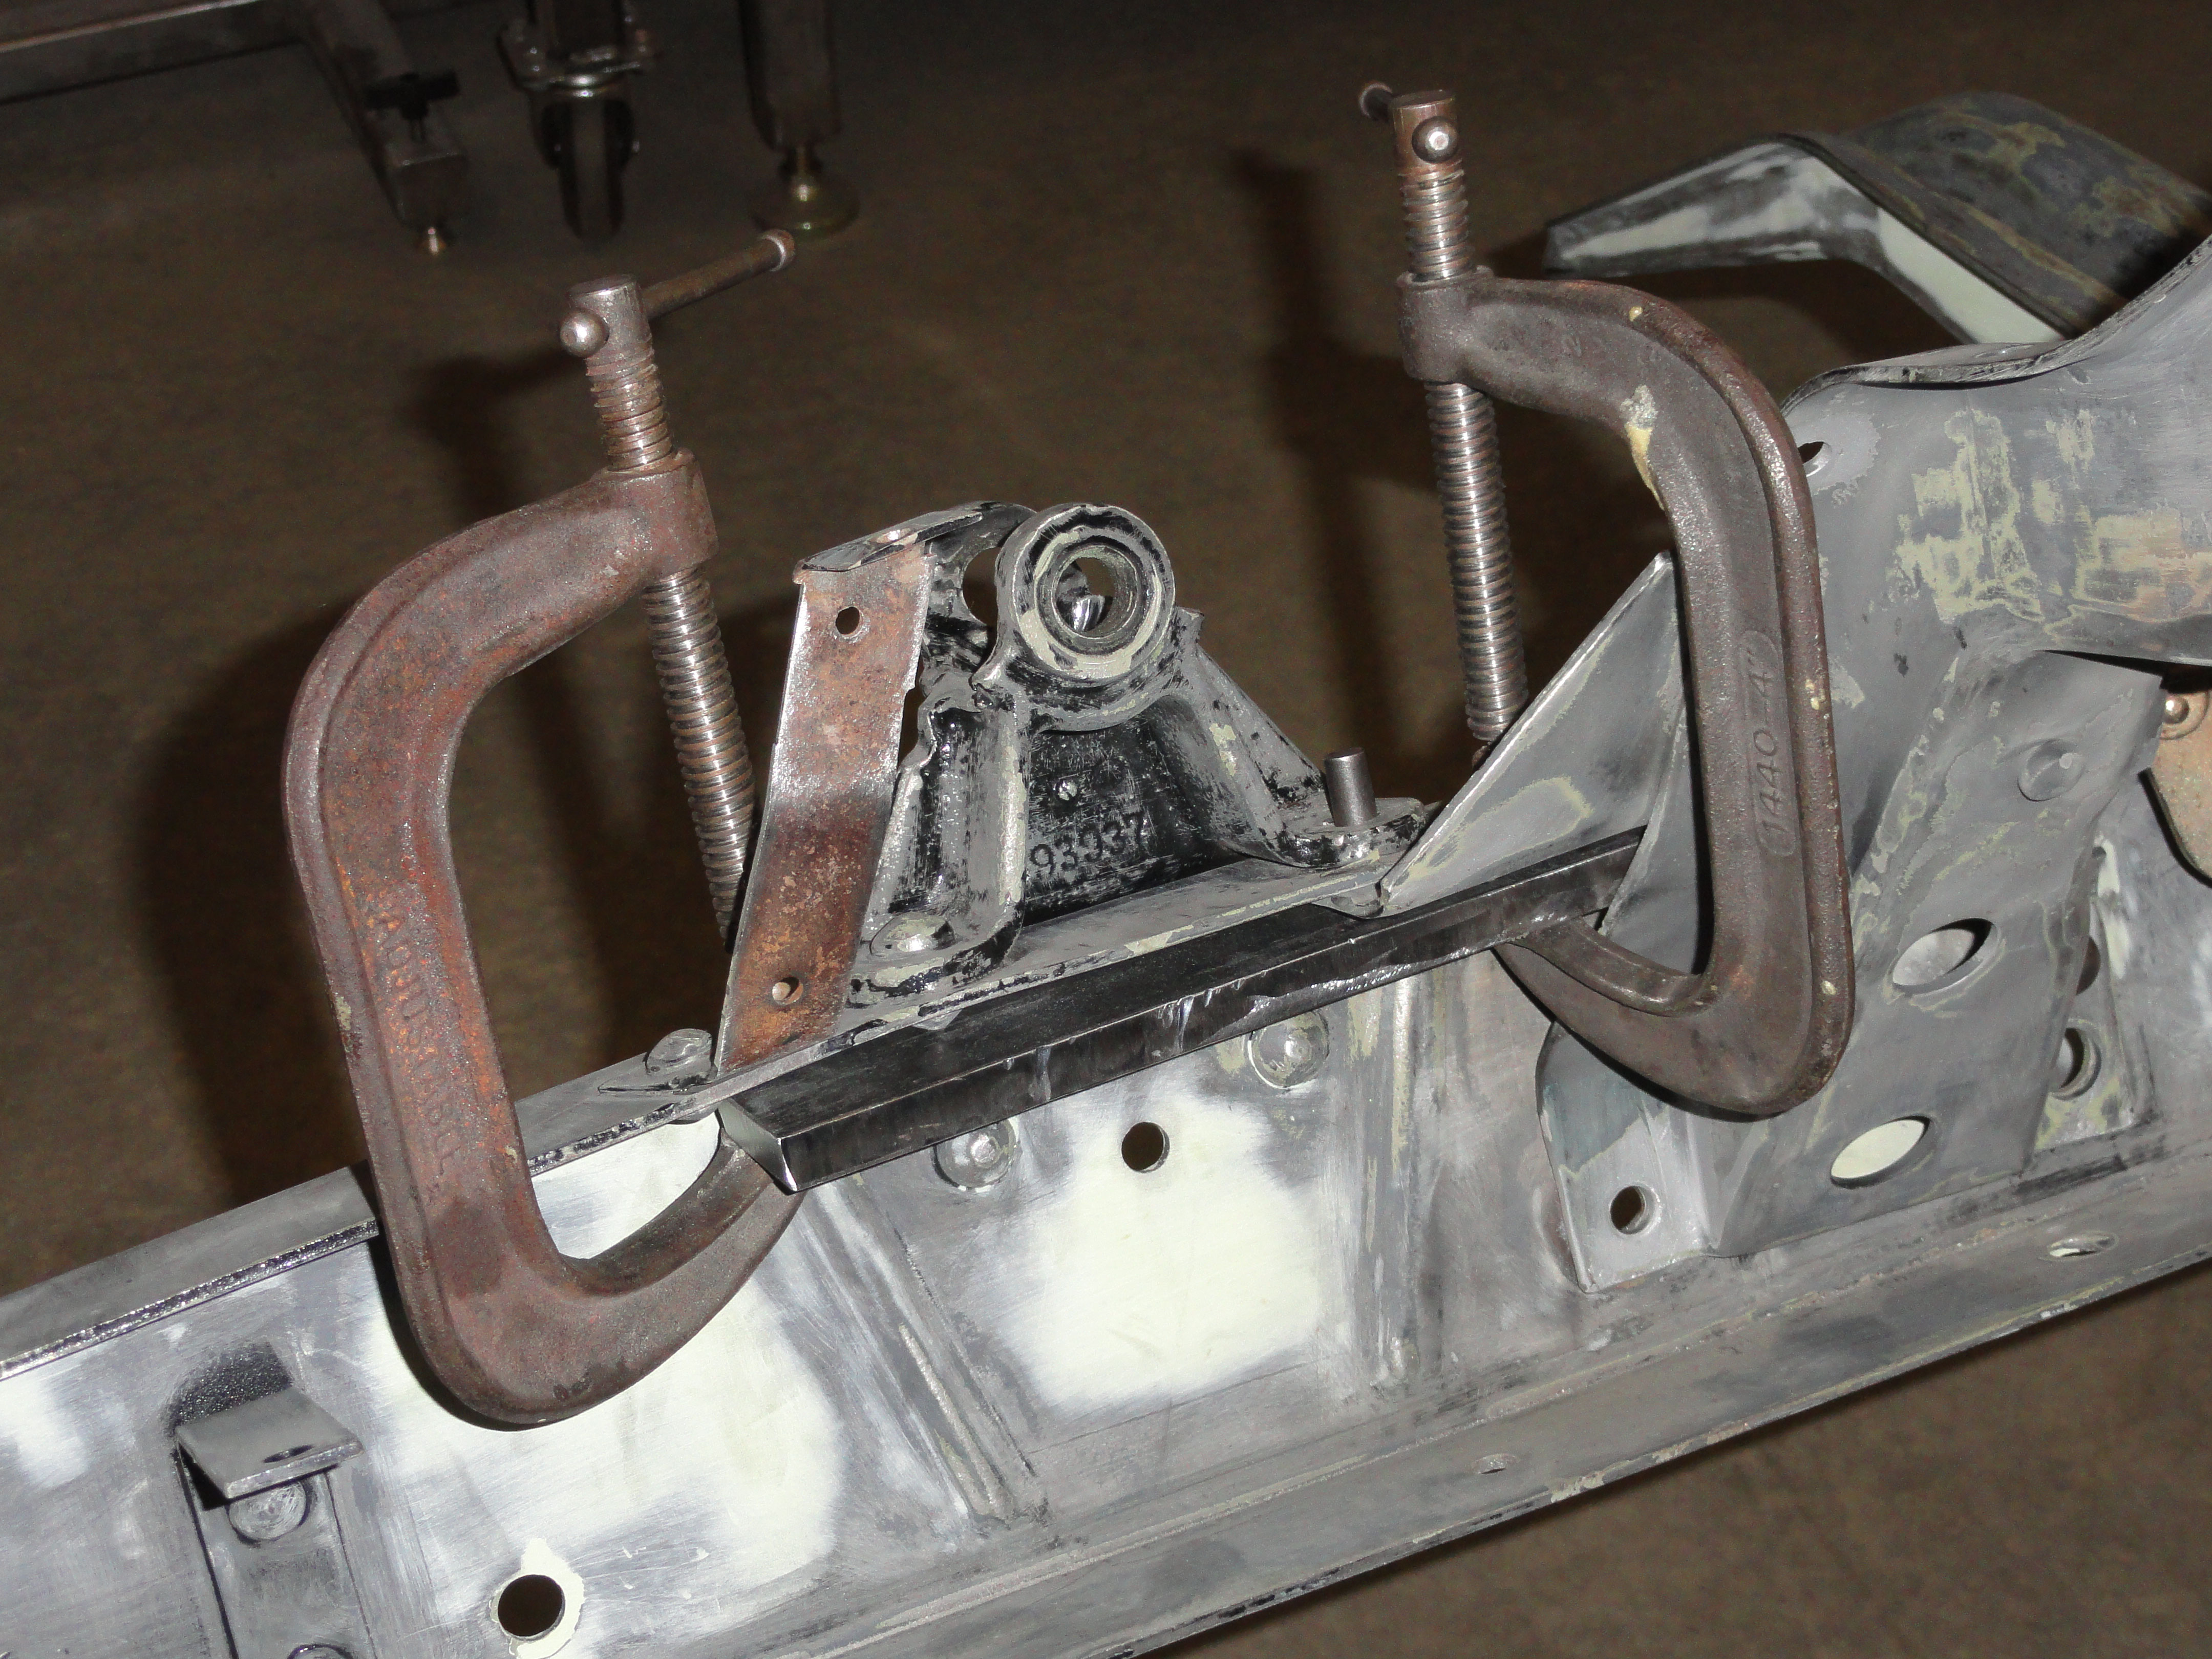
Place your custom bucking bar over the head of the rivet and very securely clamp into place. The clamps shown are not good enough for this job but it was all I had. Later, after fighting the problem of them falling off, I went to the heavier duty clamps. These DO work, but not consistently. I can't express enough the importance of a good clamp. The hammer hits with such force that what you THINK is tight enough, probably isn't.
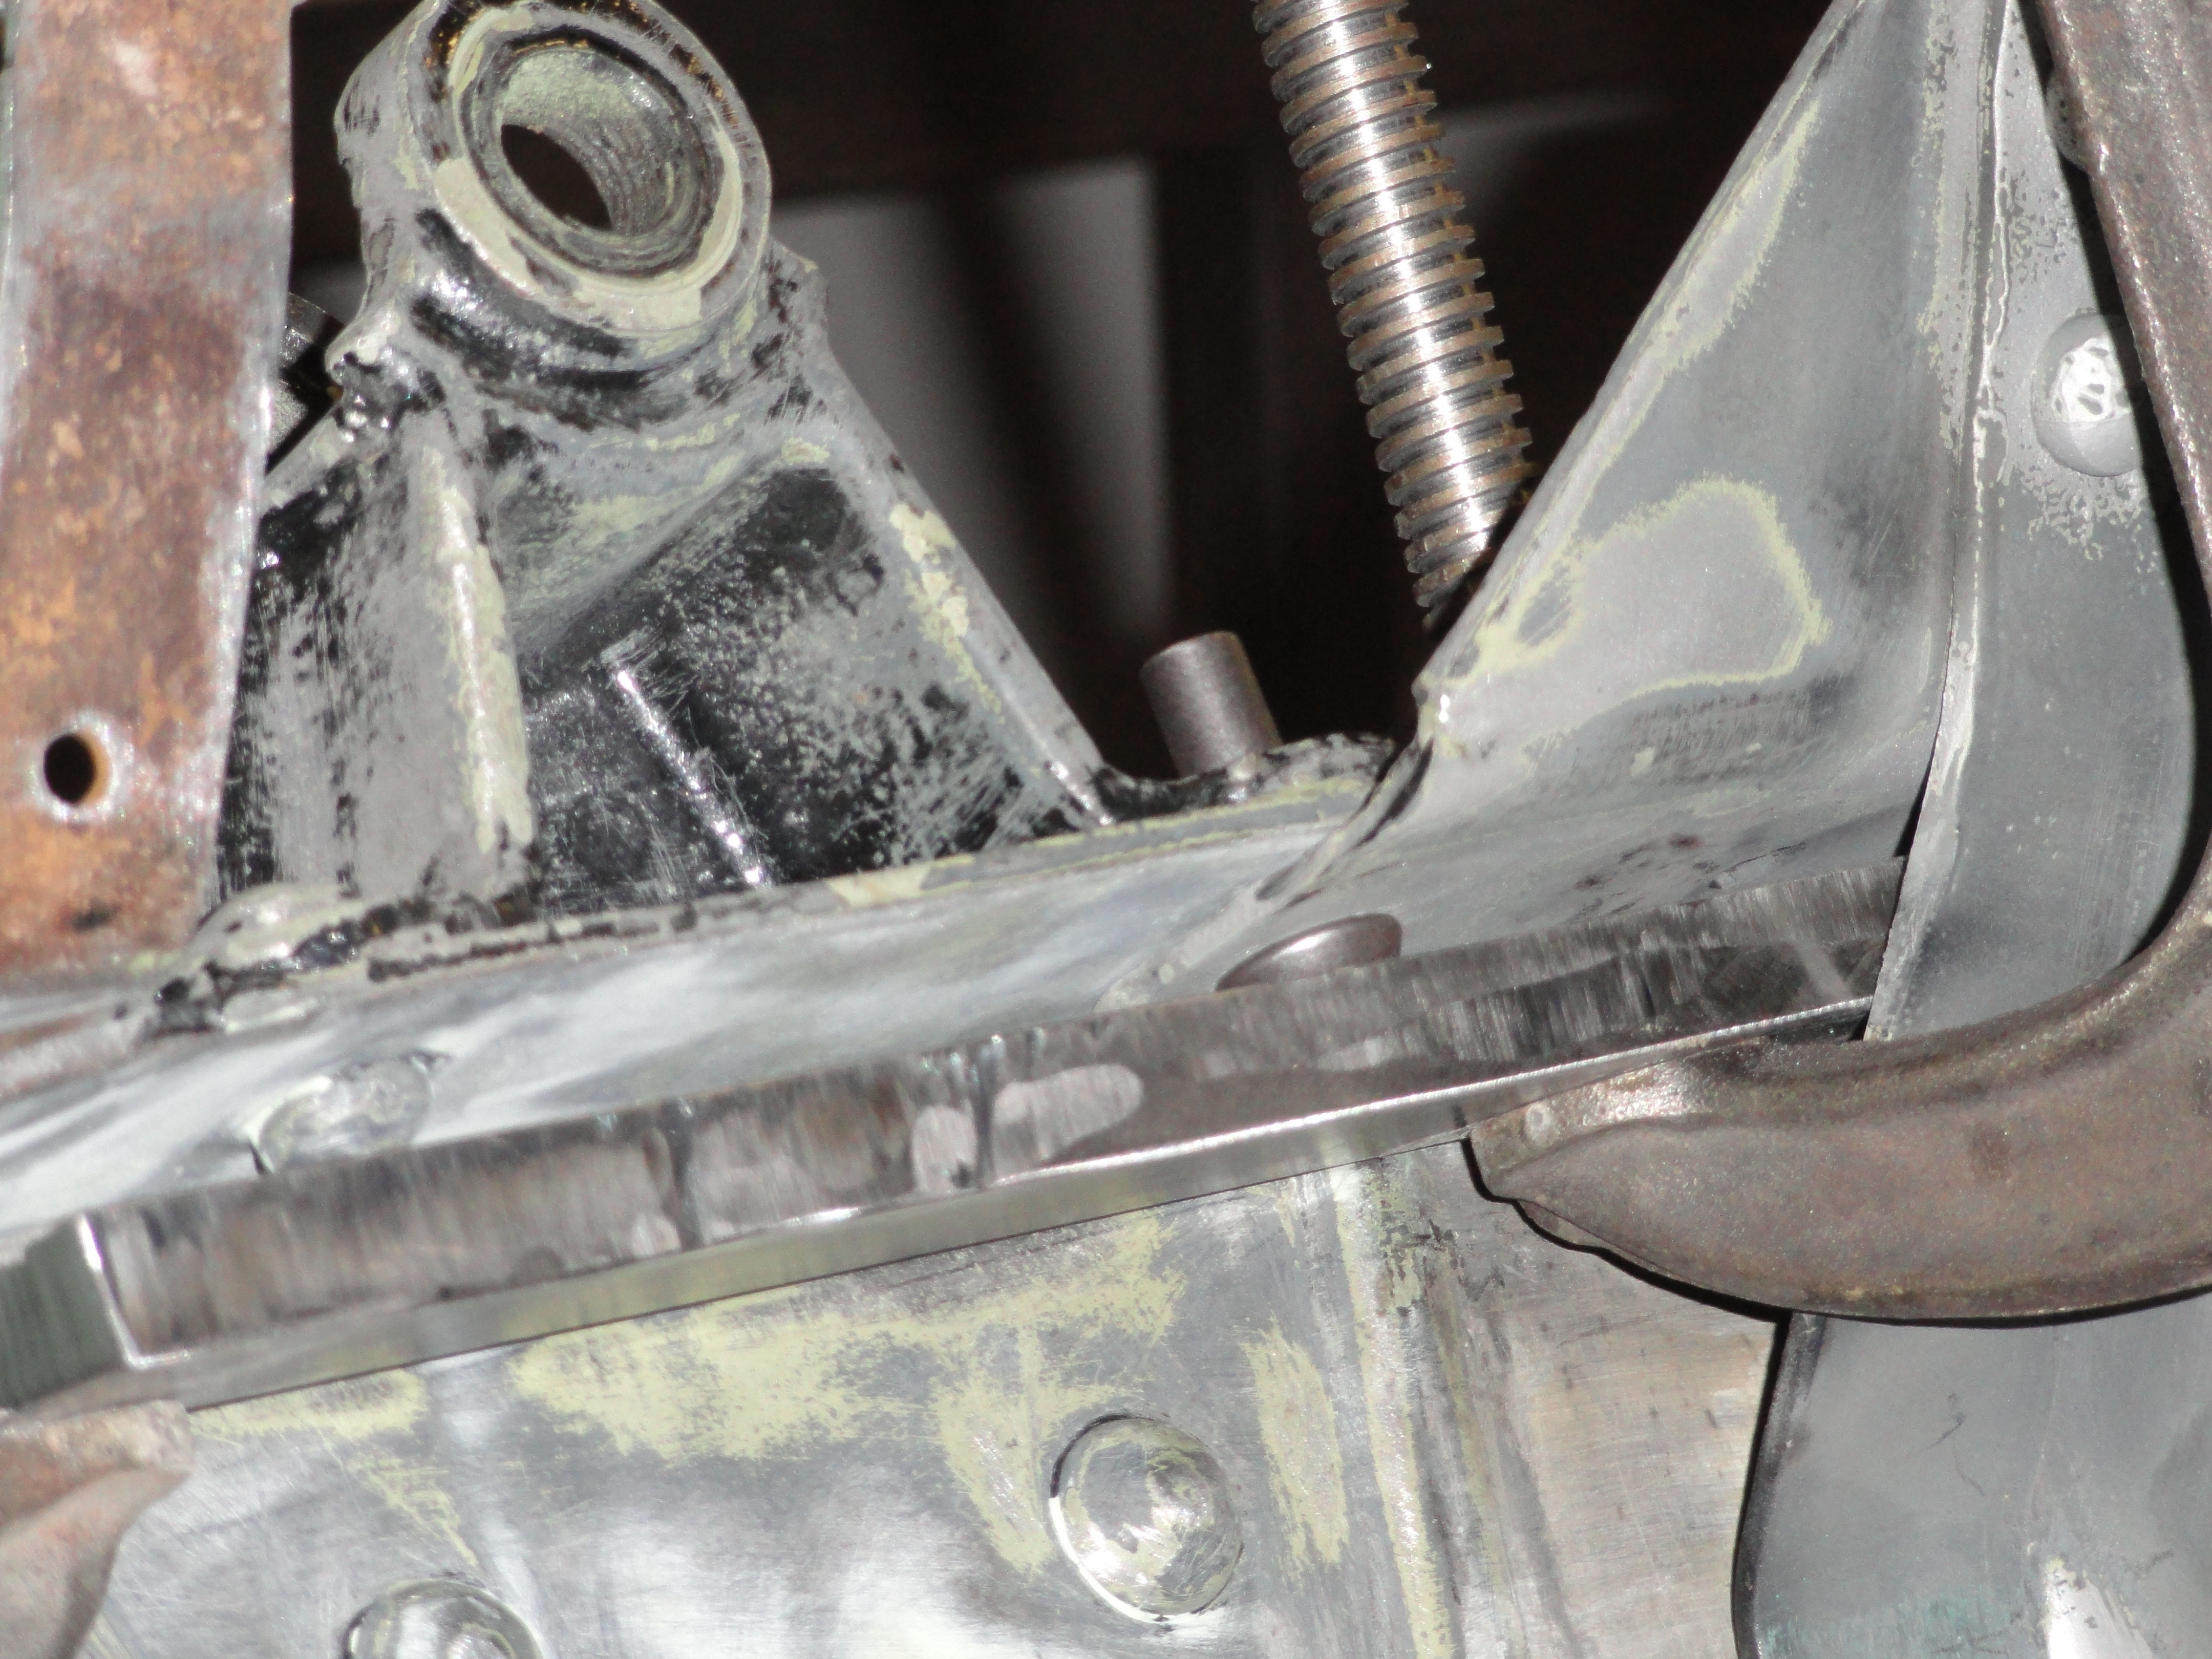
Ensure you have the secured rivet sticking straight out of the hole and not at an angle. Once it is straight and very secure...
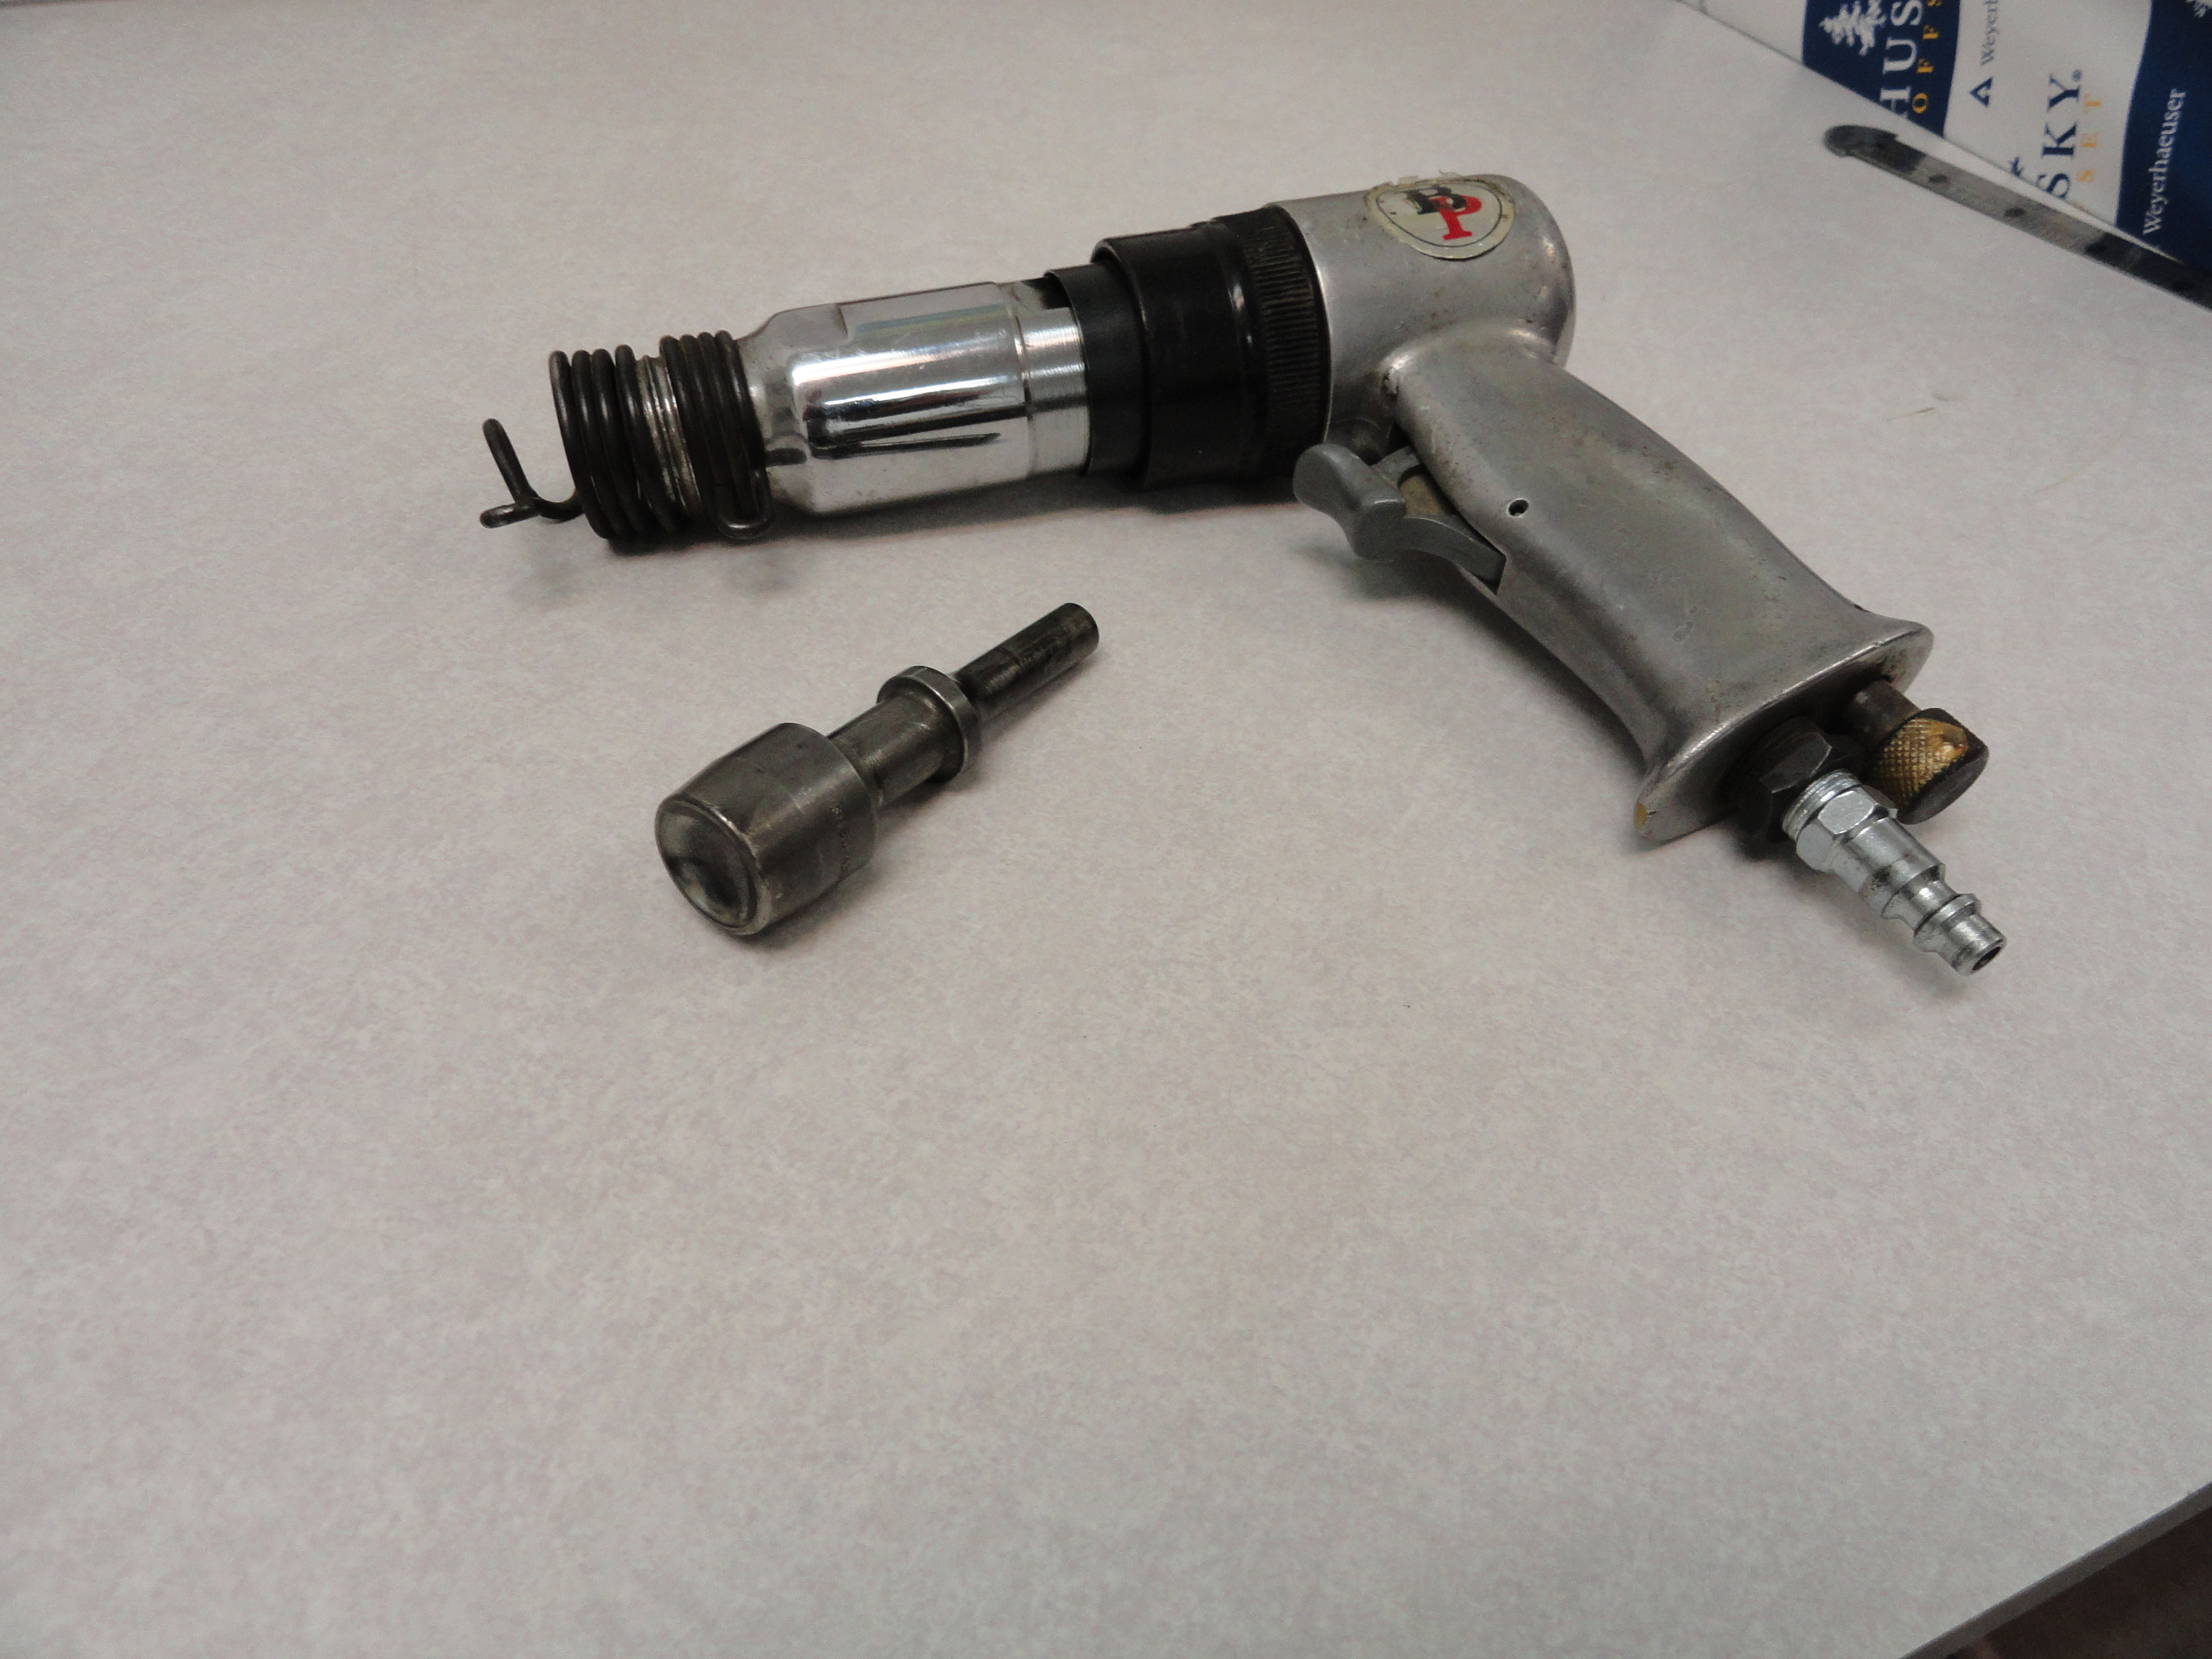
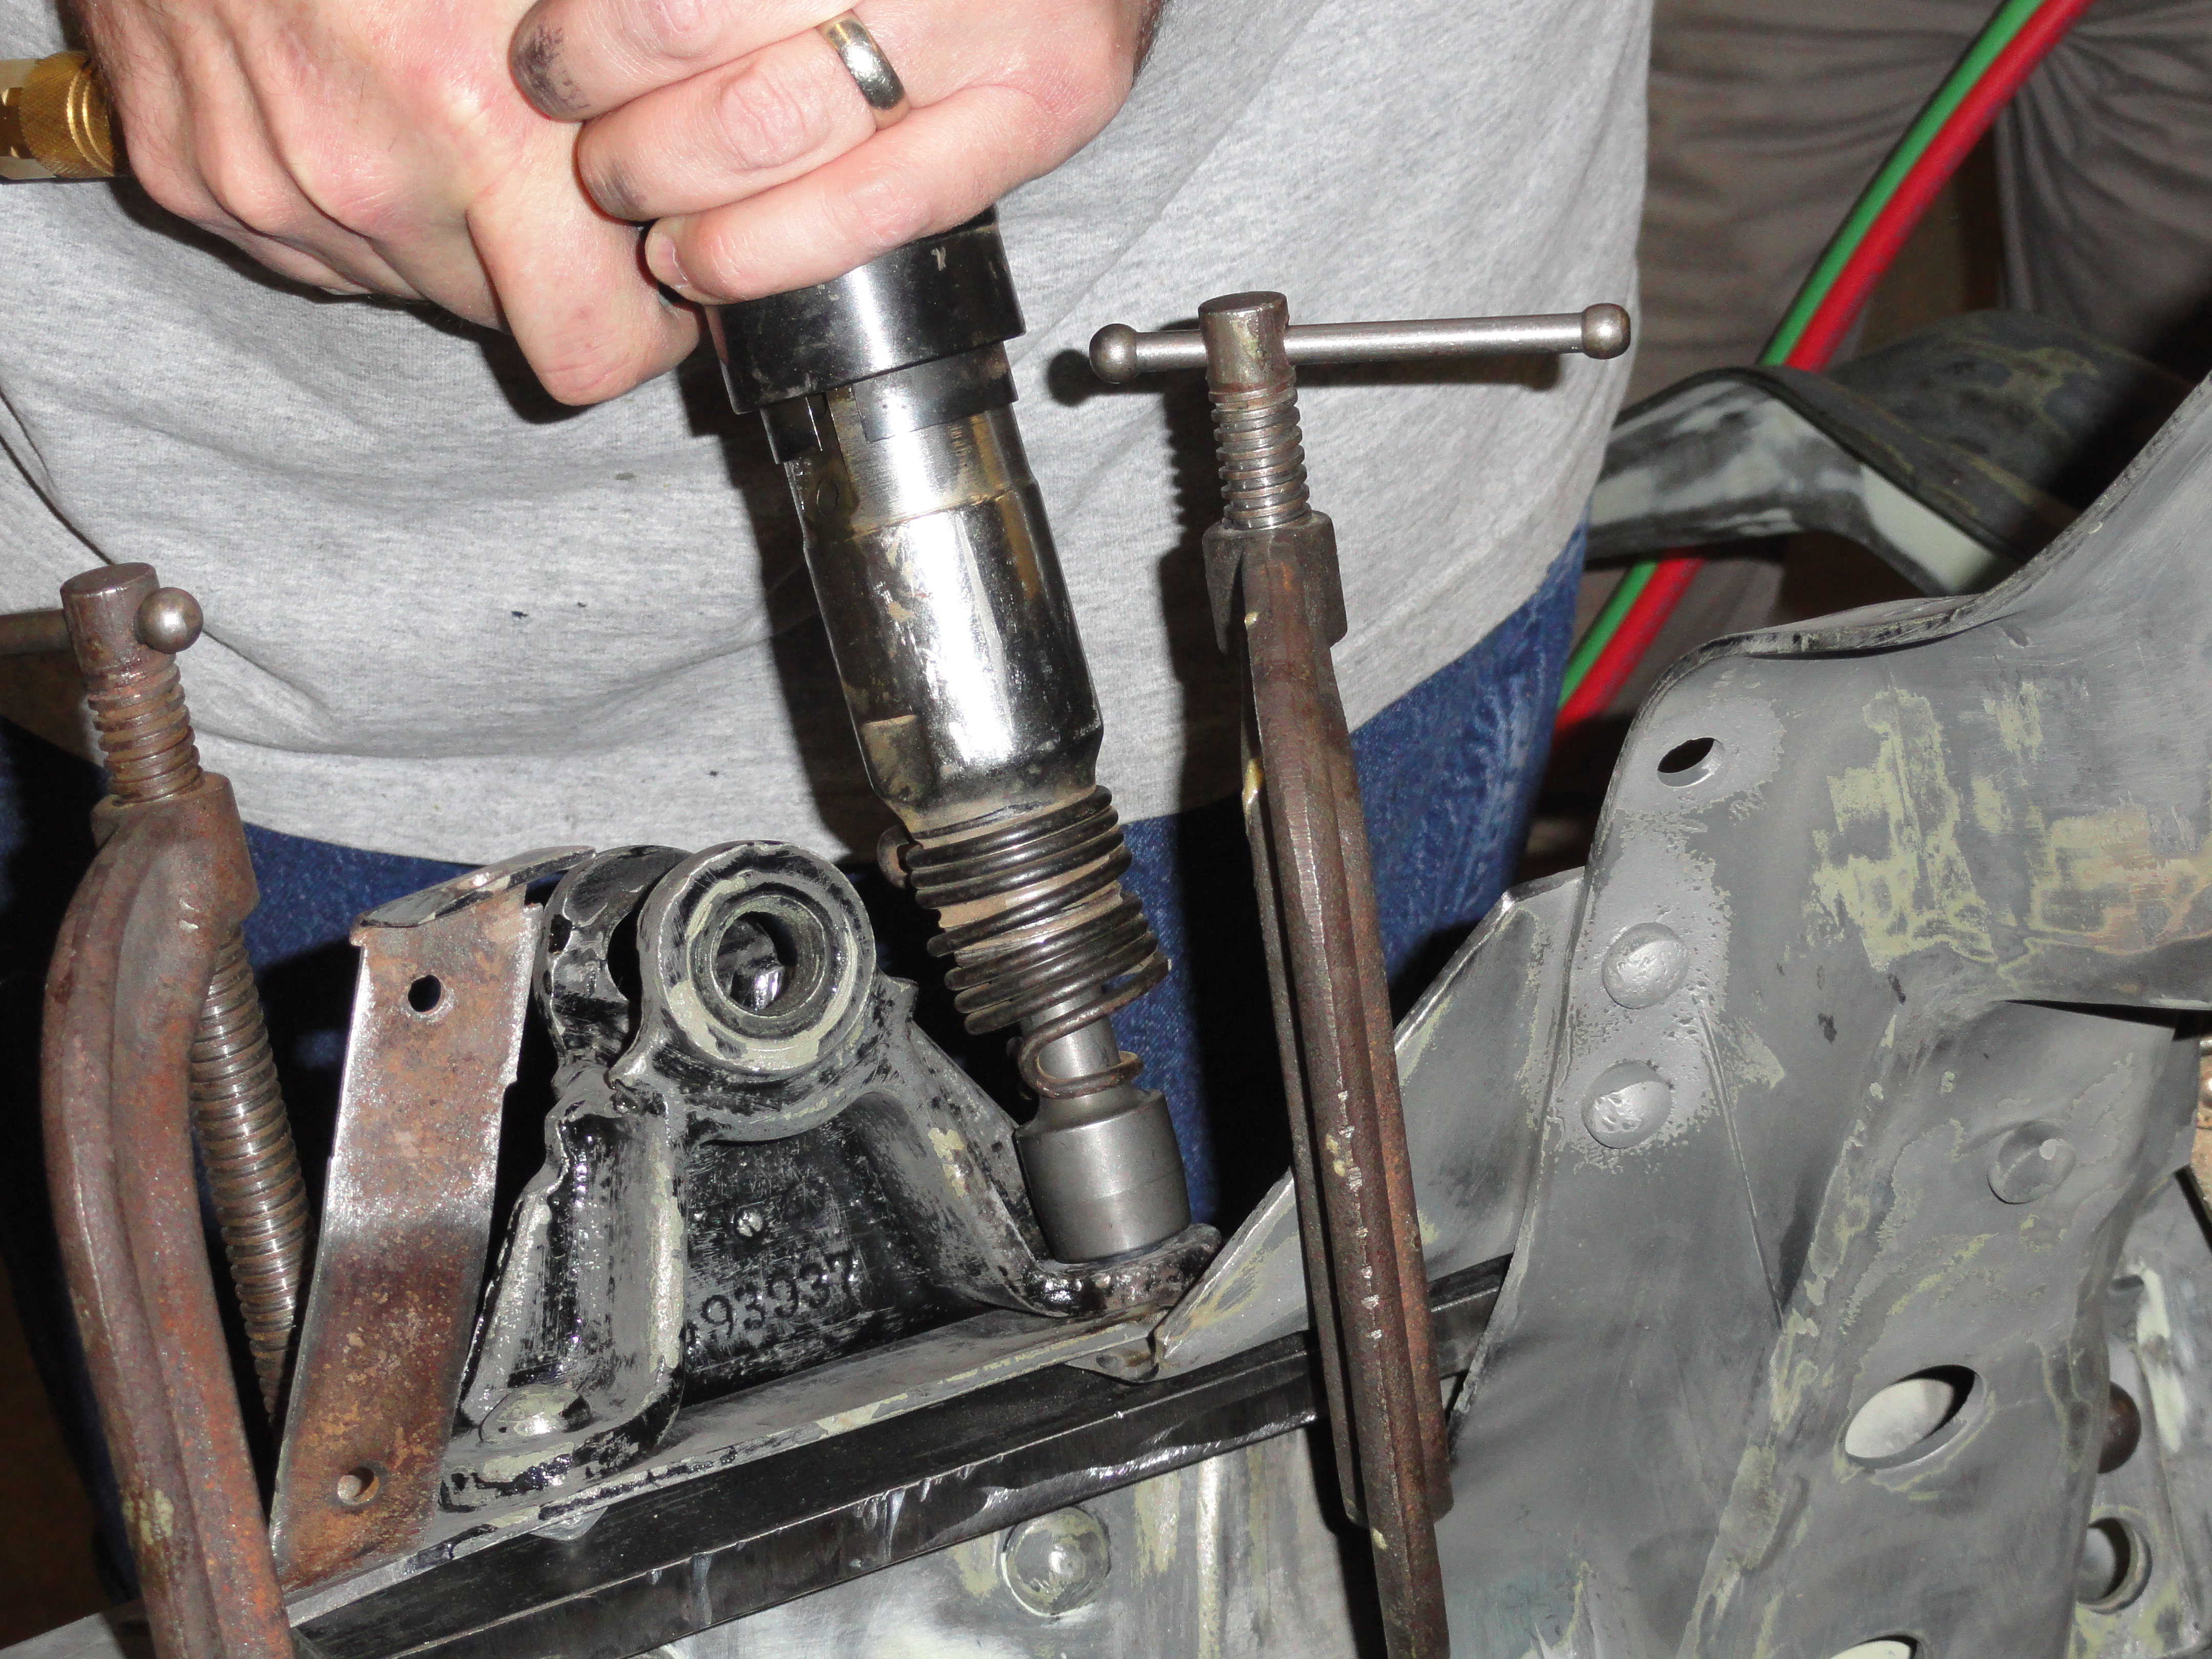
Insert the Rivet Setter into the Air Hammer, connect it to a normal 90-125psi air supply and just pretend you are going to use it to ensure there are no obstacles in your way. You want a totally unobstructed means to hammer the rivet home and the rivet setter must be totally straight to get a nice rivet head. Once you are sure you can push the rivet straight...
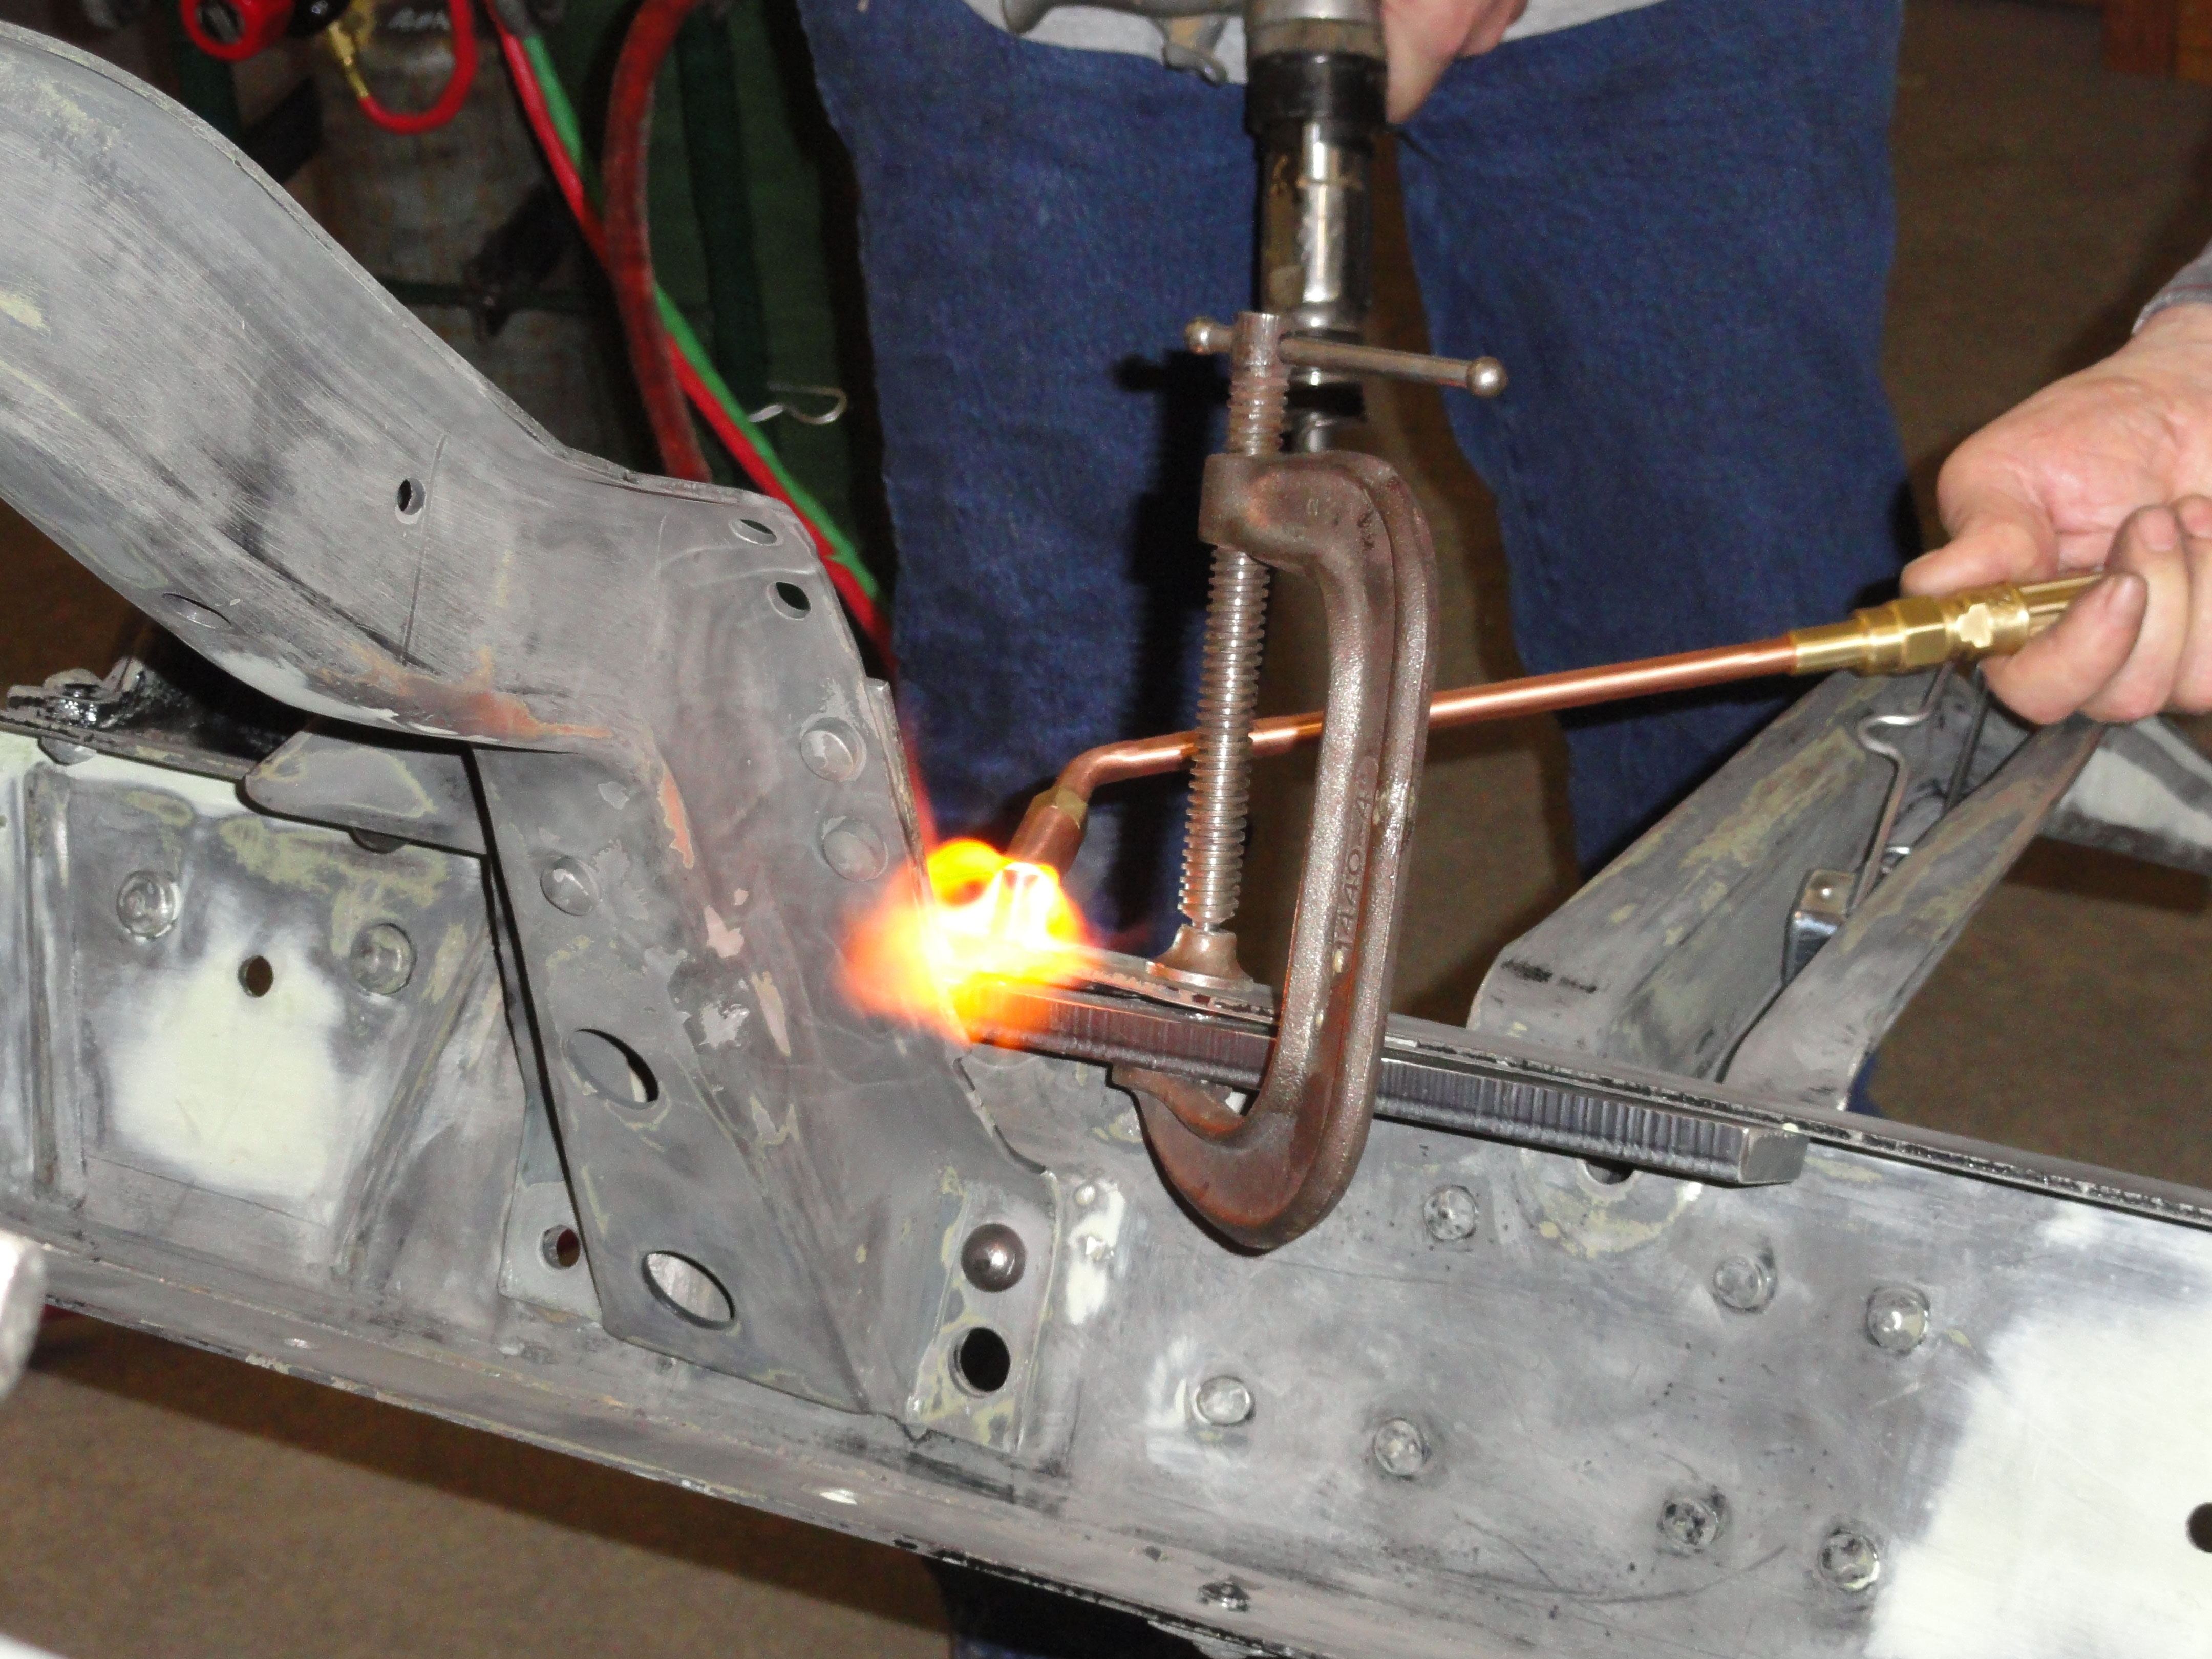
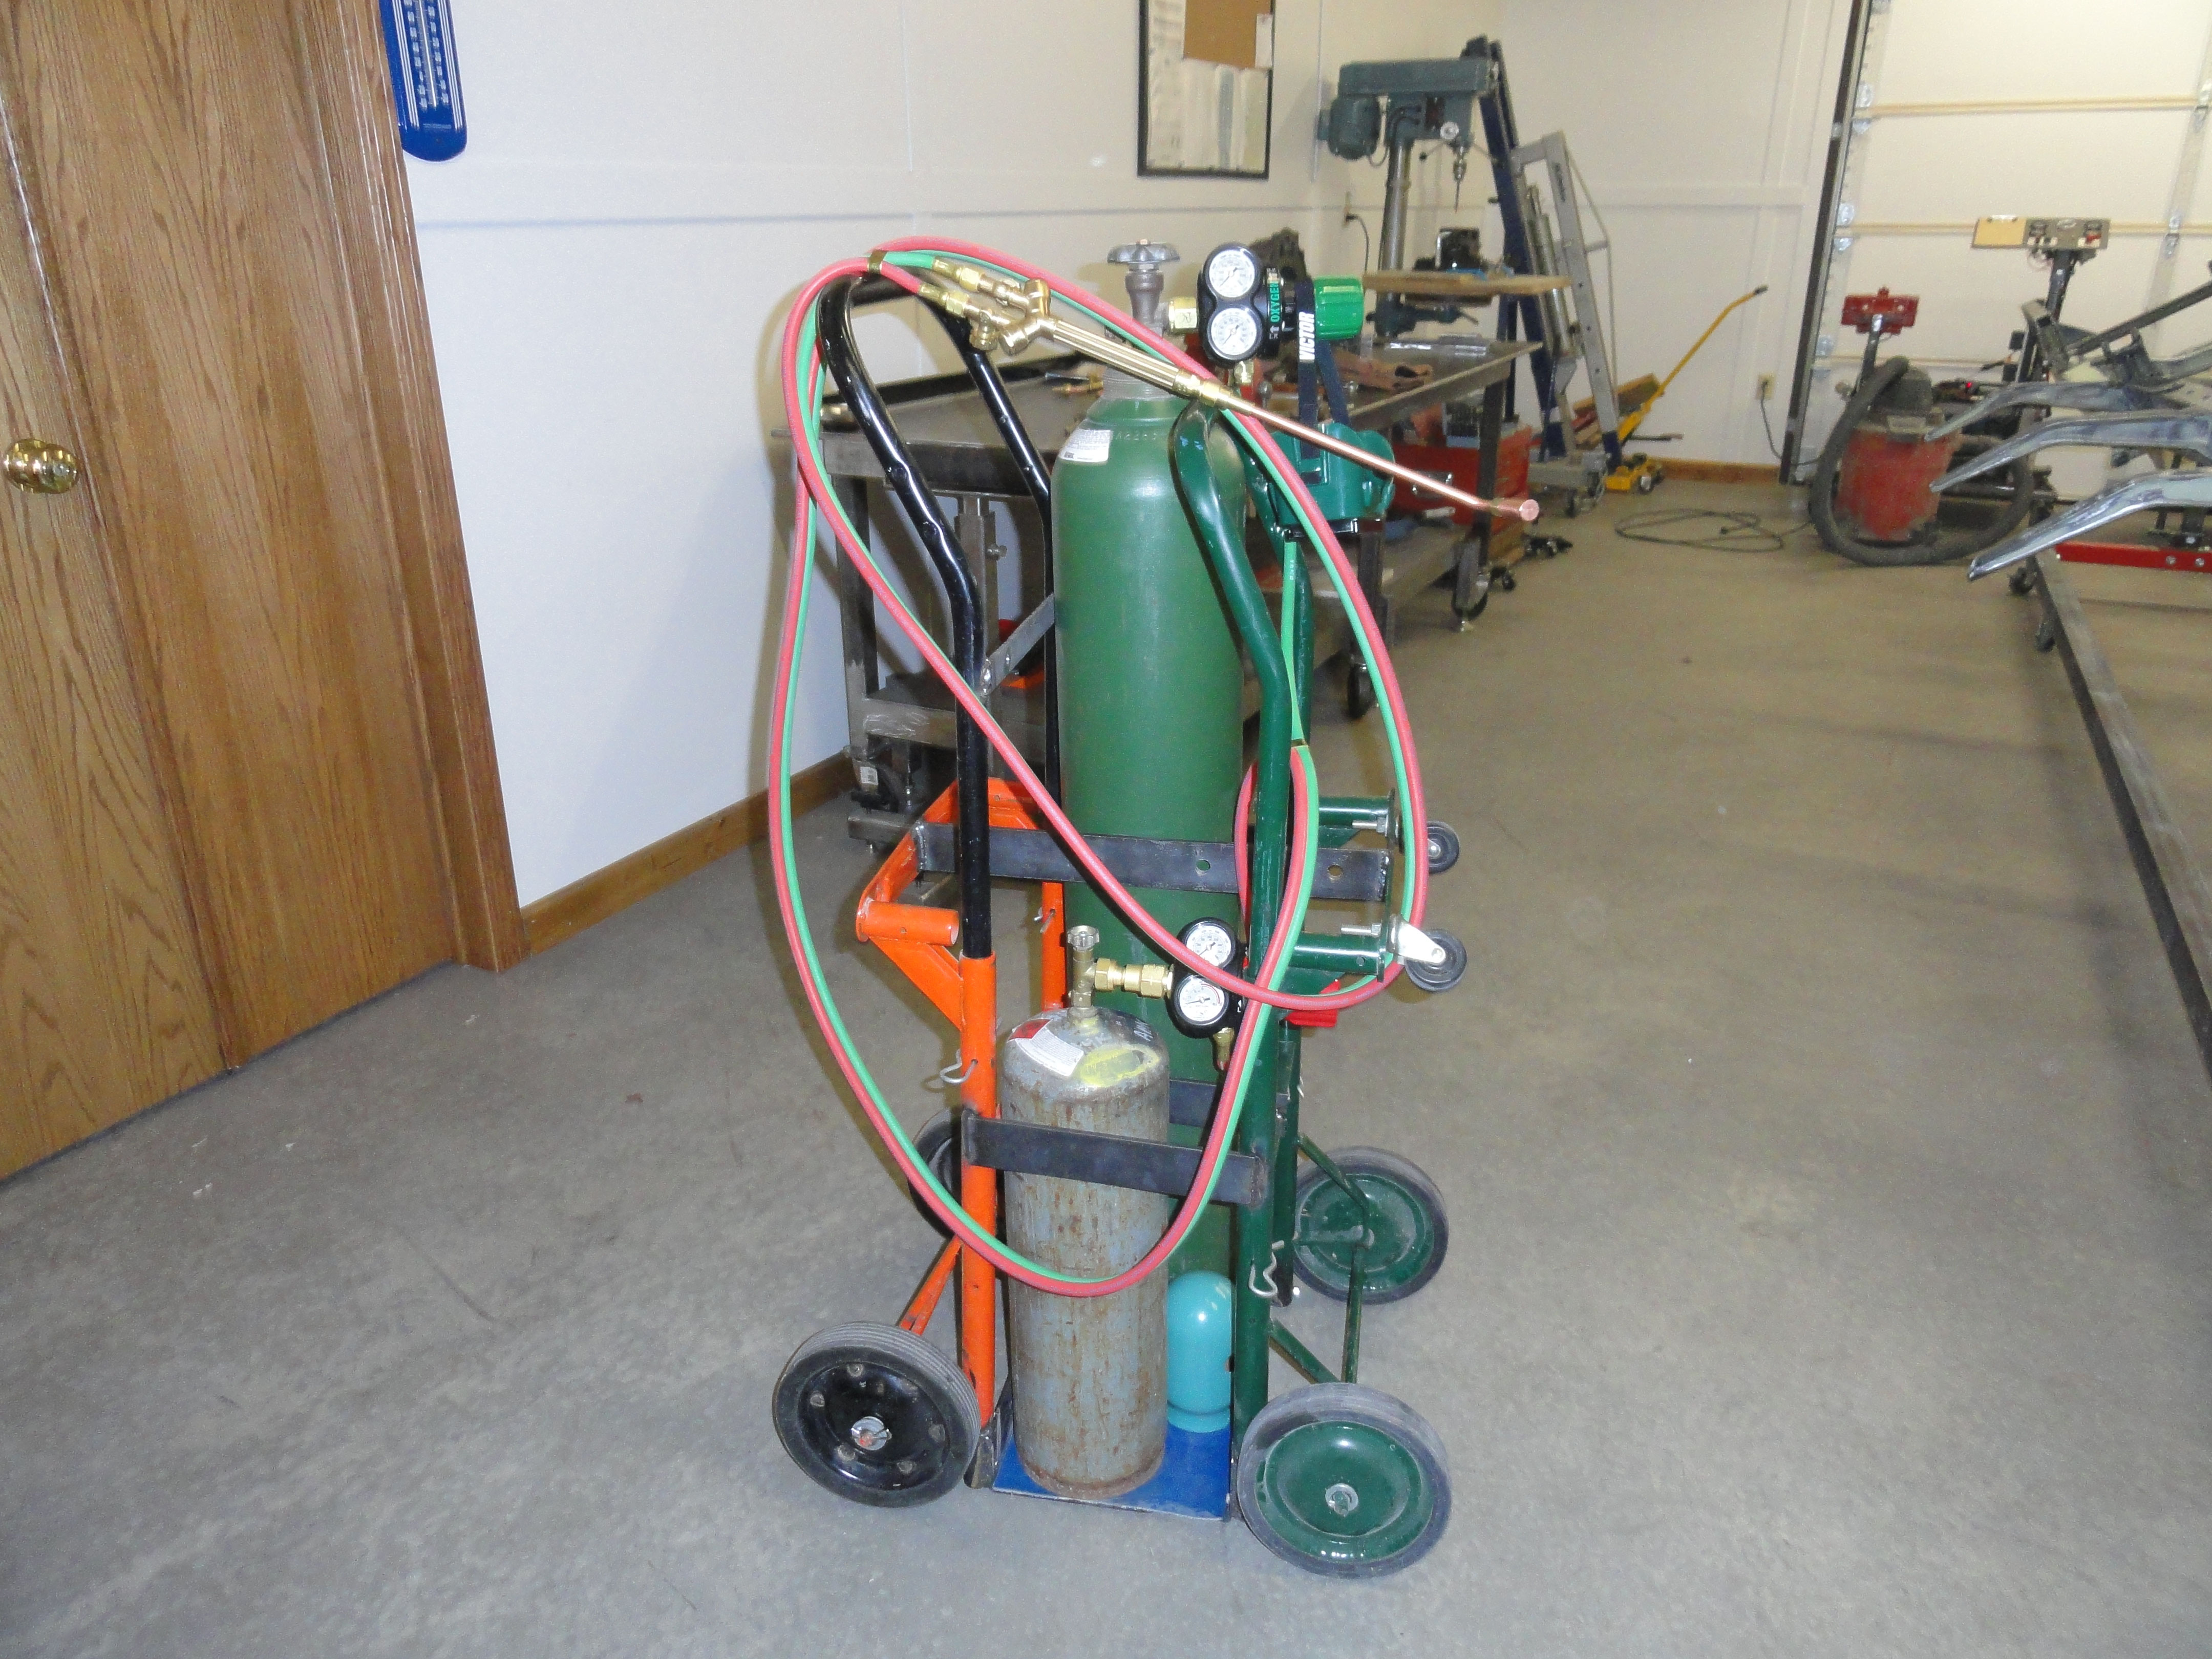
Fire up the Acetylene Torch and heat the rivet shank EVENLY. Go around the diameter a few times and sort of at the base of the rivet with the idea of getting the shaft as hot at the base as possible. I was lucky since my friend Gene is also the town Blacksmith he knew how hot to get the rivets before they melted. They should be glowing red hot and not just a little. If they start to turn white, back off. You need all the heat that rivet can stand. Apply heat as close to the rivet head and base as possible as well as the entire shaft for best results. By the way, you can't be reading this and doing the procedure at the same time! You simply don't have time! It takes about 10-15 seconds to heat the rivet.
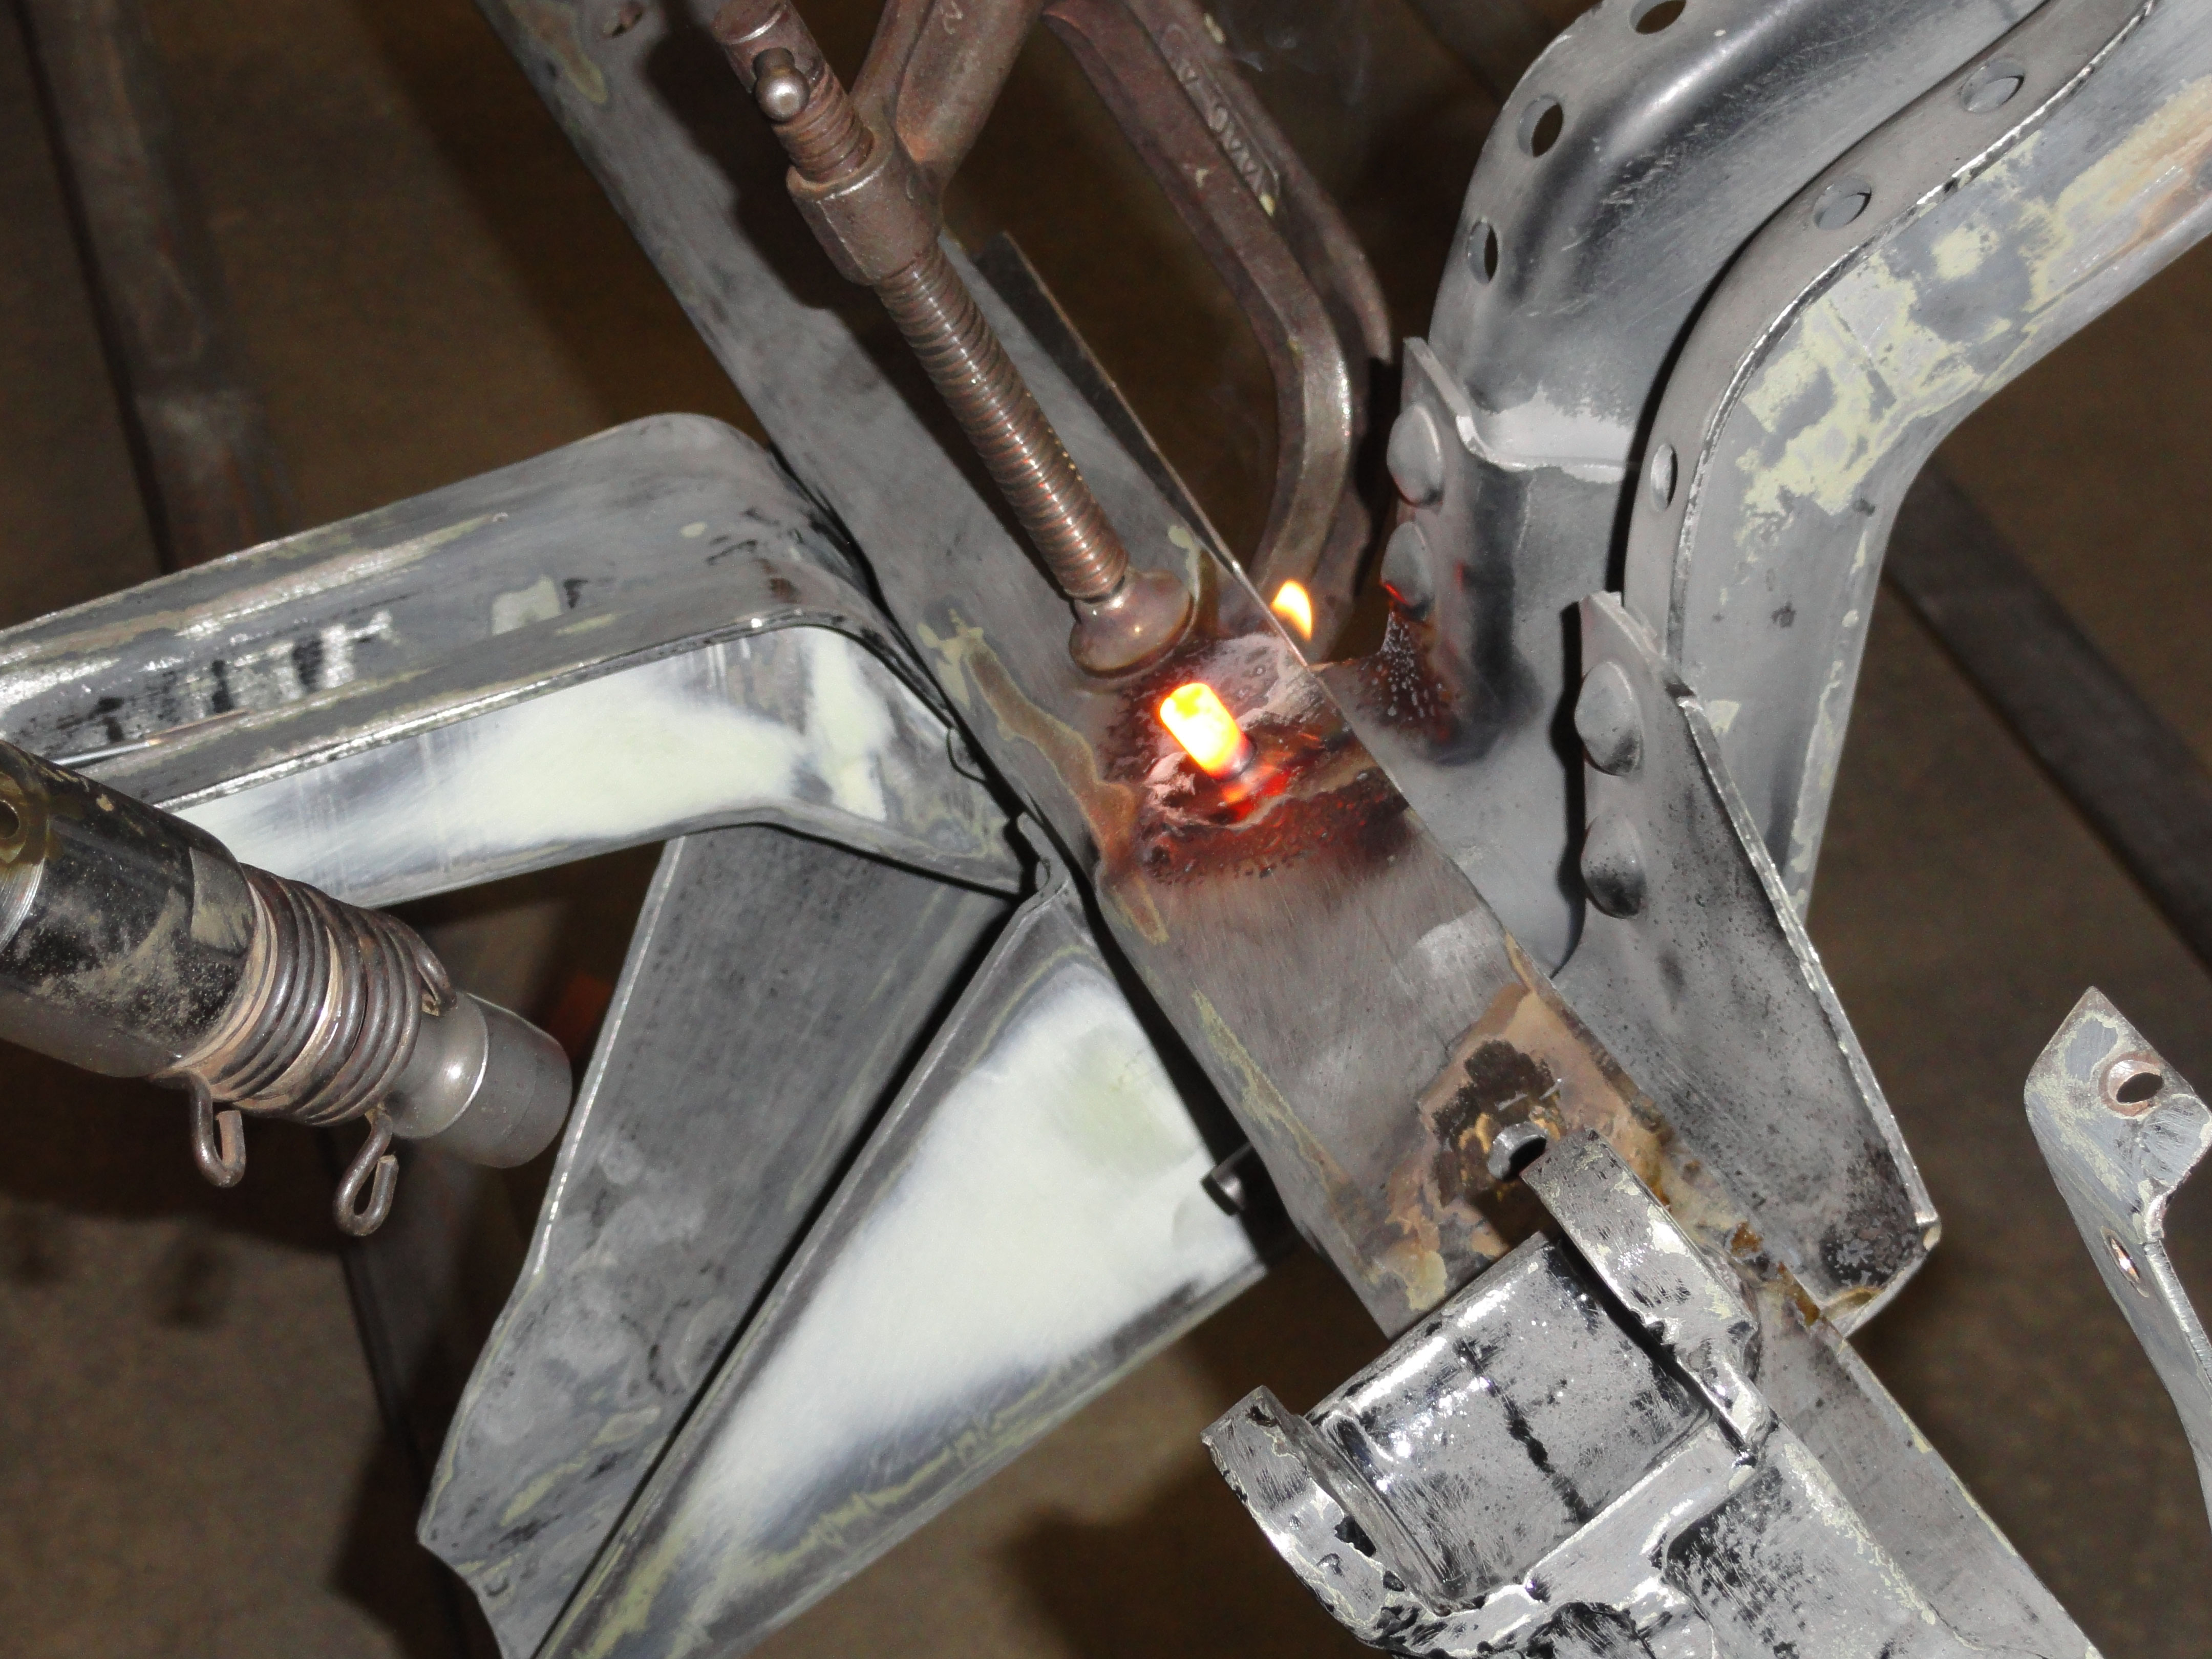
Speed is of the essence here. If you are a slow person, get someone else to do this. My friend Gene heated up the rivet, I stood right there beside the work with both hands on the gun and the very second he took the torch away, I hammered the rivet down. So be sure to have your rivet gun ready and place the rivet setter very squarely on the top of the red hot rivet and pull the trigger while pushing down. Push hard and straight until the rivet setting tool is almost completely against the frame. This takes about 2 seconds. Everything happens really fast.
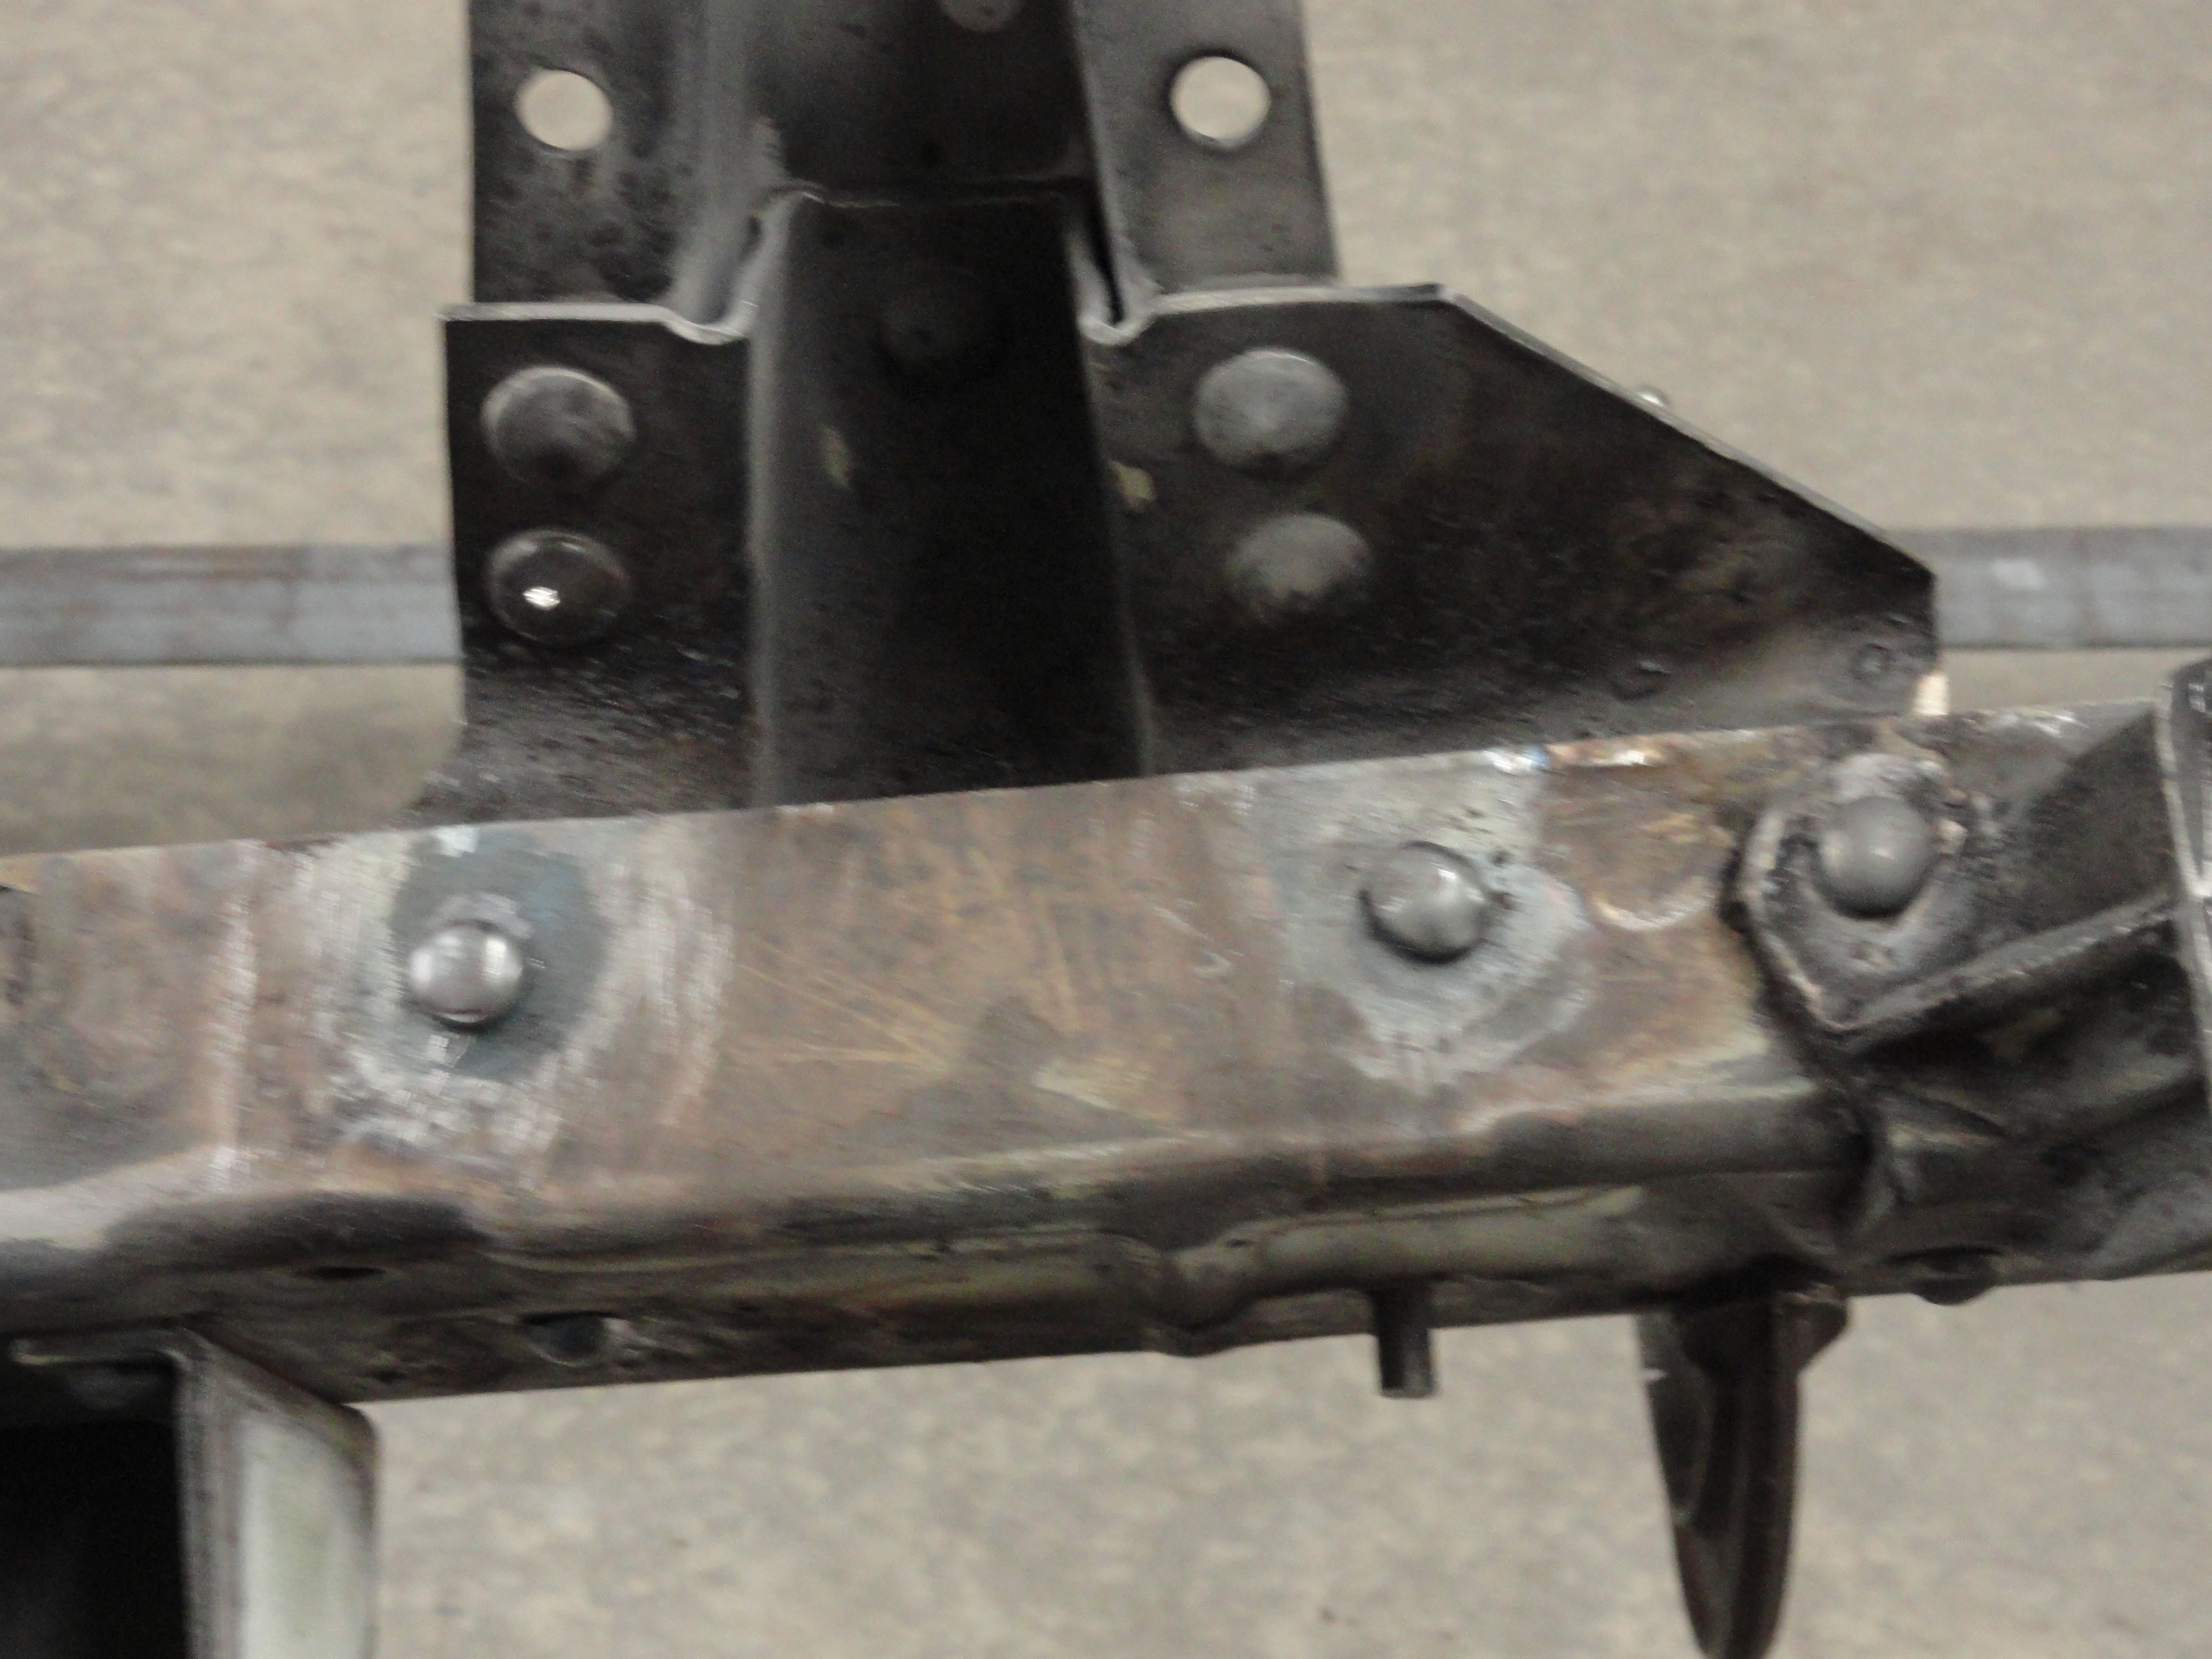
Admire your work. My first attempt was perfect and the rivet looked amazing. My second attempt wasn't so pretty so I had to grind off the rivet head and start all over. This turned out to be very revealing anyway. There is some controversy about this procedure shunting all the heat into the bucking bar thus making for a less secure rivet. I assure you this isn't the case. On close examination of the cross section, all of the hole was completely filled and it took a very large punch and a very big hammer to knock it out of the hole. Due to the properties of steel, heating a rivet, squashing it in the hole, then letting it cool makes for an extra tight fit since heat expands when hot and contracts when cool.
At this point all that's left is cleaning around the rivet. If there was paint there before, there isn't much left now due to the heat. I used 80 grit sandpaper to prepare the area for primer and new paint. If you aren't going for show quality, a wire brush would do. Whatever paint is left would be suspect so I used a sharp scraper to remove what was there. What is so cool about re-riveting this way is no-one will ever know and you will feel confident that you did it right!
If you did this right, the rivet looks just like any of the others on the truck and every bit as tight as they did it at the factory. I hope this helps someone and takes away alot of the mystery. You can find other how-to articles from various authors on DevesTechNet.com. Join the discussion forums too!