


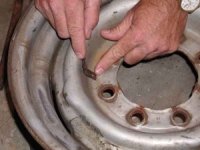
Step 1: The first thing you have to do is determine where the clips are to be mounted on the wheel. You
can hold a couple in place with tape to get an idea of where to mount them, then you can lower the hubcap over them to see
if it will be a snug fit once they're installed.<--
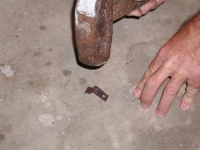
Step 2: I found that it was necessary to flatten the clips out somewhat. Laying them down on a flat
surface and striking them with a hammer will do this, but be careful. They can break, so it is a good idea to have a
few extras just in case.-->
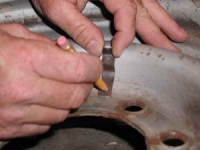
Step 3: Once you decide where you want the clips, you can mark with a pencil. I will not paint the rim
until this job is done, so that I can see my marks as I go.<--
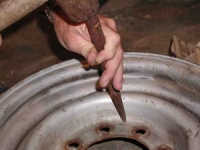
Step 4: Now you can take a punch and mark your holes to be drilled. I recommend installing 2 clips at
first; one on each side, just to see how the hubcap is going to fit. I chose to install a total of 4 per wheel, which
works very well. -->
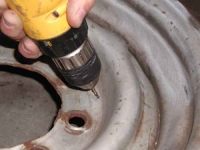
Step 5: When you drill the holes, obviously you want a hole smaller than the screw that you are going
to use. The reason I mention this is that if you twist the screw too tight, you can break it off, which can really be a
pain!<--
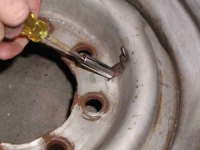
Step 6: Referring again to breaking the screws off, I highly recommend a nut driver or screwdriver, as
opposed to a ratchet or drill. I guess you can tell, I broke a couple off before I finally got smart! -->
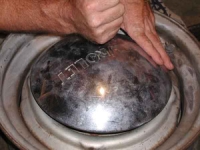
Step 7: The hubcap should fit pretty tightly once the clips are installed. Be careful to see that each
clip goes to the inside, and not the outside of the hubcap when you snap it on.<--
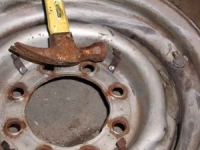
Step 8: Here's the good part. The clips can be adjusted, once installed, by tapping with a hammer and/or
tightening or loosening the screws as necessary until you get a tight fit. Be careful with the hammer, because the clips,
as stated earlier, can break, so it's a good idea to have a few extras on hand. -->