Deve's Technical Network
1947-1955 1st Chevy Trucks
216/235/261 Engine Solutions & More
First, download your free Carb Manual thanks to Mike's Carburetor Parts.
Here is one of Brad Allen's slide-show presentations direct from General Motors in 1952, Servicing the New GM Carburetor...

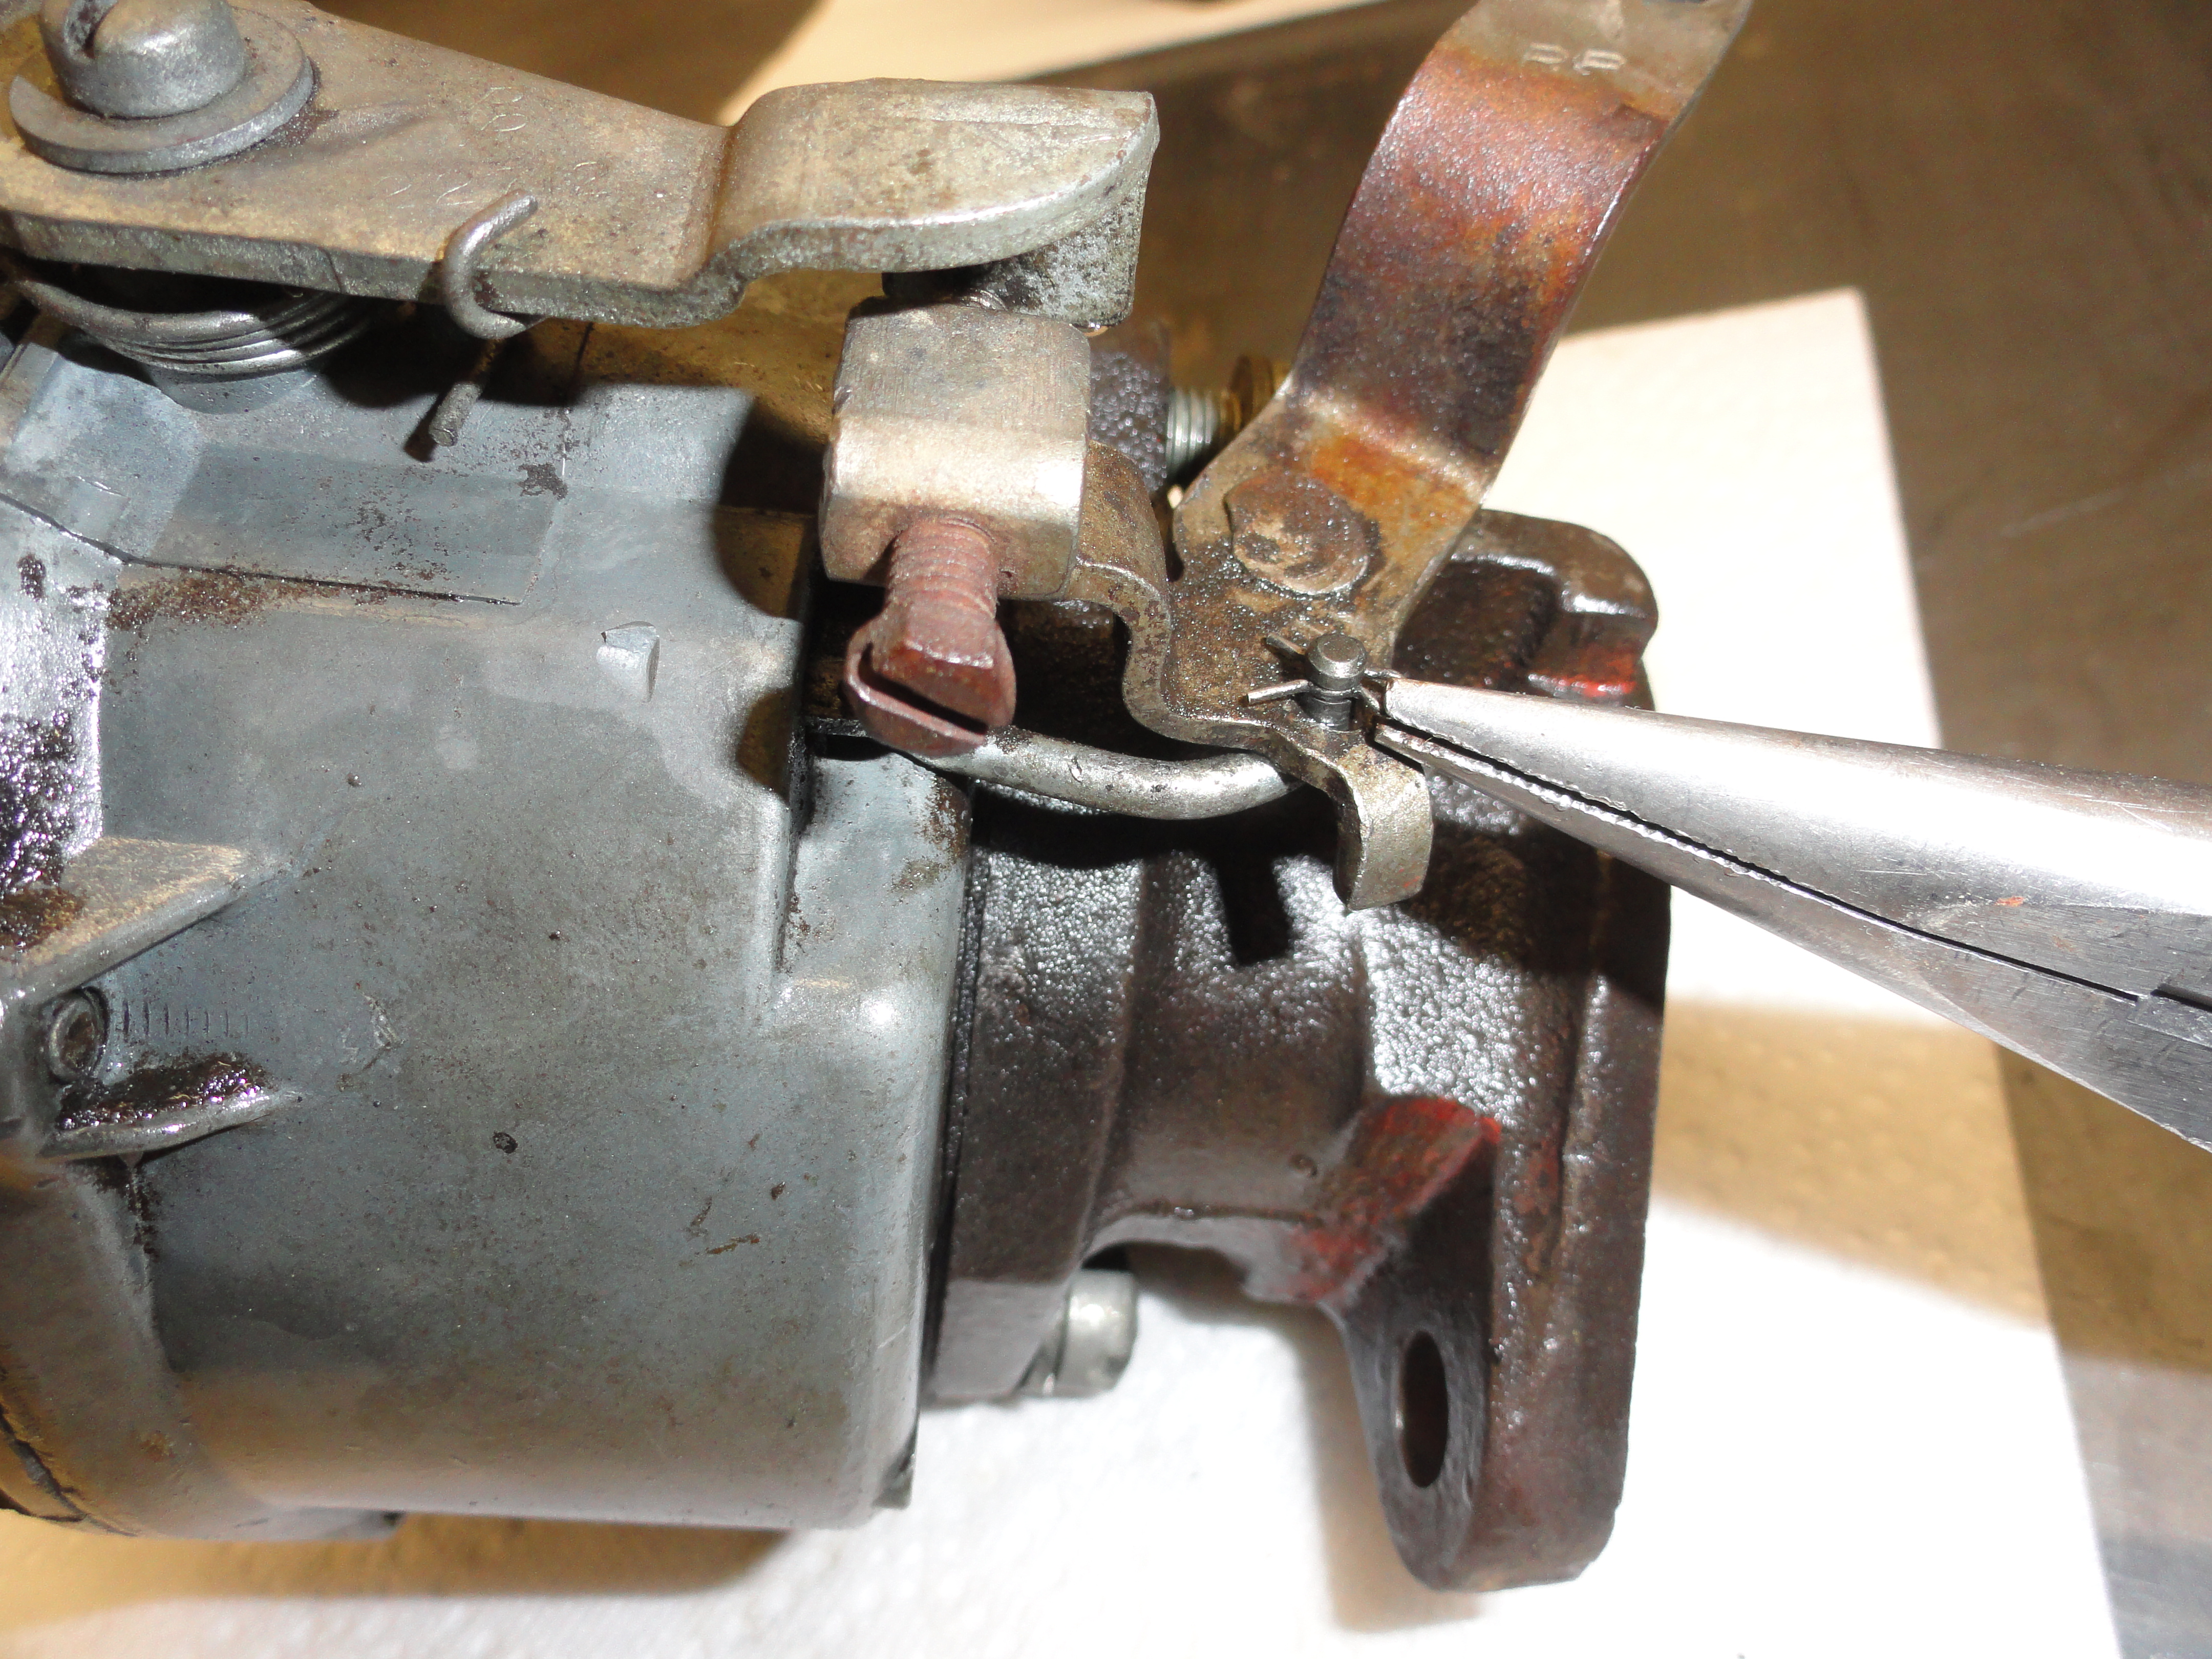

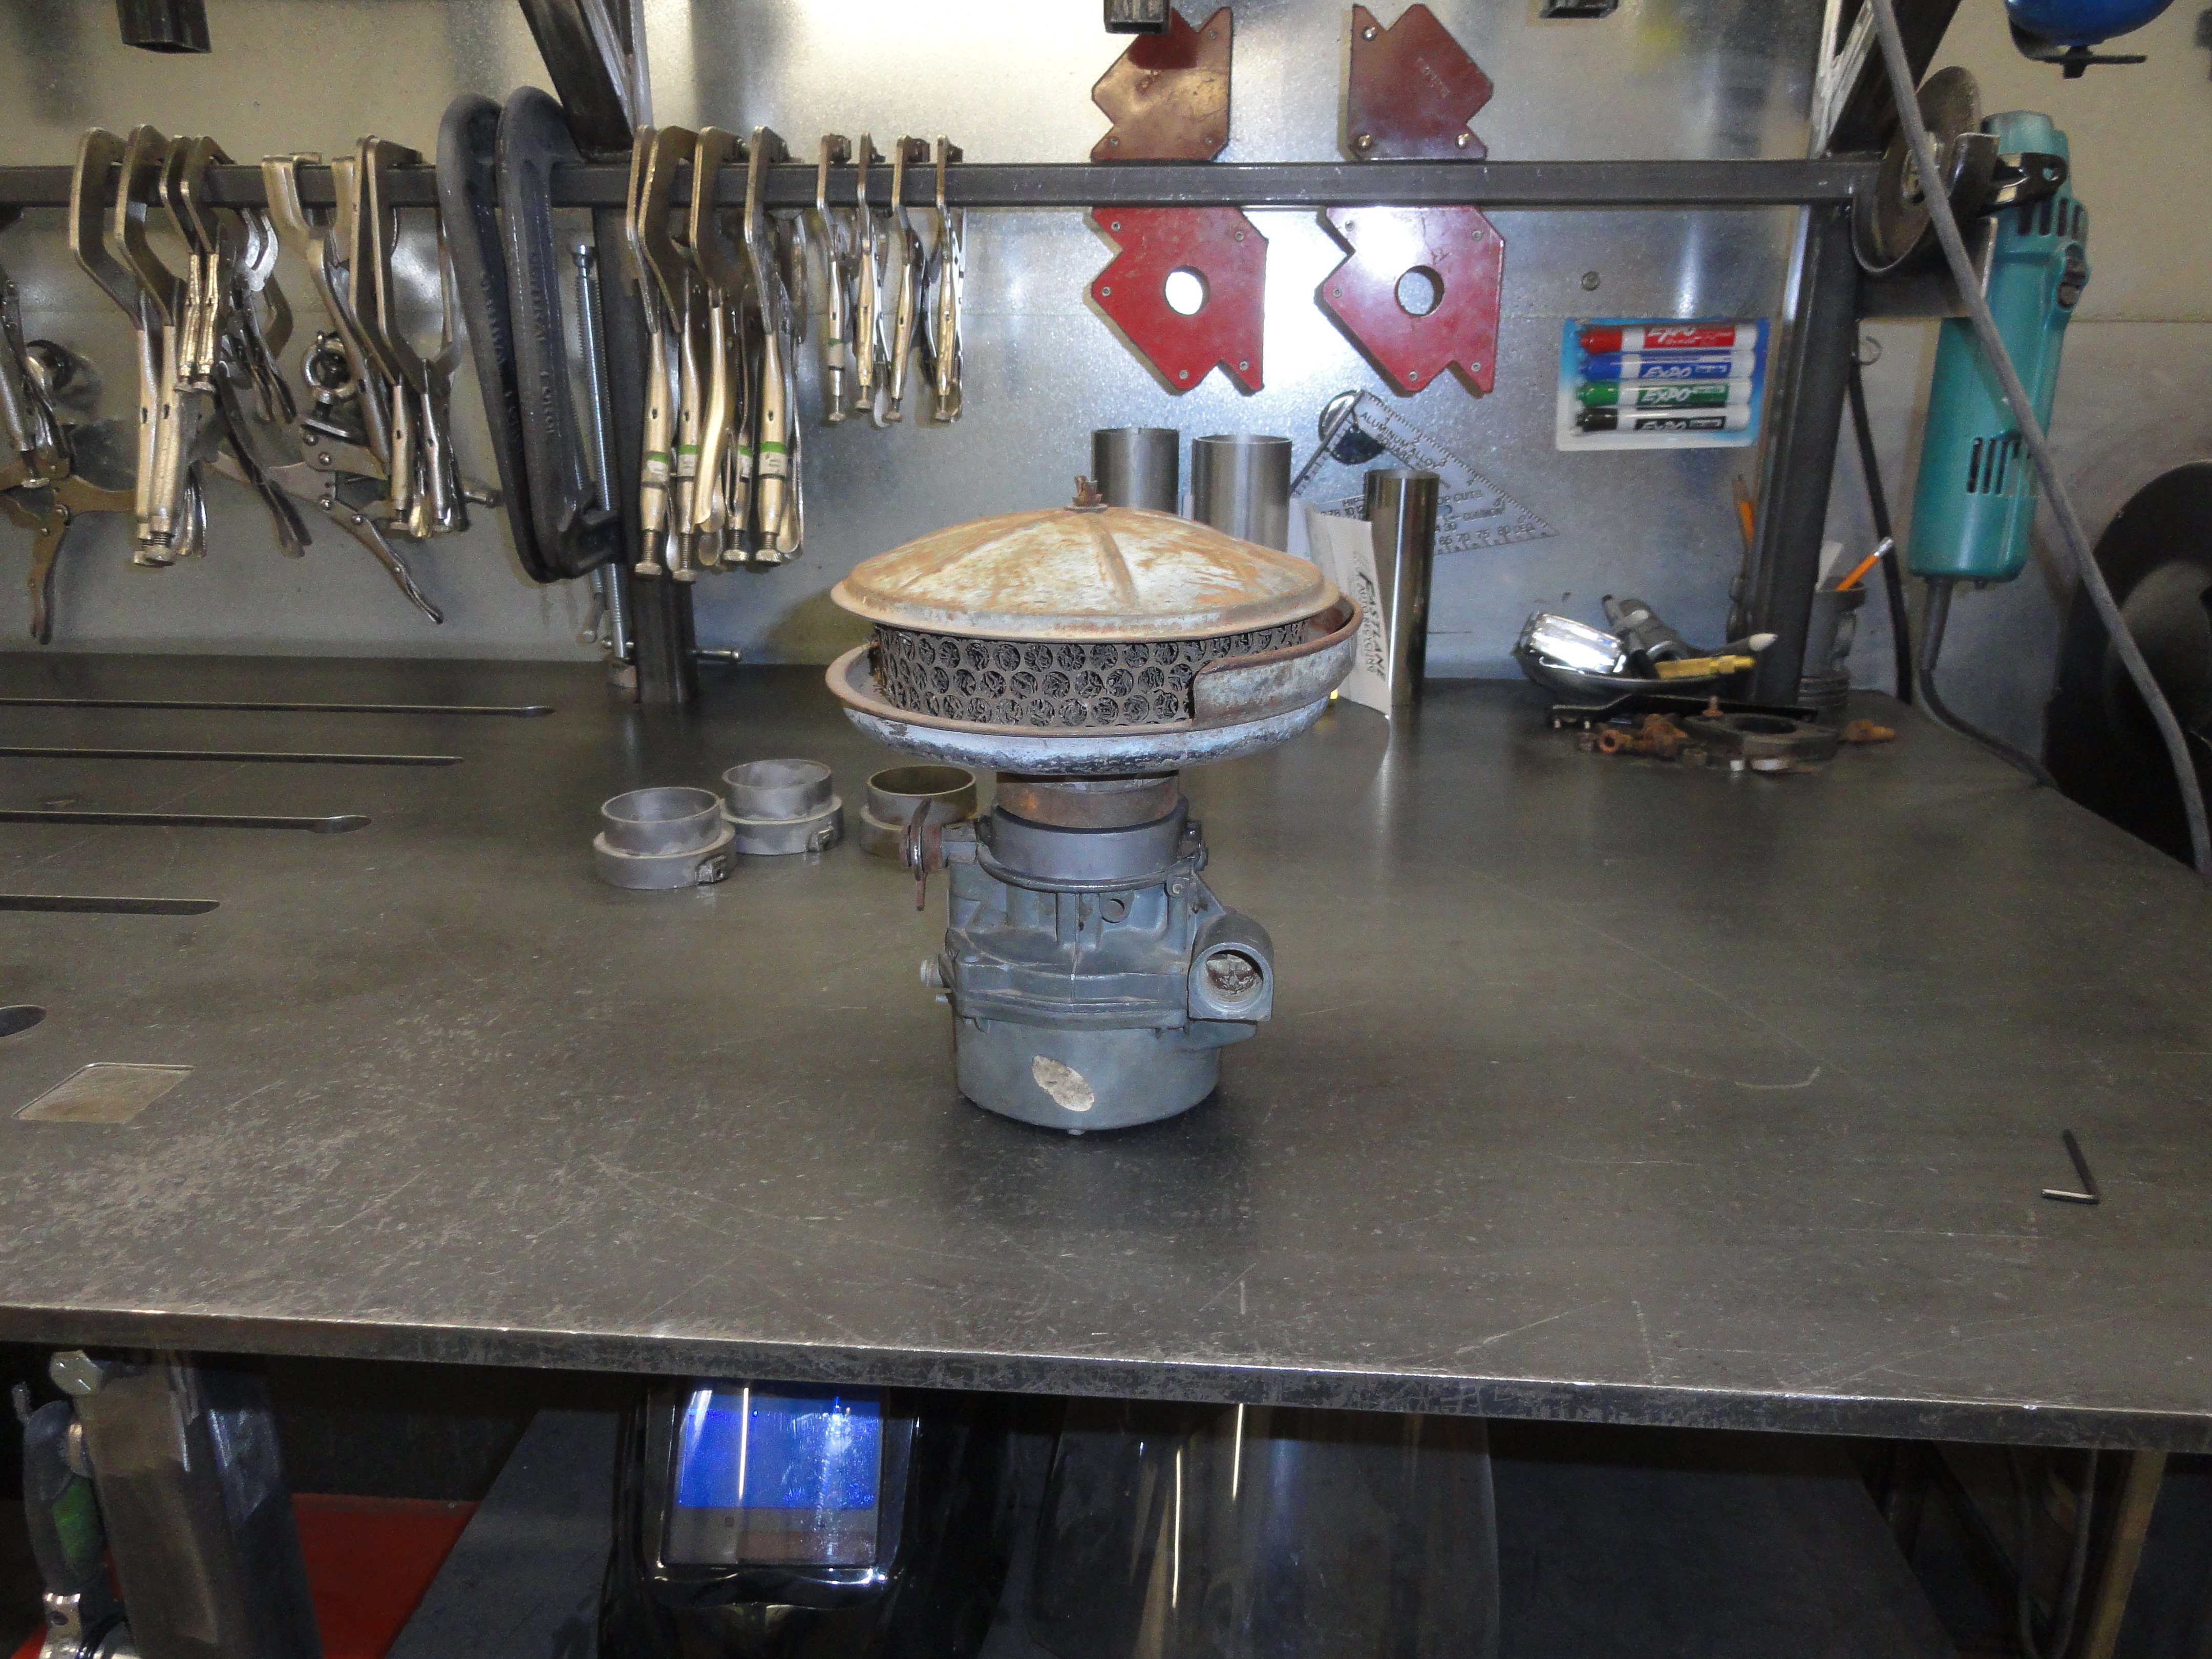
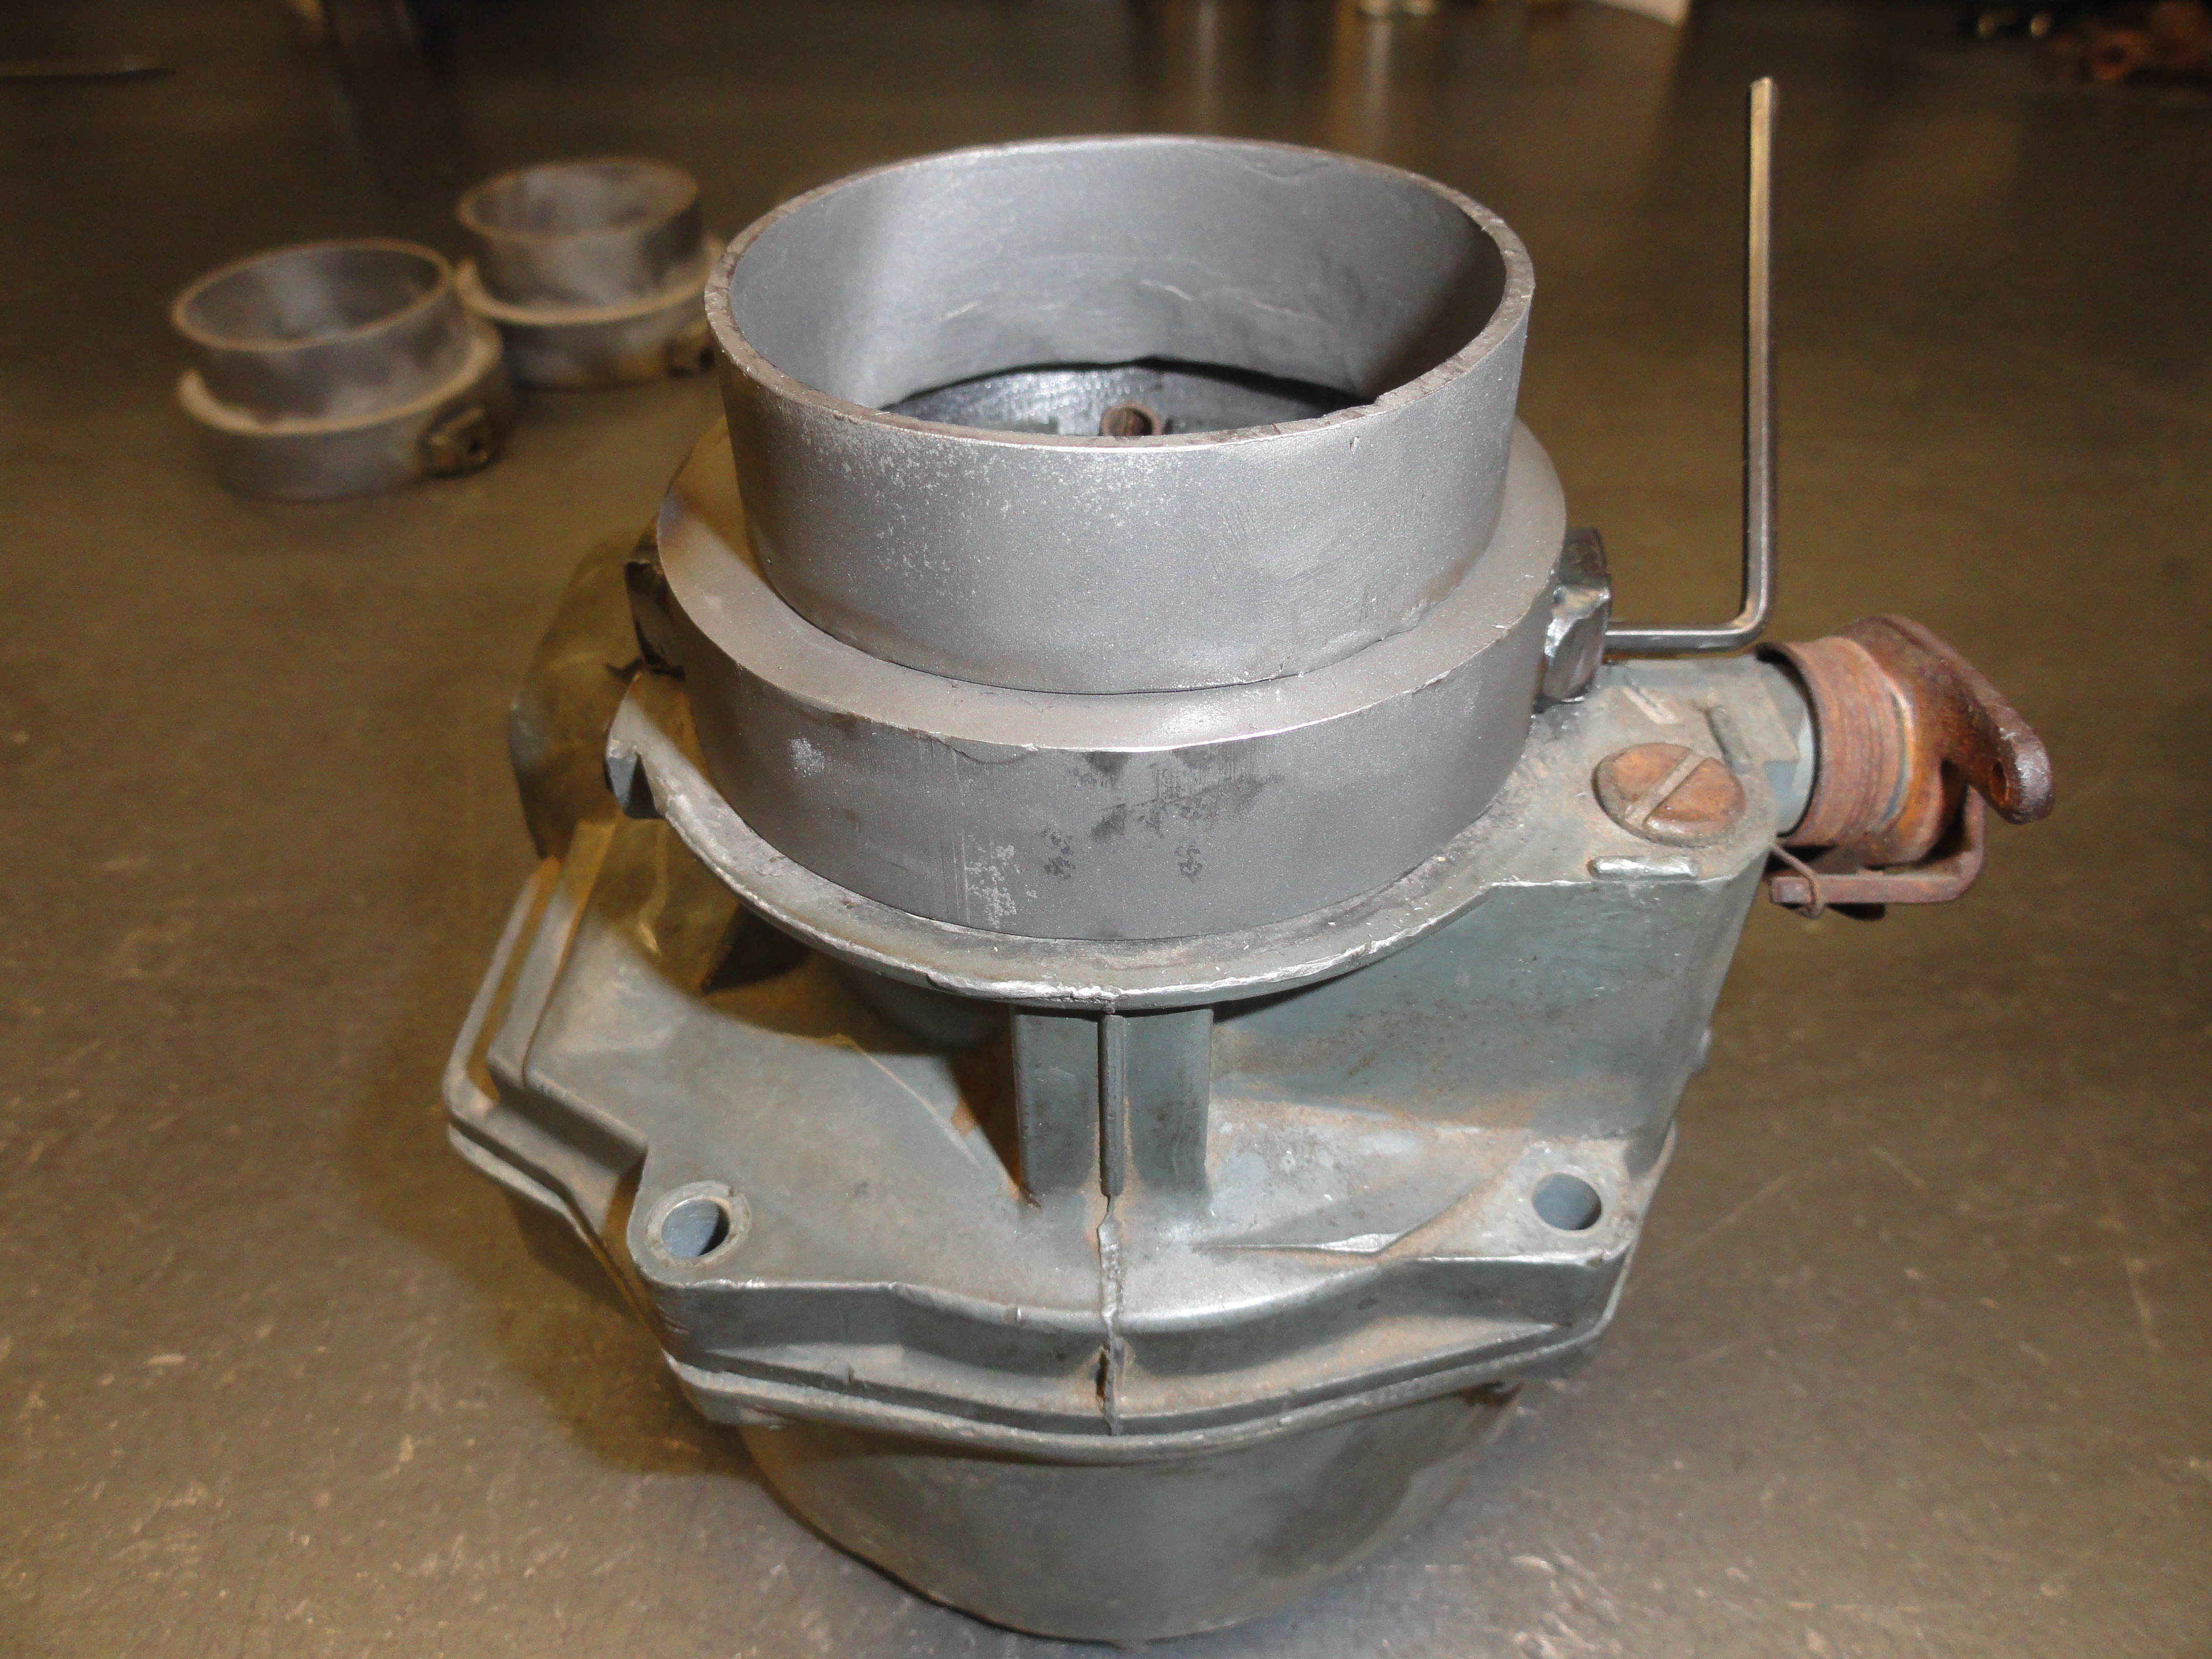
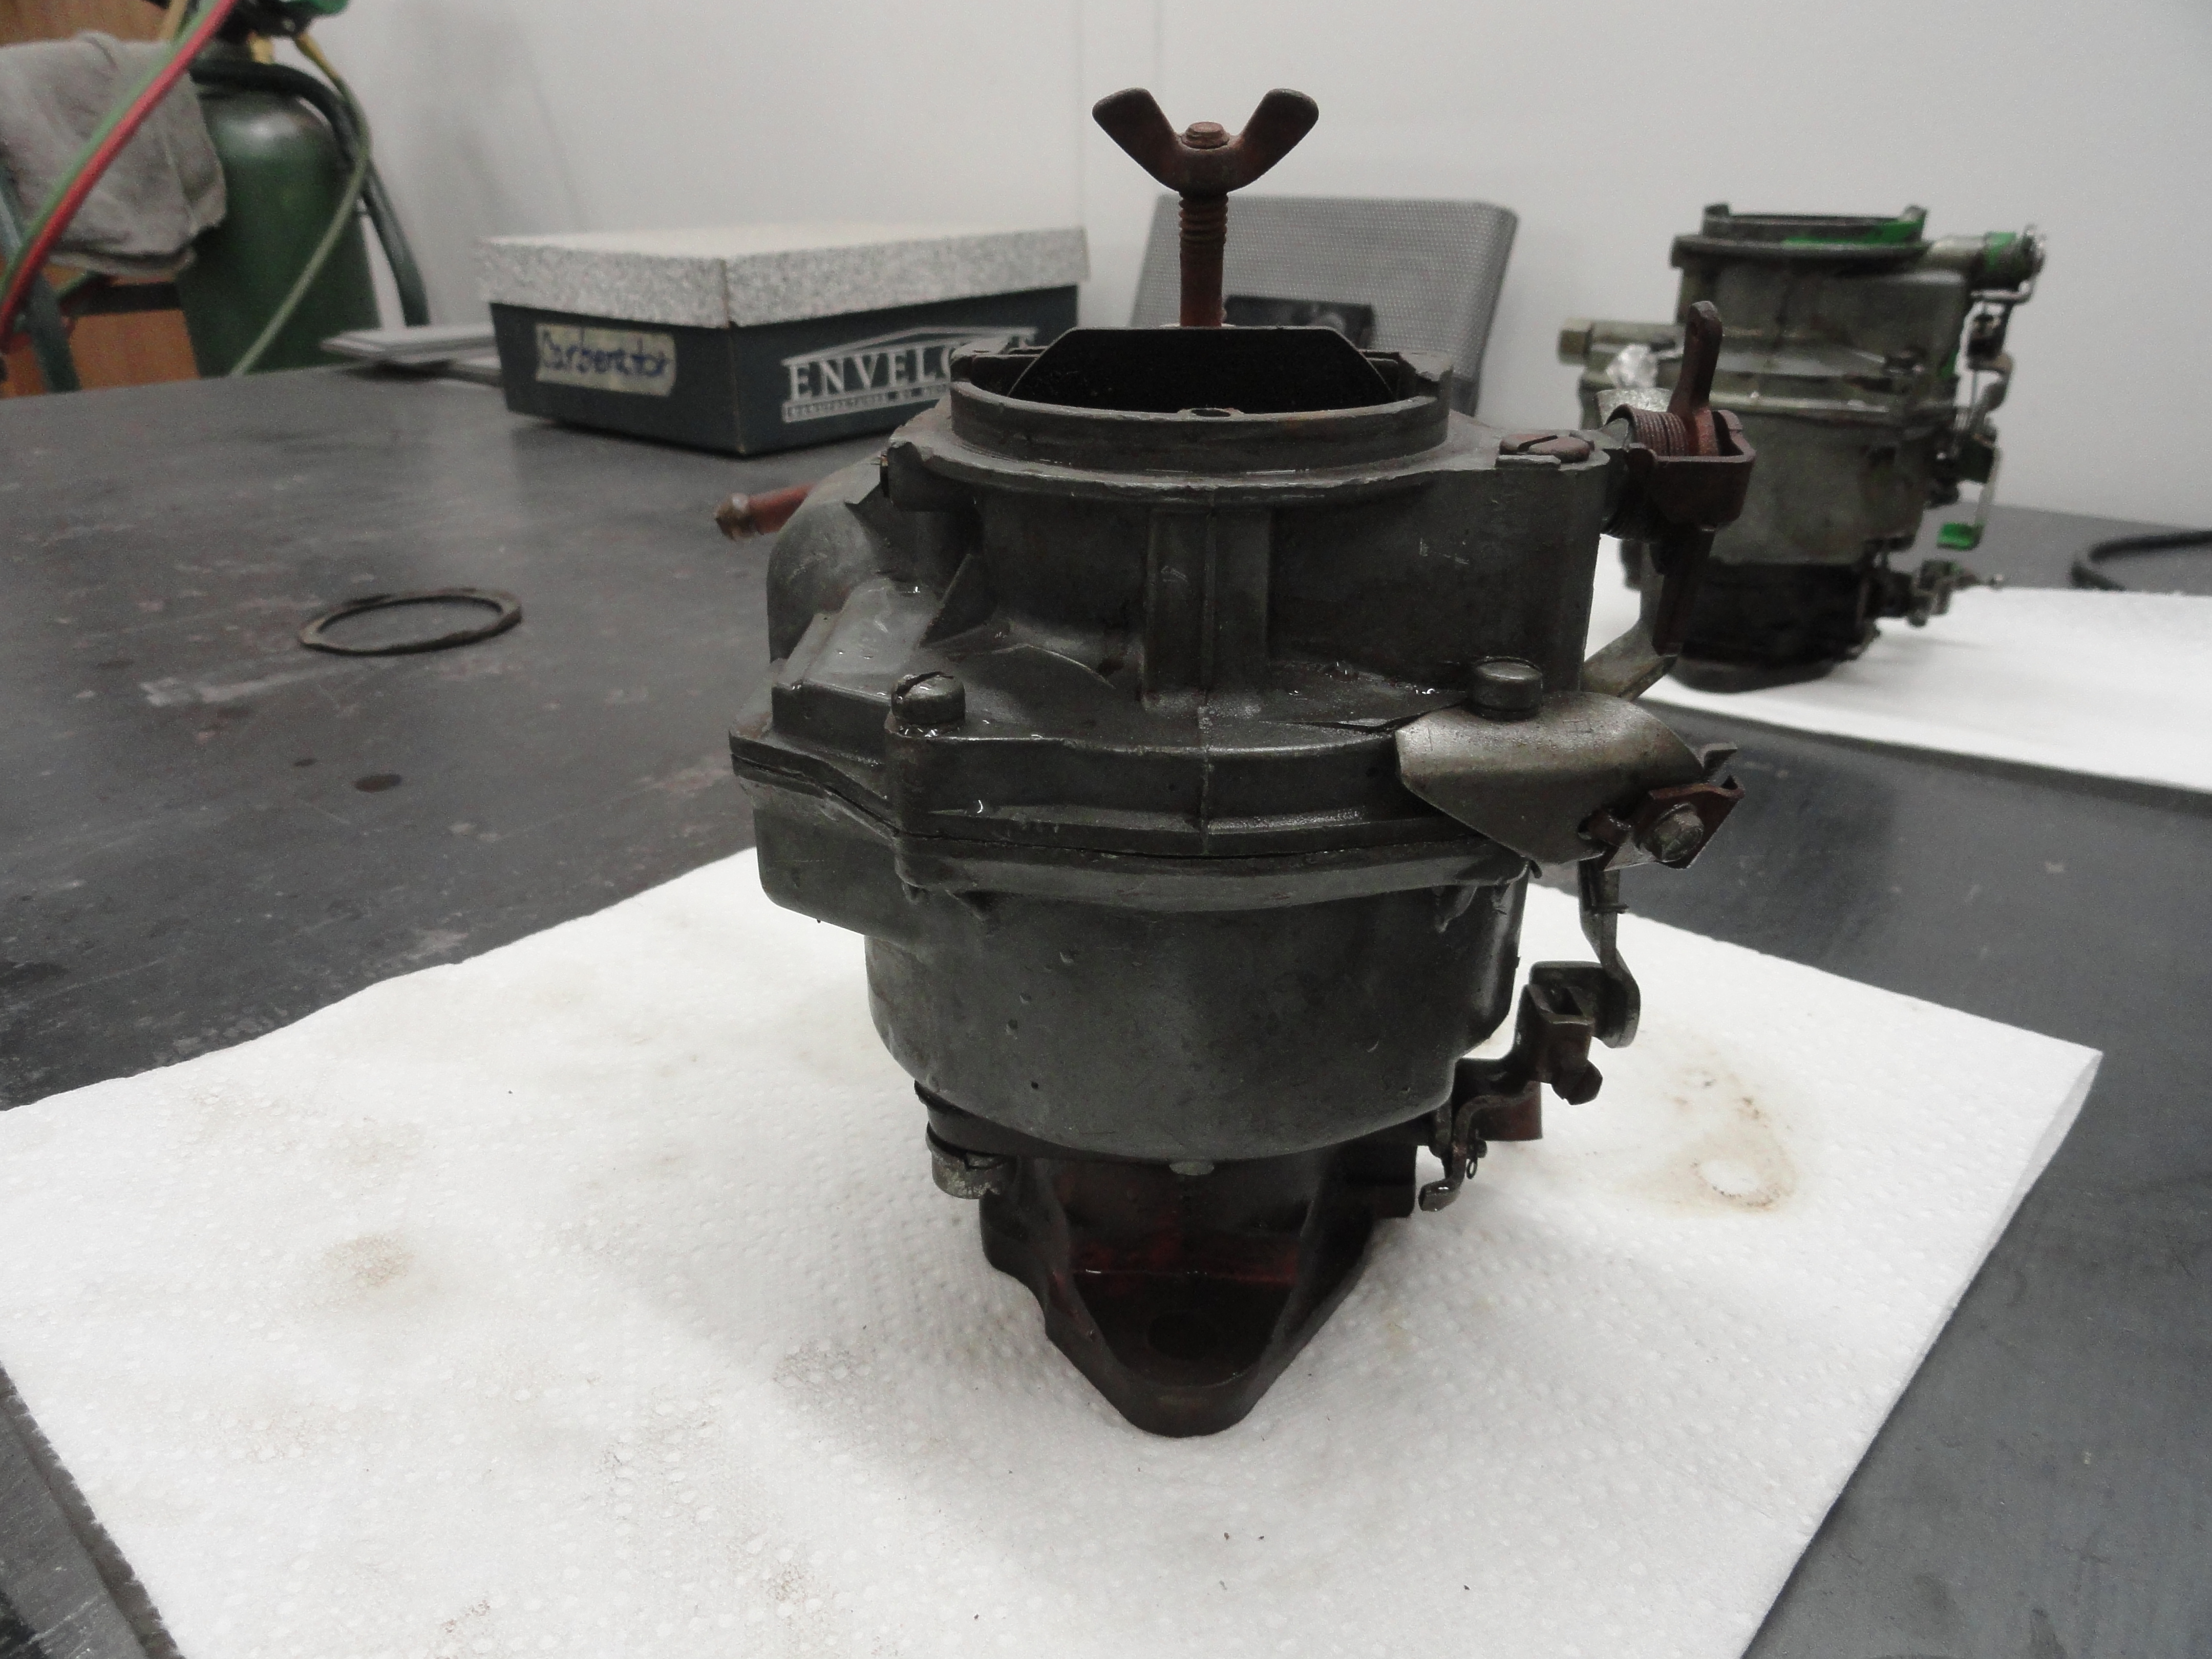
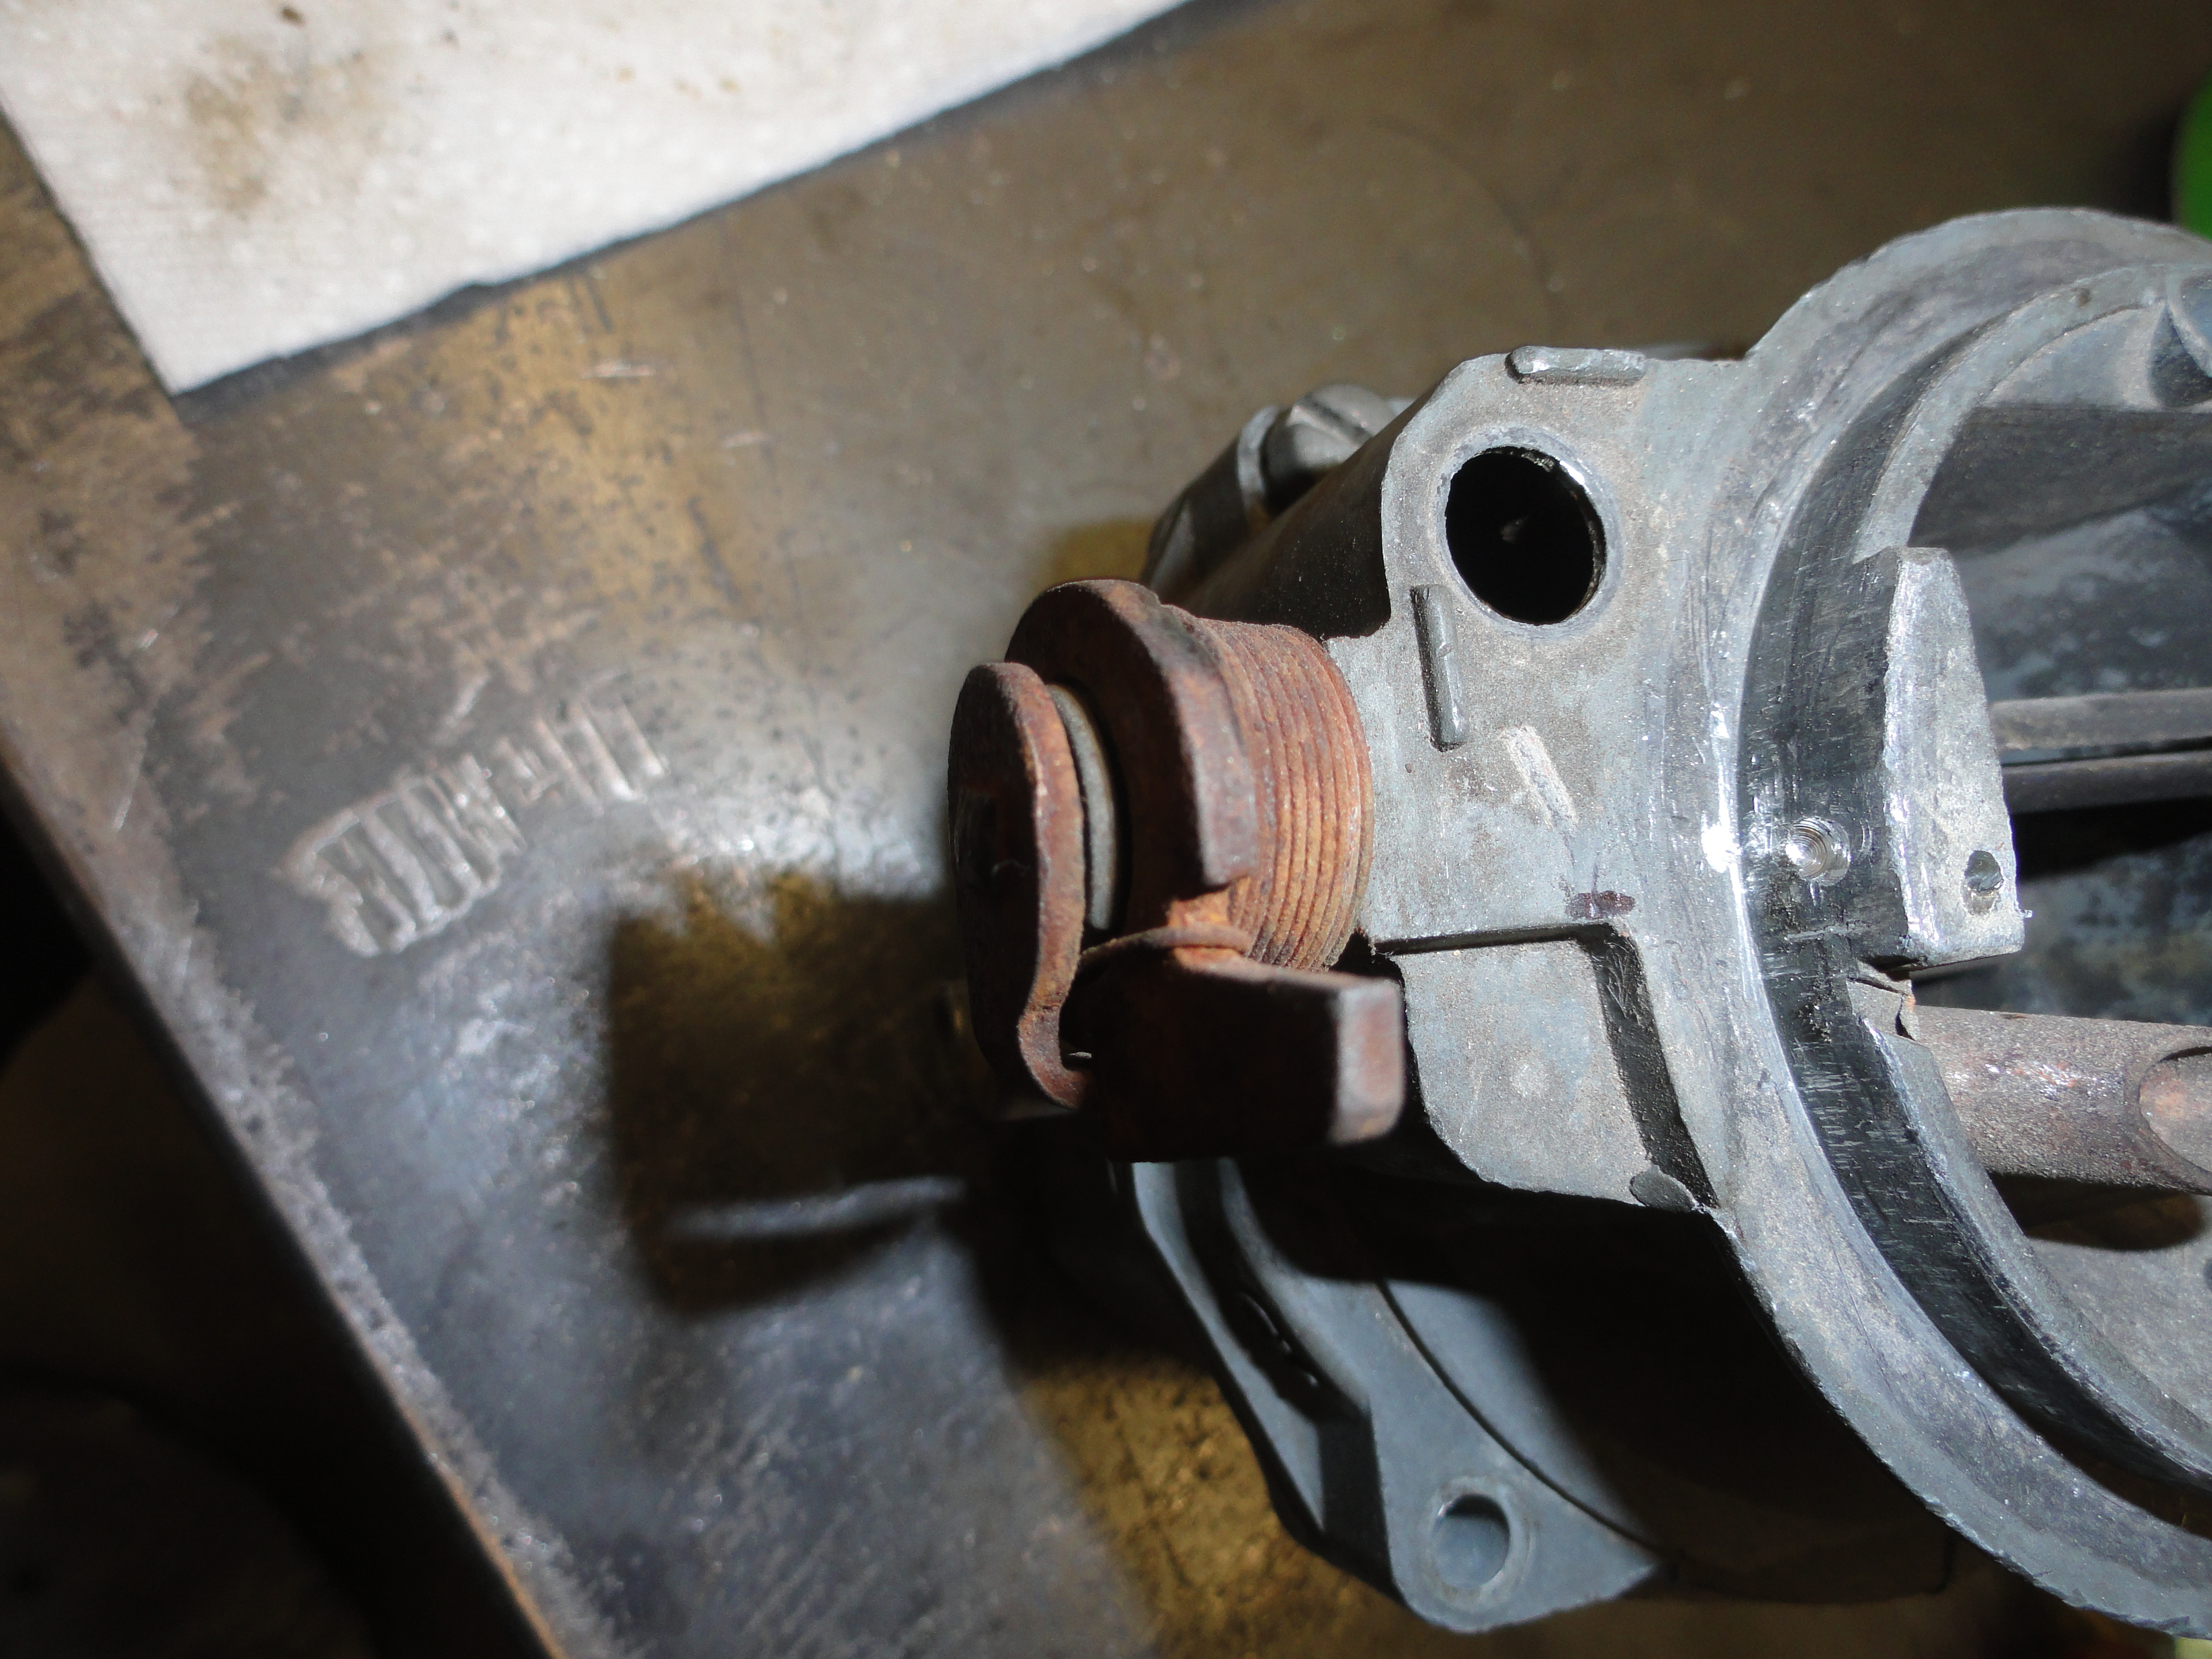
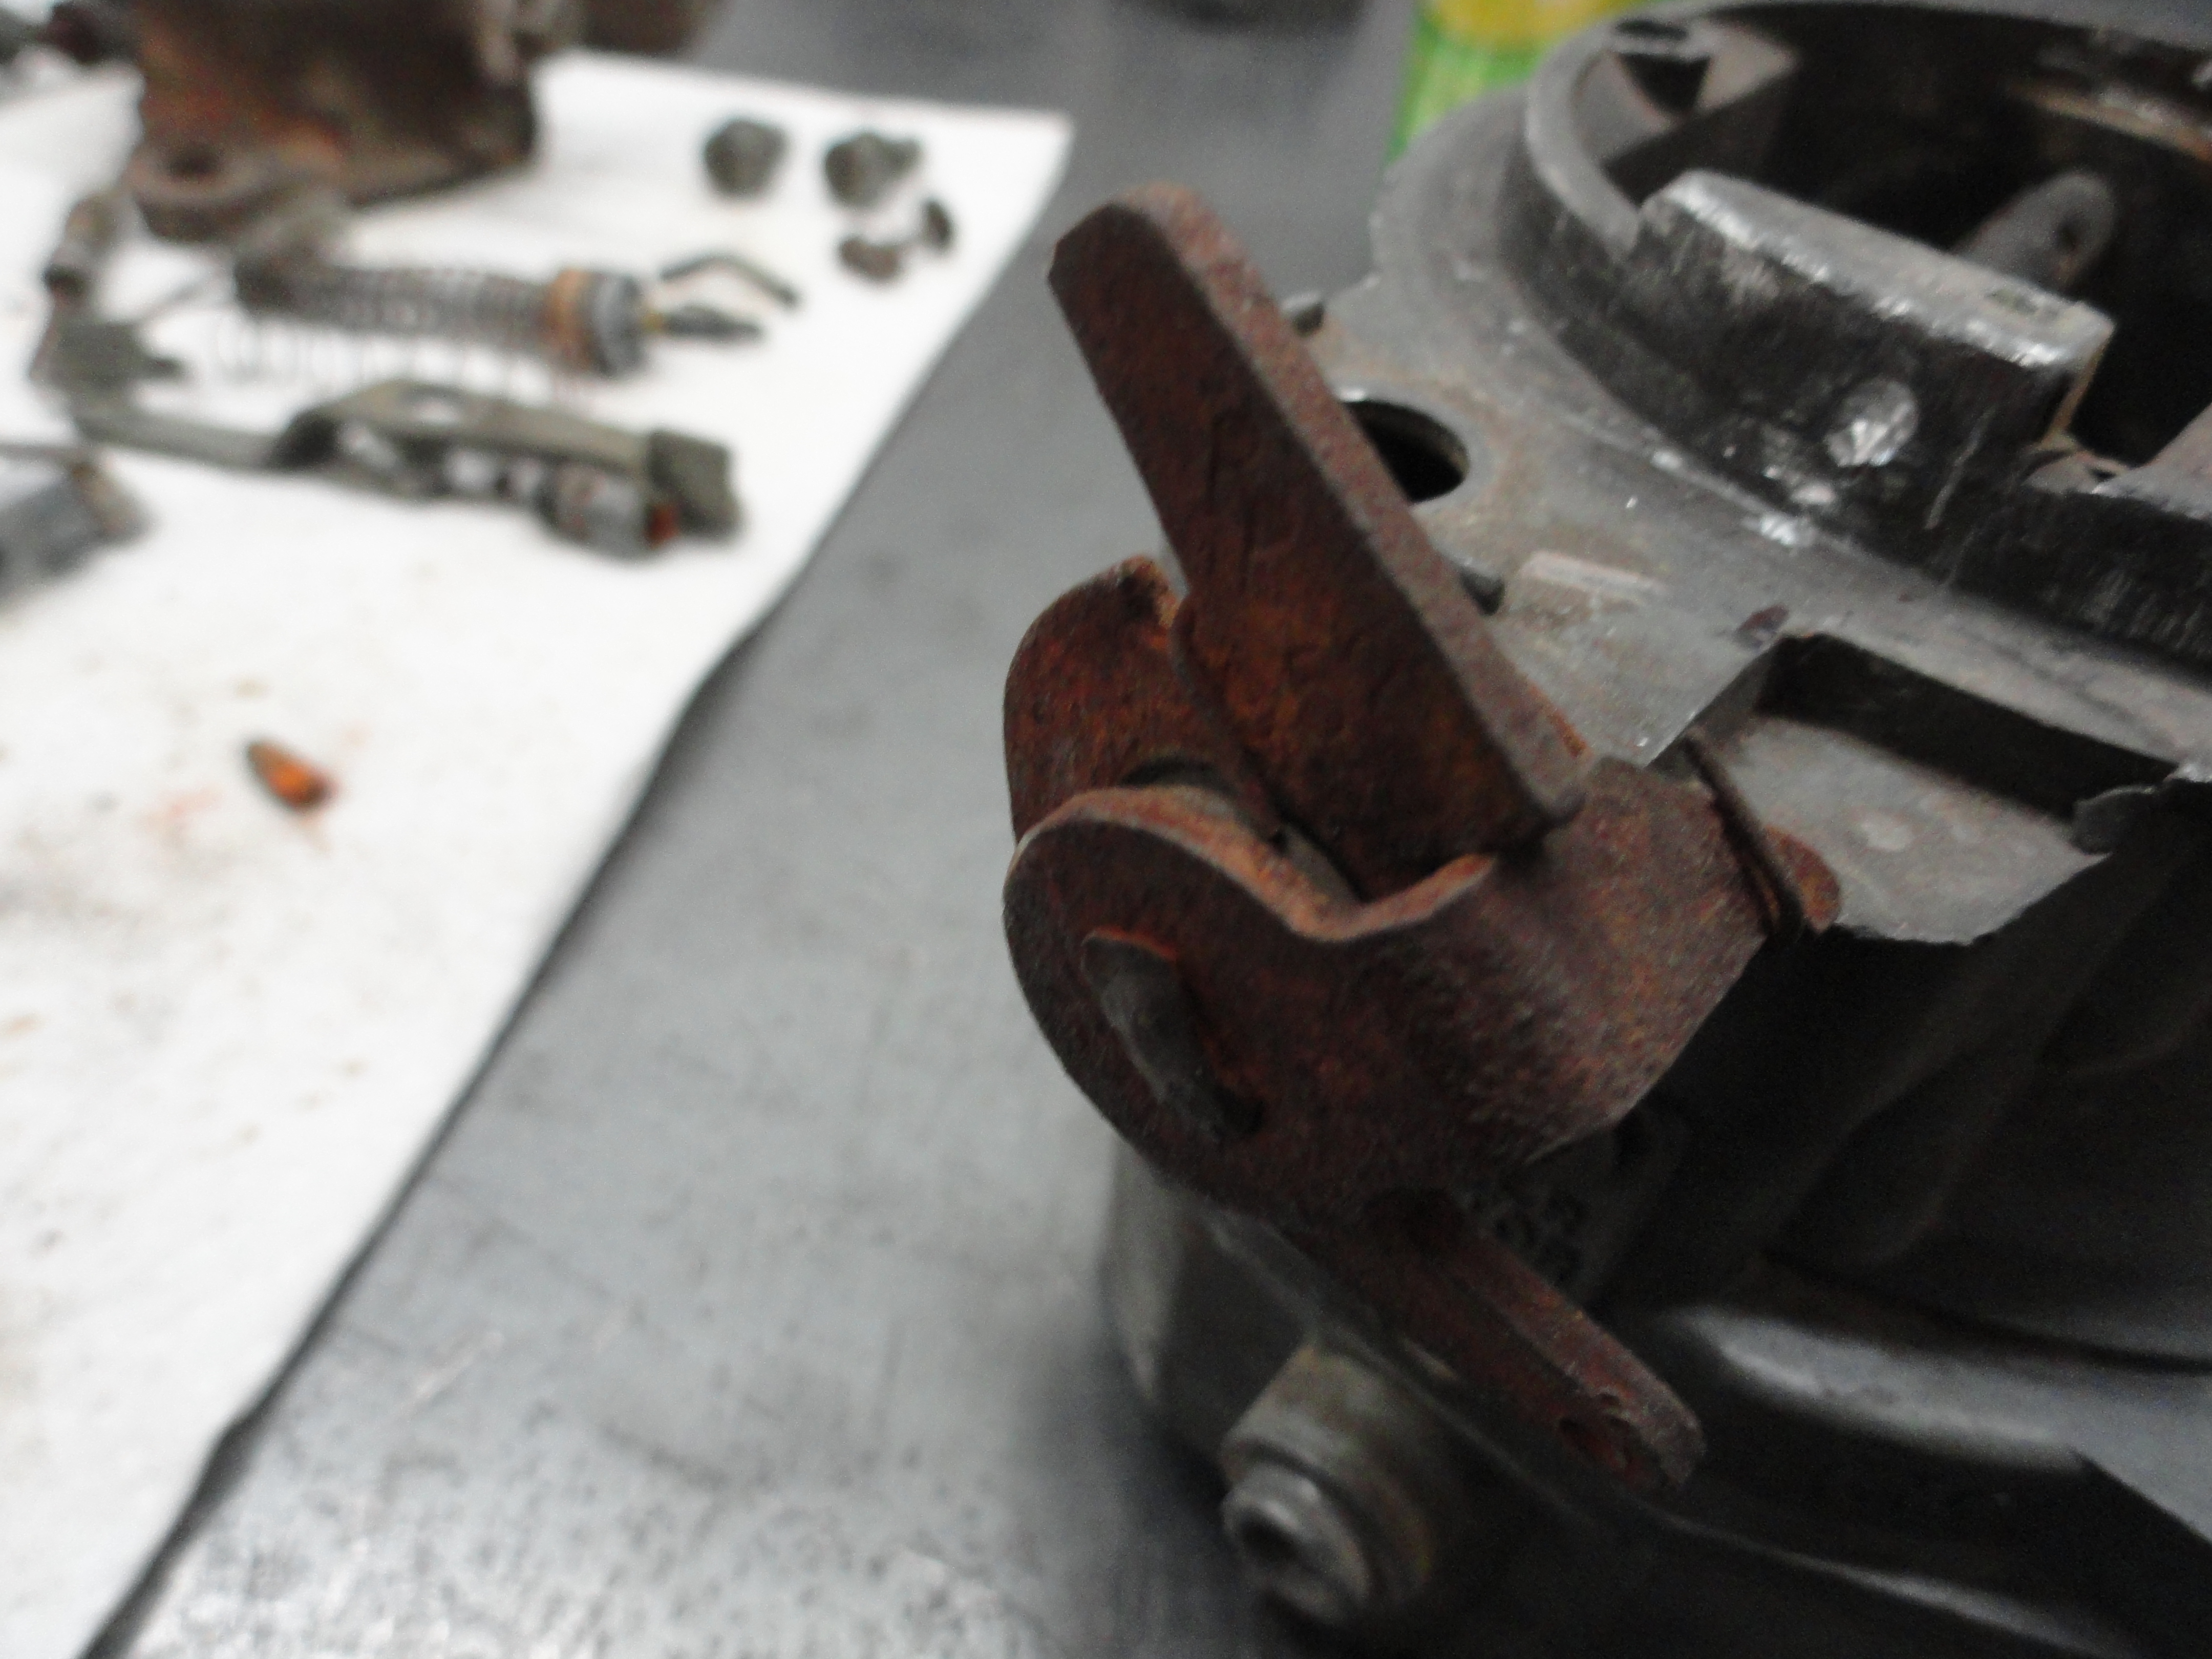
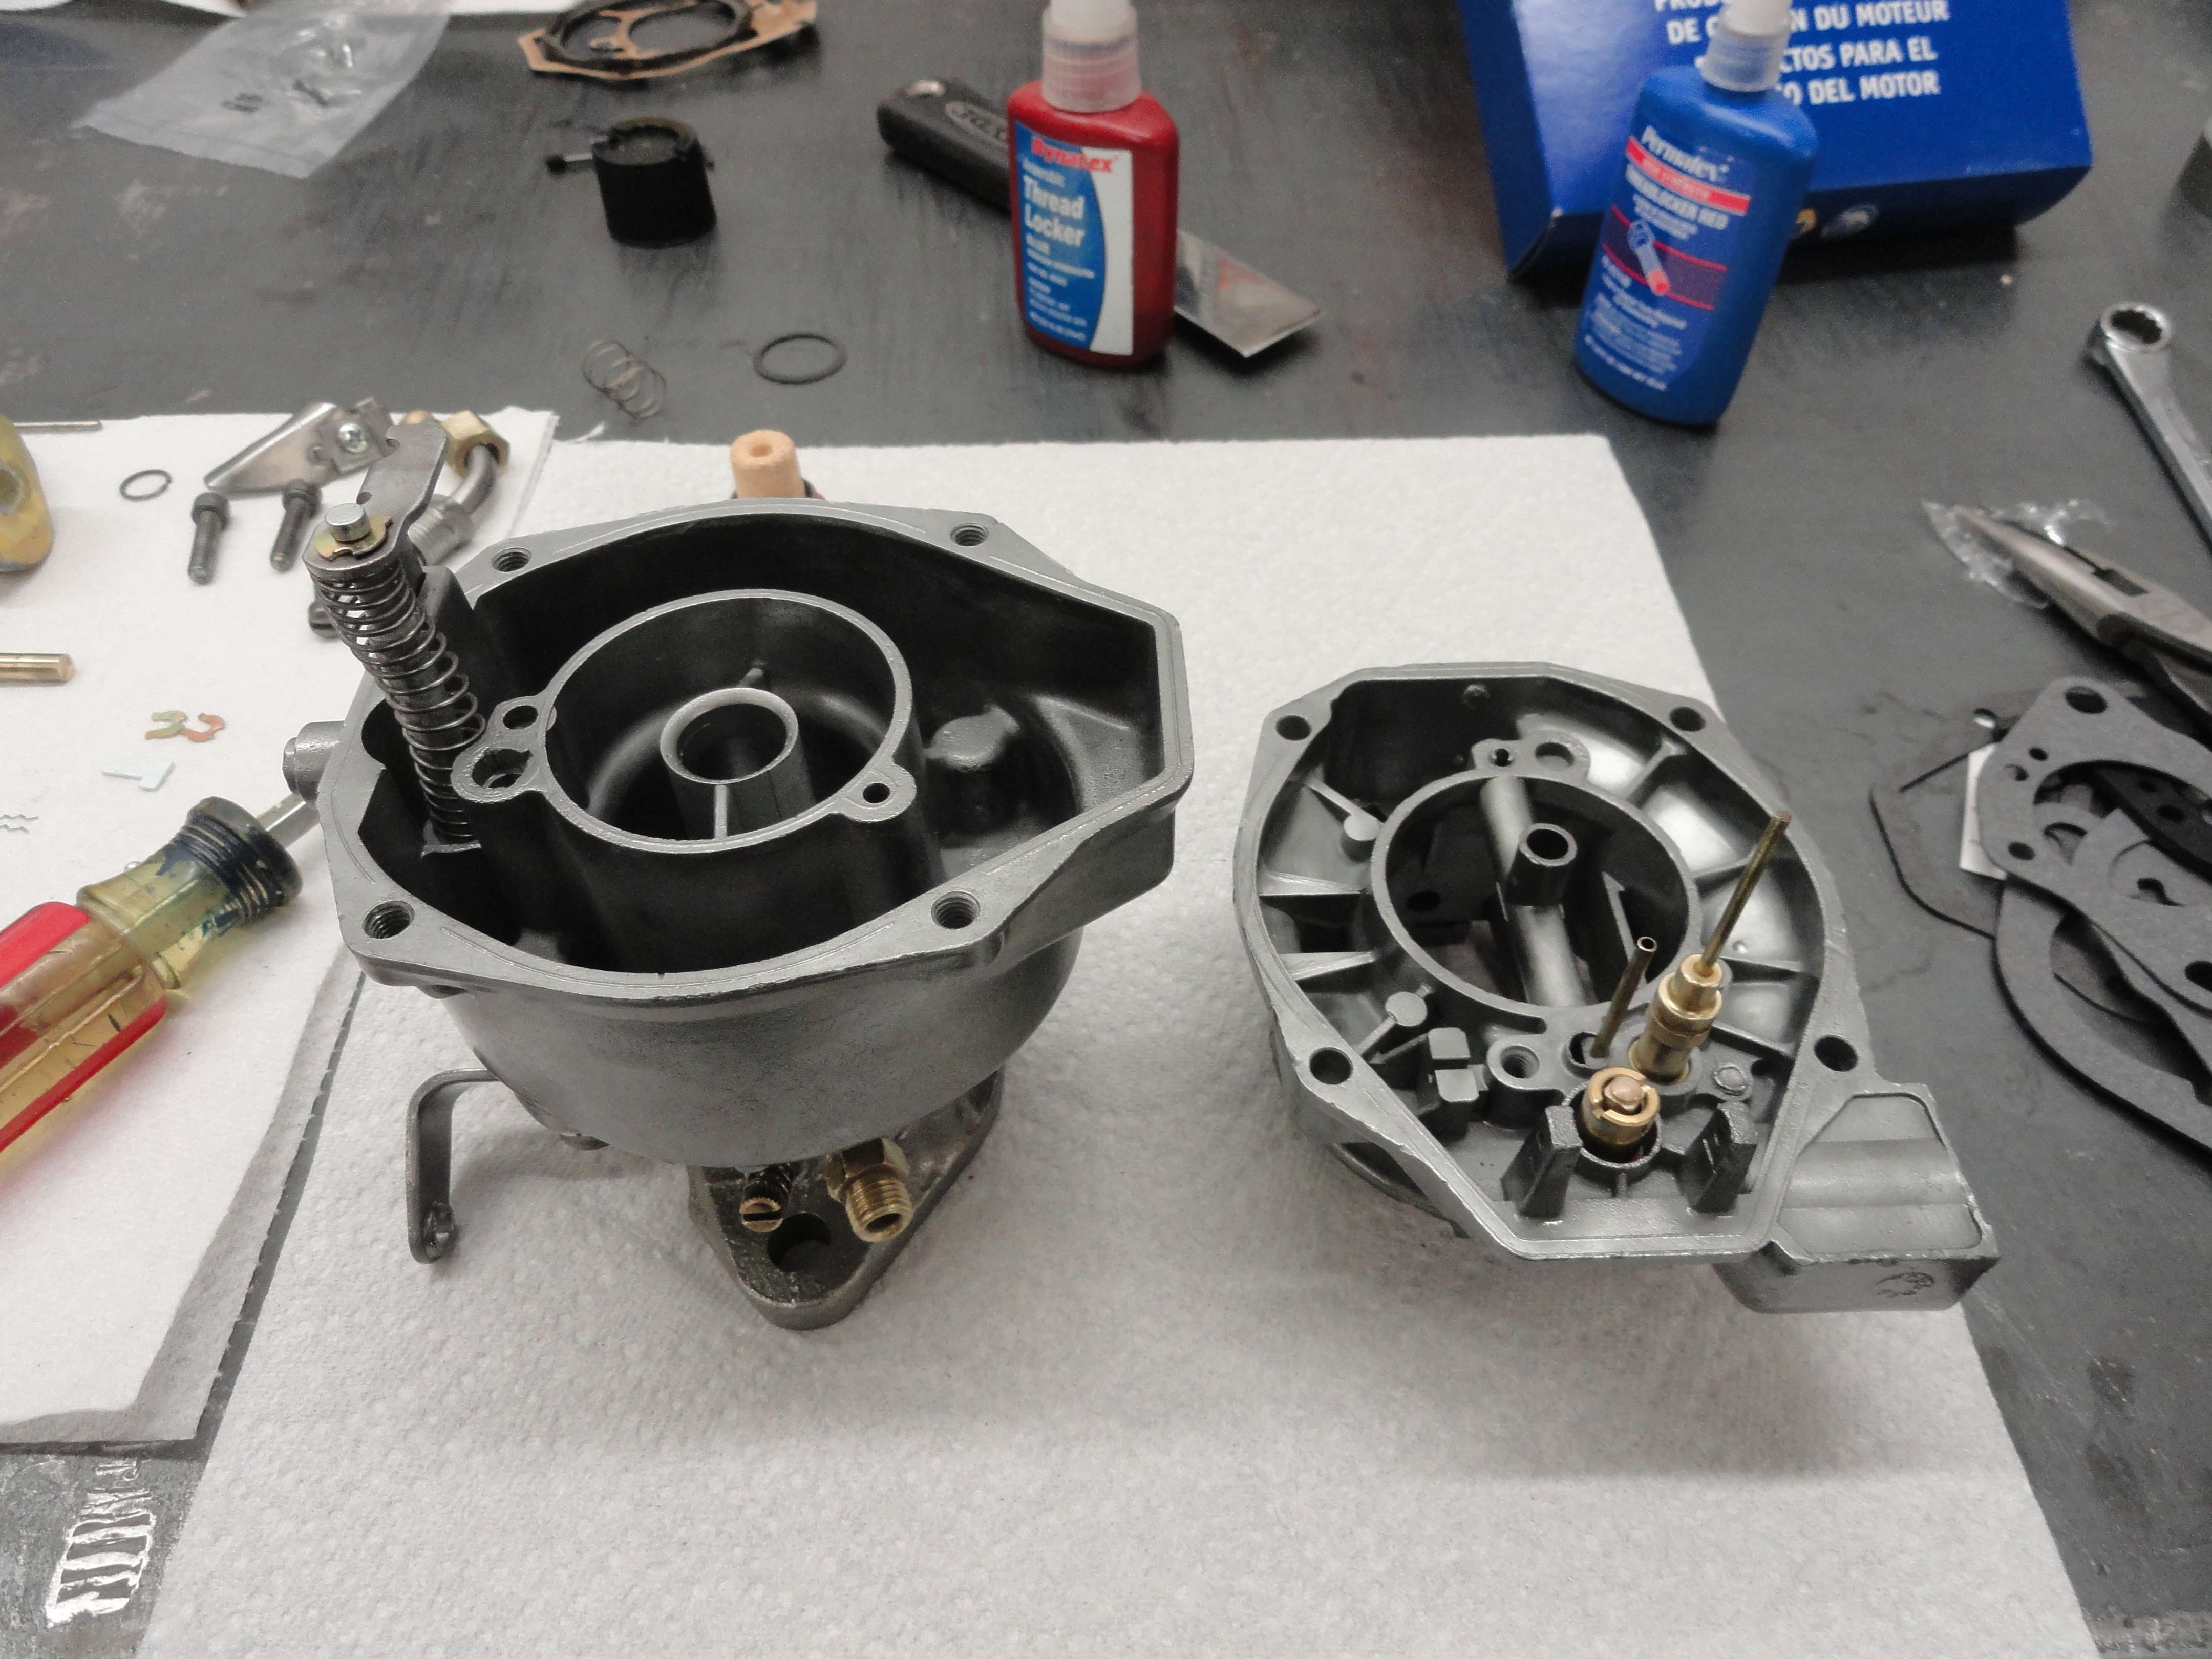
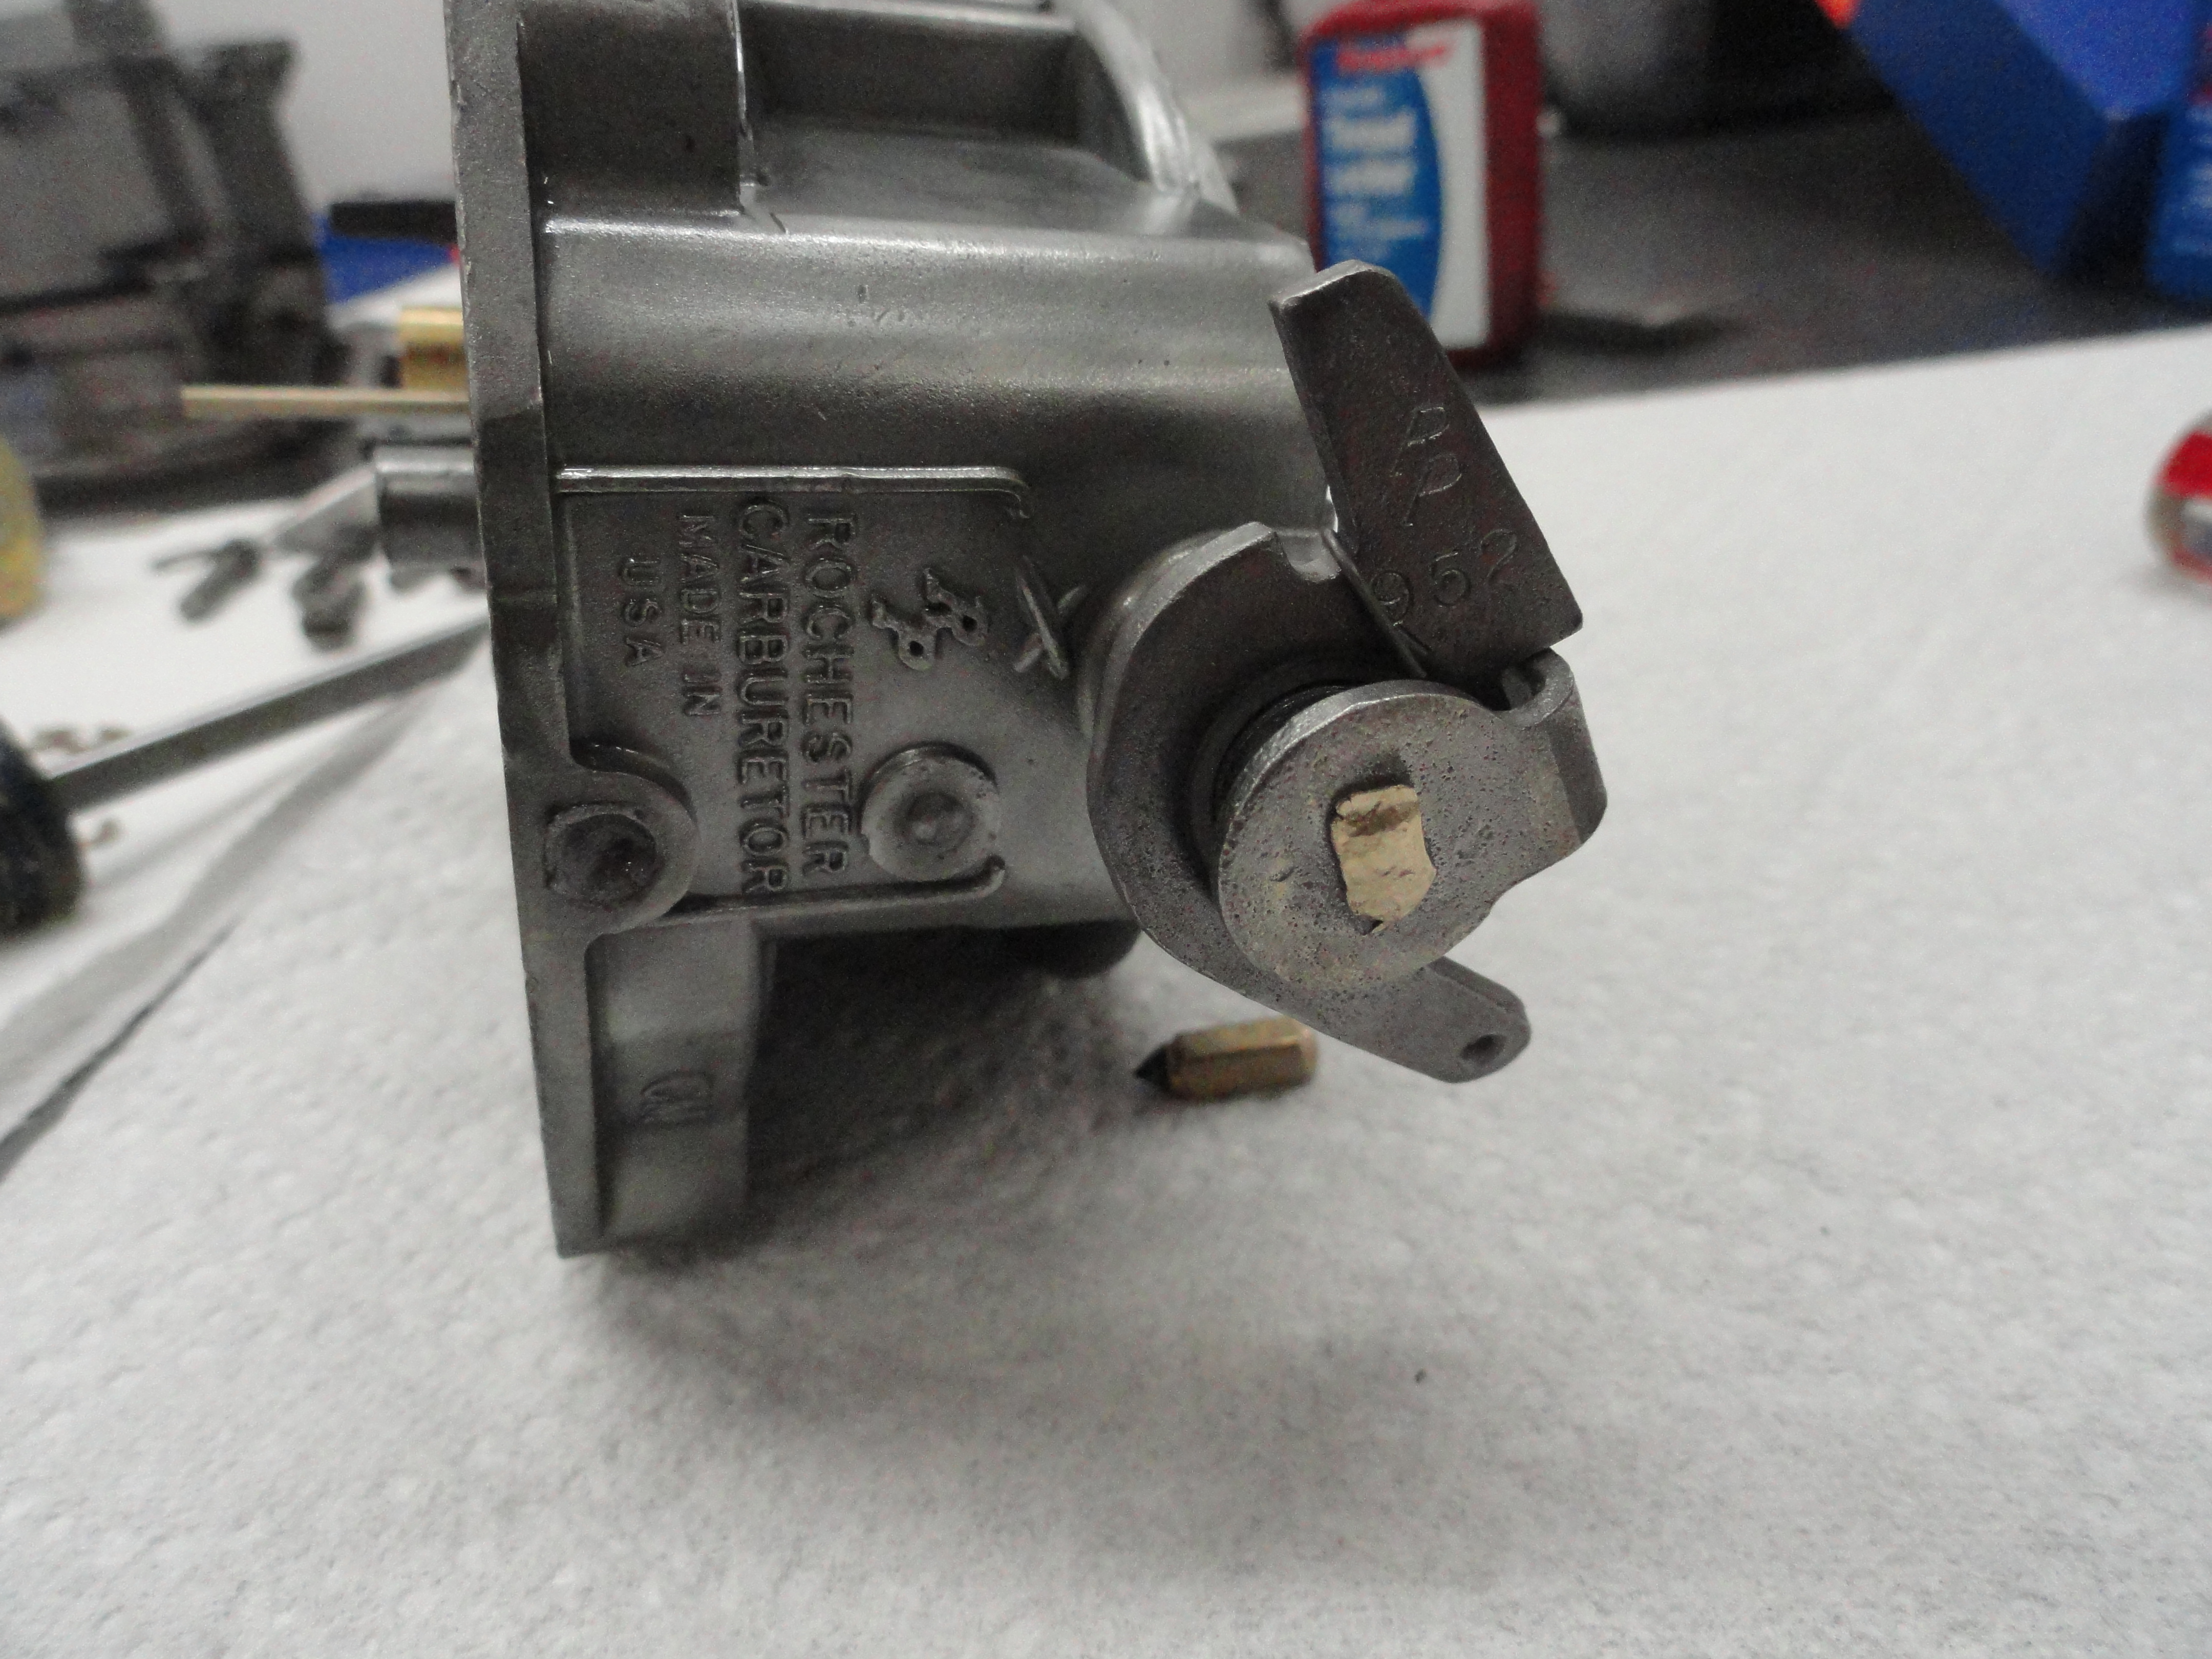
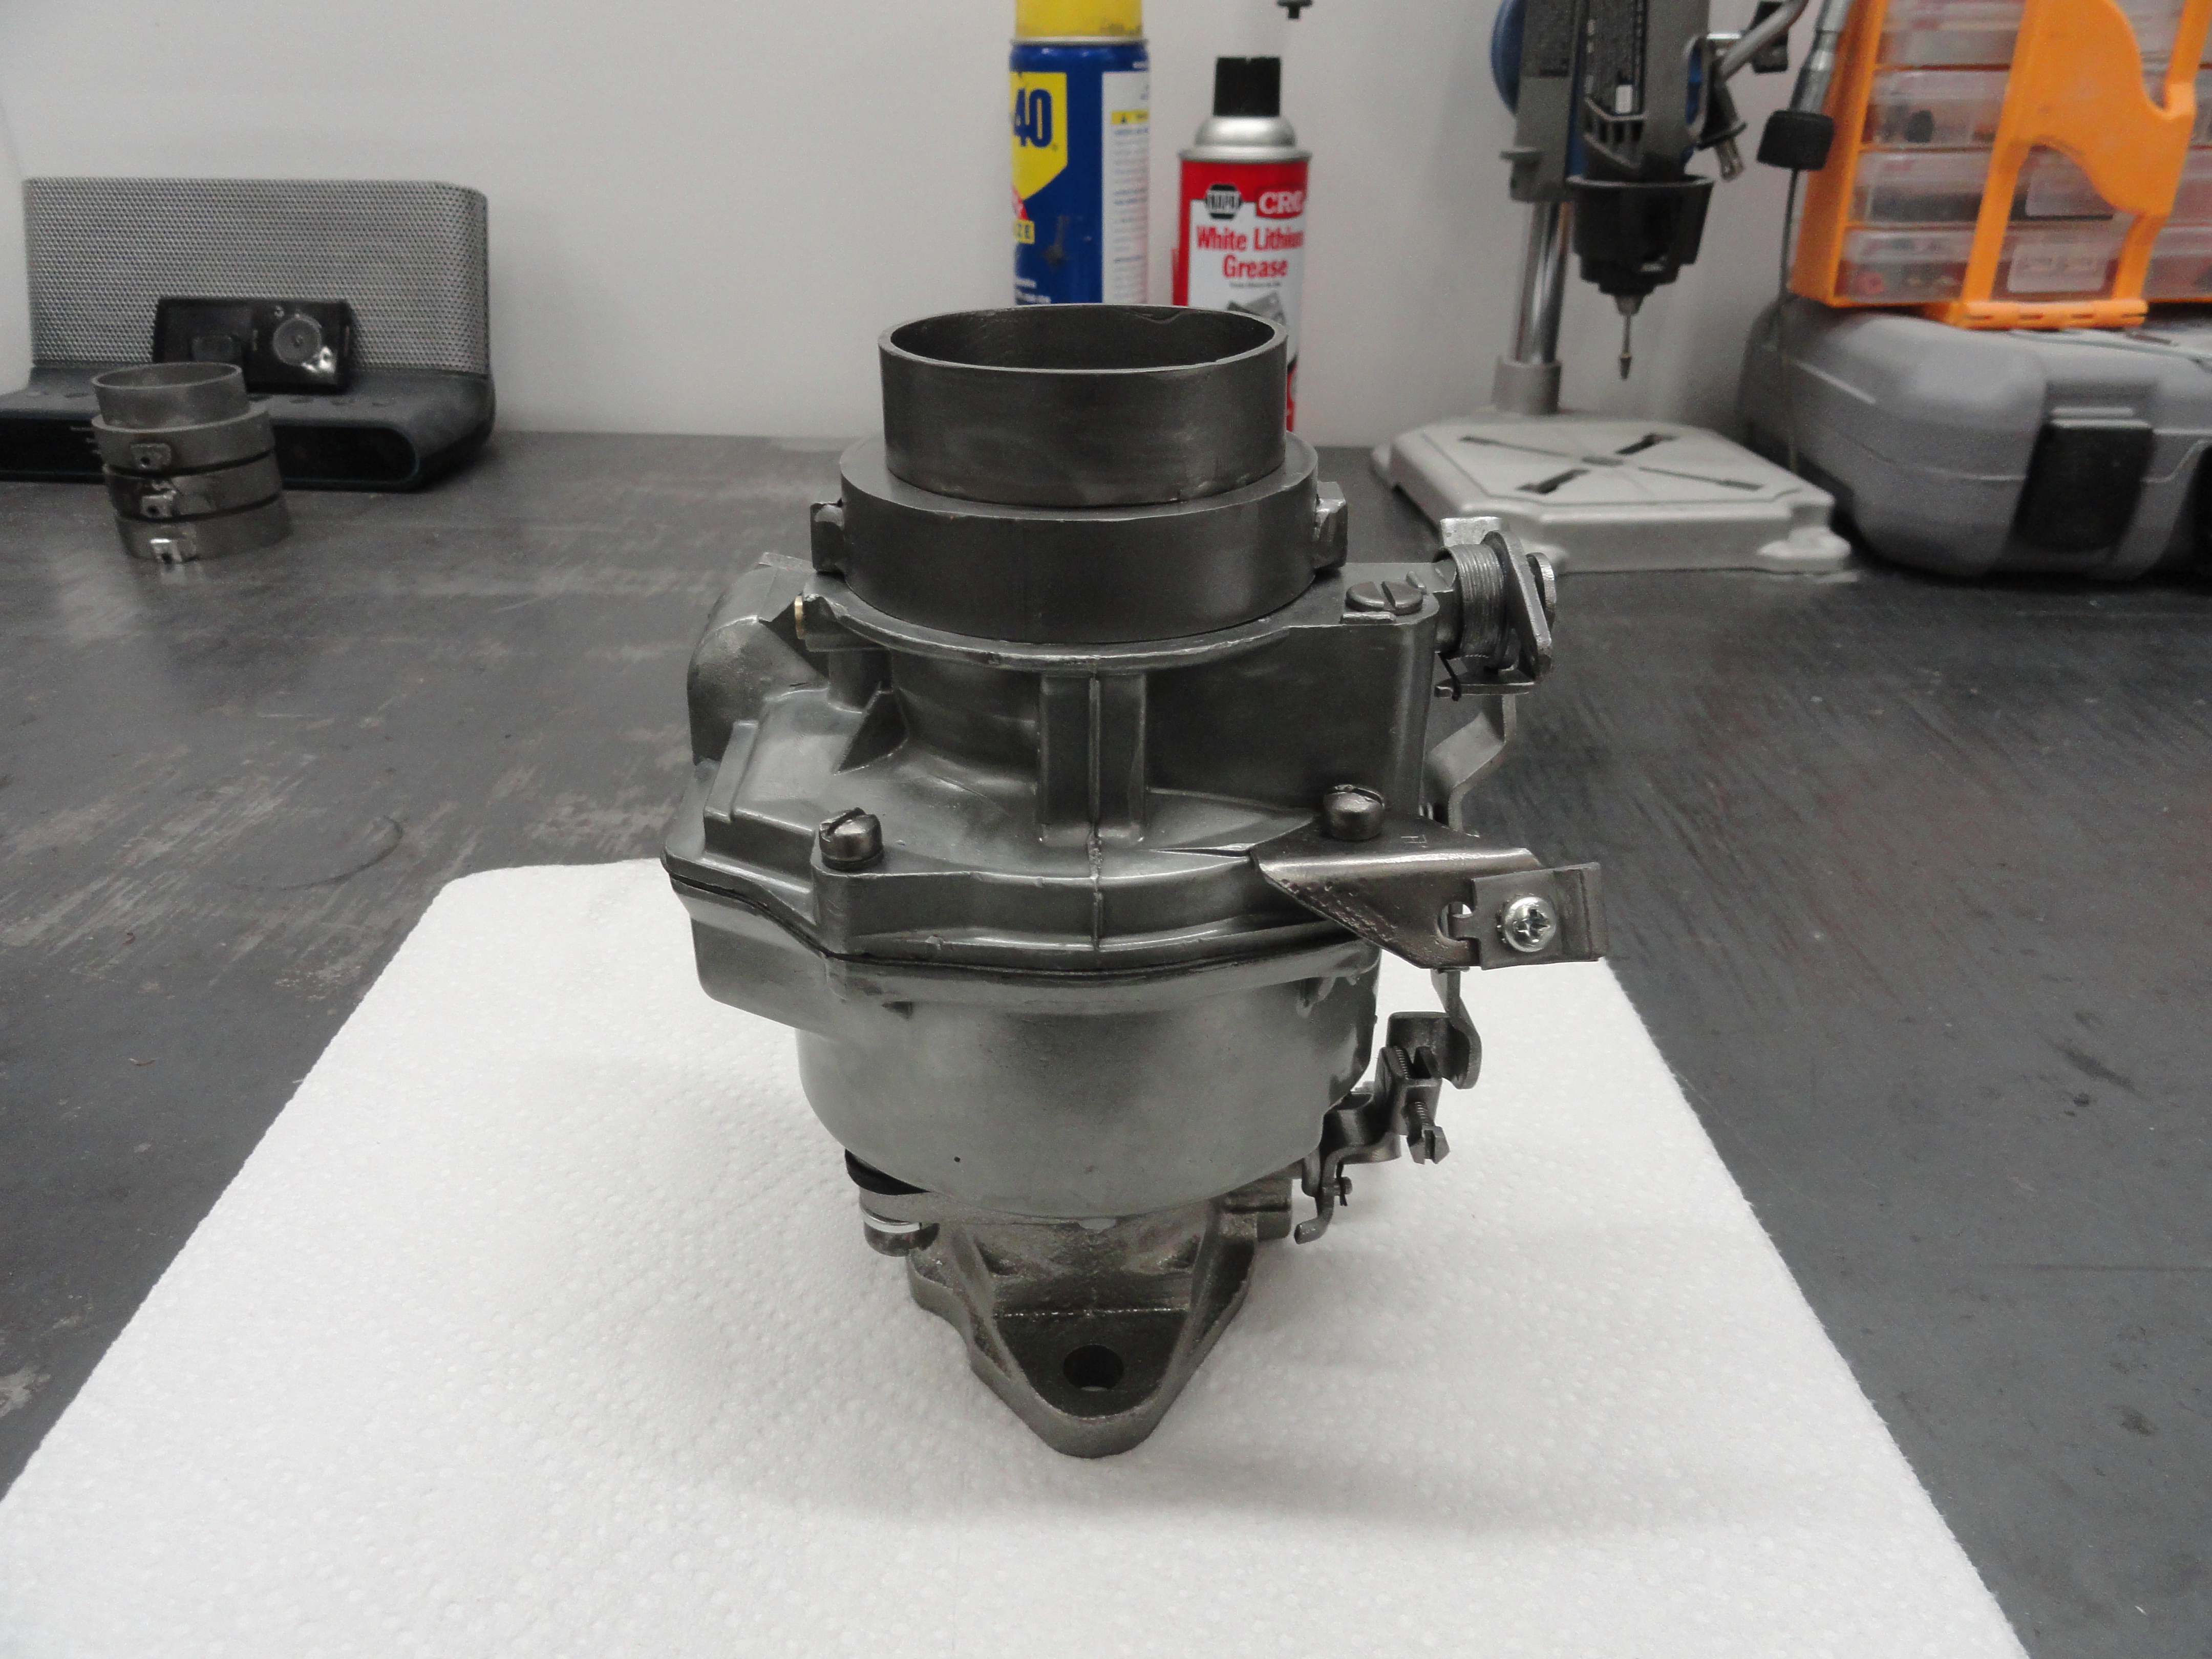
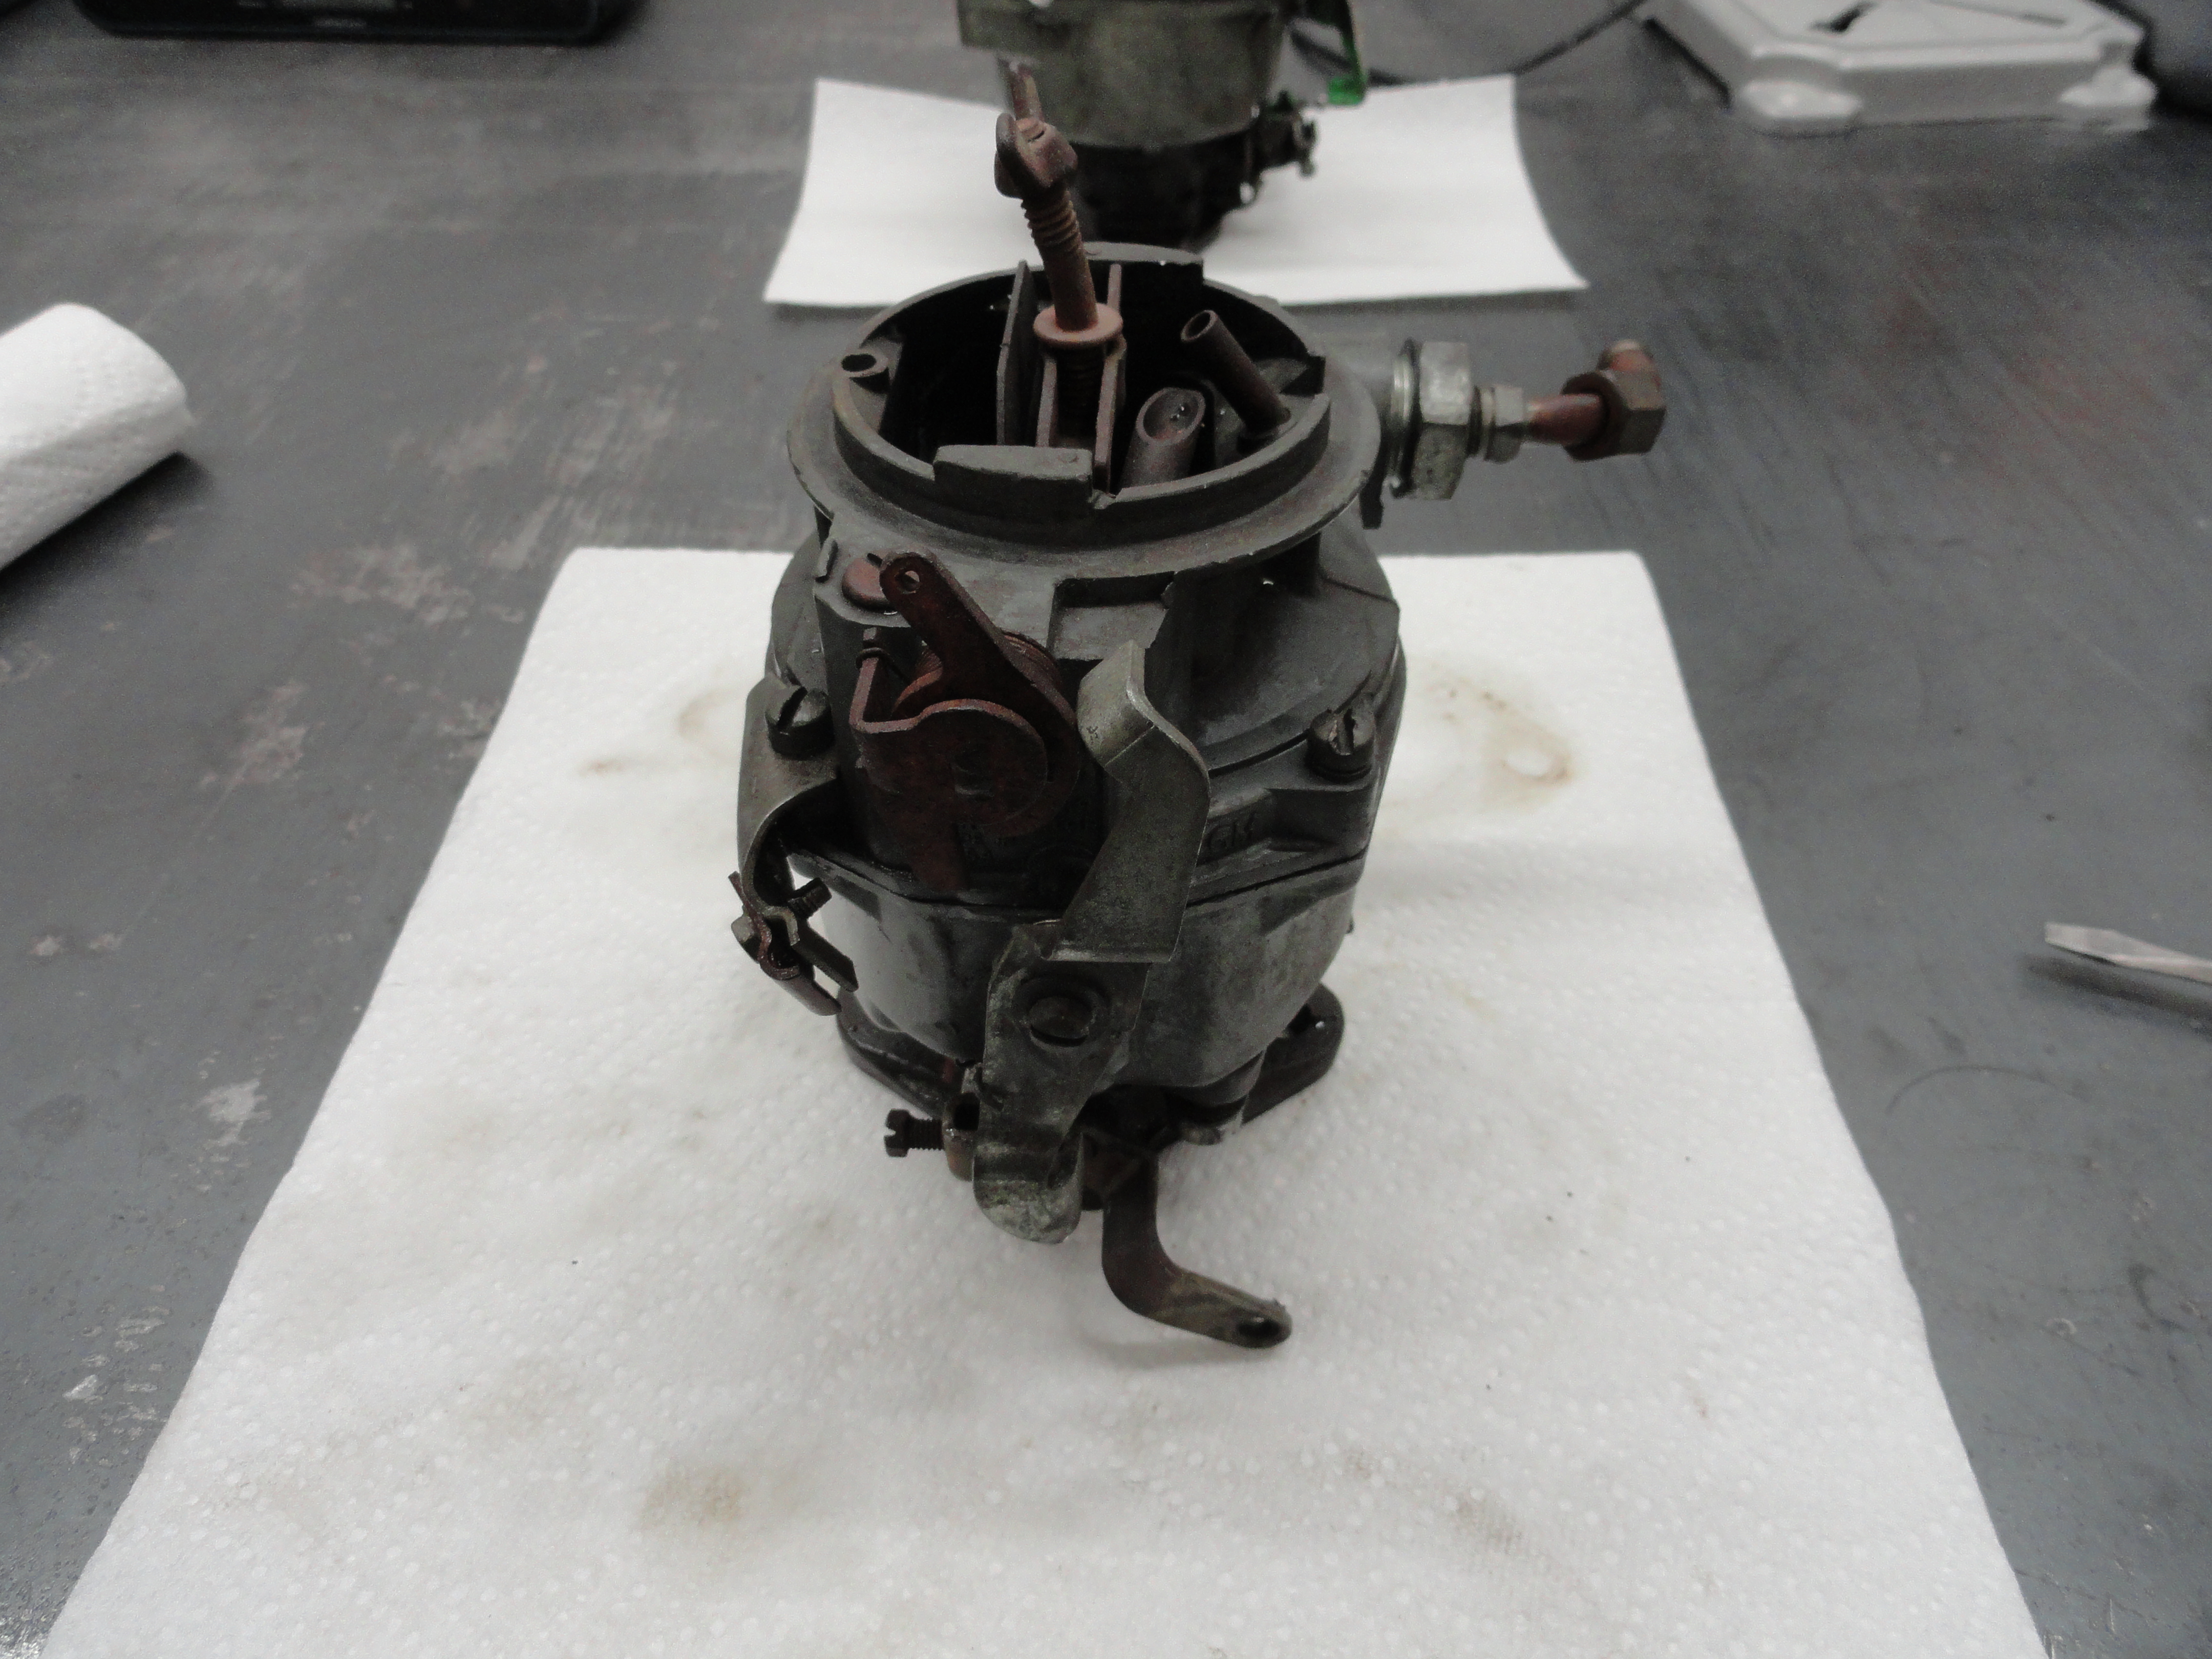
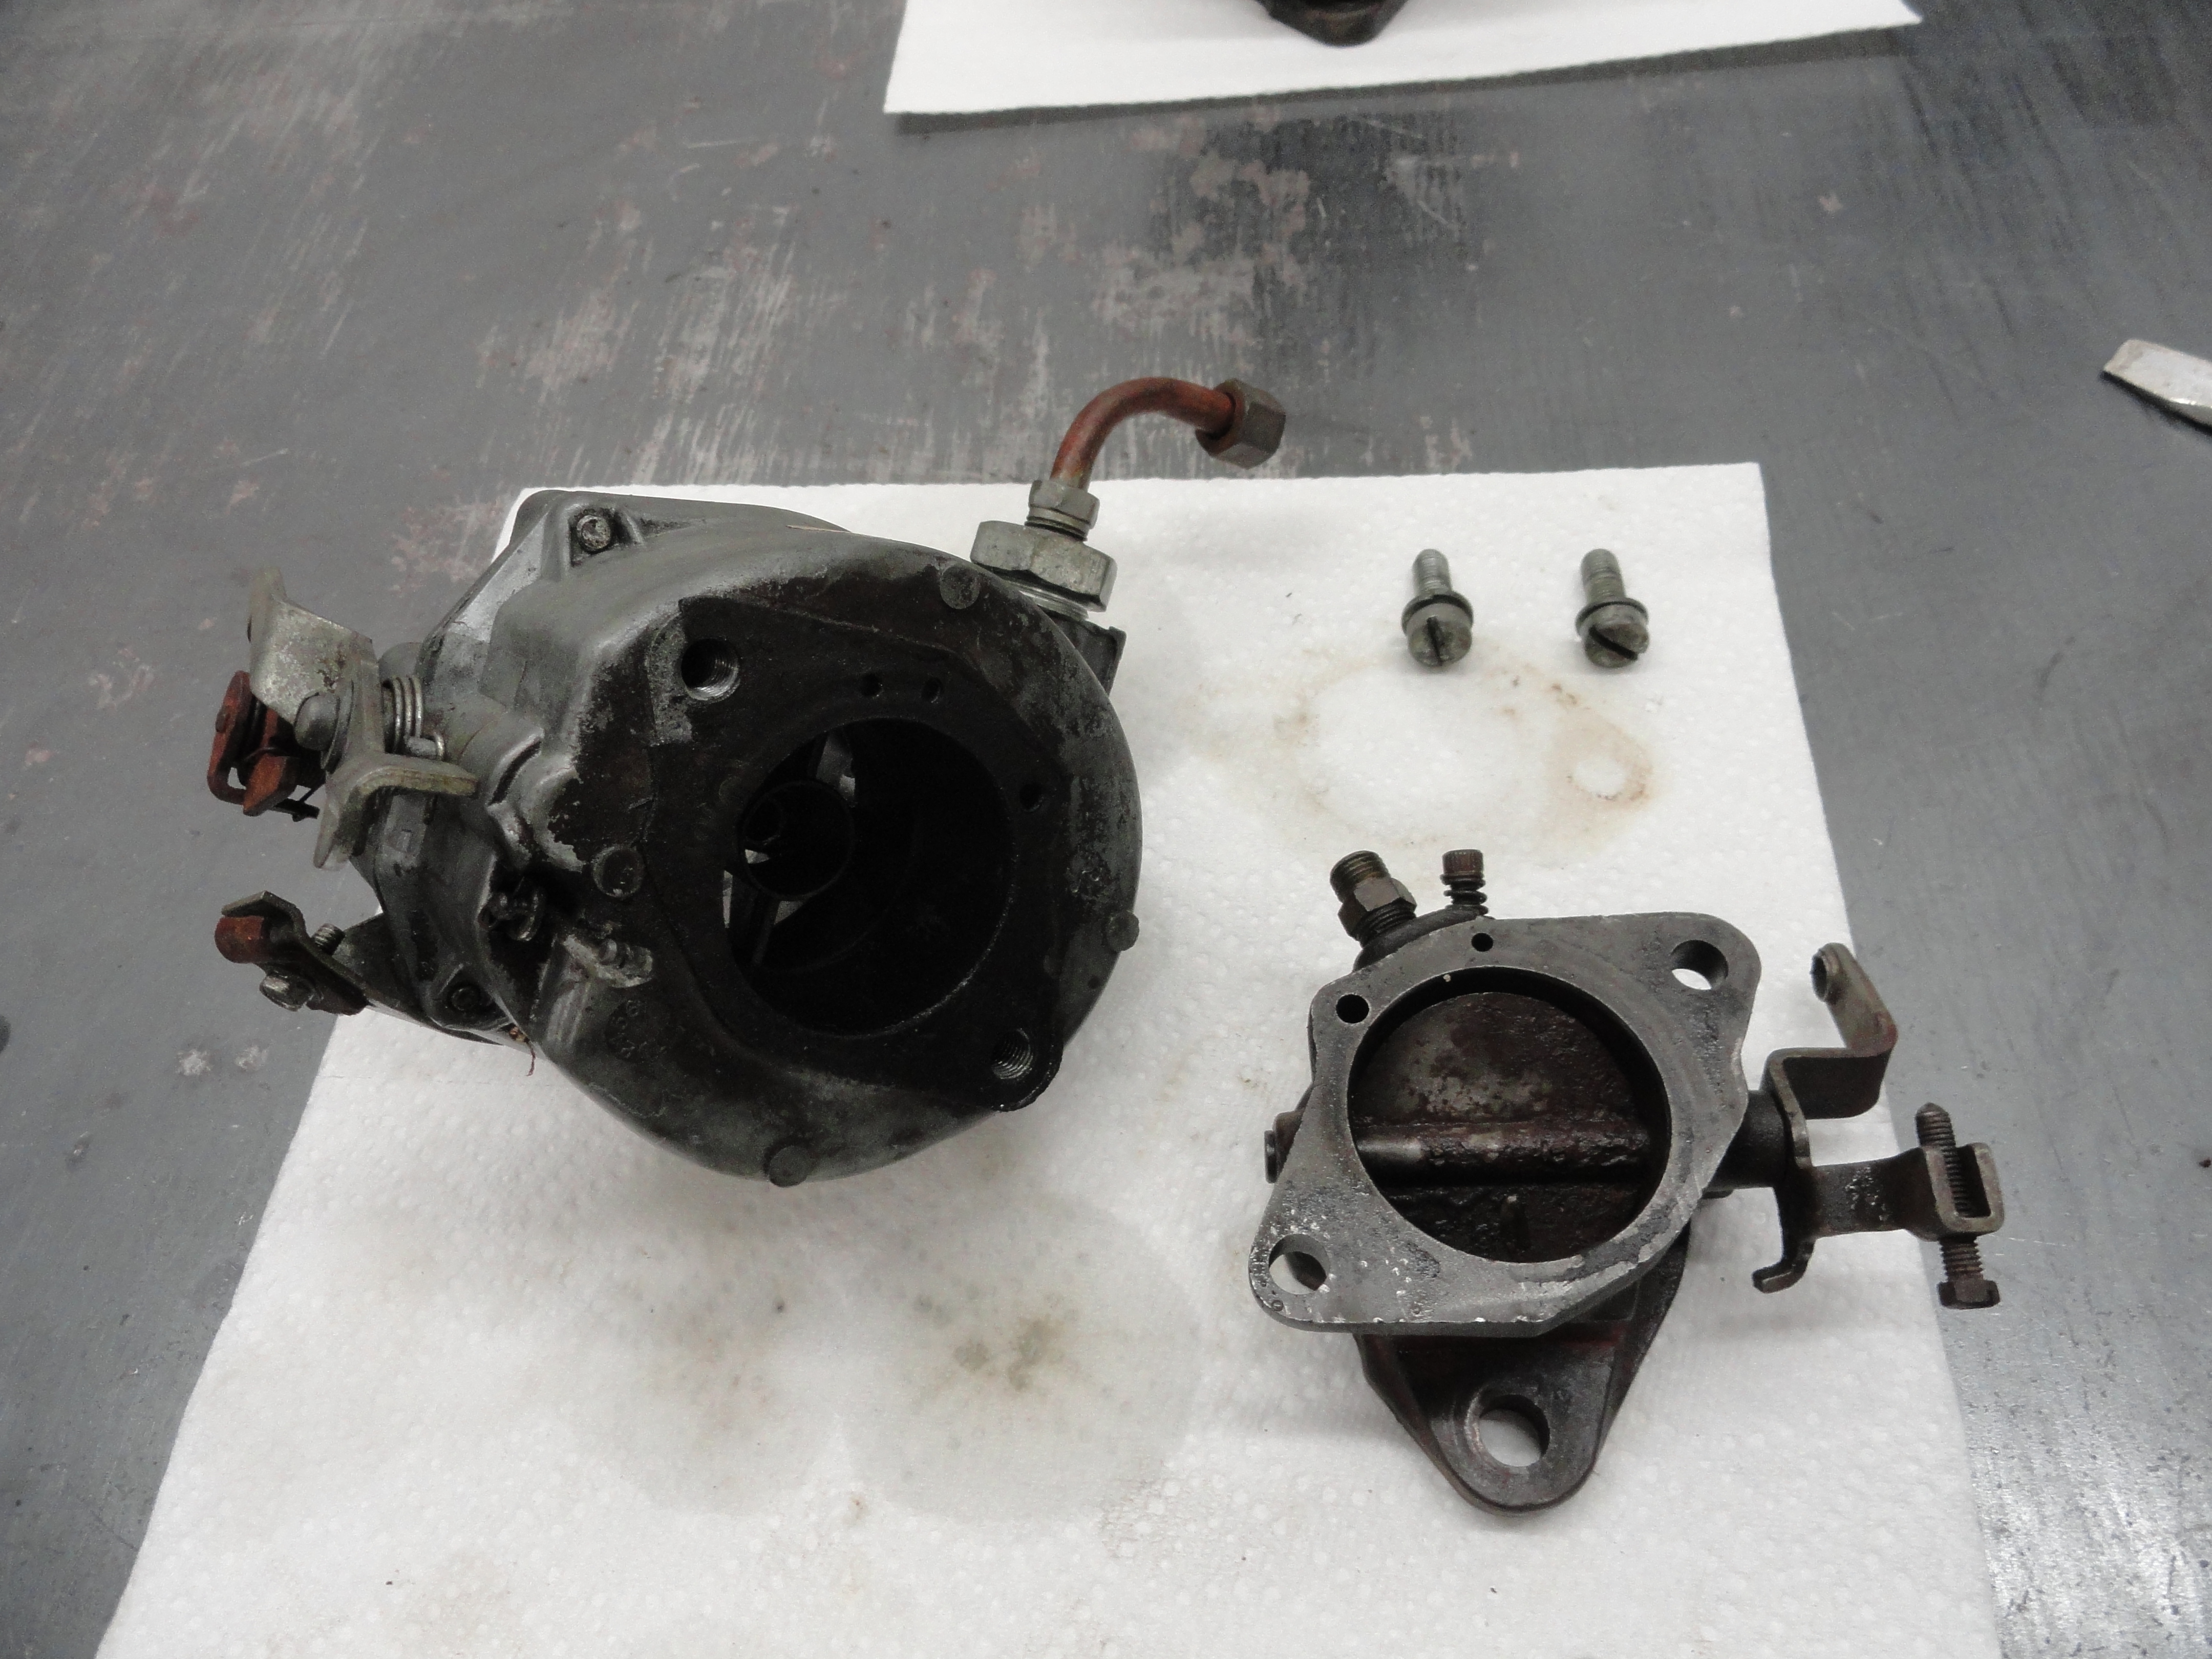
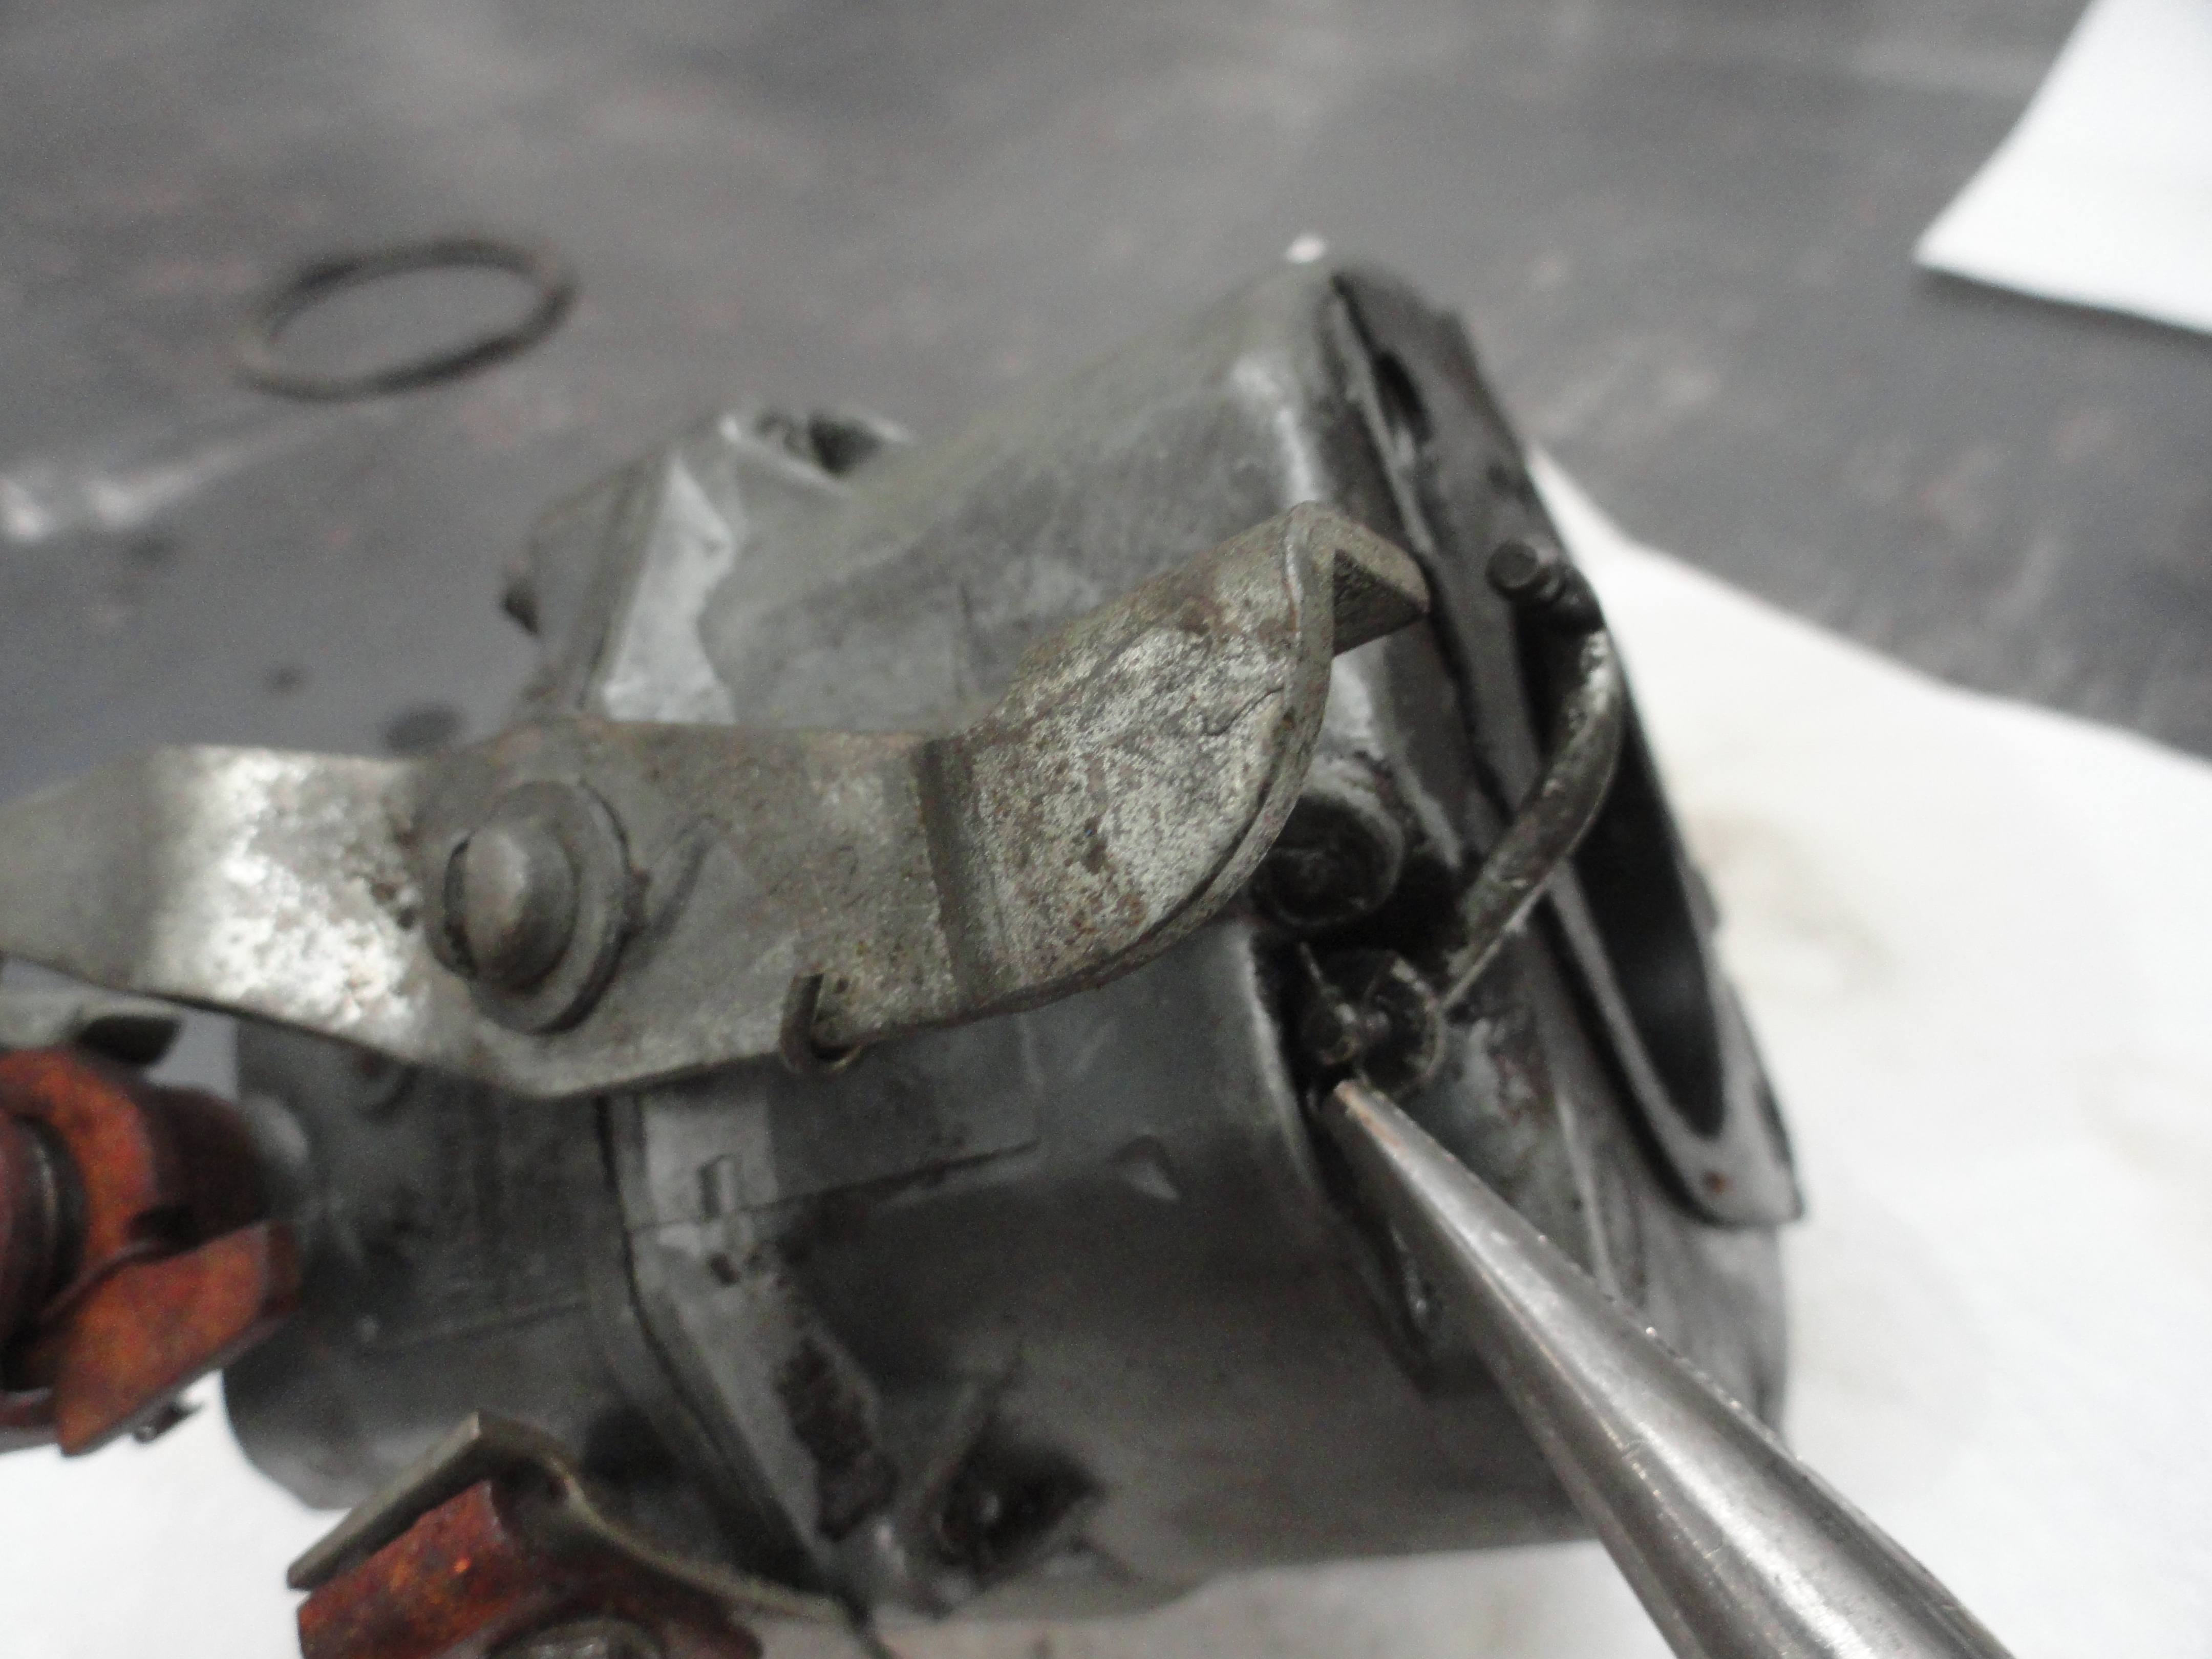
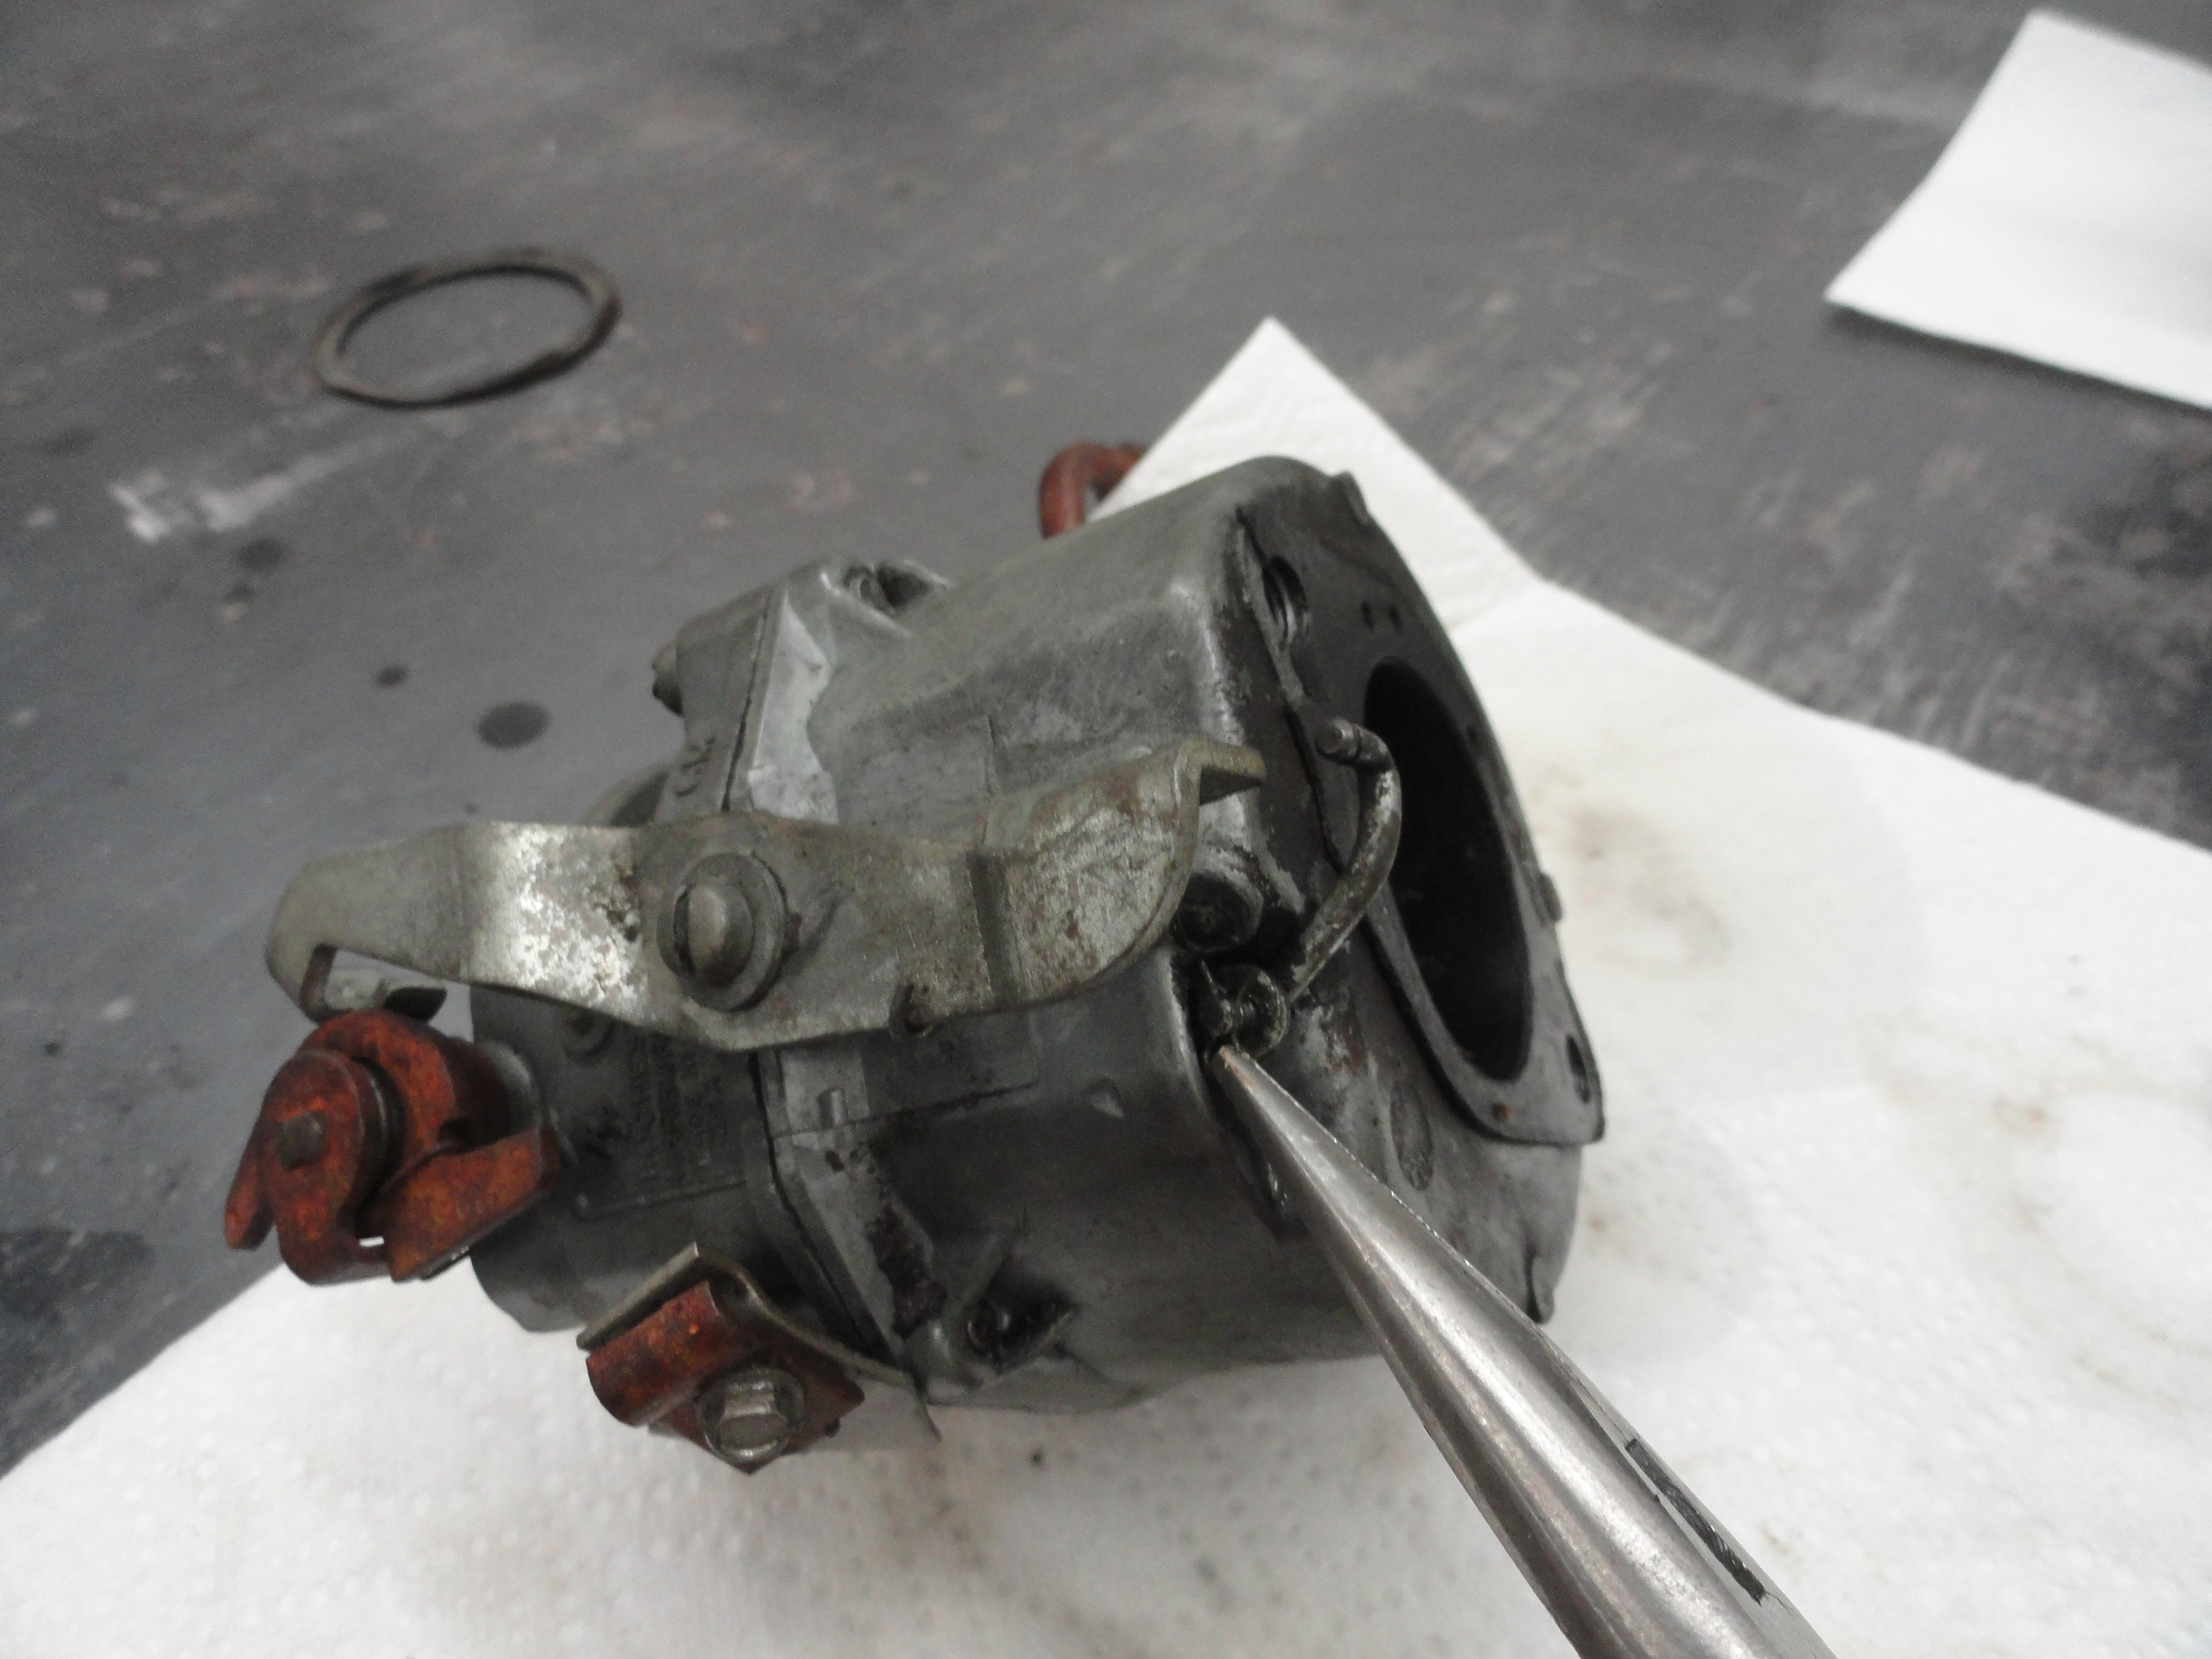
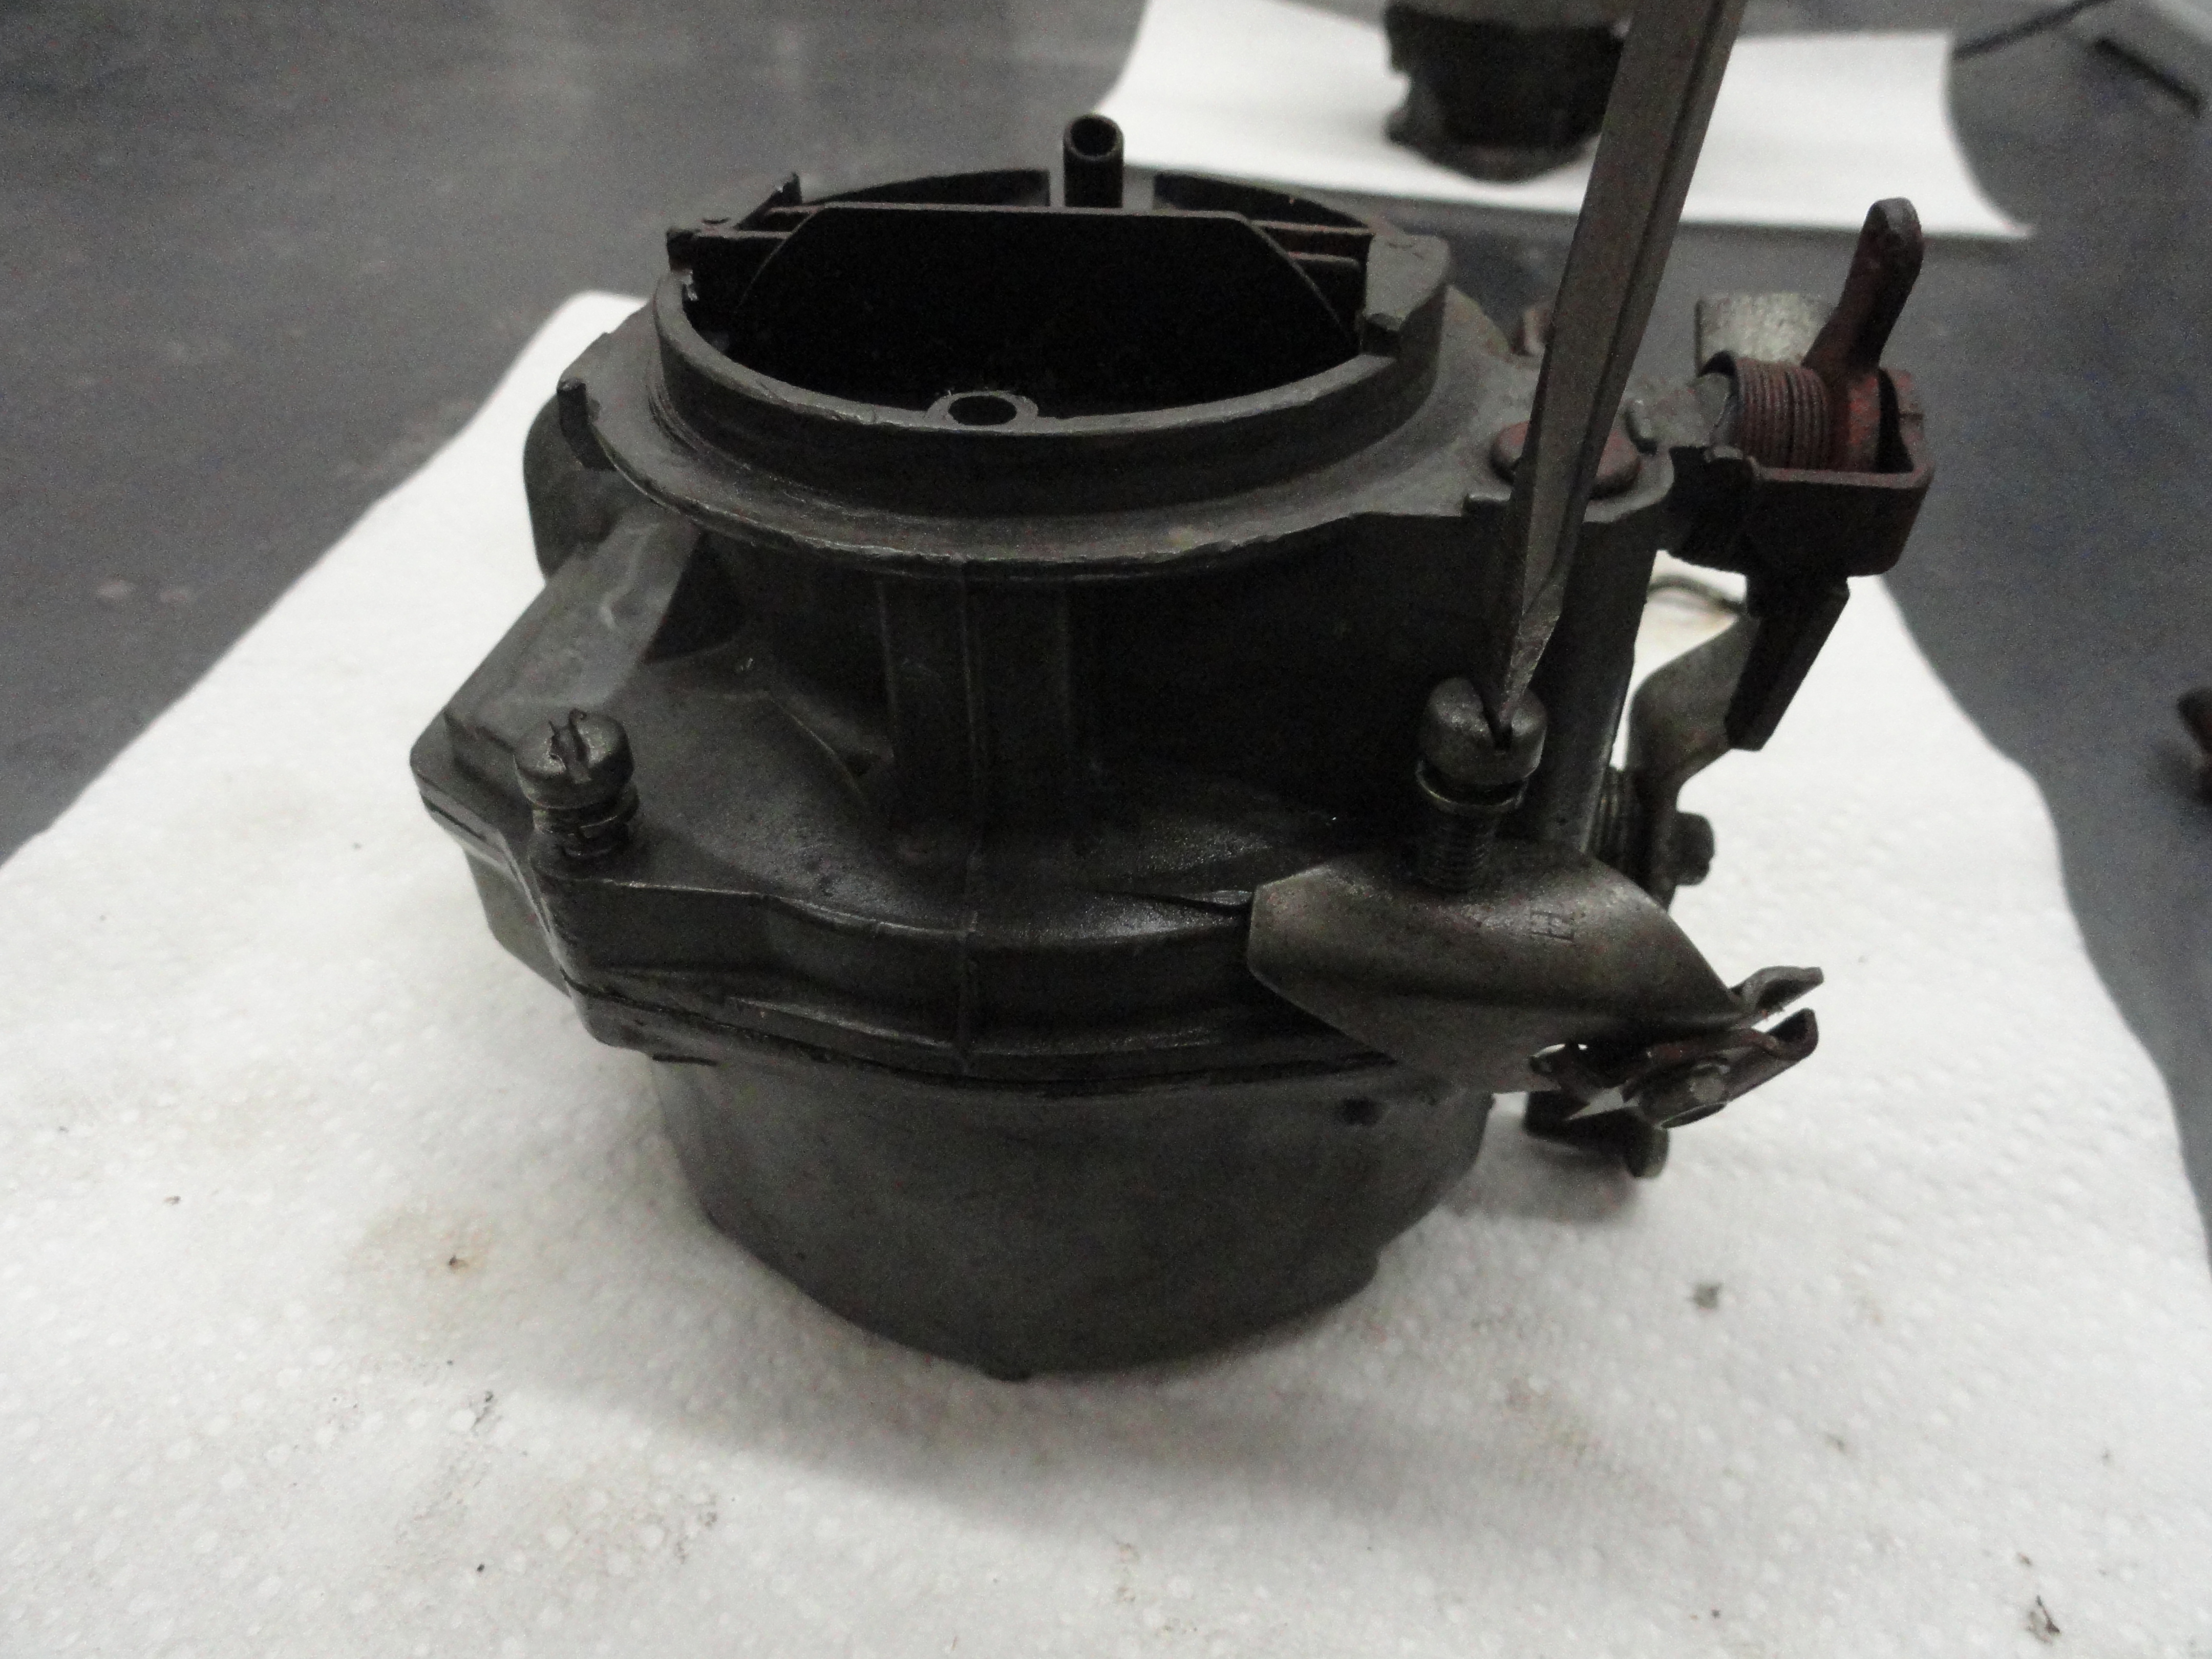
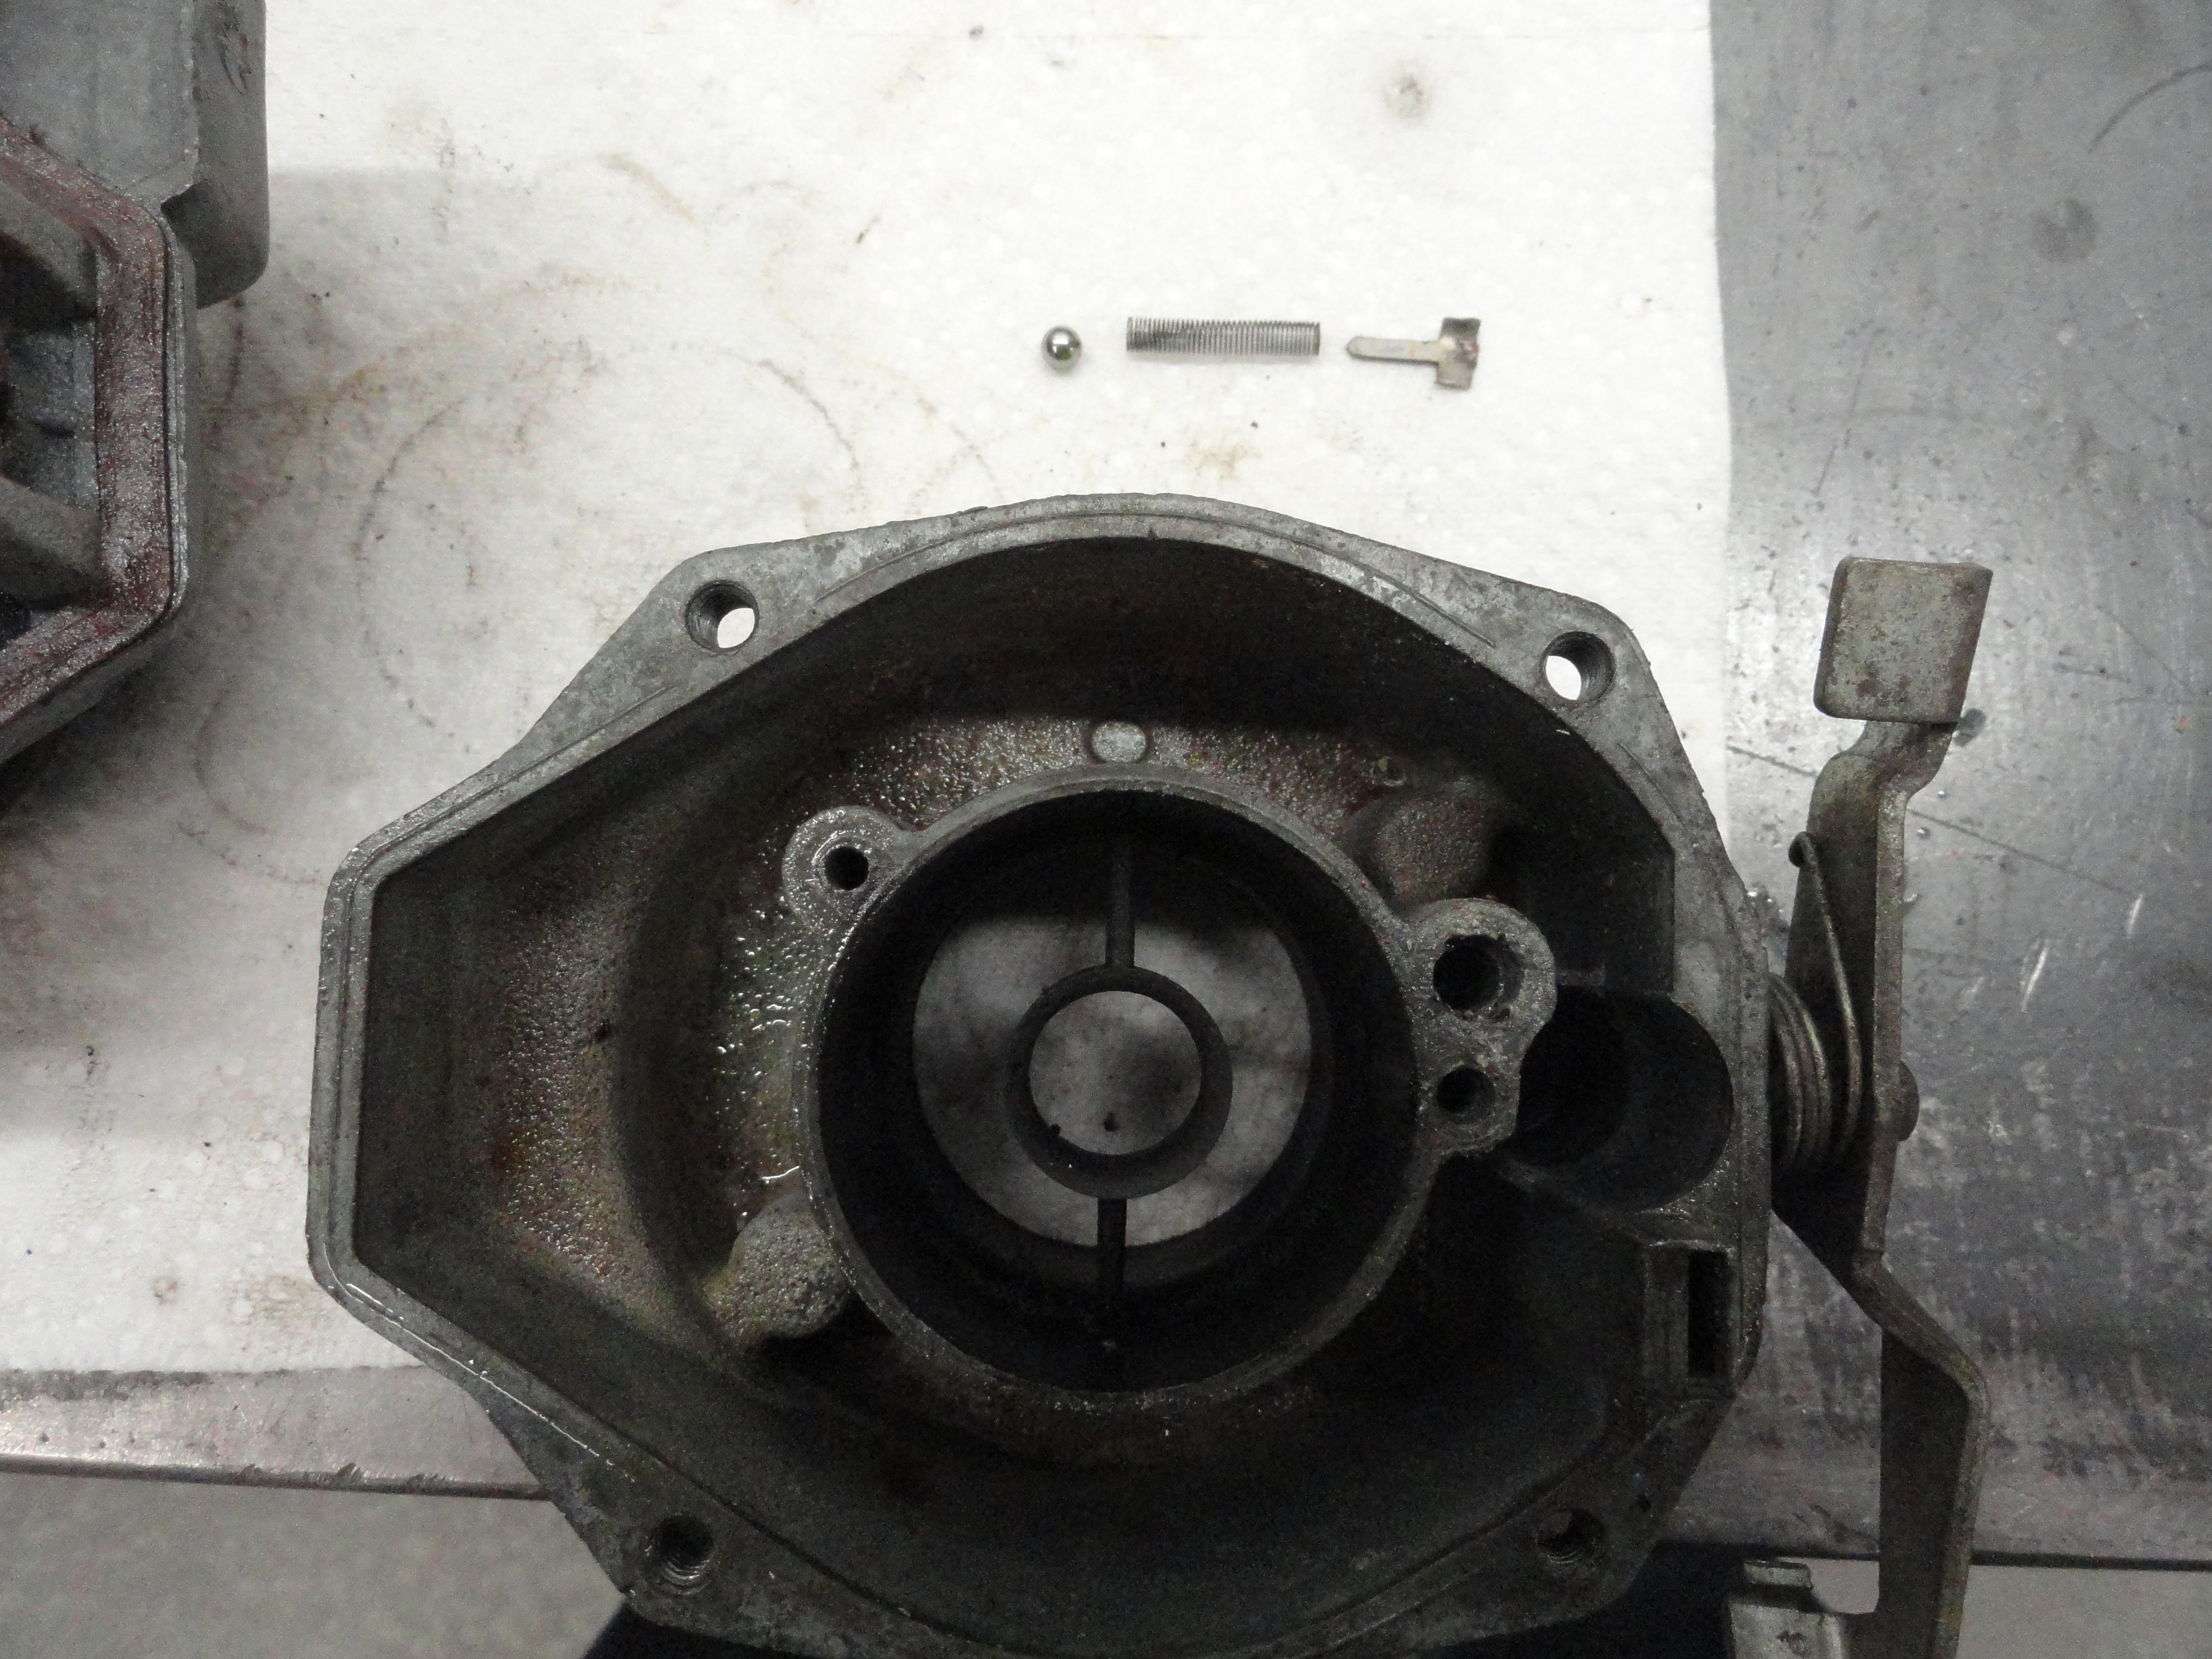
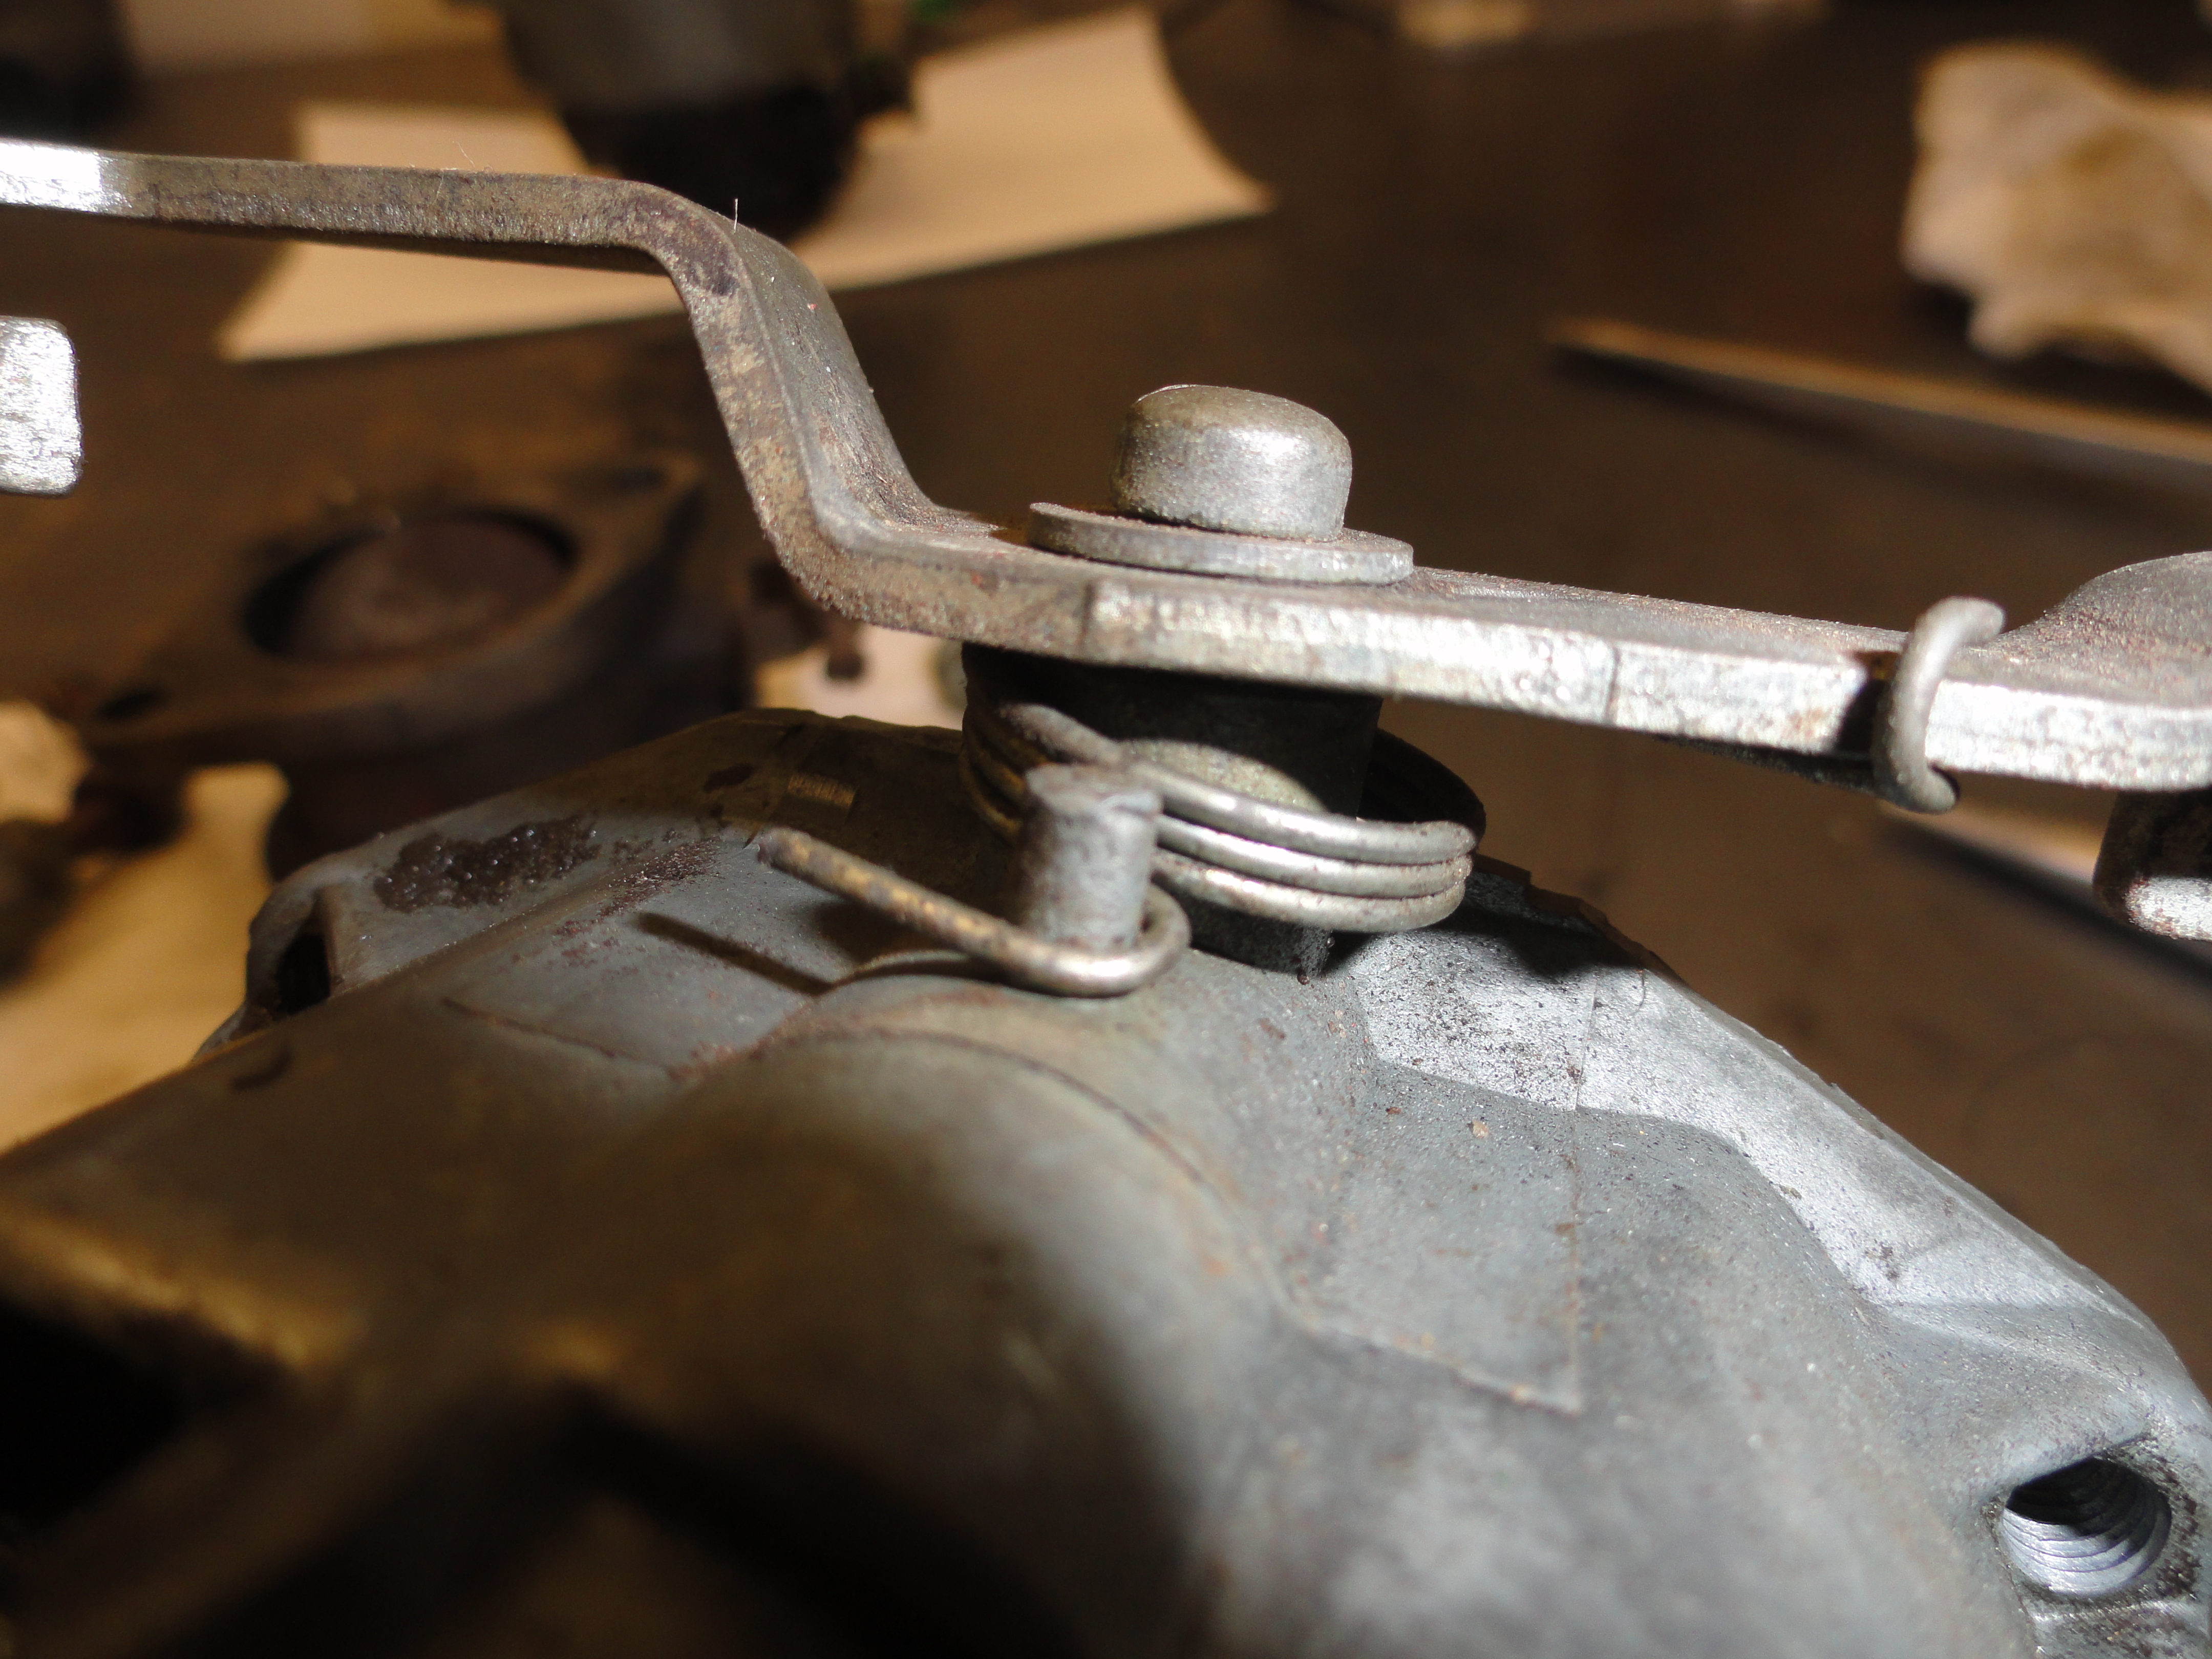
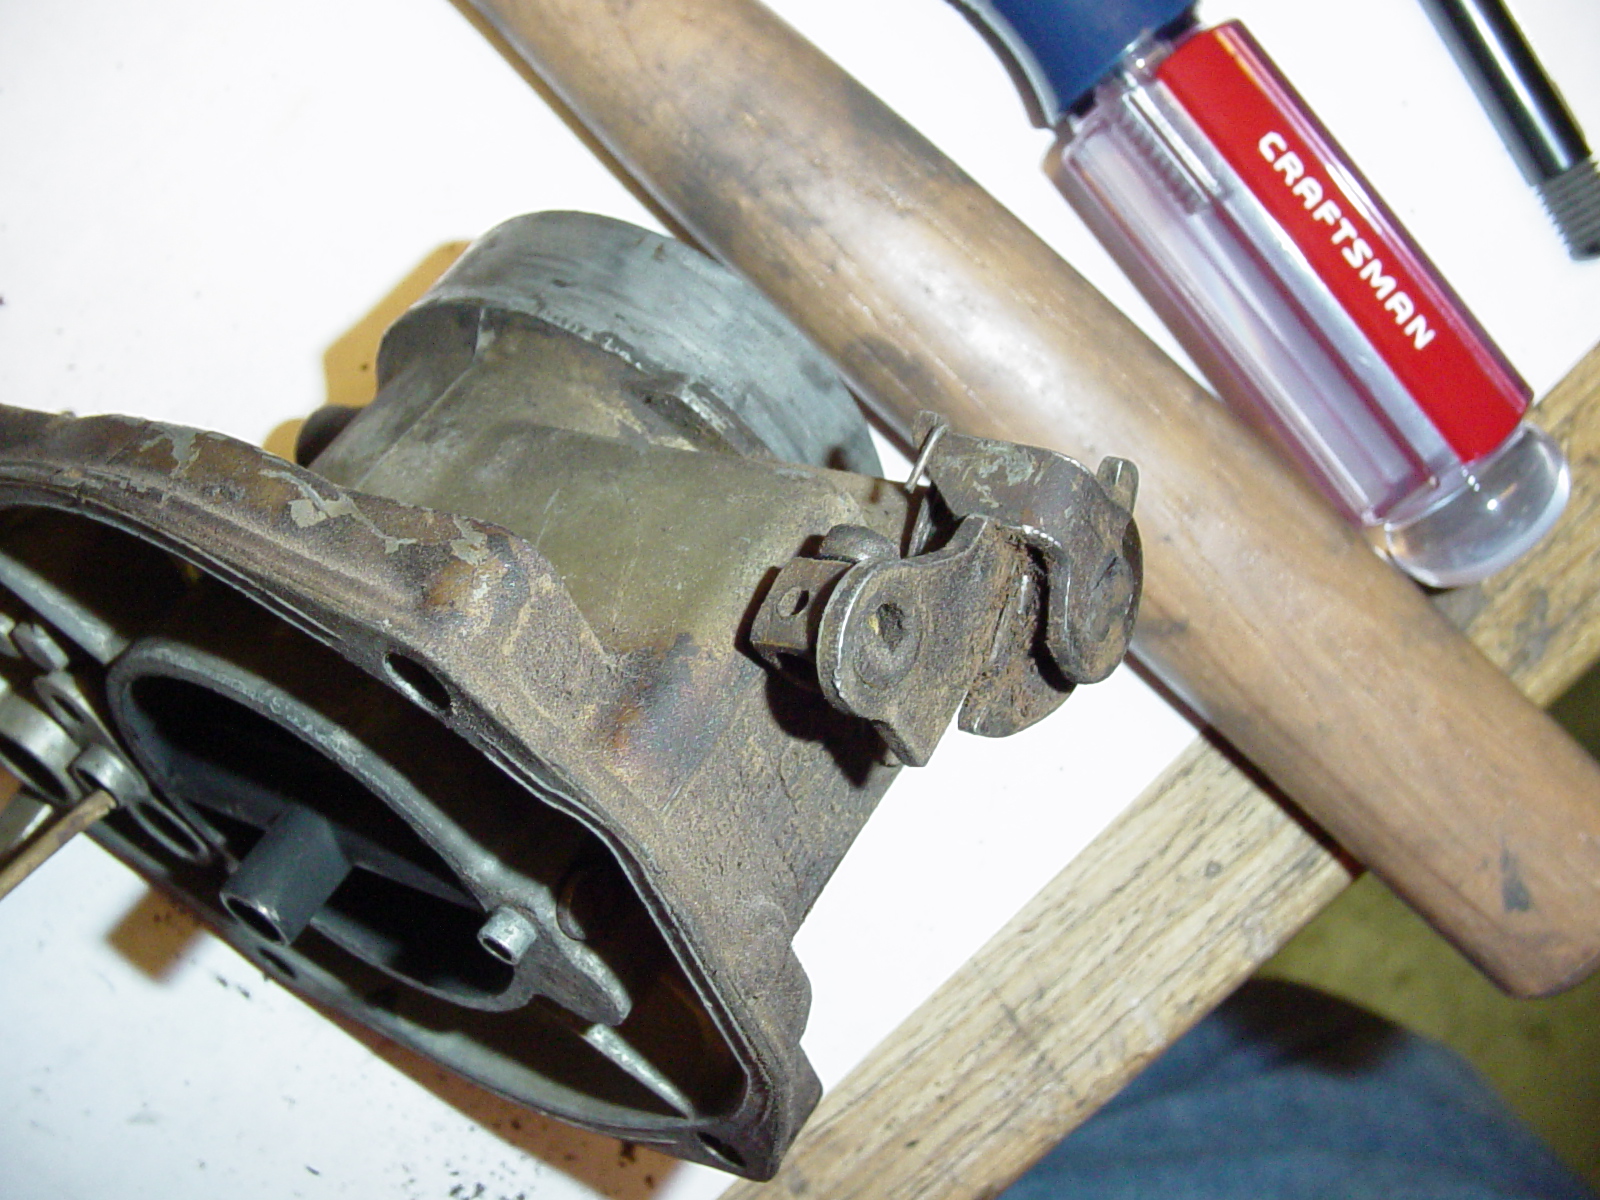
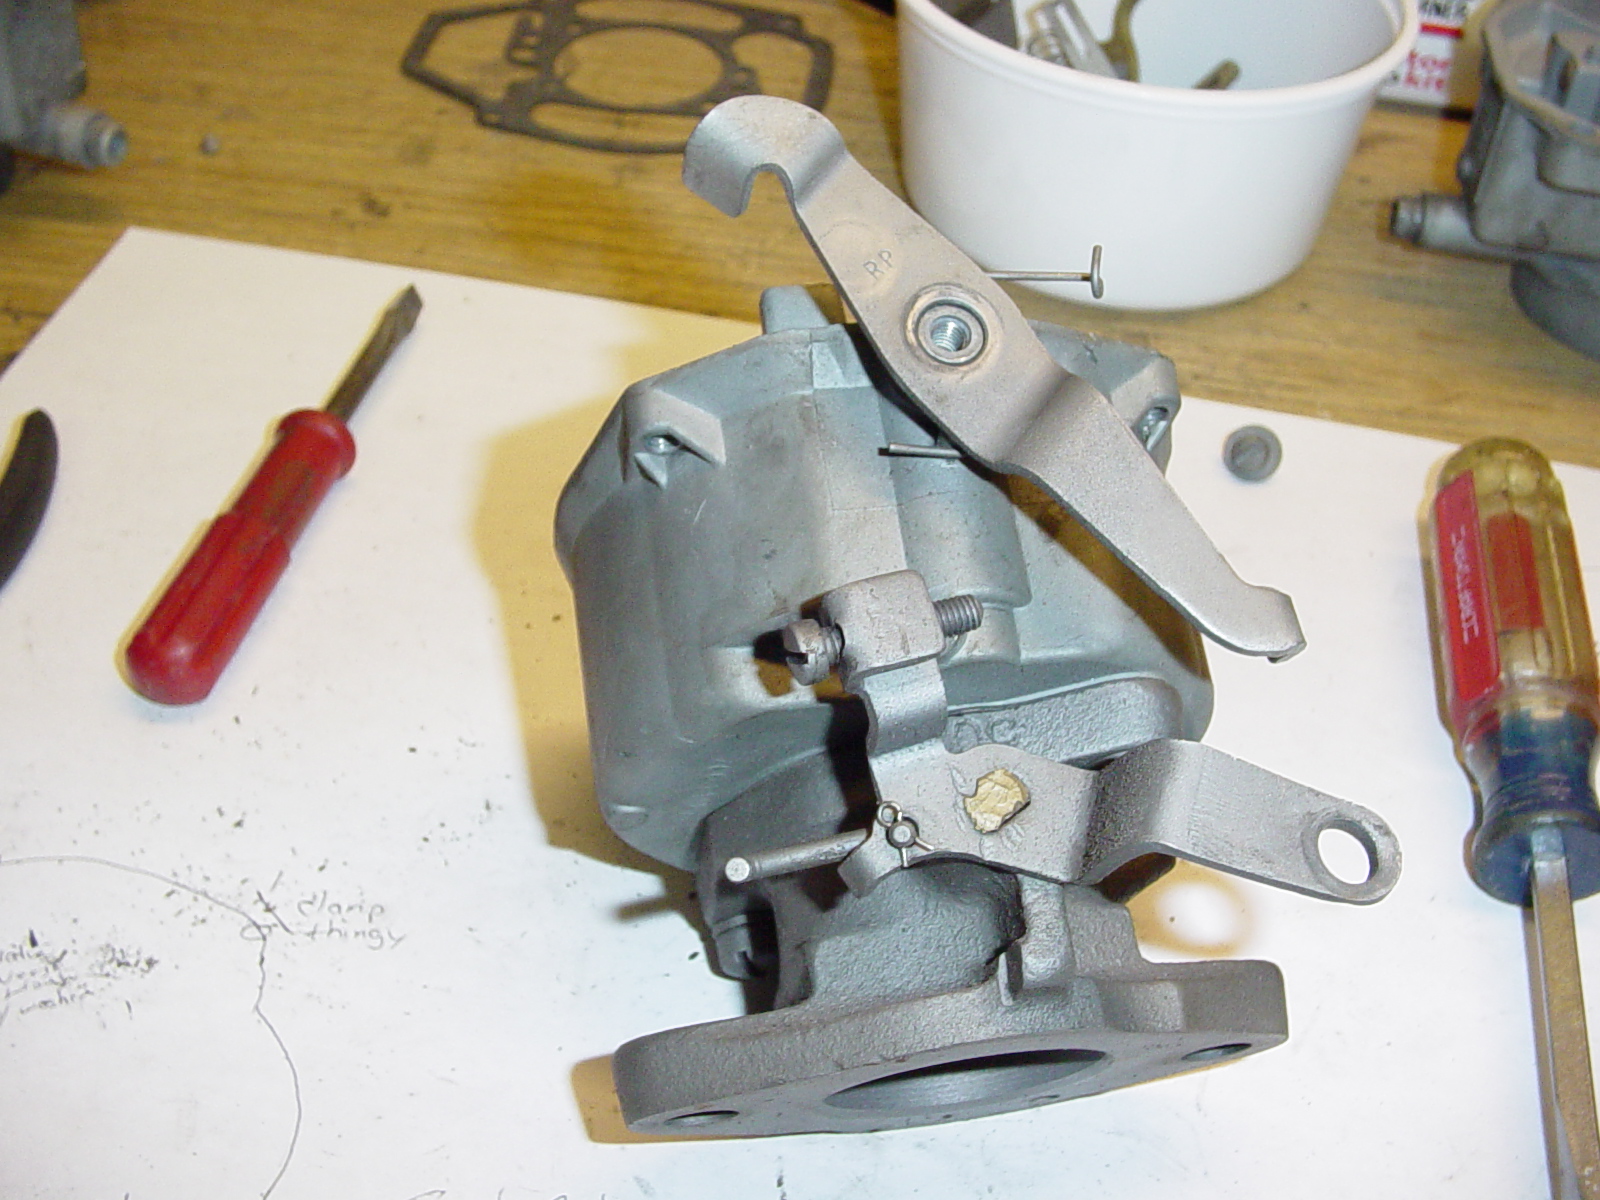
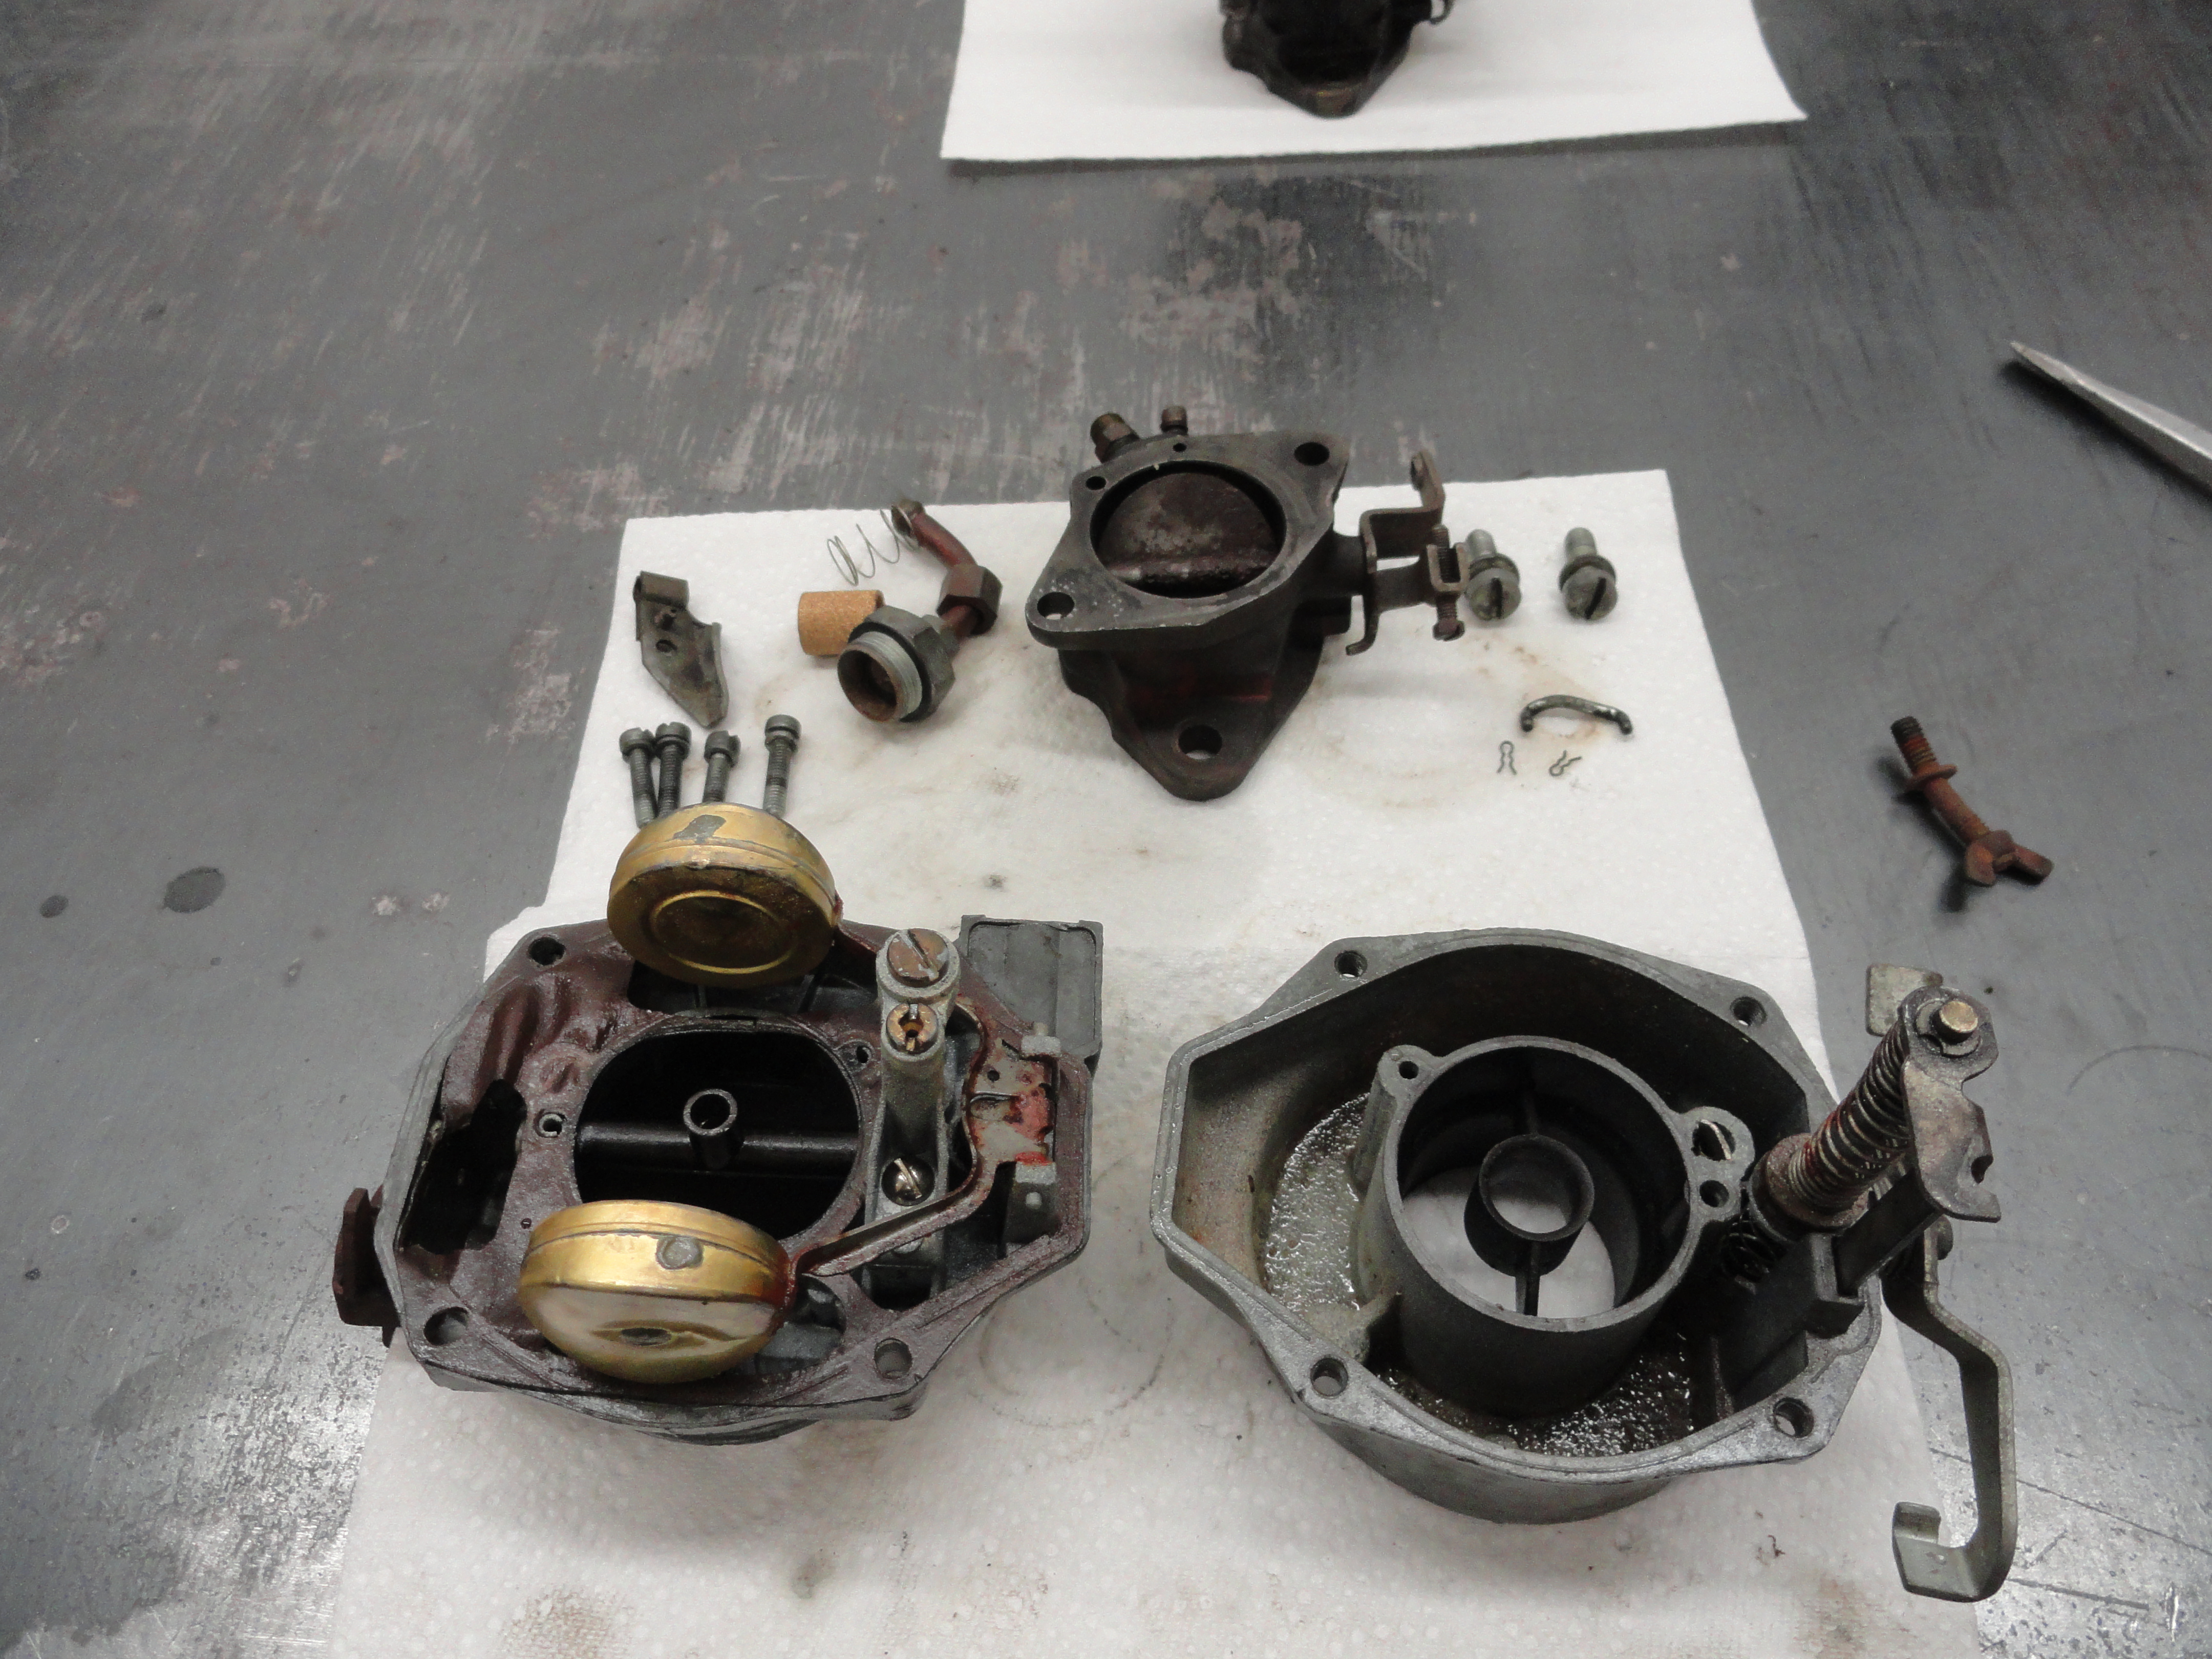
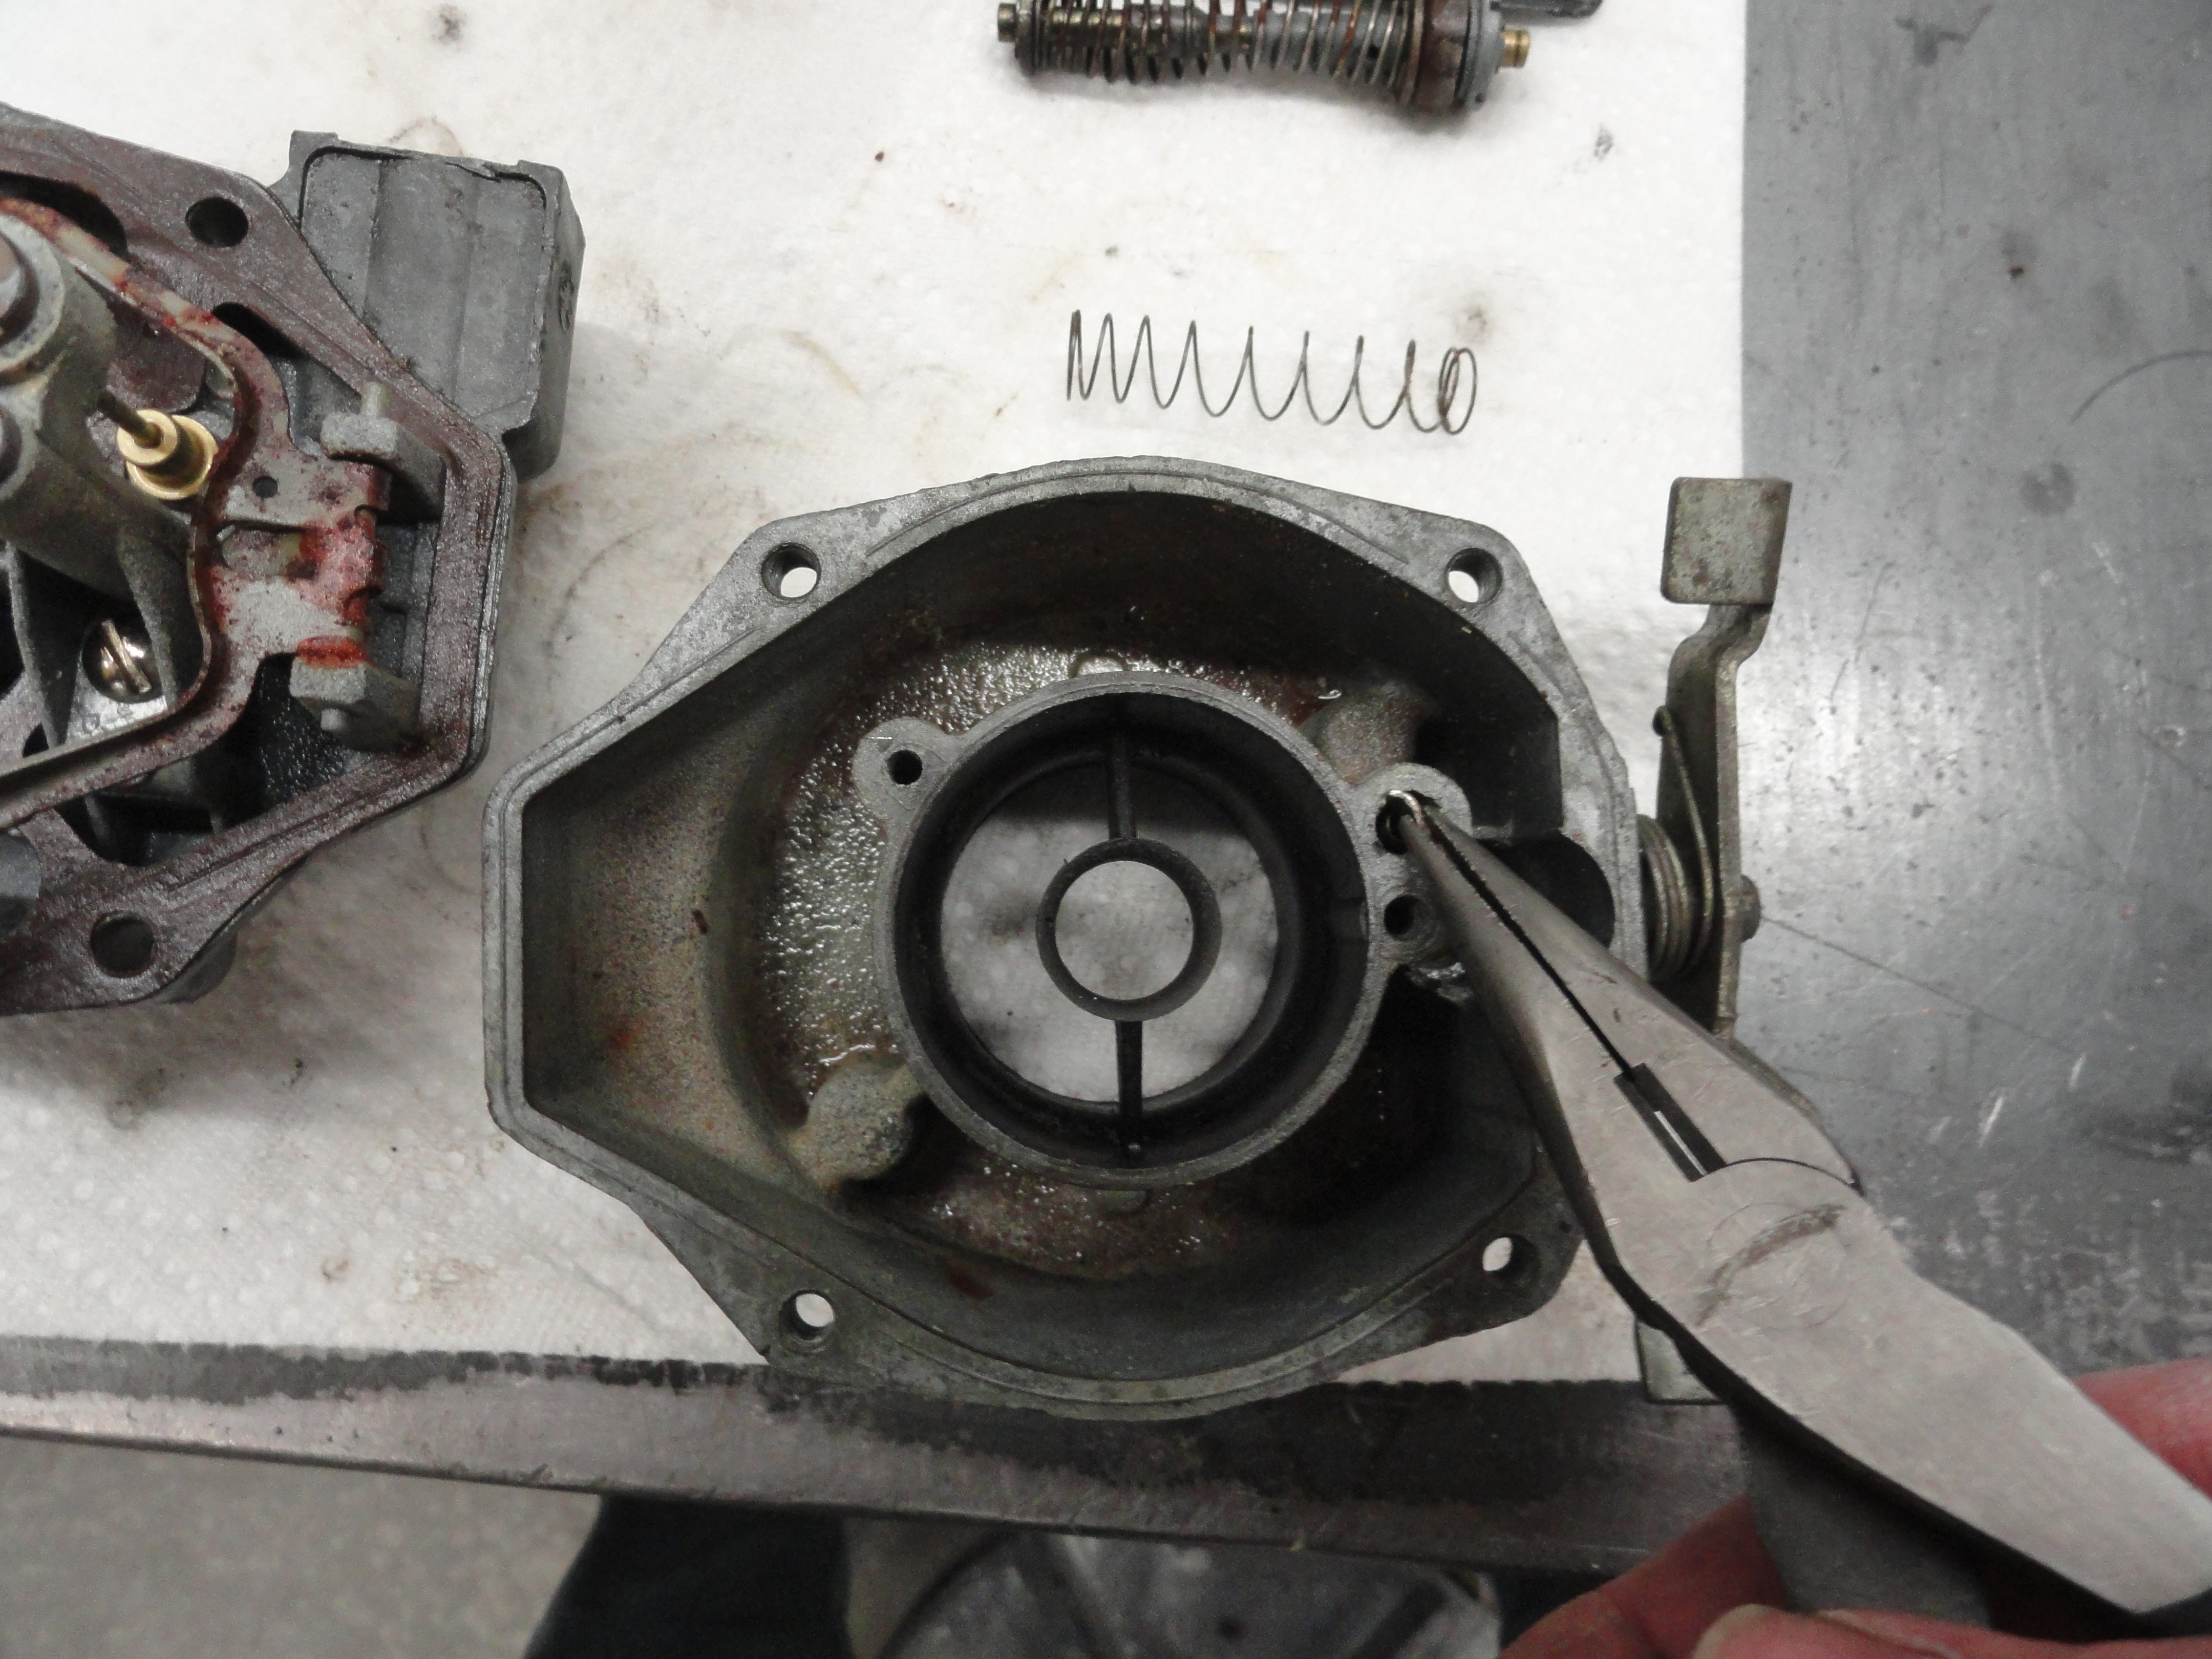
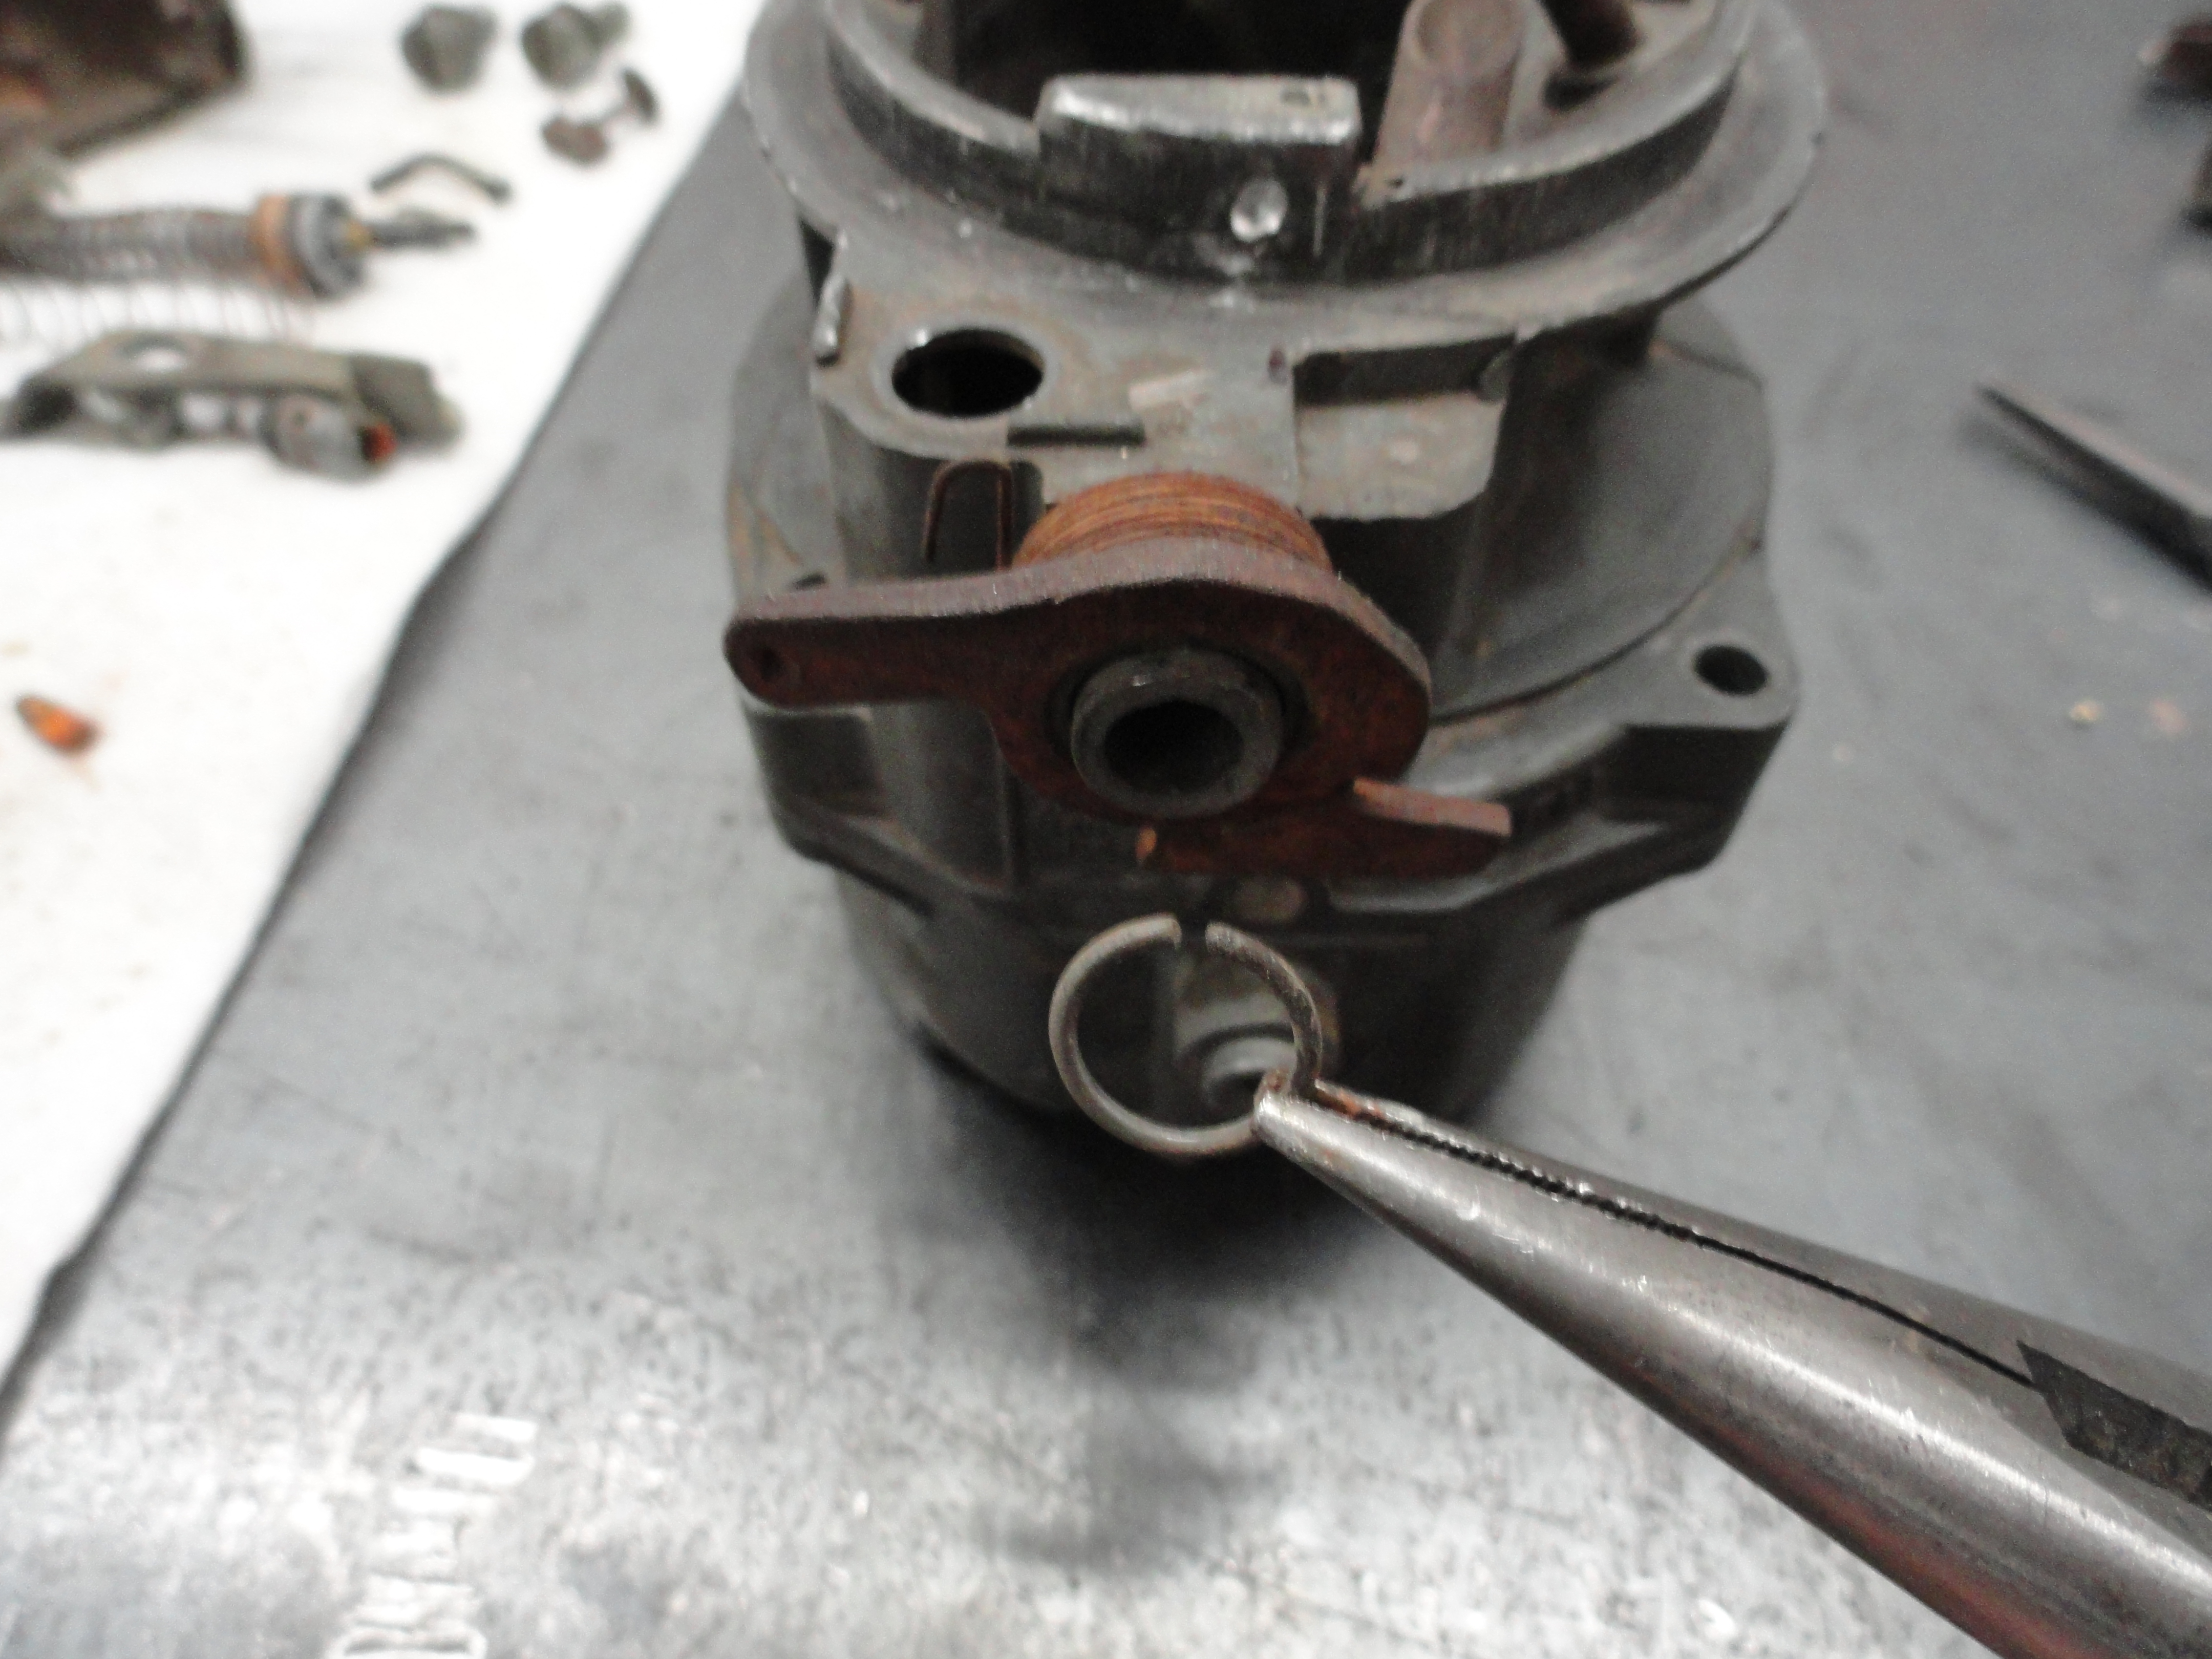
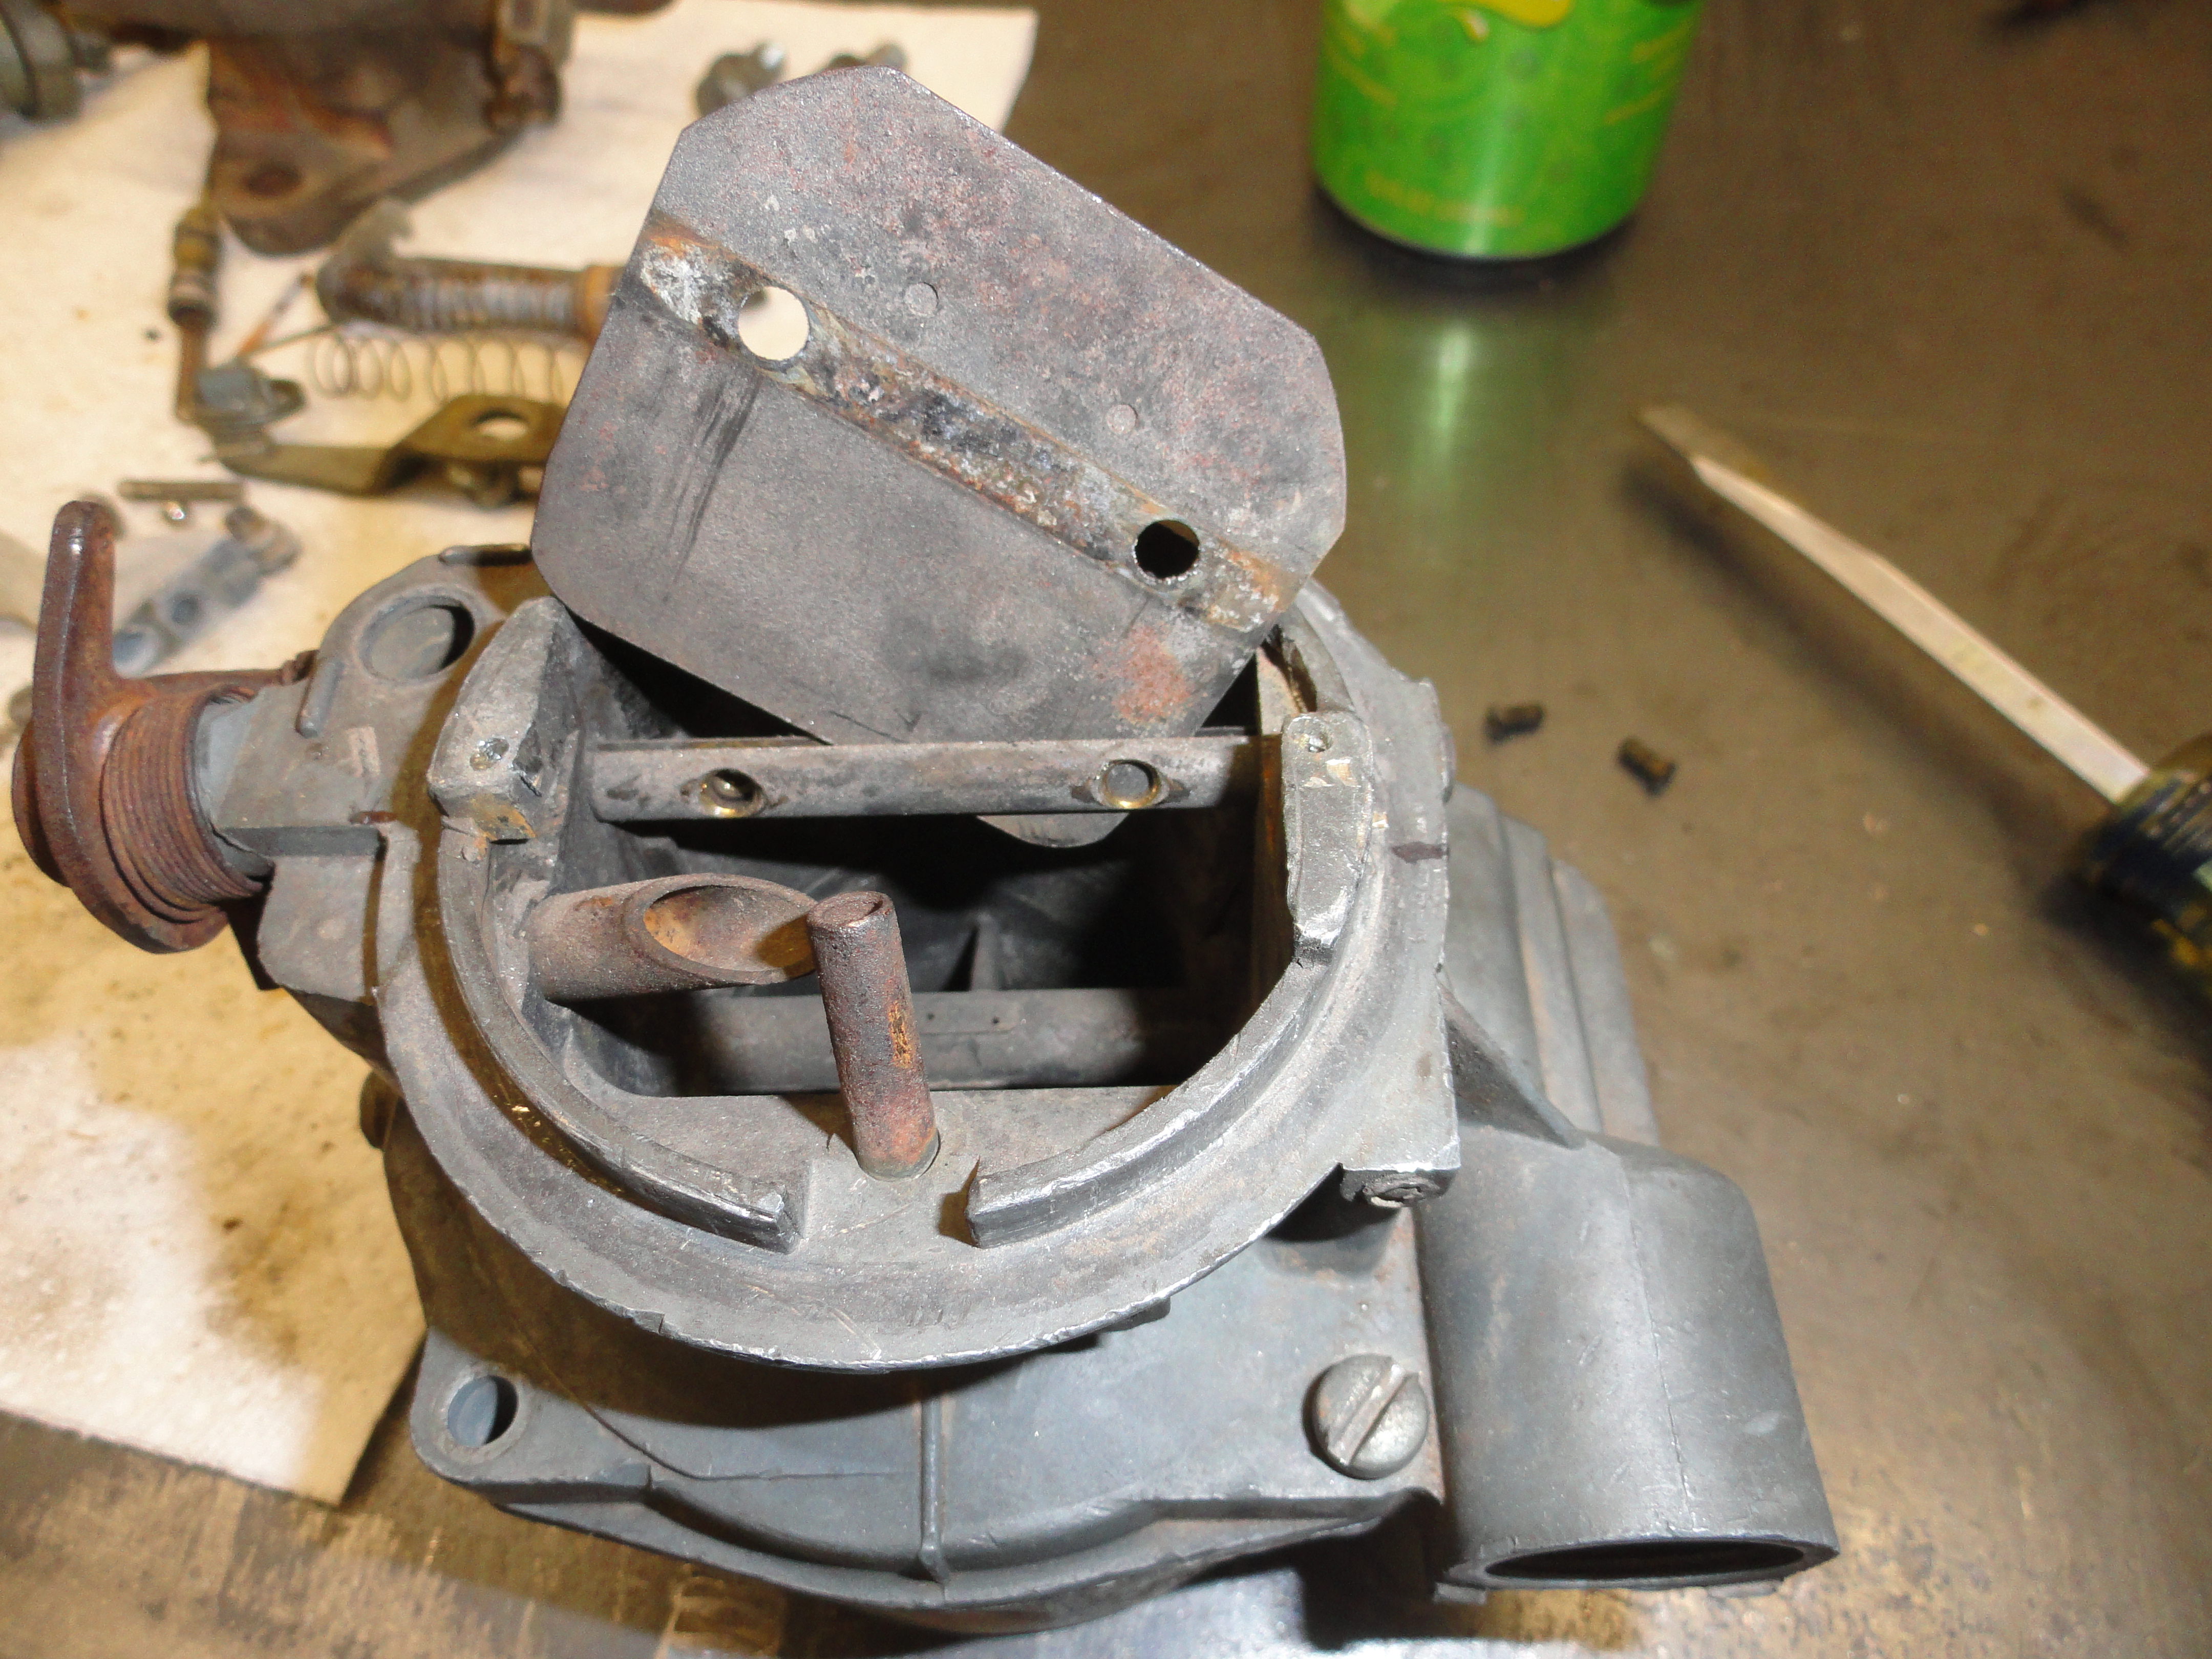
Clean the Carb with something that will make the surfaces very clean. Carb Cleaner or Engine De-greaser is good. I used my 3 gal. parts washer with Kerosene. Further cleaning will be necessary once we get it all apart. These pics are start to finish. Start by removing the bottom of the Carb. To do this, using a needle nose pliers, pull the clips from that small linkage (shown) and remove the linkage keeping careful track of all parts and where they go. With that linkage removed, you can now remove the bottom by removing the two large screws. Now, lets remove the top. The top contains the float assembly so be very careful when pulling the two apart. The 4 screws holding the top on are all that is needed, however, notice where the throttle and choke bracket is located on one of the corners. Carefully lay the top cover upside down on the table. There are several items protruding up from the top, but one of them will remain even when everything is apart. You need to protect that from damage while we clean and restore the inside of the carb. With the three main bodies separated, we can start taking the components out.

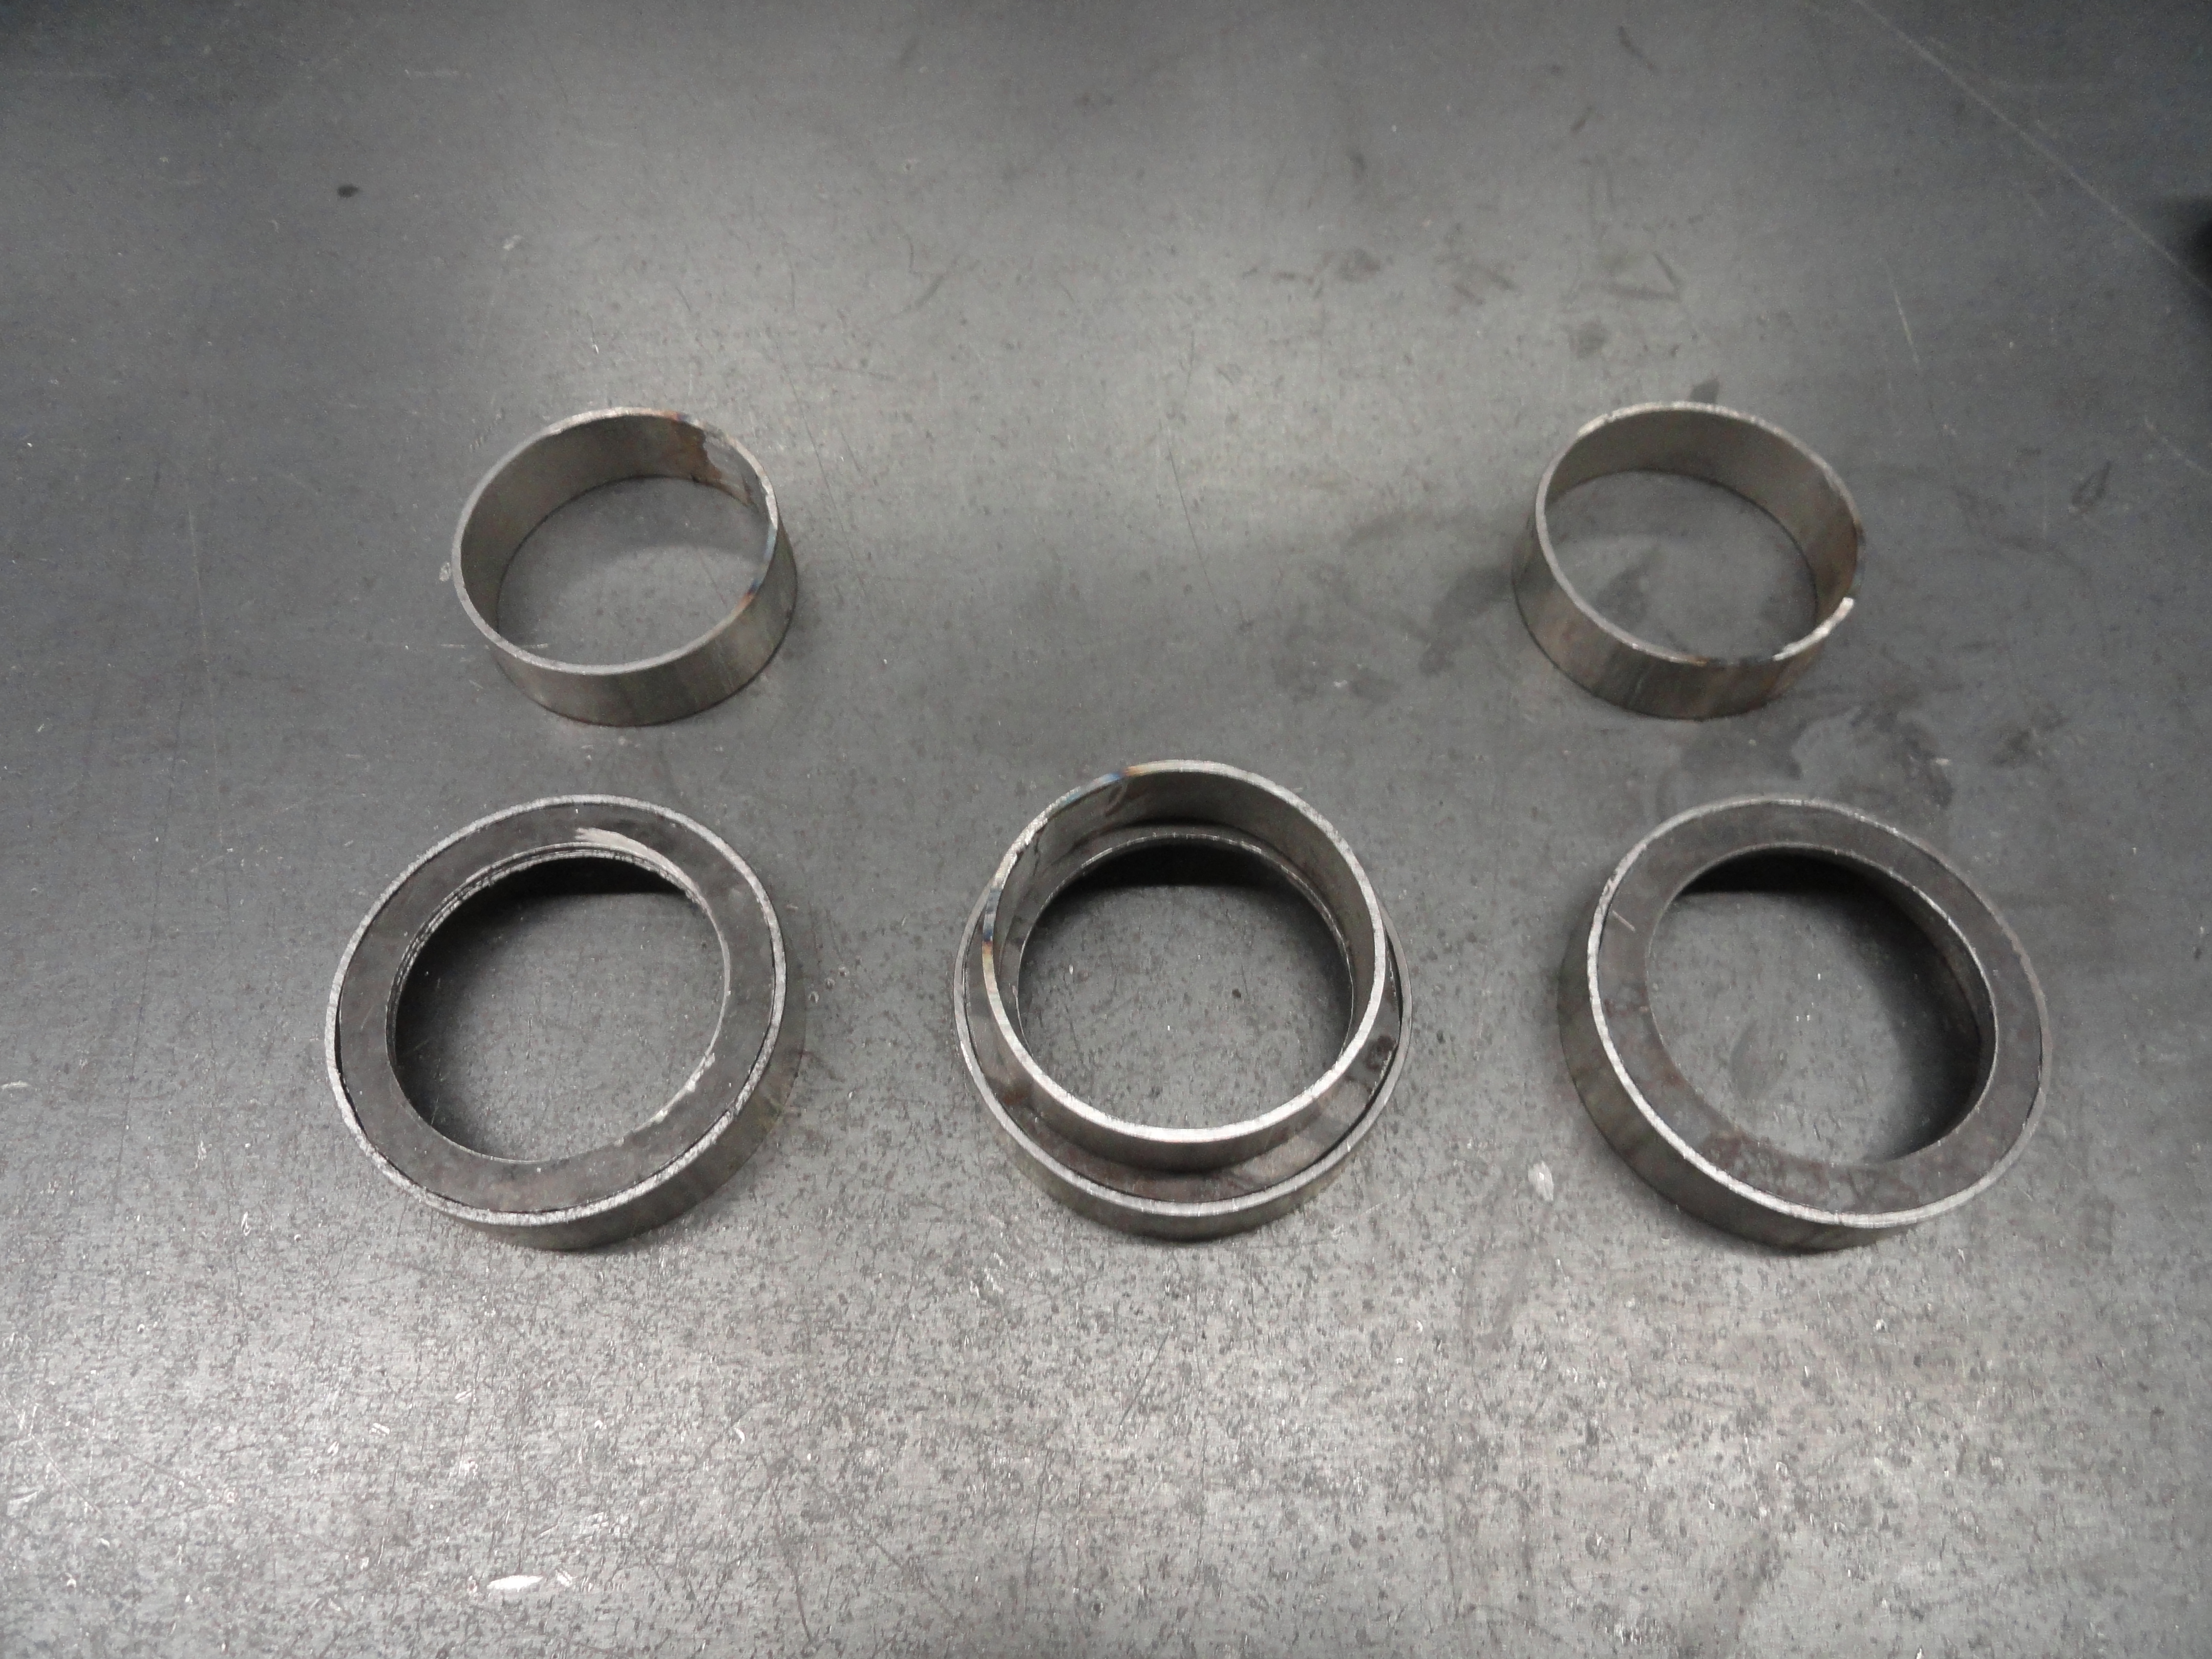
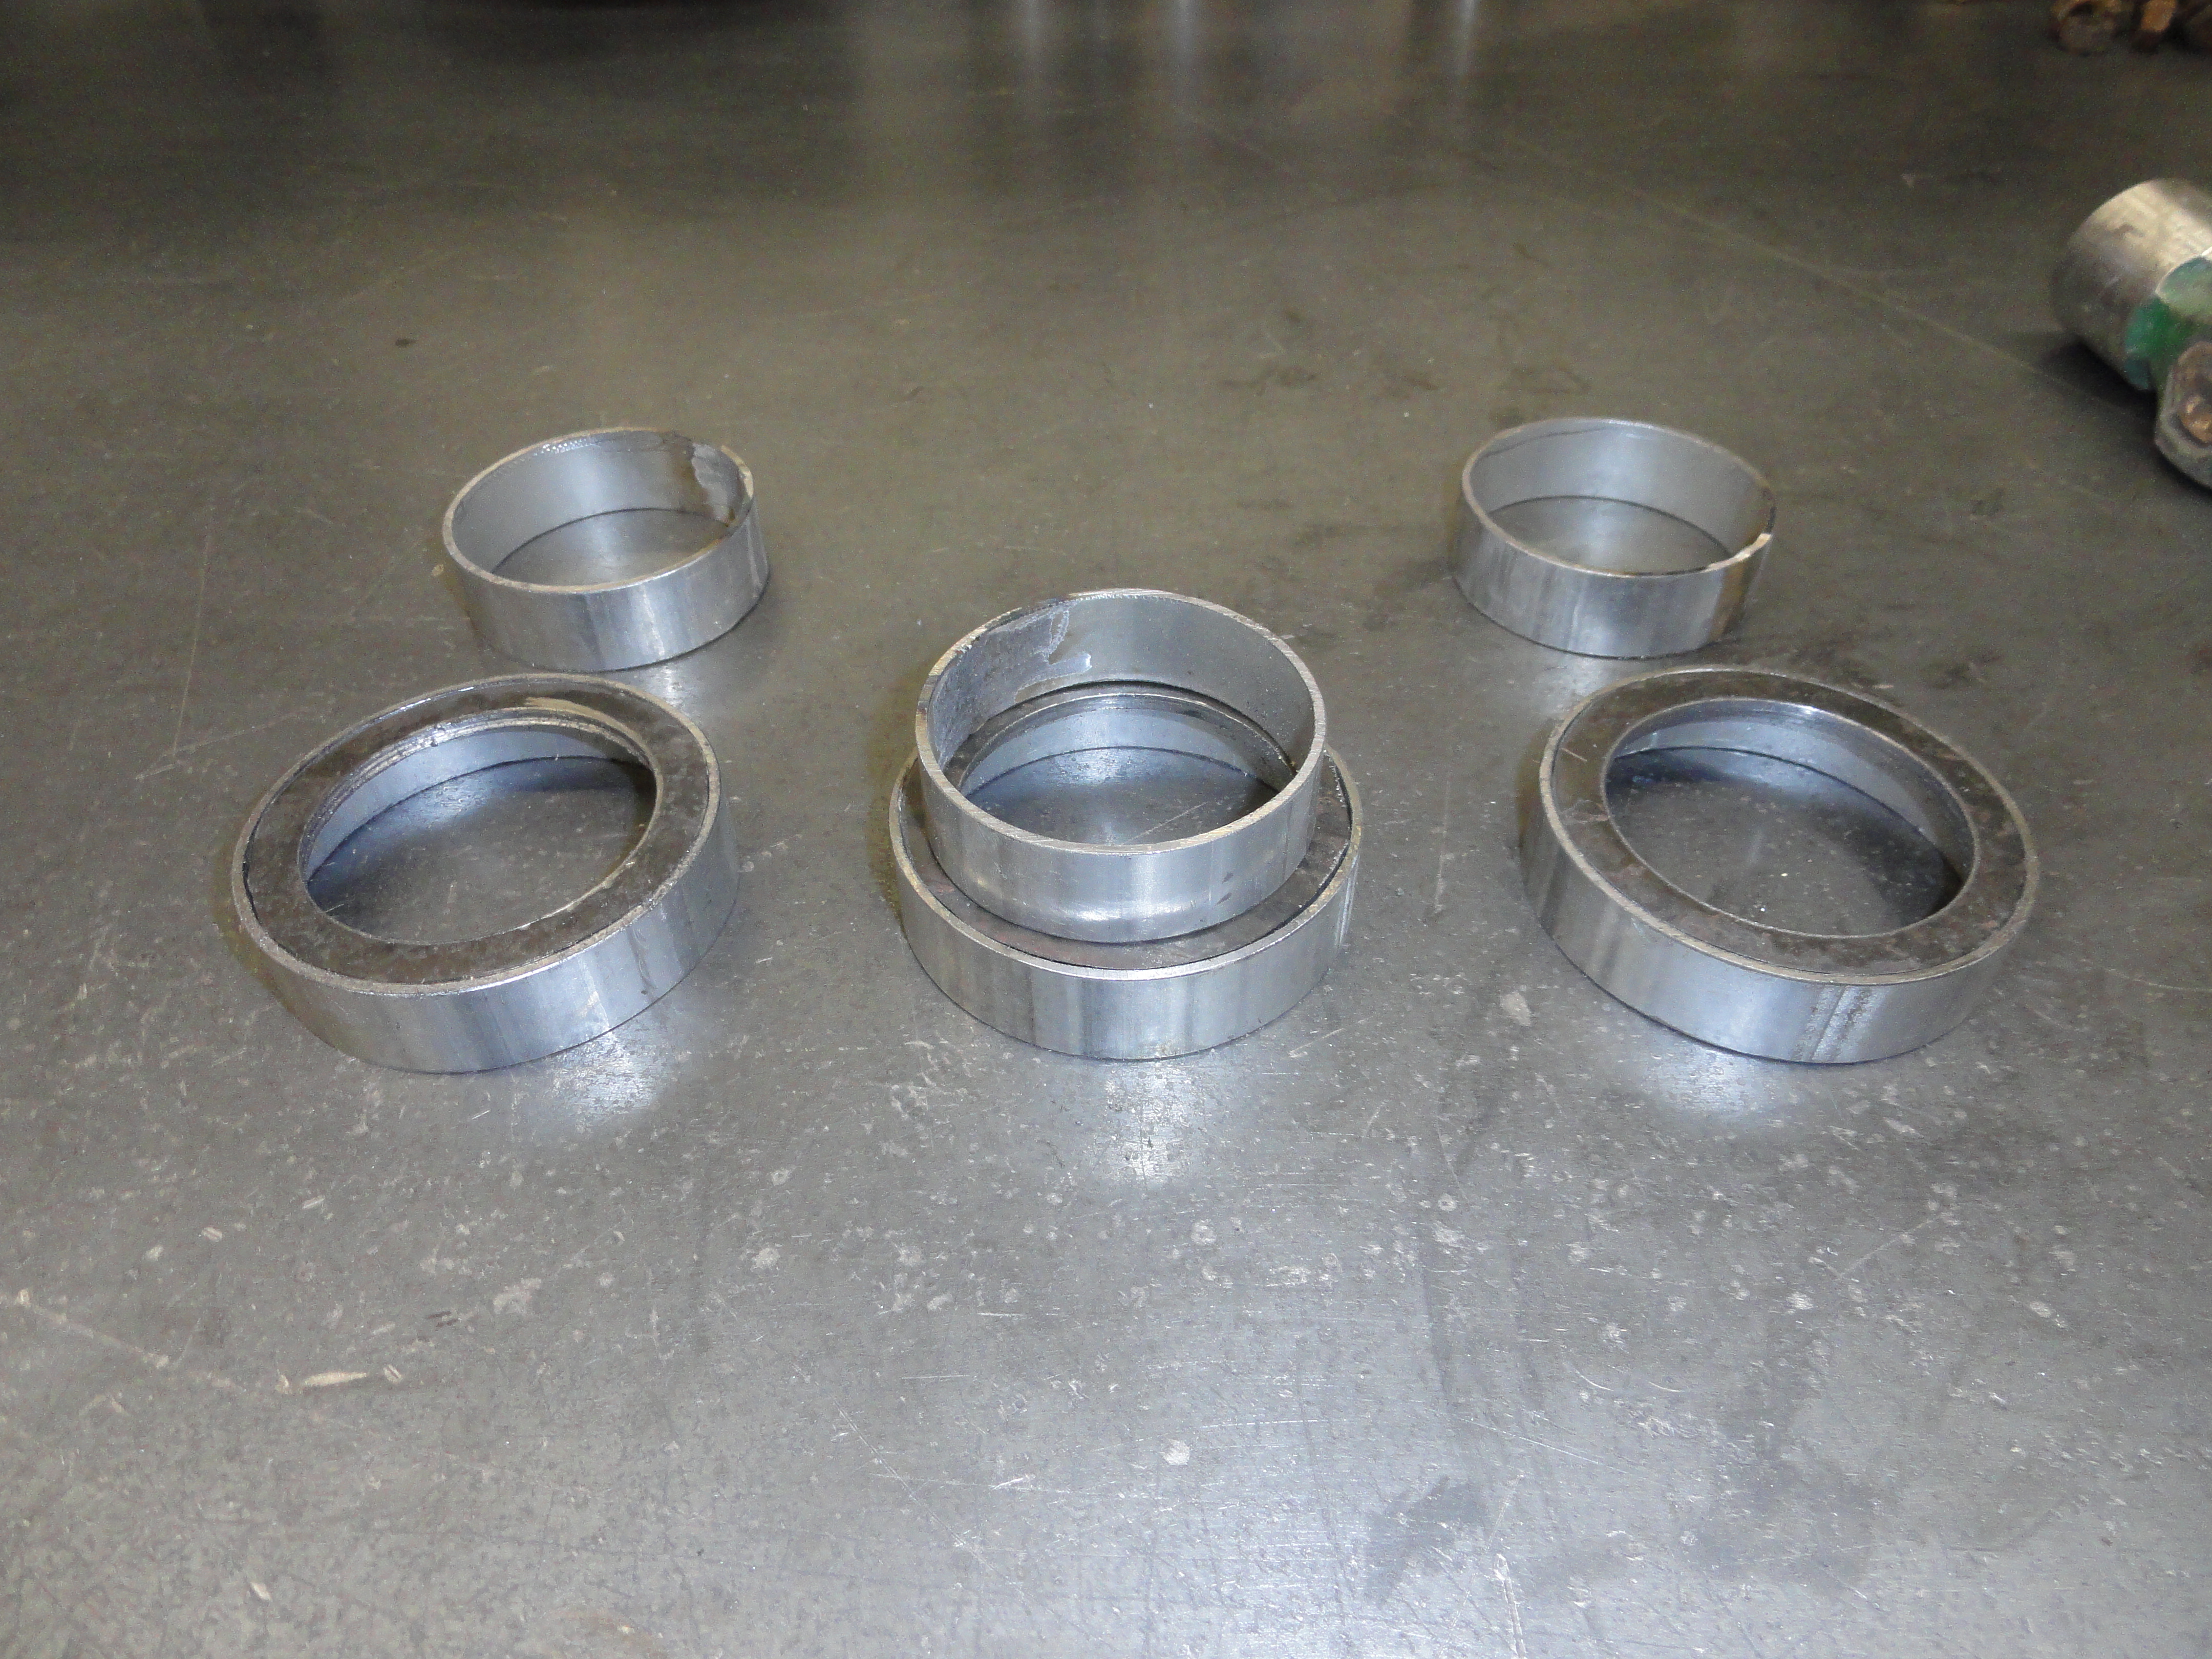
These Carbs are so old that it is very unlikely you will find one with the gold anodized plating intact. Out of the 5 in my inventory,
none have any plating left on them. This means you will have a few alternatives.
I chose to go with leaving it the natural color of cast steel. I am not making this one for a show truck, so leaving it natural gives me the options later if I choose to go another route.
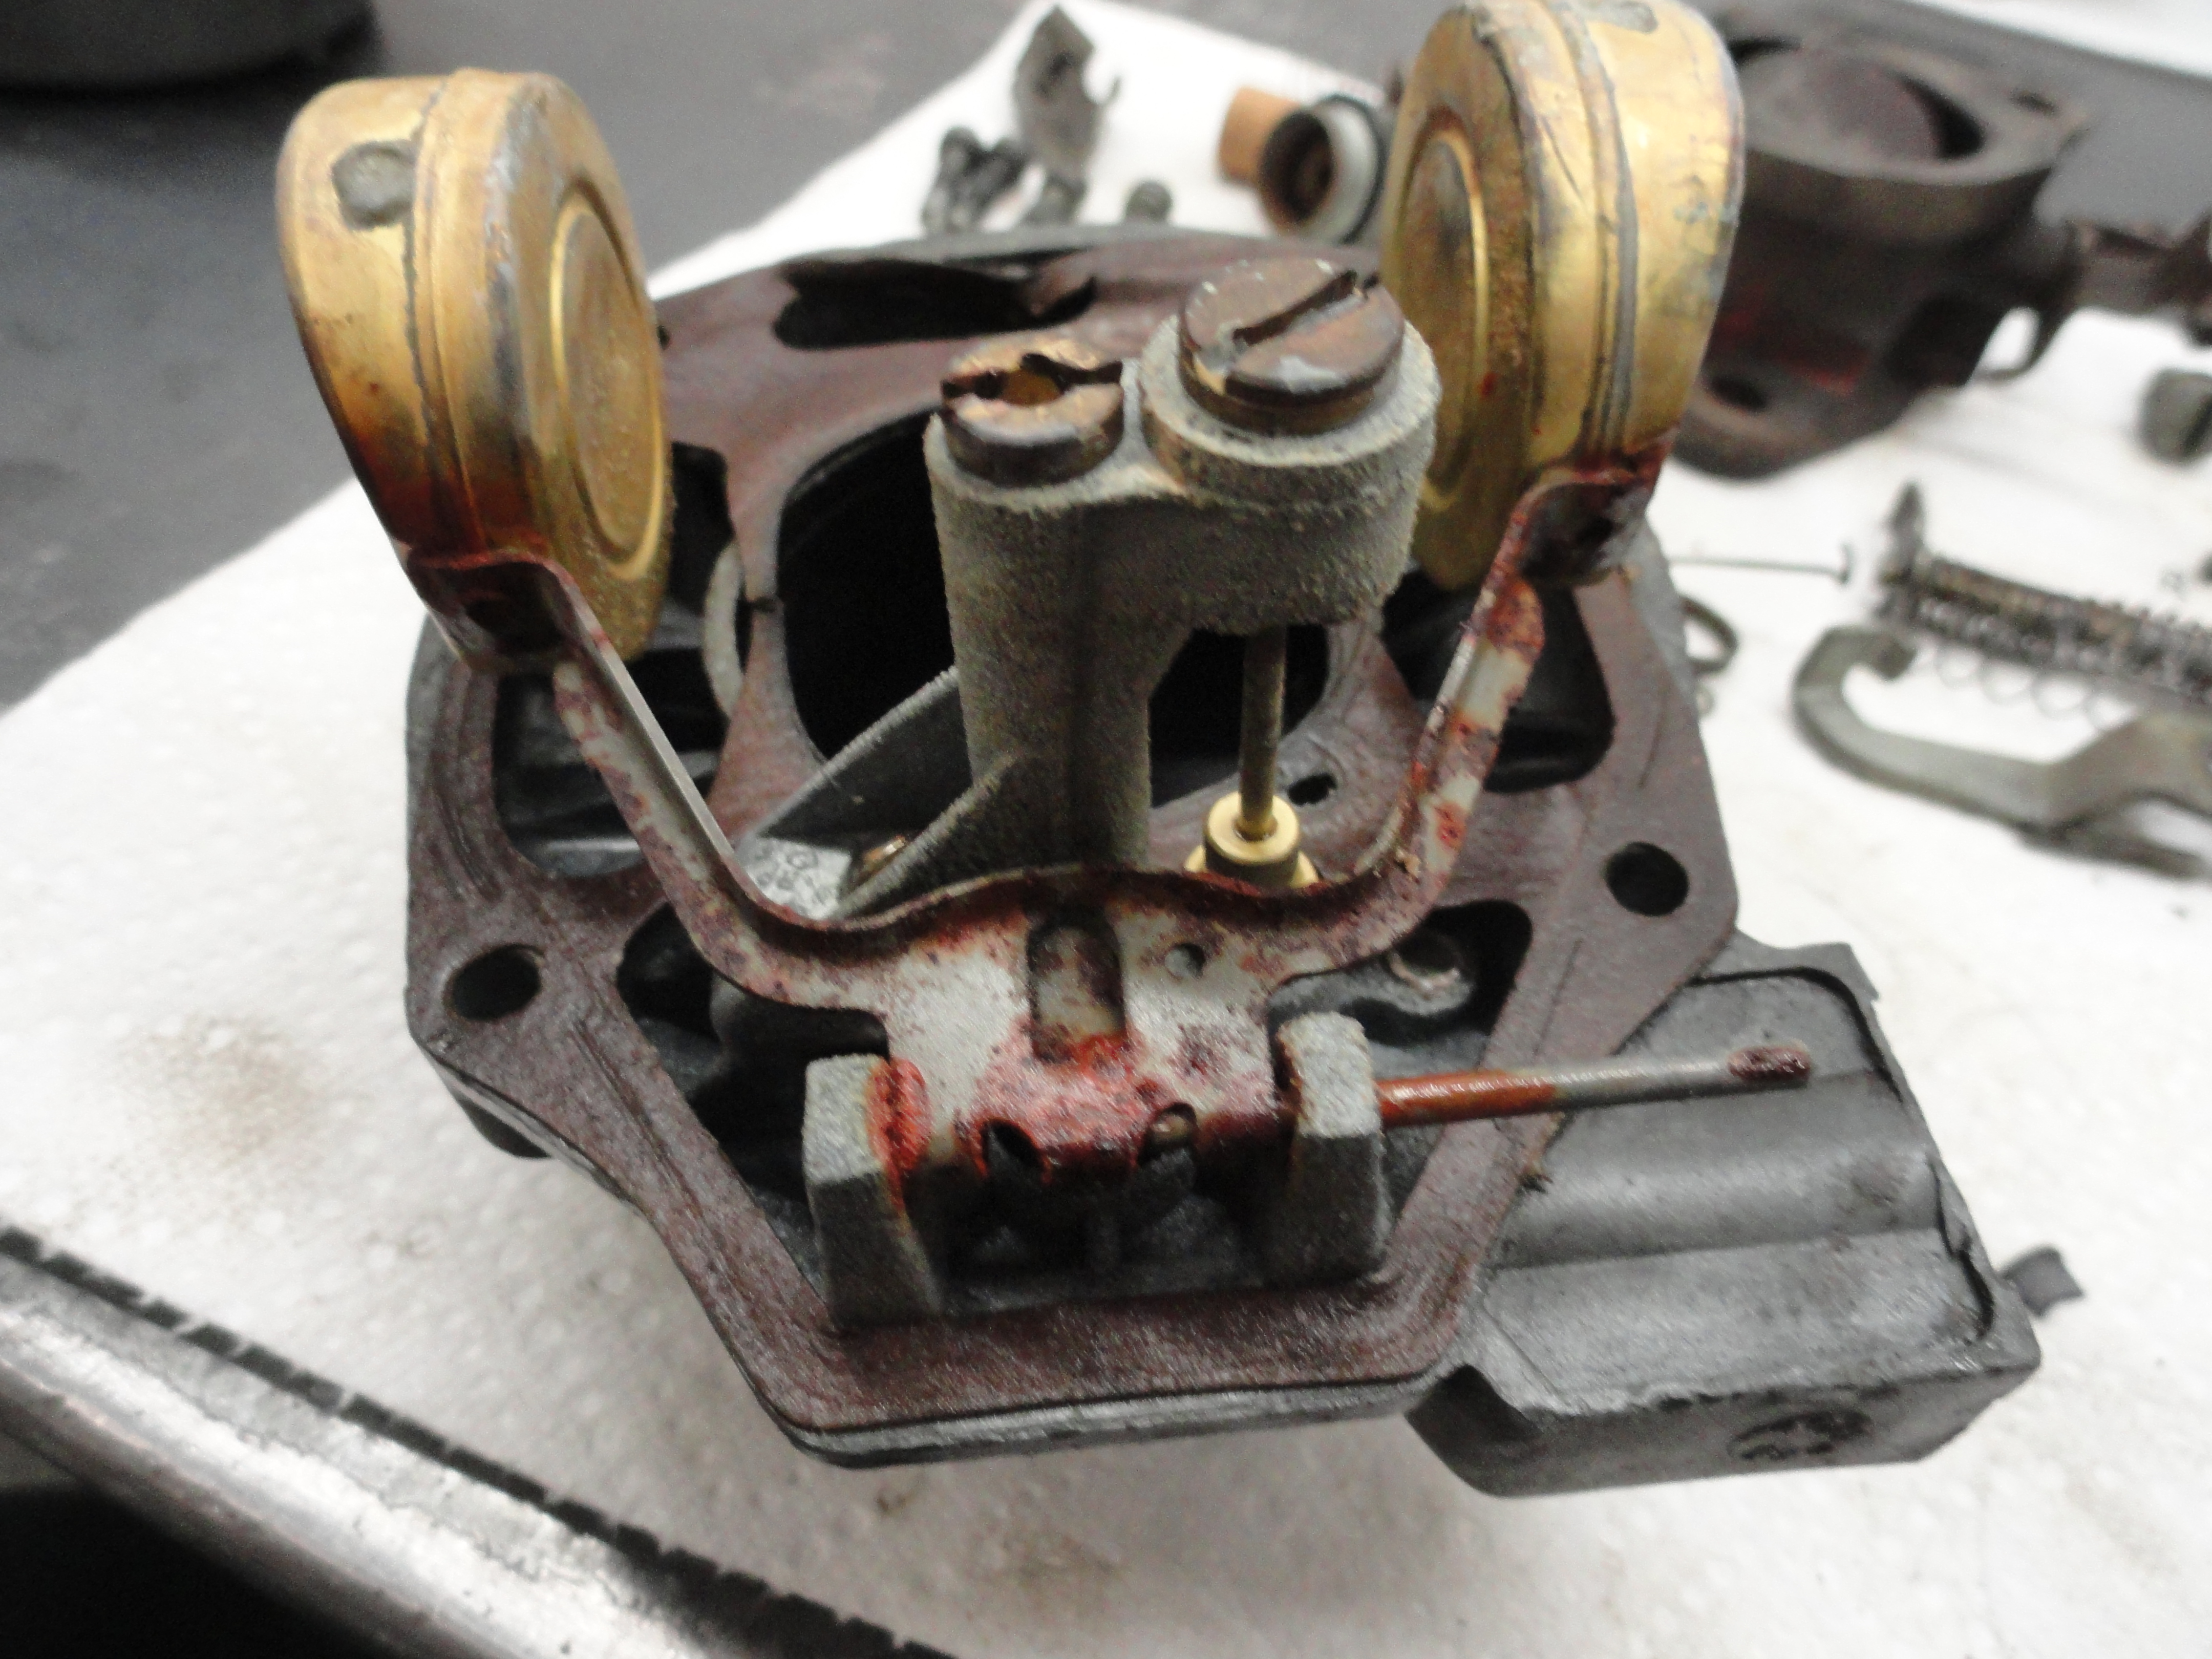
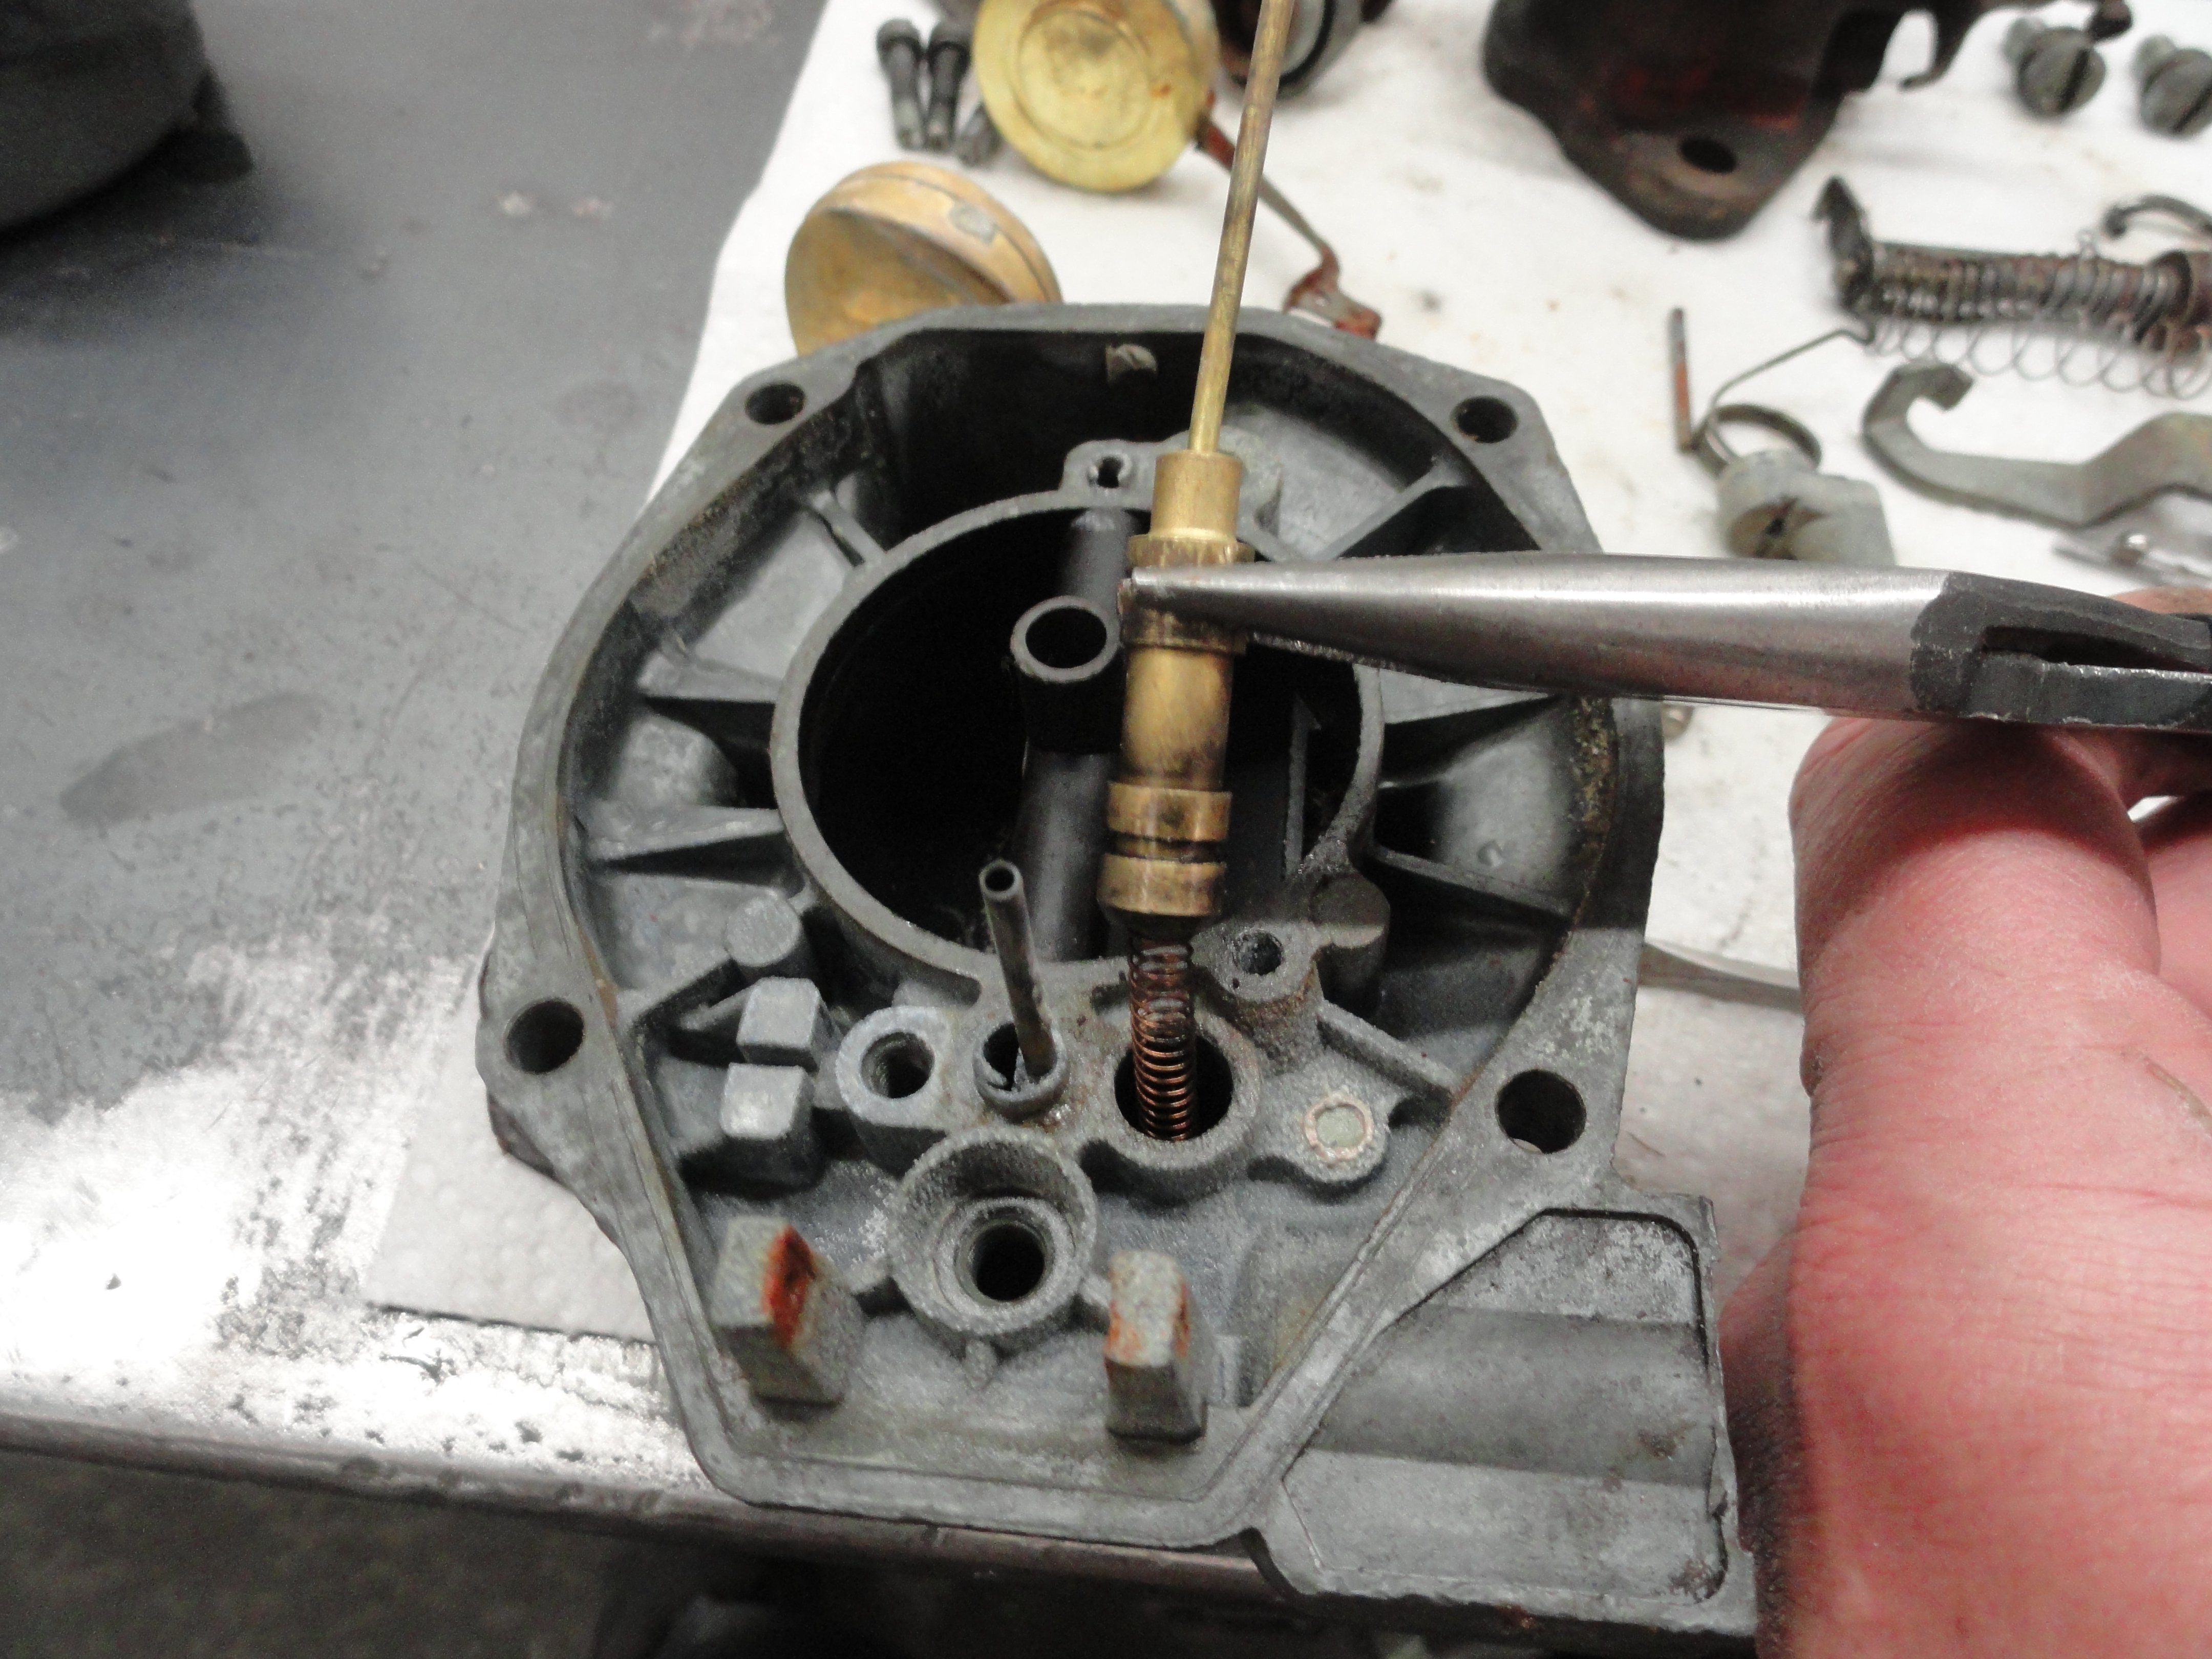
We will begin by removing everything from the top cover. Start with the float assembly. The pin holding the float assembly should be pretty loose and easily pull out of its holes. If you can't do it by hand, try not to mar it up but pull it out with needle nose pliers. Just wiggle it carefully until it comes out. Keep track of the orientation of the float. Inspect for any visible damage. These floats are still available as of this writing so if you feel the float has sprung a leak, or just to be precautionary, order a new one. Remove the Jet Assembly, which is that brass carrier that has the slots on both sides of it for a wide screwdriver. Pull out the Jet, then the carrier. Remove the Power Piston Tower. The top brass screw needs to be removed first. The smallest check ball is located under this screw (not the aluminum one thats in your carb kit), so be careful not to lose anything.

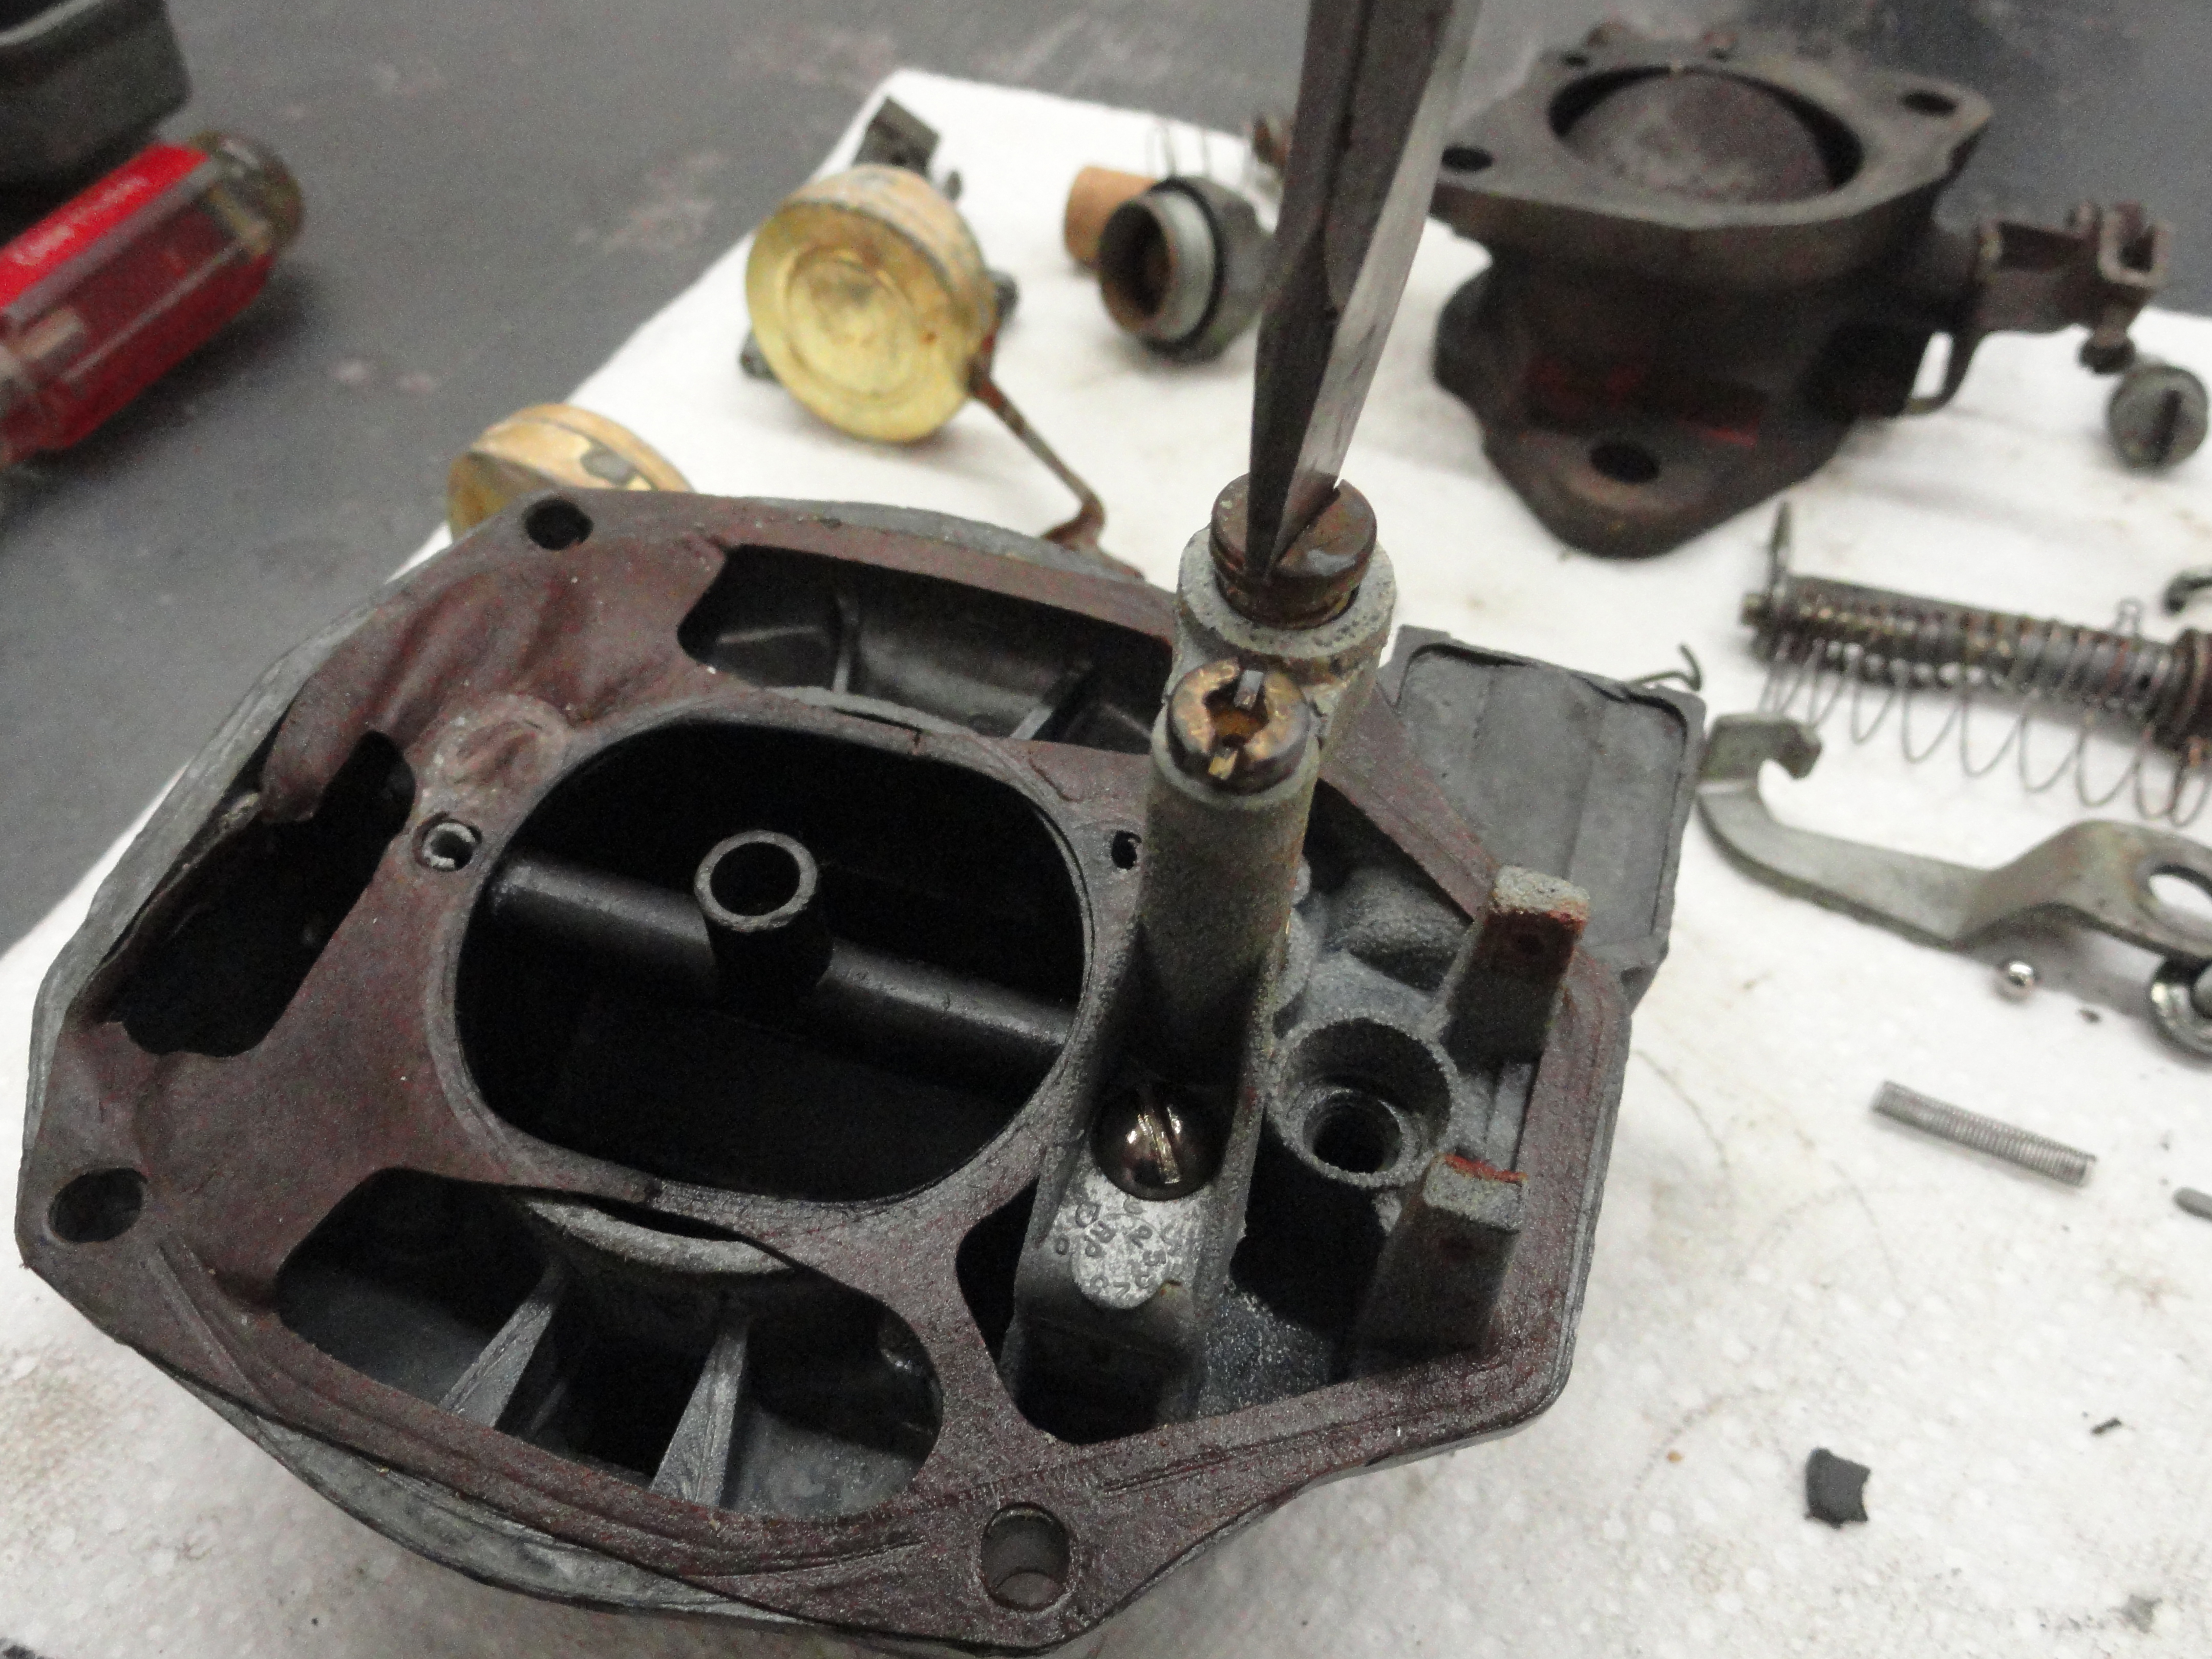
Some models have a screen inside one of the holes in the tower. Just clean it really good and leave it in place. Next remove the Power Piston. This is usually stuck in my experience and hard to remove. Be VERY careful removing it however, since they are not available. Take your time and try every trick in the book to keep that Power Piston in tact and serviceable! This piston should move up and down very freely in order to do its job. The spring under the Power Piston is not available either, so be very careful removing both. The top of that power piston is important since the checkball sits on top of it and meters the gas intake.

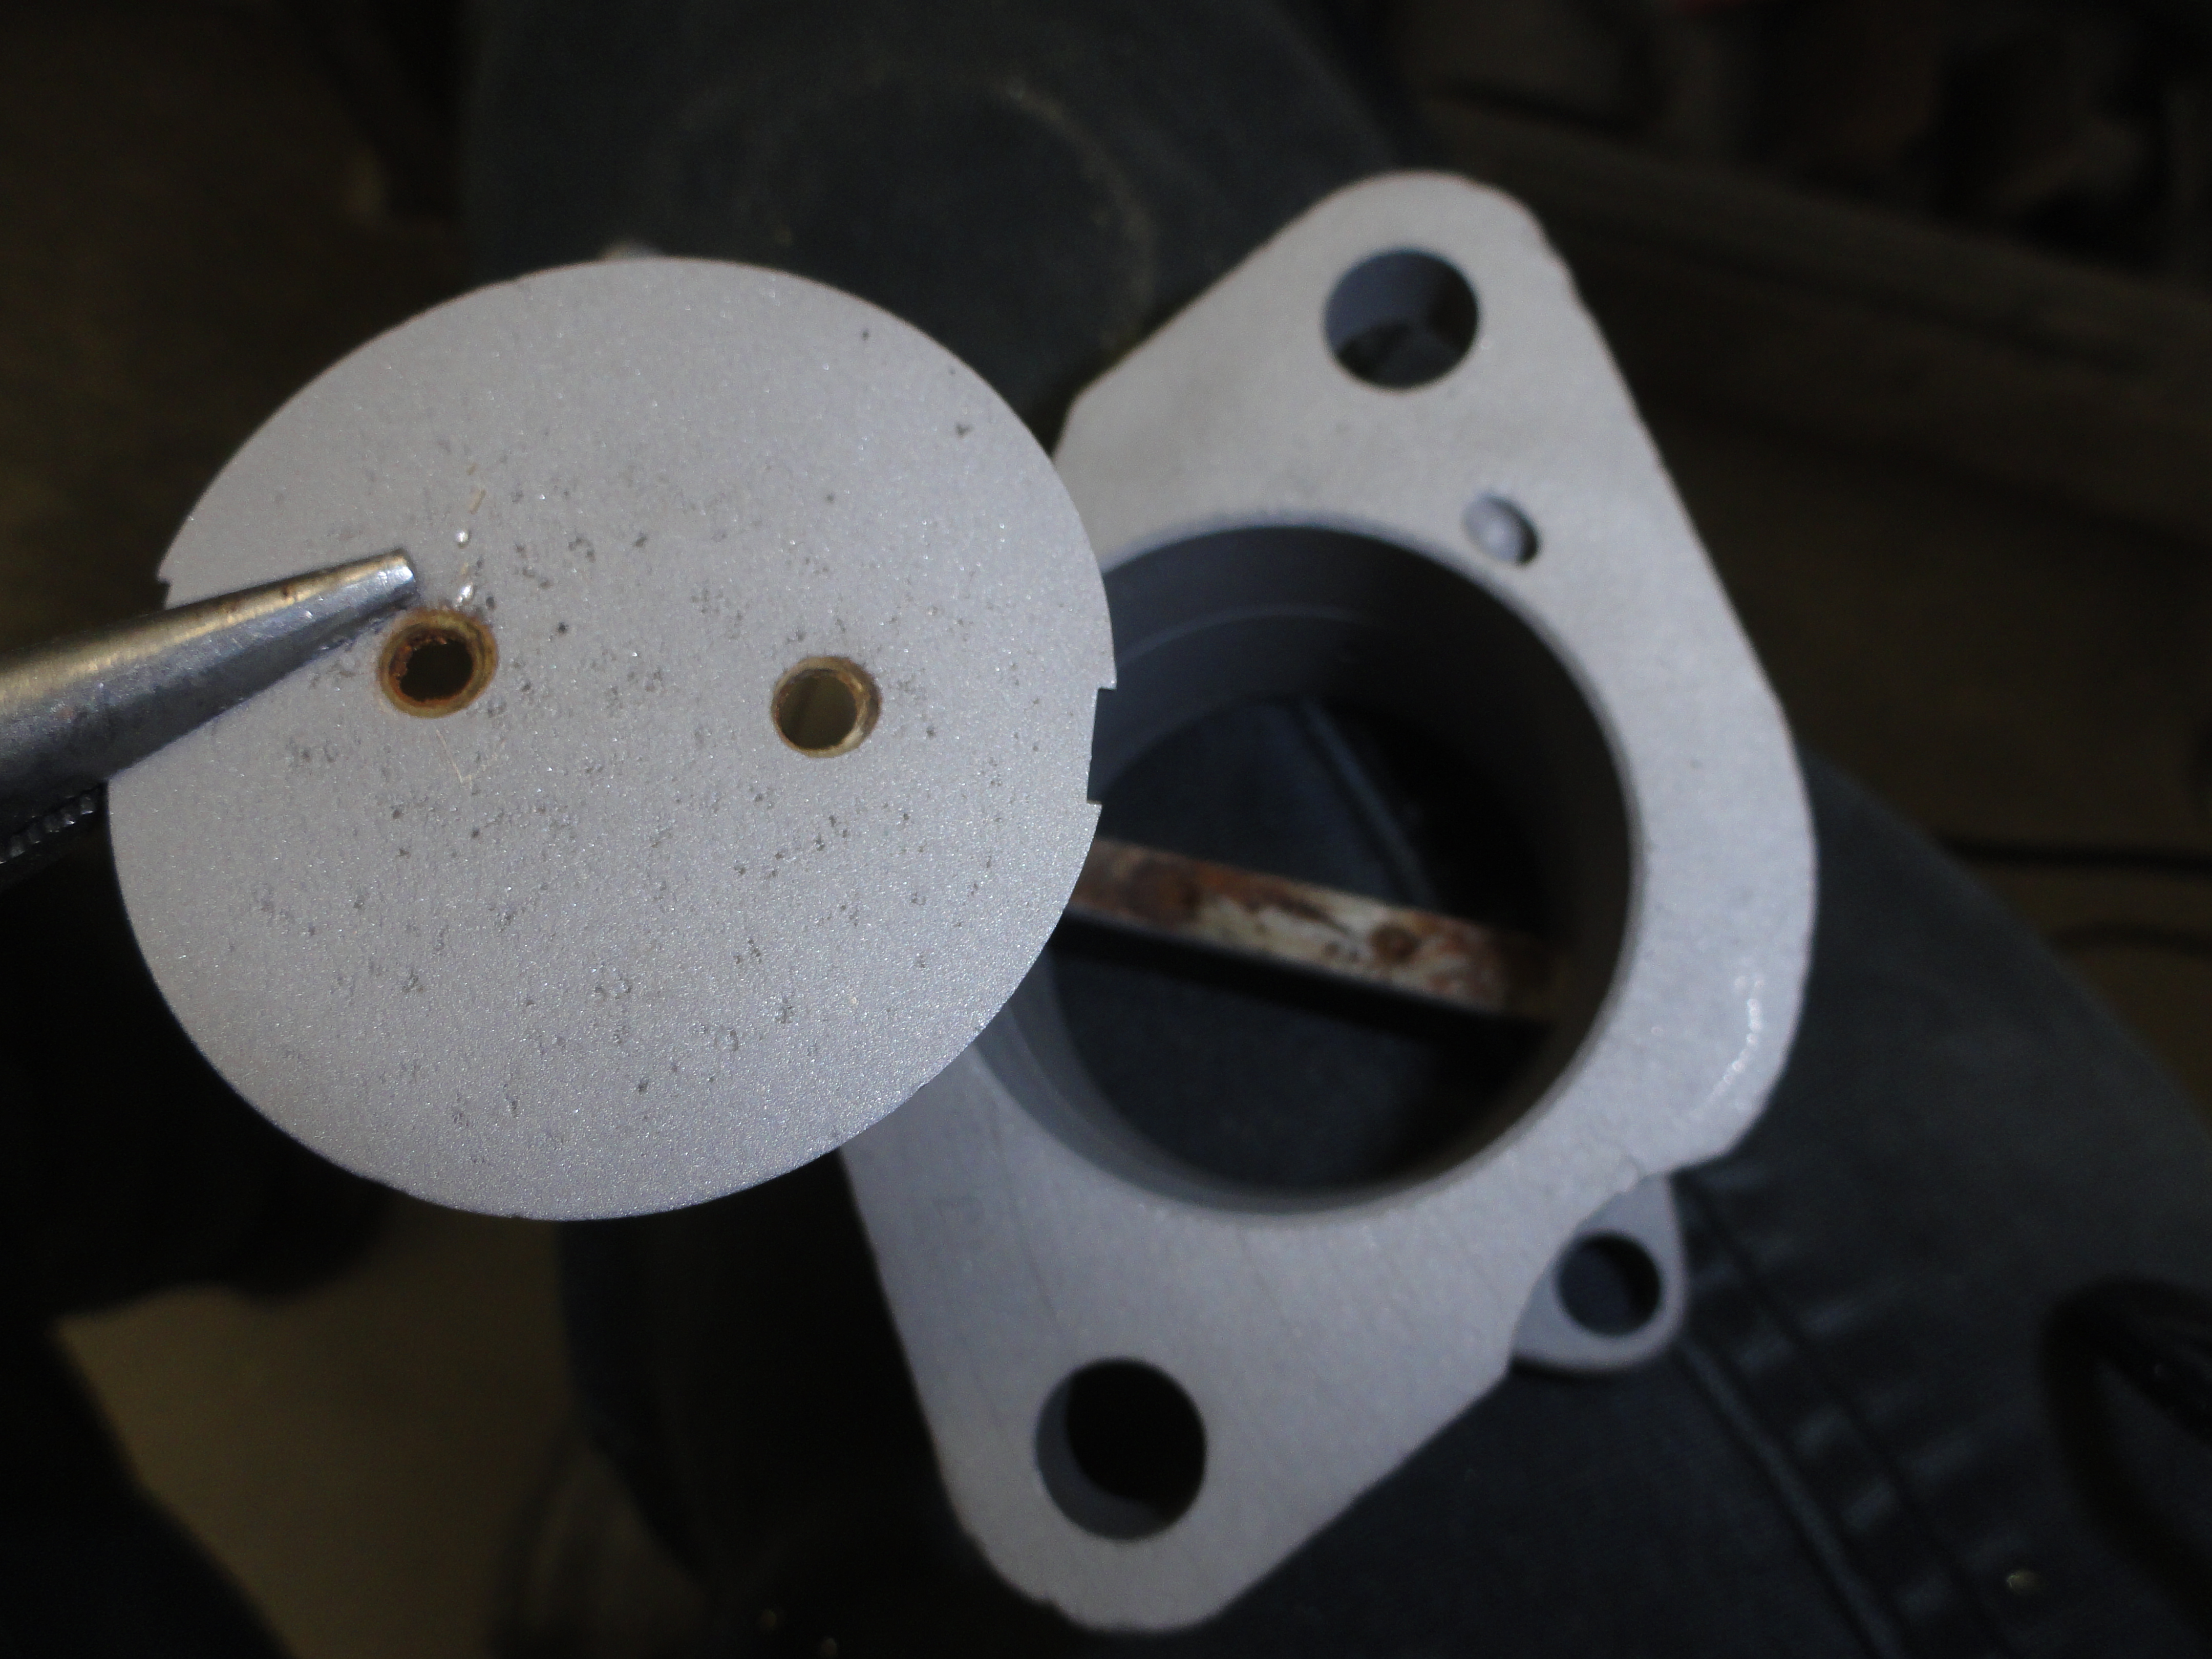
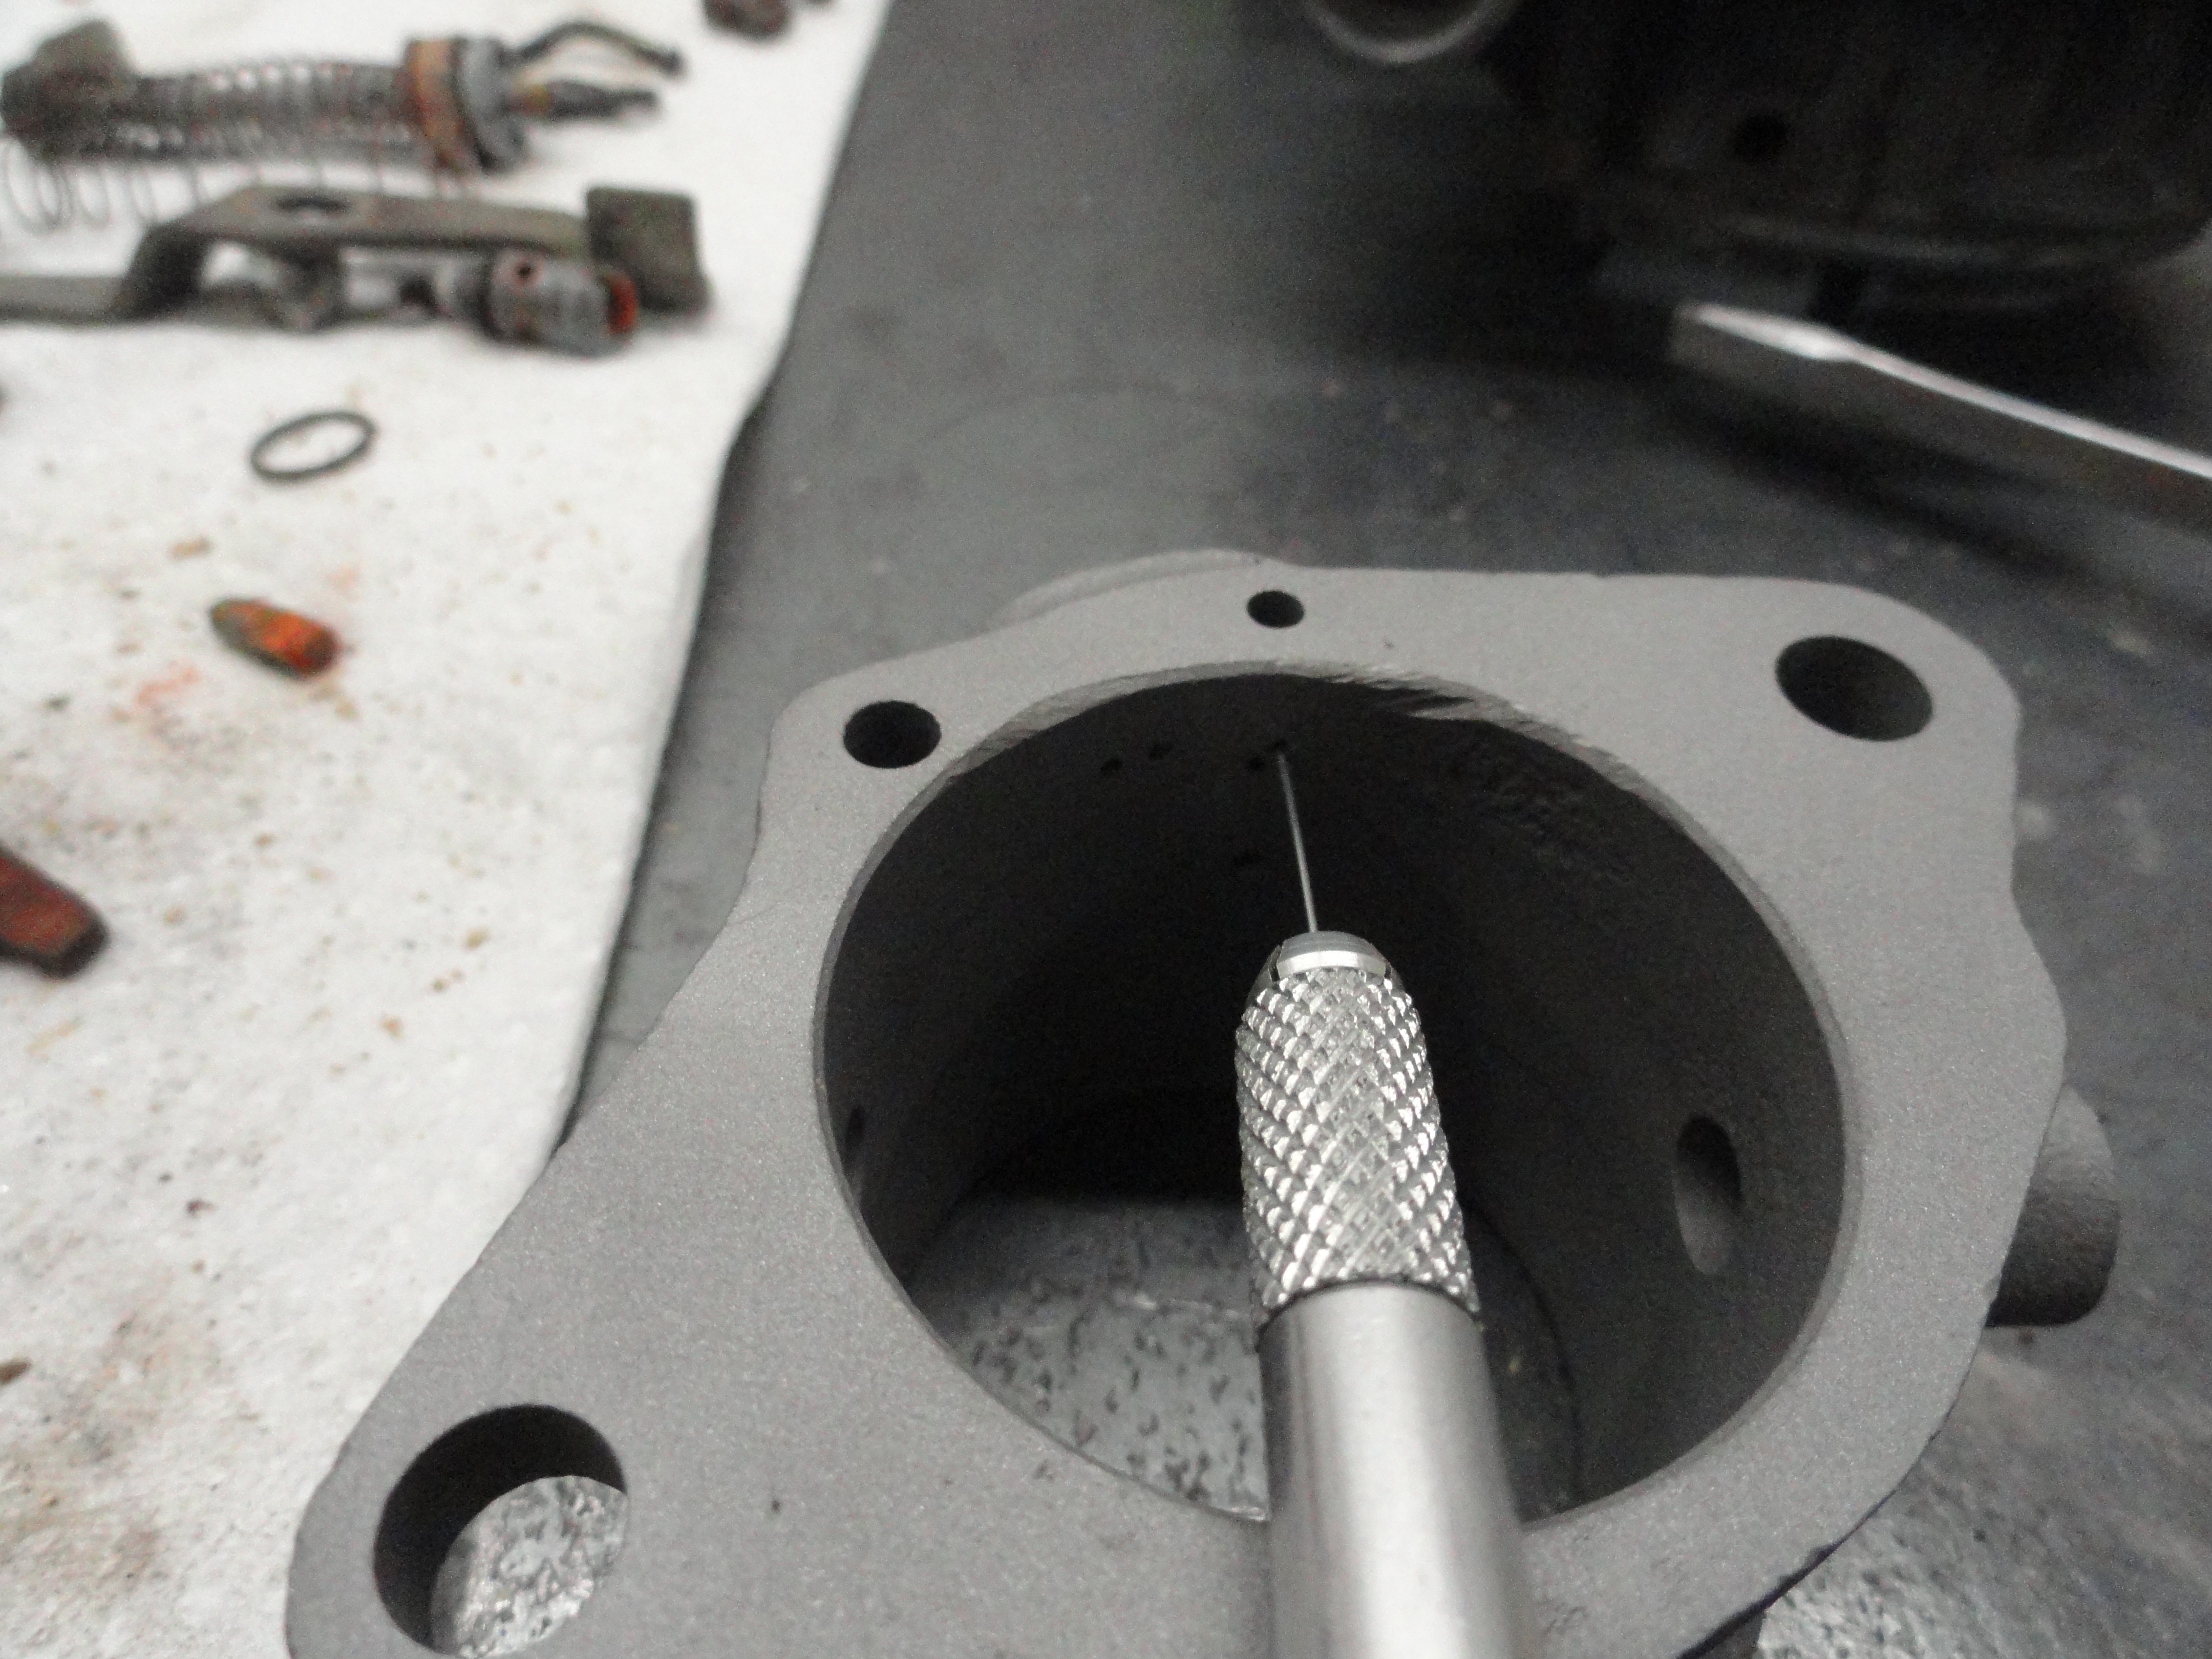
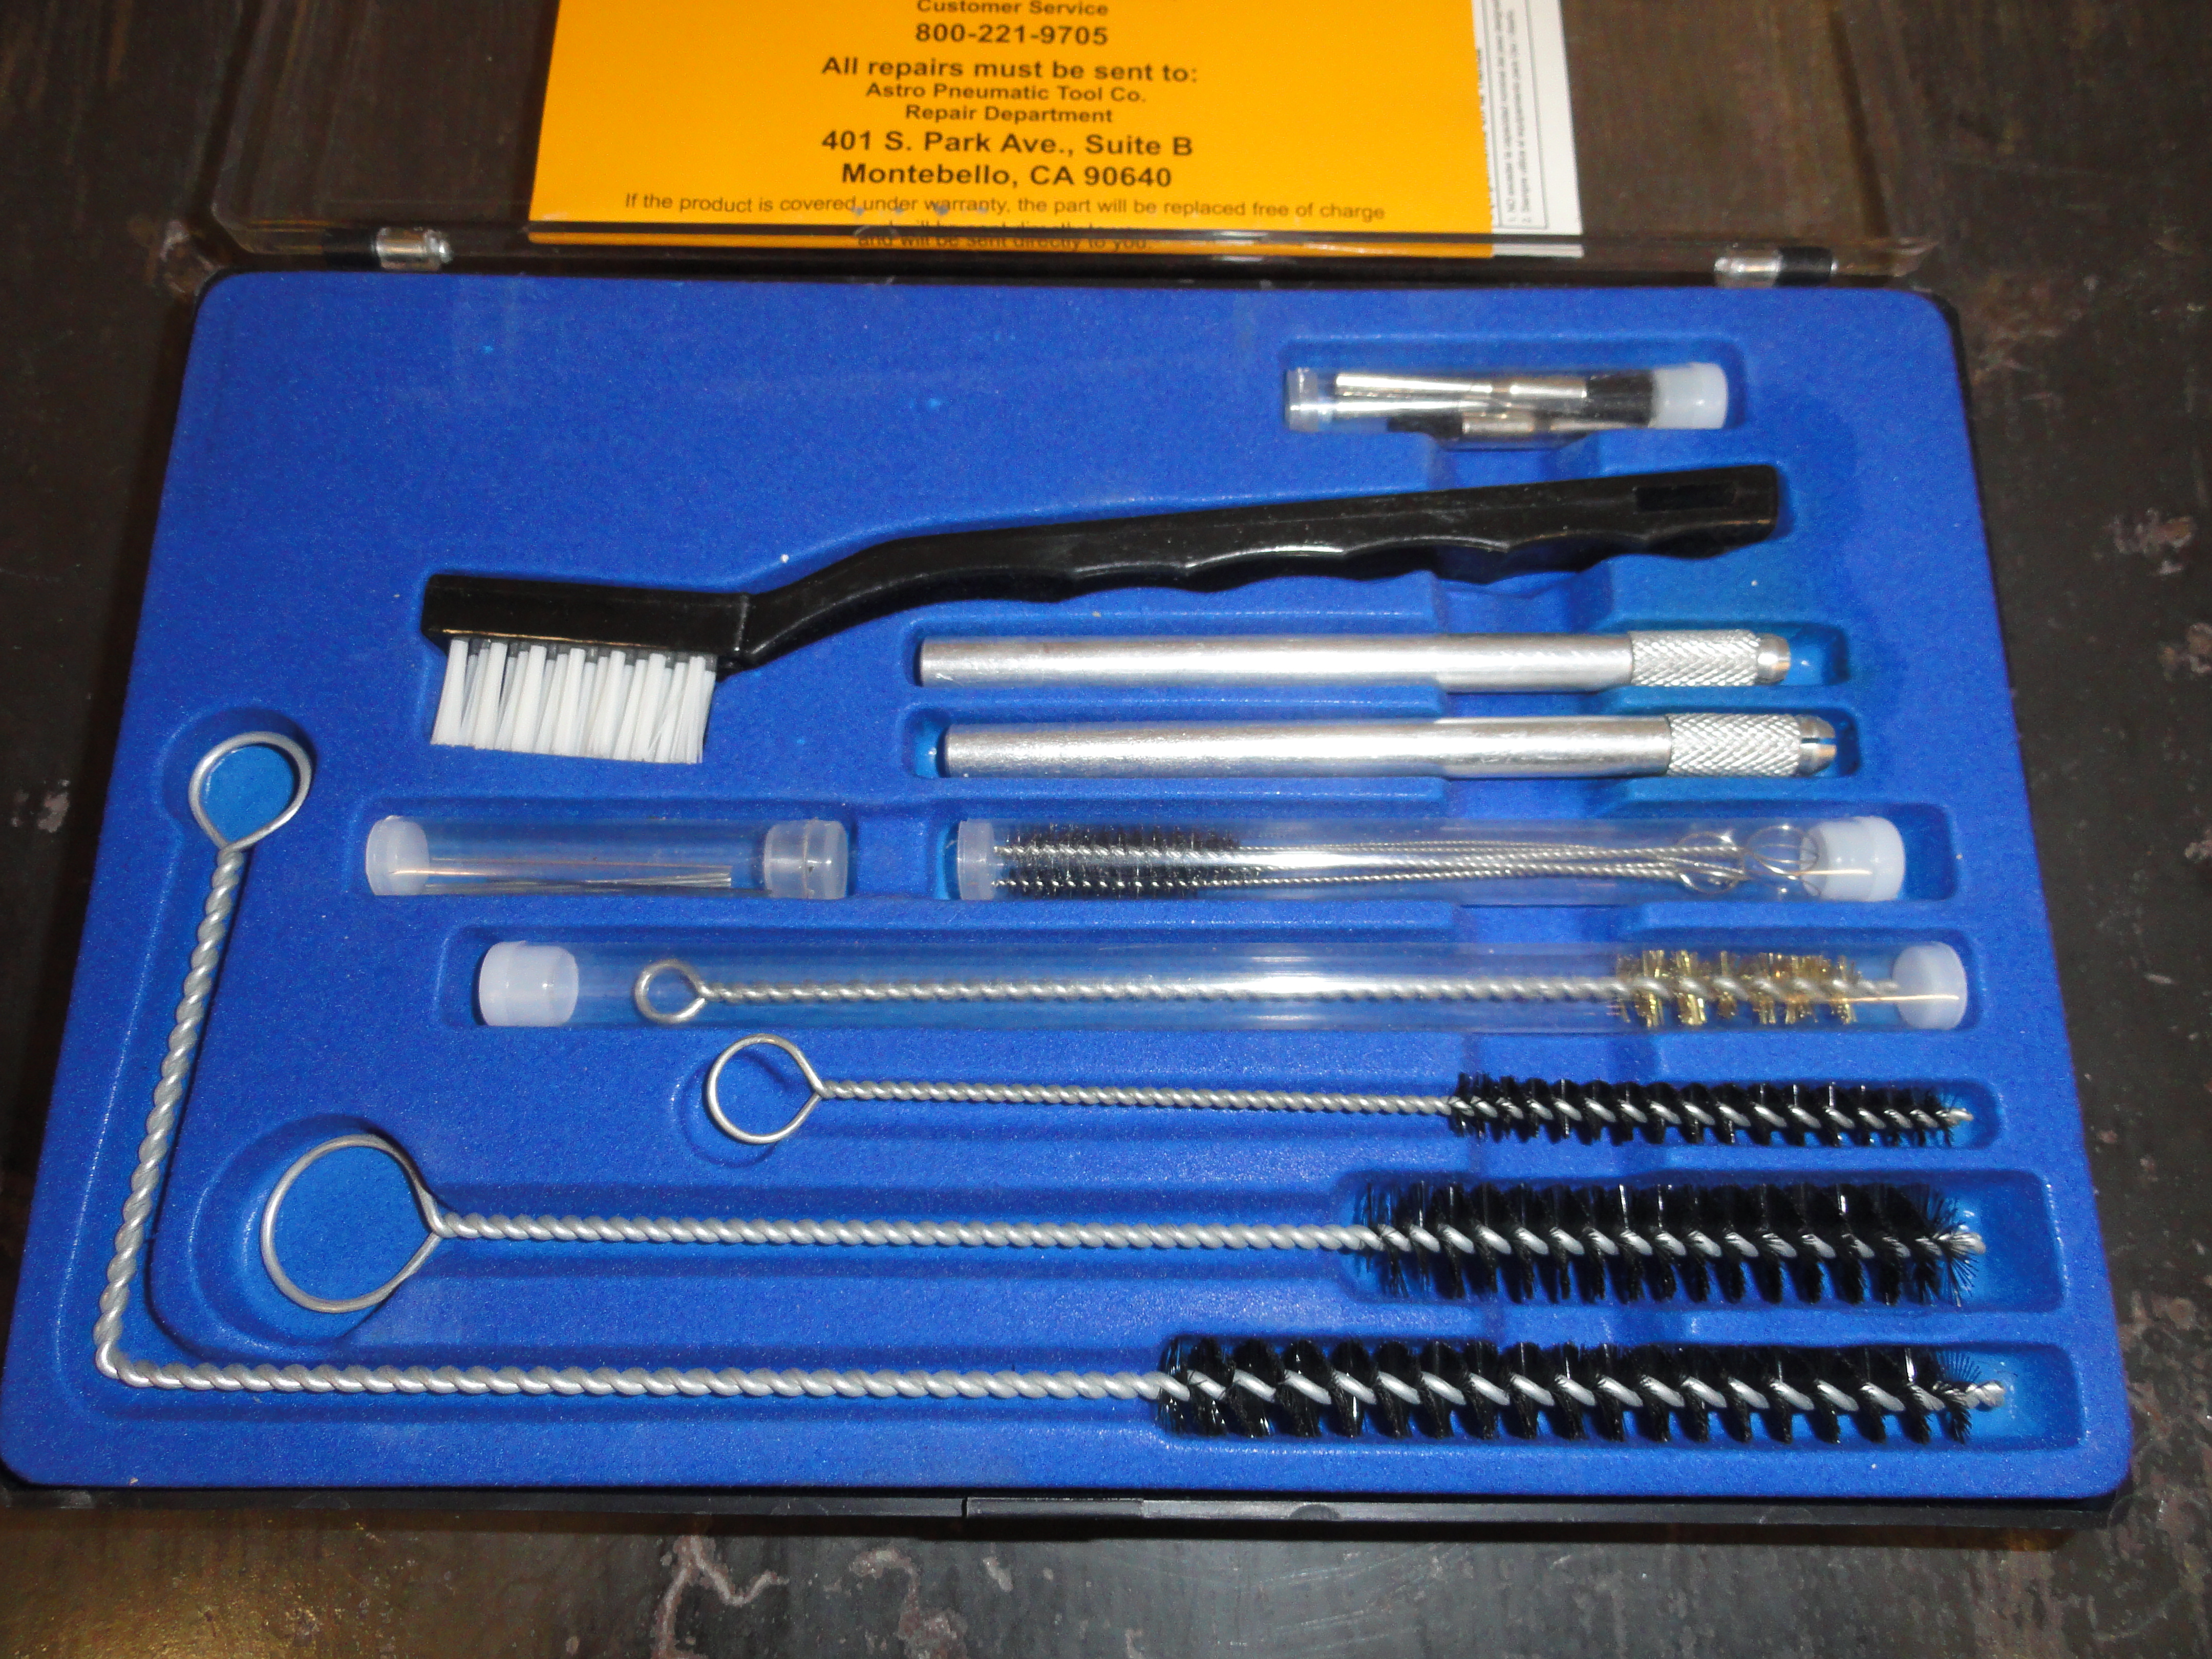
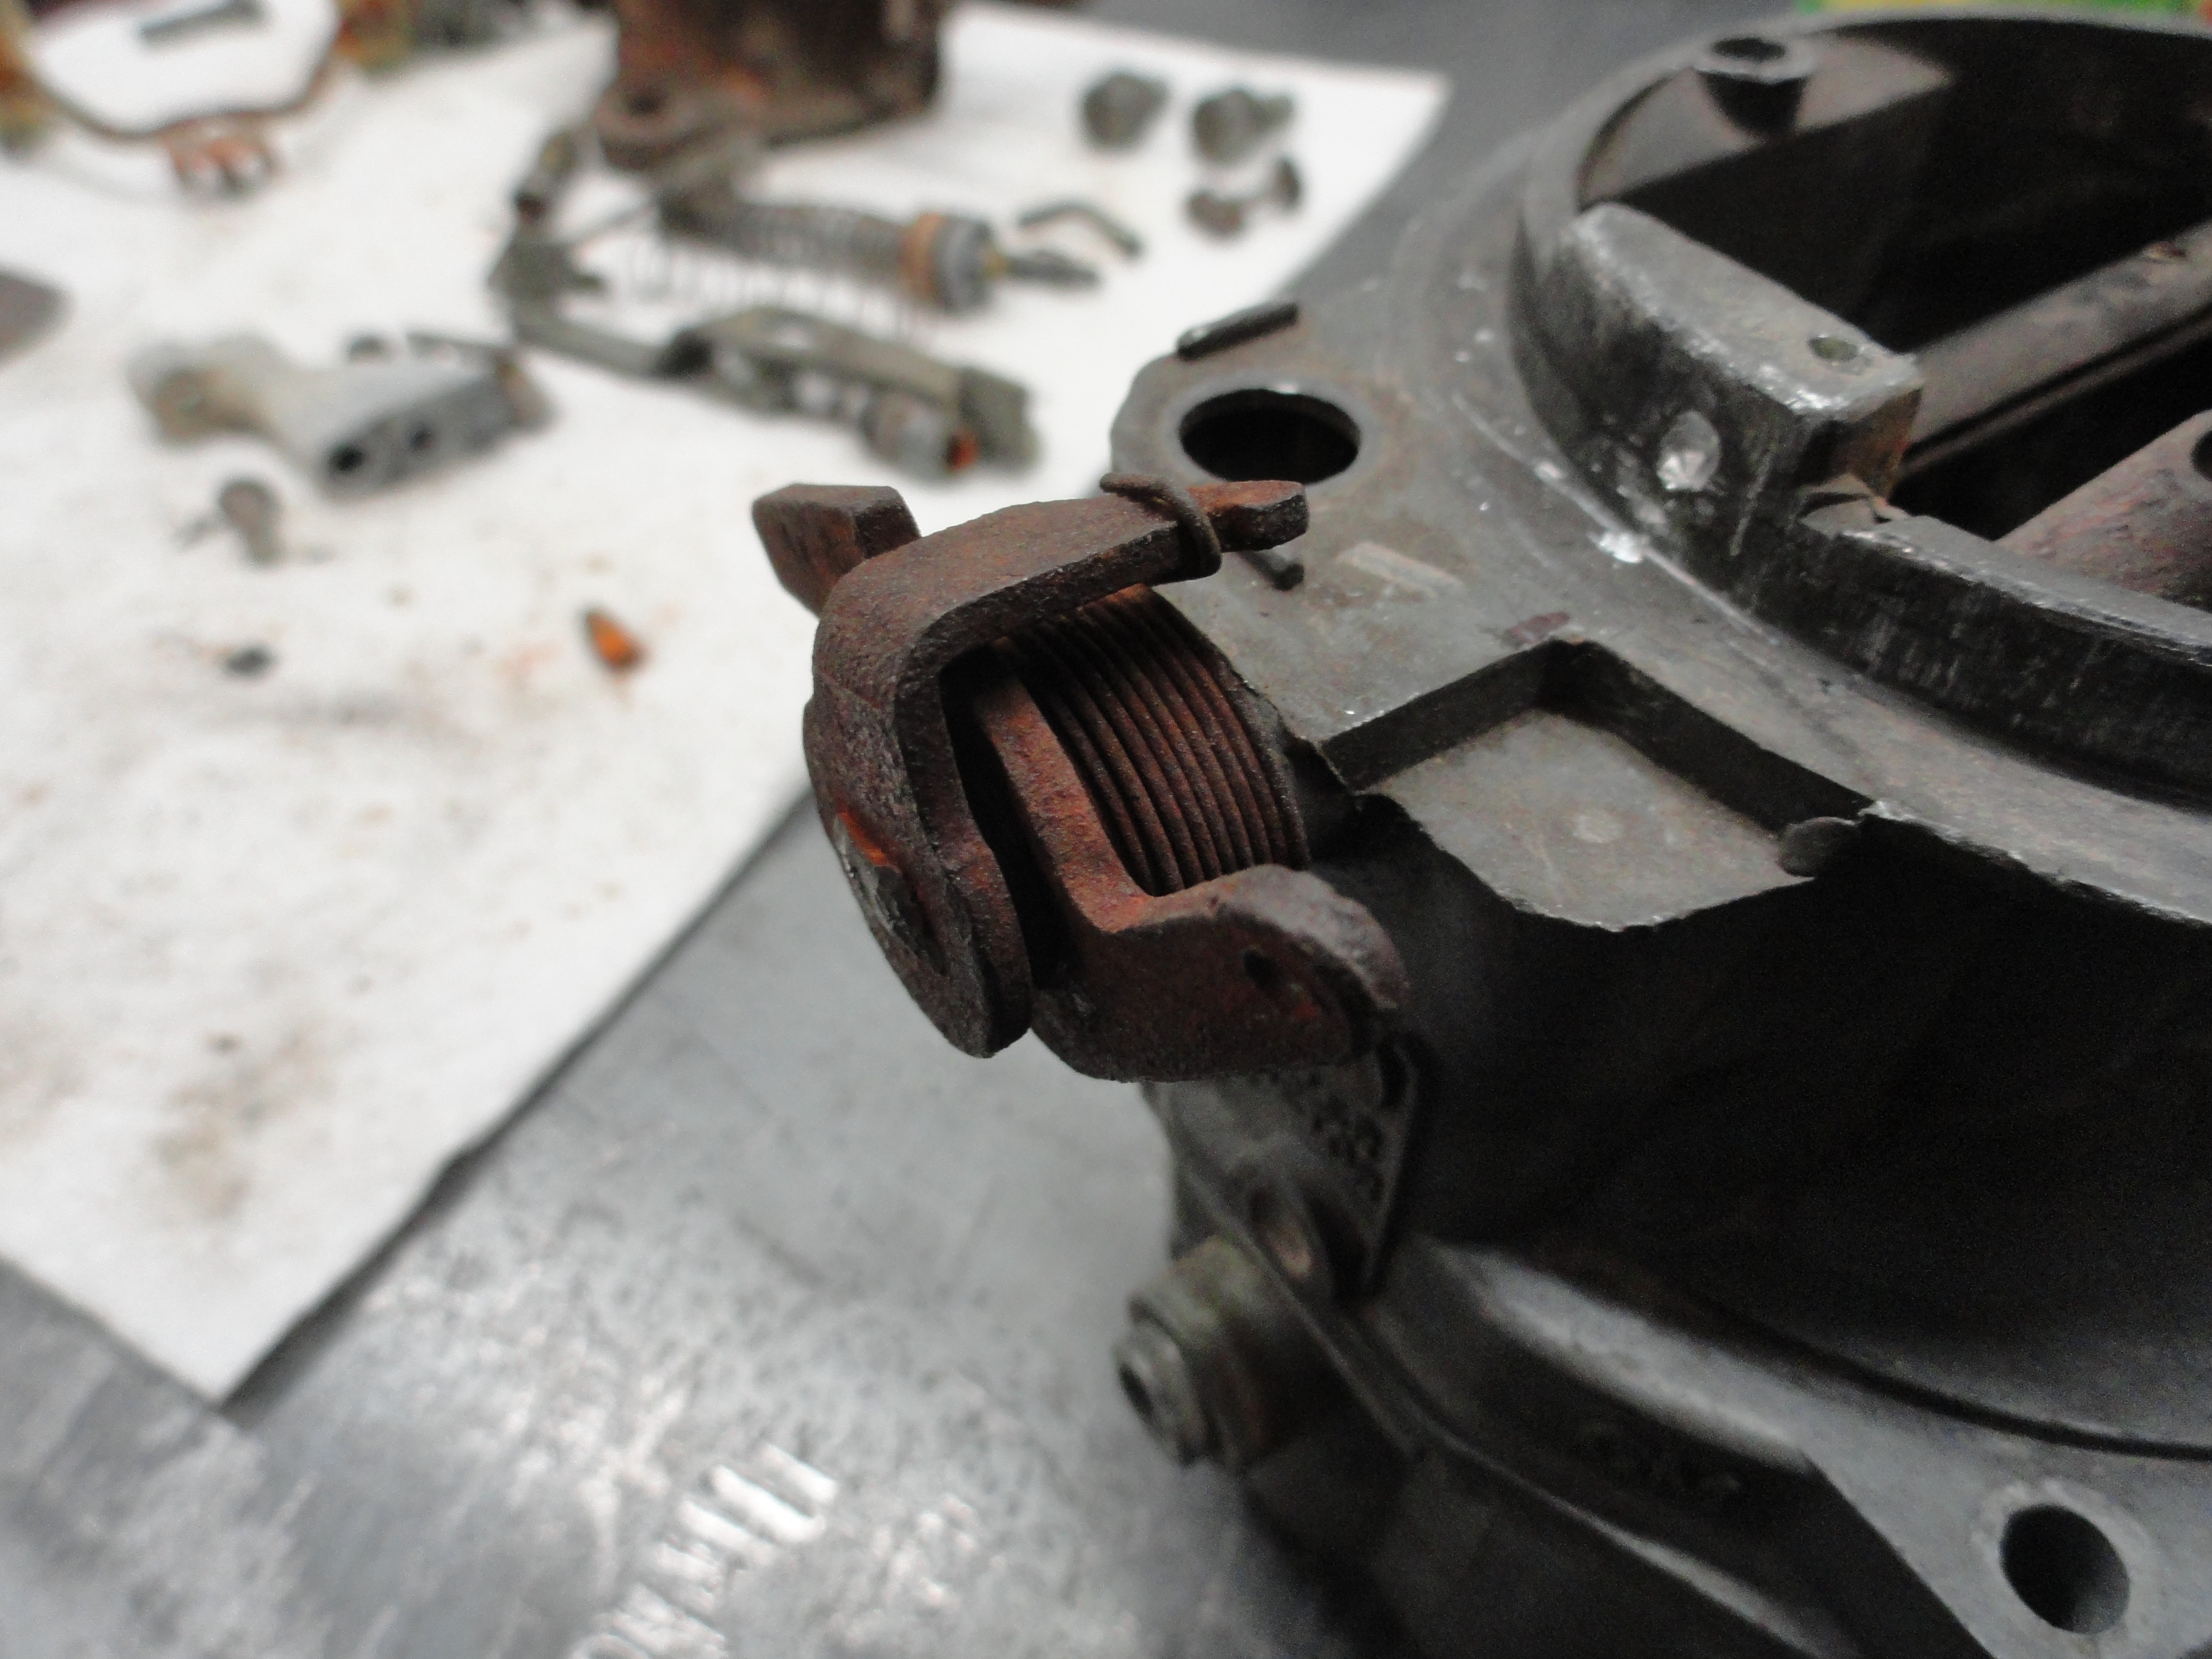
A very good thing to have in the internal cleaning process of all this is something you may have, but haven't thought of for Carburetors. It's the large size cleaning kit for HVLP Paint Guns. If you don't have one, take this opportunity to get one. In it, you will find things that are very important to properly rebuild a carb. For example, the kit has a tube of different size orifice cleaners (basically 2 inch pieces of strong wire of different diameters) as well as bottle brushes and other important cleaning aids. Turns out the holes in these carbs are very small and this kit just works perfect! Once the power piston tower, the piston and spring, jet assembly, etc, is removed, lets move on to removing the butterfly assemblies. Now, I CAUTION YOU! If these assemblies are working VERY freely and there is no end play or wobbling, I leave it up to you as to if you want to go to this trouble! Now that you have been warned, the butterfly on the Air Horn, or top of the Carb is held in by two screws that WILL strip out and cause you great pain and misery if you do not grind the ends off just a little first. Try it but gently and see if they break loose. If they don't, use your Dremel and grind the excess threads off the end of the screws. You will want to use Loctite Red to reassemble them once the screws are ground. Once ground, they should come out pretty easily. The very same is true for the lower butterfly valve. Check first, but if you think you might strip them, grind the ends off. It will save the screws and cause you from having to drill out and re-tap a very intricate assembly.
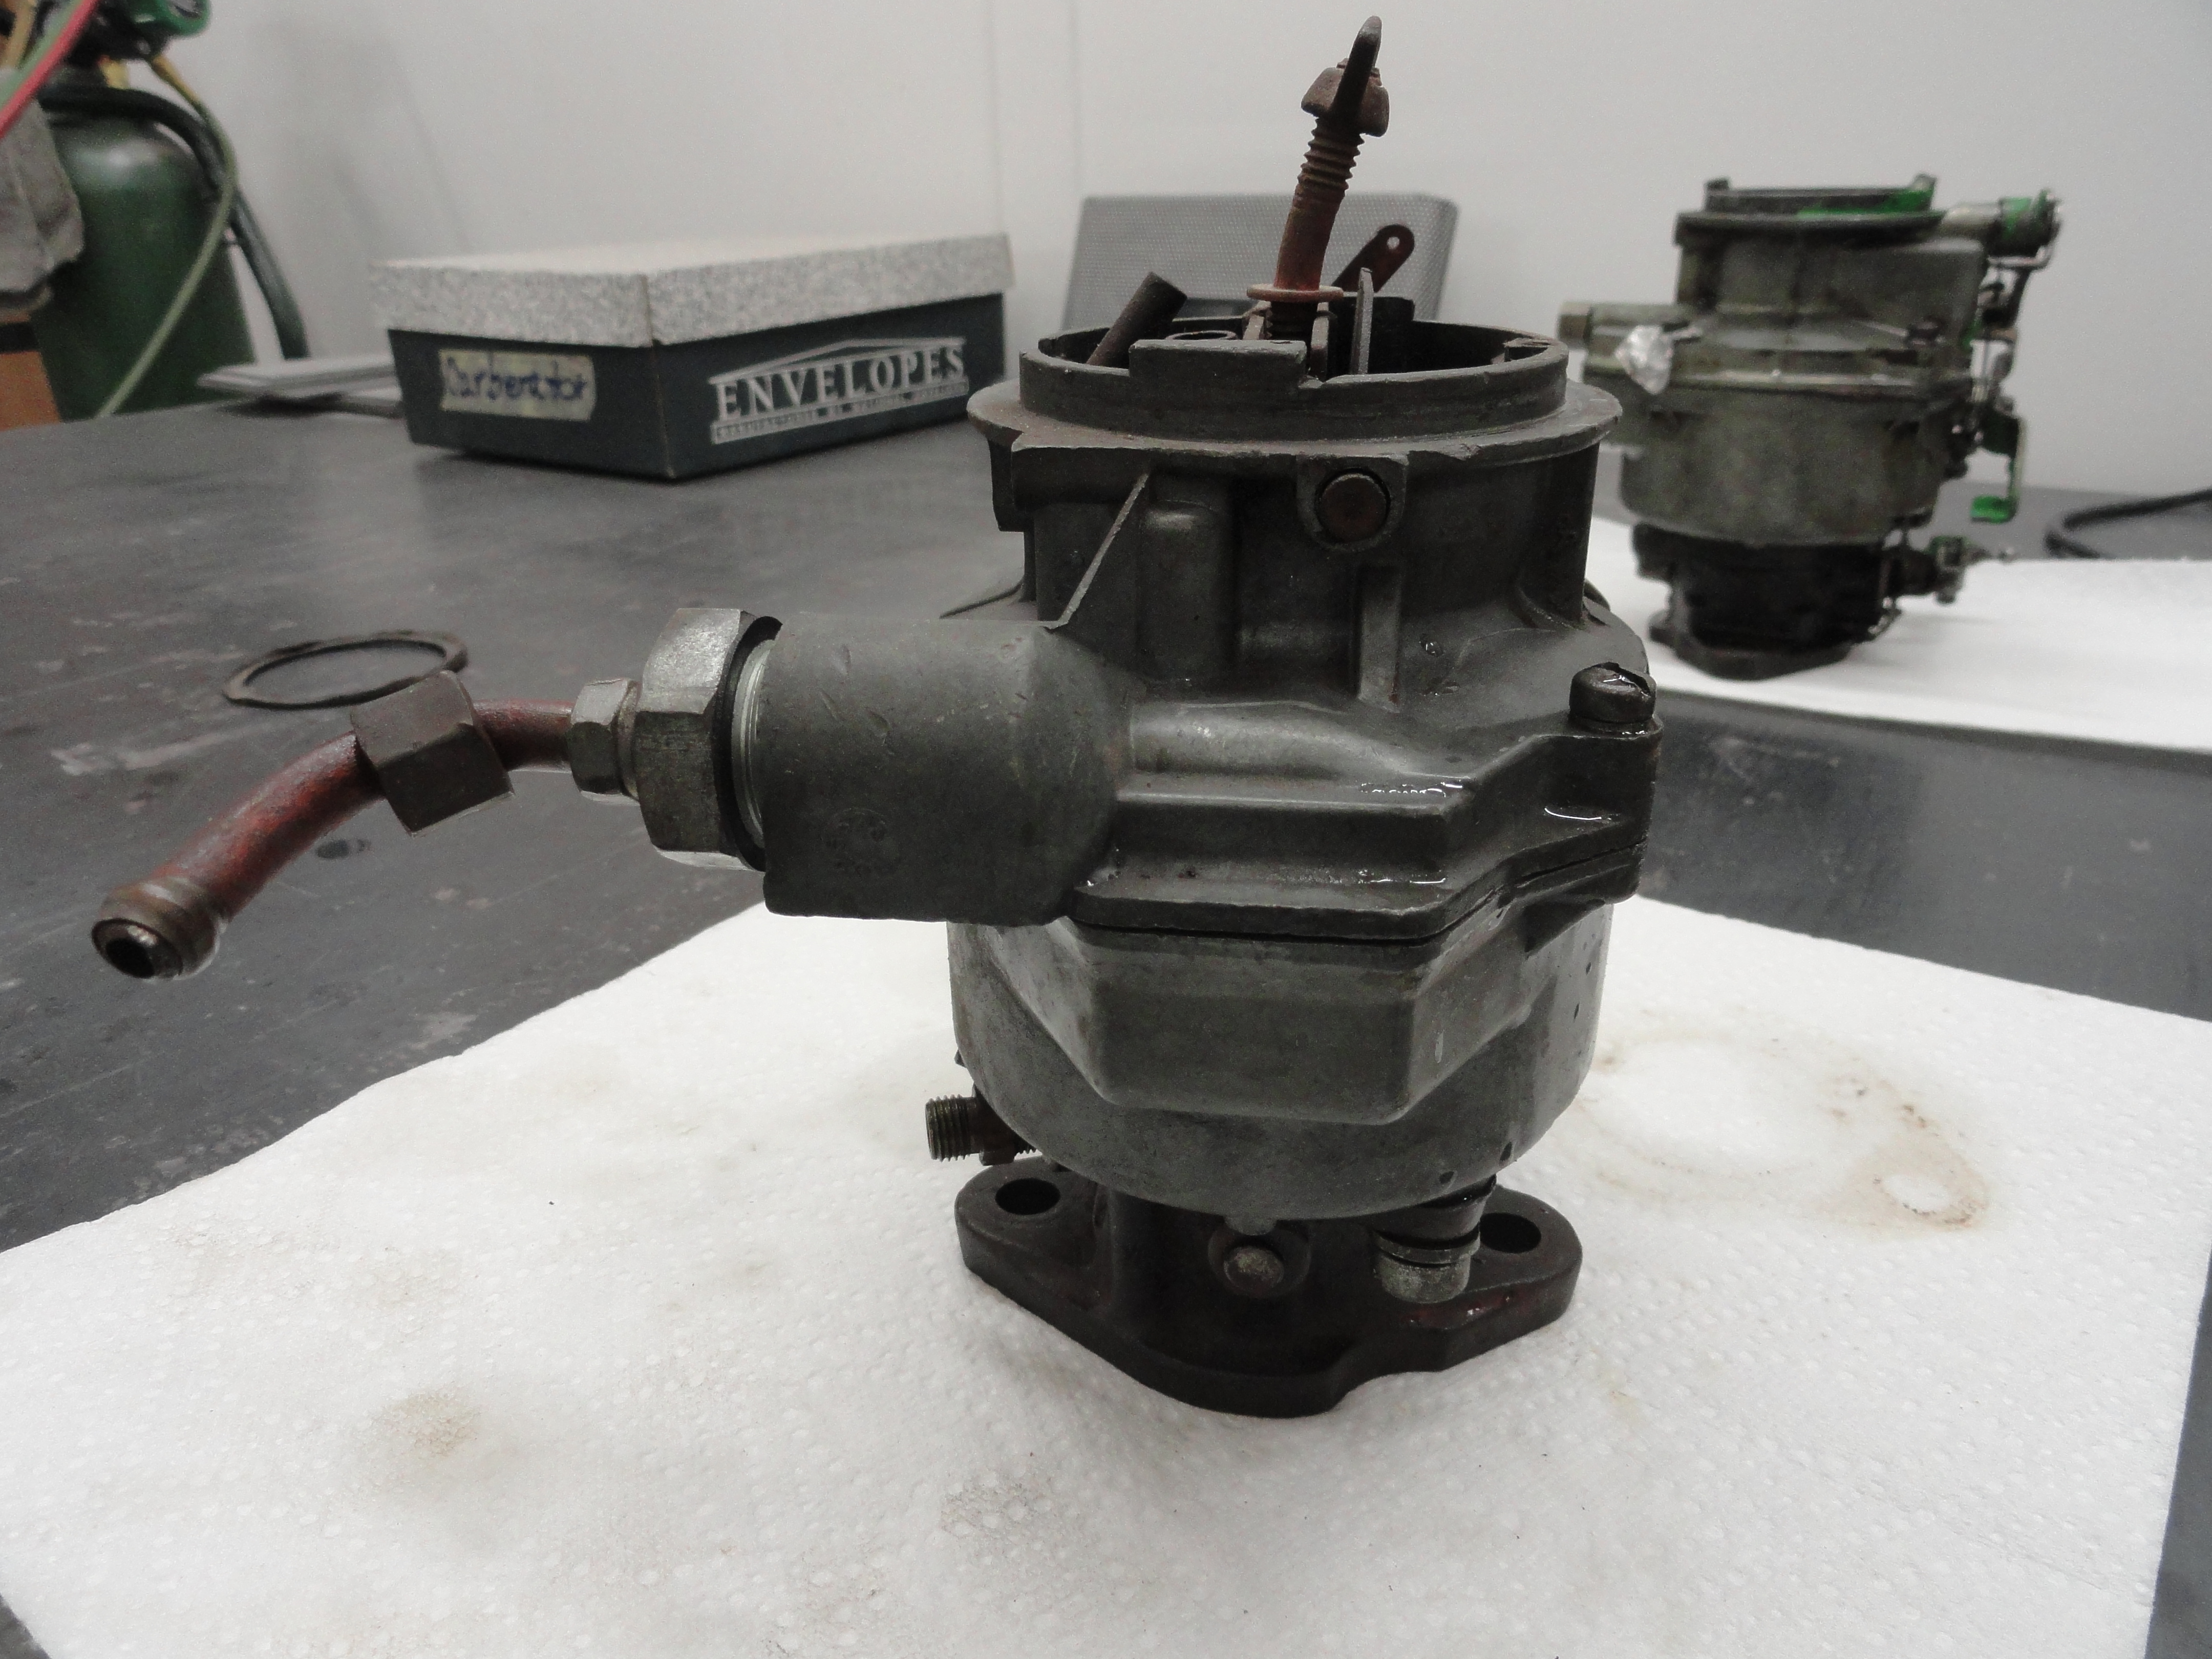
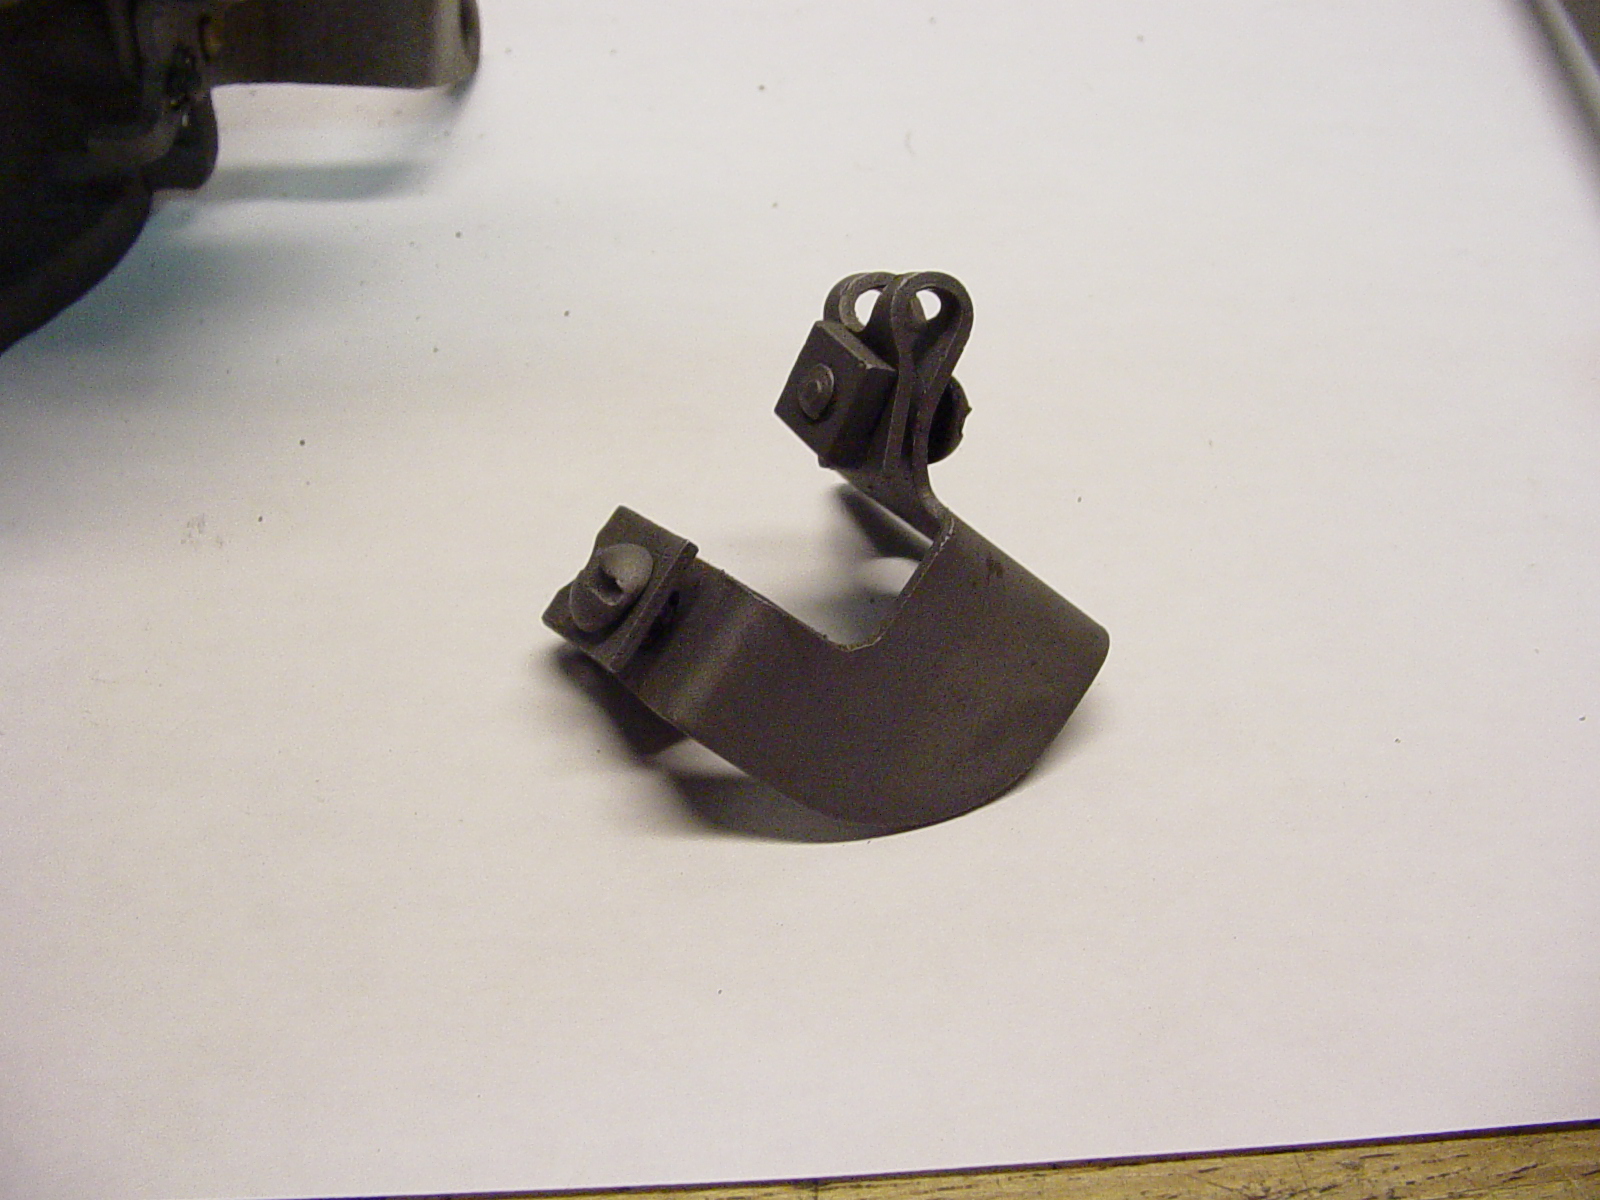
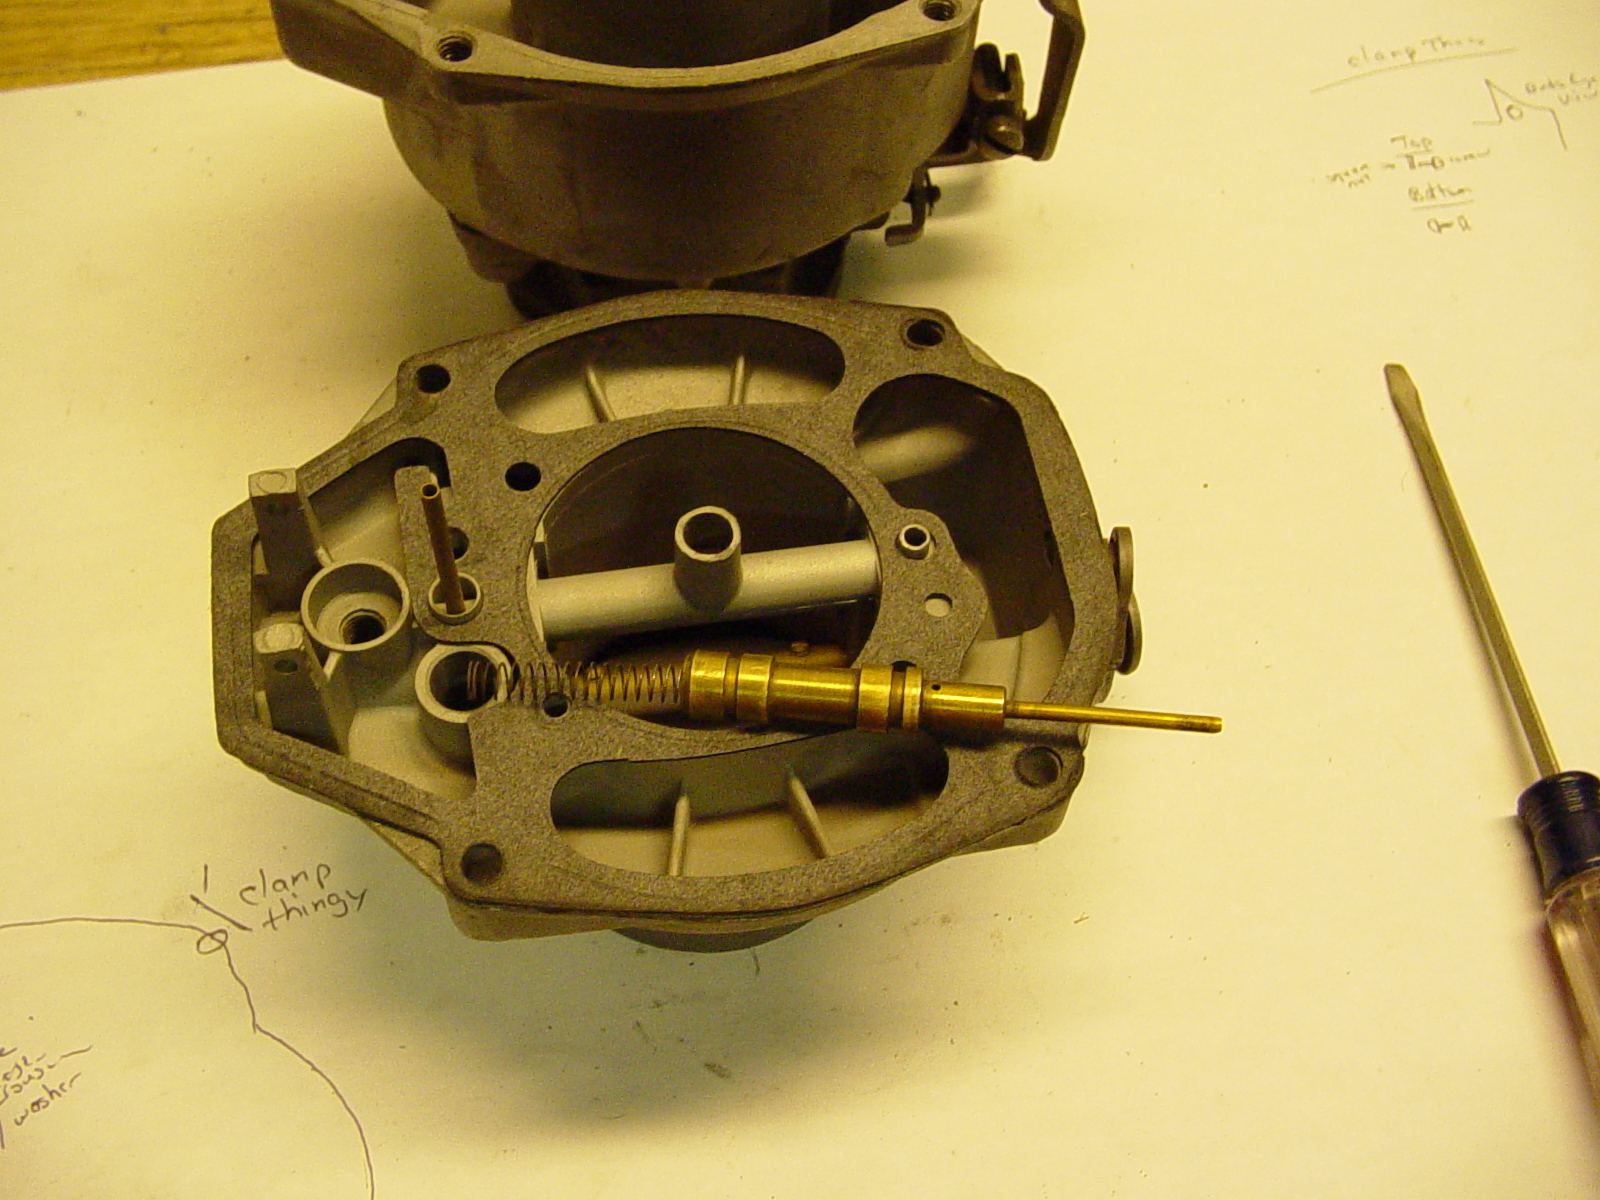
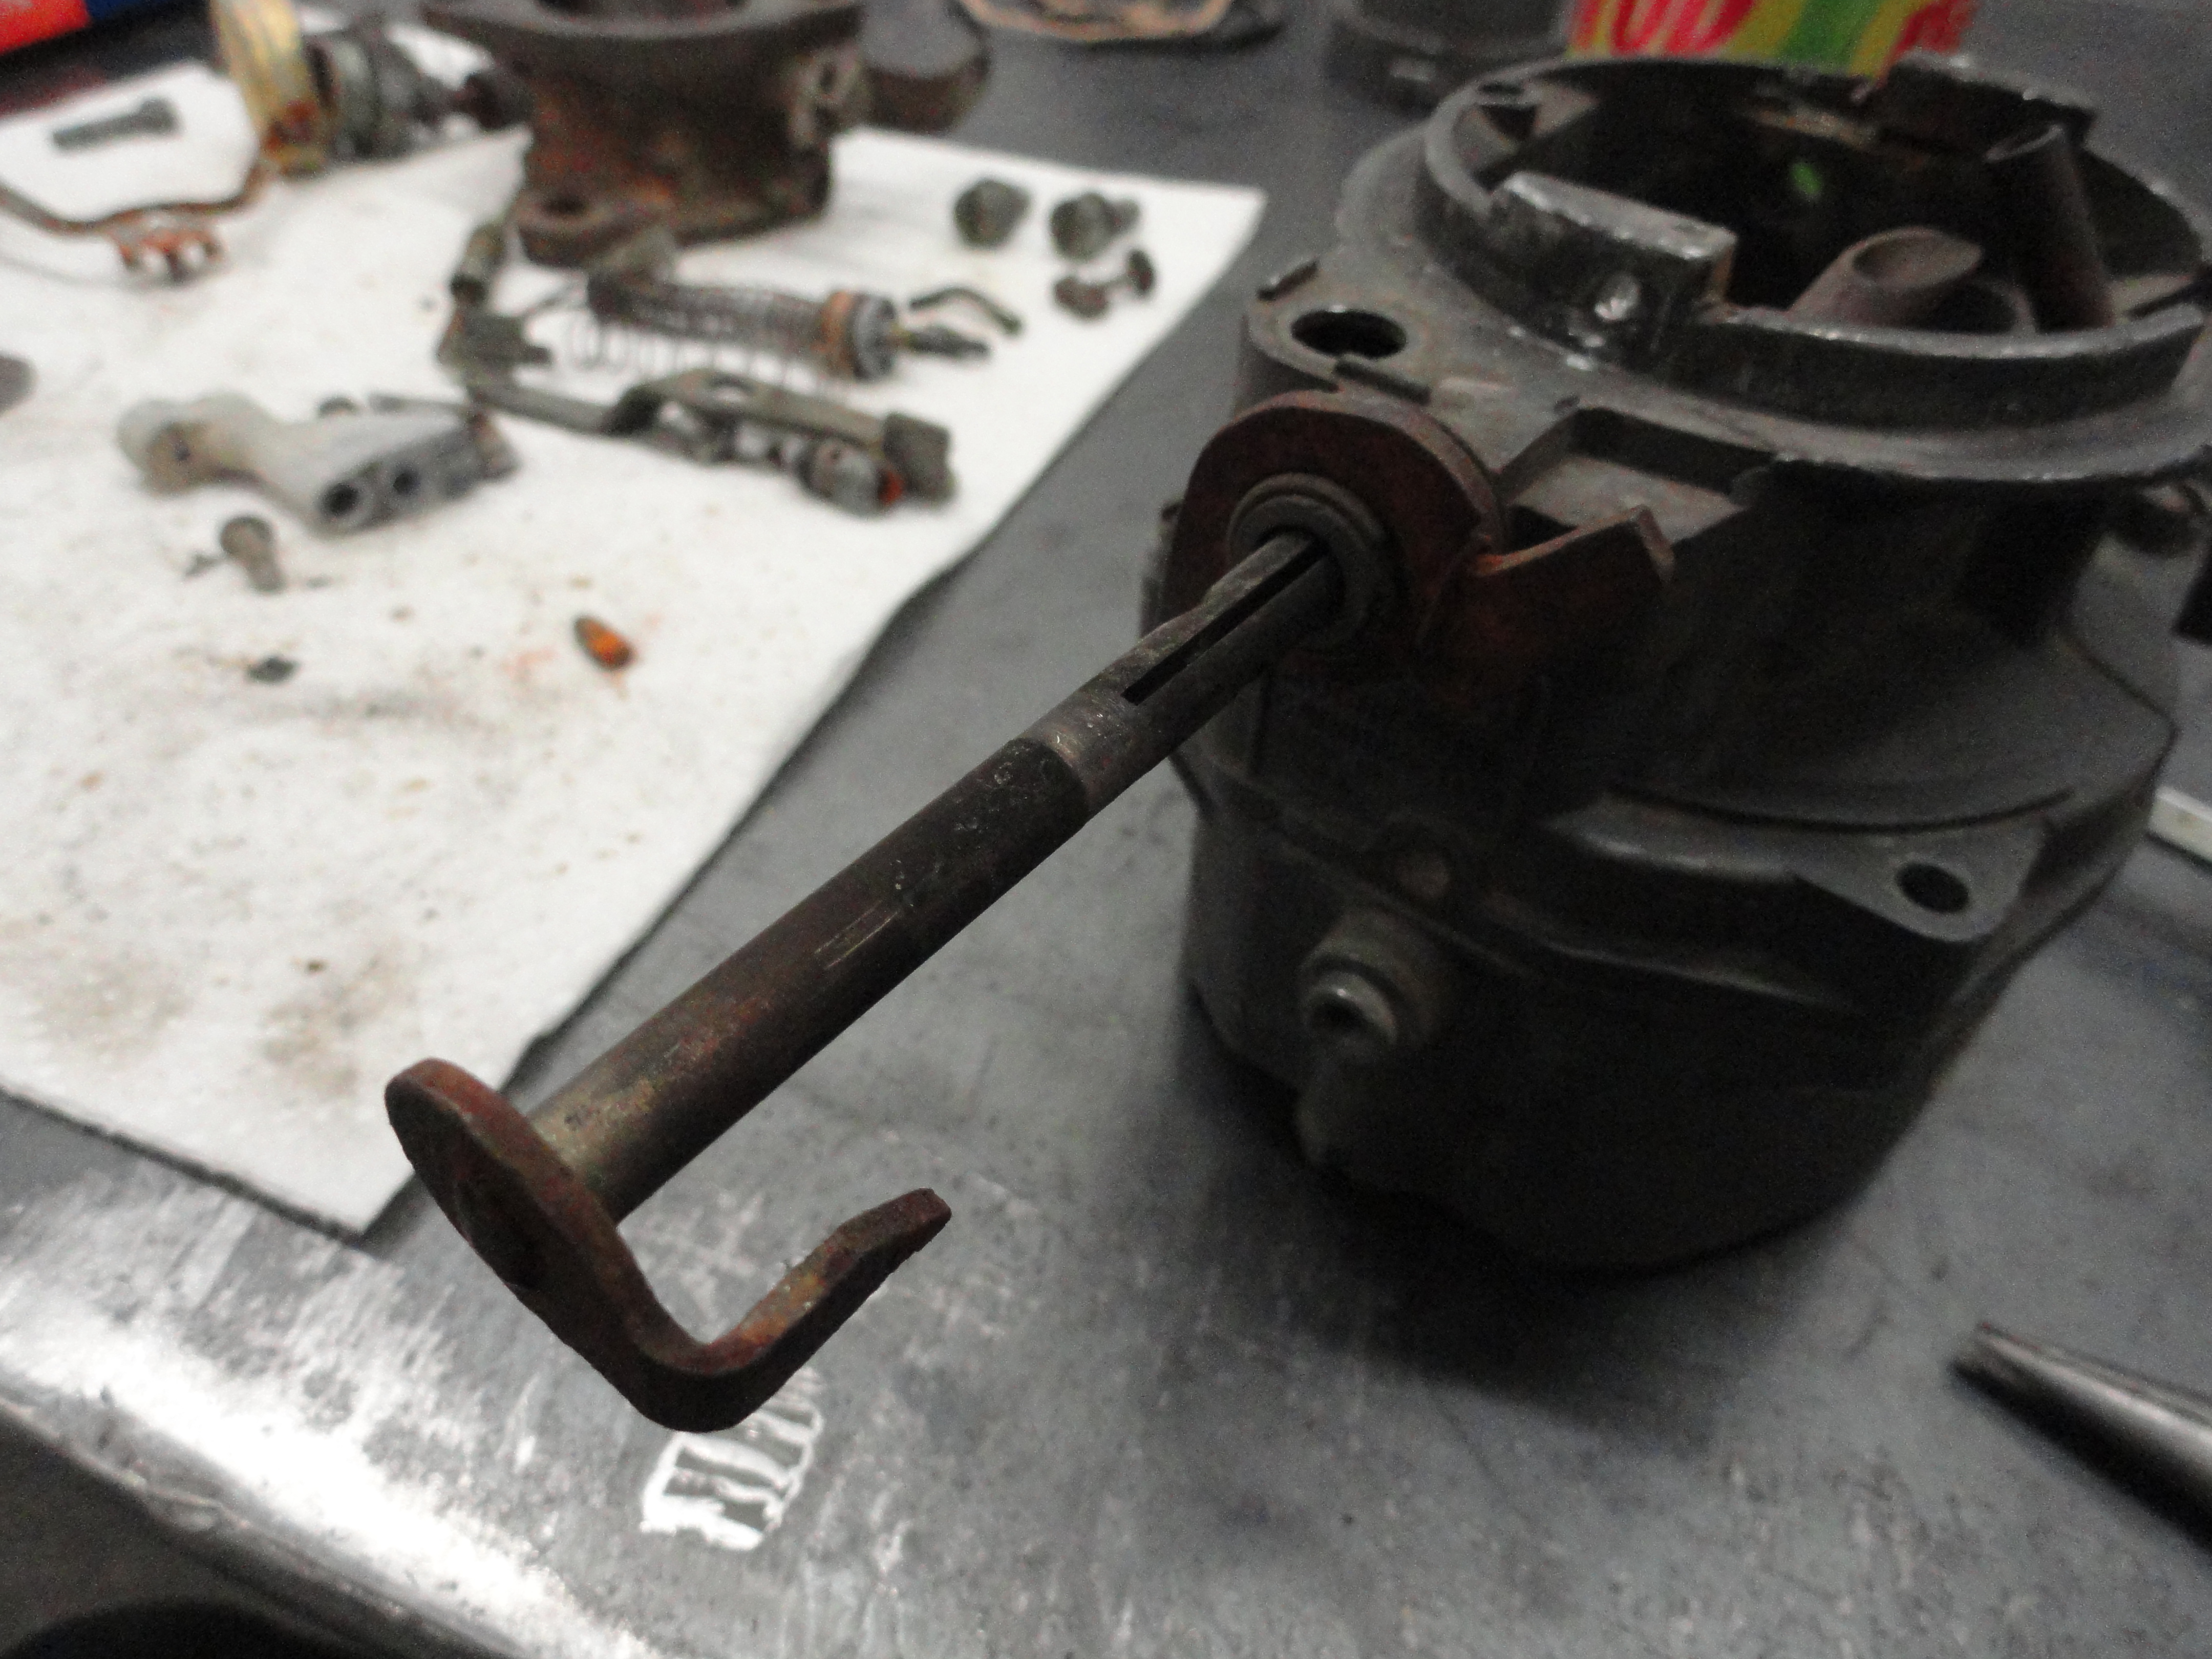
Now that you have totally removed all parts out of the Air Horn (top), let's move on to the Body. Remove that little T-Clip which holds another check ball. It's called the main discharge tube. A lot of times the checkball gets stuck and won't come out. Get it out anyway! It is the other STEEL larger checkball in your Carb kit. Remove the large plunger mechanism, with tower bracket and spring and place them aside. You need to keep everything, even if you see the carb kit has a new one. Why? Personal experience! So now that the body is completely stripped, let's get to the Base Assembly.
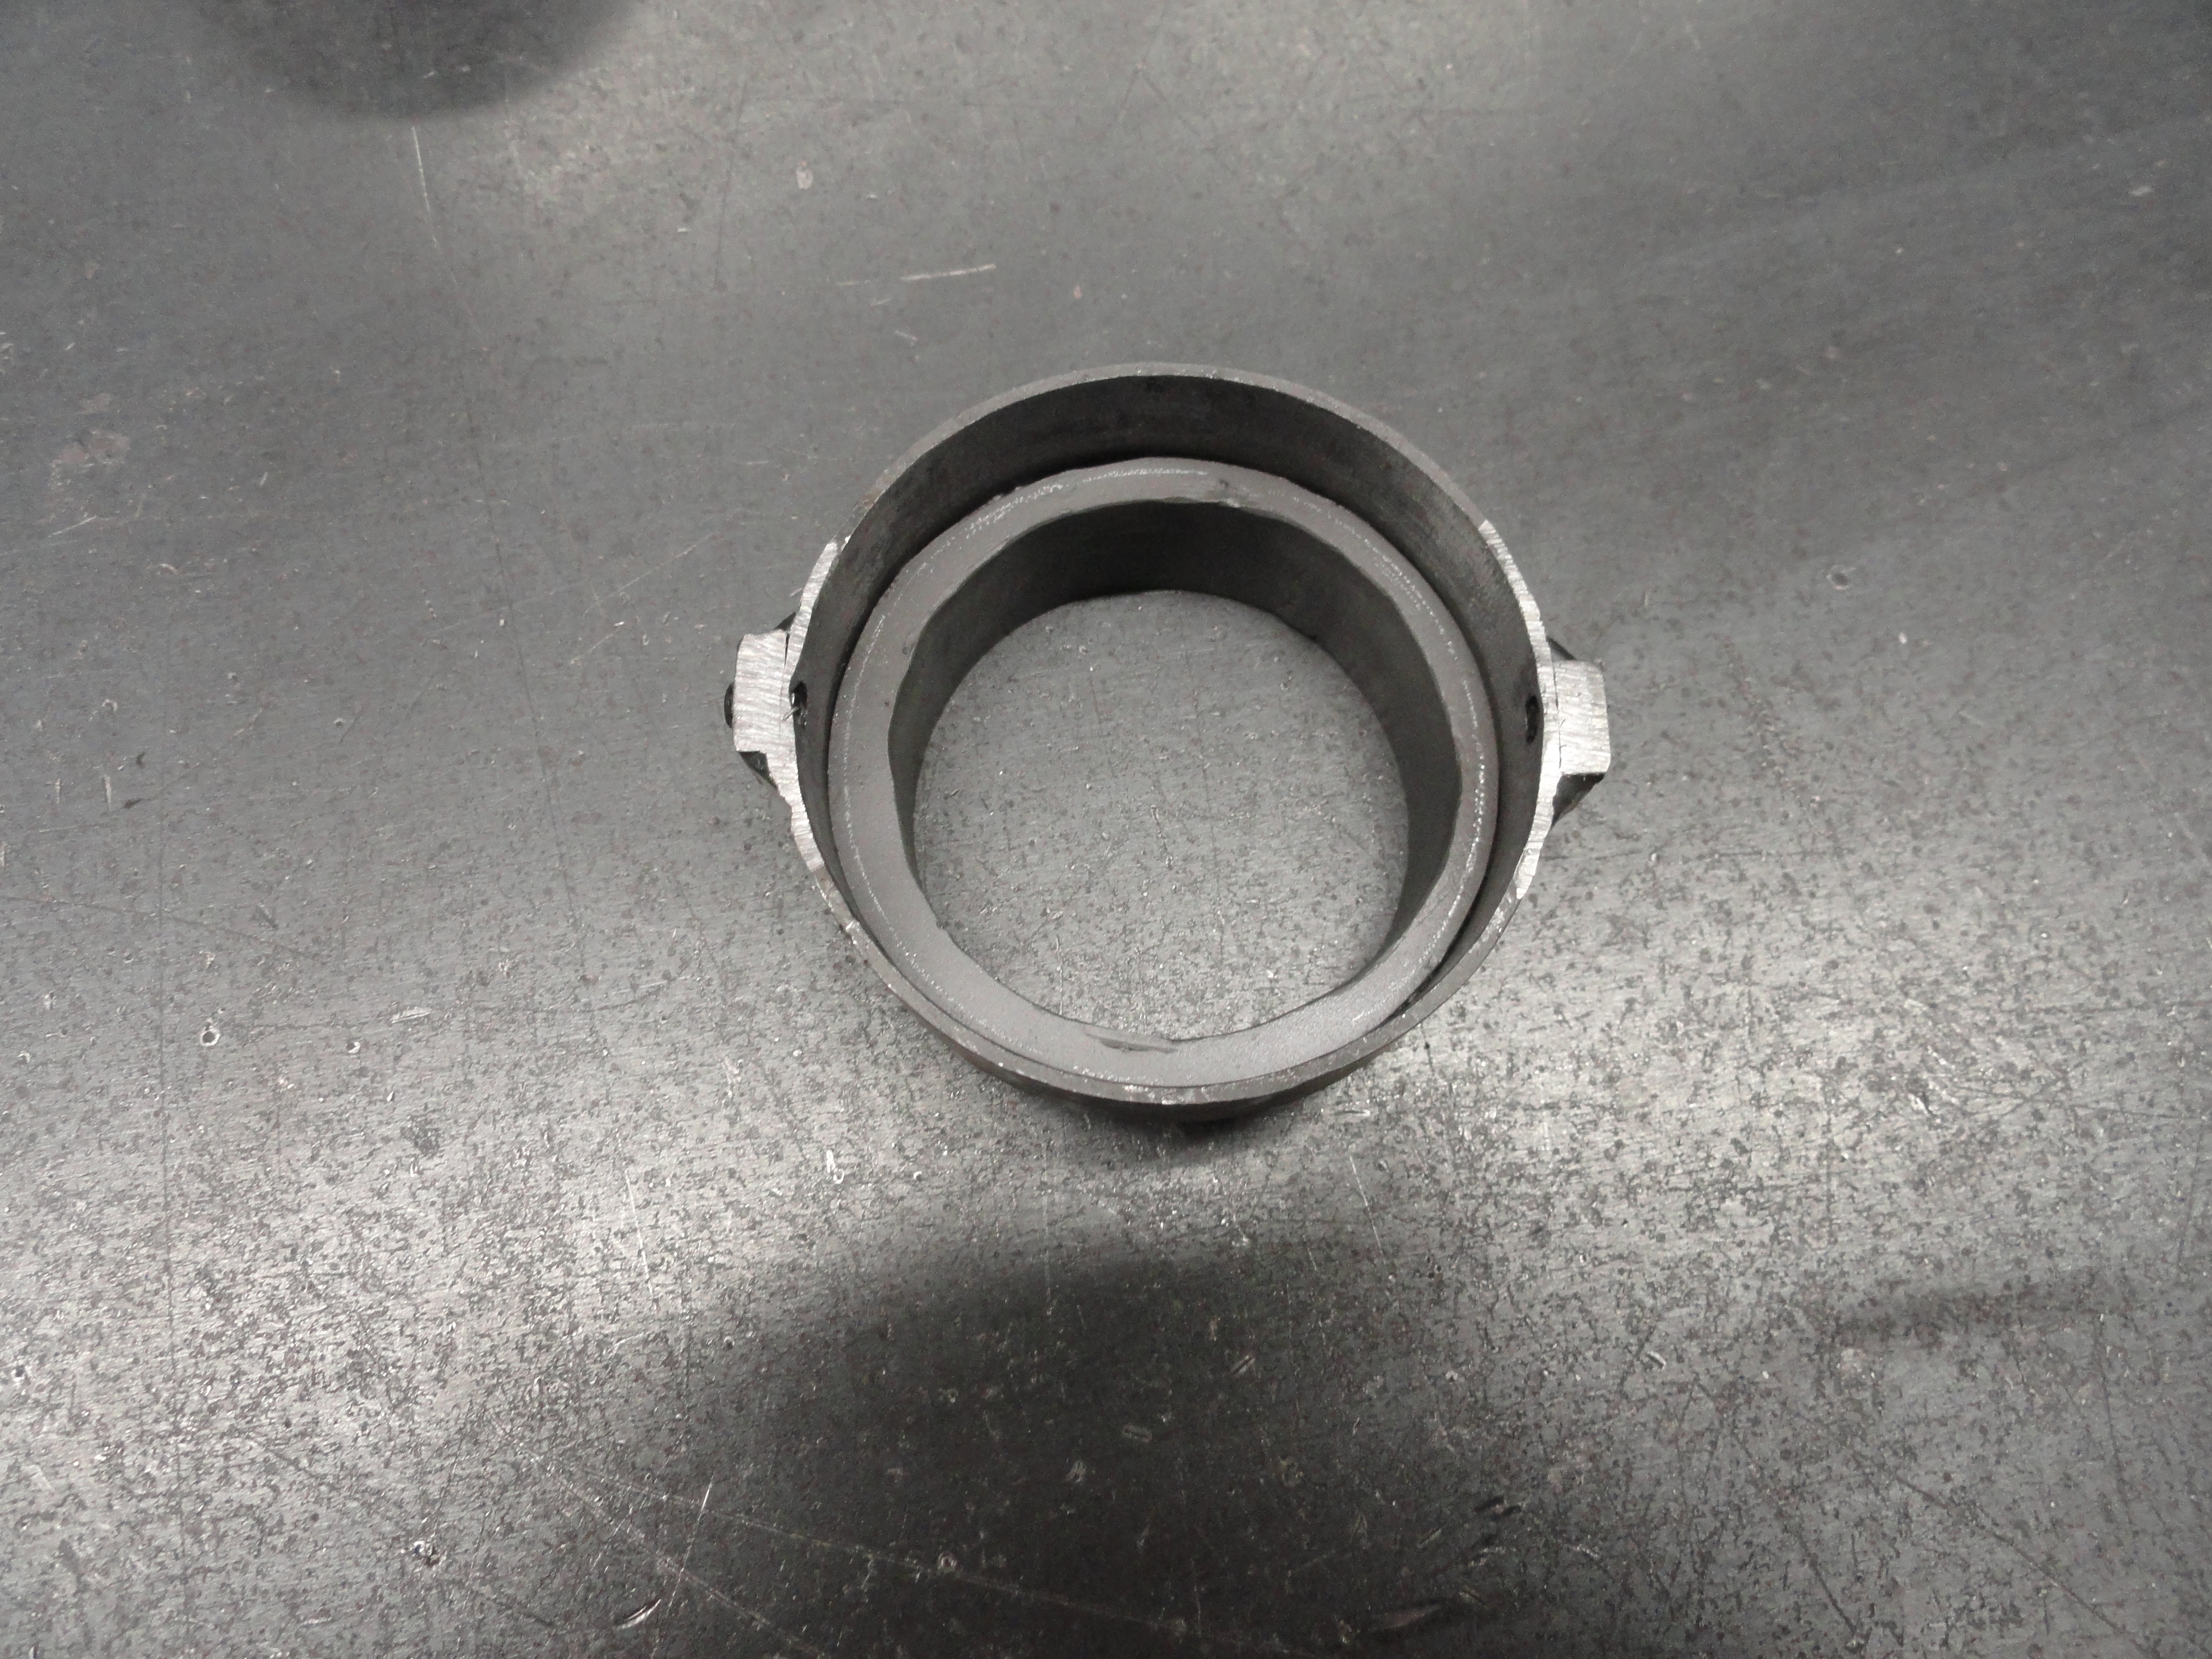
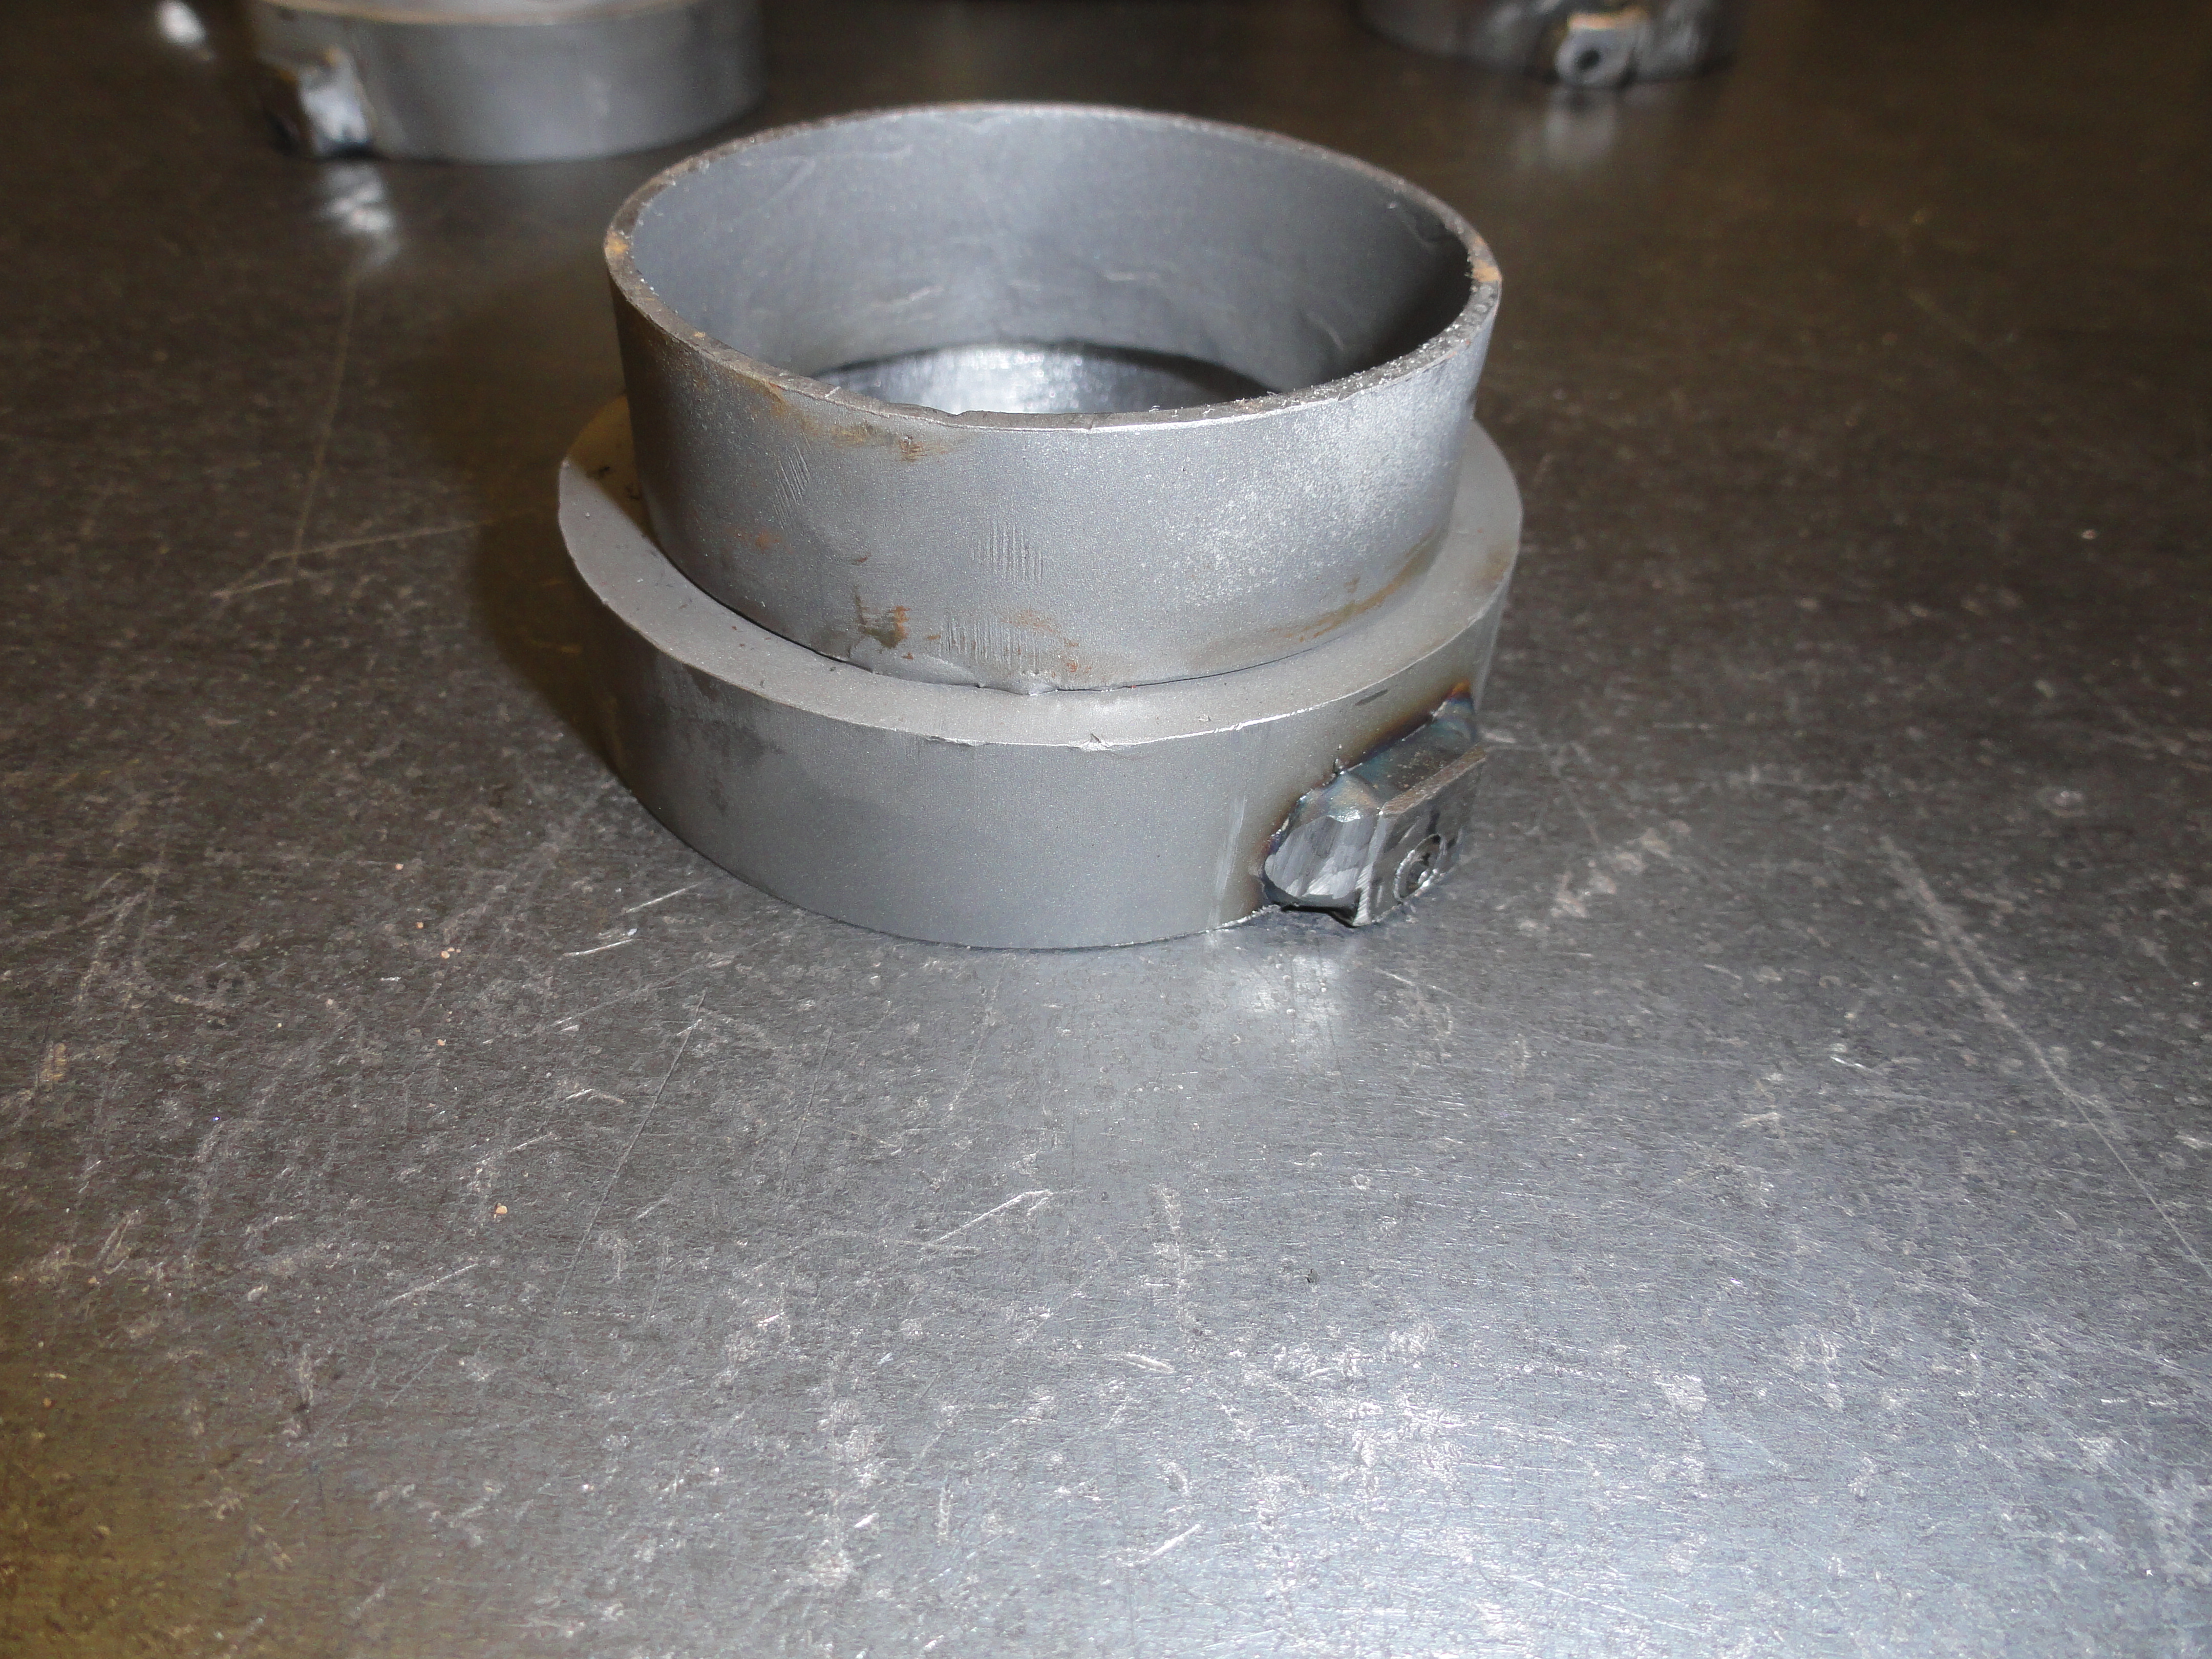
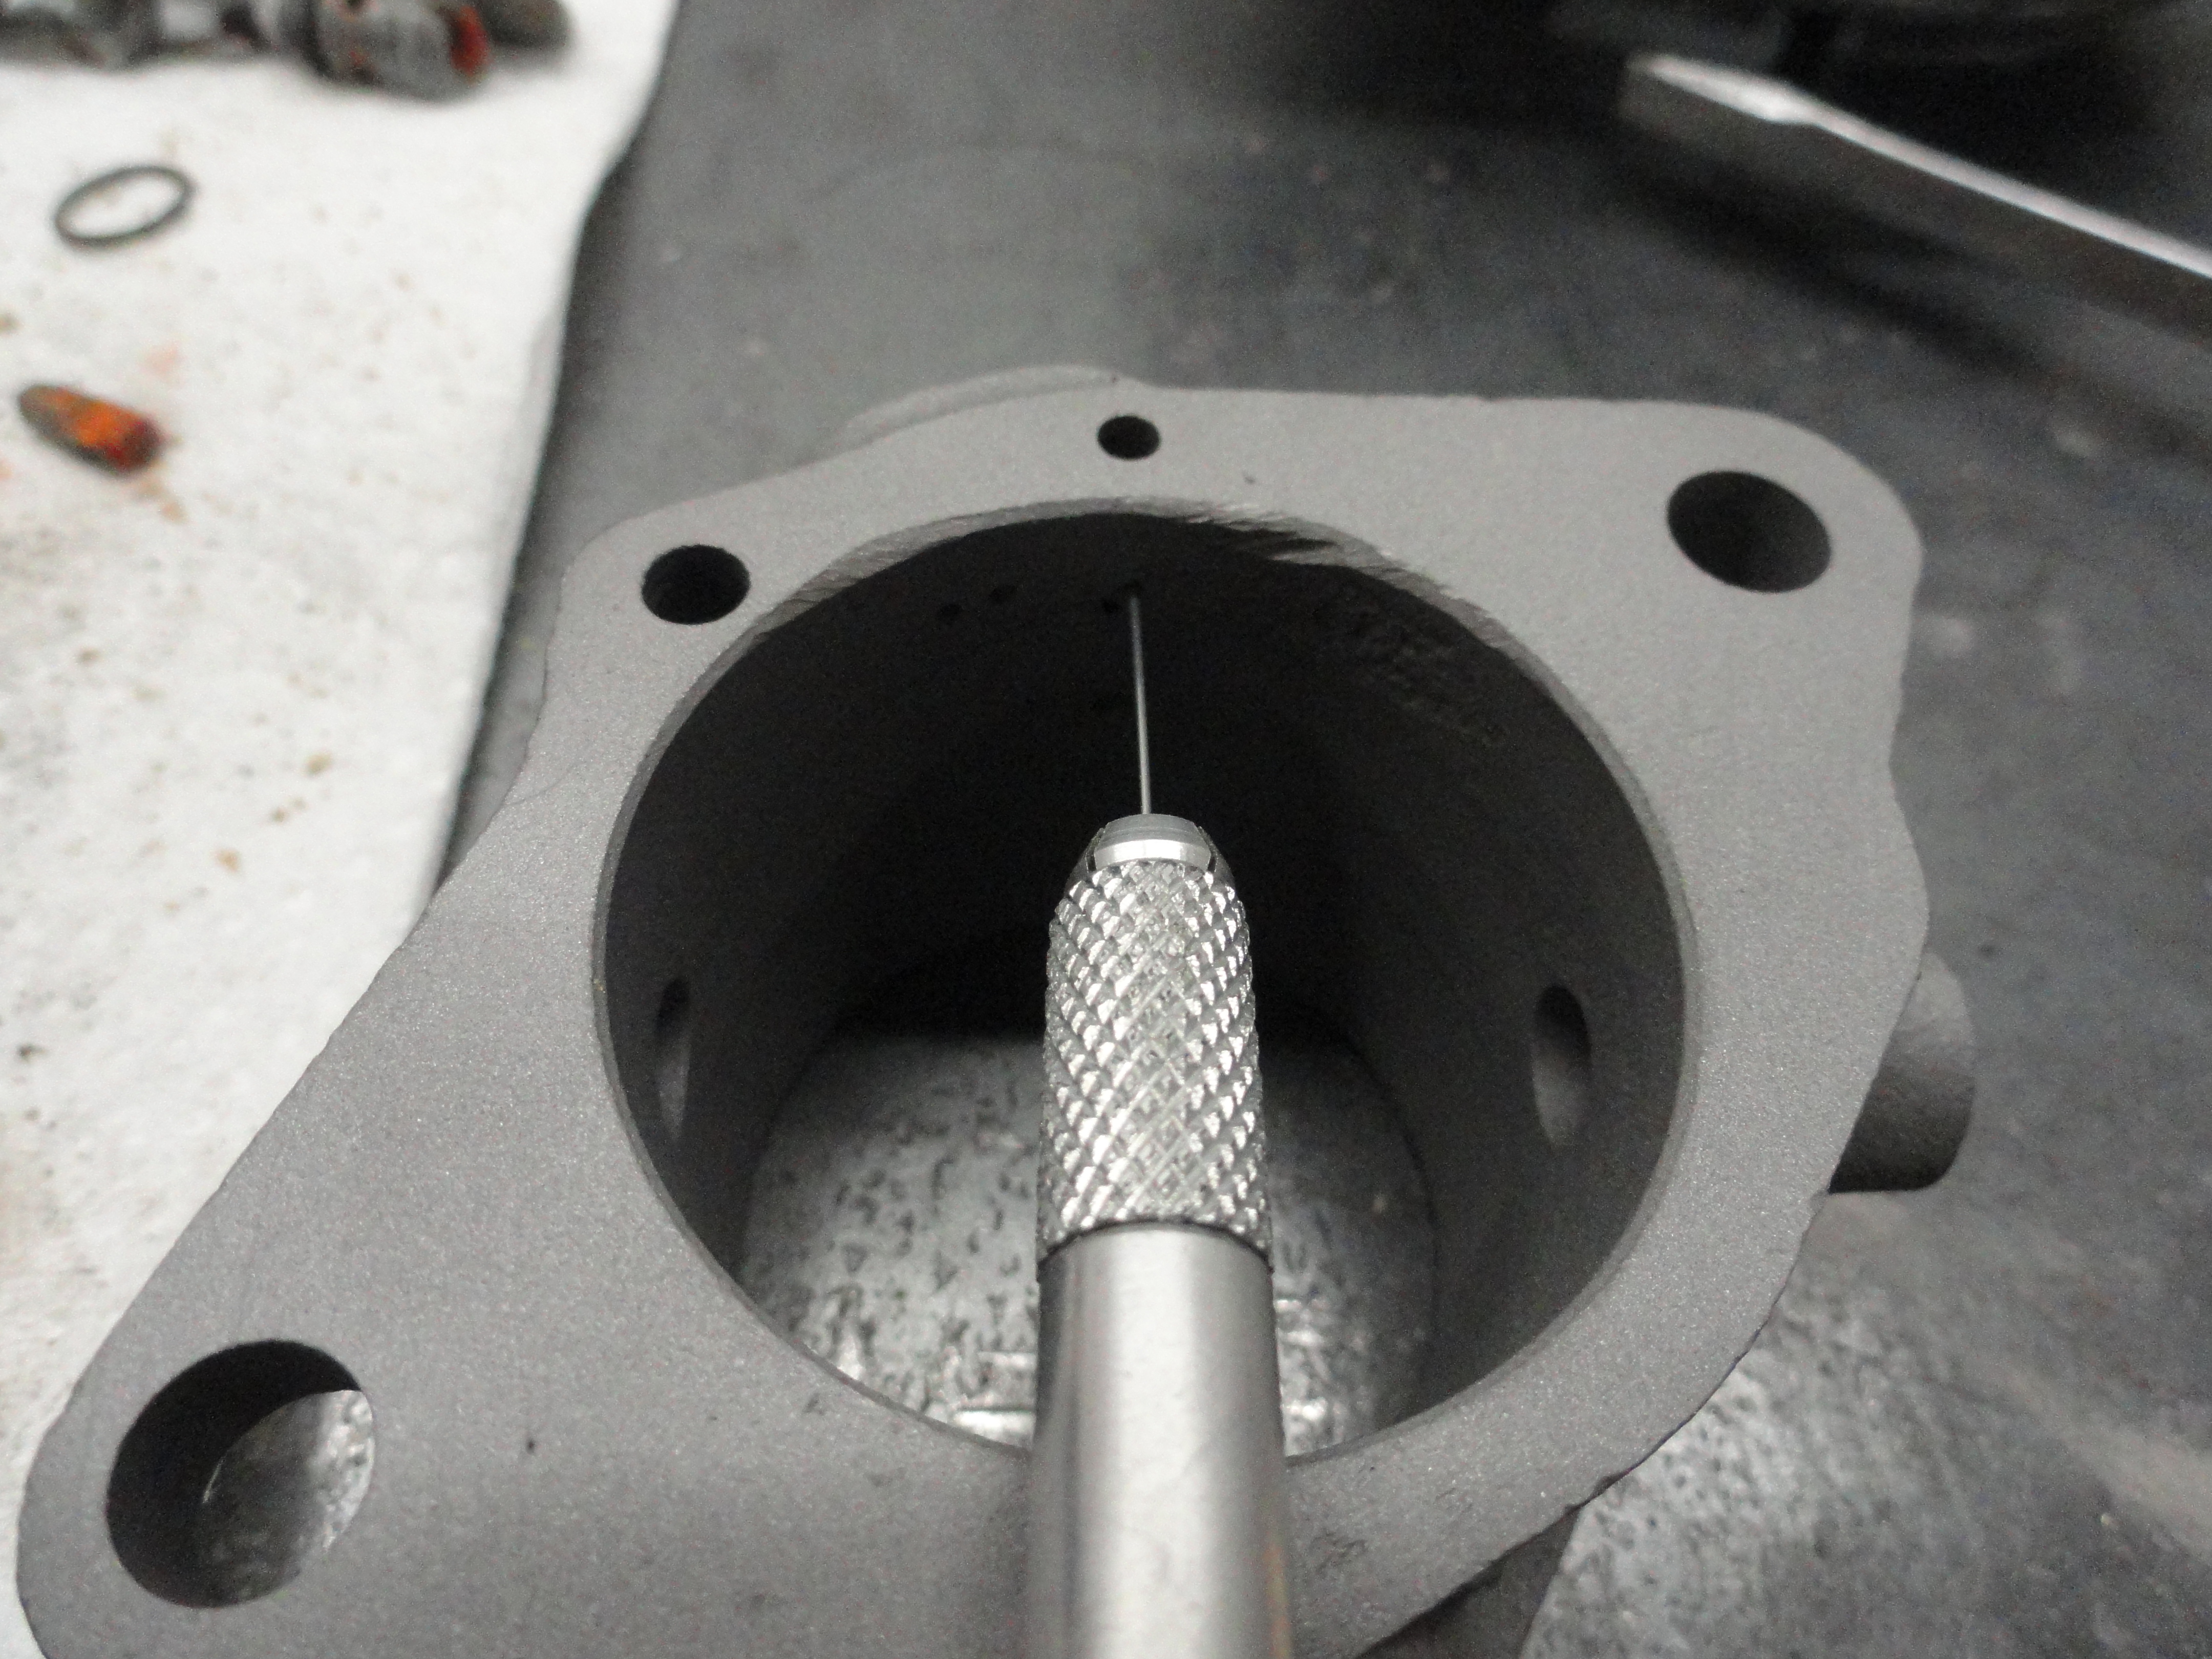
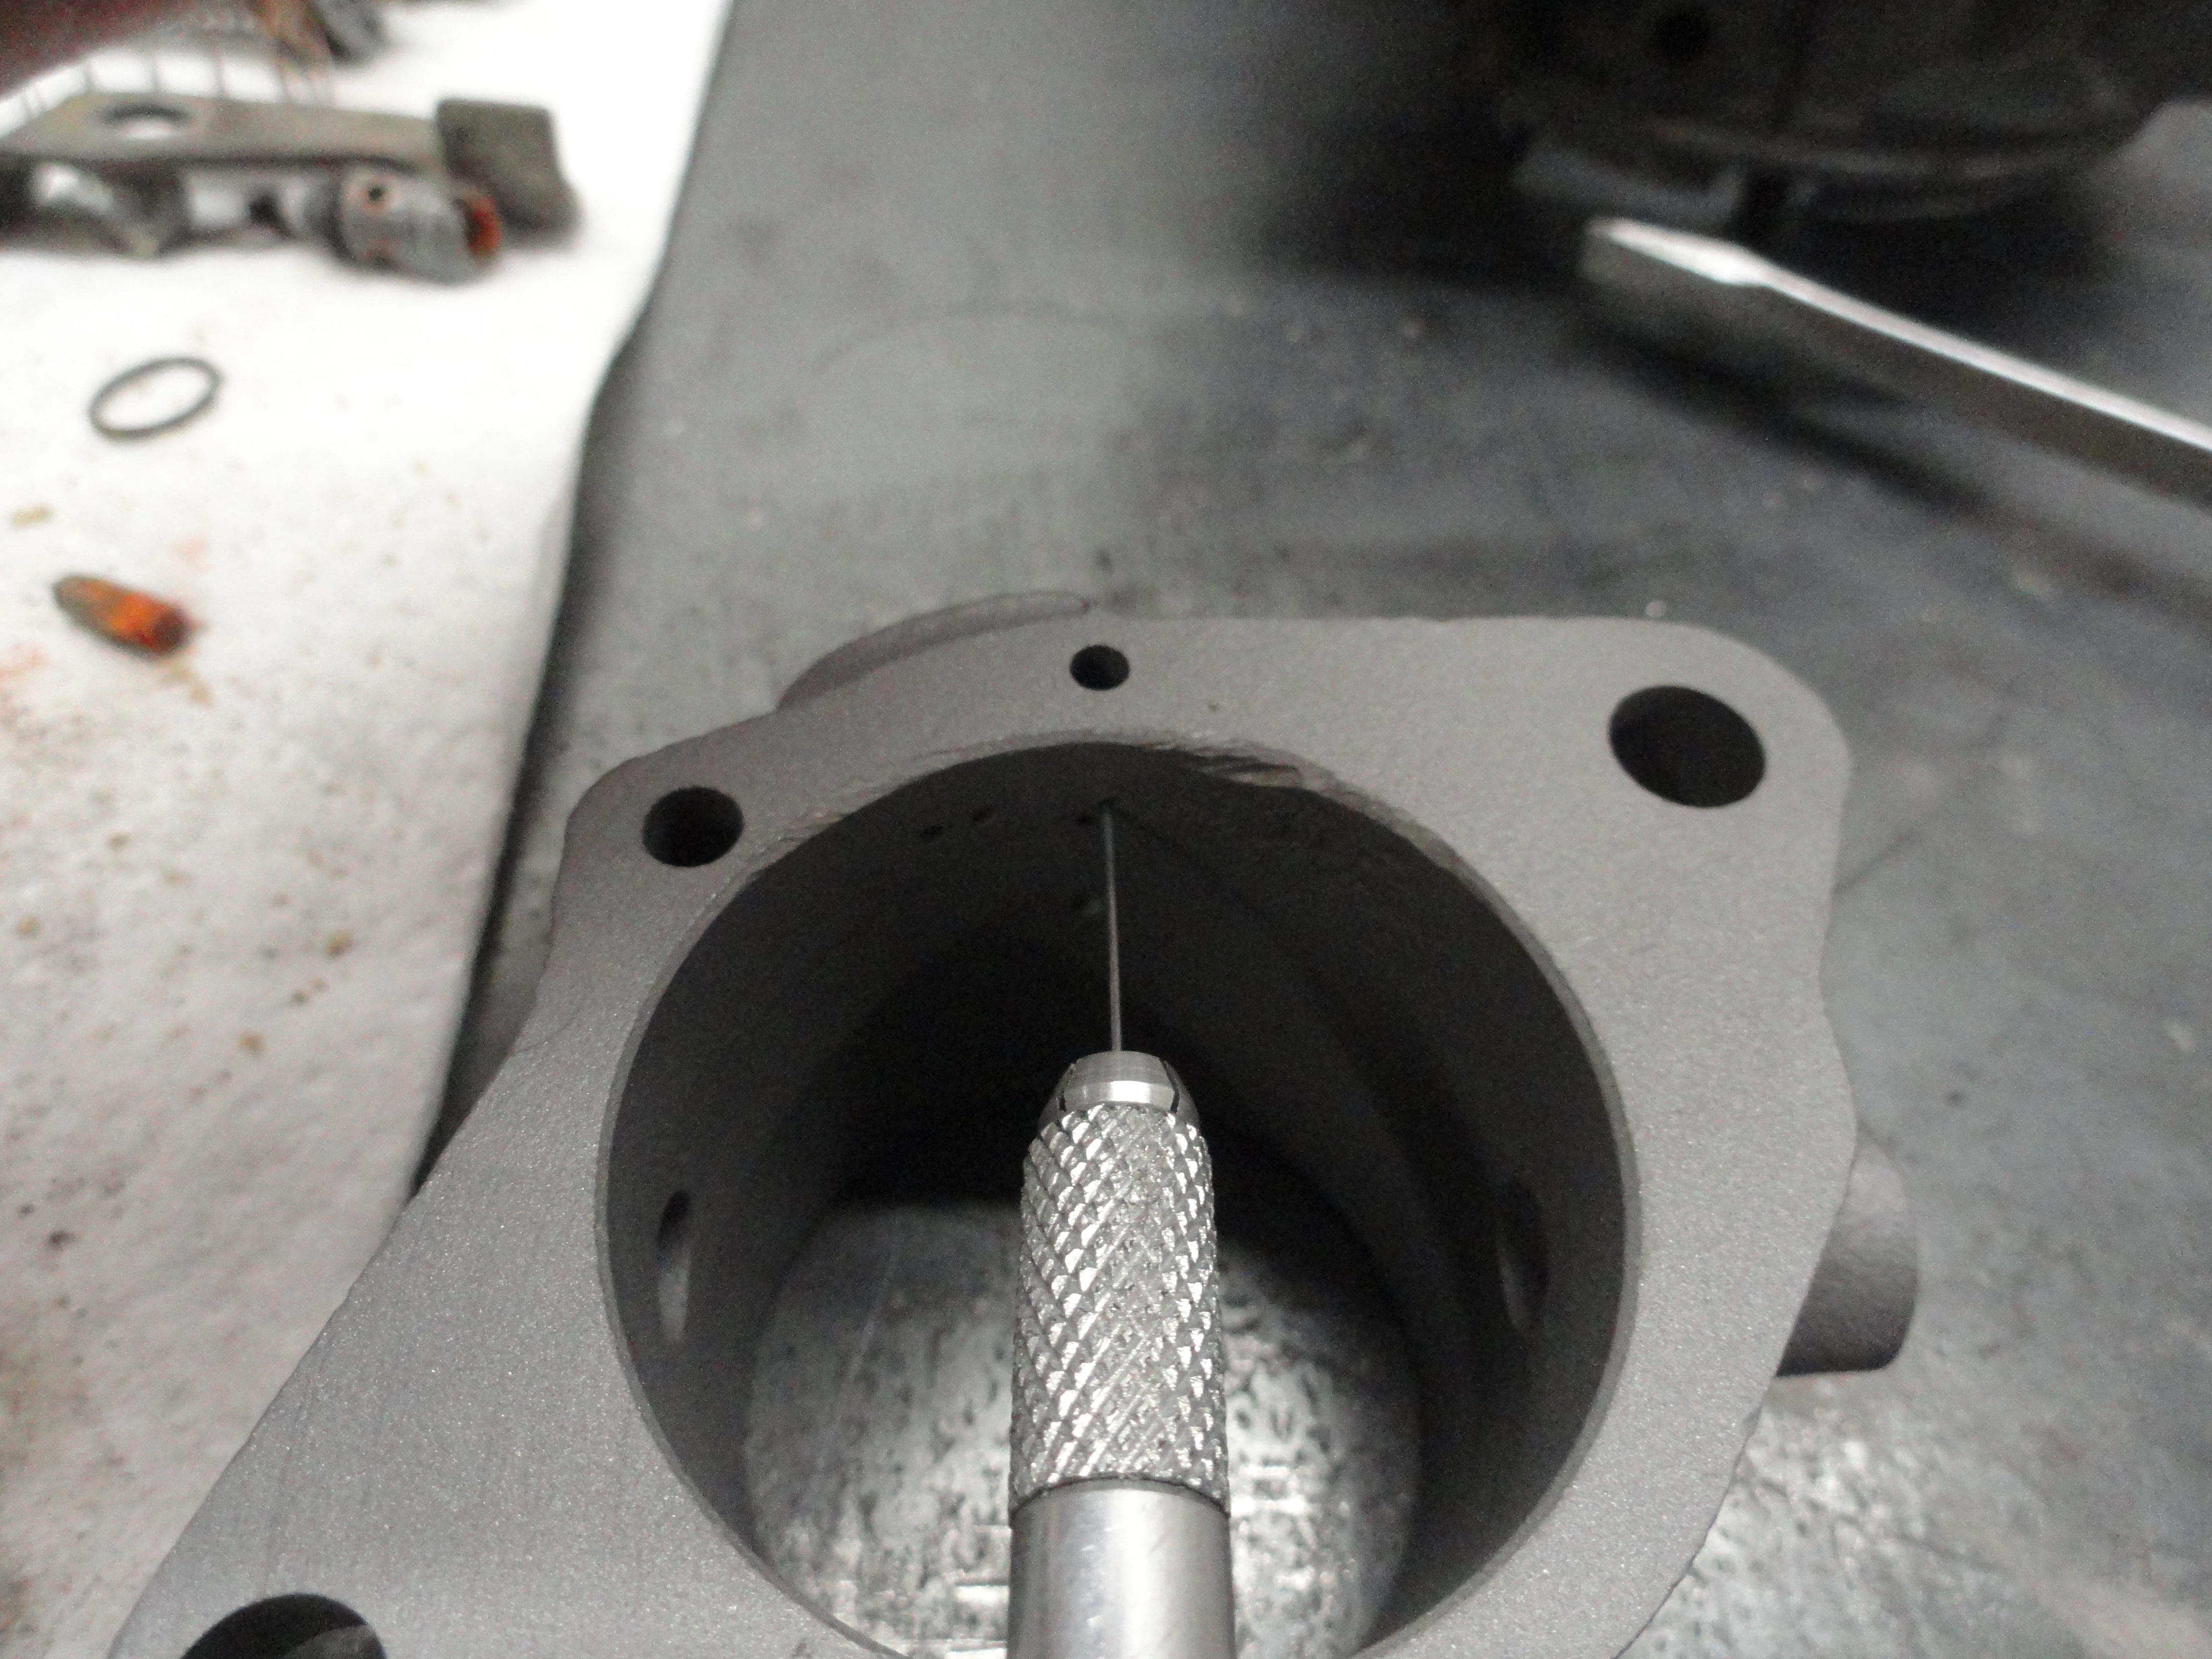
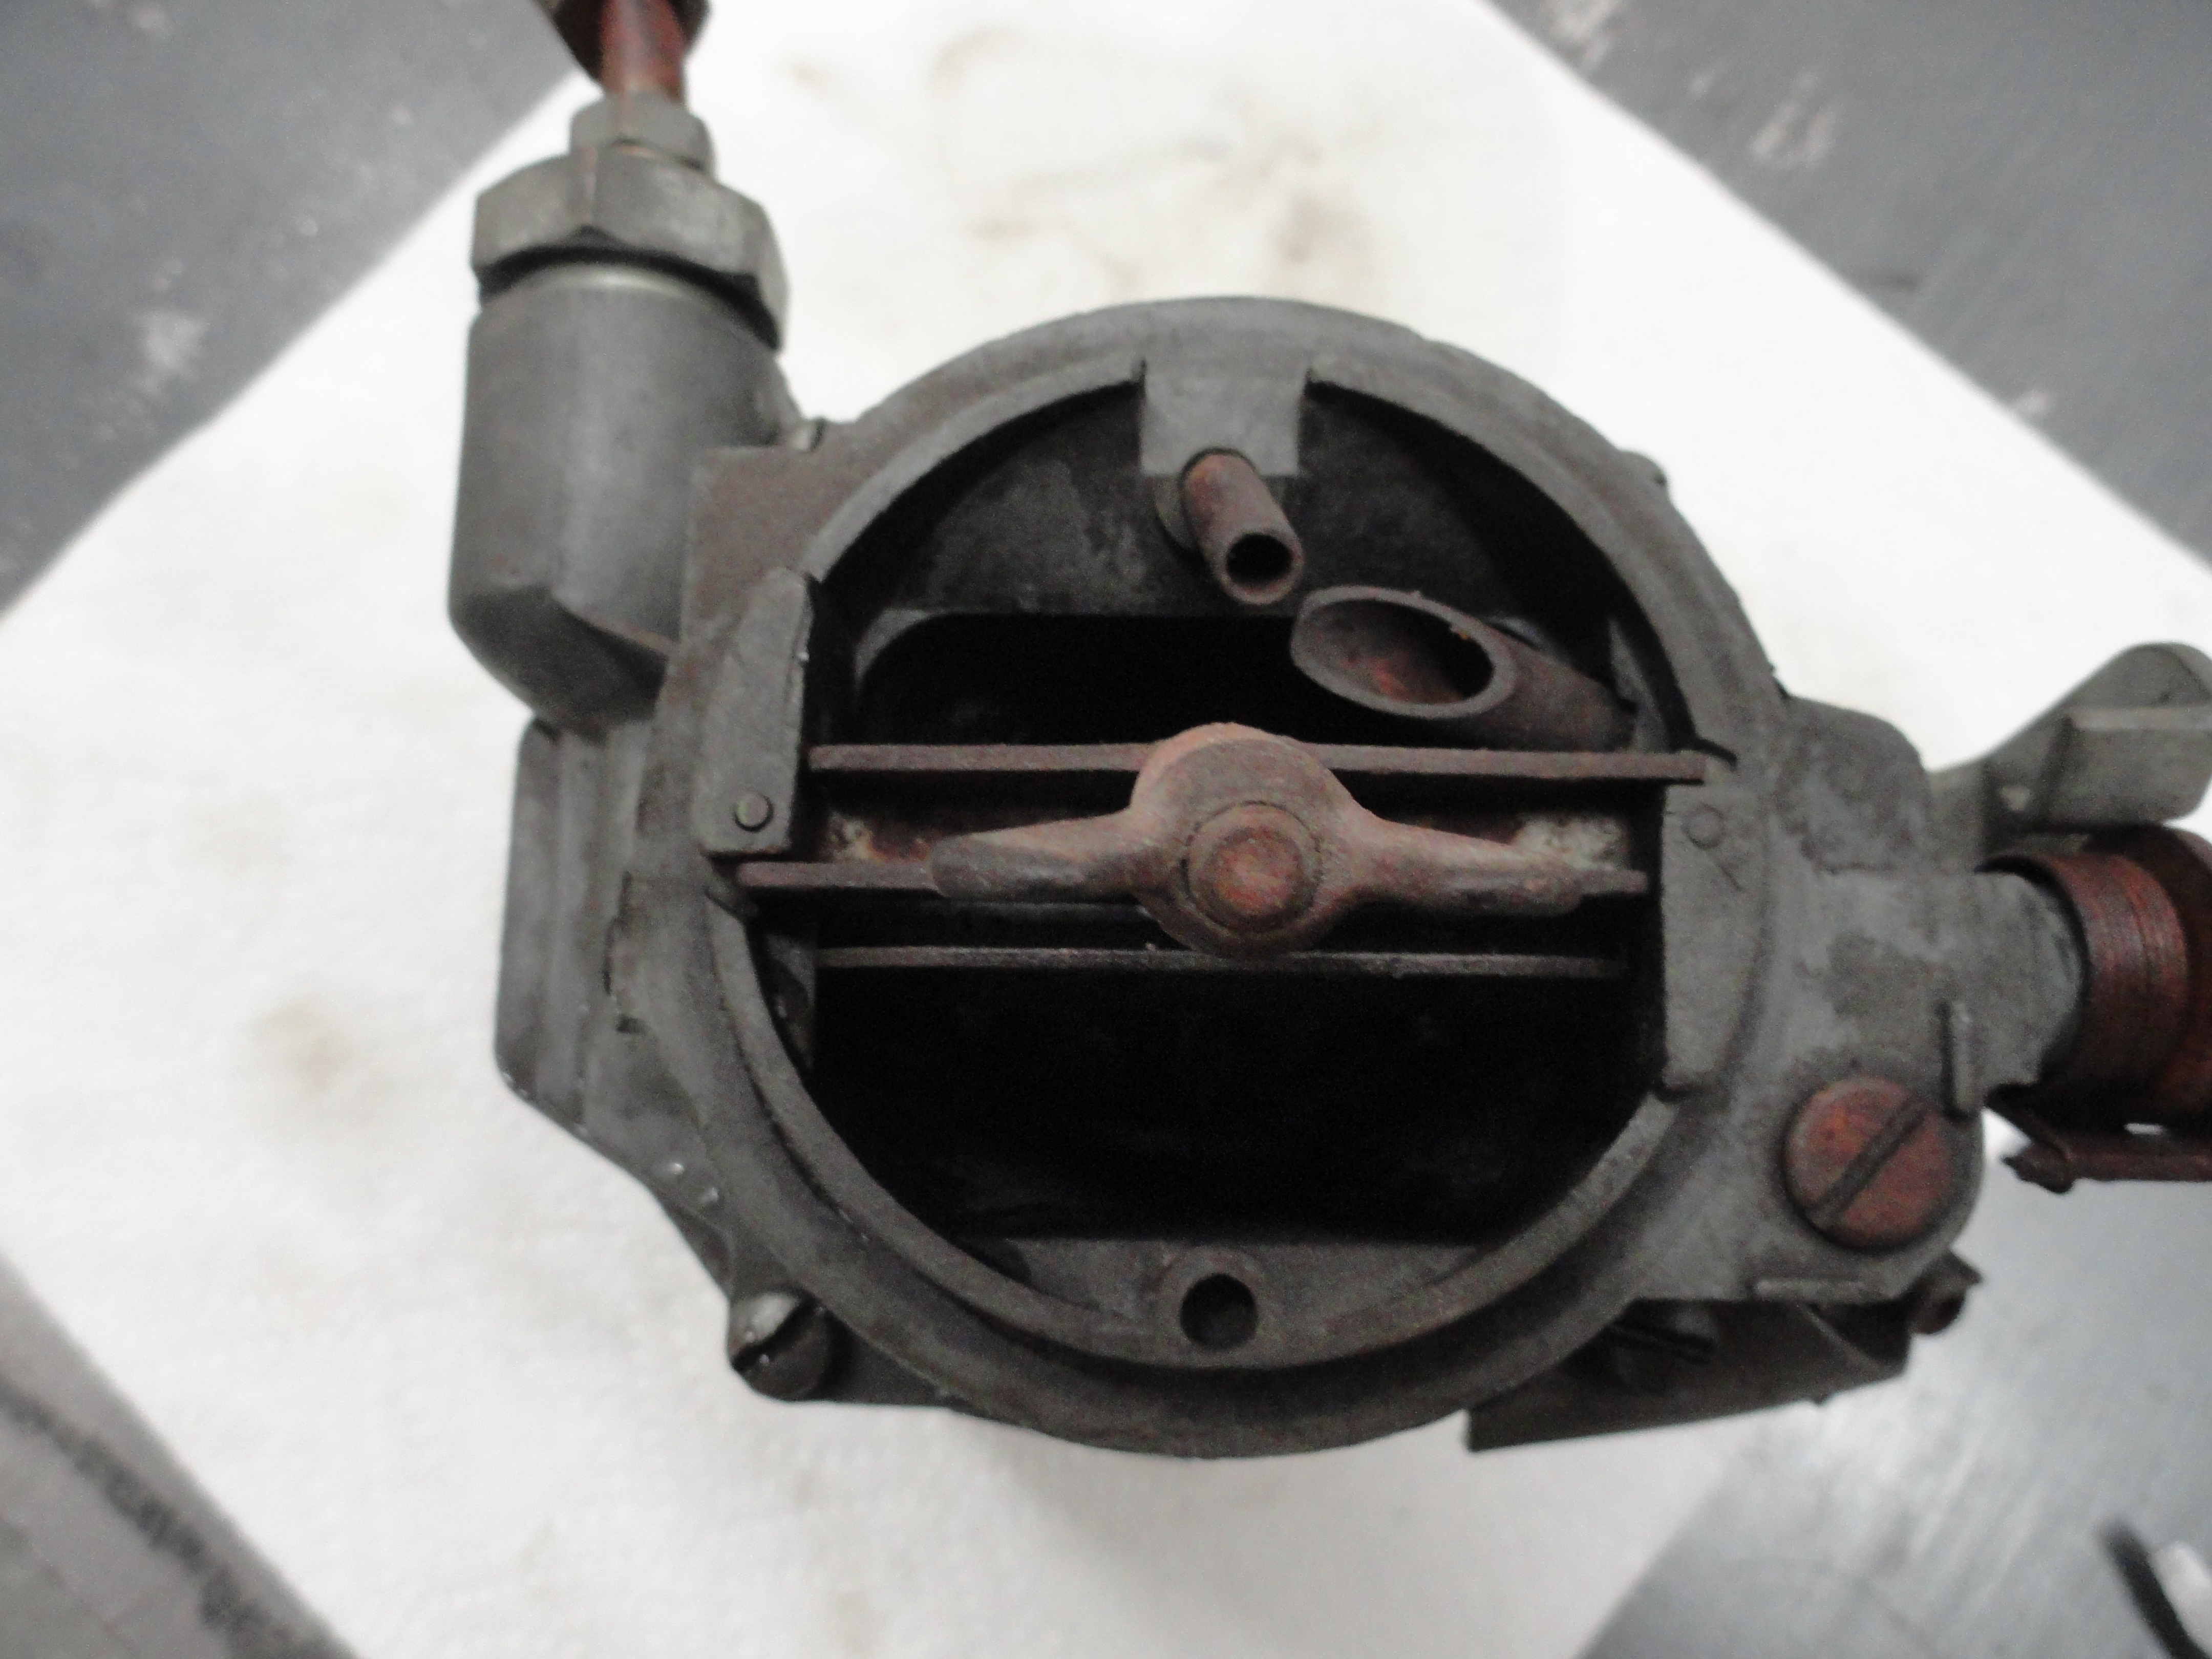
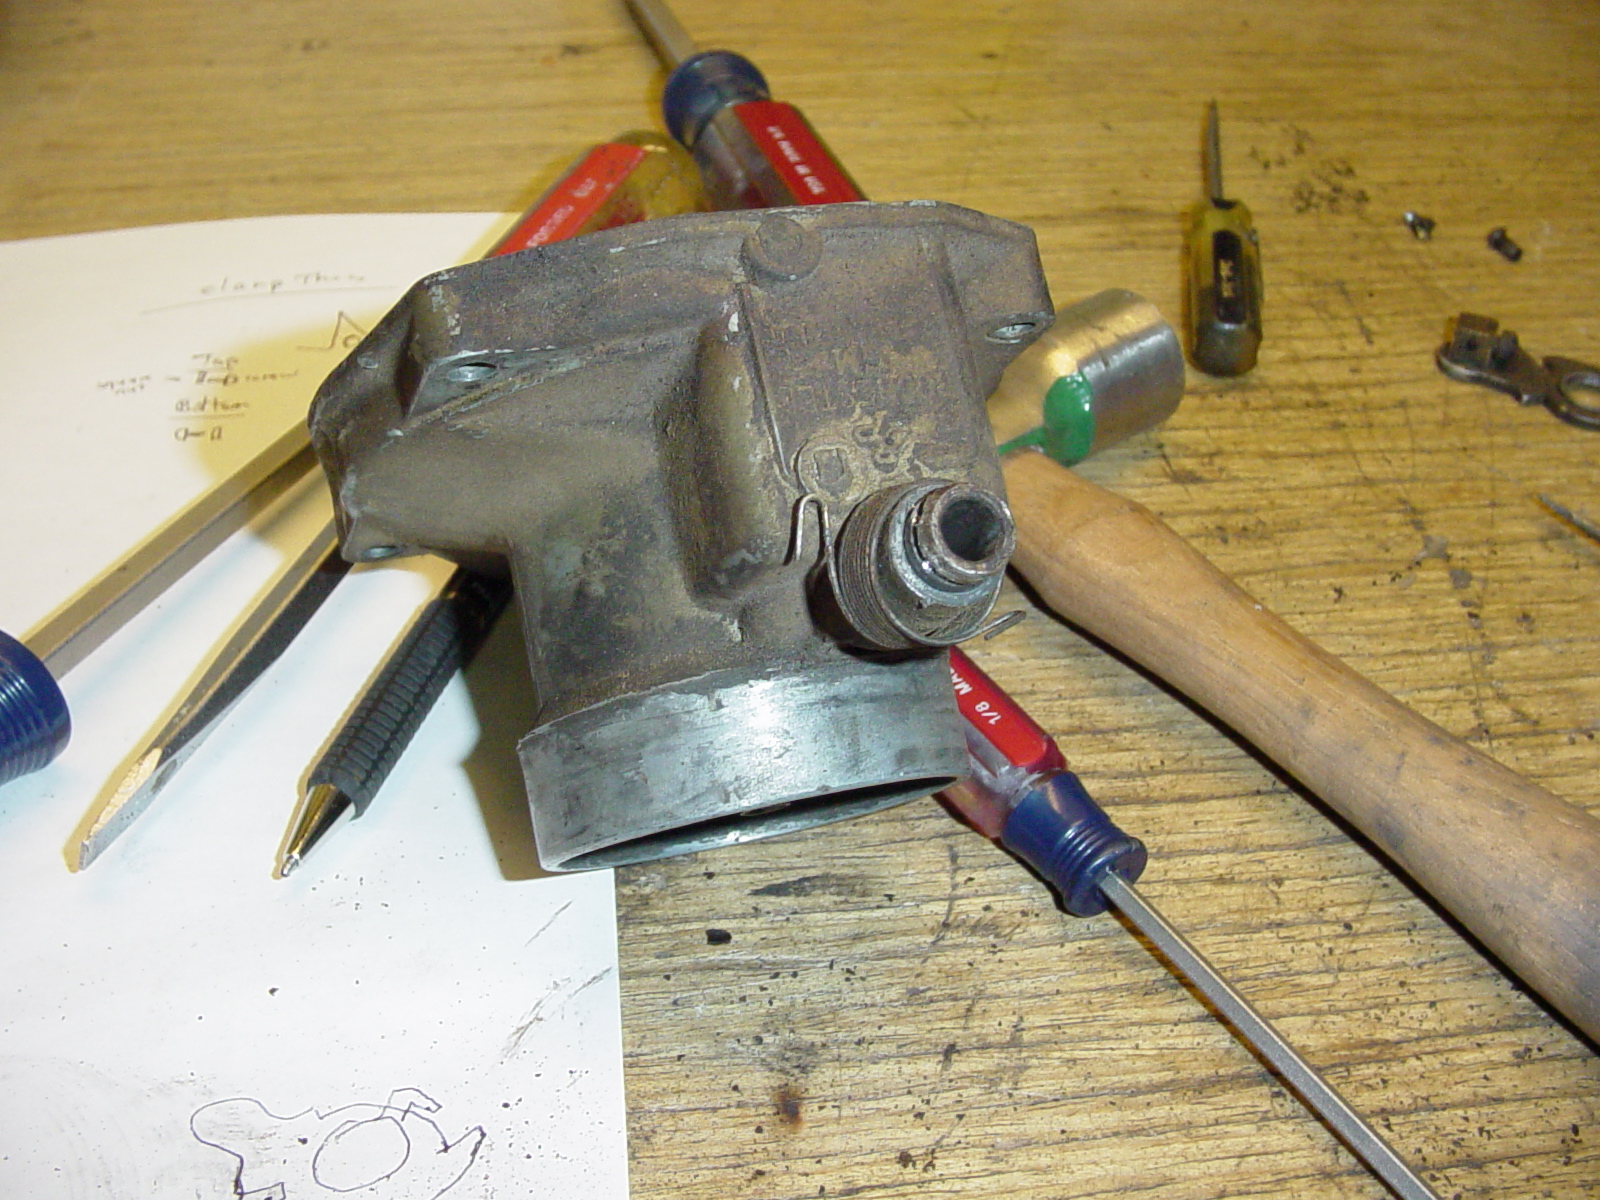
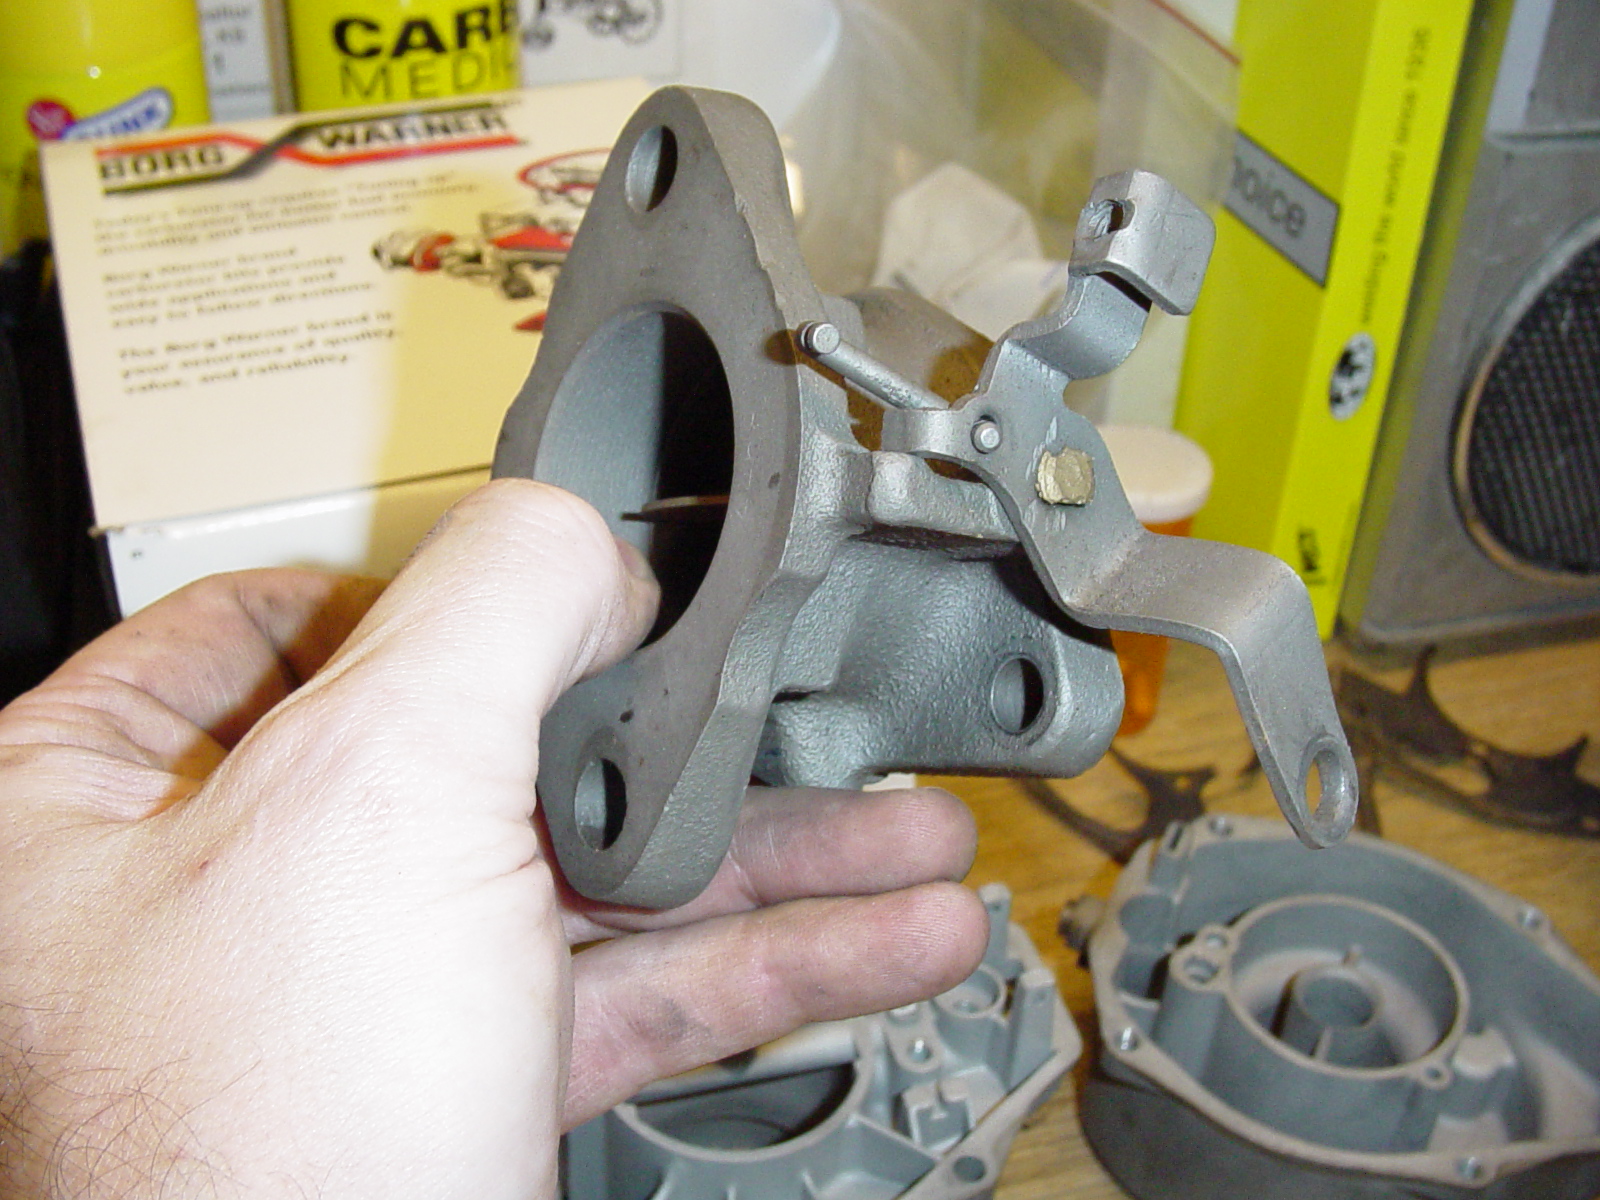
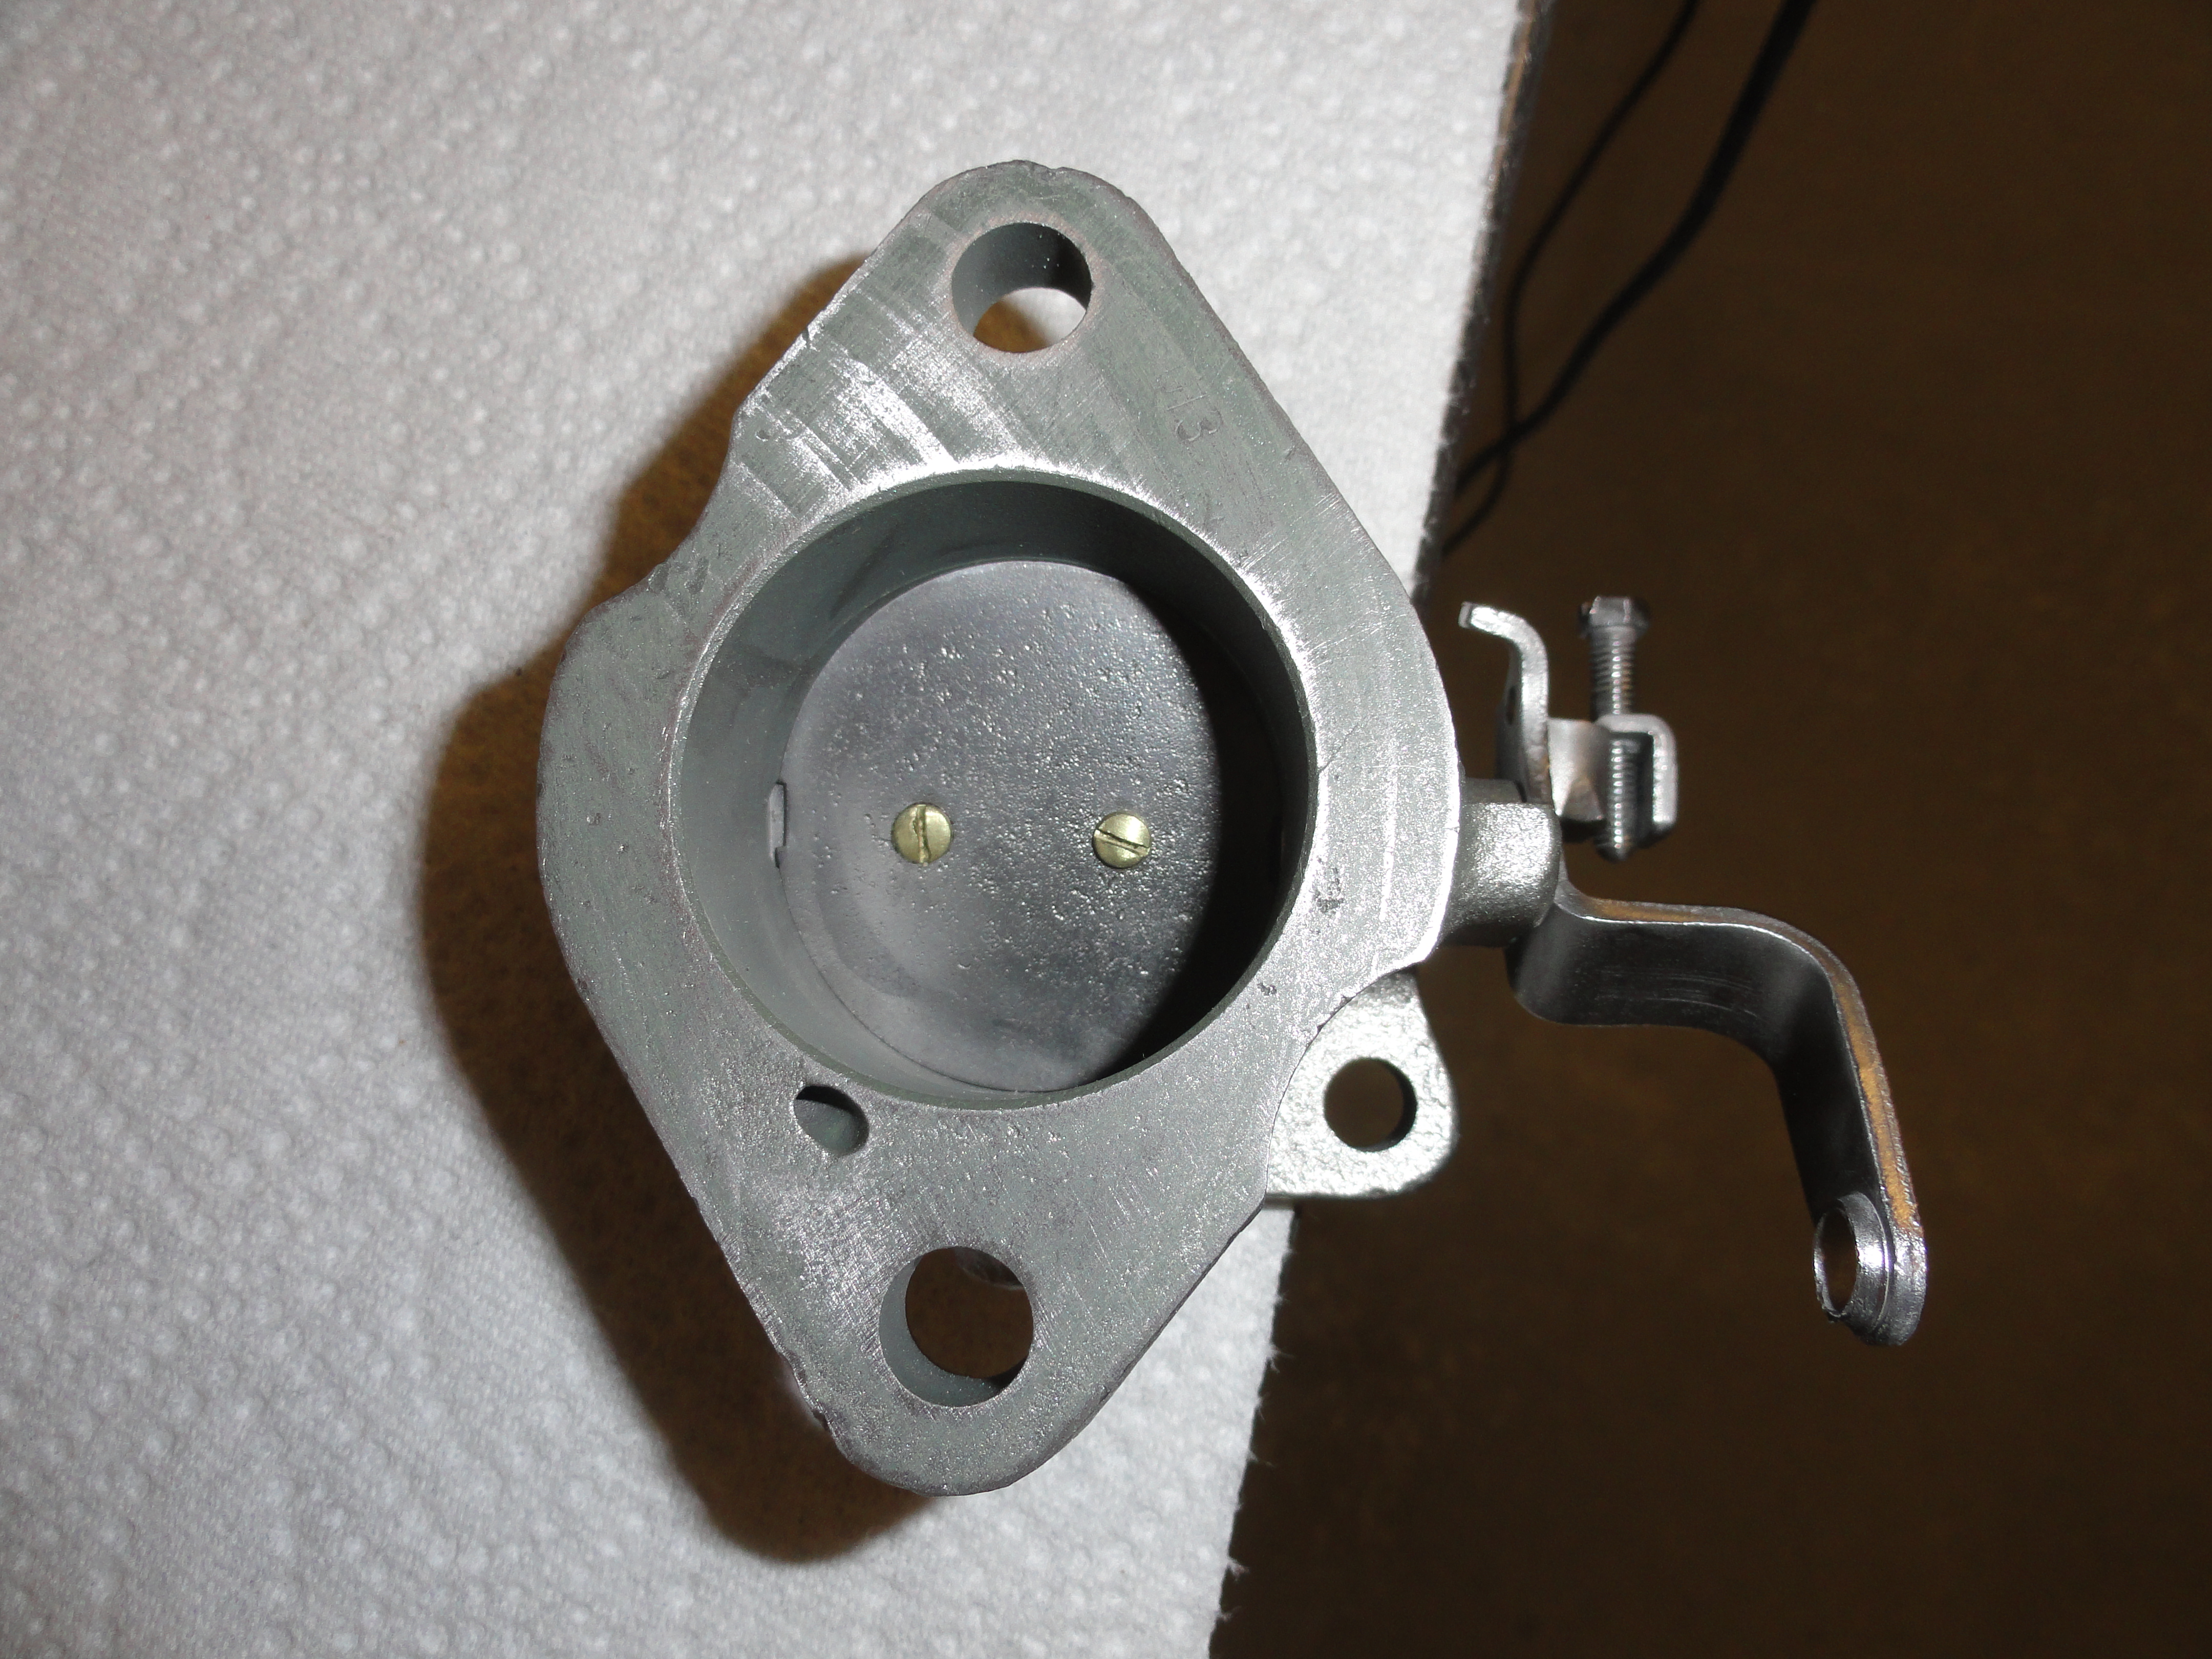
The Base Assembly is really the only part that is different for example between a 250 engine and a 235. It has to do with the spacing between the two mounting flange bolts. Never toss a Rochester B carb that has the wrong mounting bolt pattern. Thats ALL the problem is. Get the correct one and the rest of the carb is good. Remove the Brass idler screw with spring, and the vac advance fitting. If you chose to go the route of removing the bottom butterfly assembly, you should have a totally stripped base unit. The only reason for removing these butterfly assemblies is slop. Slop either side to side, or in and out. Sometimes a brass drift punch will move enough material to stop the slop where the steel and brass converge. If you are doing this, I assume you fully understand the workings of a shaft and its supporting mechanisms and how to proceed. Ideally, NO slop on any plane. You also want to assess if it's tight because of rust or dirt buildup, or if it's really nice and tight! This is why I usually opt to remove both butterfly assemblies.


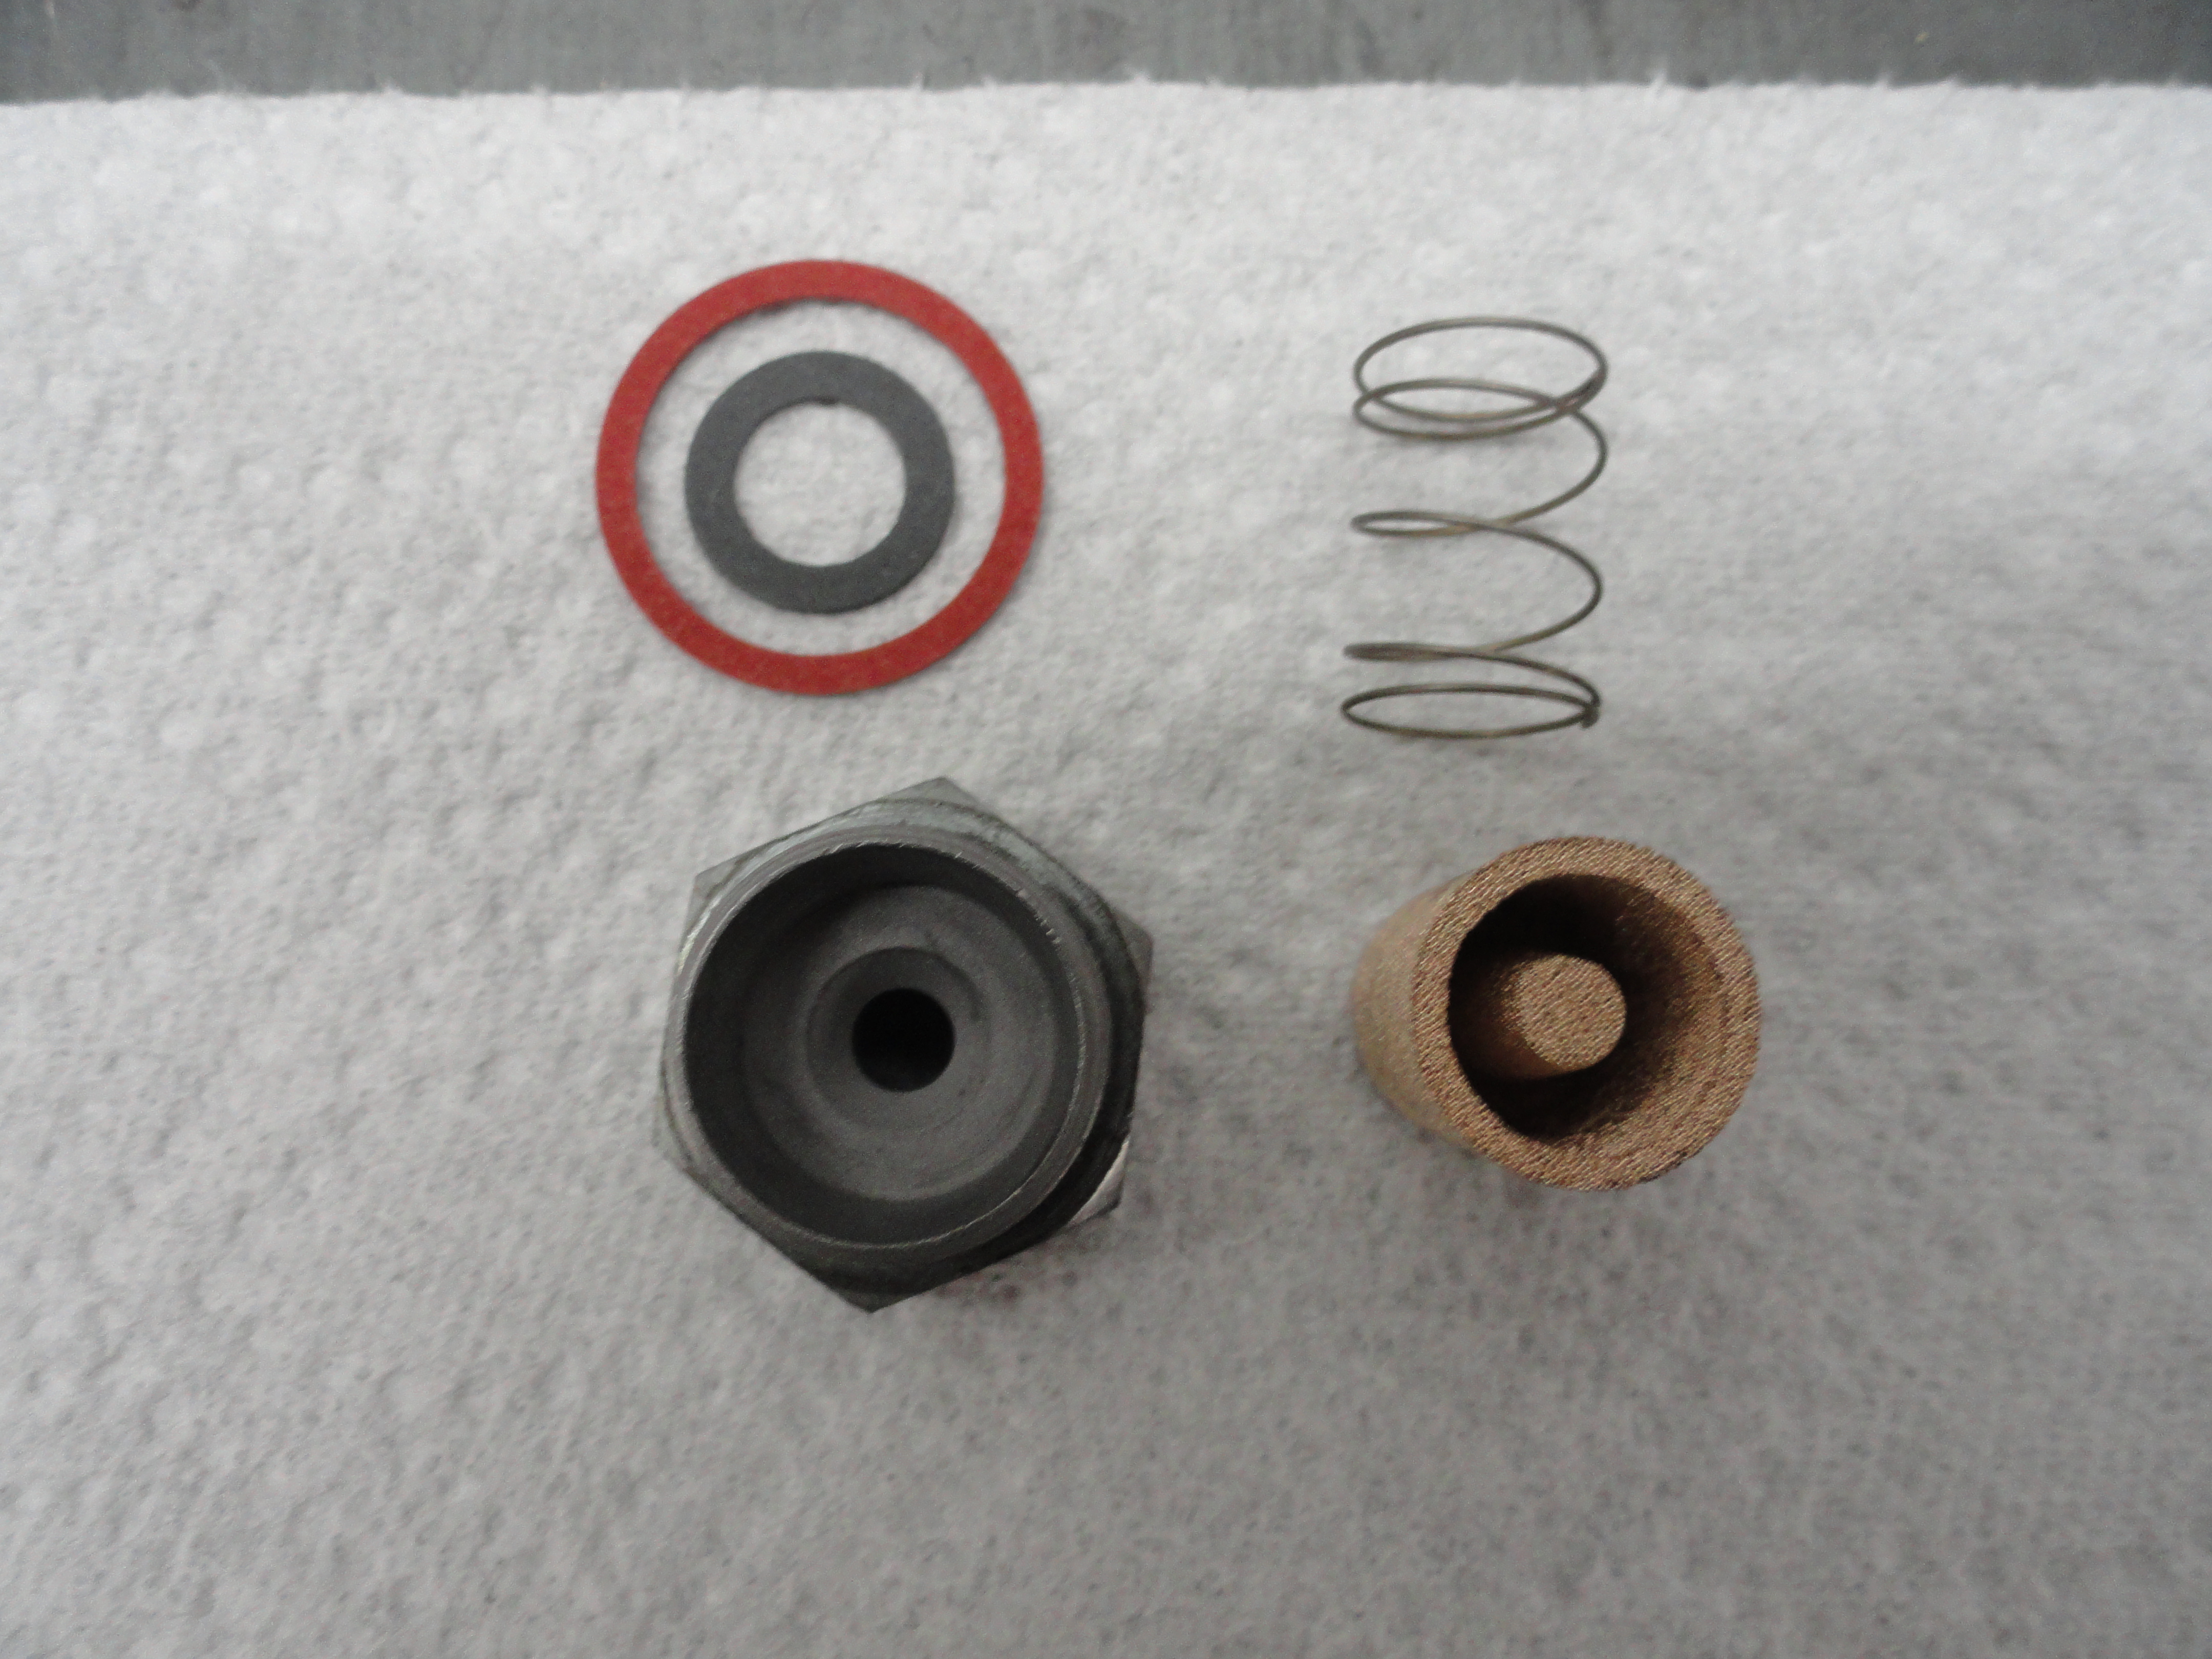
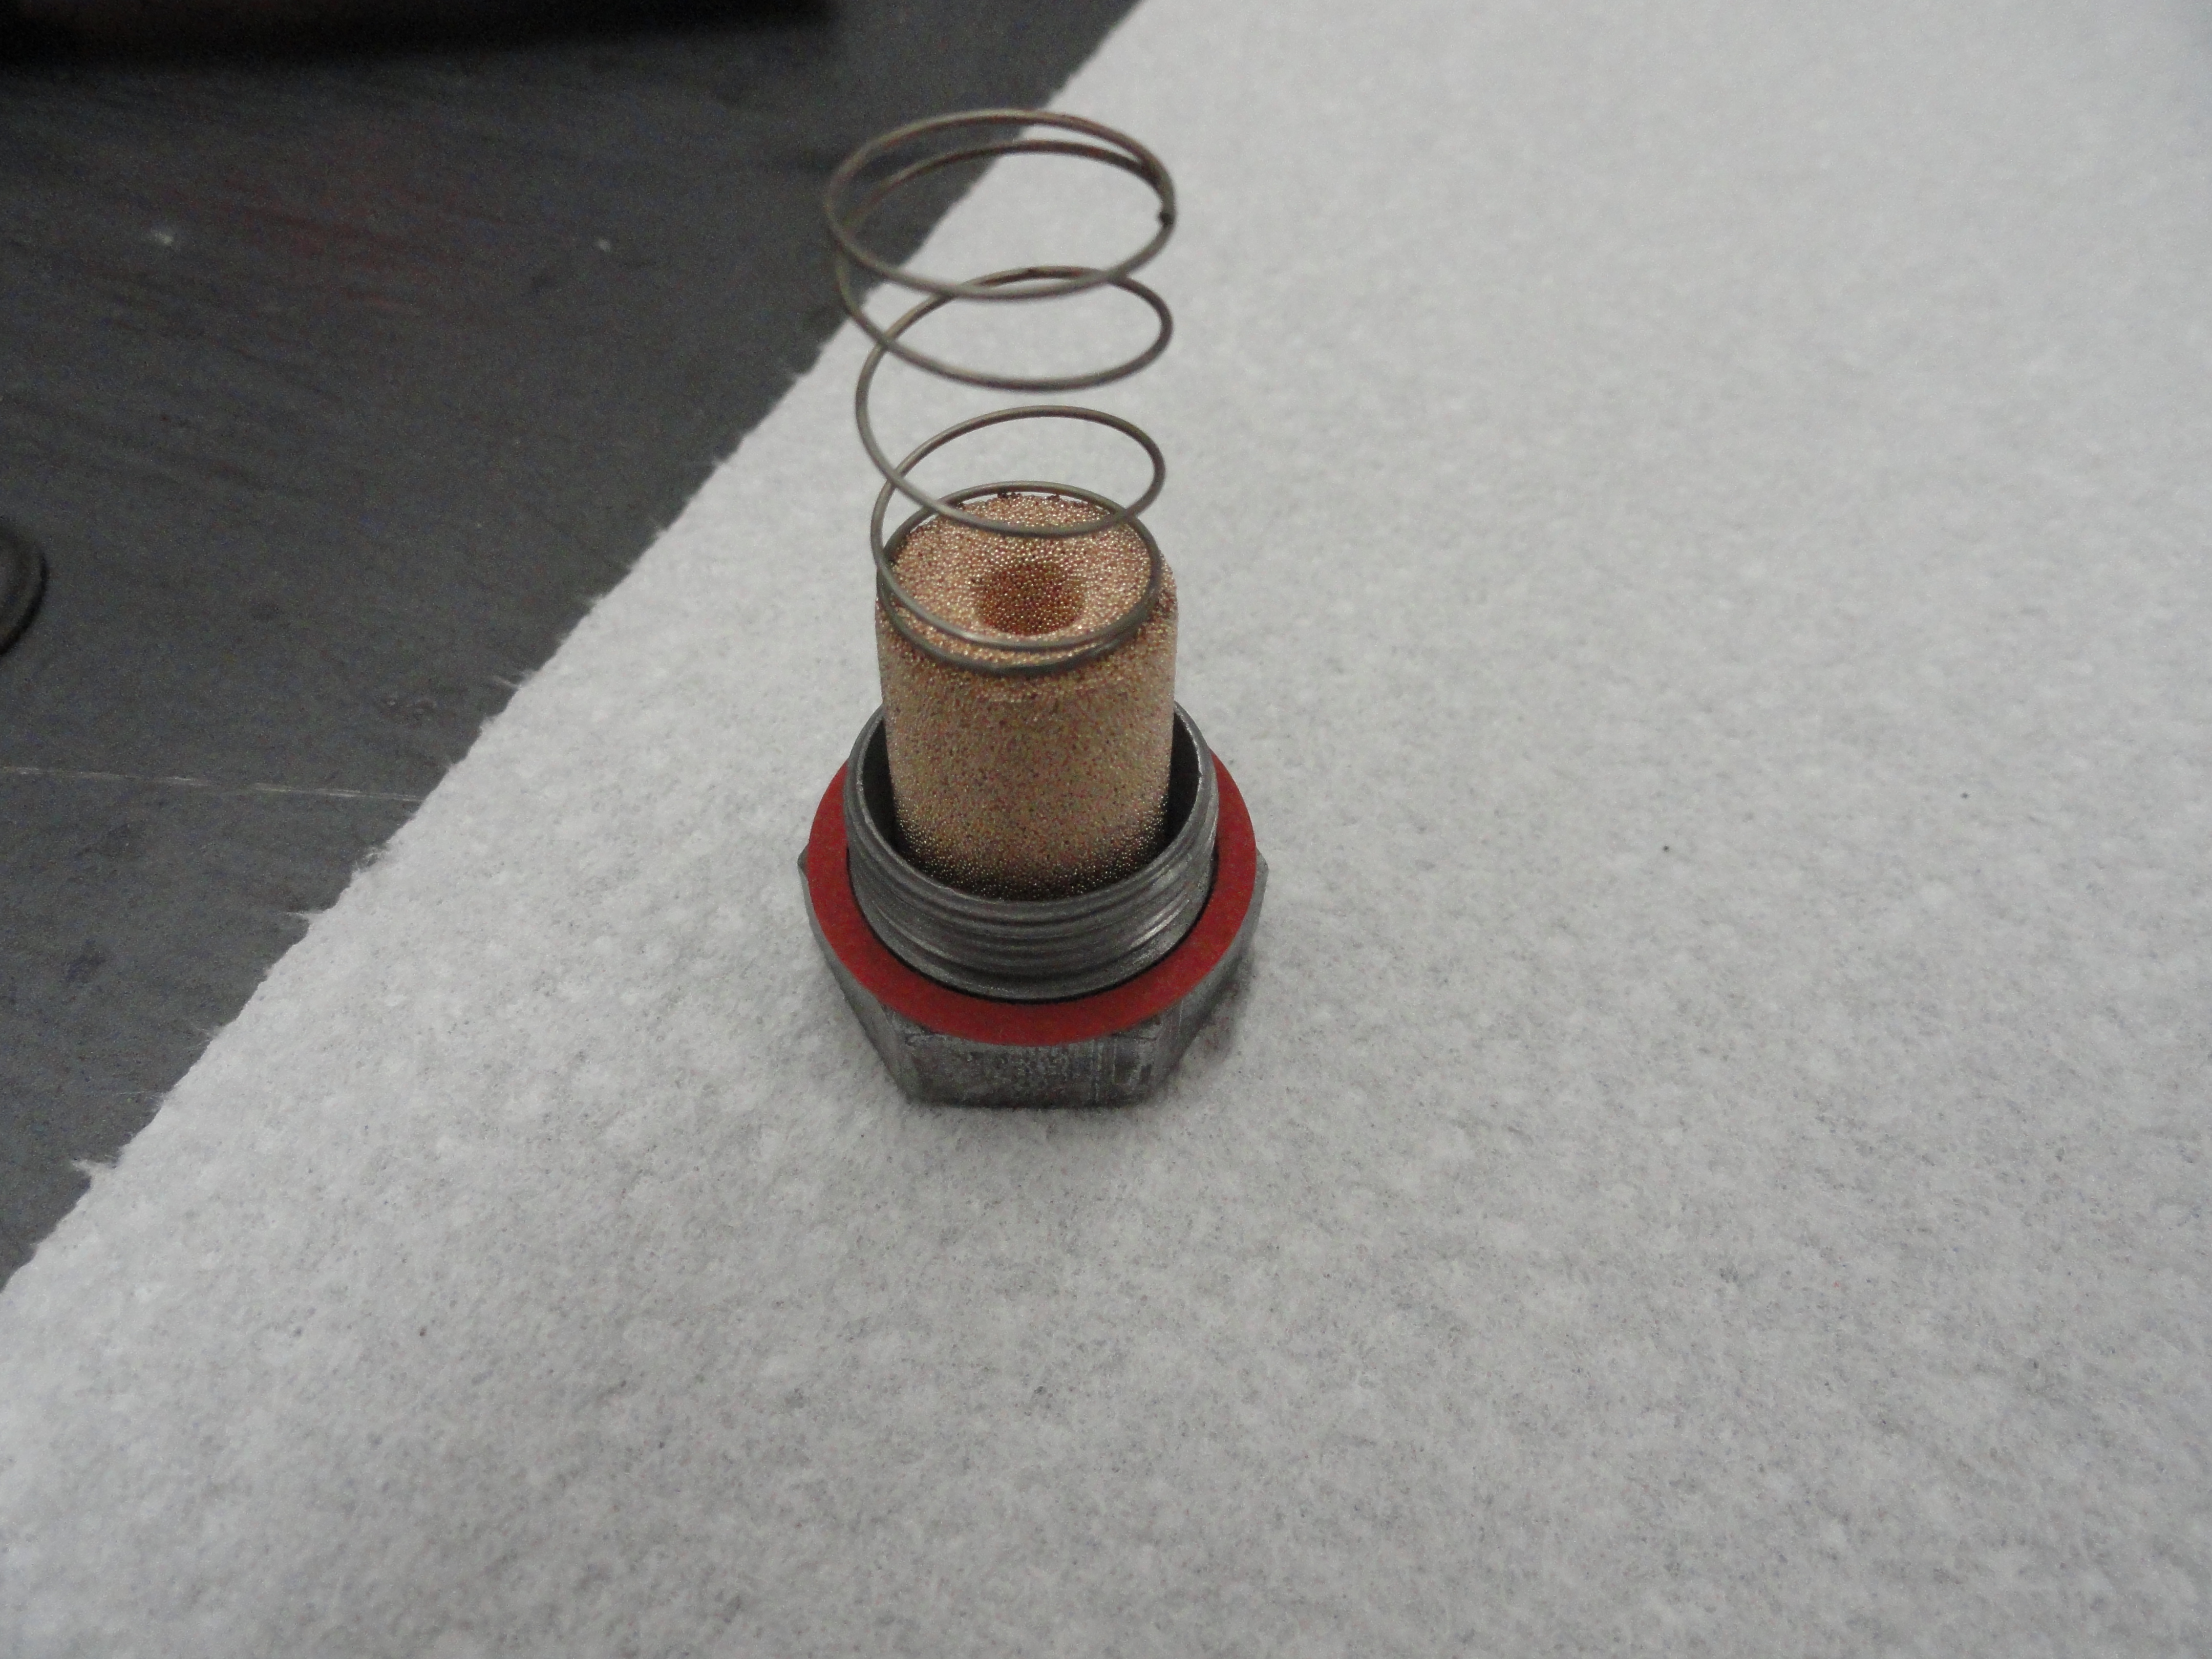
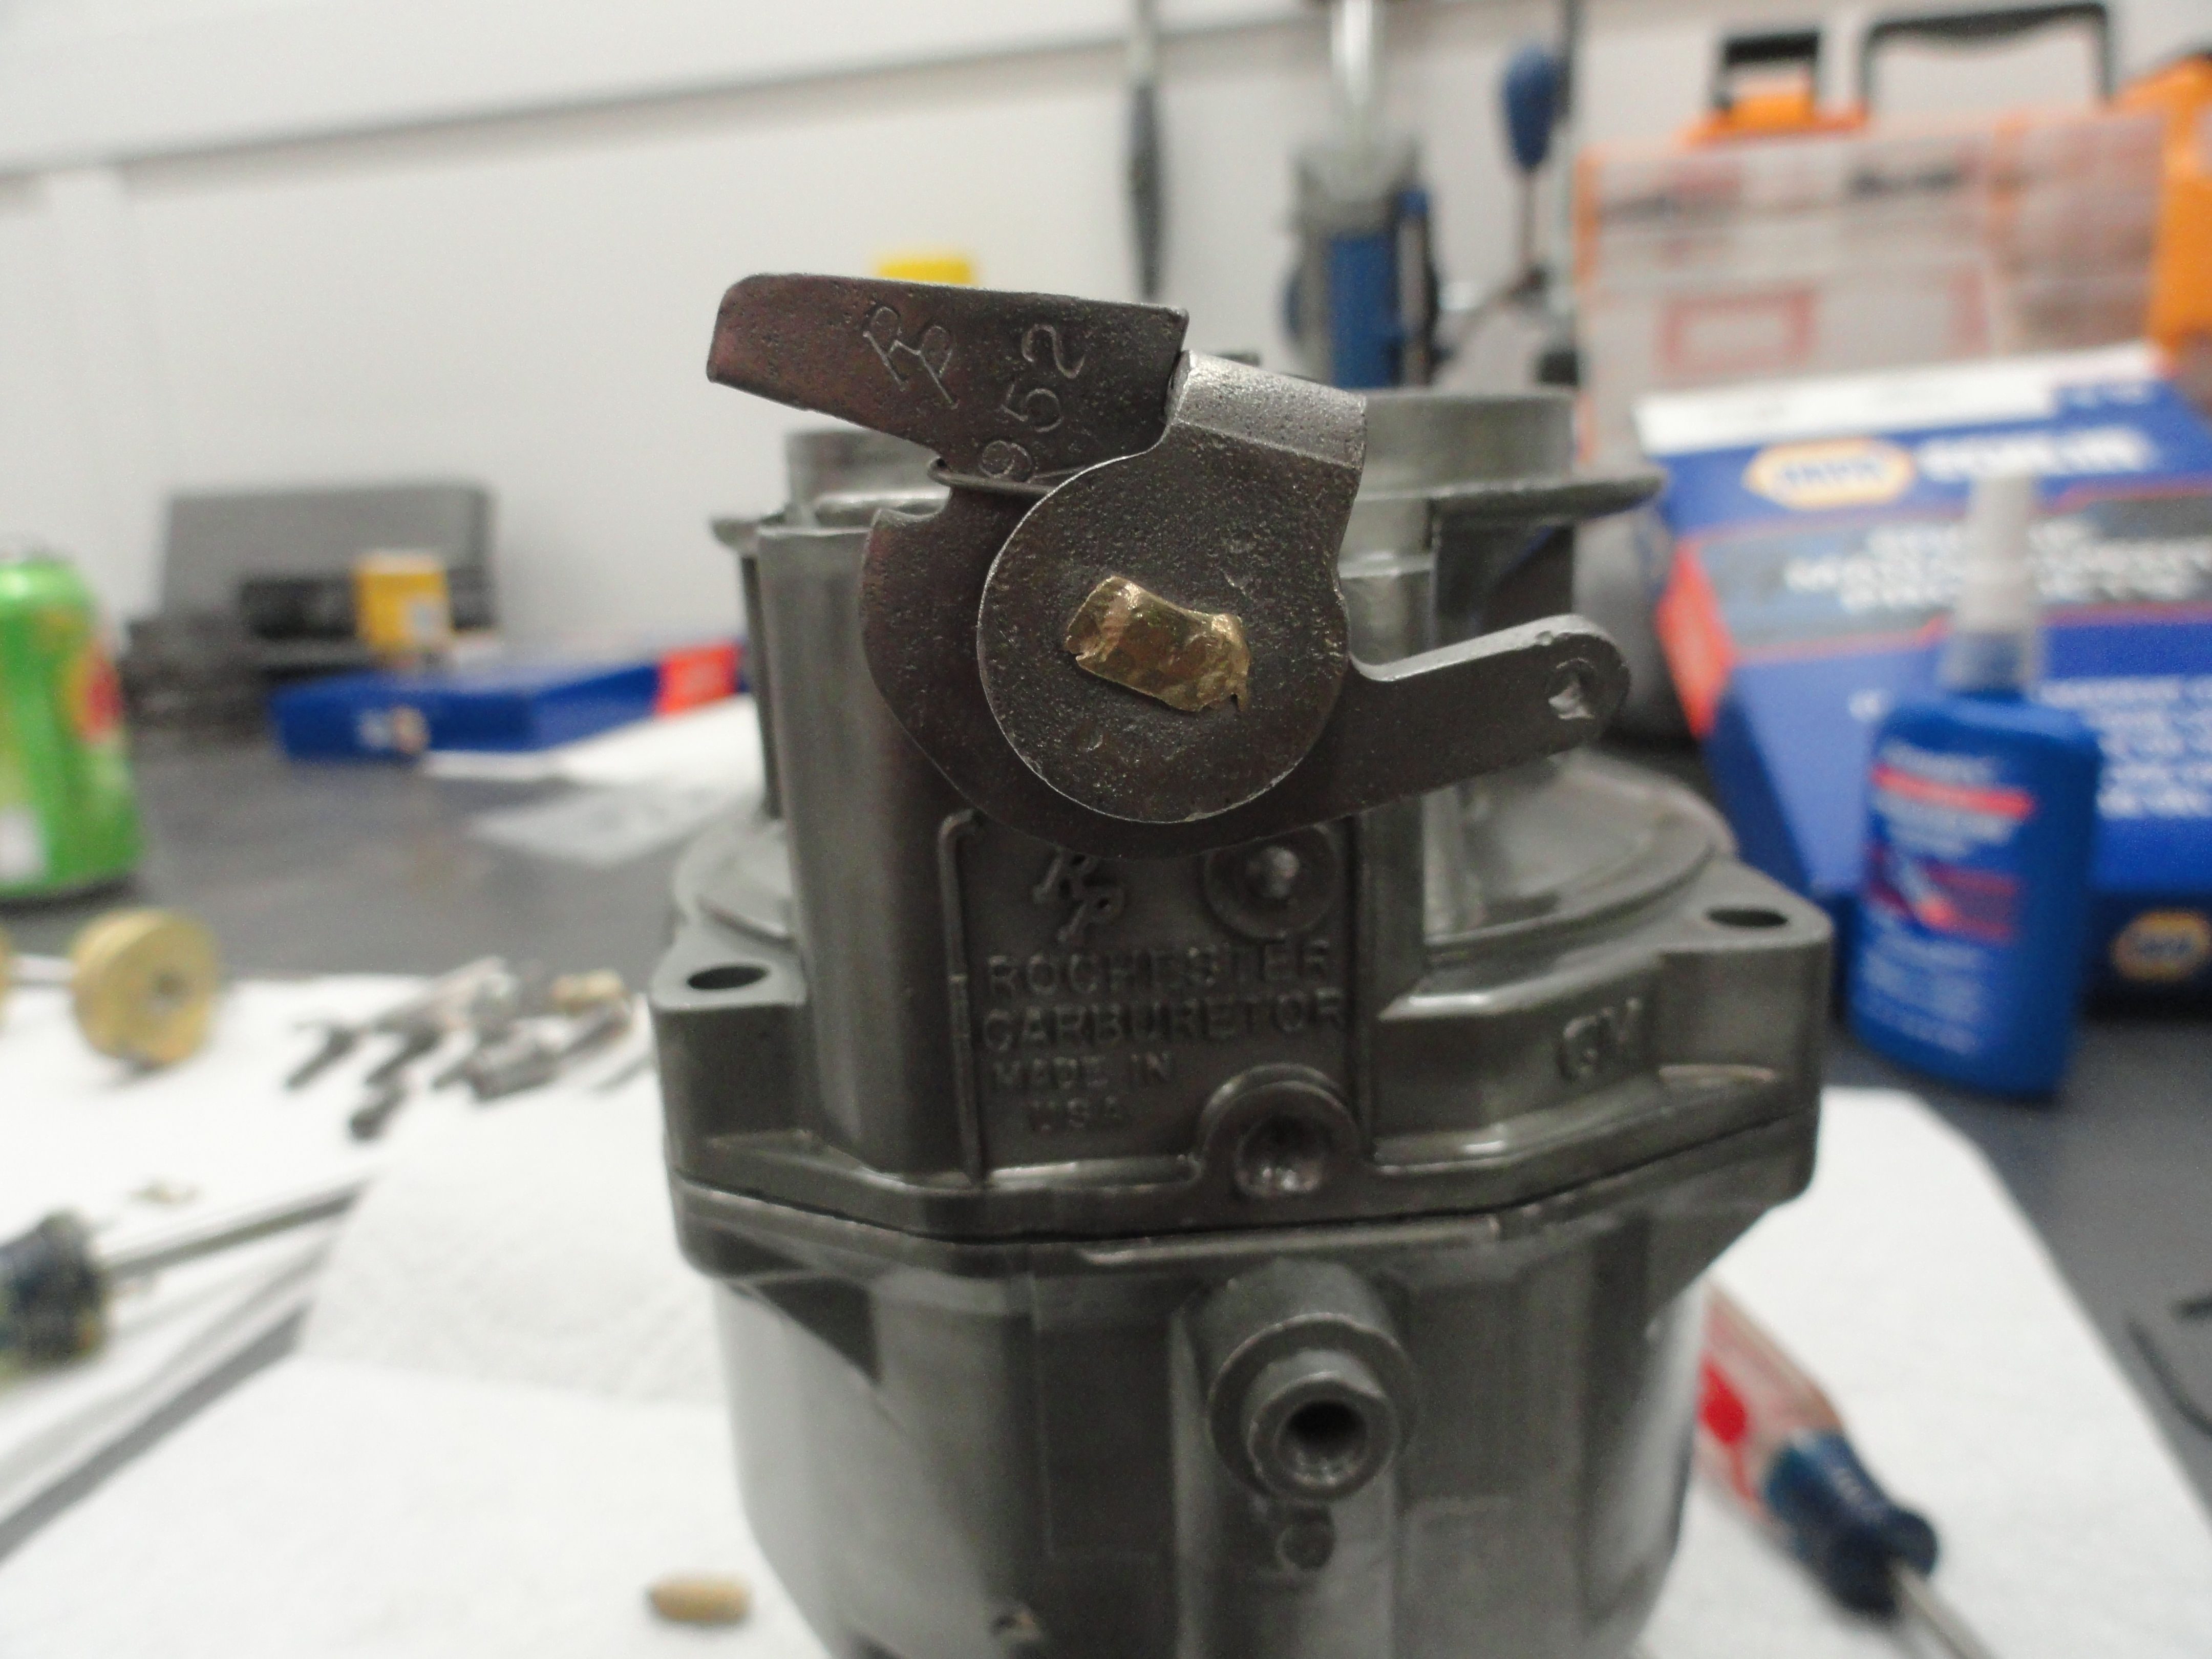
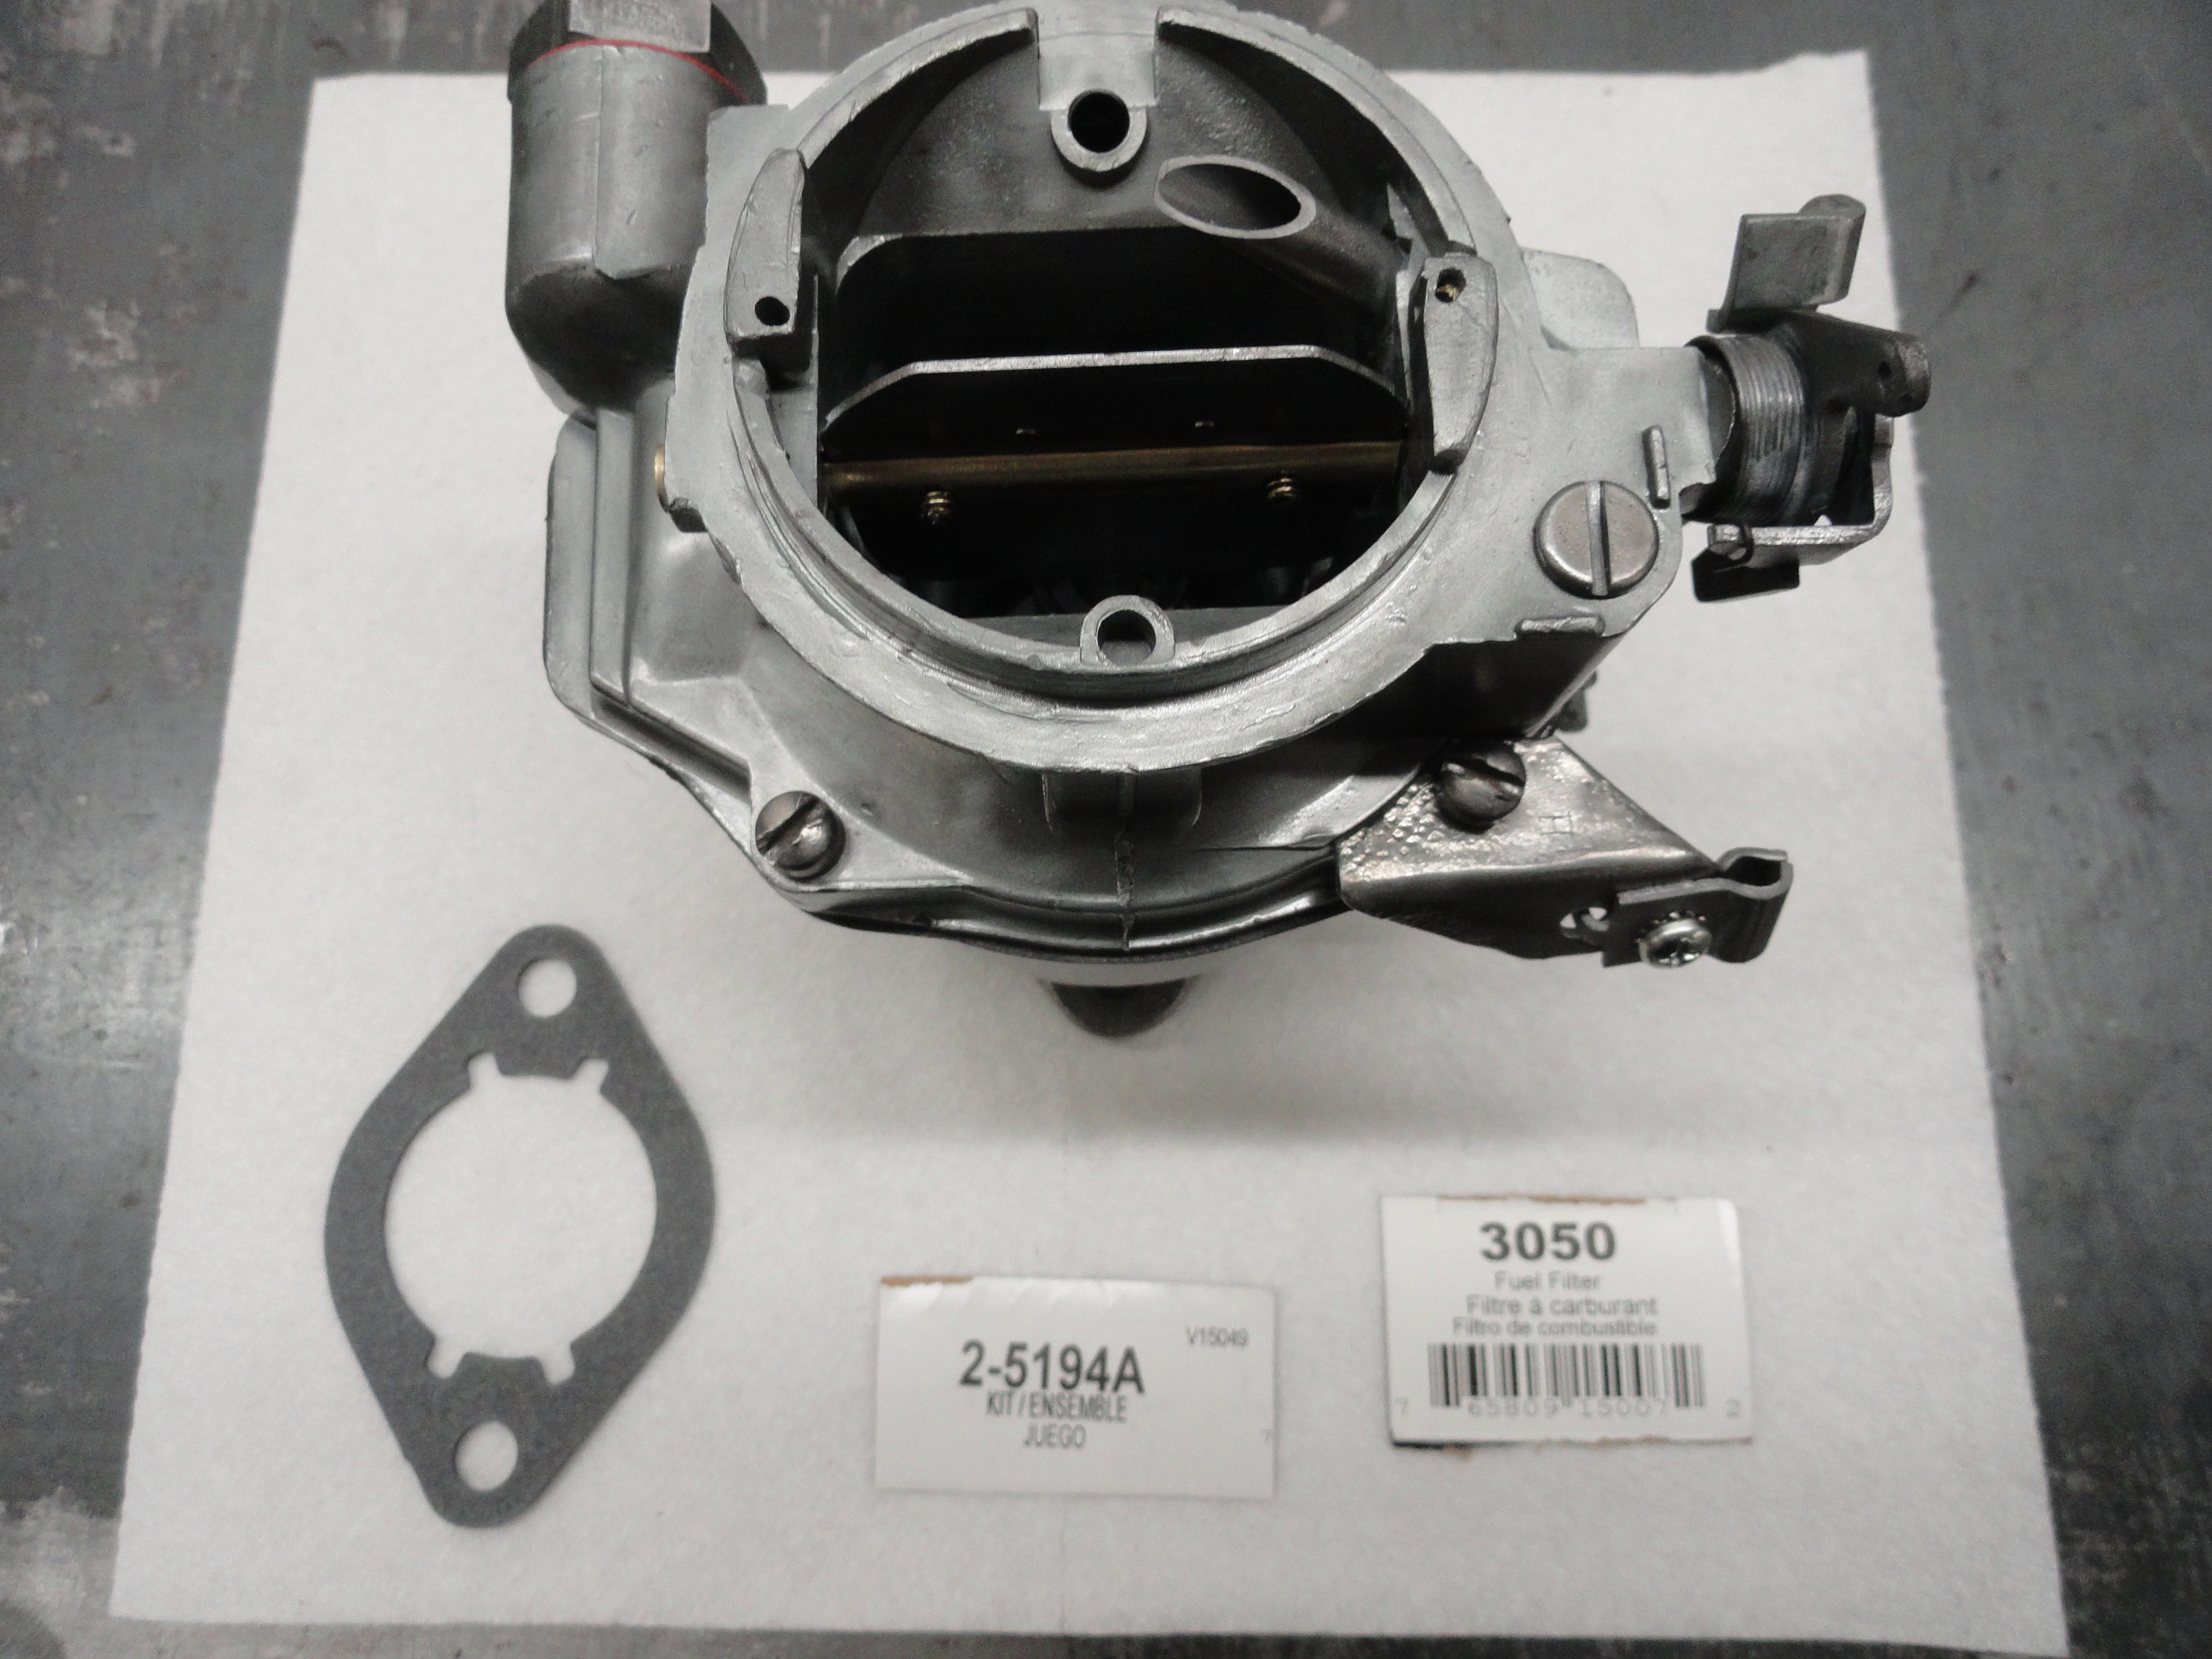
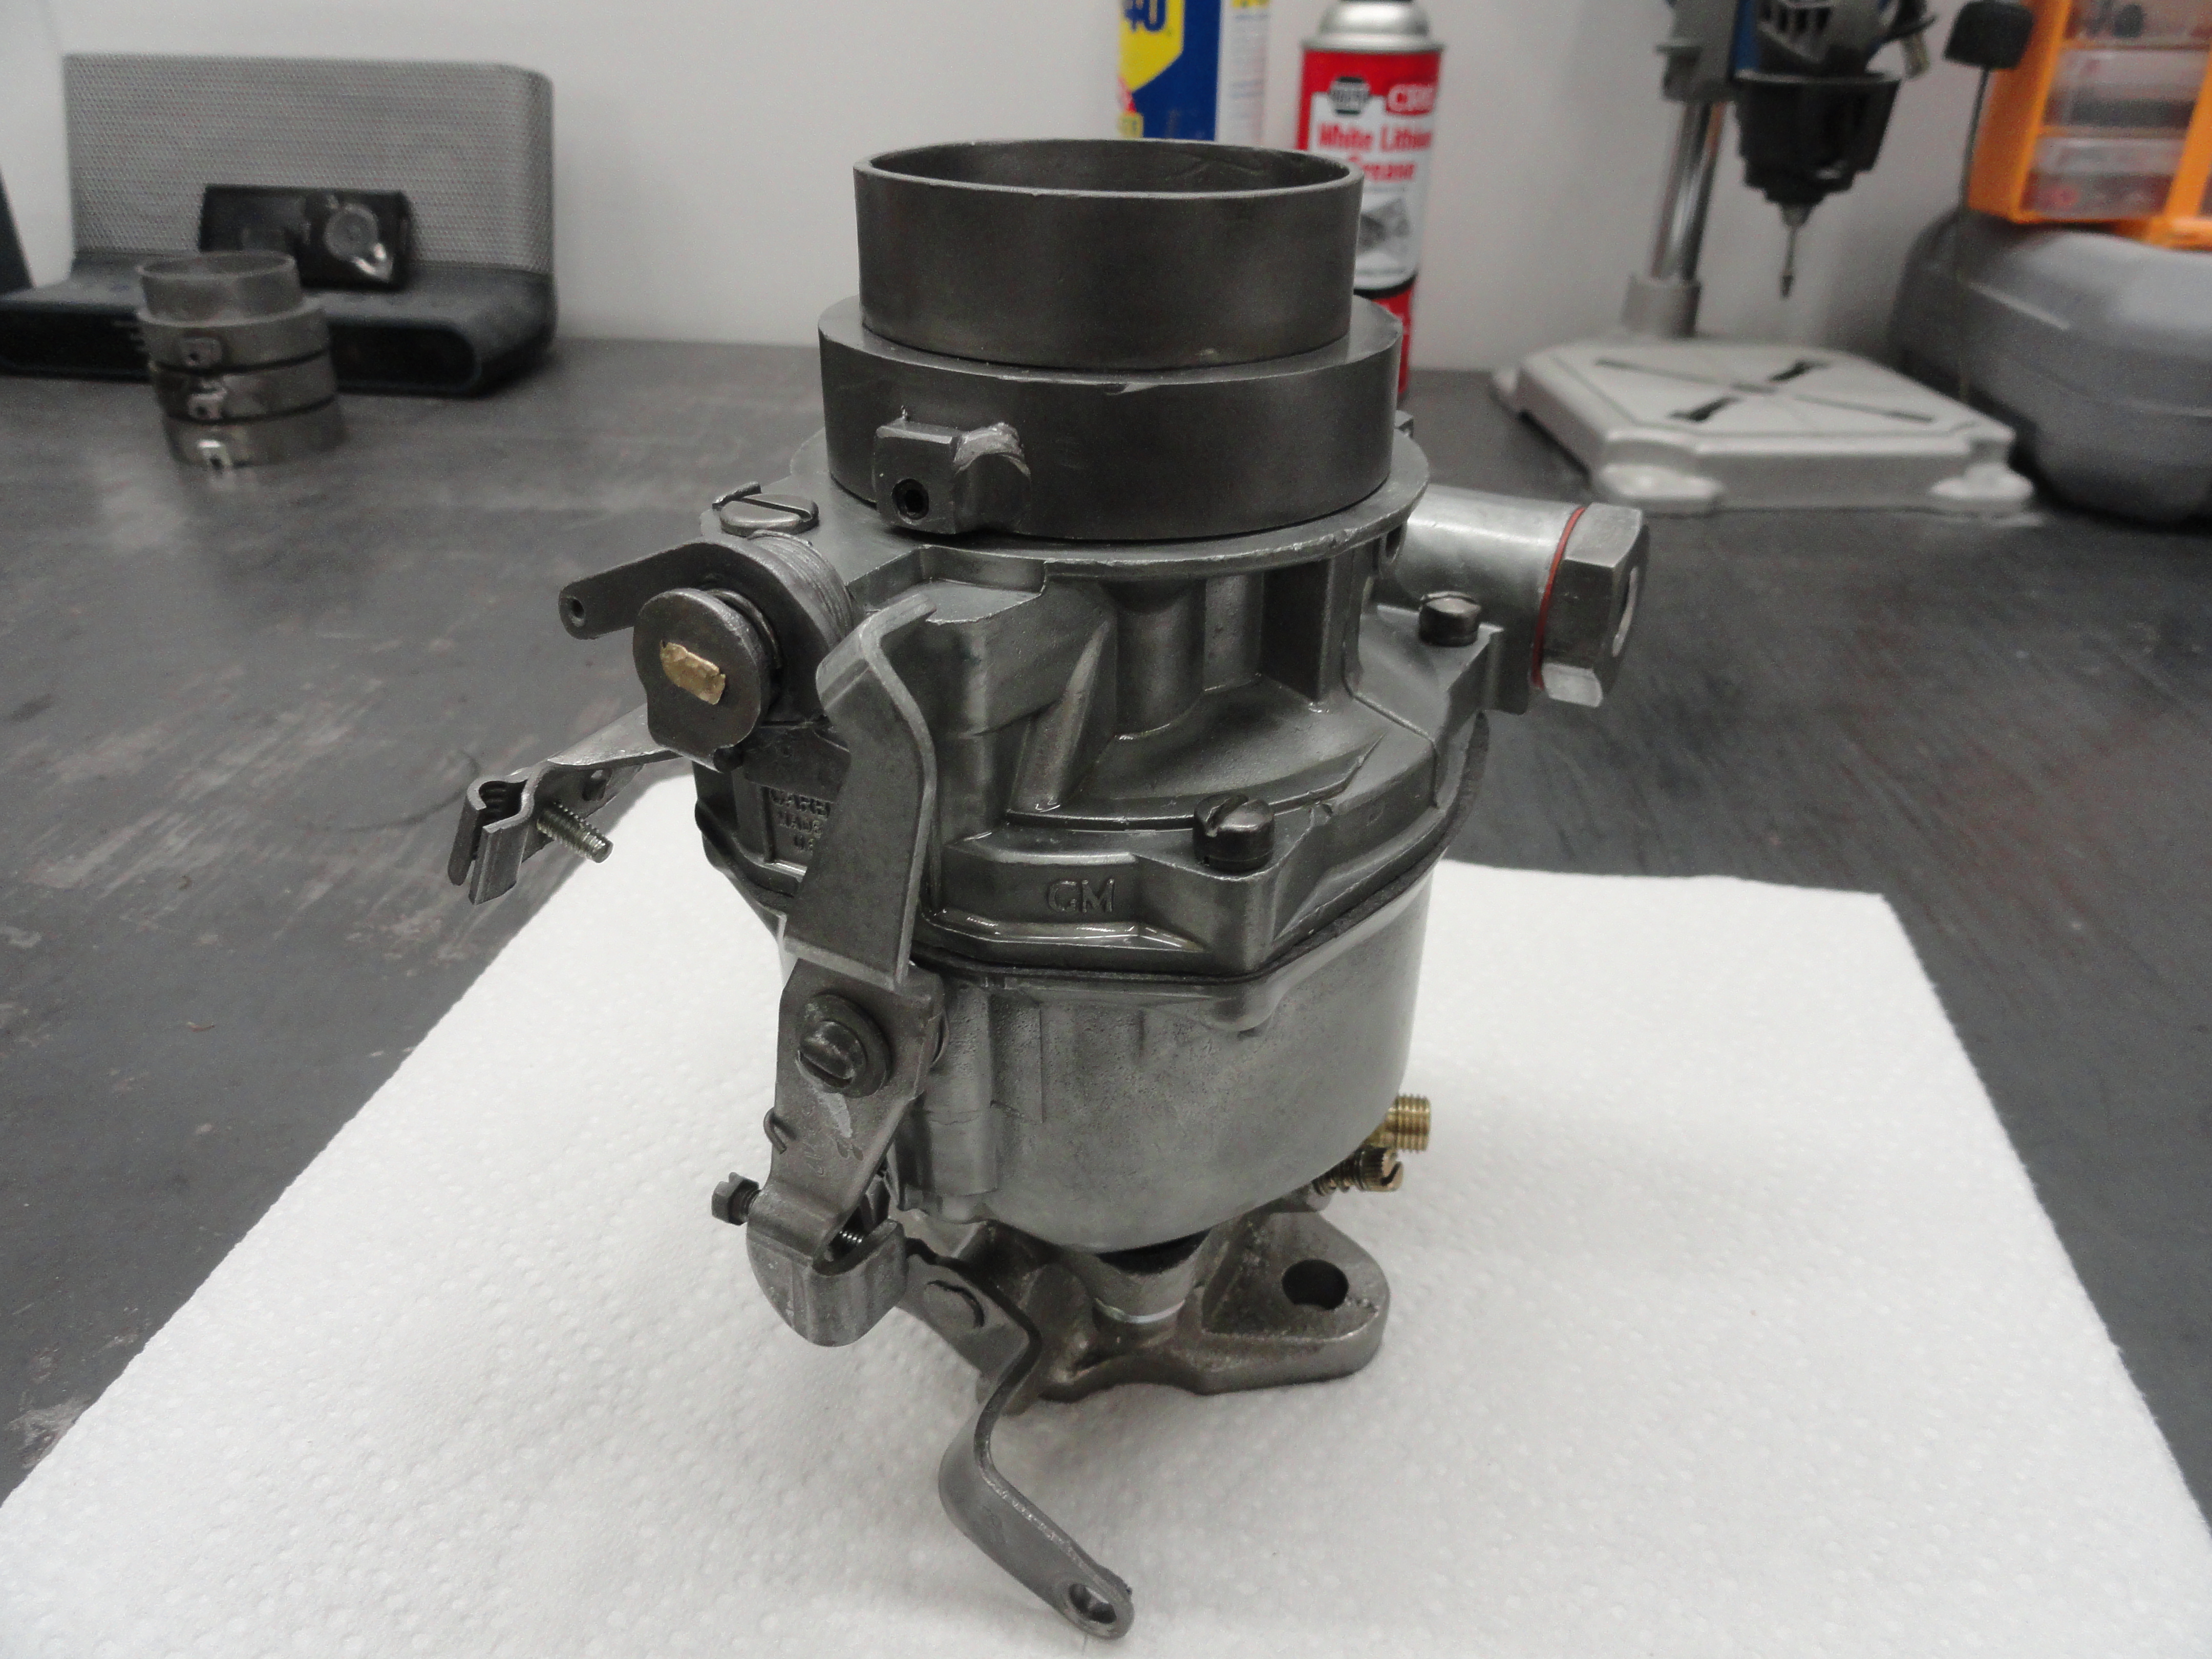
At this point, every little thing is taken totally apart. Now, let's talk a little about purchasing the carb kit. If you were one of the 30% of the lucky ones who actually have a metal tag affixed to the top of the carb on one of the bolts, you WIN! All you have to do is tell the NAPA, or parts person at your auto parts store the number, and he can look it up and give you the correct kit. For the rest of us, personally, I think 30% was a gift on my part, we have to do some investigation. Sometimes, on the bottom of the Body assembly, that same number is stamped on the underside. There goes about another 20% of you. The rest of us, get a carb kit from the year model of the truck it came out of with no number. This is an in-exact science, but thanks to someone thinking a tin foil TAG was a good idea, we are stuck with it. Chances are, ordering a Carb kit for a 1959 235 (in this case) will probably get you home. I pay about $30 for Carb Kits these days for this vintage. They come with pretty much everything I need, but if you need other parts, I would check out Mikes Carbs. He stocks a lot of hard to find parts and could very well save the day! Thanks Mike! The Carb Rebuild Kit I purchased for this one is NAPA part number 2-5194A (V15049). The Fuel Filter is NAPA part number 3050.

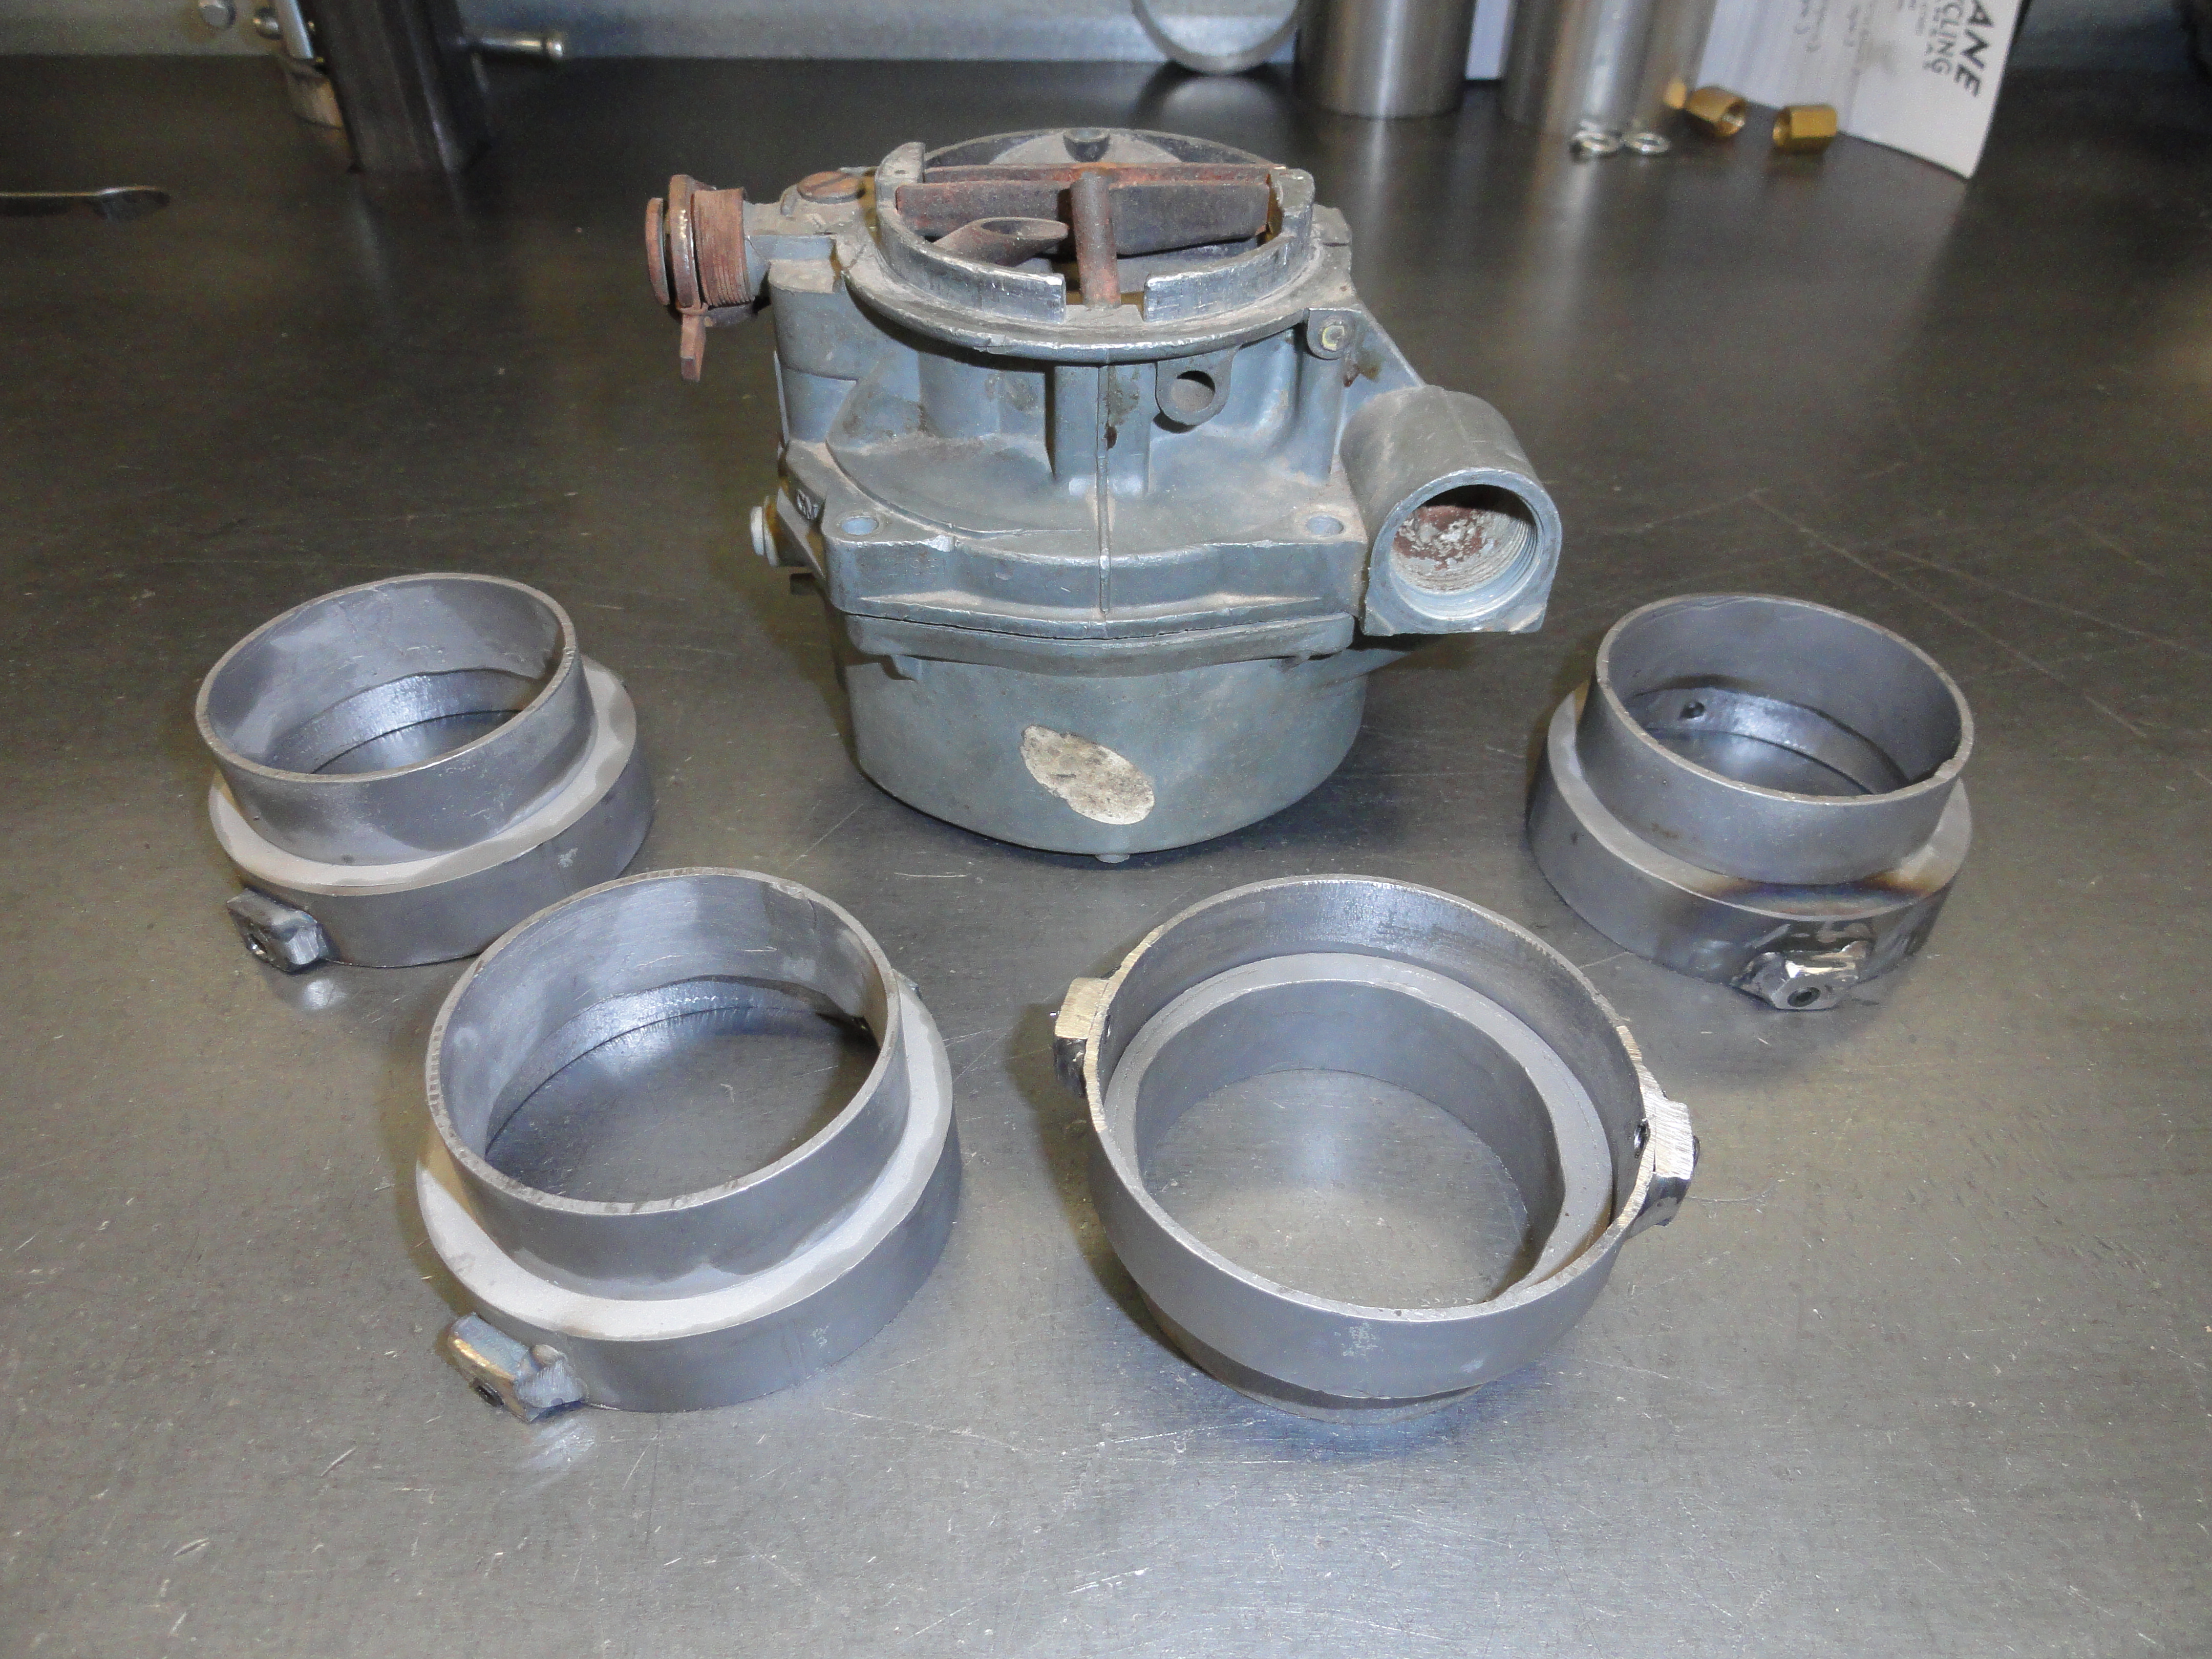
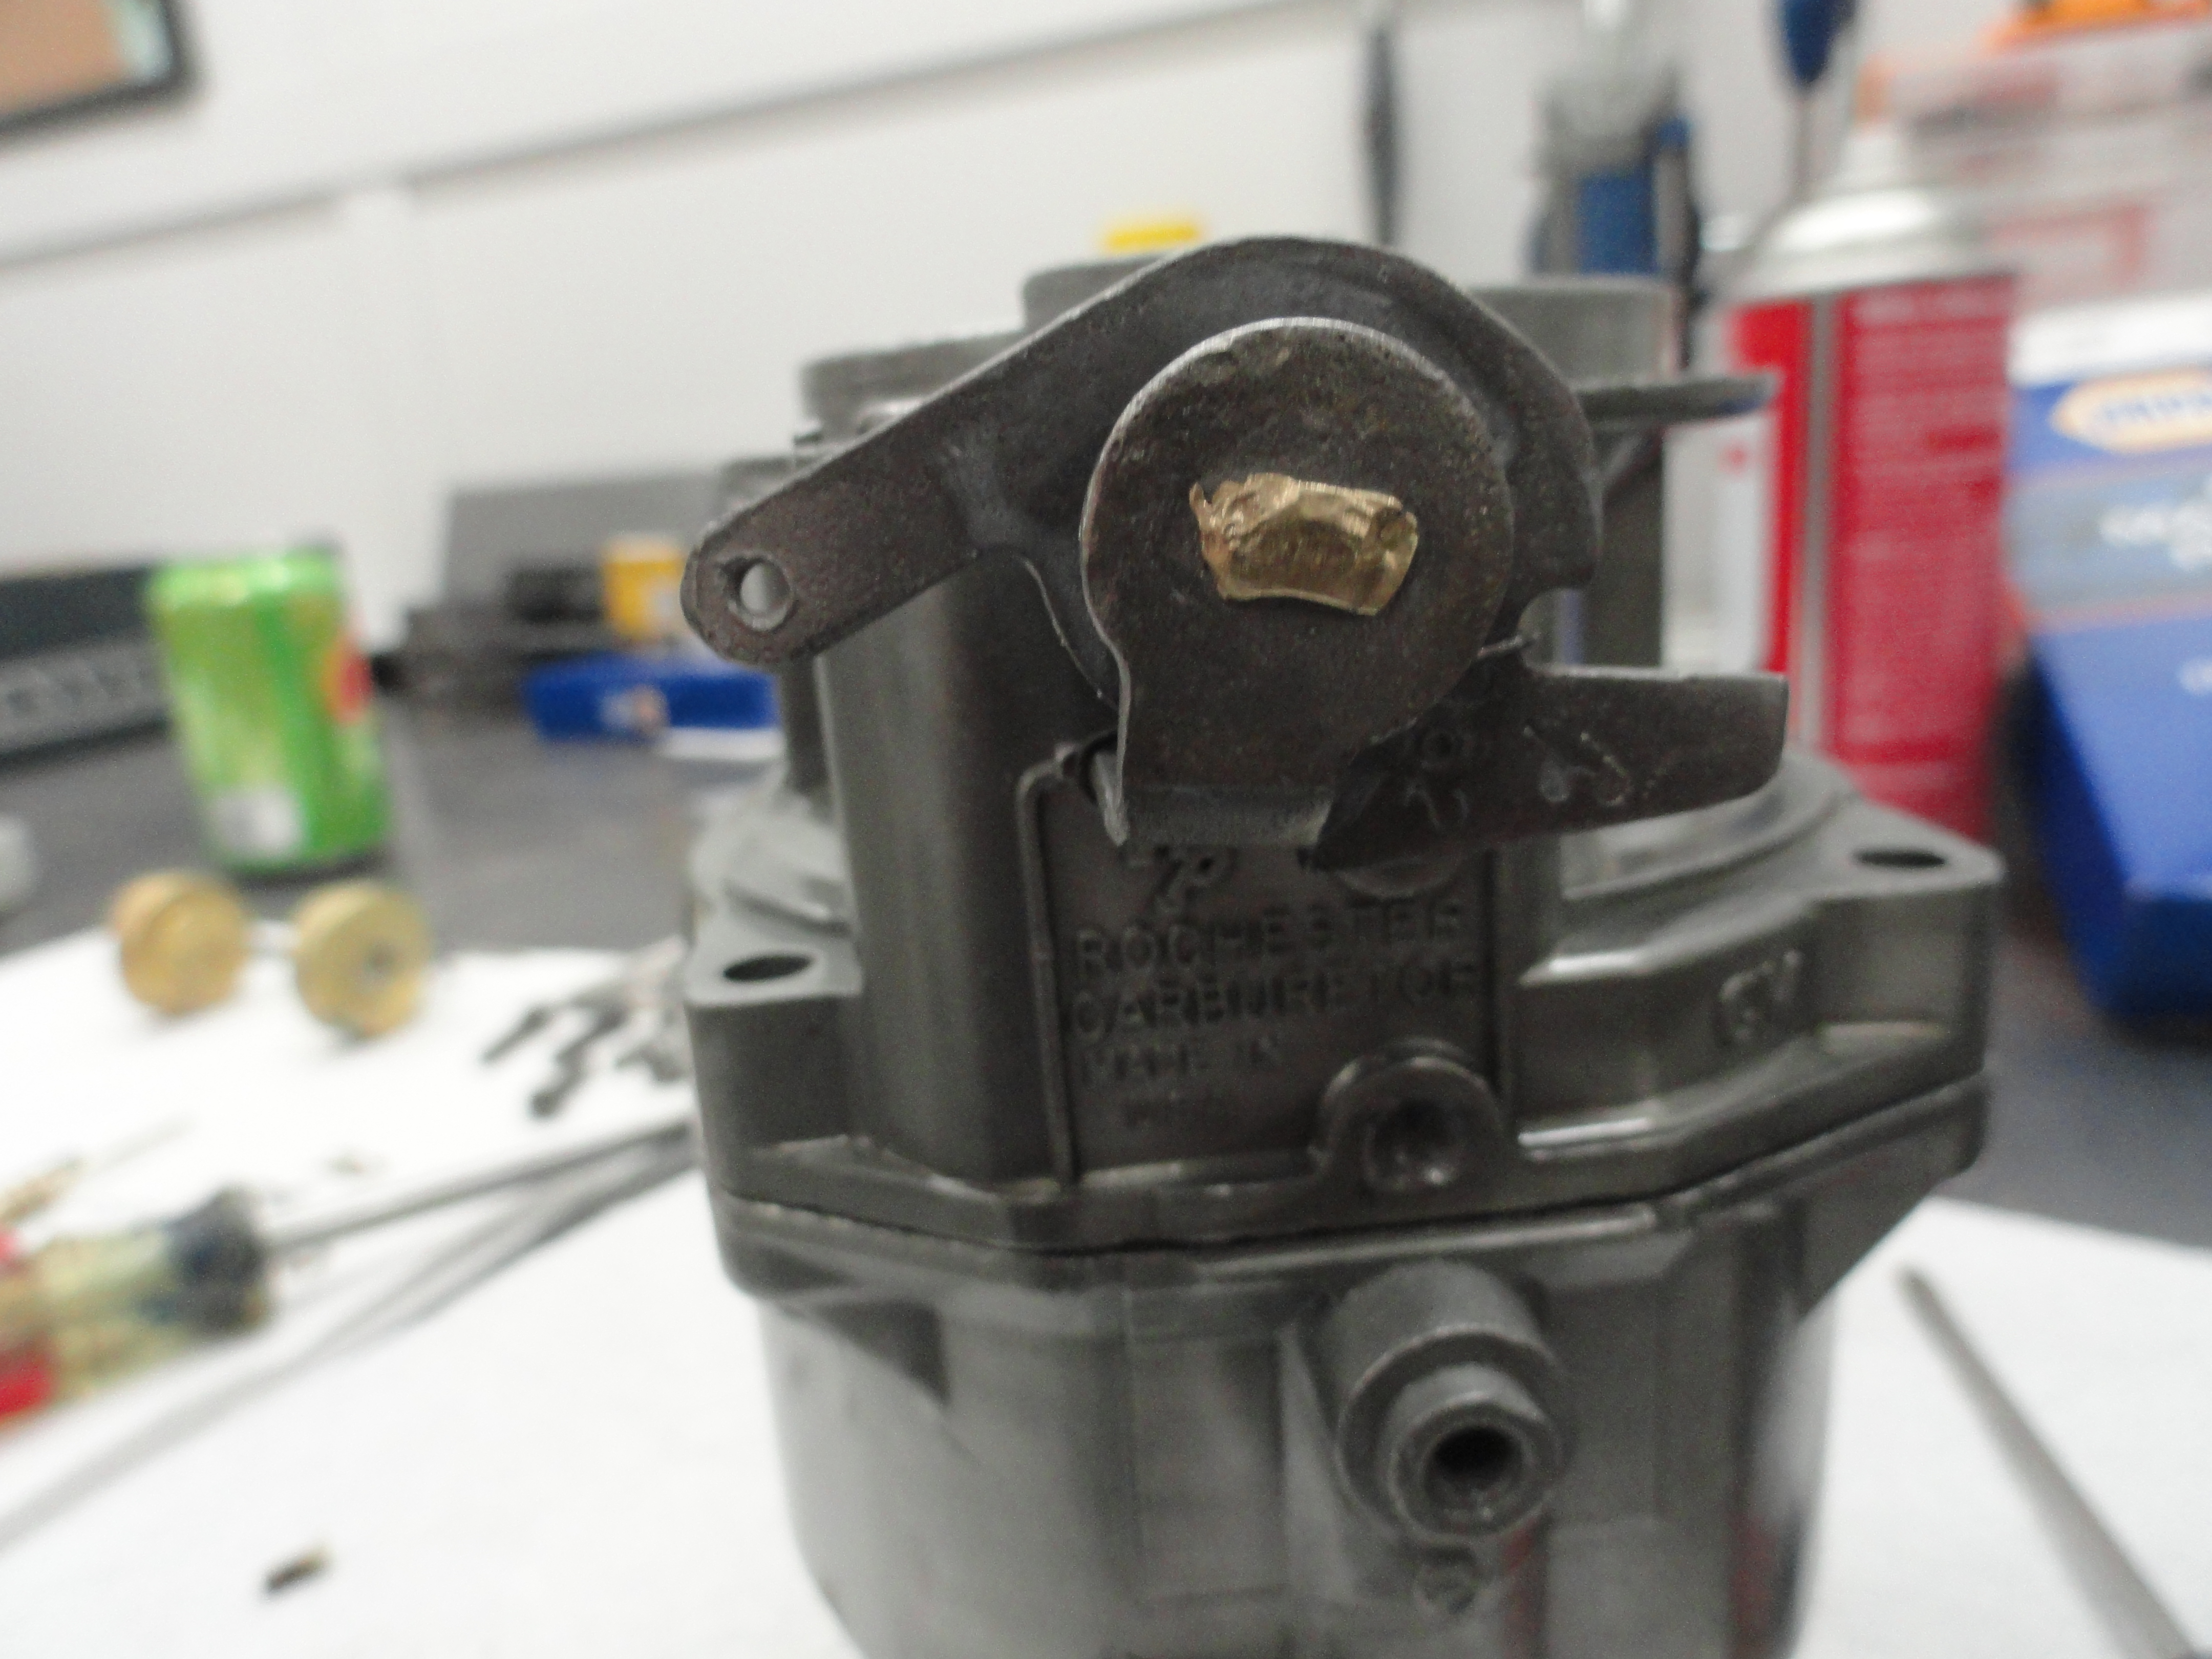
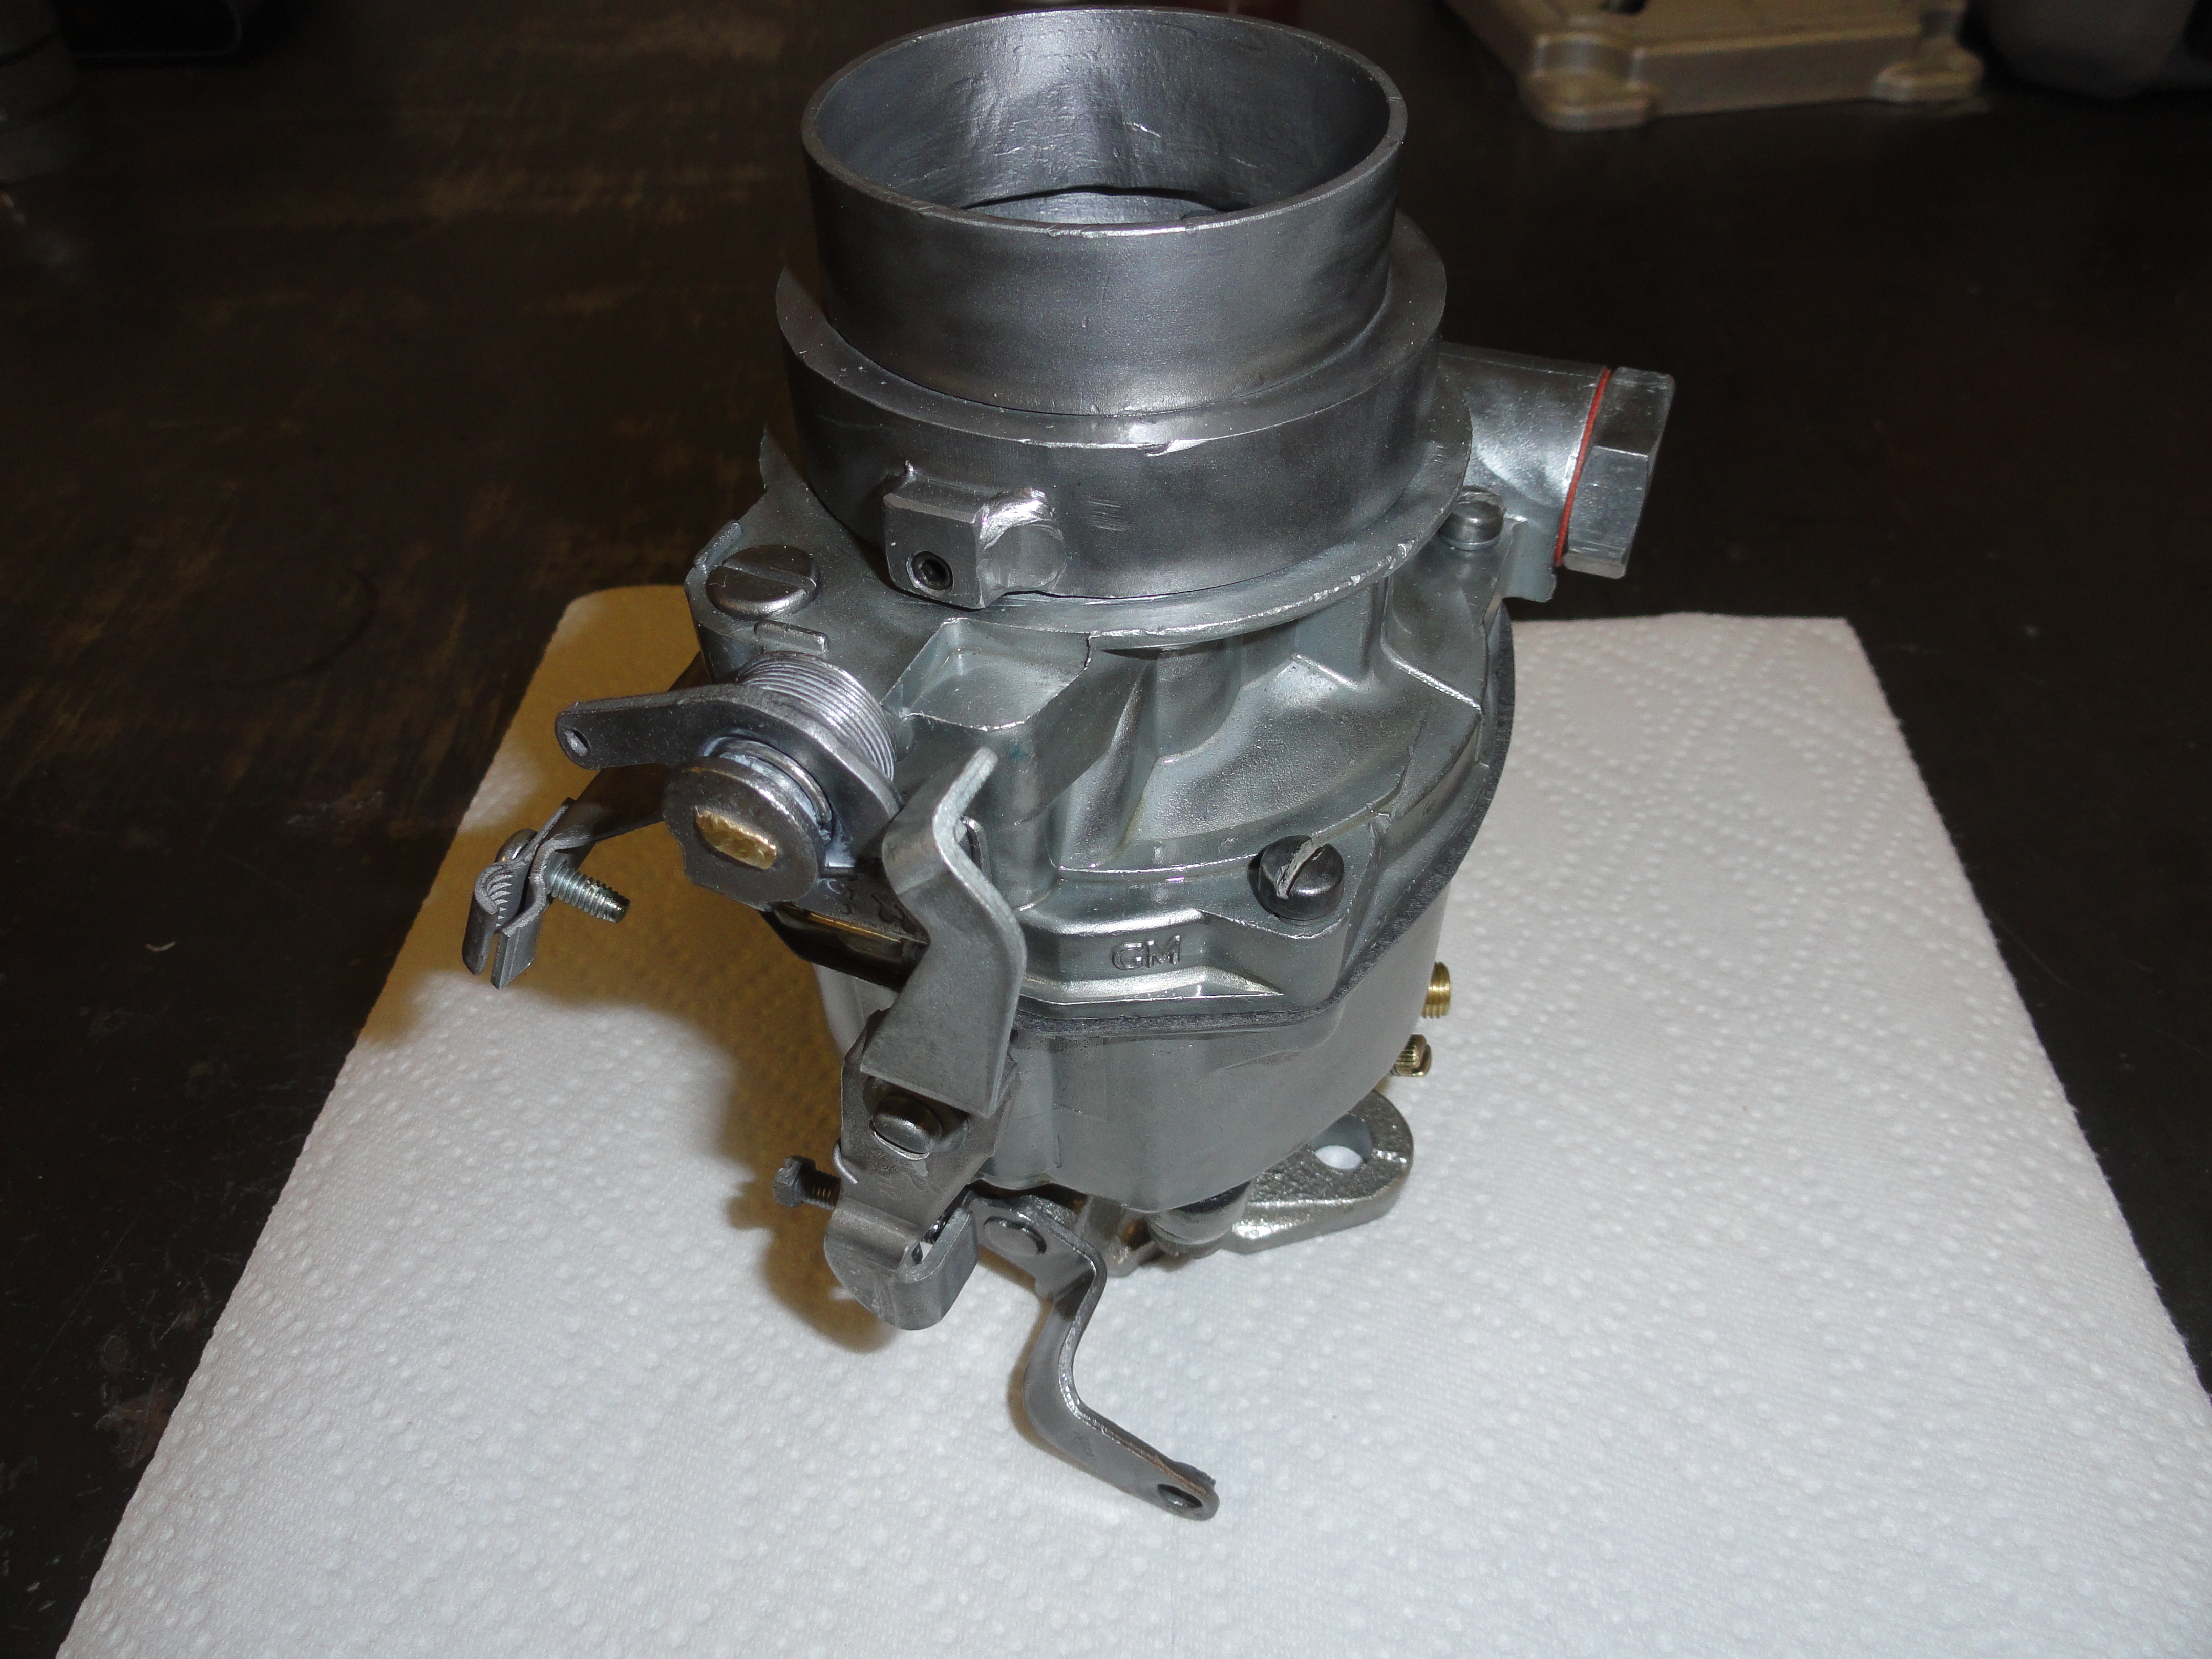
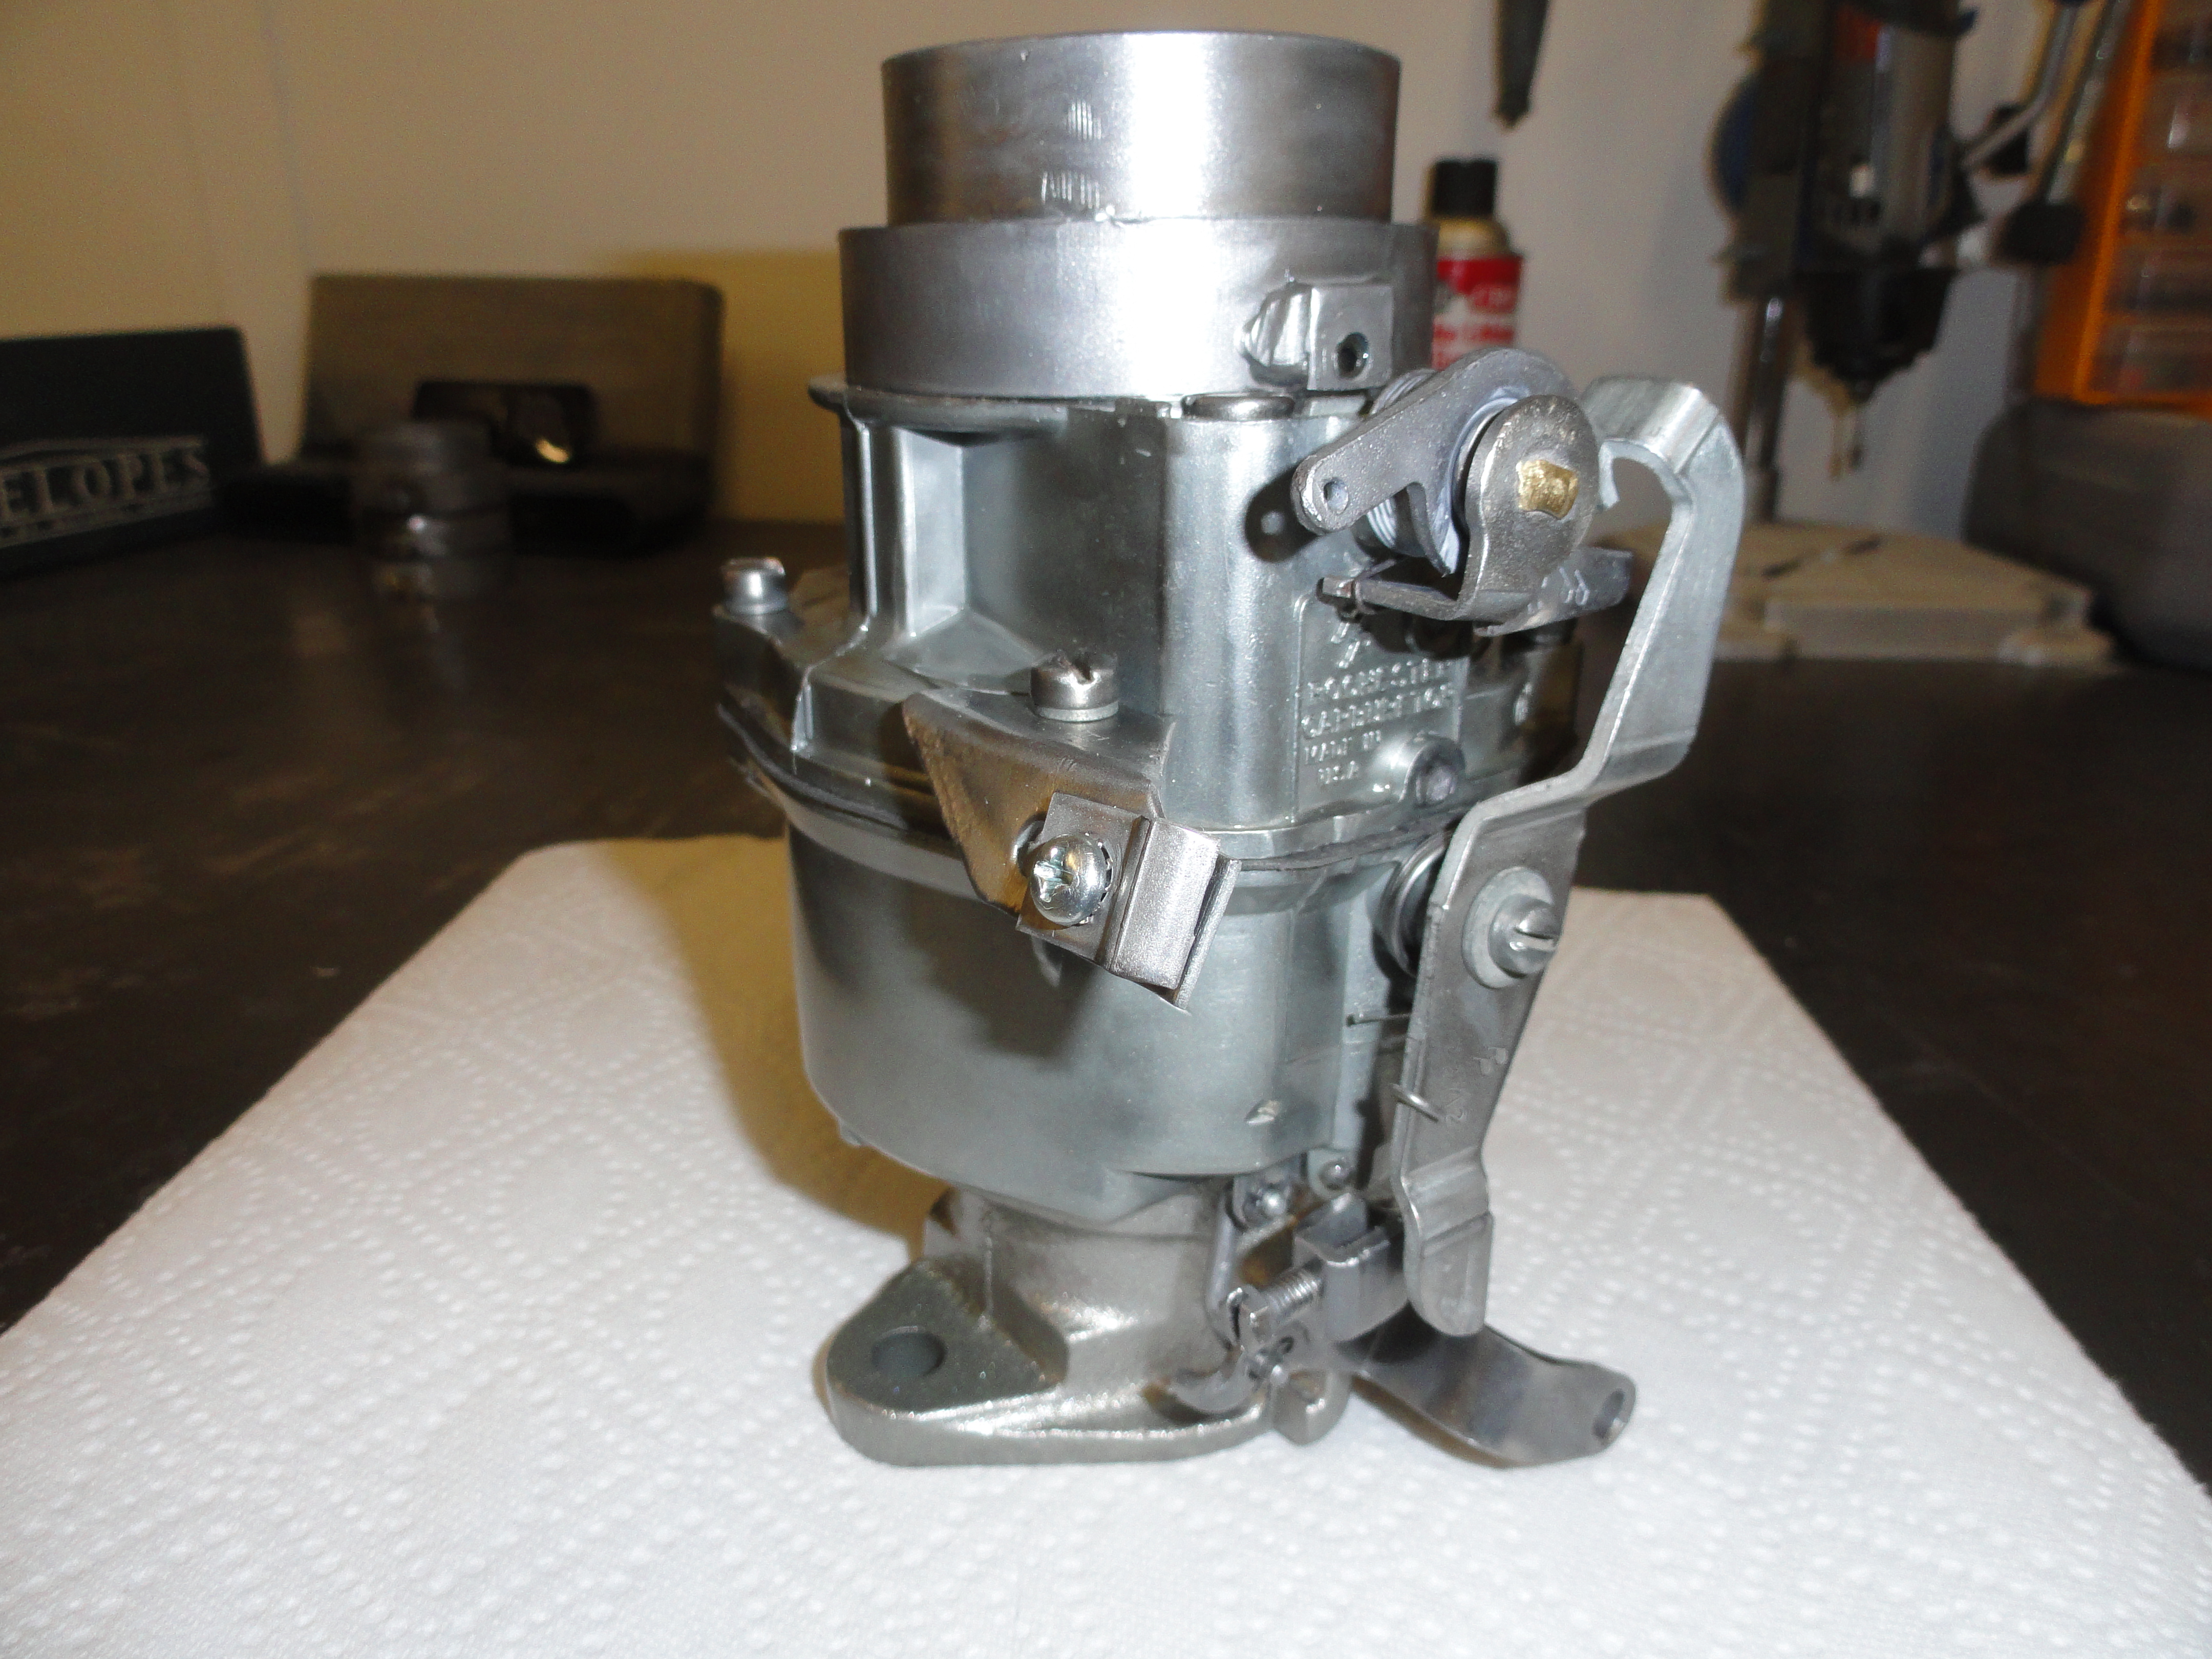
So it's all apart and now it's CLEANING TIME! Woohoo! Every little thing needs to be super cleaned. From the photos I am sure the first thing that comes to your mind is that Deve is crazy. That's the idea.. because going overboard just insures your carb will actually do its thing when the time comes. The carb in this case had lots of green corrosion. This is what happens when gold anodized parts lose their anodization and steel/anodized meets. It's a mess, but Chevy didn't anticipate you would be trying to mess up their business model by fixing trucks that are 60 years old! Clean all surfaces, no matter how hard they are to get to. It's your precious CARB! I used blasting, Dremel with fine wire brushes, bench grinder wire brush, sandpaper, some very fine files, whatever it takes for you to get to what you see in these pictures. Granted, I am a clean freak, but you read about all of that earlier, so nothing new. This is the SAME orientation taken AGAIN after doing the cleaning. One day of cleaning is a small price to pay for not just helping you guys out, but to get my carb to work perfectly.
The hardest part of this was remembering how the springs go back on. You don't want to install the butterfly's for example and have something backwards. Especially since you put Loctite Red on the threads. These are the only 4 screws I recommend Loctite Red on. Reason is because you ground then down to get them out, ruining their self locking nature. Remember, to remove Loctite Red you have to heat the screws up to 500 degrees! Please don't get this far and make a mistake!

Start with the Carb's base. Install the Idler screw (the one with the pointy tip and spring). Screw it all the way in, then back it out one and a half turns. This is a good place to start and recommended in the Carb kits instructions. Install the Vac Advance fitting as well. Get it nice and tight. If you removed the butterfly, now is the time to put it back on. Choose orientation carefully. If you aren't sure which way it goes, set it in, then look to see if everything is very tight with it just sitting there and are the screw locations in the correct spot. Turn it around and check again. You will find that it is settled in only one way. The screws faces are viewable from the underside of the carb if that helps. Once you are very sure you have the assembly right, use Red Loctite to hold them in place. Remember, before they had expanding nubs on the ends of the screws to keep them from getting sucked down into your precious engine. Now, choose the gasket that mates up to the float bowl. Use the correct one. You will see where the old one used to be so don't plug any holes with the wrong gasket. Once it's in place, go ahead and put the two screws back in that hold it on the float bowl. Tighten securely. I personally do not put anything on these gaskets. They work just fine without adding sealers or something that could contaminate your fuel system.
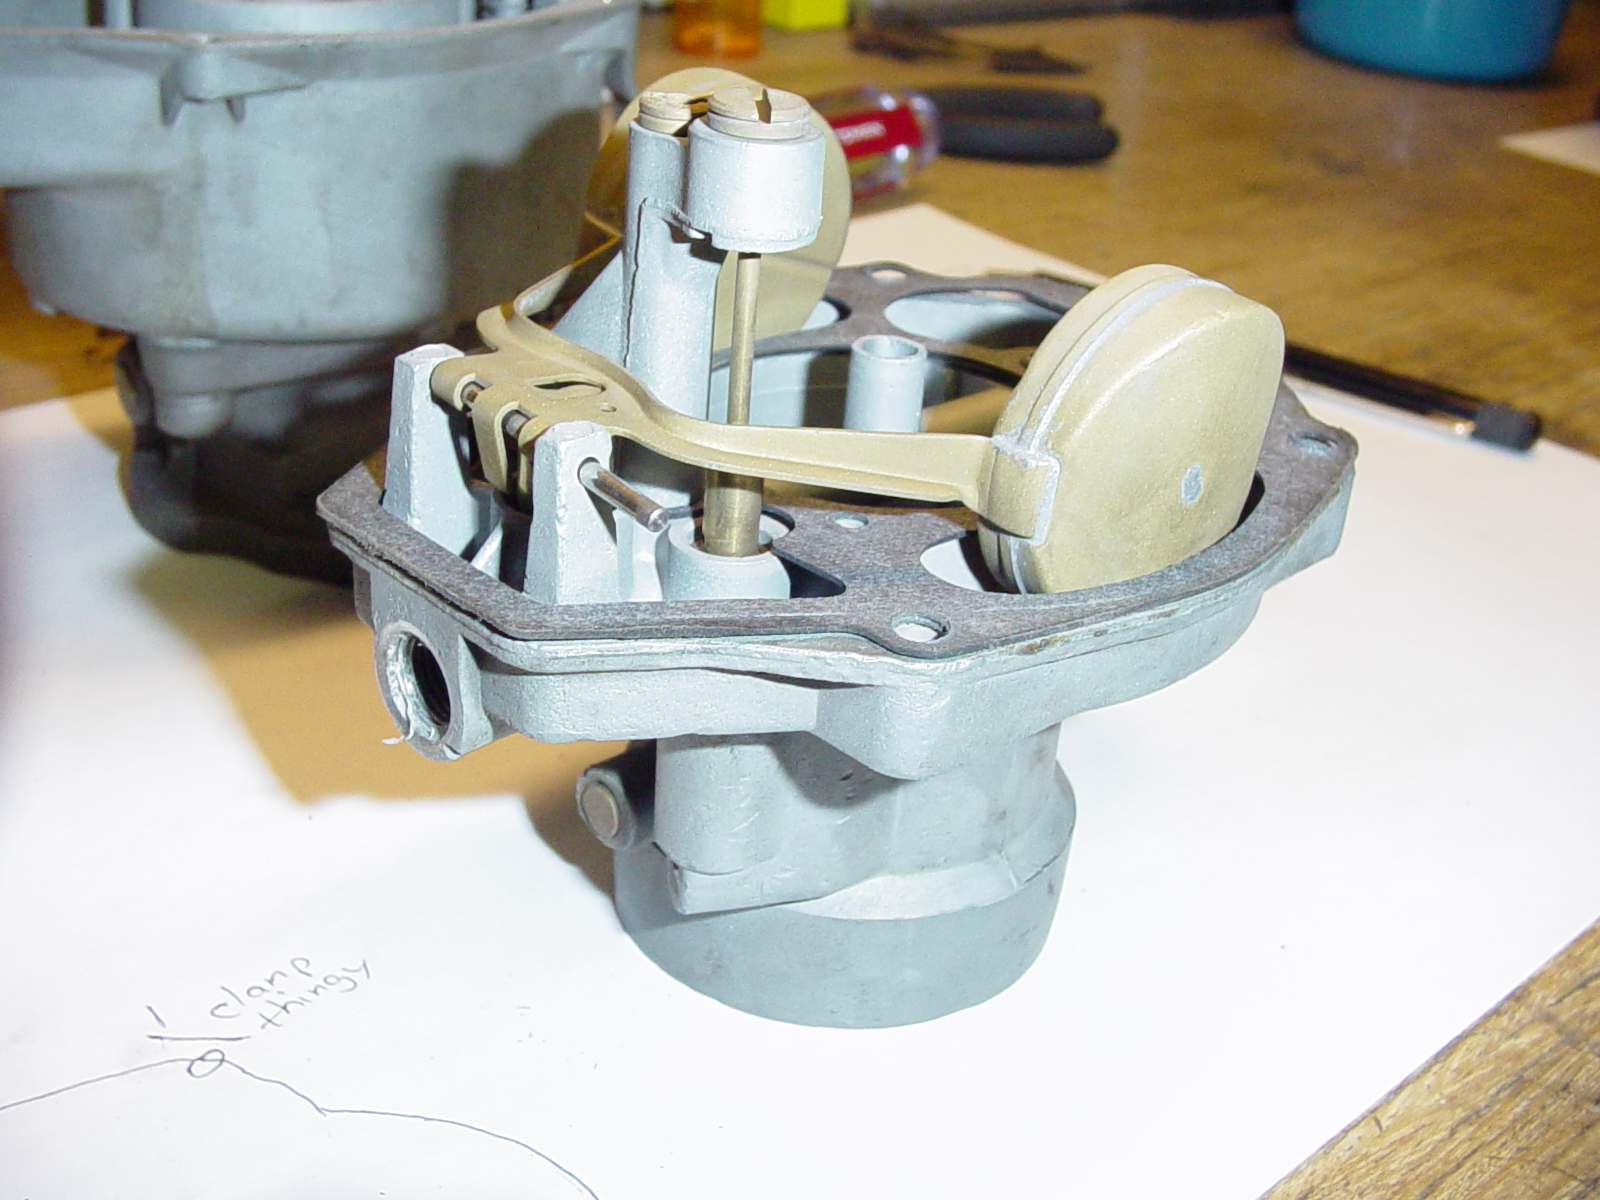
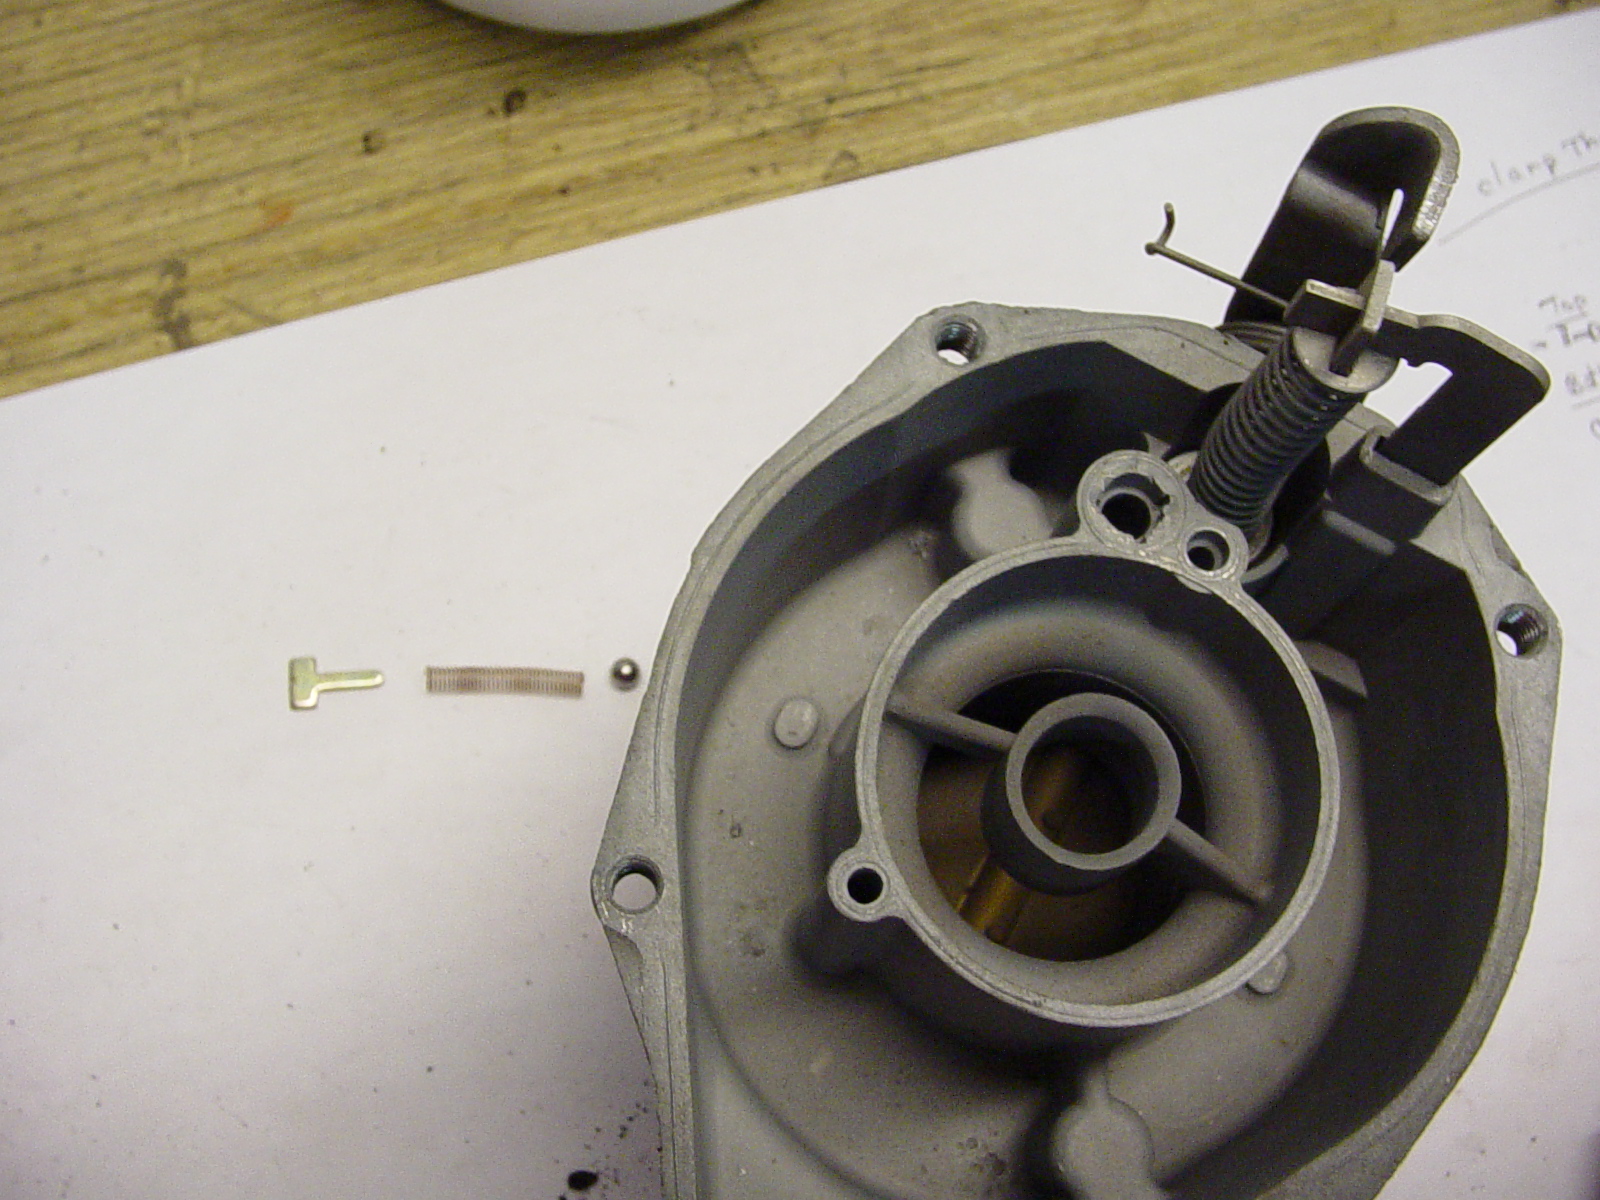
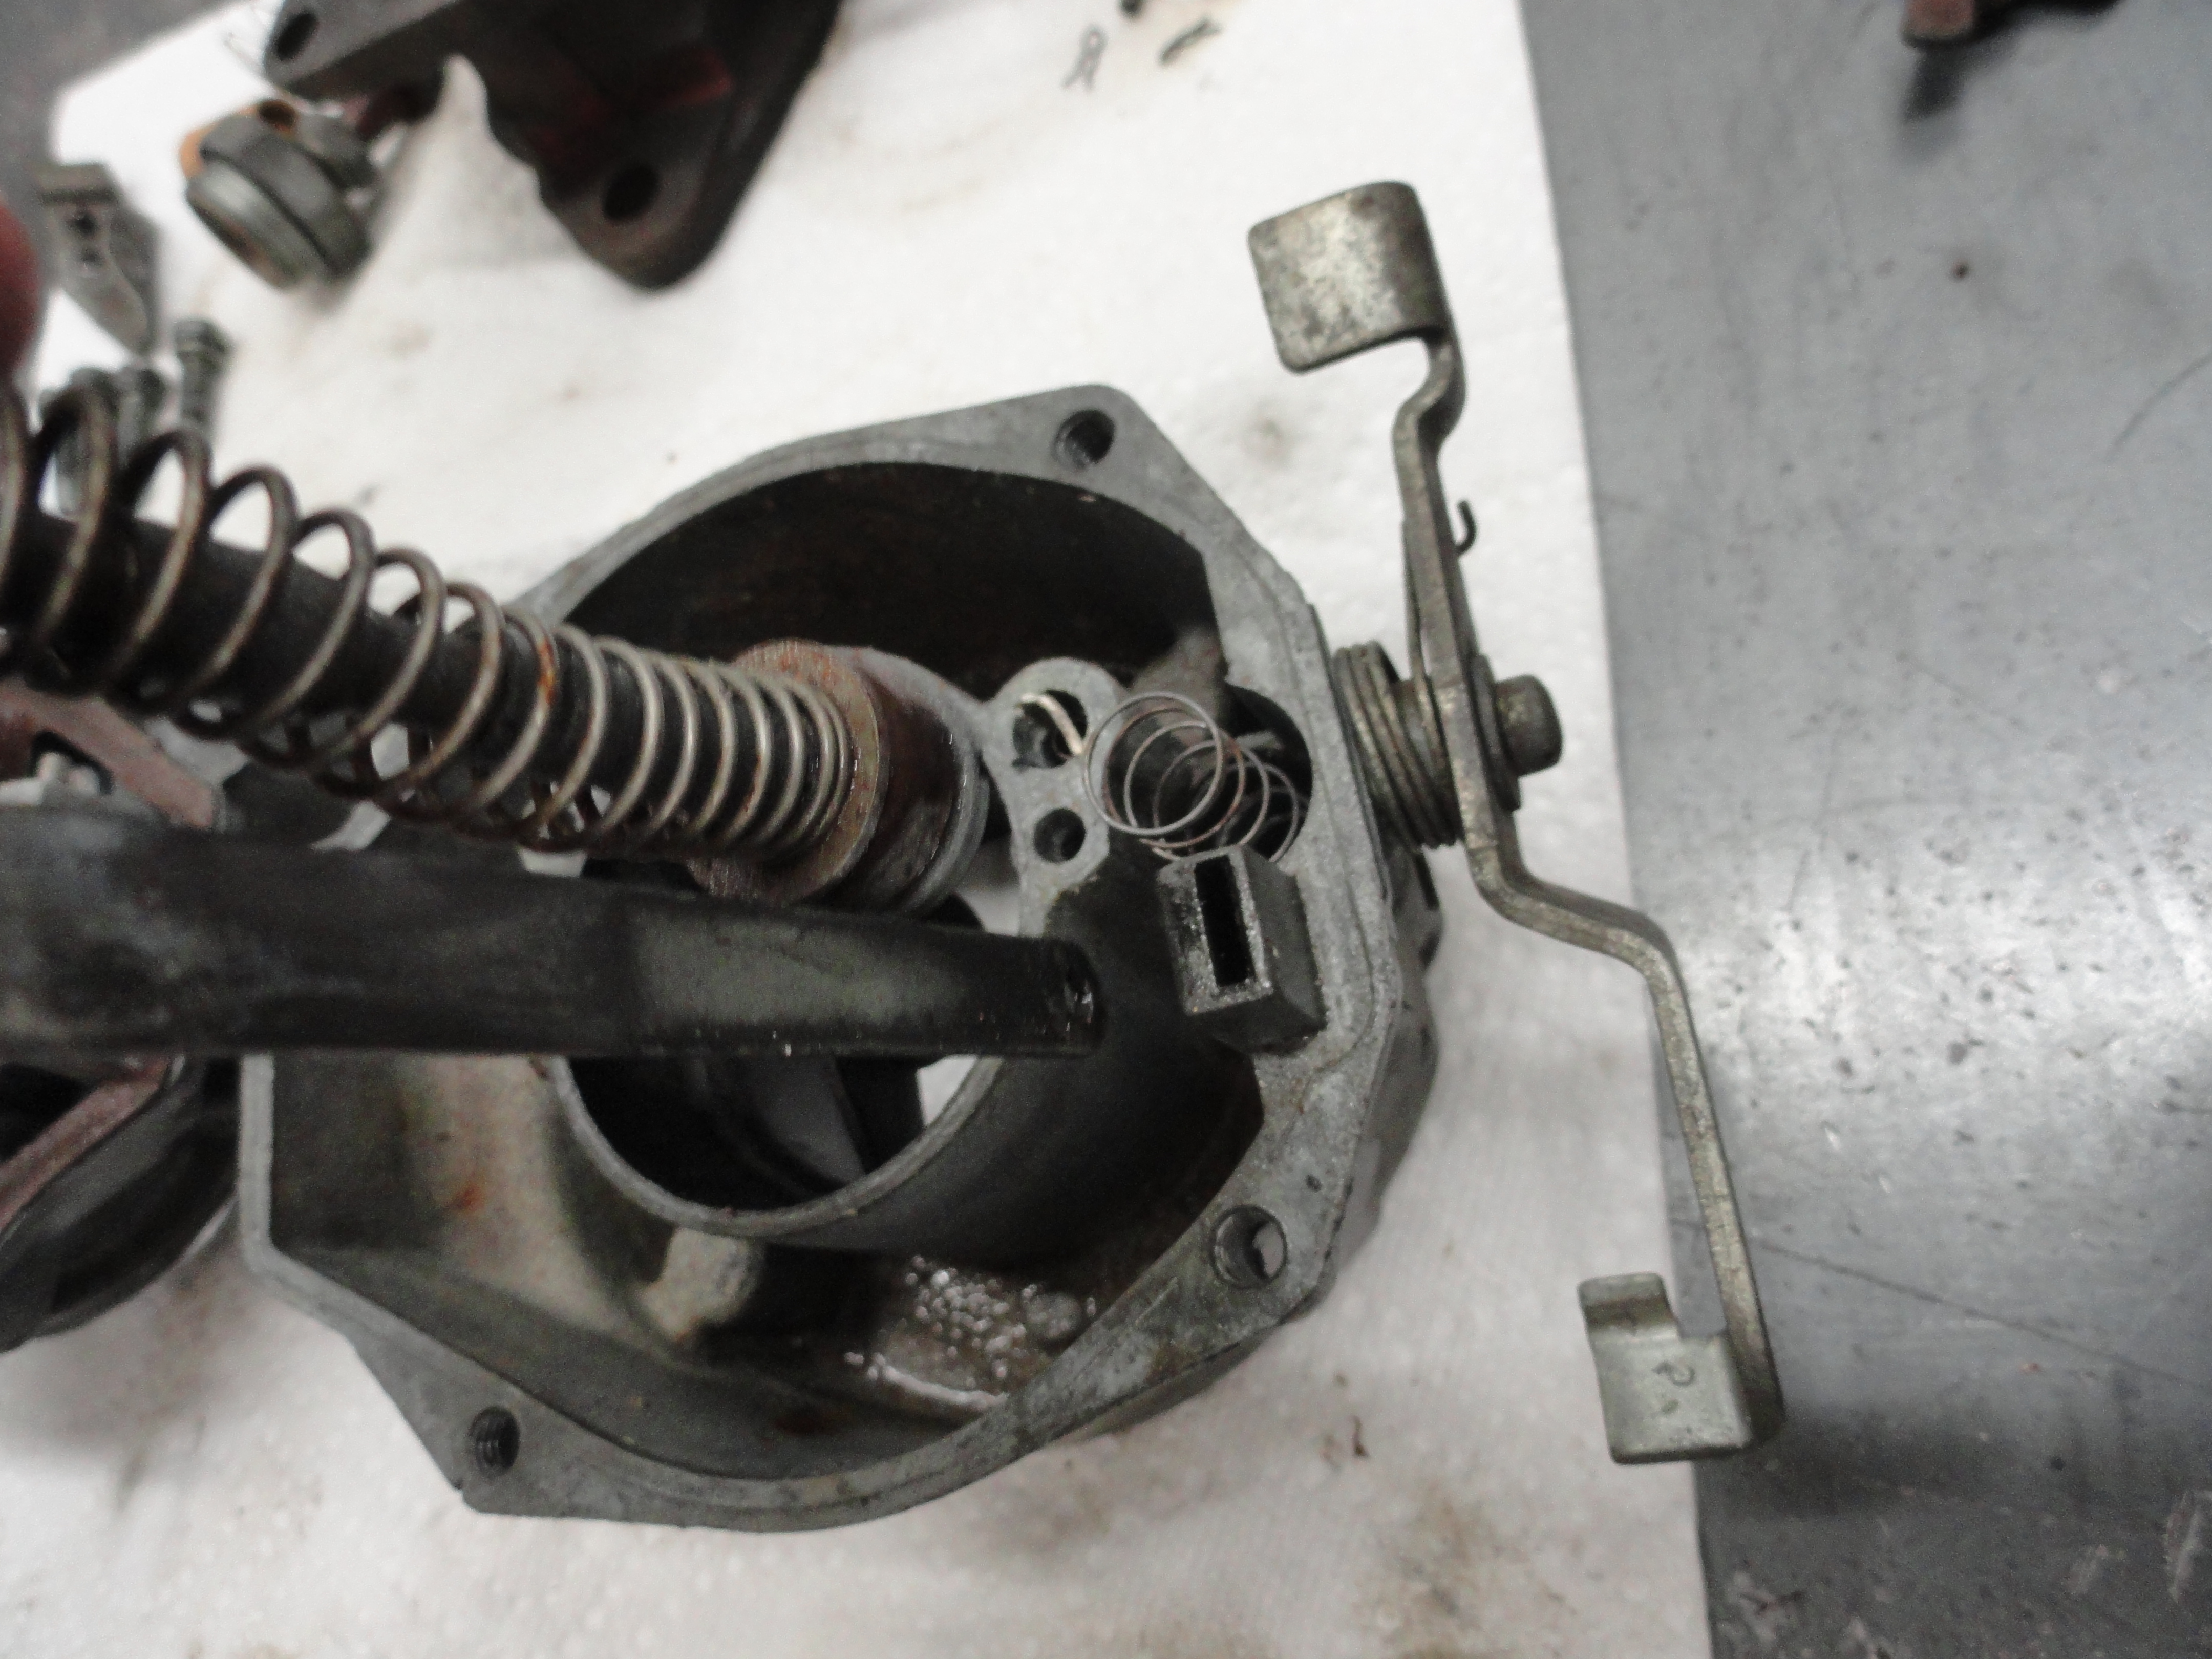
It's important to go back and look at some of the disassembly photos to make sure you are assembling correctly. Now let's look at the Float Bowl or body of the carb. We want to put the Accelerator Pump back where it belongs. Only there is one in the Kit, so let's use the new parts. You will need the spring that goes under the pump, put that in first. Then the heavy spring goes around the pump itself. Push all of that down in the hole and put the pump bracket in its slot in the body, and push them both down until you can get one of those U-shaped keepers in its slot to lock it all down. I found this much easier to do on the carb as opposed to wrestling with it on the table. Don't forget the lighter spring goes in first. Squeeze the U-shaped locker to keep it from coming off. Now that the assembly is put together, from the outside, re-attach that little linkage from the bottom of the Accelerator Pump assembly to the butterfly assembly on the base. It points IN with the dogleg facing OUT. Use the smallest clips in the new Kit to secure. You should now have an accelerator linkage that springs back by itself.

Setting the float bowl with base in front of you, install the first check ball. It goes into the larger hole near the accelerator pump where the T shaped keeper goes. Large (not the aluminum one) checkball, then the new very small spring (looks like the spring off an ink pen), then the T which goes down into the spring and then pushes flush with the hole. That's all there is to the float bowl.
Turn the Air Horn (top) upside down on the table. There is one tube sticking up that was not removed during the cleaning. In front of that is where we want
to install the Needle Seat which is that part that has the two slots for the bigger screwdriver. The Carb Kit has a new one with a gasket. Be sure to install
the new gasket, then turn the new seat into place. Tighten securely. We do not want any leaks there. Careful not to bend anything! Put the new Needle aside
for now. Find the correct gasket in the new kit and fit it in now. Make sure your chosen gasket isn't plugging any holes or in the way of anything. Fitting
the gasket in now is the correct way to do this.
To install the Power Piston, put the spring inside of it, and set it in and check for movement. Does it move freely? You want it to be very smooth. Also,
the thin end of the piston needs to be straight. If it isn't, it may not push the checkball out of the way properly. Set the spring and then the Power Piston
in place, then install the Tower. The power piston goes in the small hole at the end. Once you are certain the piston moves freely in the hole by turning
it and watching the movement, set the smallest steel checkball in that hole. Then from the Carb Kit, get that little spring that has tapered ends on it,
and place it in the brass cap. Once you are sure the power piston, the checkball and the spring/cap are lined up, tighten the cap securely. Lastly, for this
part, install the Metering Jet. It's the brass piece that has a number on the top rim. Tighten securely.
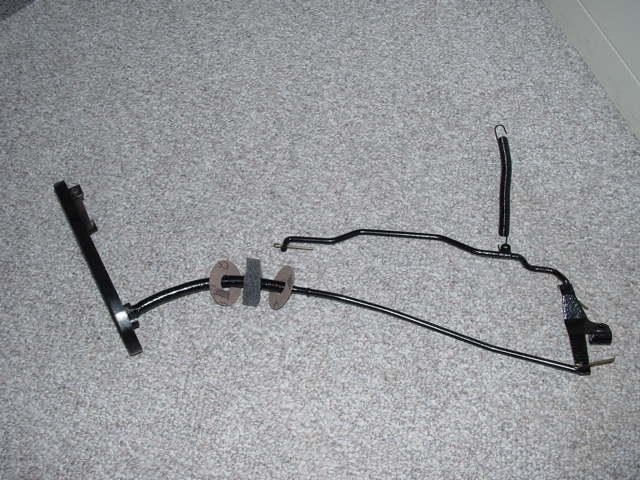
Install the float assembly by first dropping the Needle Valve in its place, then properly orienting the Float Assembly and sliding the keeper bar across and centering it. We need to check a few measurements at this stage. Make sure you have it in correctly. The little tab in the very center protrudes downwards. Once the float is sitting flat with the top upside down so we can see where it is resting, there should be 1-9/32" from the very top of the float pontoon to the gasket. They supply a measuring square with the Carb Kit. These are important measurements, so be sure you understand what you are reading. To change that measurement, very delicately bend that center tab in or out so when it sits on the needle valve, you get the proper measurement. Next, turn the assembly upside down and let the floats dangle. Now measure from the gasket to the top of the float pontoon and you should have exactly 1-3/4". If not, there is another tab that is bent for that in the center of the assembly. Once you have both sides perfect, you are done. If there is a difference in the two floats, that would be a very delicate bend on just one side. In any case, you want to be sure the floats are not interfering with the gasket or anything else. I took less pictures of the final assembly because I was looking at the disassembly pictures to figure it out. You have everything you need to do this right in either the pictures with the text here, or in the out-takes below. Now that you have everything adjusted, carefully mate the Air Horn with the Float Bowl taking care not to bend or bind anything. Put two of the four screws in to secure the top adjacent to each other for now.
The upper butterfly assembly is next. This is something that takes some concentration because you don't want to get the spring in backwards, or forget the keeper on the end of the shaft, or get the wafer in backwards. To do this right, lay out all the parts as they will go in. First the spring, then the wafer. Hold them up to the hole as shown and then lock them down with the round keeper you removed earlier. You will need to 'wind' the spring one revolution so that everything springs together properly. Of course, wind in the direction the spring is wound in, and don't bend it. All of the pictures are in very high resolution so you can see clearly how to do it. When the shaft is proper, the butterfly shaft will have indentions where the screws go readily visible. Slide the butterfly in between the shaft slots and just put the screws back in, but wait on the Loctite until you are certain they are in right.
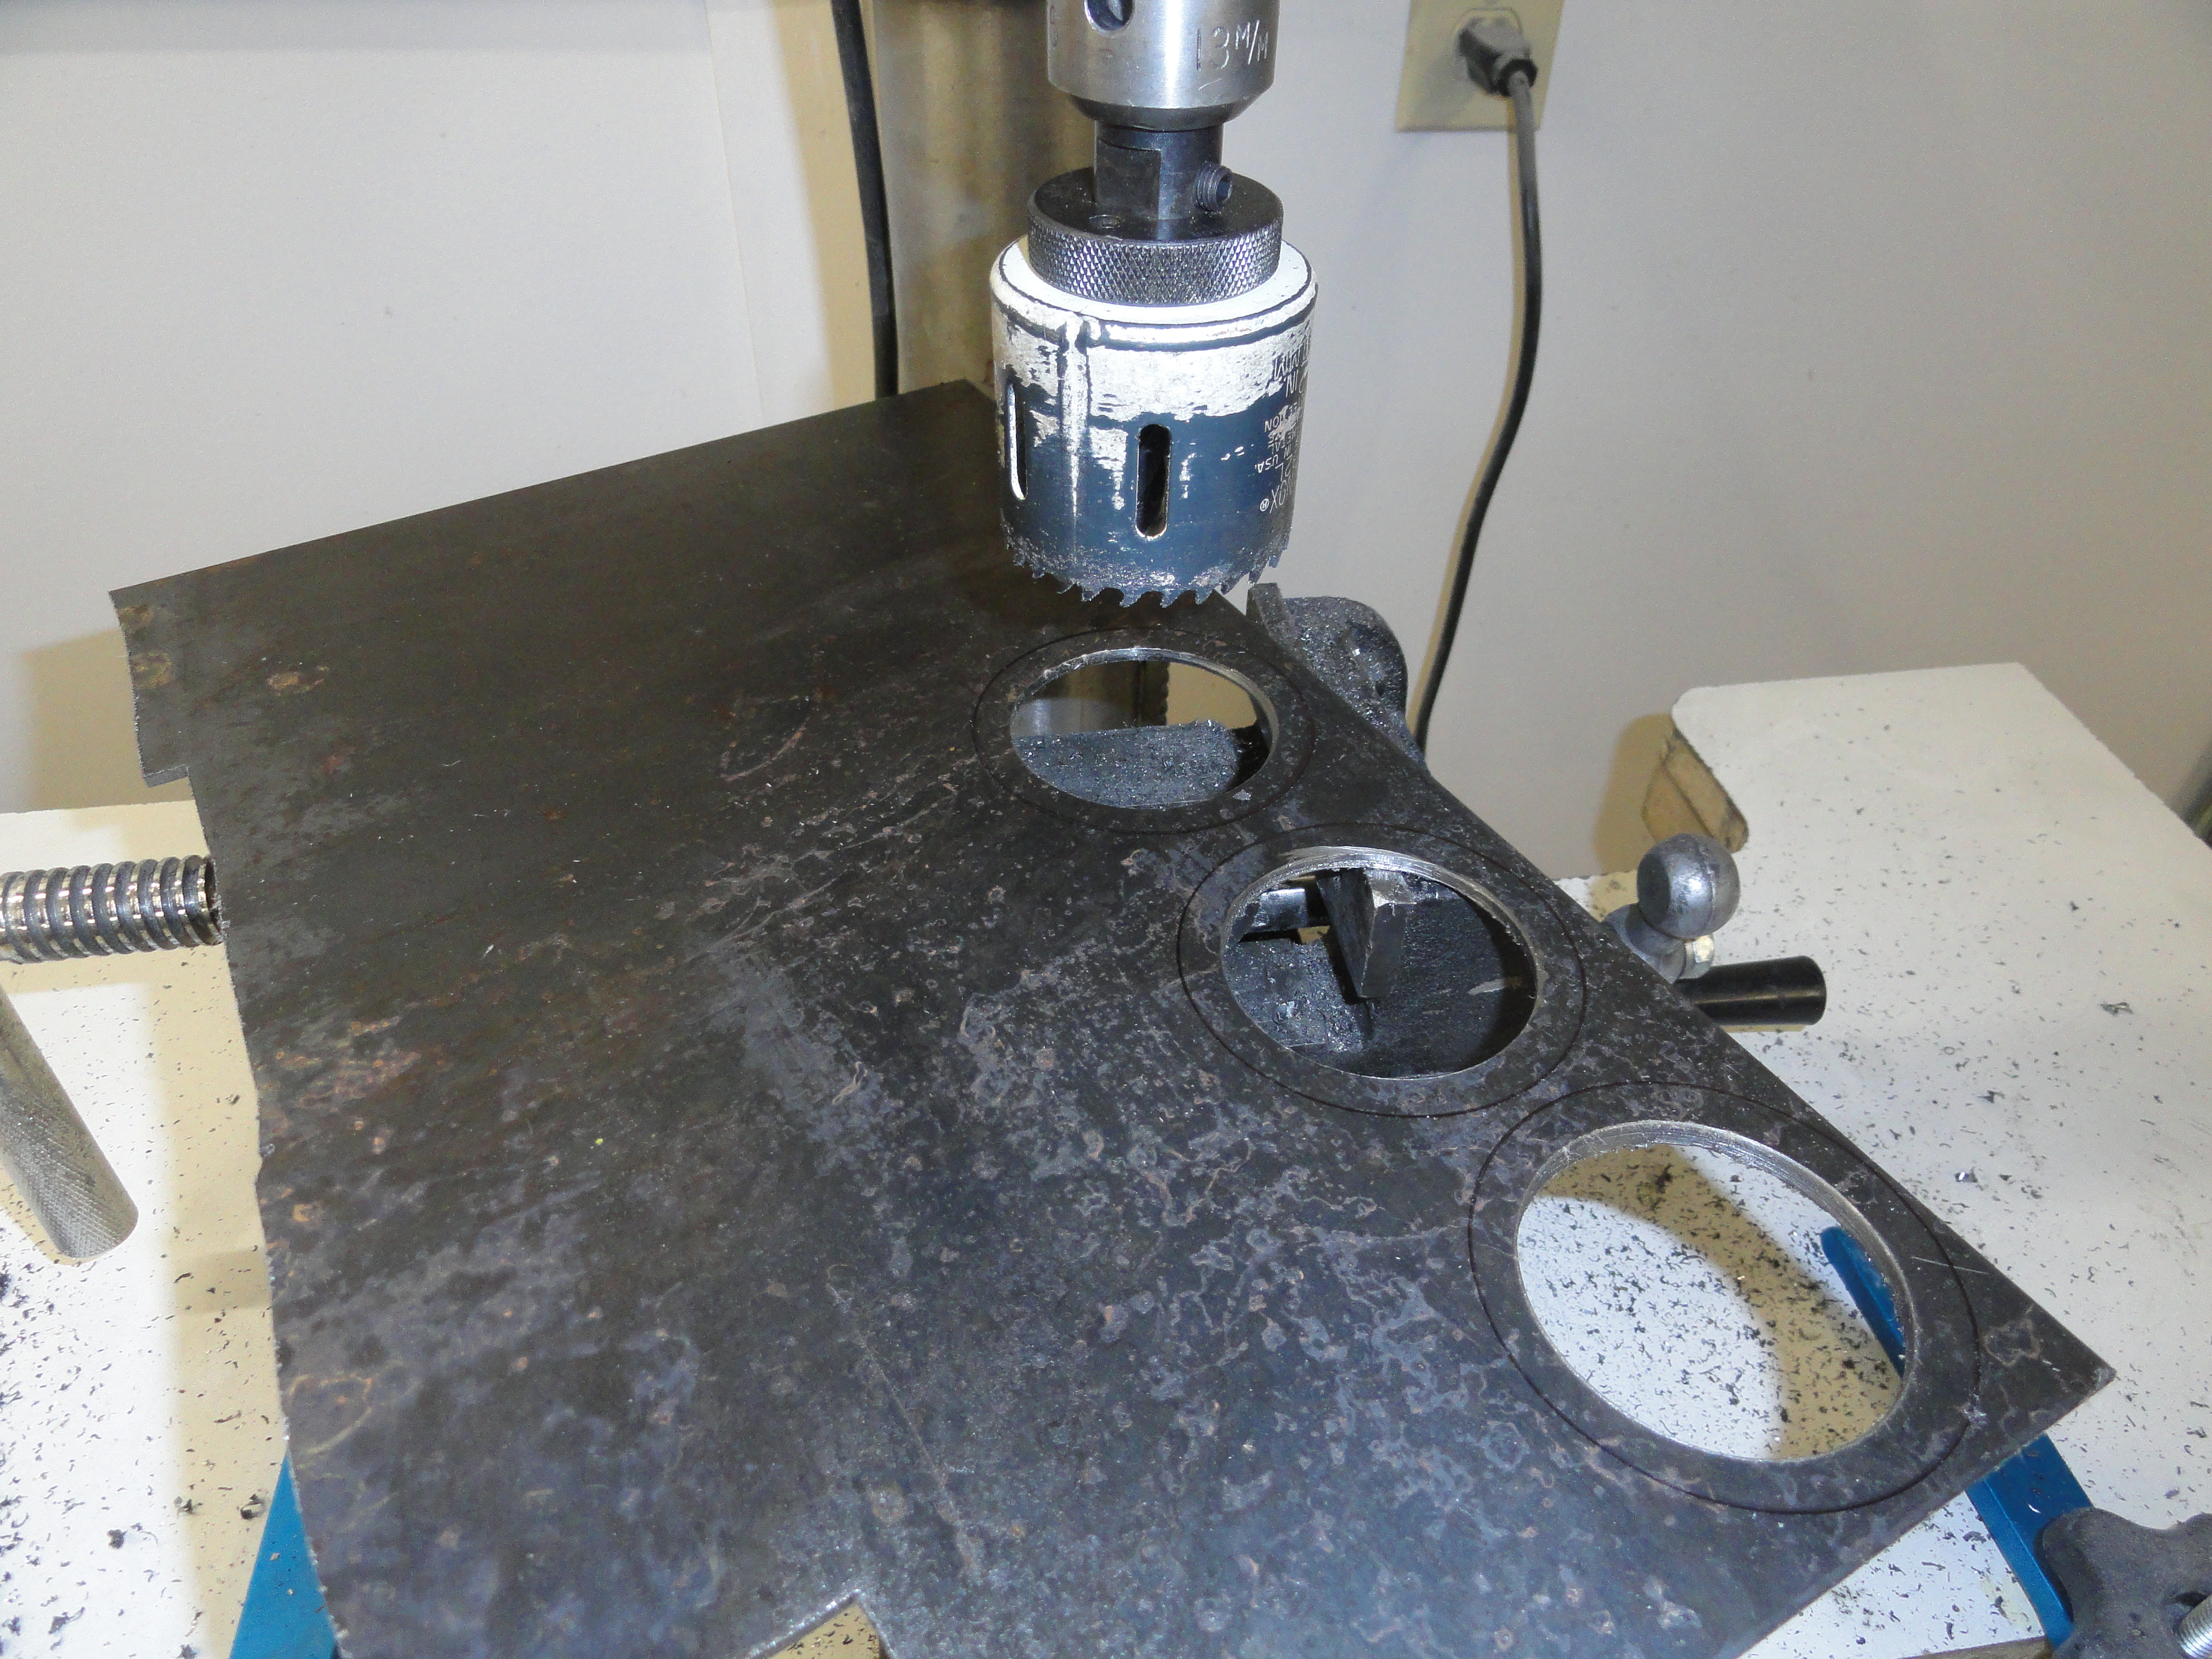
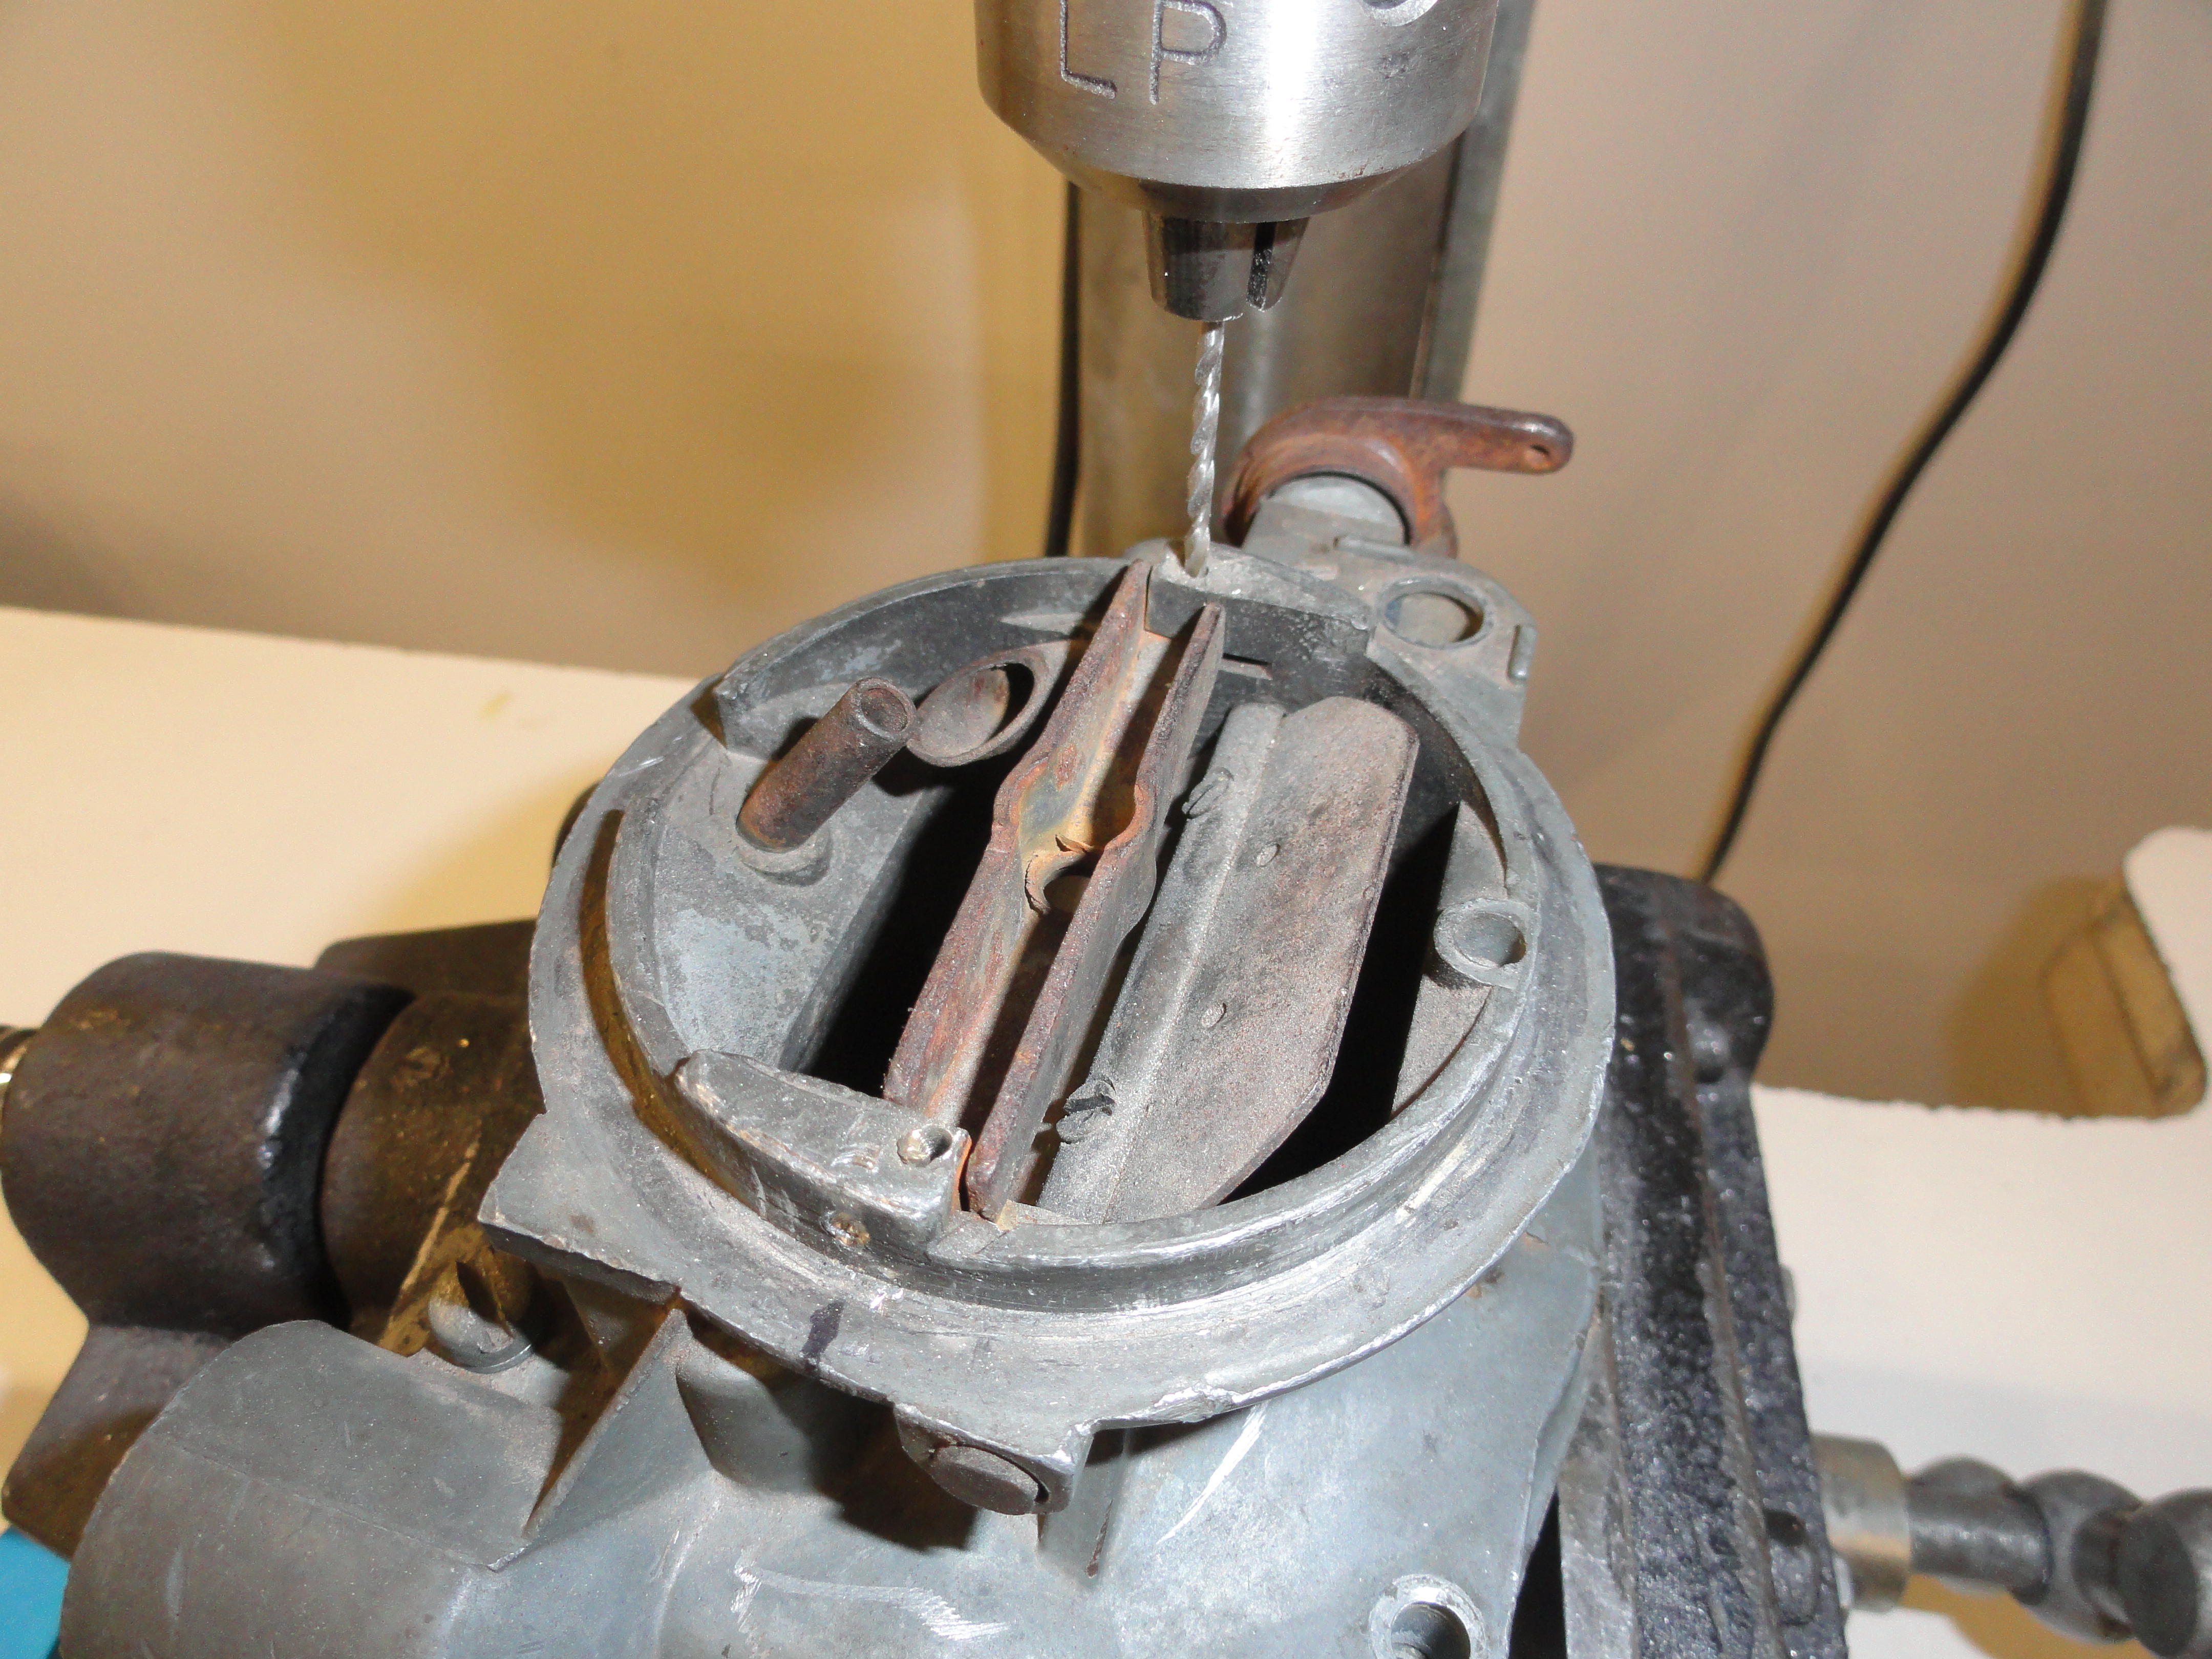
If you want to use this carb with an older style air filter assembly, you want to drill out the pins that are holding the nut bridge assembly and remove that. It just restricts air flow for your purposes, so no need to have it in there. You can always replace it later should you need this awesome carb for something that requires it. With the butterfly assembly in place and rotating very smooth, we need to install the lever assembly to the side of the carb. It also has a spring that needs to be installed correctly. This is the bridge between the lower butterfly and the upper one. Install according to the pictures and it will turn out fine.
I have to say, this is a pretty neat mechanical device when you think about it. Beautiful in its simplicity. Yet it is very critical all parts are assembled correctly. This section of the article would not be possible if it weren't for a few things that really helped me out. Most of the credit for my learning all of this goes to Mike at Mikes Carburetor Parts. Mike put a nice How-To Video on YouTube. Just Google Rochester B YouTube. It's 45 minutes long and he does a much better job explaining all of this. Then if that wasn't enough, he put the Rochester B service manual on his site to download for free! Also, remember that Carb Kit you purchased? Well, it has lots of great information in the instruction page. From parts breakdown to adjustment information, don't dismiss its value.
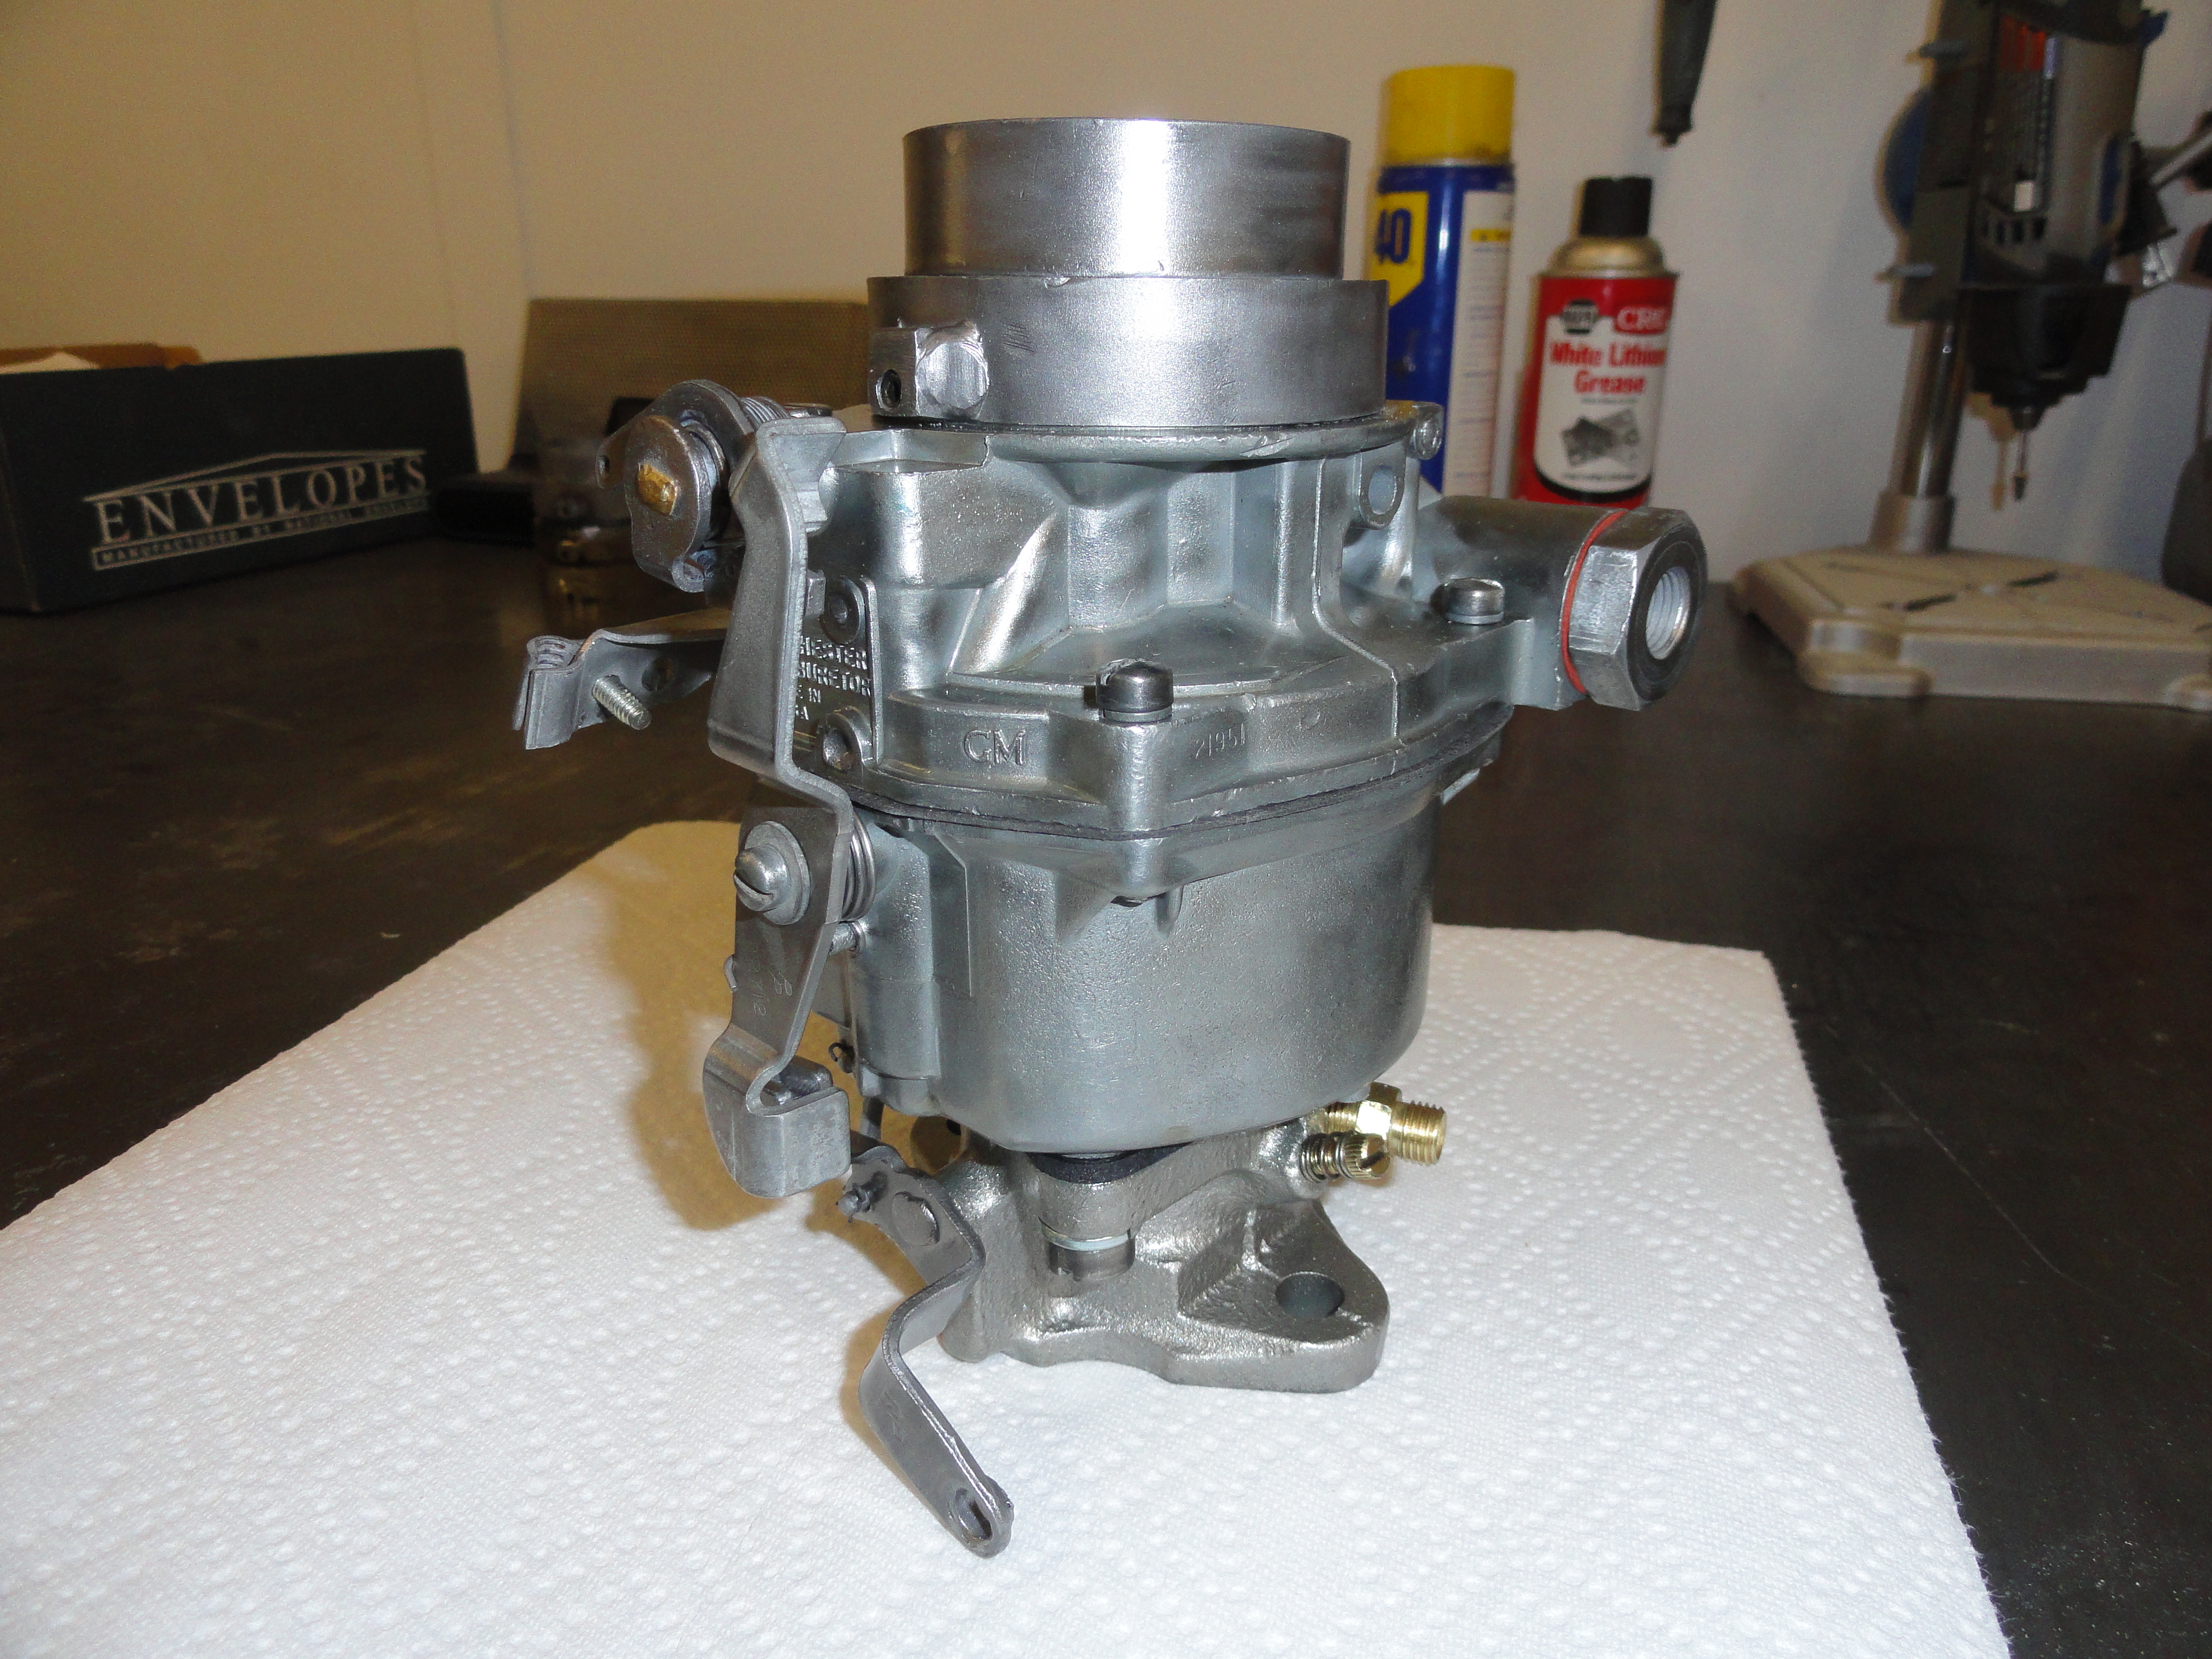
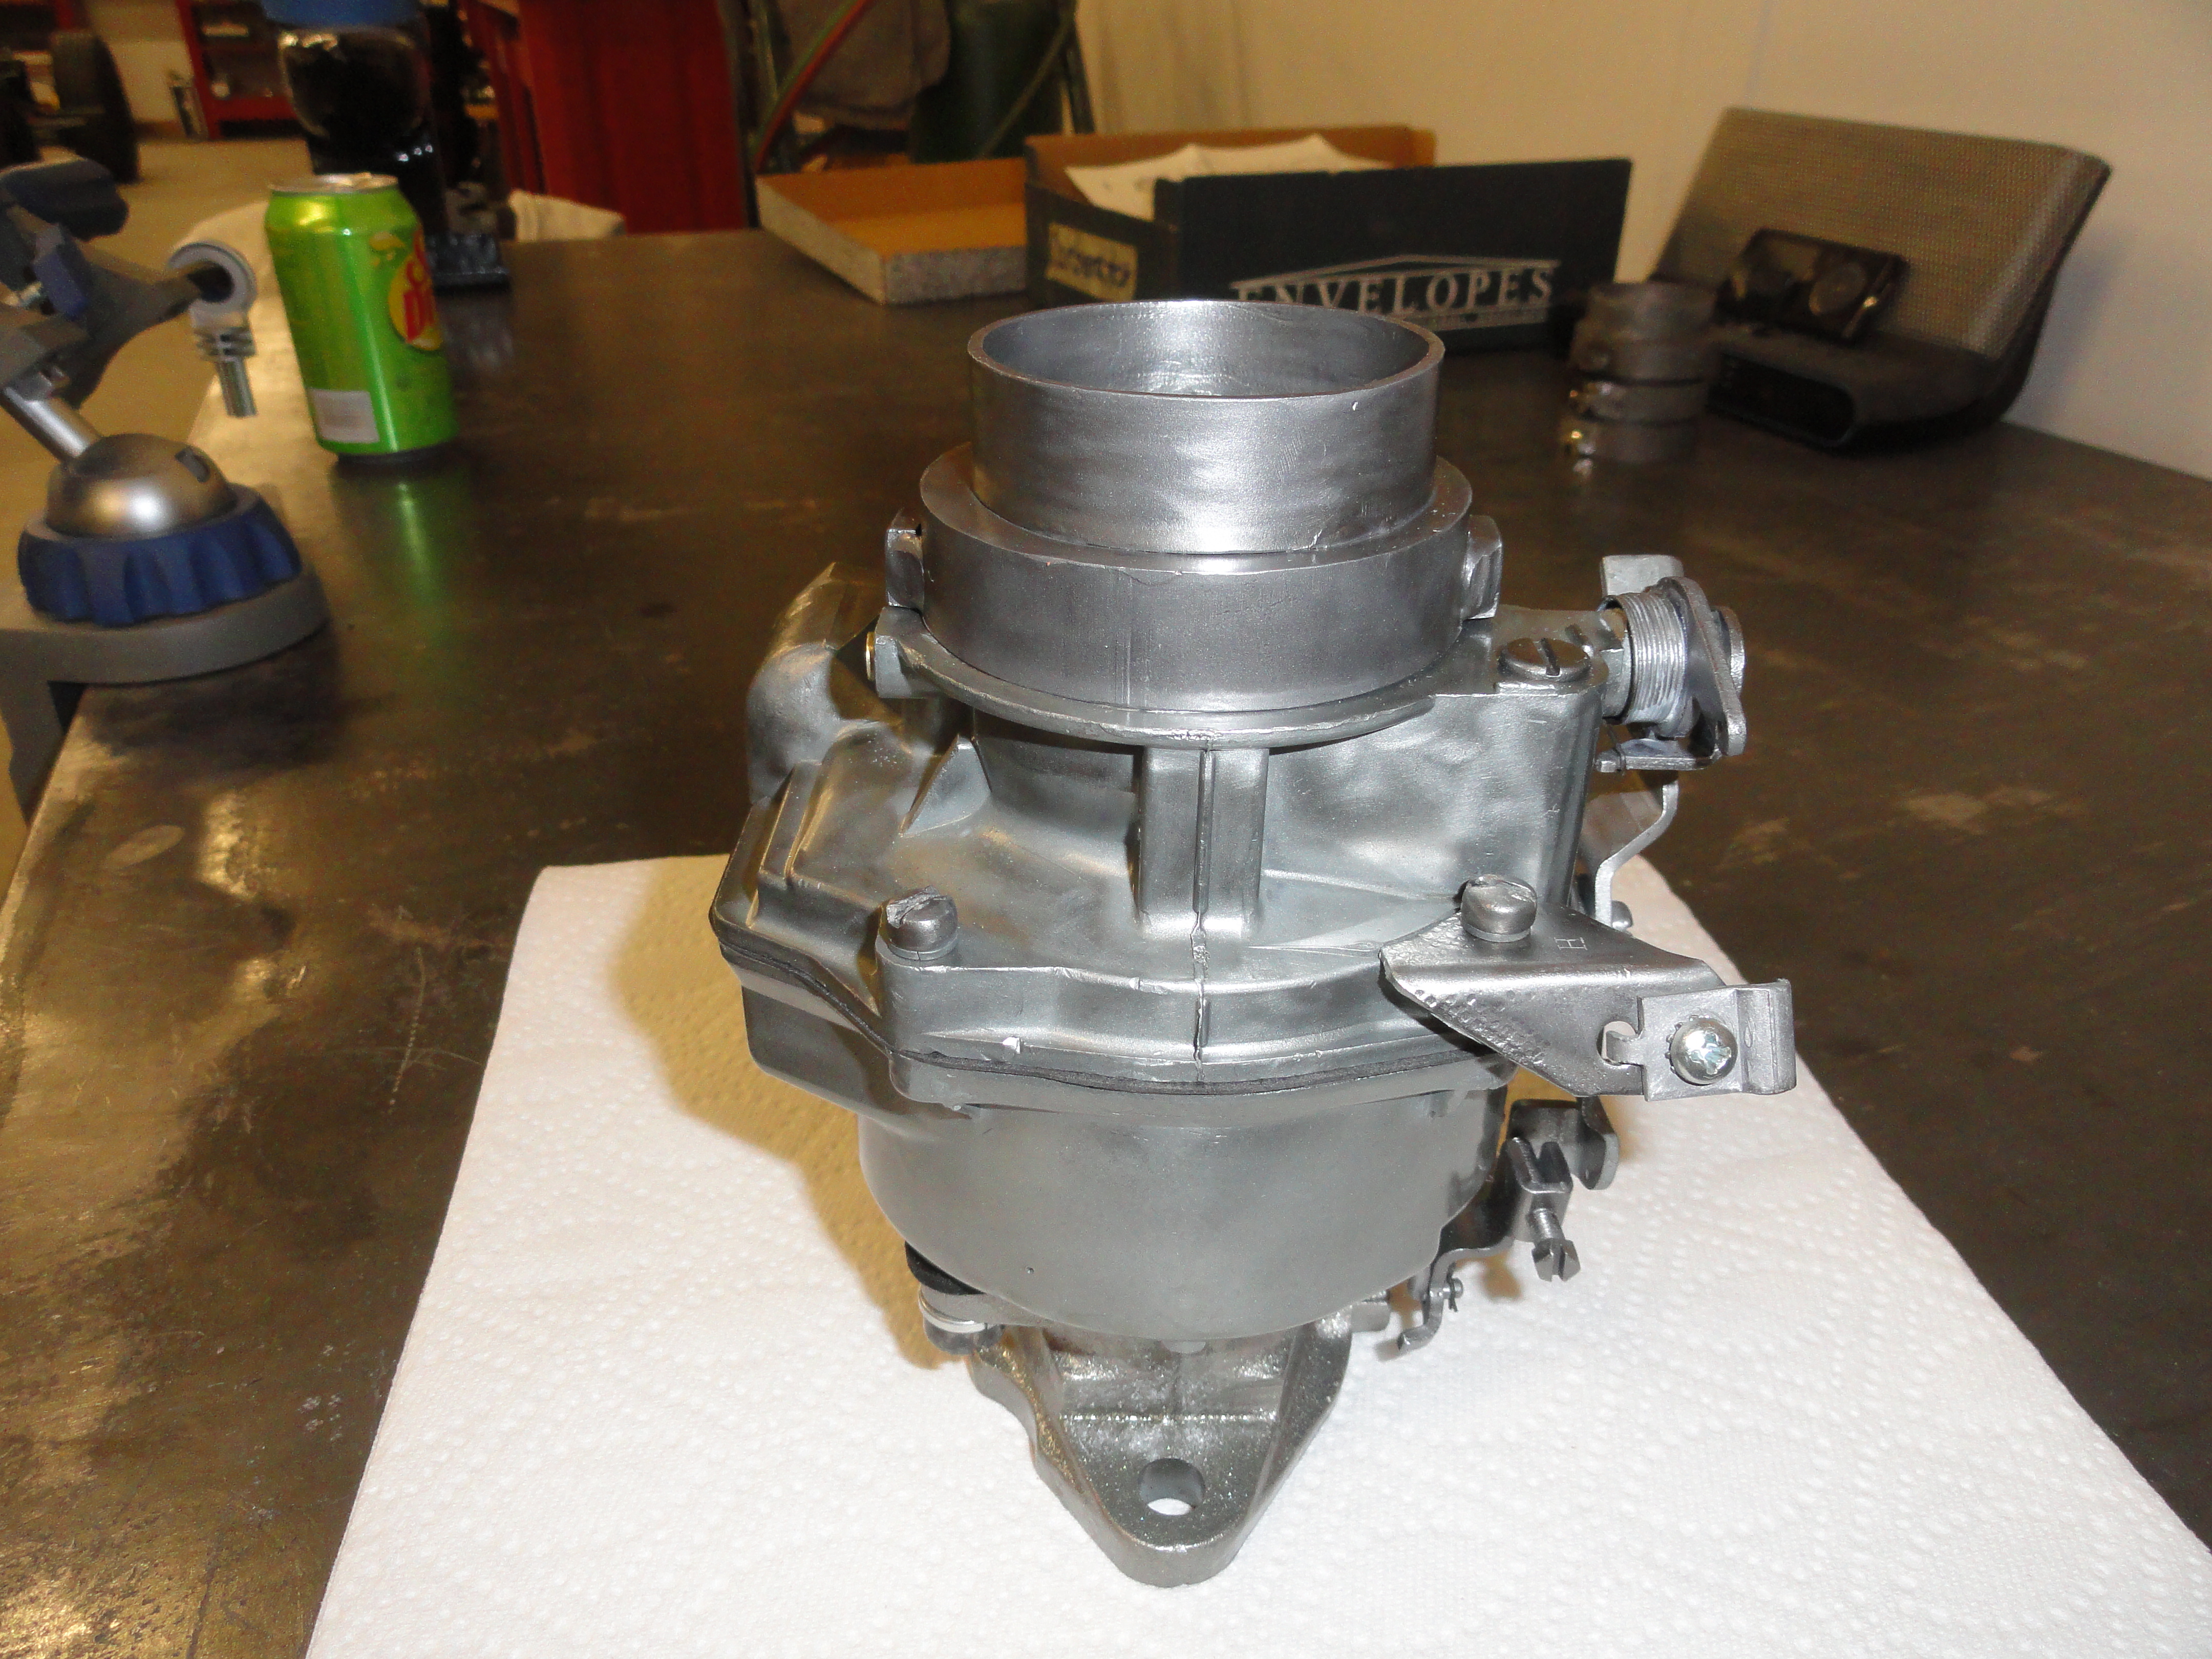
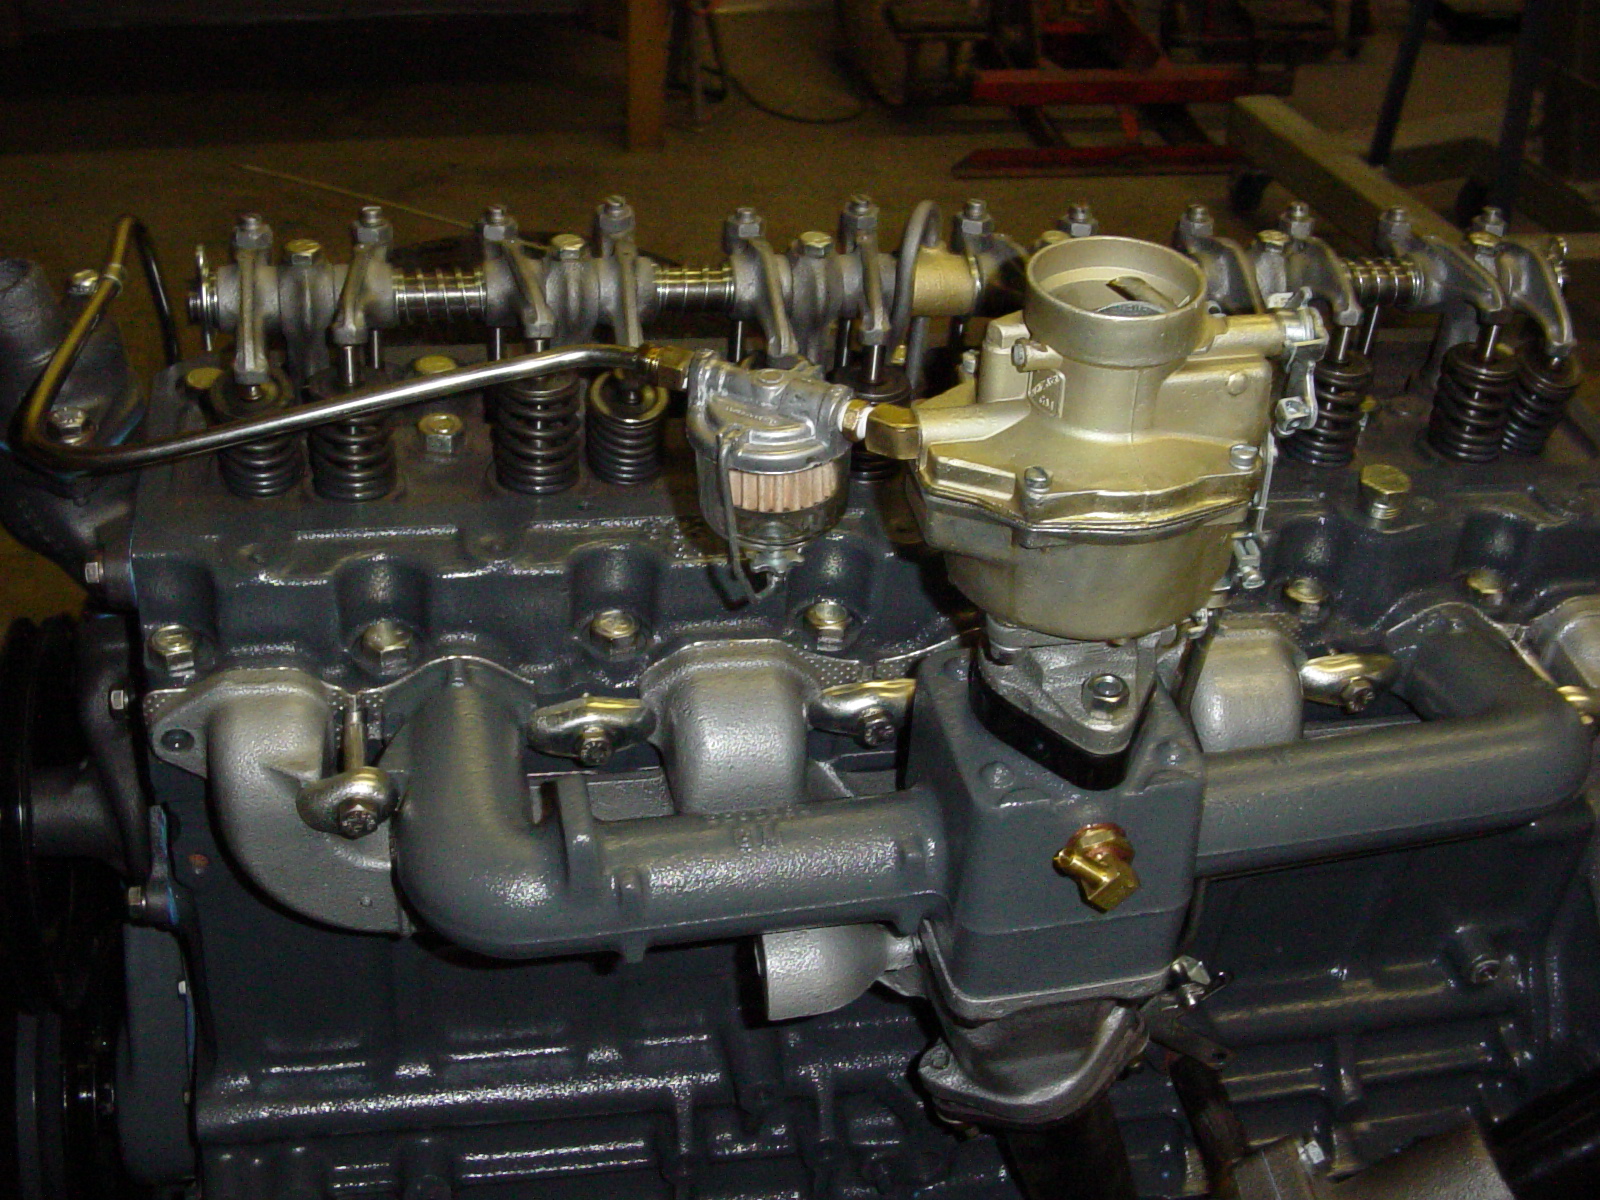
The finished Carb is really fitting for this project. In this process, I chose not to change out the Float Assembly. Even though it's only about $15 for a new
one, I will try this one first, then if it's bad, I can change it easily since I didn't slather a bunch of gasket sealer all over it. You can get rebuild entire
Rochester B Carbs for about $180 with the core, but what would be the fun in that? If you haven't had the opportunity, check out
Mike's Carburetor Parts. Mike has parts for these Carbs that you may need. Things are changing out
there folks... 60 year old parts are getting harder to find. We need to have the proper respect for vintage parts and understand they are not an unlimited
commodity. If you have questions, email Deve anytime!